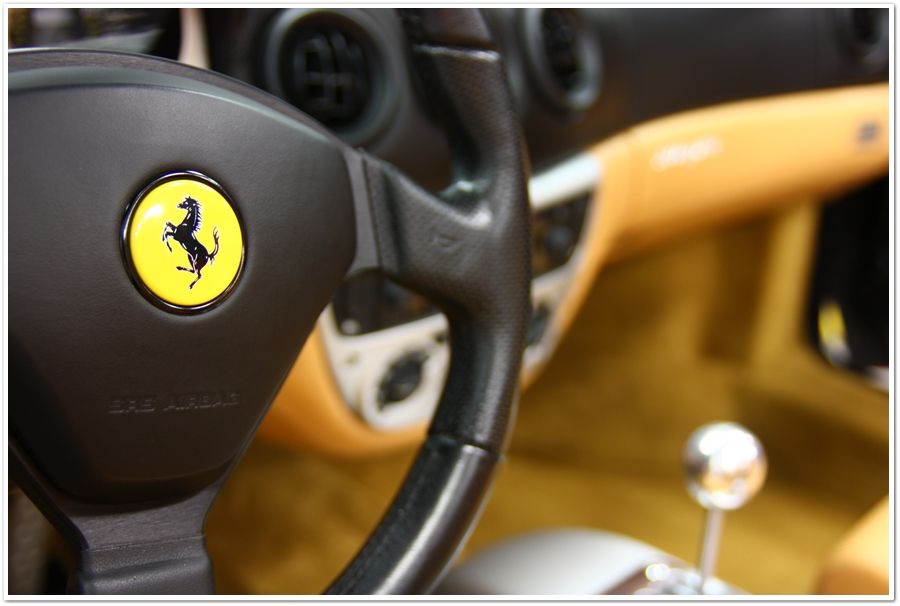
Ferrari 360 Spider by Esoteric Auto Detail of Columbus, Ohio
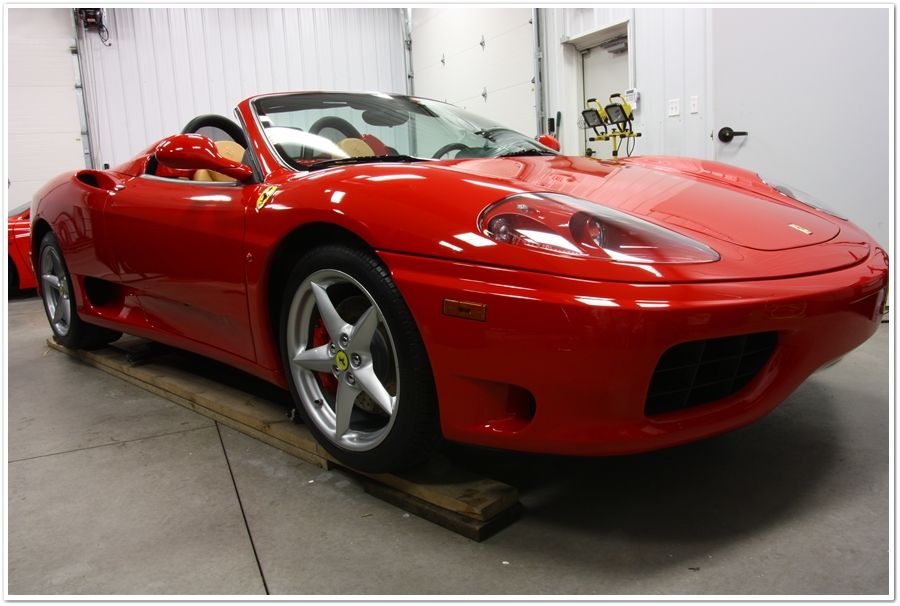
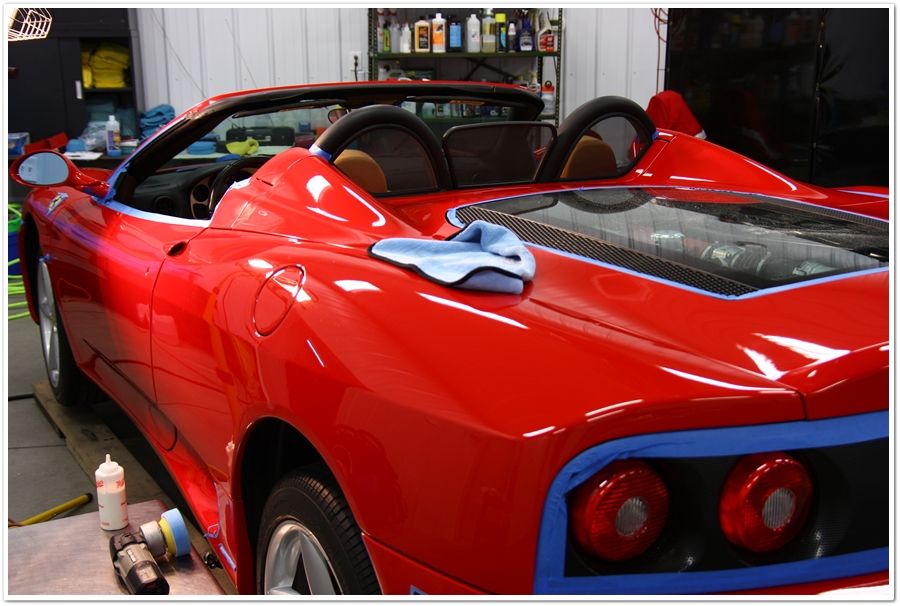
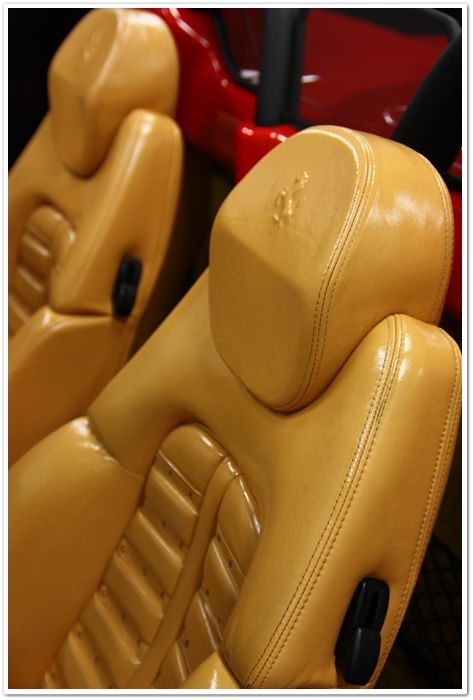
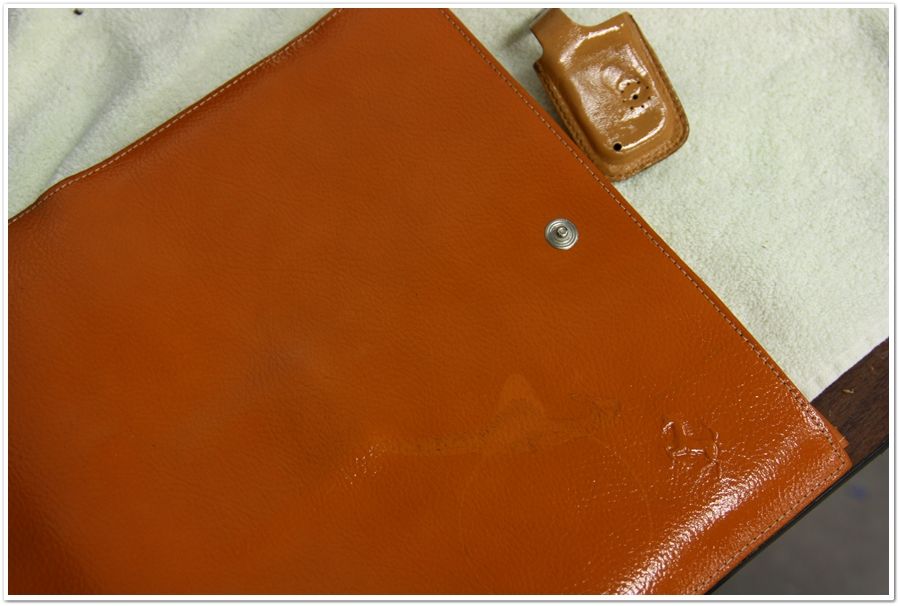
On Today's menu we have a beautiful Ferrari 360 Spider in need of attention to restore it to its original beauty. It was in pretty good condition for being about 6 years old now, but as can be expected, it has its fair share of swirls, scratches, and dirty leather.
As with many of the Italian cars I've been working on lately, this one was shipped in from out of state. The owner's biggest concern was the swirls, but also wanted a good thorough clean-up and protection package as well.
Although this article won't have the shock & awe factor as my Ferrari 355 GTS Mini-Restoration that was recently published, this 360 still went through a pretty dramatic transformation.
First let's take a look at the condition and come up with a plan of attack.
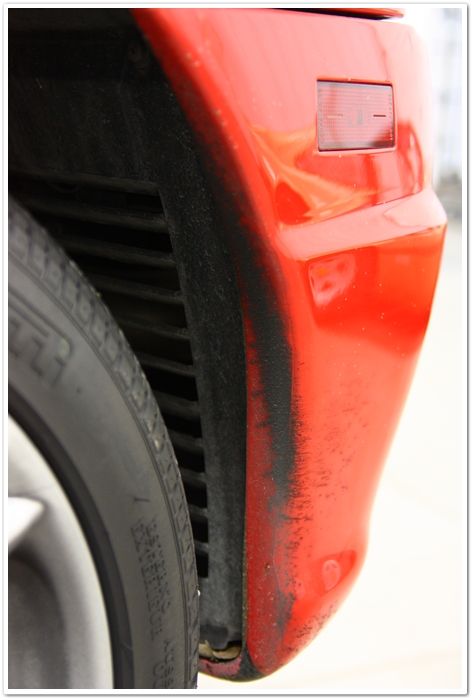
This would be tire “gunk”. It was caked on the tires, on the wheels, in the wheel wells, and all down the side of the car. I've seen some products like this that will actually stain different parts of the car, so after cleaning it off we may have other issues to deal with. To clean these I would use a stronger cleaner like Optimum Power Clean.
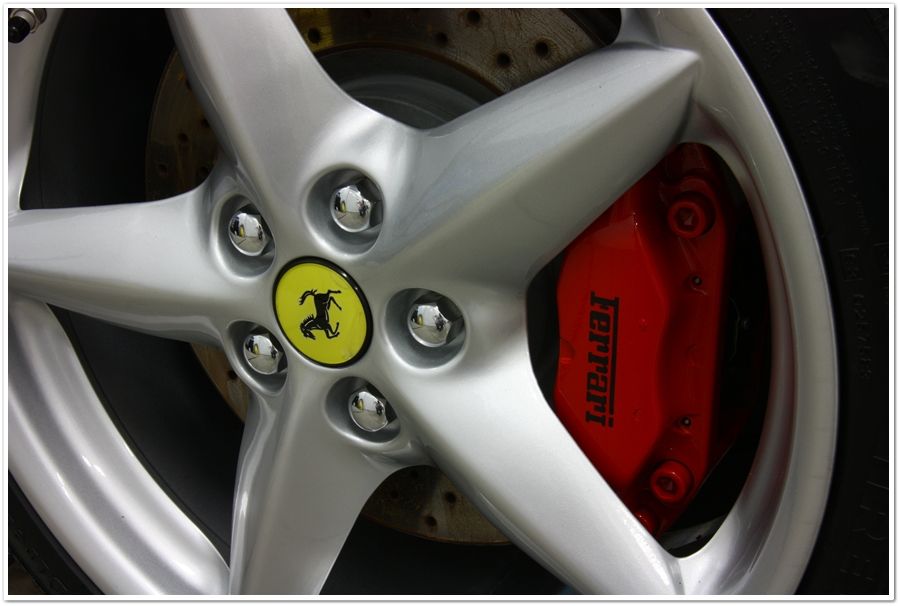
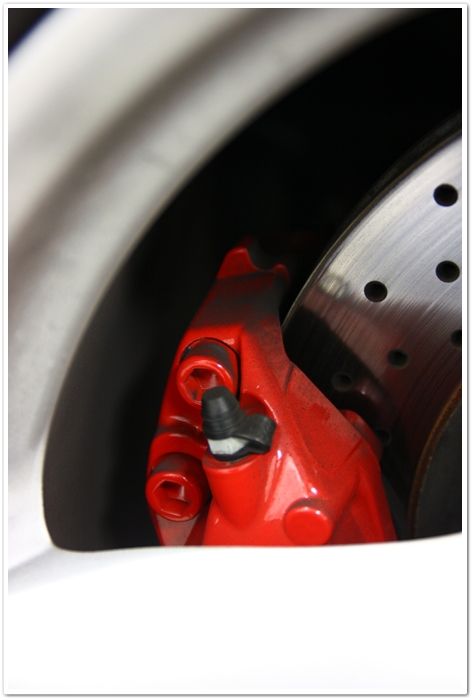
Brake calipers and rims had a healthy layer of brake dust built up on them. They would be no match however for P21S Wheel Gel and my trusty EZ Detail brush!
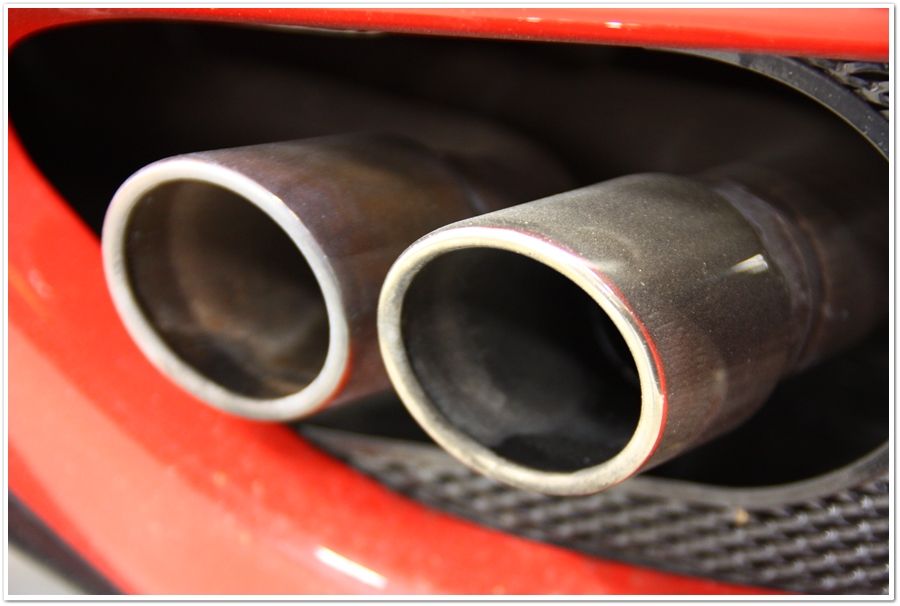
Exhaust tips needed some care as usual. A little Megs APC+ to break down the heavy stuff, followed by some Optimum Metal Polish should do the trick.
After thoroughly cleaning the vehicle using the 2x4 wash method, and adding some P21S TAW to help strip the previous coat(s) of wax, I found that the surface had a bit of a crunchy feel to it which meant it needed to be clayed to give me a smooth surface to polish on.
After thoroughly cleaning, stripping, and claying the finish I could do a true inspection to see what I was up against. I also took a lot of paint thickness measurements using my DeFelsko gauge to see if the (sometimes) delicate Ferrari paint had any stories to tell. As usual...it did! I found some spot repairs where the thicknesses were all over the place. Going in with this knowledge, I knew where I could be aggressive with my polishing, and where I needed to be more careful given the thin paint.
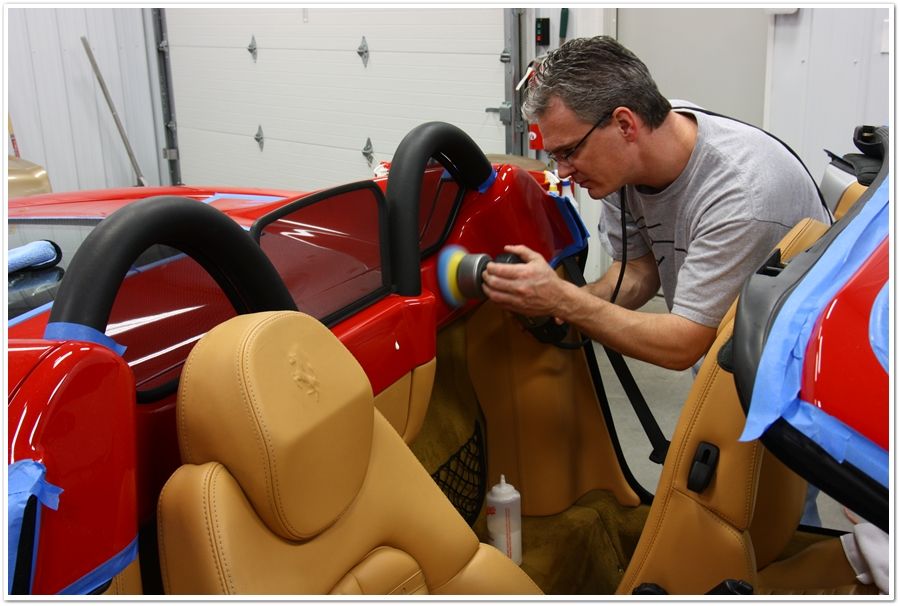
Given the condition of the paint, I figured that a two-step polishing process using Megs 105 and Megs 205 should do the trick. After testing a section to confirm this method, I proceeded on. For the majority of the defects I used my PC7424XP with an orange LC pad and Megs 105. When I encountered deeper defects, I switched to the Makita rotary with a 4” Cyan Hydro-Tech pad. For finishing I again used the PCXP with a black LC pad and Megs 205.
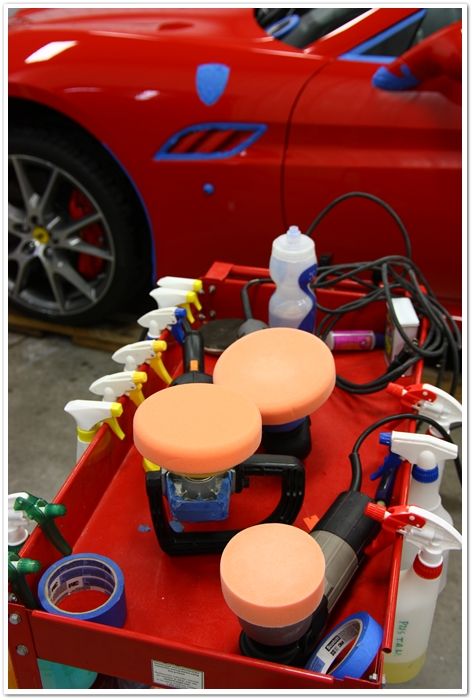
Although this is a photo from a previous job (on a California), I wanted to show how I keep my tools together to ensure a smooth work flow. As you can see, I have my rotary, and two different PC's ready and armed with different sized pads. When I come to a tight area I can just grab the PC with the small backing plate/pad instead of stopping to switch backing plates. When I uncover a deeper defect, I quickly grab for the rotary. This helps streamline the process for me and allows for greater efficiency. I'm not saying it will work for everybody, but it does for me.
Now back to the work at hand...
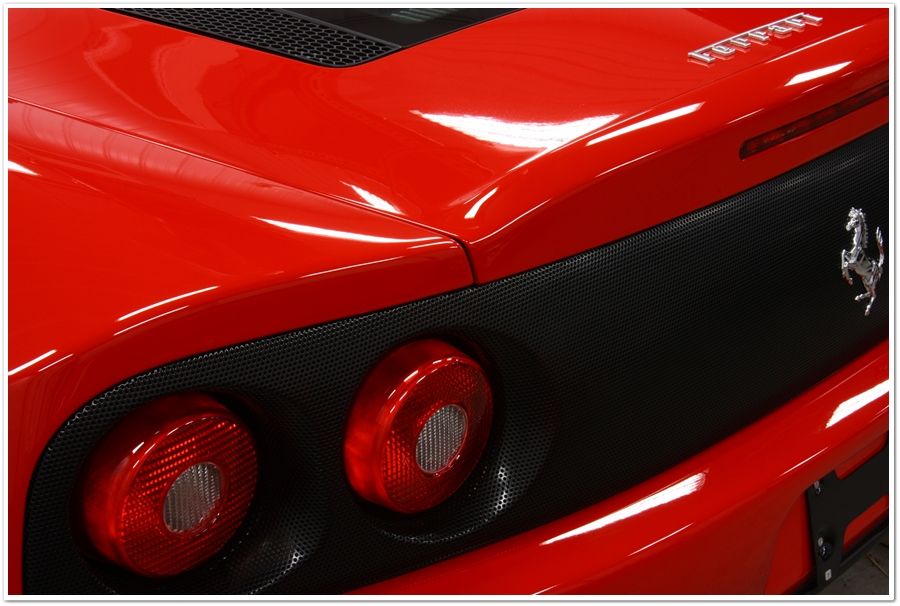
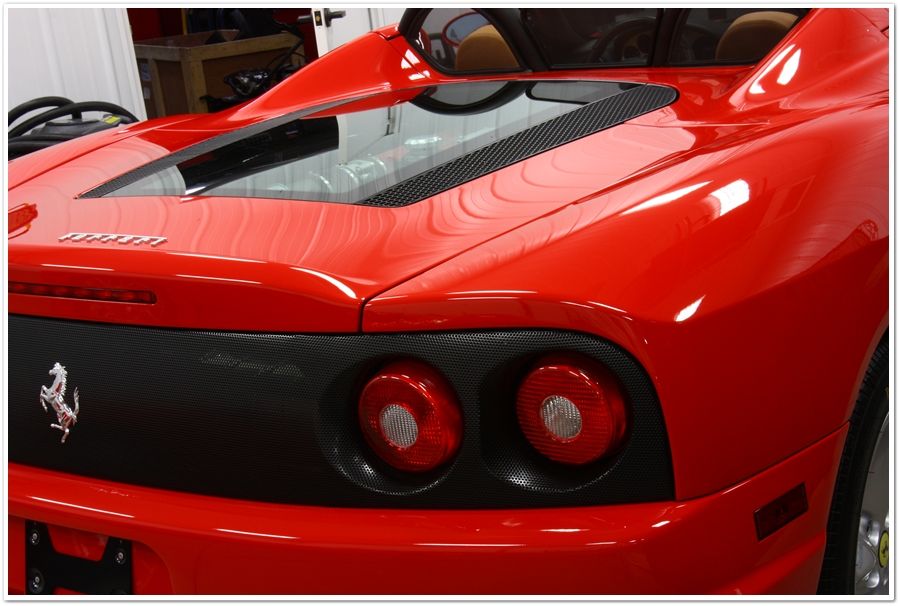
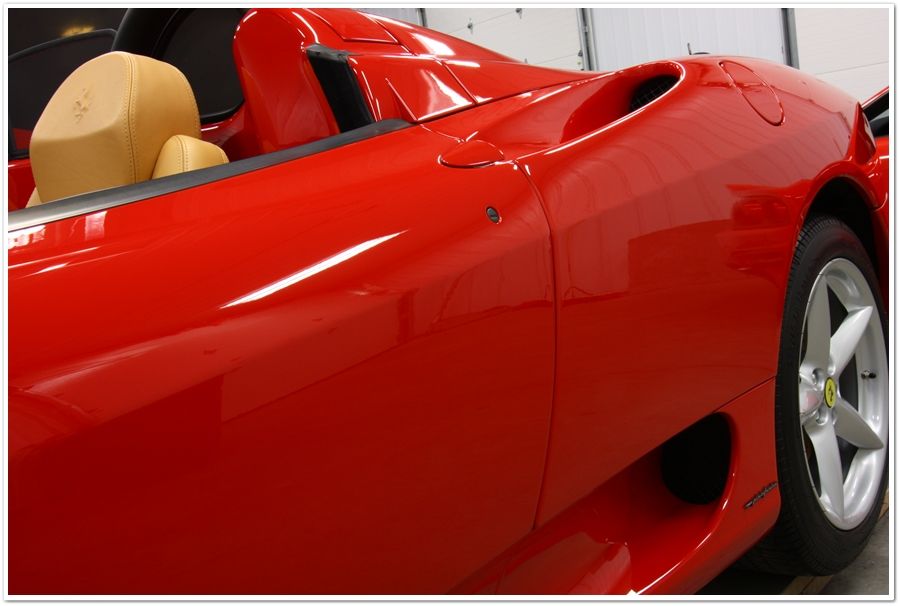
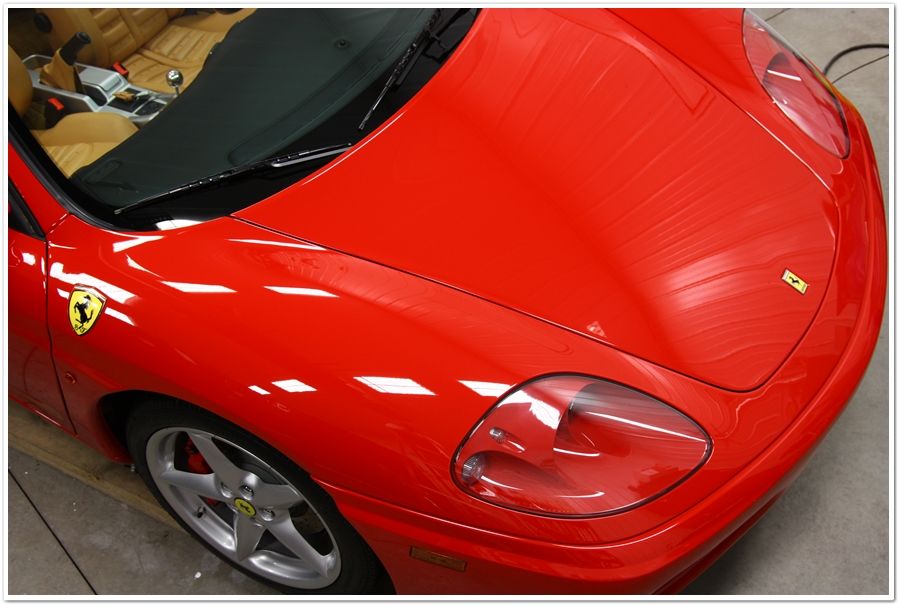
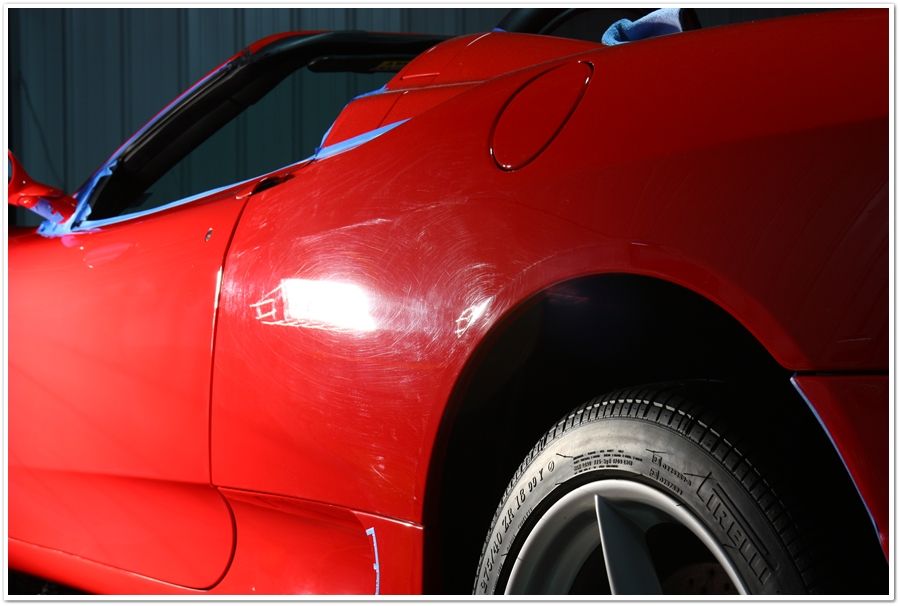
Here is a before and after on the rear quarter panel. The after shot is post-compounding so it hasn't reached its full gloss potential yet.
Before:
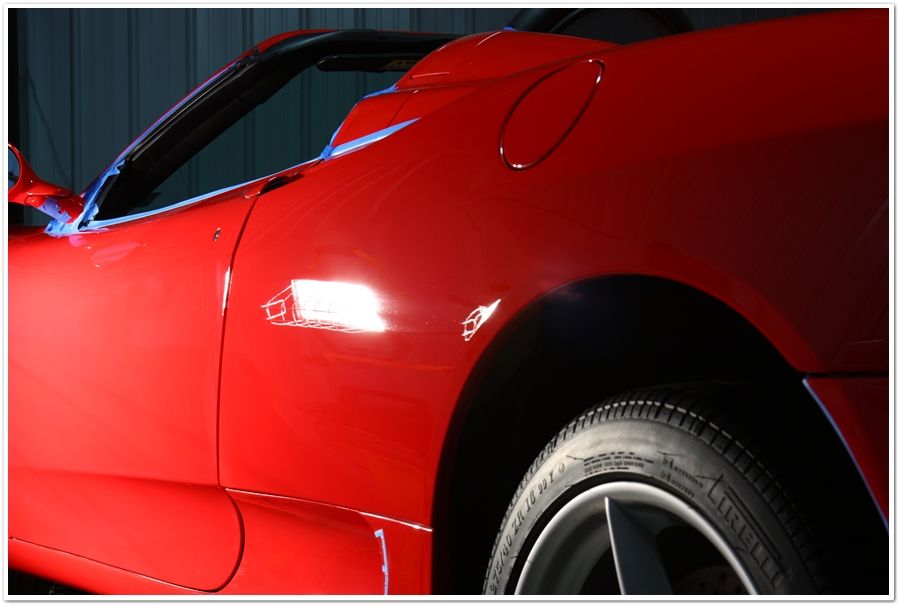
After:
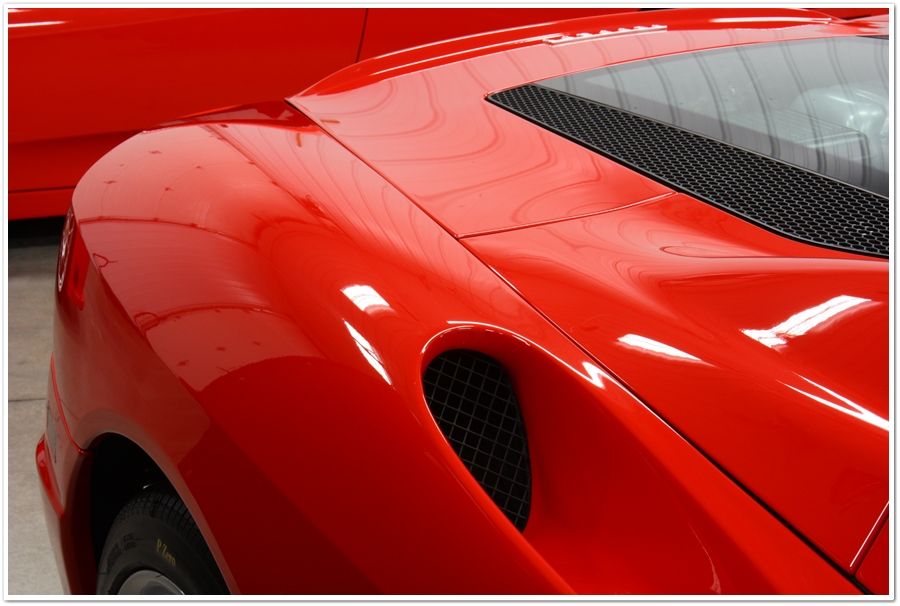
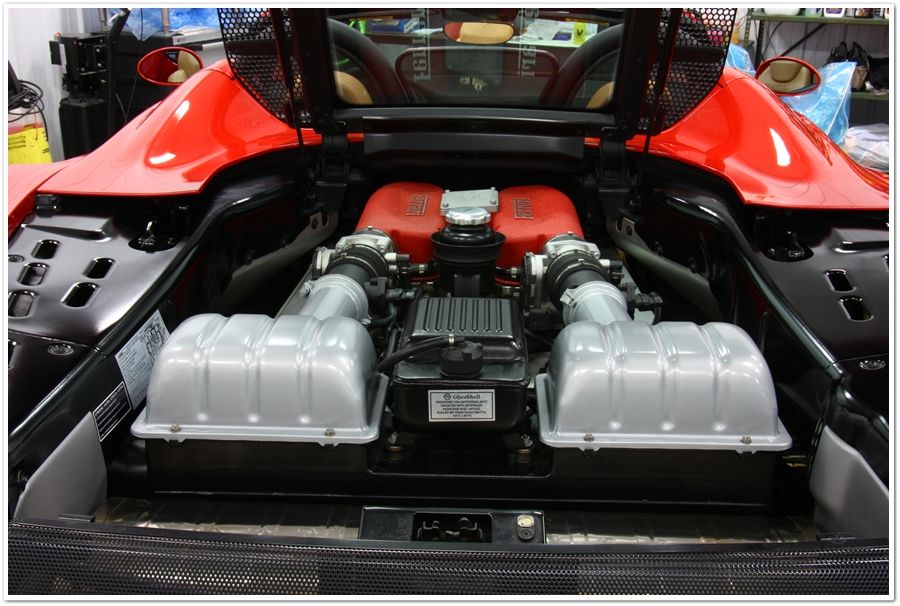
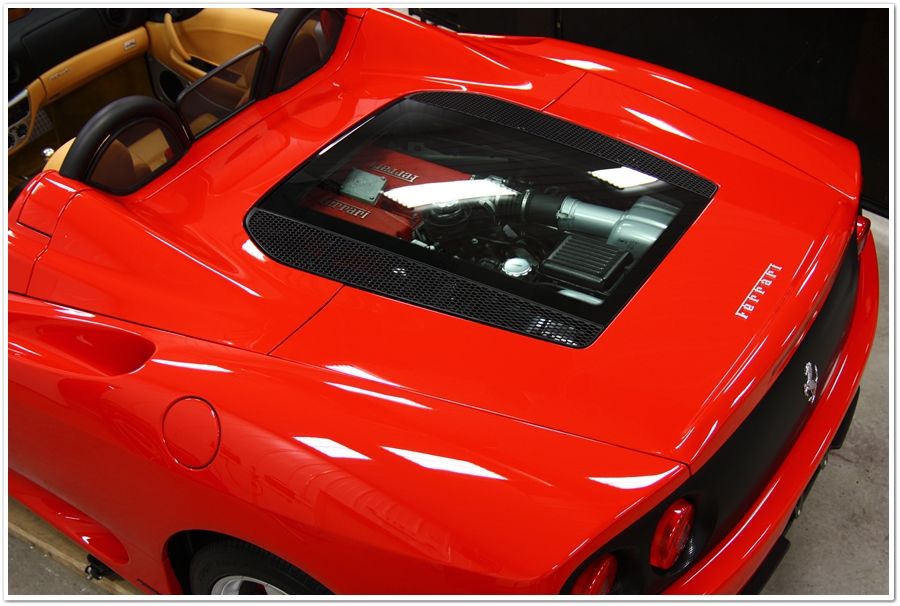
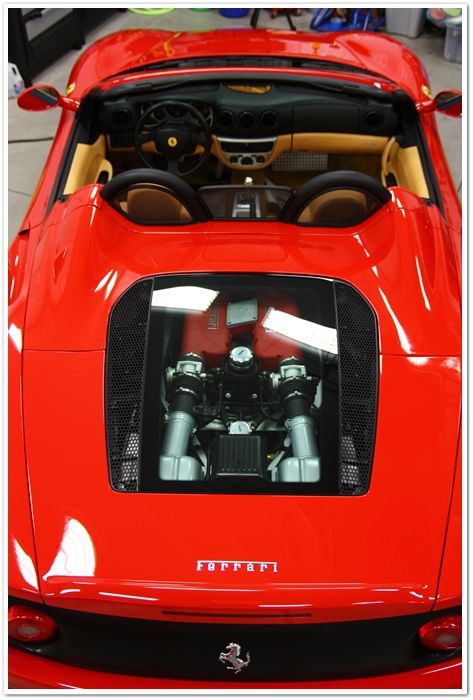
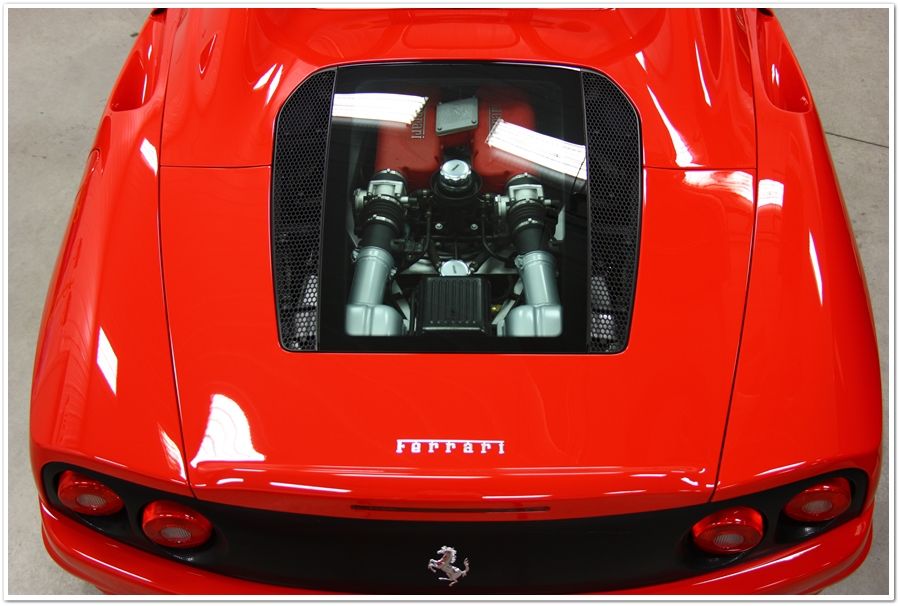
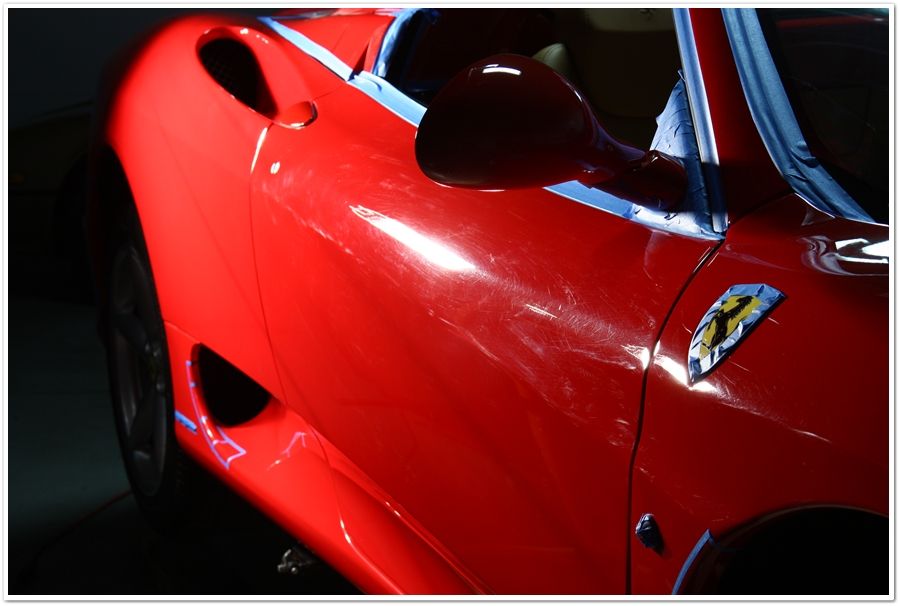
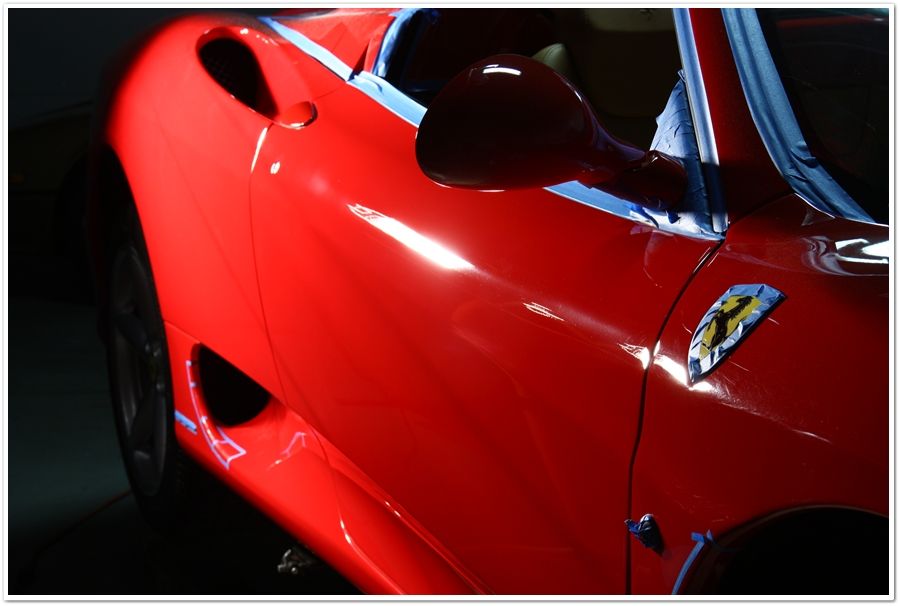
Here's the same thing on the other side of the car. As you can probably imagine when looking at the big intake here, there are a lot of challenging areas to polish on these cars.
Before:
After:

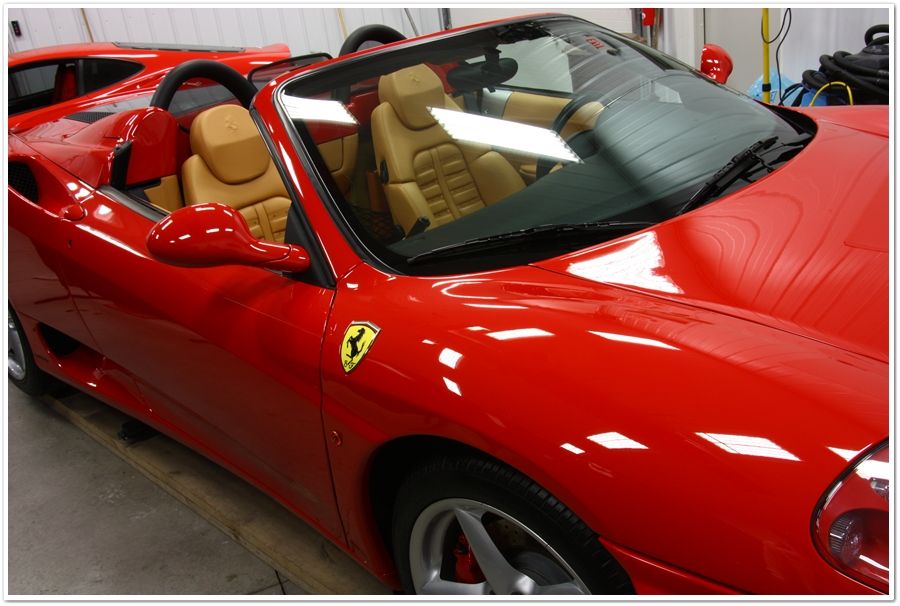
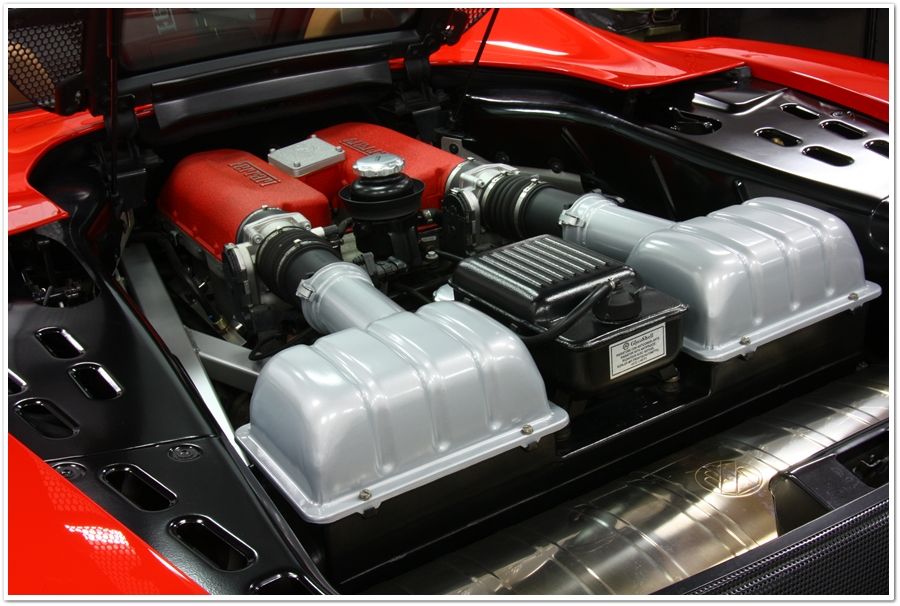
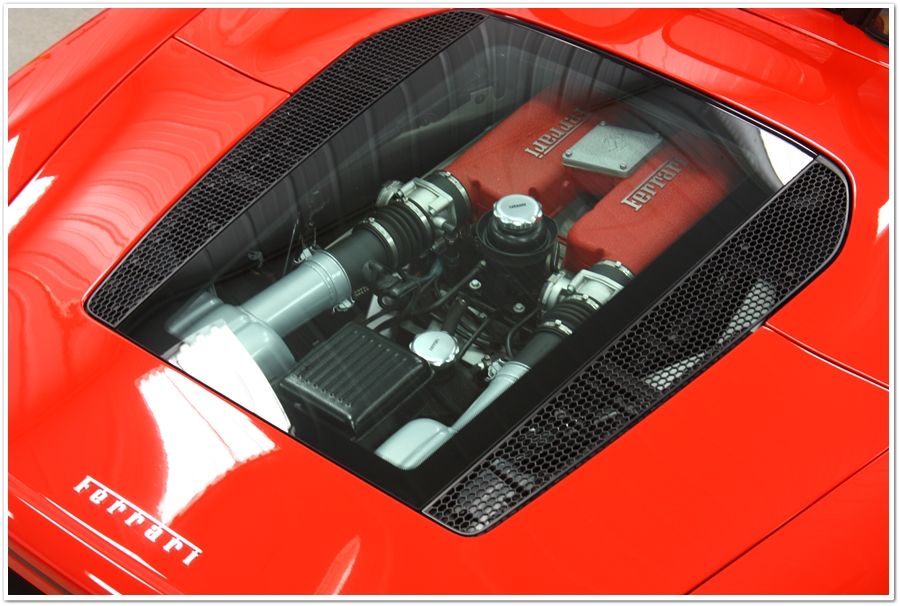
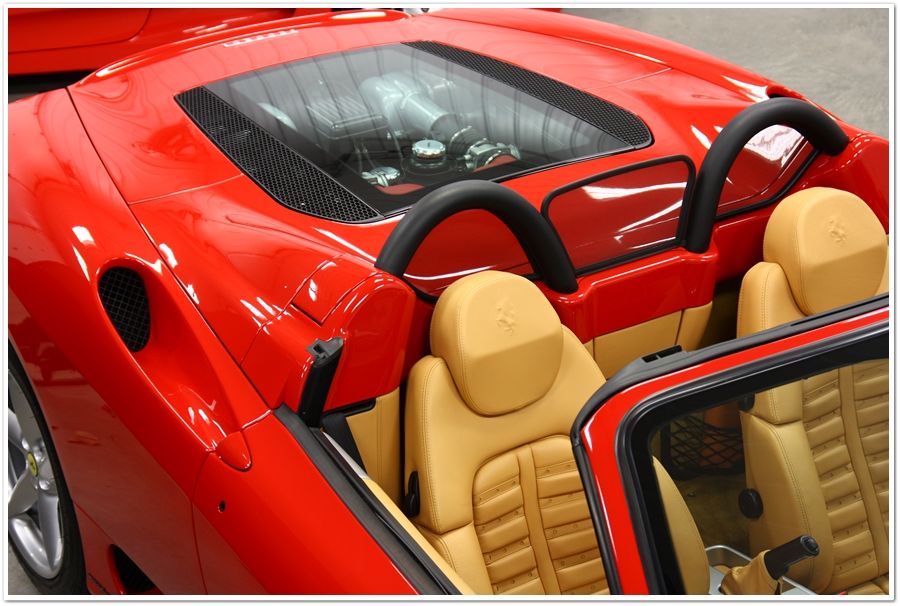
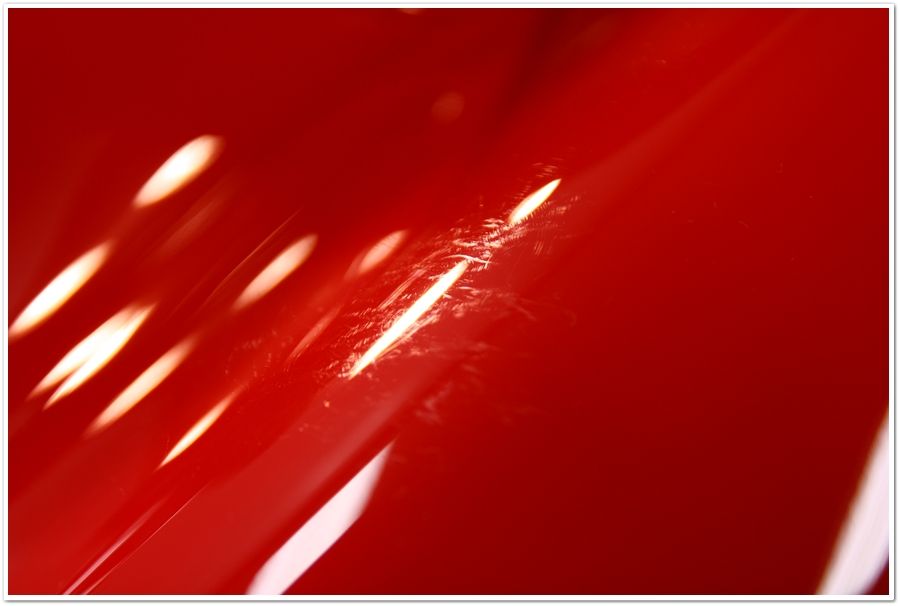
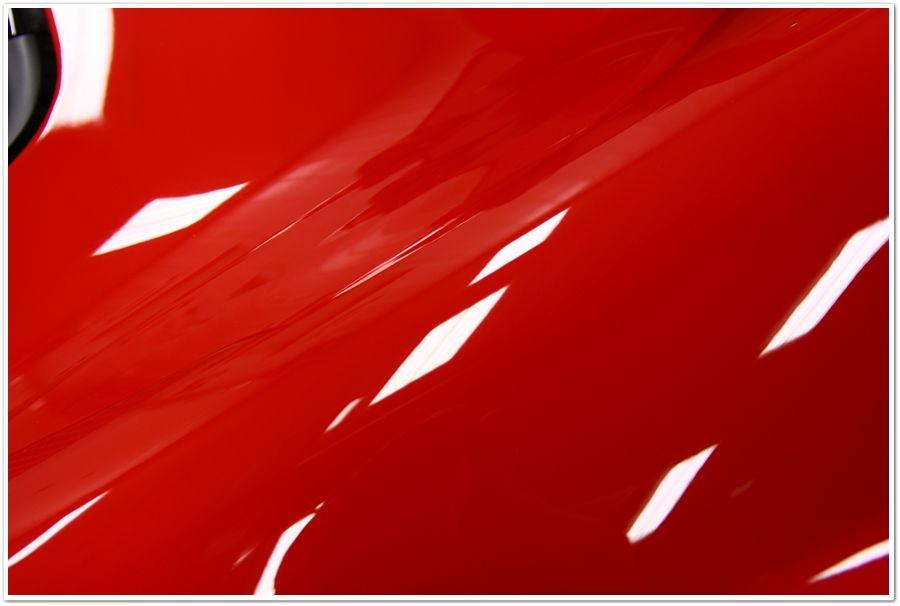
Speaking of challenging areas, how about this one? This is definitely an area where the PC is the tool of choice simply for safety reasons.
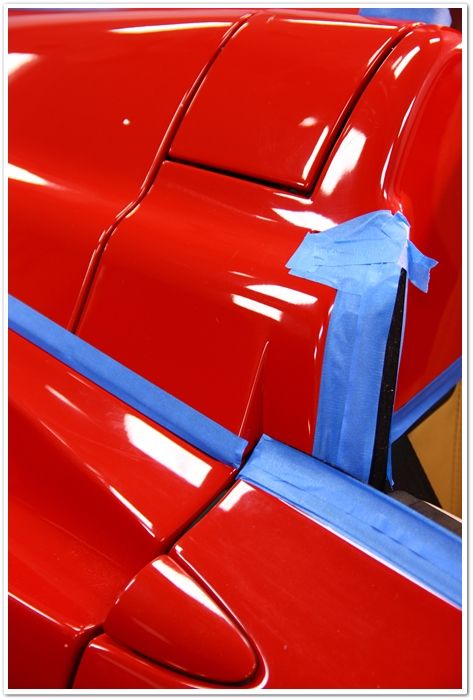
More before:
After:
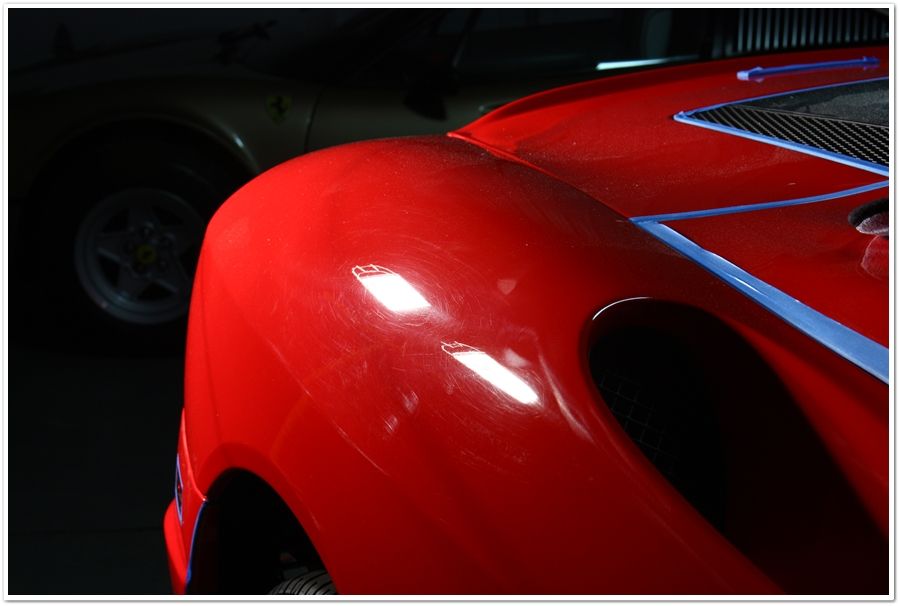
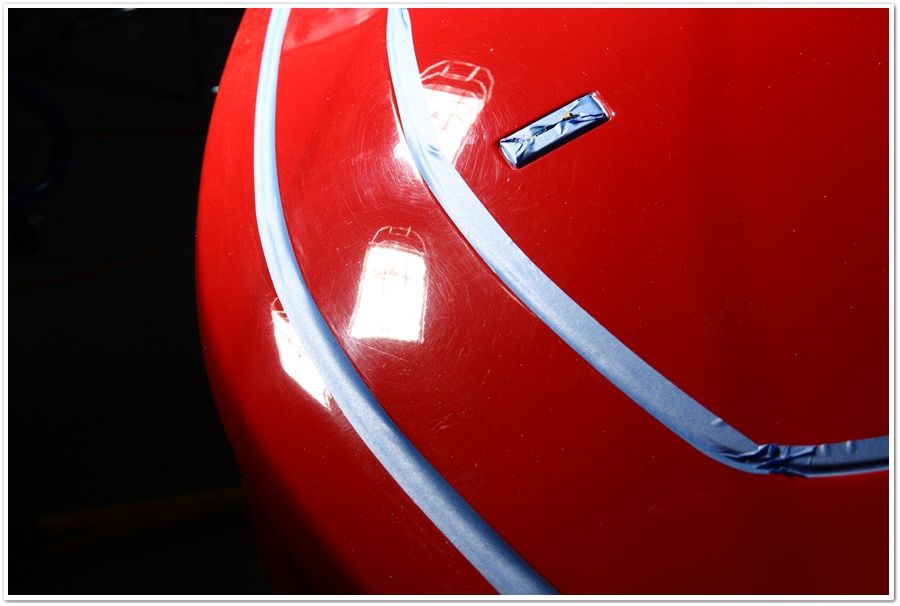
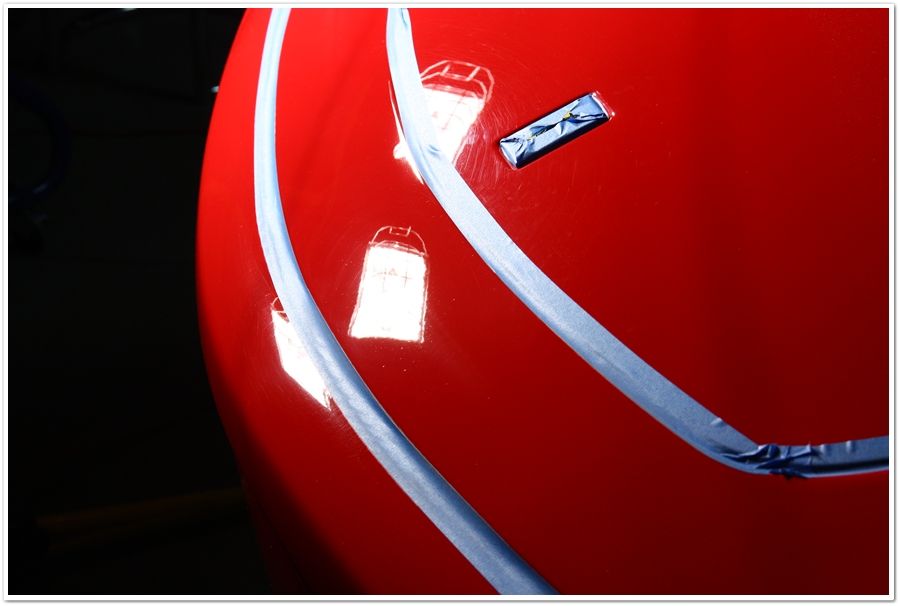
The front ends always tend to have deeper defects, so I (carefully) utilize the Makita rotary with a 4” spot pad in these areas.
Before:
During:
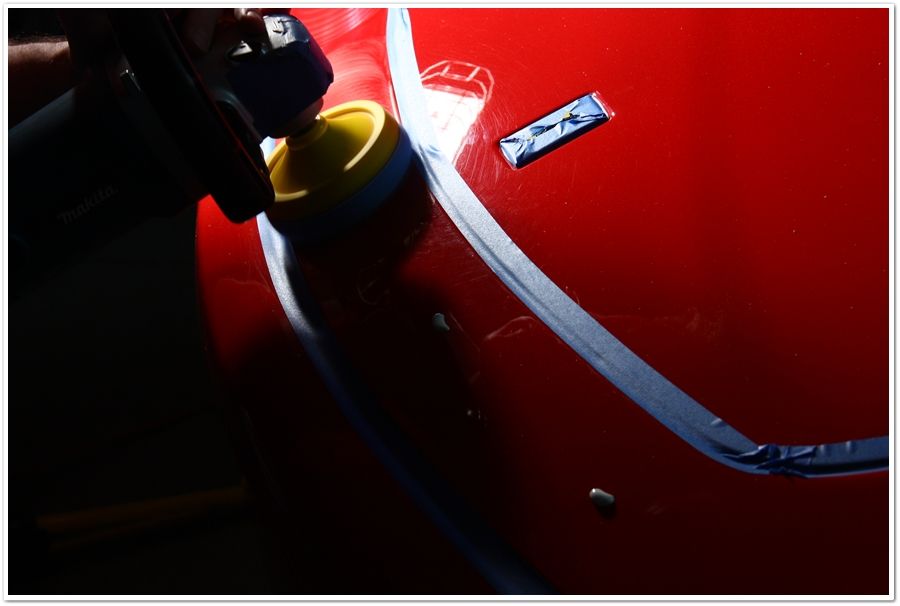
After:
On Today's menu we have a beautiful Ferrari 360 Spider in need of attention to restore it to its original beauty. It was in pretty good condition for being about 6 years old now, but as can be expected, it has its fair share of swirls, scratches, and dirty leather.
As with many of the Italian cars I've been working on lately, this one was shipped in from out of state. The owner's biggest concern was the swirls, but also wanted a good thorough clean-up and protection package as well.
Although this article won't have the shock & awe factor as my Ferrari 355 GTS Mini-Restoration that was recently published, this 360 still went through a pretty dramatic transformation.
First let's take a look at the condition and come up with a plan of attack.
This would be tire “gunk”. It was caked on the tires, on the wheels, in the wheel wells, and all down the side of the car. I've seen some products like this that will actually stain different parts of the car, so after cleaning it off we may have other issues to deal with. To clean these I would use a stronger cleaner like Optimum Power Clean.
Brake calipers and rims had a healthy layer of brake dust built up on them. They would be no match however for P21S Wheel Gel and my trusty EZ Detail brush!
Exhaust tips needed some care as usual. A little Megs APC+ to break down the heavy stuff, followed by some Optimum Metal Polish should do the trick.
After thoroughly cleaning the vehicle using the 2x4 wash method, and adding some P21S TAW to help strip the previous coat(s) of wax, I found that the surface had a bit of a crunchy feel to it which meant it needed to be clayed to give me a smooth surface to polish on.
After thoroughly cleaning, stripping, and claying the finish I could do a true inspection to see what I was up against. I also took a lot of paint thickness measurements using my DeFelsko gauge to see if the (sometimes) delicate Ferrari paint had any stories to tell. As usual...it did! I found some spot repairs where the thicknesses were all over the place. Going in with this knowledge, I knew where I could be aggressive with my polishing, and where I needed to be more careful given the thin paint.
Given the condition of the paint, I figured that a two-step polishing process using Megs 105 and Megs 205 should do the trick. After testing a section to confirm this method, I proceeded on. For the majority of the defects I used my PC7424XP with an orange LC pad and Megs 105. When I encountered deeper defects, I switched to the Makita rotary with a 4” Cyan Hydro-Tech pad. For finishing I again used the PCXP with a black LC pad and Megs 205.
Although this is a photo from a previous job (on a California), I wanted to show how I keep my tools together to ensure a smooth work flow. As you can see, I have my rotary, and two different PC's ready and armed with different sized pads. When I come to a tight area I can just grab the PC with the small backing plate/pad instead of stopping to switch backing plates. When I uncover a deeper defect, I quickly grab for the rotary. This helps streamline the process for me and allows for greater efficiency. I'm not saying it will work for everybody, but it does for me.
Now back to the work at hand...
Here is a before and after on the rear quarter panel. The after shot is post-compounding so it hasn't reached its full gloss potential yet.
Before:
After:
Here's the same thing on the other side of the car. As you can probably imagine when looking at the big intake here, there are a lot of challenging areas to polish on these cars.
Before:
After:
Speaking of challenging areas, how about this one? This is definitely an area where the PC is the tool of choice simply for safety reasons.
More before:
After:
The front ends always tend to have deeper defects, so I (carefully) utilize the Makita rotary with a 4” spot pad in these areas.
Before:
During:
After:


")