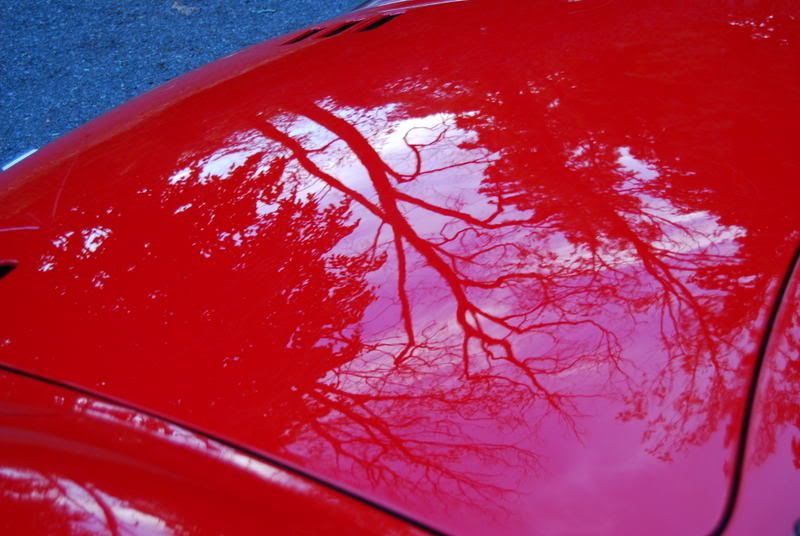
extreme-detail
New member
well i have been looking forward for this detail for some time now. once again another client of carlo @top gear cars.
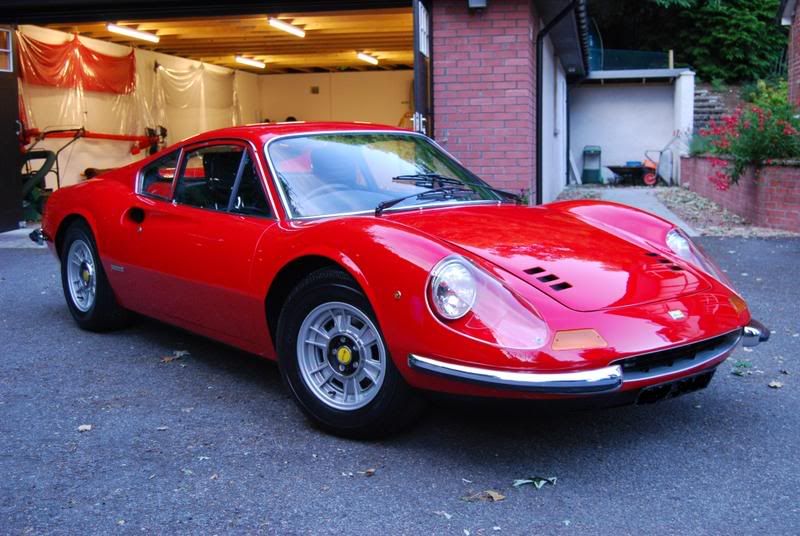
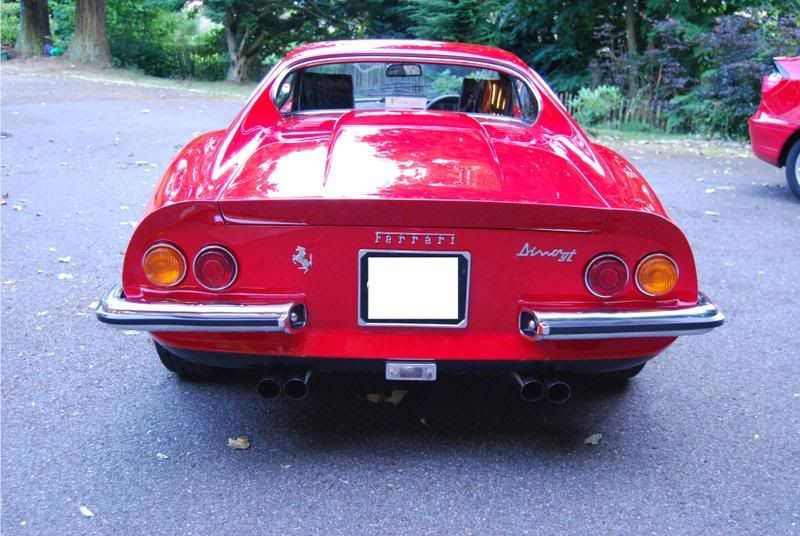
this was my most enjoyable detail so far, as you dont see many of these on the road let alone get to detail such a classic.
so on wed`s night set the alarm clock for 5 (getting use to these early starts) . so 5 o`clock came and i was full of beans to get to the dino just 10mins outside Aberdeen. left the house at 6am and headed off to the dino.got to say when i turned off the A96 there was some good roads but when the merc was fully loaded its not to good LOL
so got to the clients house at 8am. got to say when the client opened the door of the garage it was like wow what a classic.
so the client took the dino out of its own carcoon and out of the garage for washing
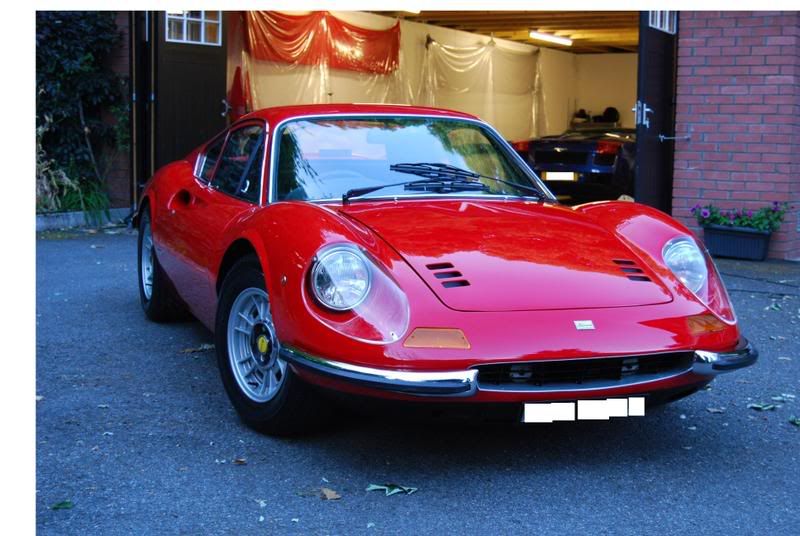
some before pics
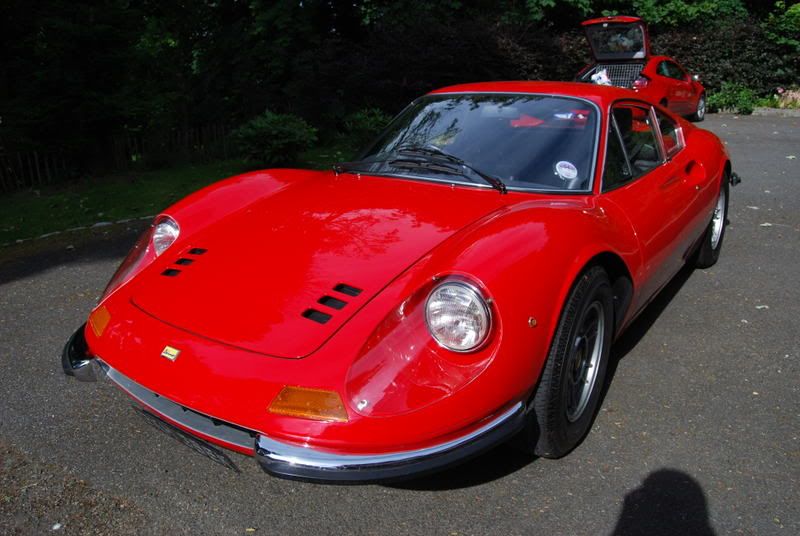
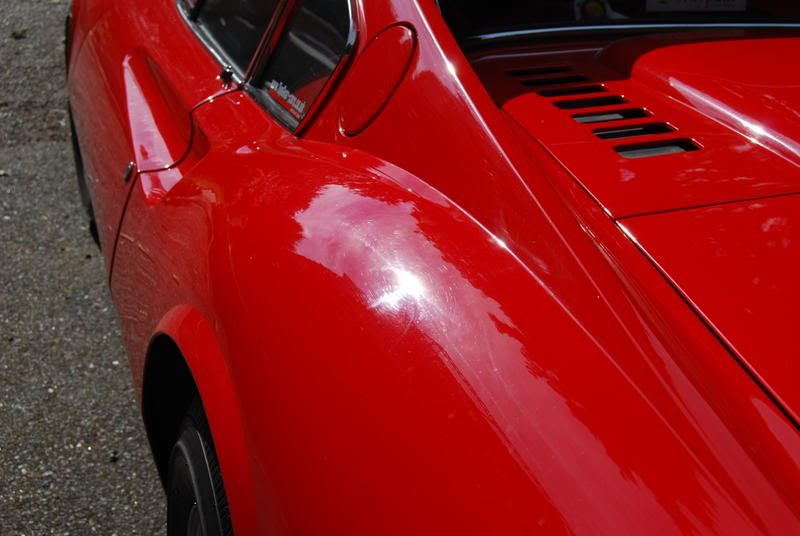
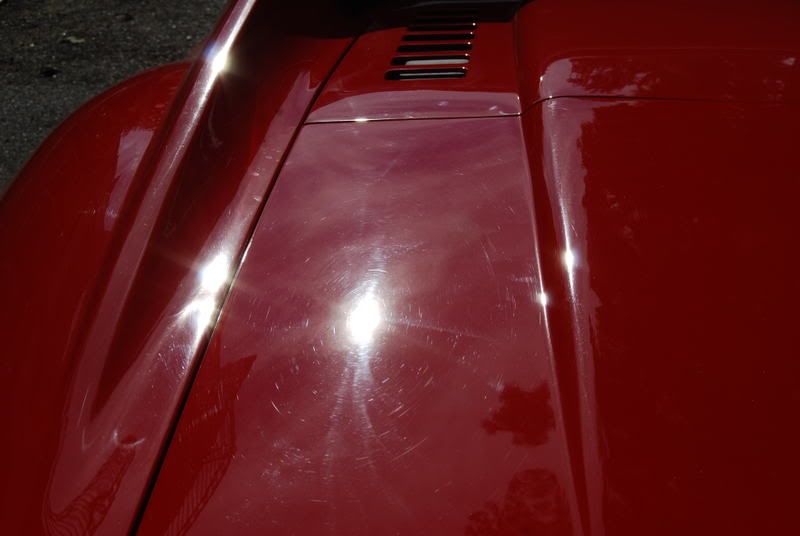
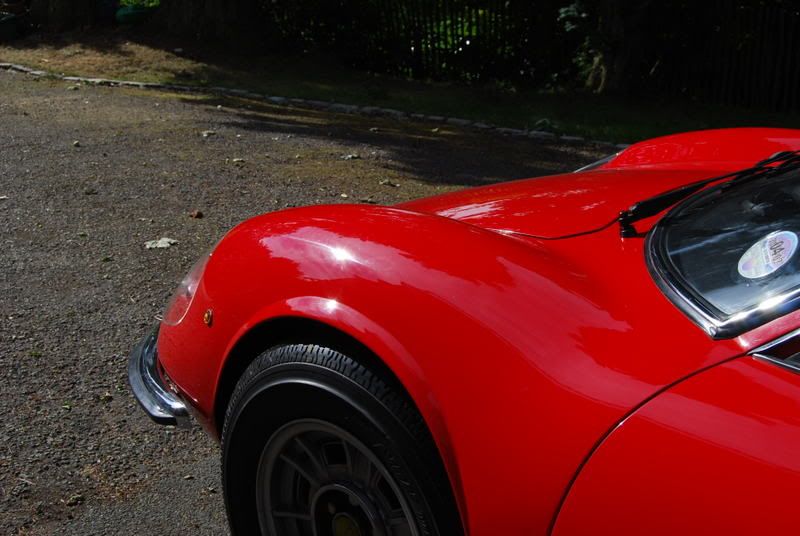
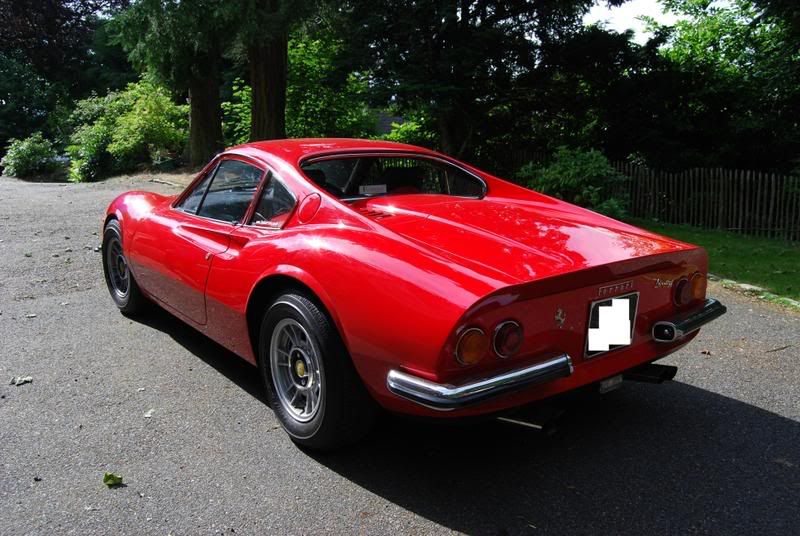
now to get all the gear out and start detailing
so first off was a pre soak with citrus through the foam lance

then a layer of foam on top of the citrus
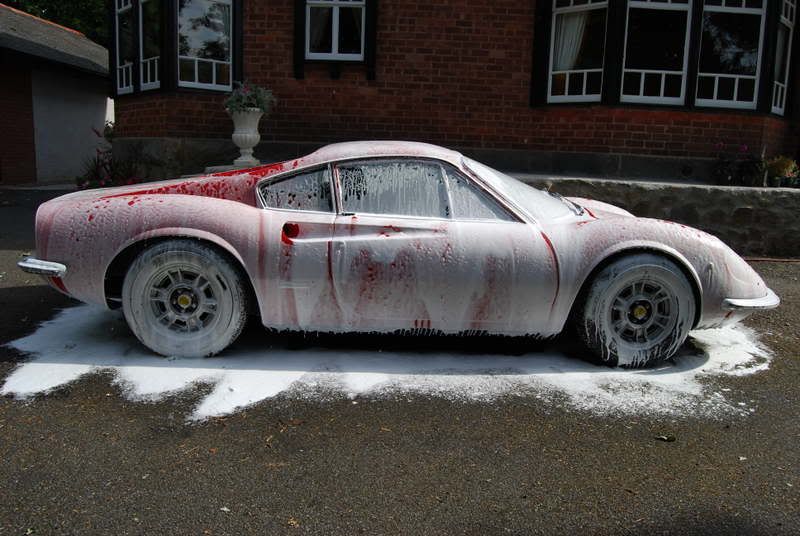
i didn`t leave to dwell for to long as on thursday it was very hot up in the aberdeen area
so rinsed off then clean the wheels

some meg`s APC was used as they as you can see they were not bad
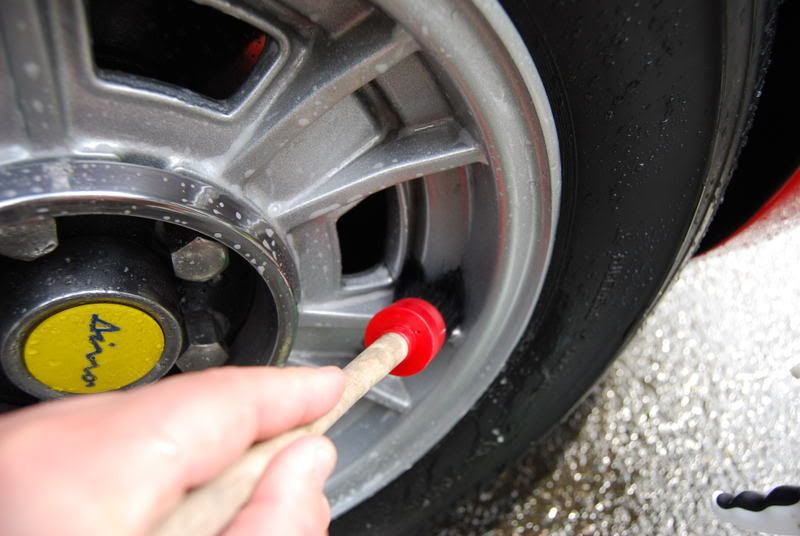
a swissvax brush to get in to those tight spots
once the wheels were cleaned the dino was treated to the 2 buckets and a lambs wool wash mitt at the soap that was used was zaino Z7
the dino was dryed off with a drying towel and a leaf blower
now that the car was all dryed the dino was put back in the garage (you could fit 4 cars in there and still be able to detail them):doublesho
so first off out with the brinkman


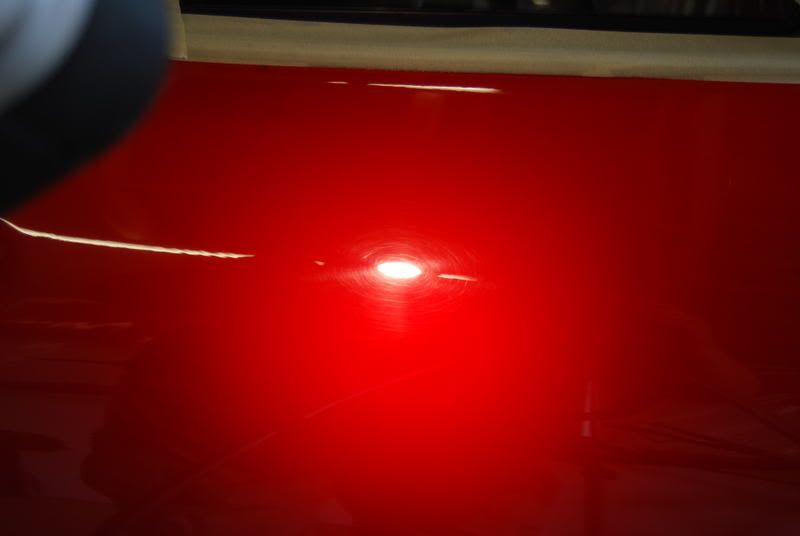


next was to check the paint thickness

so now that i know how much paint is on the dino and is safe to polish the paint work it was time to tape up the dino and take off the covers over the headlights

so out with the makita and the 3m cutting pad and menzerna IP. the IP was spread over the area at notch 1 on the makita, once the area was covered i took the spped up to 900rpm till it broke down a wee bit more then on to 1200rpm to brake it down more, then 1500rpm and finaly 1800rpm with about 10 passes then back down to 900rpm
did this twice to get the paint work looking good again
so then it was time for the menzerna FF and the black finishing pad from 3m
thiswas spread over the area at notch 1 on the makita, once the area was covered i took the spped up to 900rpm till it broke down a wee bit more then on to 1200rpm to brake it down more, then 1500rpm and finaly 1800rpm and then back down to 900rpm
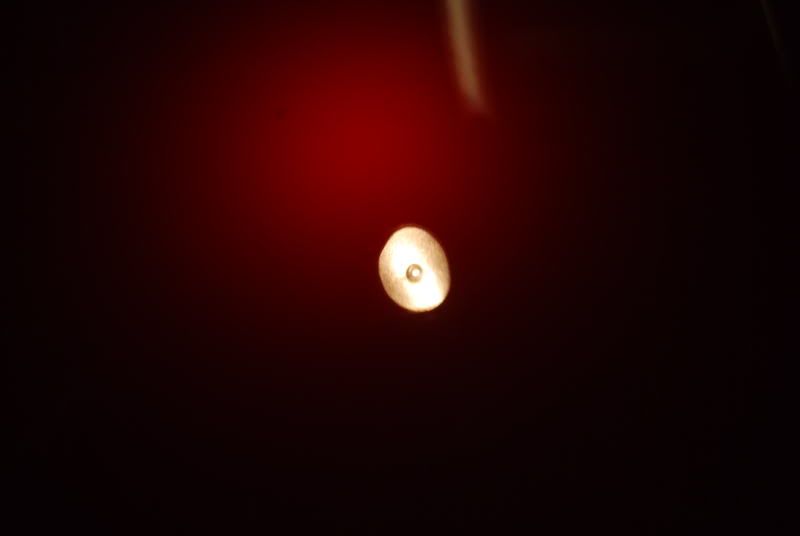
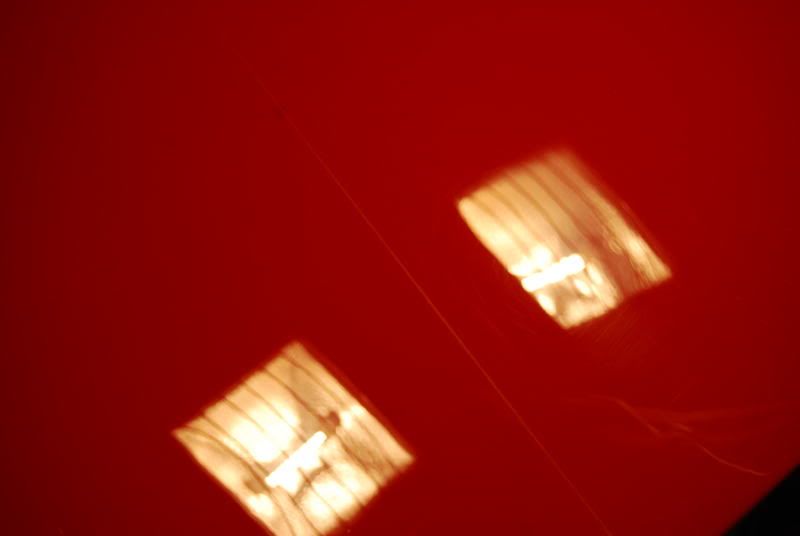
this is a 50/50 on the bootlid but not a good angle i think sorry
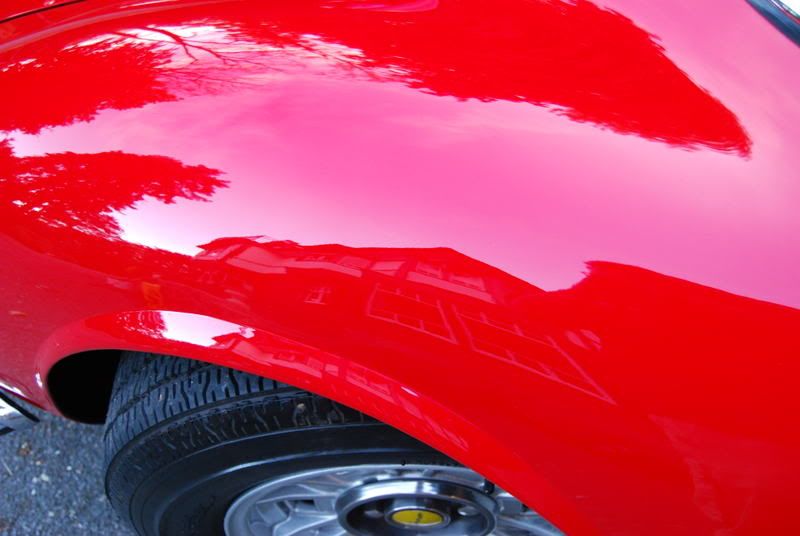
so once i was happy with all the paint work it was time for the Zaino to do its magic once again
first off was to give a light spay of Z6 and buff off then some Z2pro mixed with some ZFX, that was left to cure and tested with the finger when it was ready to buff. once buffed it was time to get the Z8 out and a light spray onto the pannel and buff off once again. once done stand back and go WOW
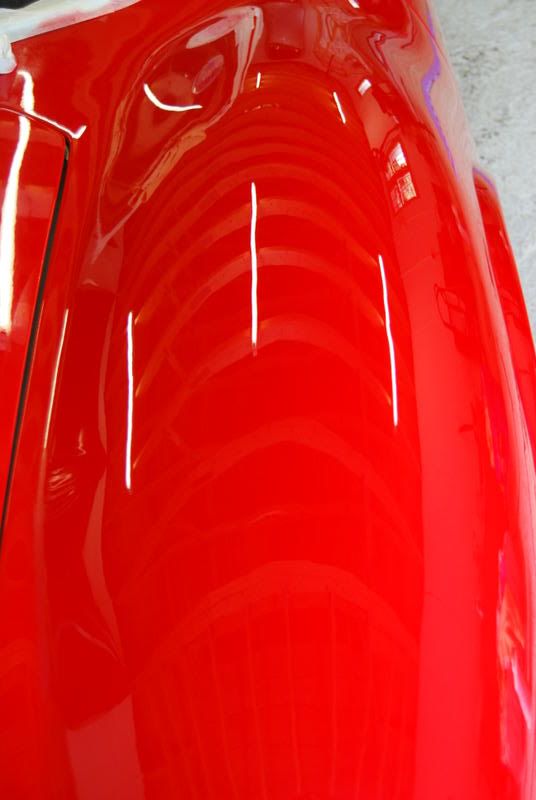
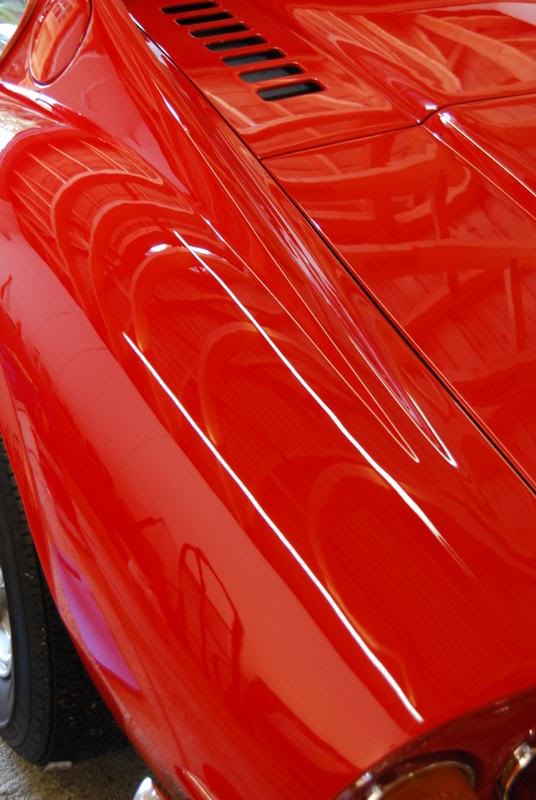
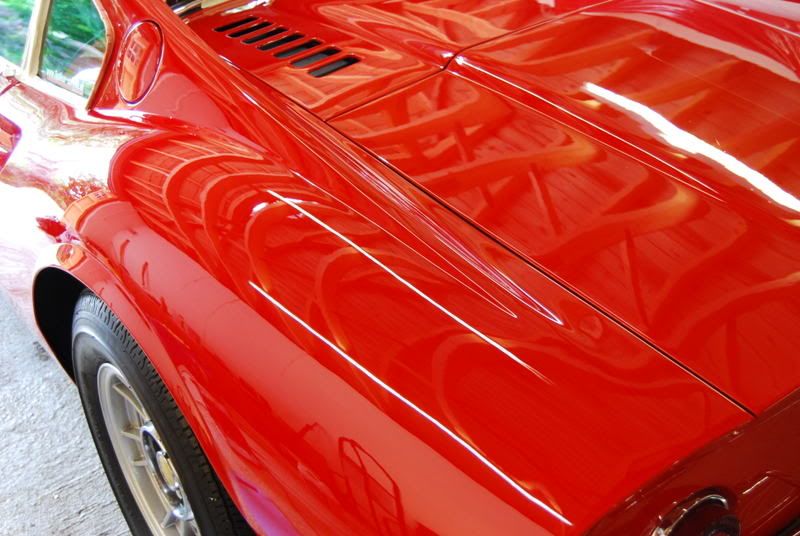


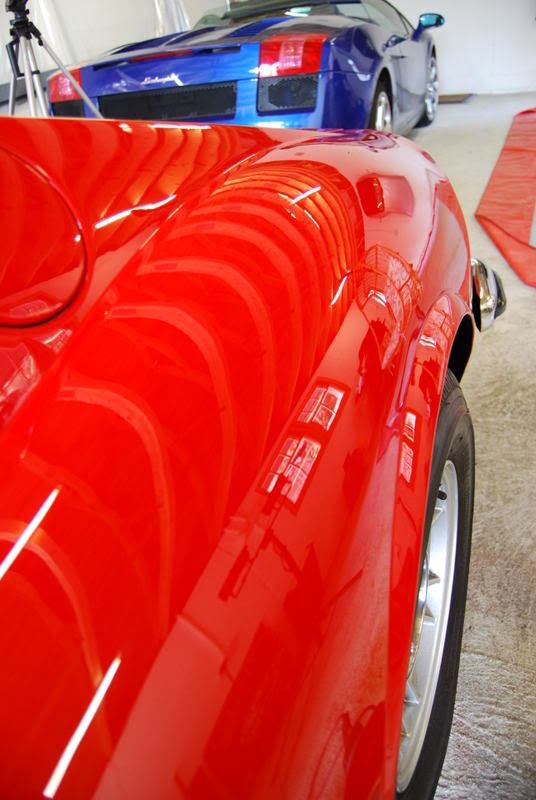
all chrome work was treated to some swissvax metal polish
the tyres were treated to zaino
for the inside
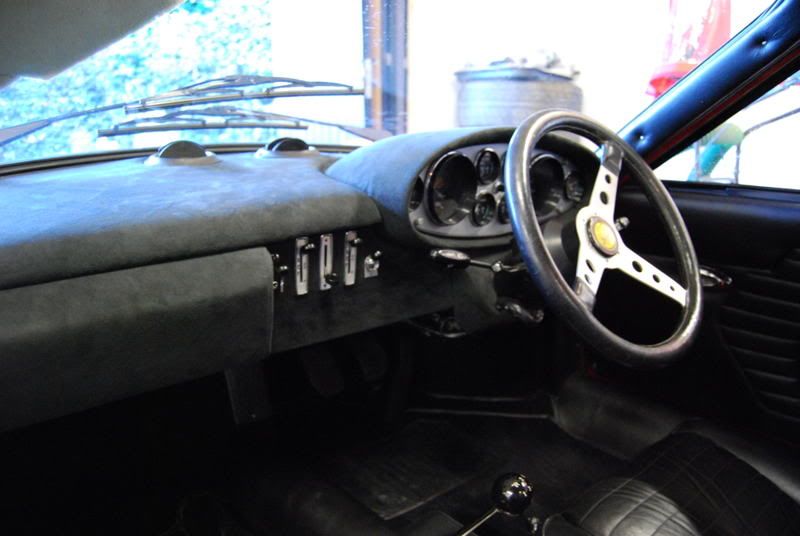
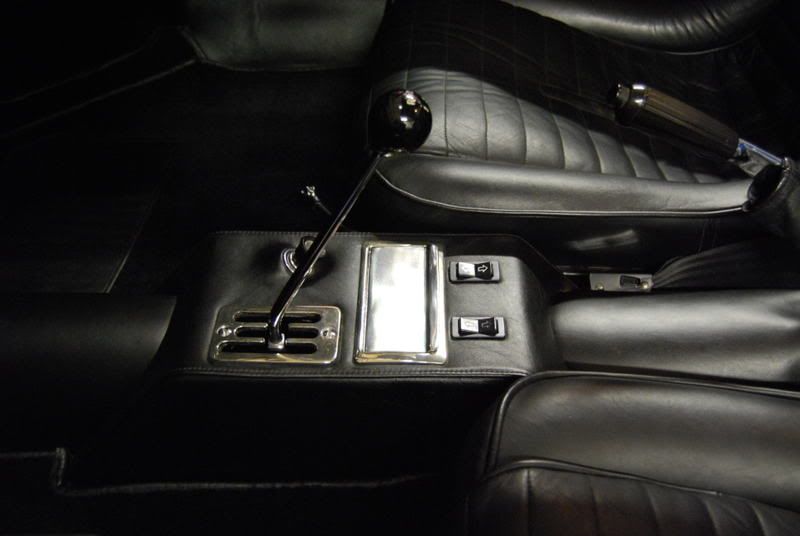
first off was to polish all chrome work with swissvax
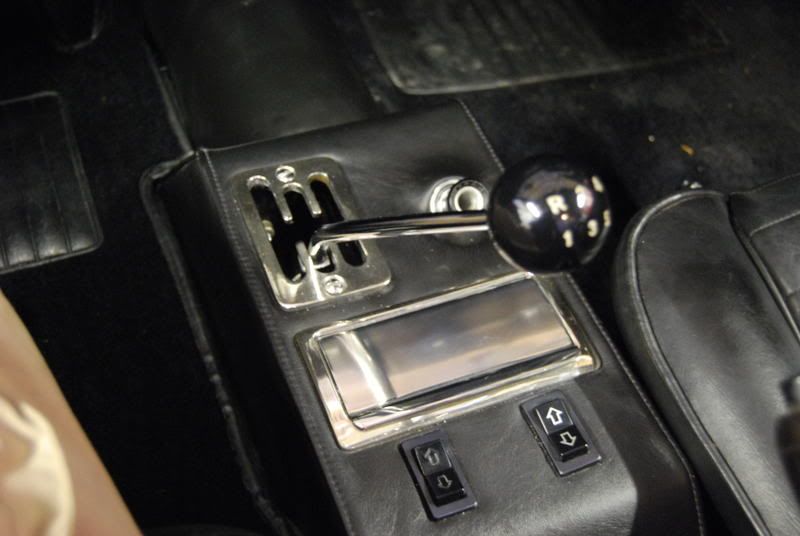
next was to clean all leather with zaino leather cleaner Z9
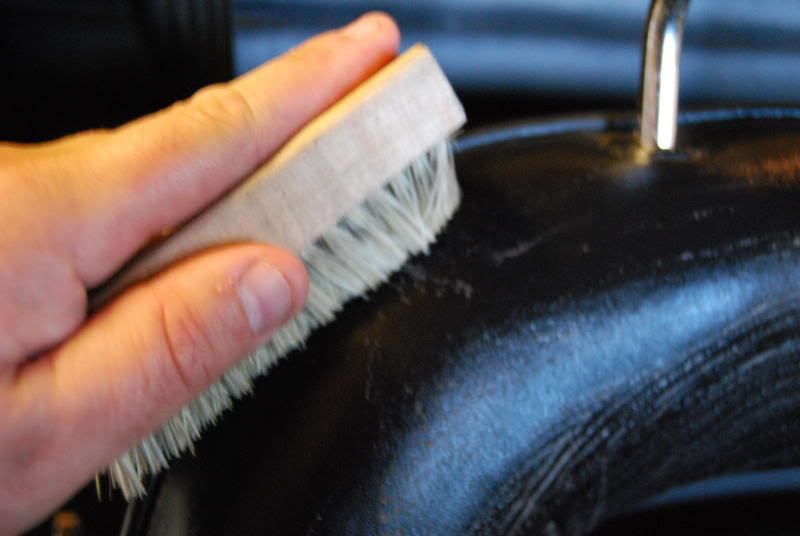
then the leather was treated to Z10
the windows were then polished with the Z-12 Clear-View Glass Polish
the dino cabin was then hoovered out

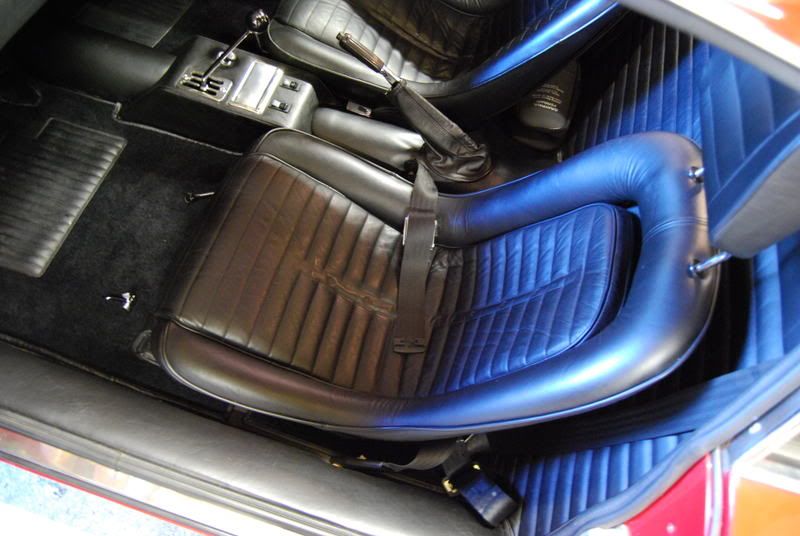
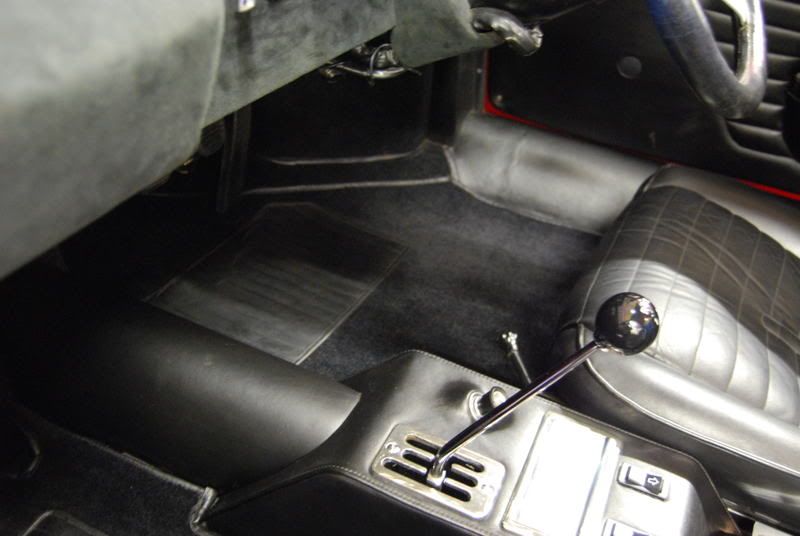
the plastic head light covers were polished with Z-14 Plastic Magic Cleaner & Polish
the engine bay was not to dirty as the dino had just been serviced at top gear cars so it was a light spray of megs APC then some 303

this was my most enjoyable detail so far, as you dont see many of these on the road let alone get to detail such a classic.
so on wed`s night set the alarm clock for 5 (getting use to these early starts)
so got to the clients house at 8am. got to say when the client opened the door of the garage it was like wow what a classic.
so the client took the dino out of its own carcoon and out of the garage for washing
some before pics


now to get all the gear out and start detailing
so first off was a pre soak with citrus through the foam lance

then a layer of foam on top of the citrus

i didn`t leave to dwell for to long as on thursday it was very hot up in the aberdeen area
so rinsed off then clean the wheels

some meg`s APC was used as they as you can see they were not bad

a swissvax brush to get in to those tight spots
once the wheels were cleaned the dino was treated to the 2 buckets and a lambs wool wash mitt at the soap that was used was zaino Z7
the dino was dryed off with a drying towel and a leaf blower
now that the car was all dryed the dino was put back in the garage (you could fit 4 cars in there and still be able to detail them):doublesho
so first off out with the brinkman


next was to check the paint thickness

so now that i know how much paint is on the dino and is safe to polish the paint work it was time to tape up the dino and take off the covers over the headlights

so out with the makita and the 3m cutting pad and menzerna IP. the IP was spread over the area at notch 1 on the makita, once the area was covered i took the spped up to 900rpm till it broke down a wee bit more then on to 1200rpm to brake it down more, then 1500rpm and finaly 1800rpm with about 10 passes then back down to 900rpm
did this twice to get the paint work looking good again
so then it was time for the menzerna FF and the black finishing pad from 3m
thiswas spread over the area at notch 1 on the makita, once the area was covered i took the spped up to 900rpm till it broke down a wee bit more then on to 1200rpm to brake it down more, then 1500rpm and finaly 1800rpm and then back down to 900rpm


this is a 50/50 on the bootlid but not a good angle i think sorry
so once i was happy with all the paint work it was time for the Zaino to do its magic once again
first off was to give a light spay of Z6 and buff off then some Z2pro mixed with some ZFX, that was left to cure and tested with the finger when it was ready to buff. once buffed it was time to get the Z8 out and a light spray onto the pannel and buff off once again. once done stand back and go WOW


all chrome work was treated to some swissvax metal polish
the tyres were treated to zaino
for the inside

first off was to polish all chrome work with swissvax

next was to clean all leather with zaino leather cleaner Z9

then the leather was treated to Z10
the windows were then polished with the Z-12 Clear-View Glass Polish
the dino cabin was then hoovered out


the plastic head light covers were polished with Z-14 Plastic Magic Cleaner & Polish
the engine bay was not to dirty as the dino had just been serviced at top gear cars so it was a light spray of megs APC then some 303


