Envious Eric
New member
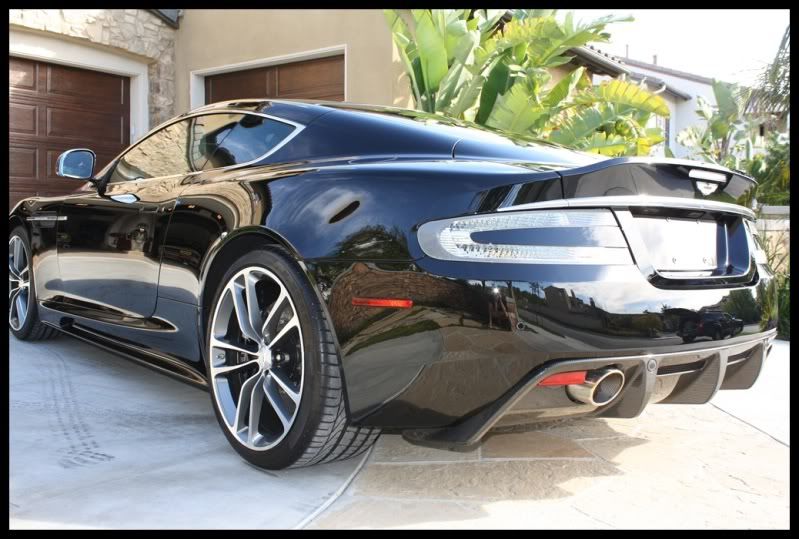
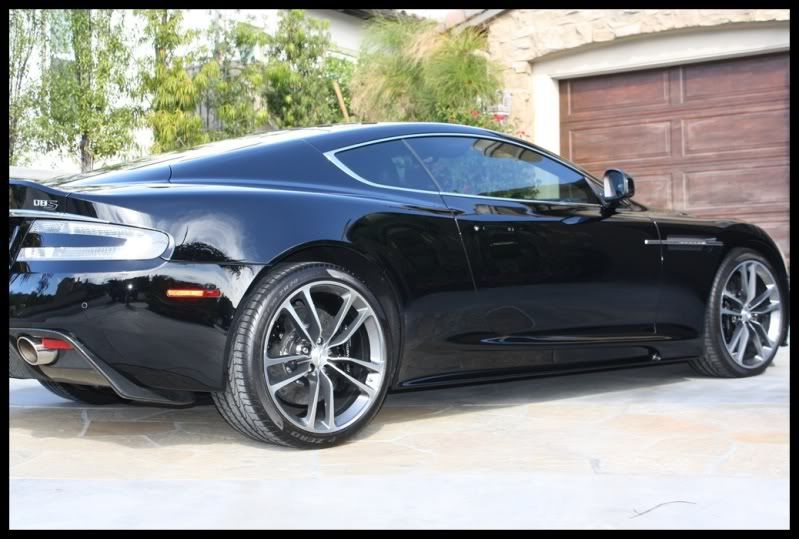
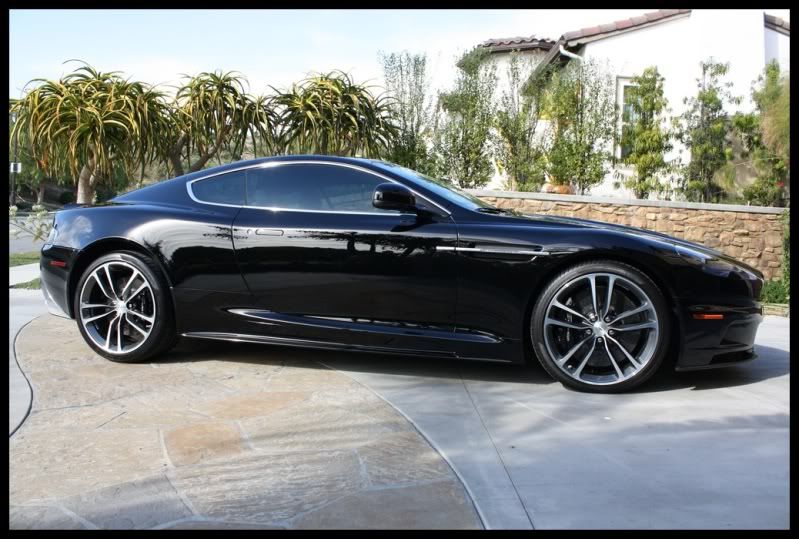
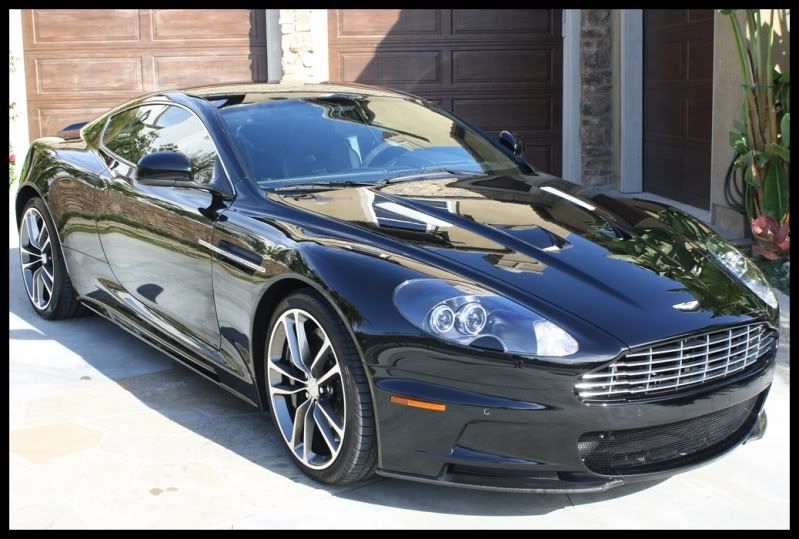
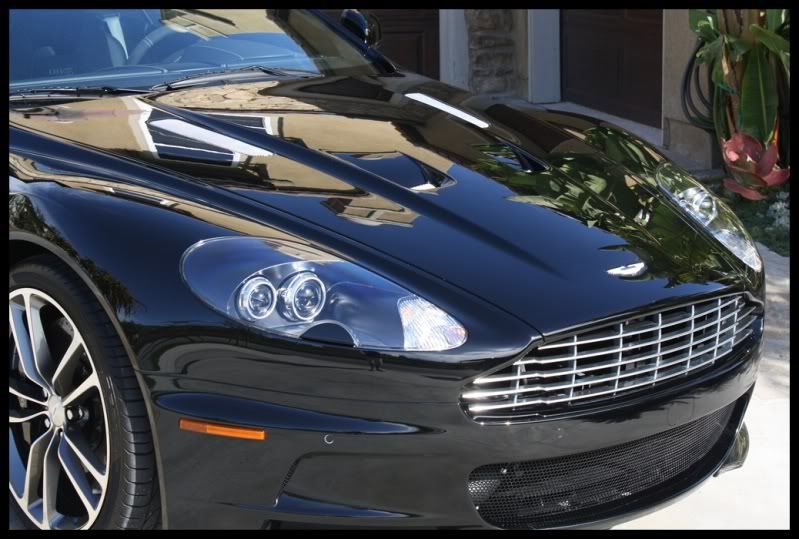
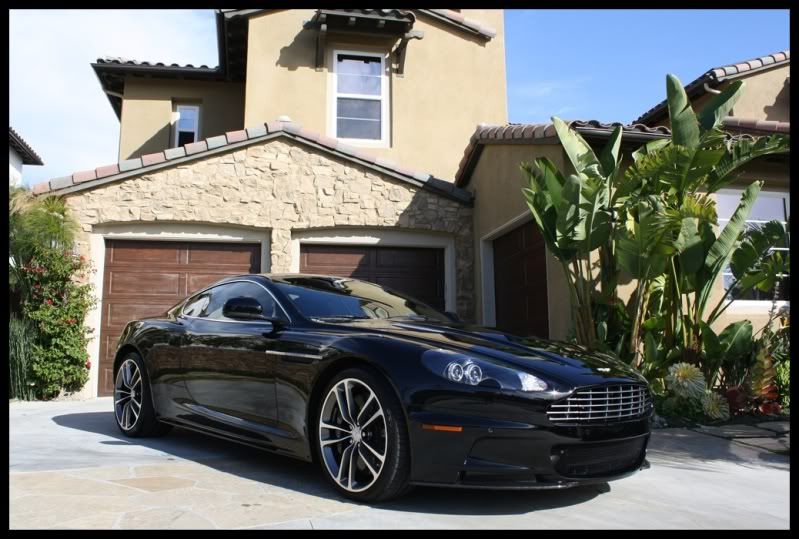
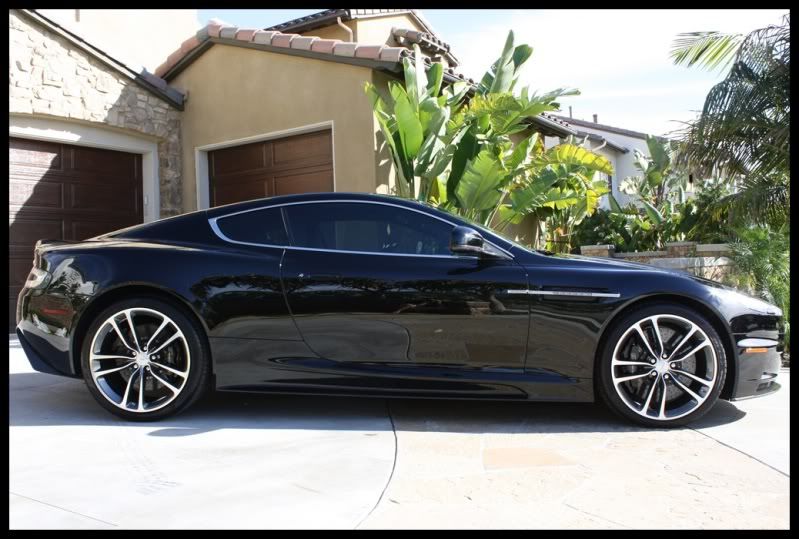
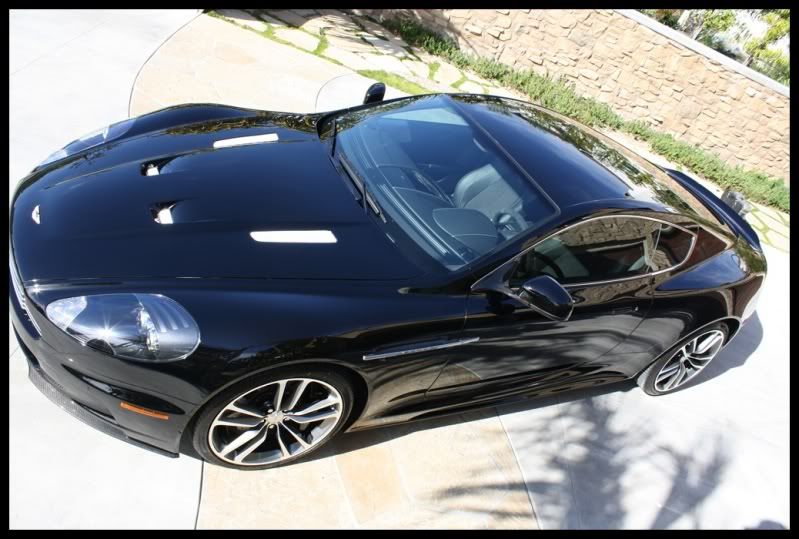
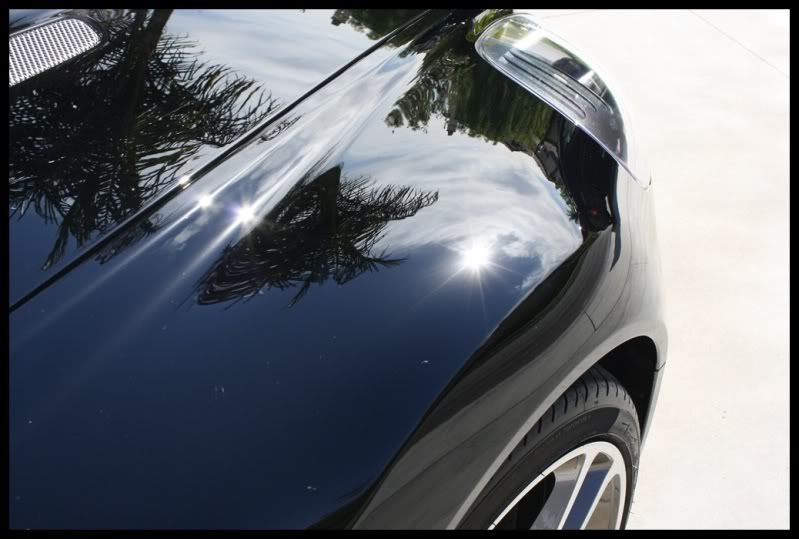
First 2011 Aston Martin DBS to hit the states!
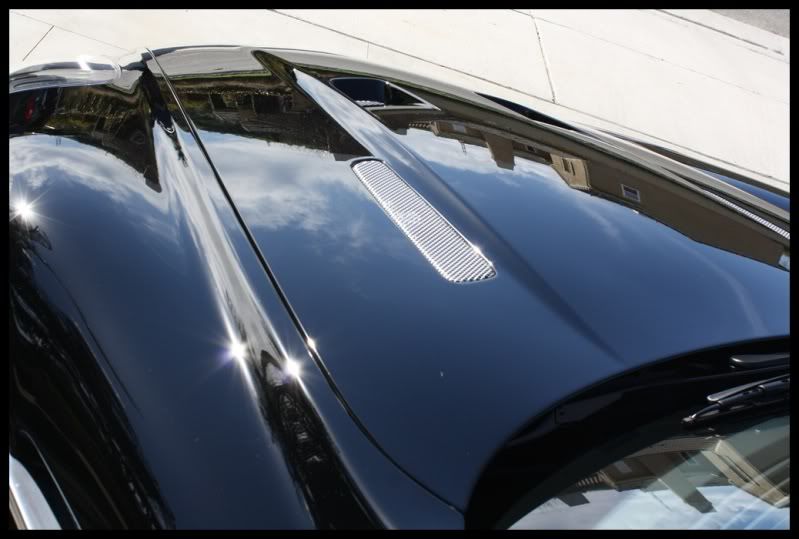
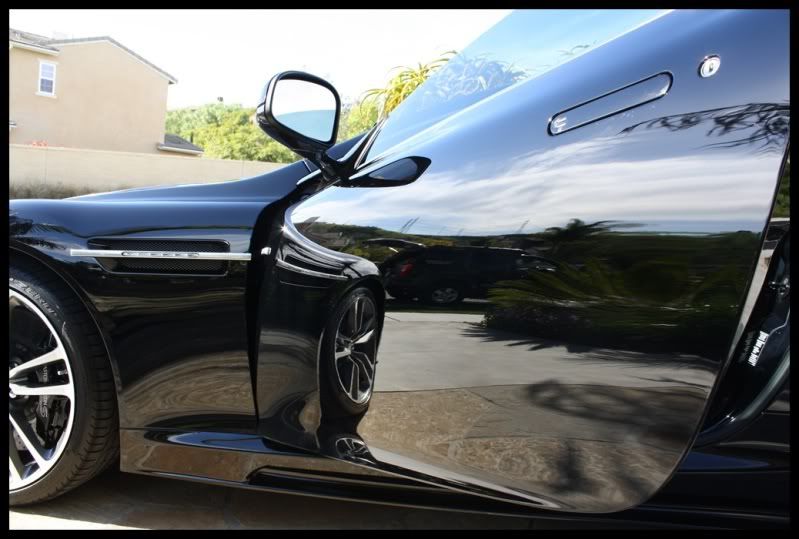
Well, what else can I say, this car was a pure joy to work on over the course of two days. A total of 16 hours was spent refining this well crafted and designed machine. This has to be one of the most stylish cars I have worked on from a personal standpoint. Everything from the wheels to the body lines to the interior was just pure bliss!
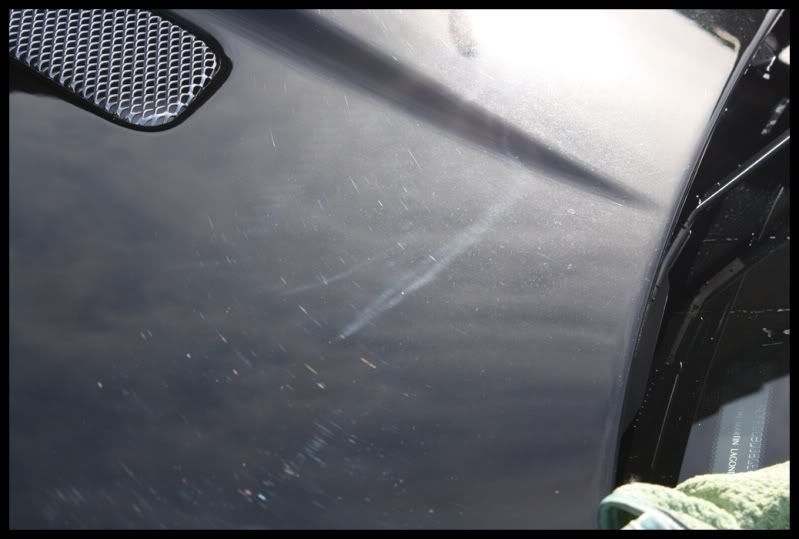
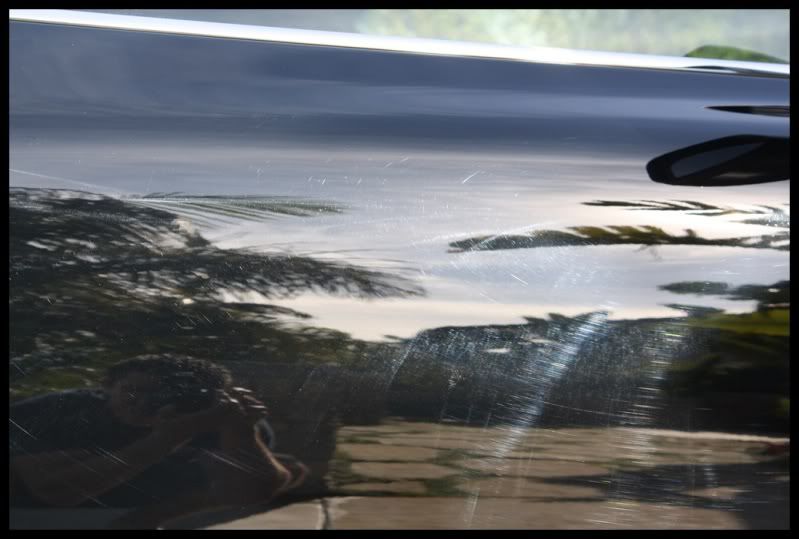
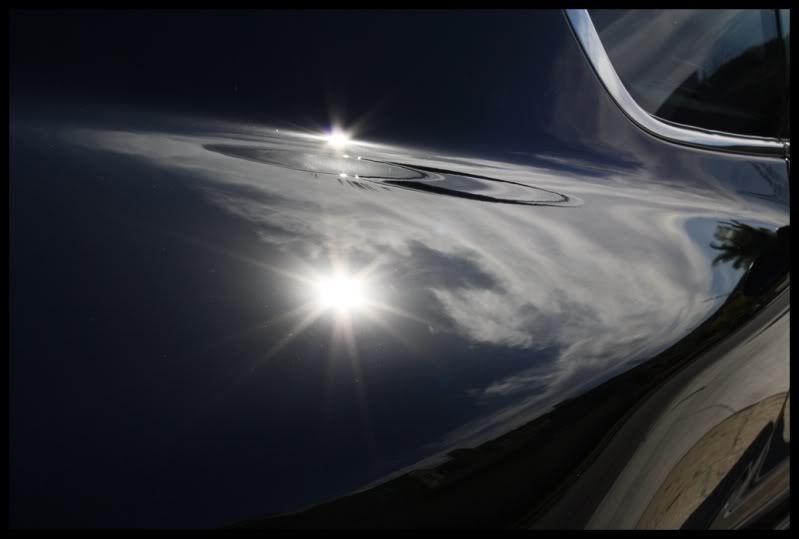
Upon initial inspection in the garage without proper lighting, the car didn't look too bad. Flip on the lights, and BAM, Random Isolated Deep Scratches (RIDS), DA sanding scratches and pig tails, holograms from improper use of a rotary on the soft paint, and a greyish hue to the paint..Not how your $300K car should look coming from the factory. Rest assured, it was now in good hands and I was ready to restore this beauty to it proper condition!
Process from start to finish:
wash – clay – compound – polish – polish – paintwork cleaner – sealant – interior
(total time invested was a solid 16 hours over two days)
Wash stage:
At first, the car wasn't very dirty as its kept under a tight cover so it was mainly dusty so the initial pre-rinse step took care of all the “dirt” on the car. I used DAWN to remove the remaining wax/grime/loose contaminants from the painted surfaces and glass since it will do a good job at degreasing everything. Using a grout sponge from home depot and waffle weave drying towels from Detailed Image, the car was washed and dried.
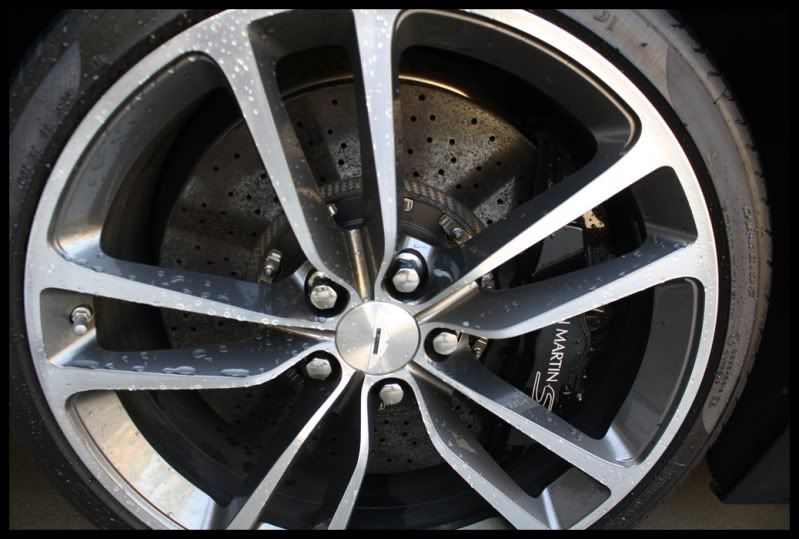
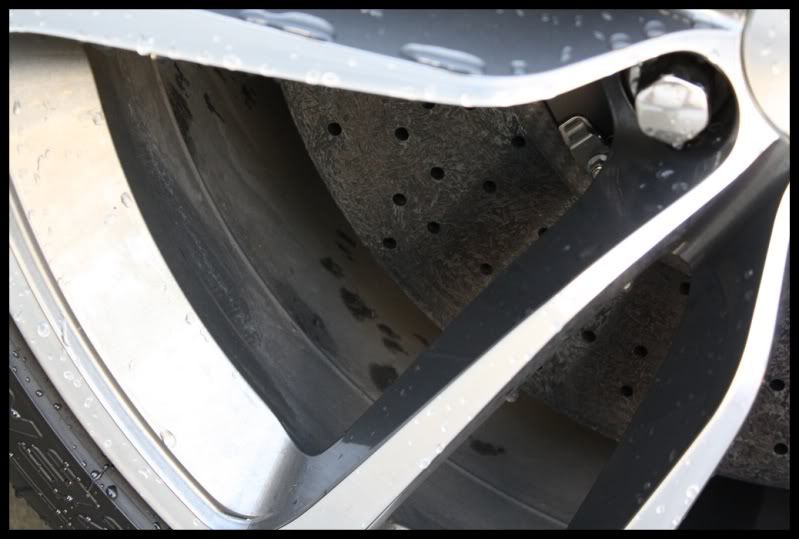
Wheels and tires:
Not all tire dressings are the same, therefore one will not bond properly with another manufactures dressing, so the previous dressings need to be stripped and removed from the tires before adding a new one. For that step, I use Meguiars Super Degreaser at 3:1 ratio and apply liberally and let it sit on the tire while I clean the wheels. I will also spray down the wheel wells at the same time for a quick cleaning since the gap is pretty tight to get my hands in there. For the wheels, I used an EZ Detail brush and Chemical Guys Sticky Gel wheel cleaner. Spray it on liberally coating the entire wheel and let it sit for 30 seconds before agitating the cleaner with the brushes. After the wheel is cleaned up, I rinse the wheel, the tire and the wheel well out thoroughly.
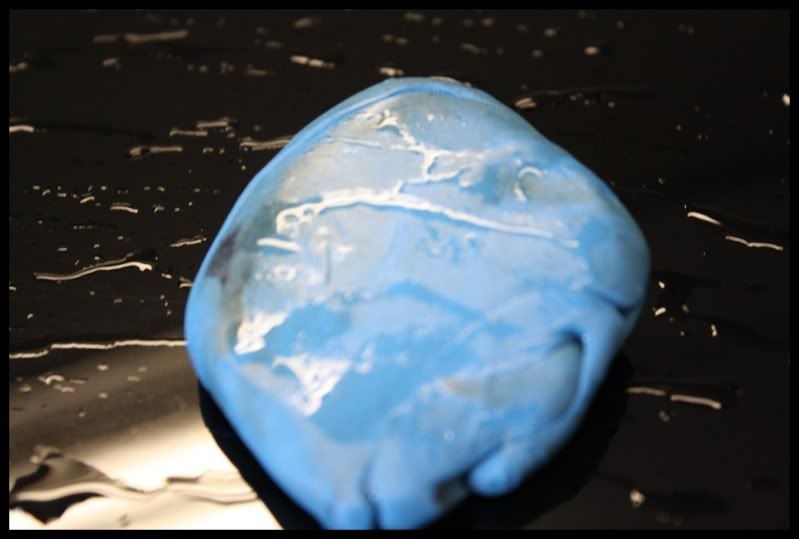
Claying:
This is an important step in order to remove the bonded contaminants from the paint that were not removed while washing the car. Polishing over dirt is never a good thing, and clay removes the deeper down dirt from the pores of the paint. As you remove the thing top layer of clear/paint while polishing and re-leveling the paint, you are going to expose that deeper down dirt, so its important to thoroughly clean the paint prior to polishing. For this process, I used Detailed Image mild clay with an Optimum No Rinse quick detail ration solution for lubricant.
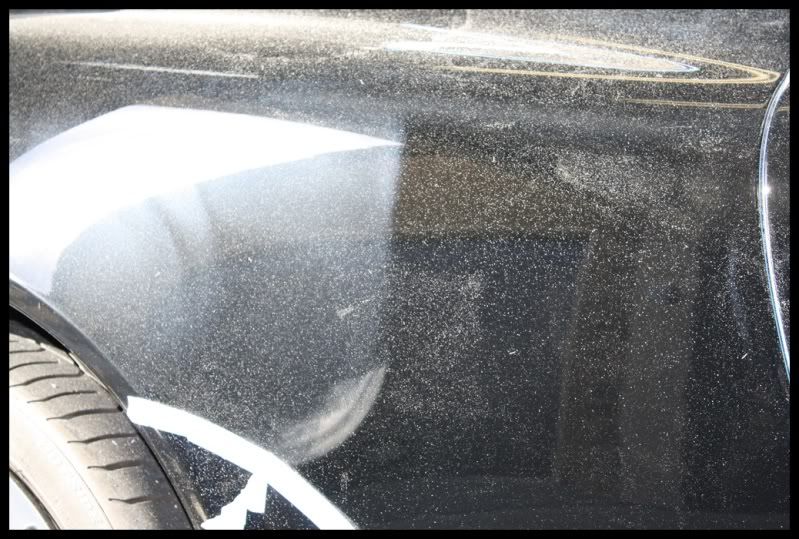
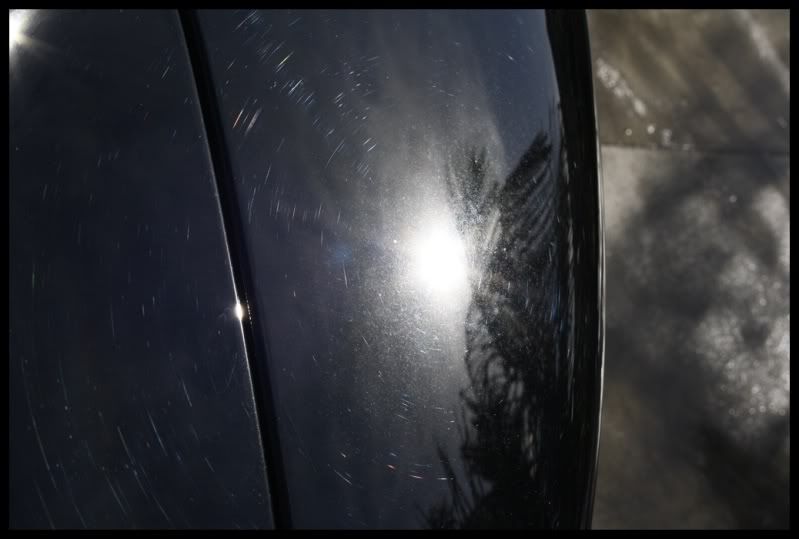
This is from just one fender of claying on the car. Obviously there was a lot of contaminants on the car for such low mileage:
Alcohol Wipedown: After claying the car, I wiped the whole car down with IPA in order to remove the remaining clay residue that wasn't wiped off with the waffle weave towel. This step ensures a clean surface to examine for defects, and makes sure I will be polishing bare. (no hydroplaning going on)
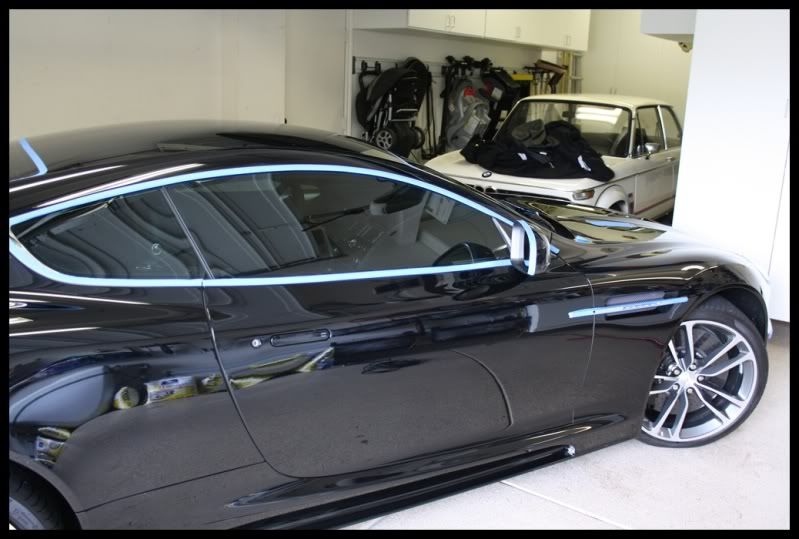
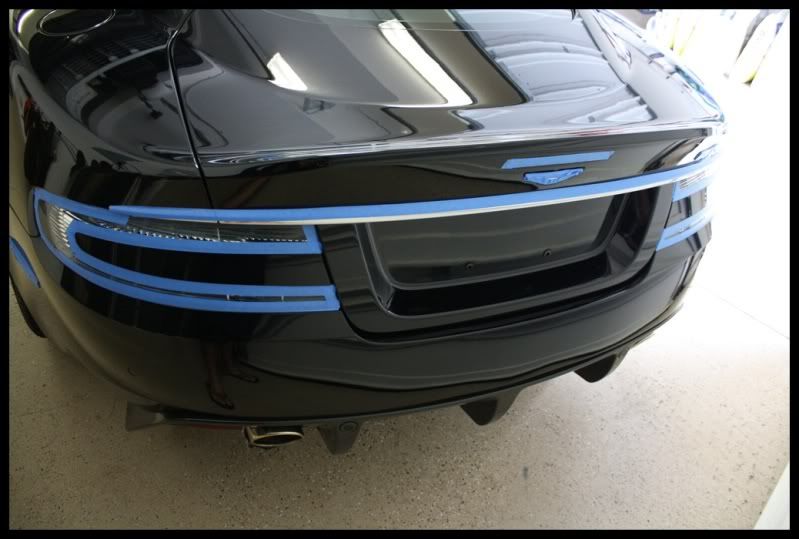
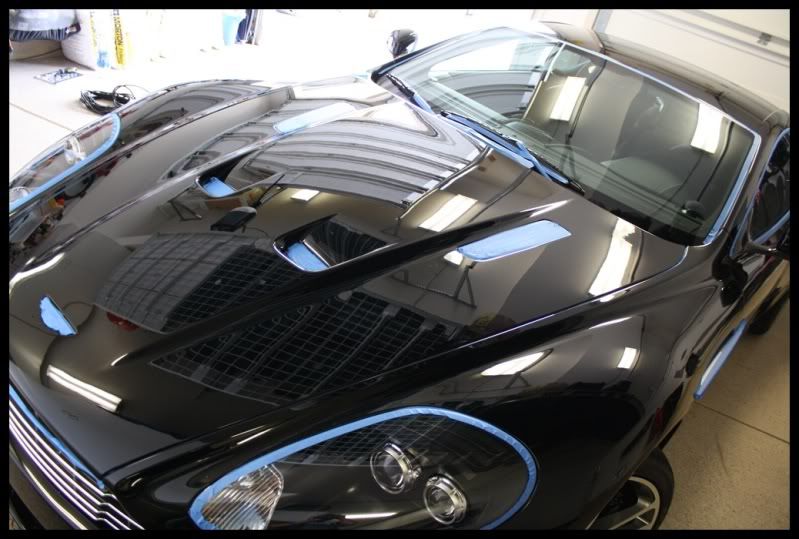
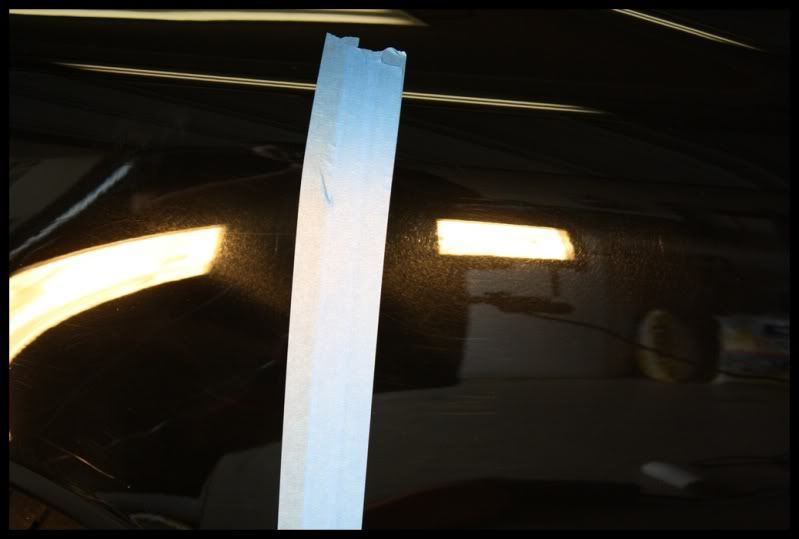
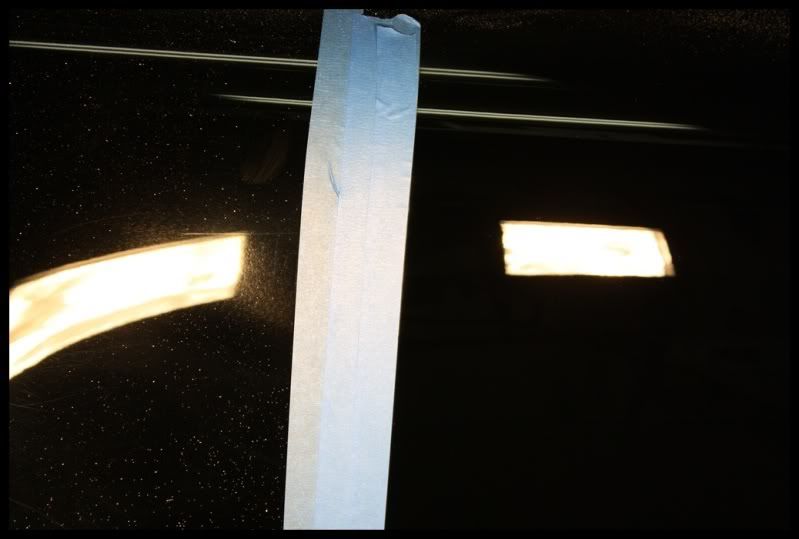
Tape-up Prep:
I used Meguiars .7” masking tape as well as some remaining 3m blue painters tape I had in the bag. Taping off all the trim and grills and grates allows me the piece of mind to polish right up to the edges without worrying about burning the trim, staining the trim, or allowing a lot of dust to get into the engine compartment creating more cleanup at the end of the detail. Key areas to tape up are plastic trim, chrome pieces, rubber surrounds, and emblems/badges (if not removed).
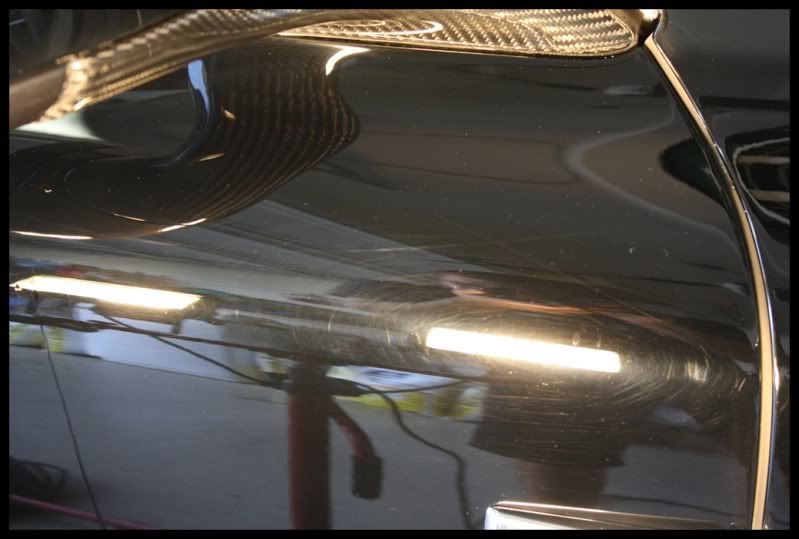
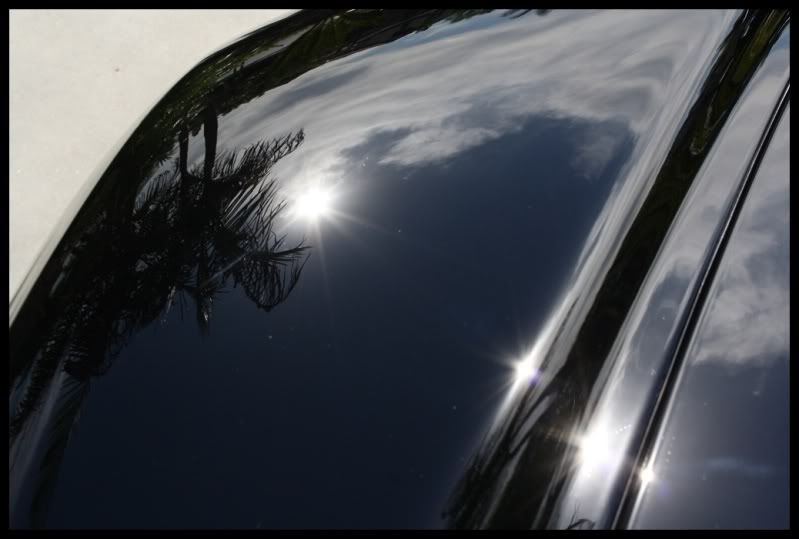
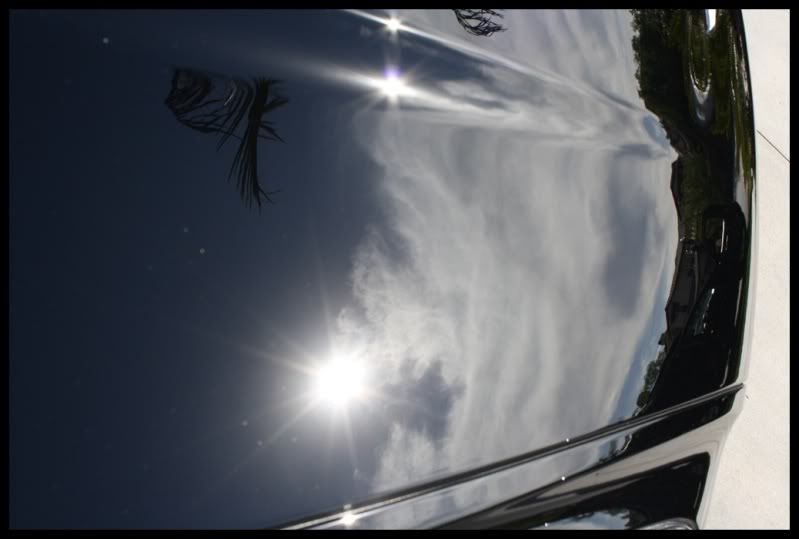
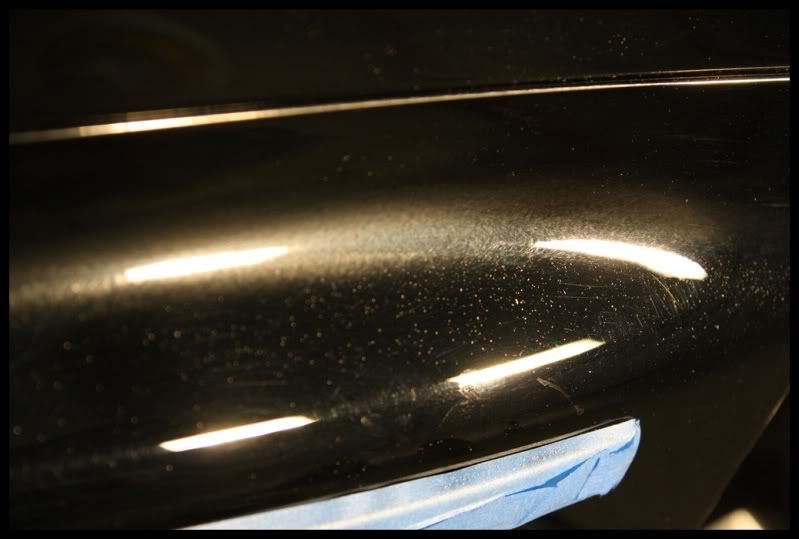
Test Section: Using a test section to dial in the process you want to use on the entire car is crucial! This not only shows you what you are getting into, but helps you not have to repeat steps later because you aren't really getting the result you want. At this stage of the detail, I will use alcohol after every step to ensure the end result desired is achieved. In this section, I first tried out Meguiars 105 on an orange cutting pad with the Porter Cable XP. While it removed a lot of the defects, some of the deeper RIDS remained, and since I was going for close to perfect as possible, I had to up the pad to something more aggressive in order to achieve the initial cut I was looking for; a 5.5” surbuf pad combined with Meguiars 105 was the combo that worked the best. Fast cutting action from the pad and longer working time with 105 make this combo very good! I followed that step with Menzerna powerfinish on a tangerine hydrotec pad, then Menzerna 85rd on a black pad for a flawless finish and insane gloss...it was now time to repeat this process on the rest of the car!
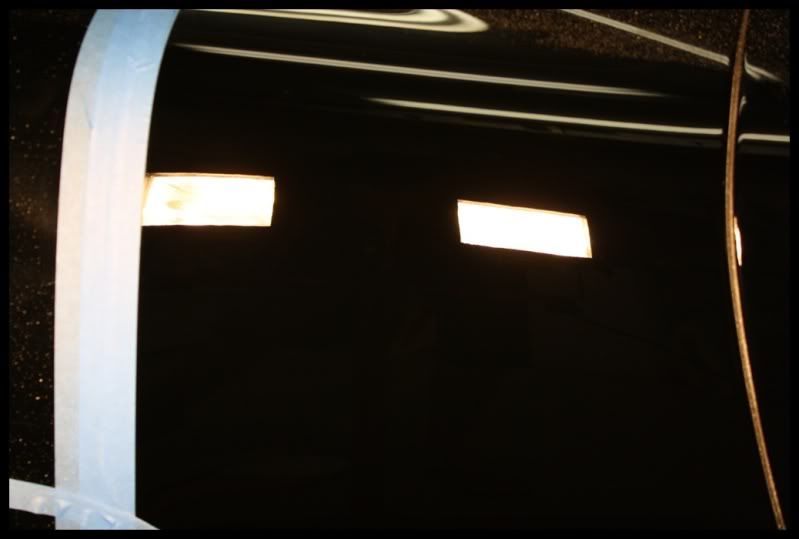
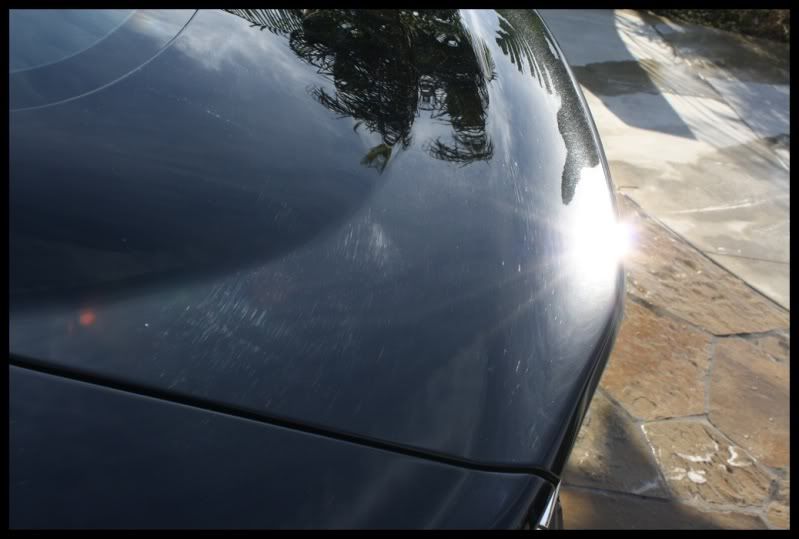
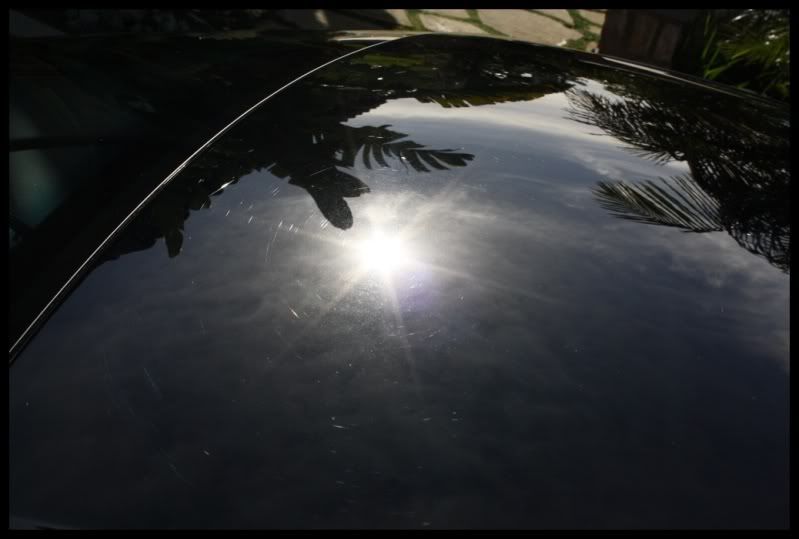
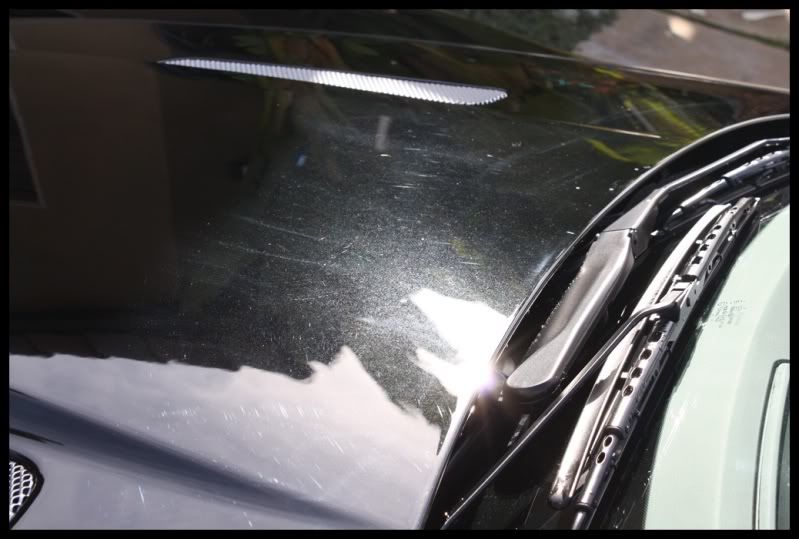
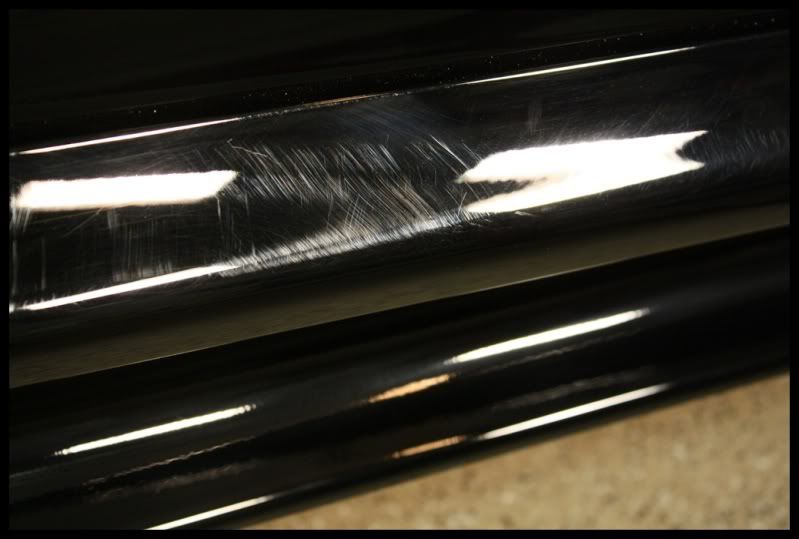
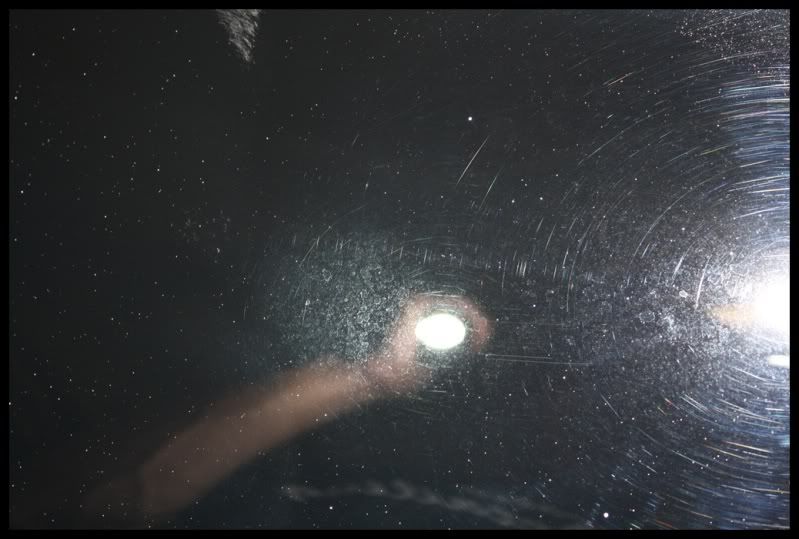
Below you can see the deep scratches and DA sanding marks from the very intitial paint prep done at the factory. Supposedly the car wasn't detailed (didn't have time) since it was sold the day after it arrived at the dealership.
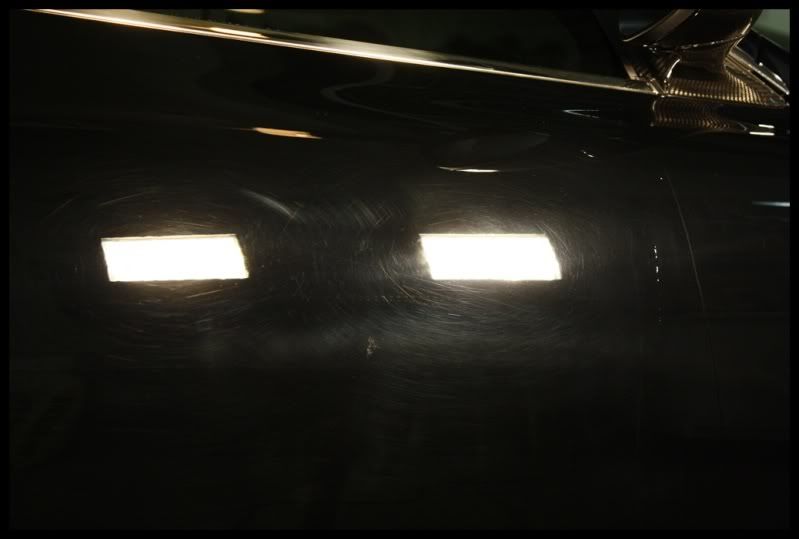
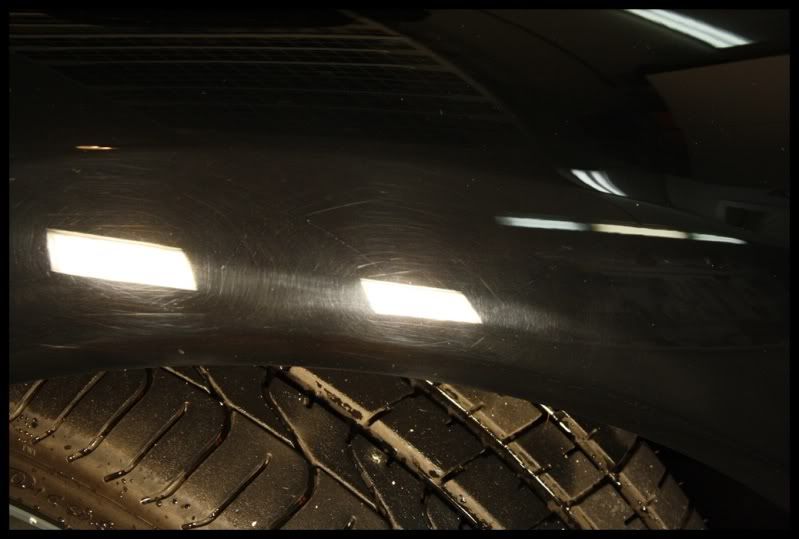
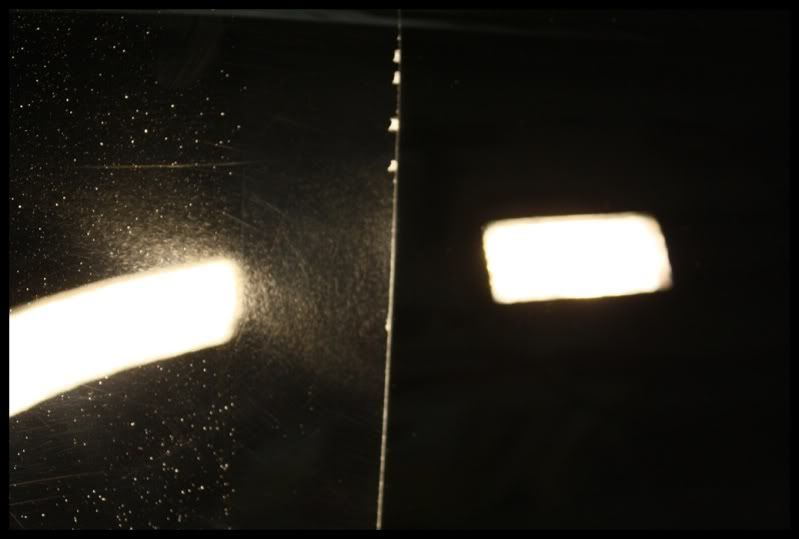
Here is a shot of the before on the trunk lid and then after just the compounding step. Surbuf and 105 really did the trick. This is how a COMPOUNDED section should look...no swirls and scratches, but it will have hazy paint which is why polishing steps are required after in order to refine and restore the gloss.
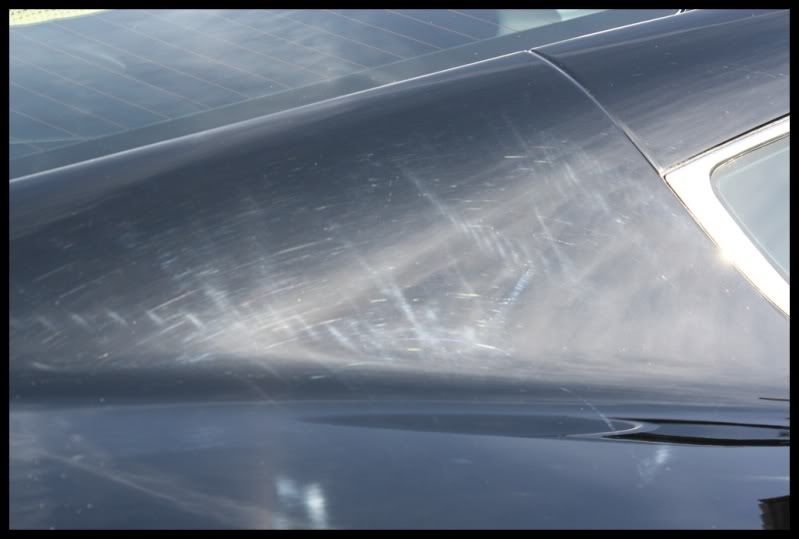
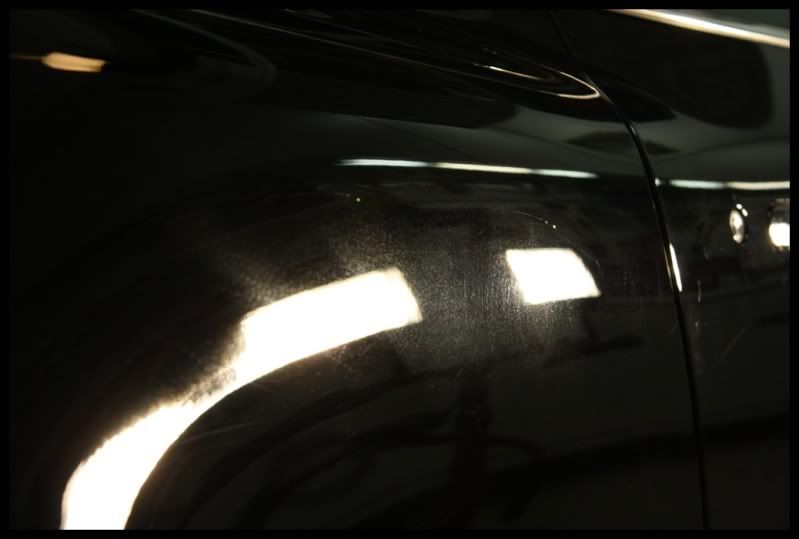
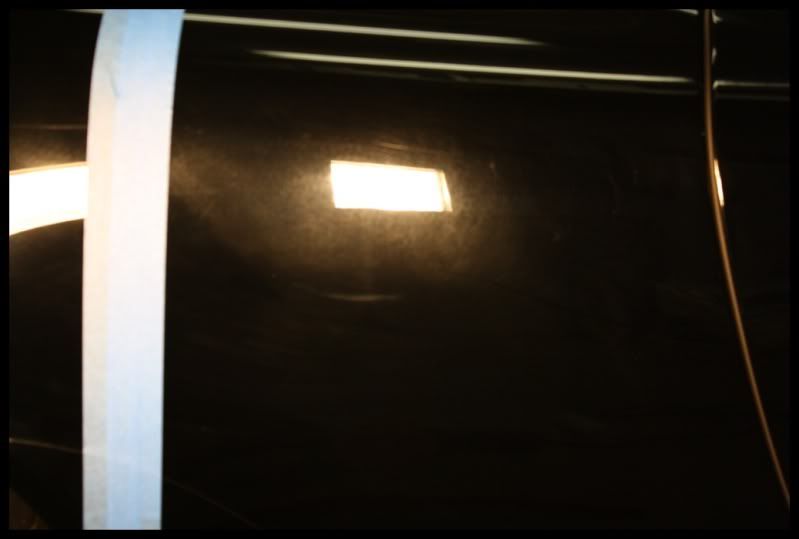
Here is another section of a compounded area in the sunlight. This is what you see most cars looking like when they are improperly detailed and just compounded, glazed, and waxed. Once the wax is removed, the left side of this picture is what you are left with...not a pretty site, not the correct way to detail a car and call it paint correction.