Envious Eric
New member
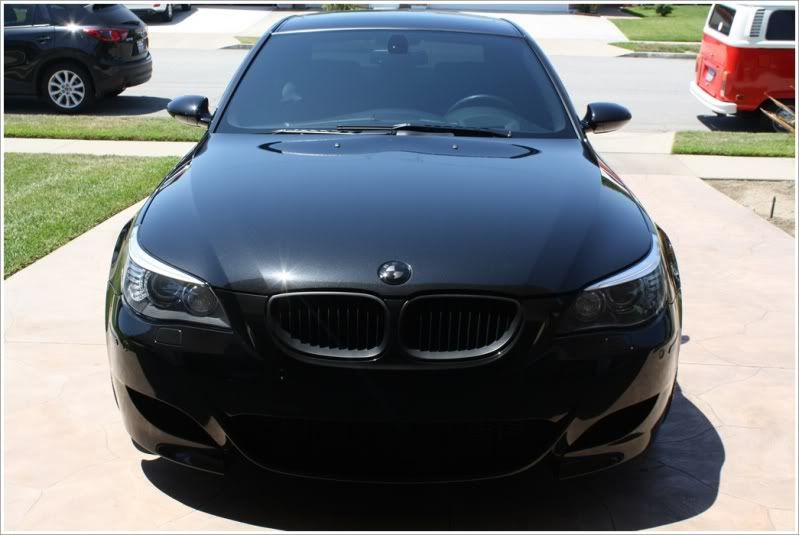
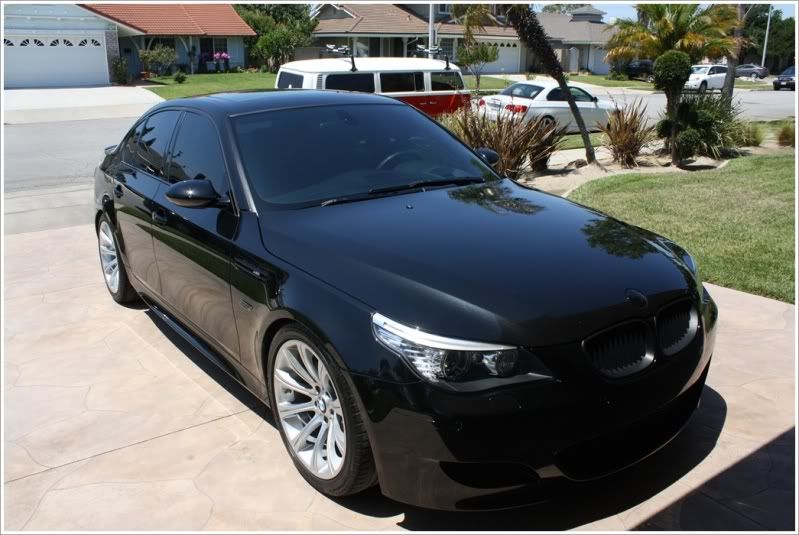
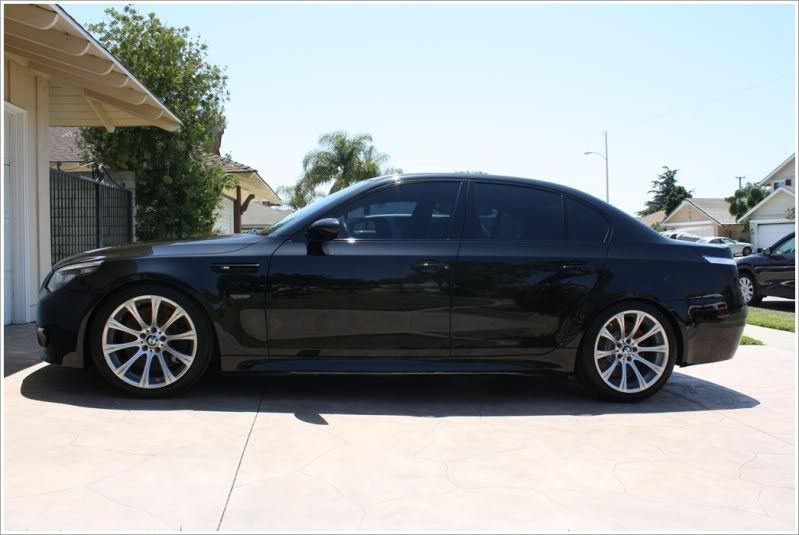
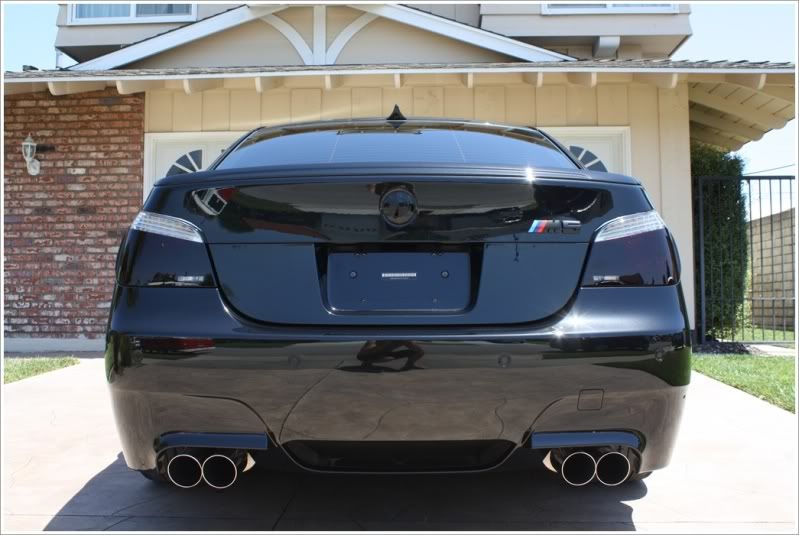
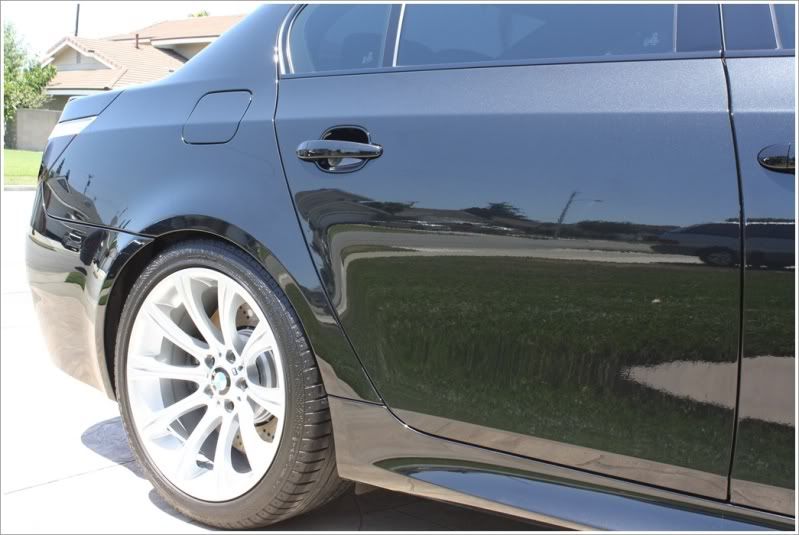
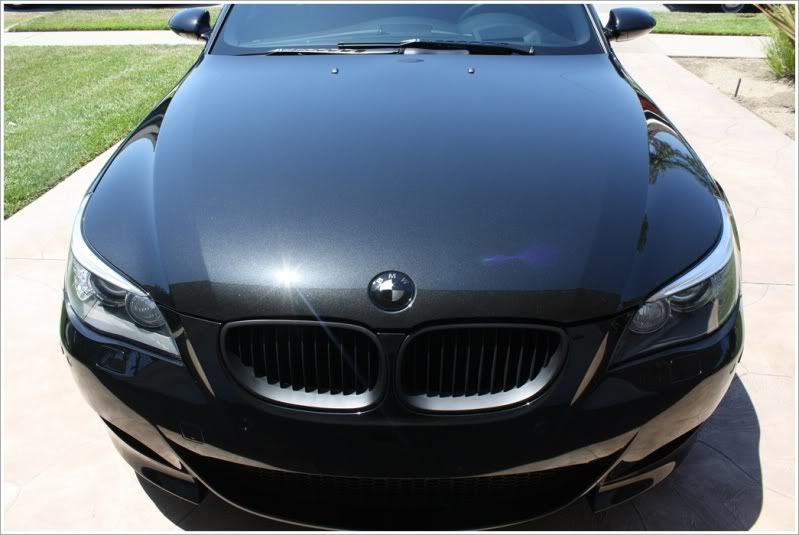
2008 Black Sapphire Metallic BMW M5
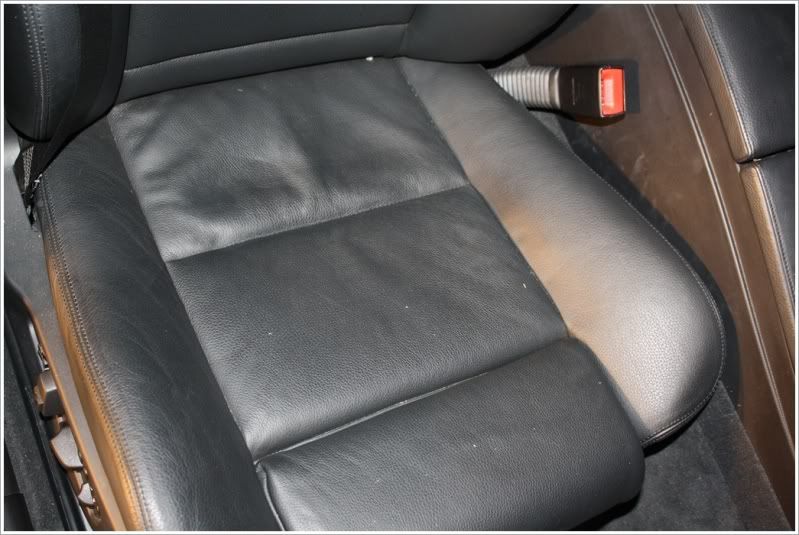
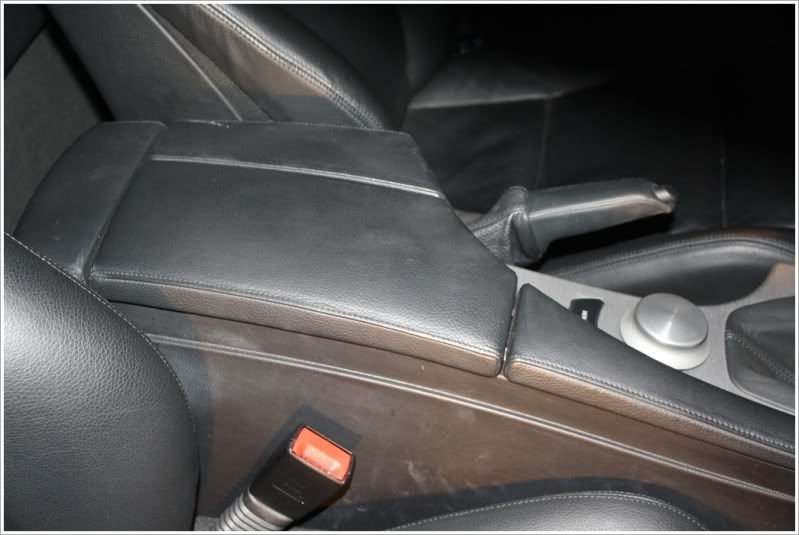
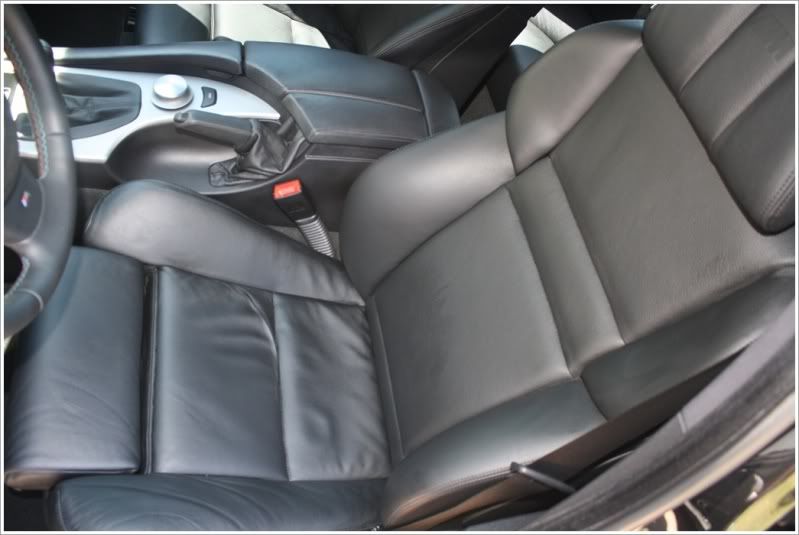
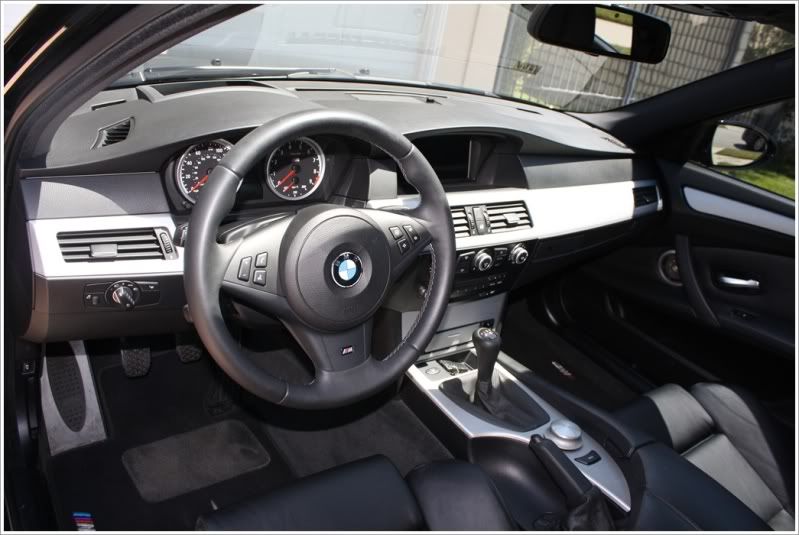
Full Correction paint reconditioning with leatherique leather treatment
I received an email from a prospective client that was very detailed and fine tuned. I knew right from there this was a client who wanted nothing but the best. I explained my process and what I would do to the car based on having worked on the BSM color numerous times before. He asked if I would be able to come over and give him an estimate prior to setting an appointment for the car. I agreed and a day later I was starring at paint that I figured would be in the 20hr range to make perfect based on the look and the feel of it. We talked things over, agreed on the price range, and I was headed back home with an appointment set for a week later for 3 days with the car if I needed all three. My plan was to get it done in two days…
I started out with the usual wheel cleaning via sonax full effect wheel cleaner, an ezdetail brush, and a lug nut brush. I ended up having to spend almost an hour on the wheels to get them to clean up as much as I could. Following the cleaning, I elected to opti-coat the wheels in order to make future cleanings much easier for the client since he washes his own car.
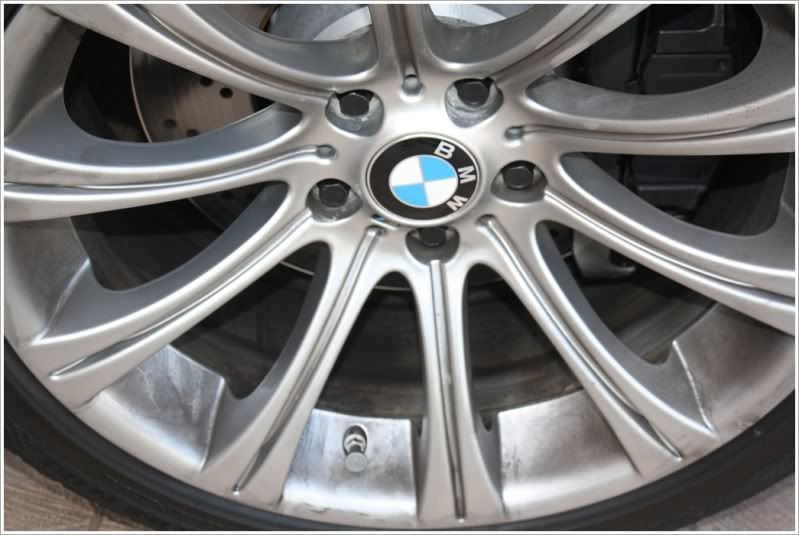
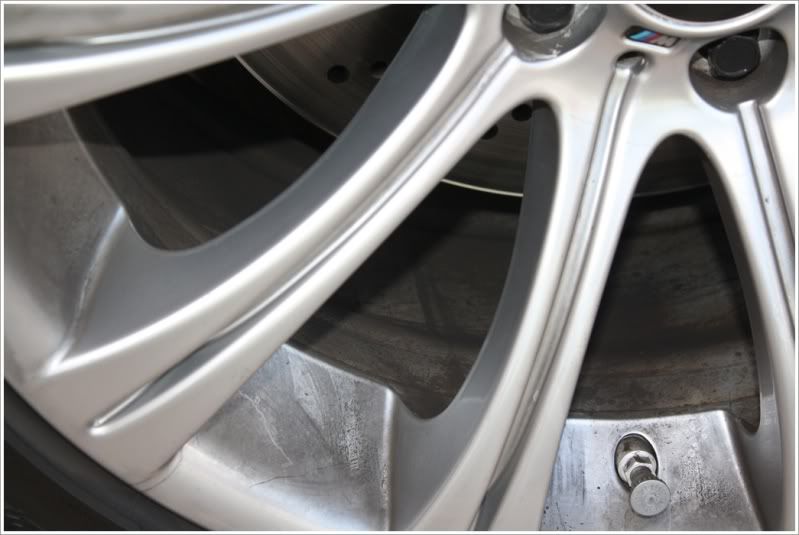
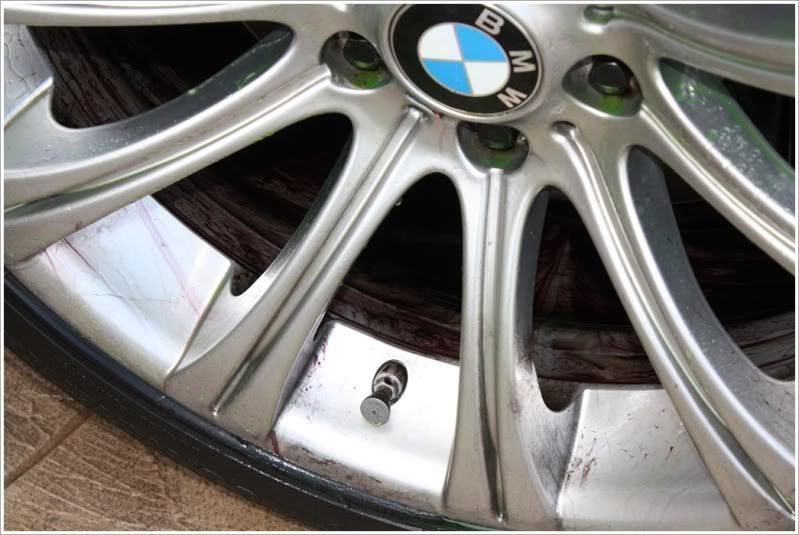
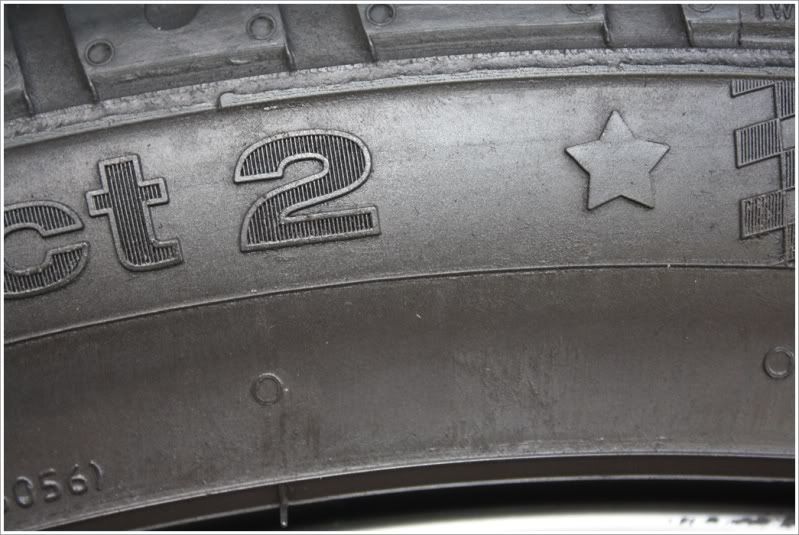
The tires were stripped of old dressing build up, and the wheels were cleaned. It was time to move on to the body and the paint.
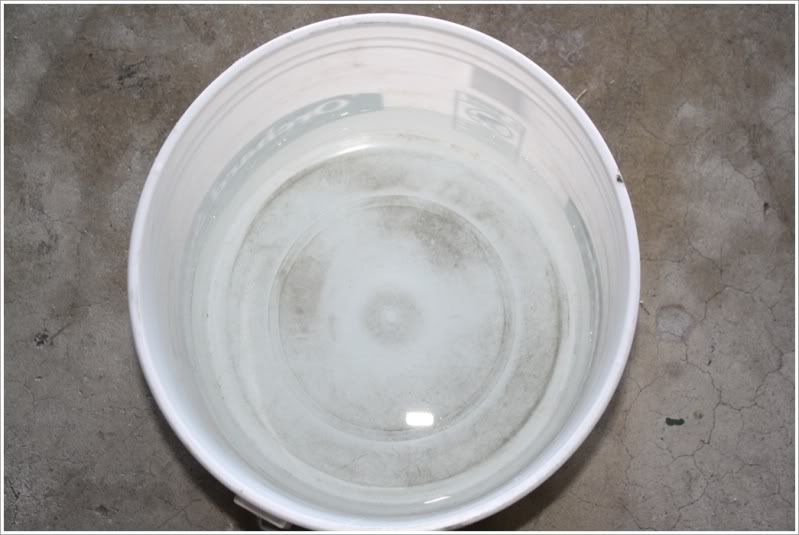
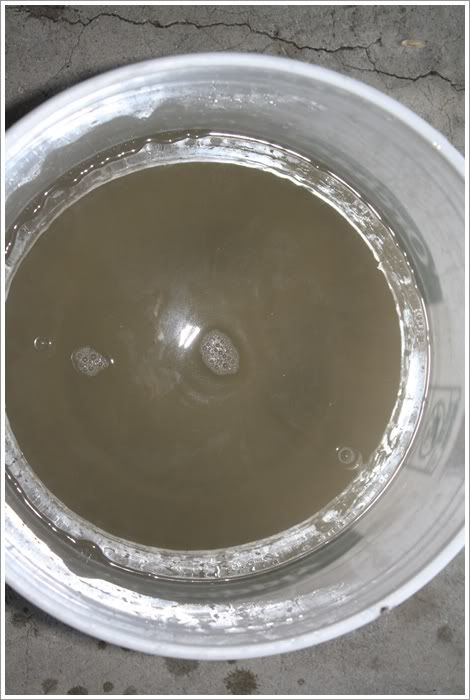
After pre-soaking the car with a strong solution of dish soap (used only to strip previous protection, not every wash) I washed the car with more dish soap in a buck filled with water. After all the loose dirt was removed from the car, I rinsed down the car and proceeded to dry it.
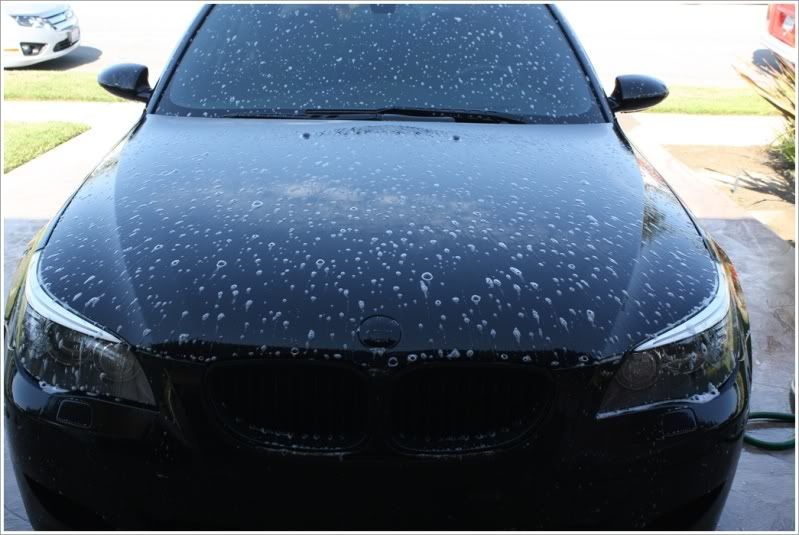
But lets wait, I am not done with the decon prep stage yet. That’s right, I still had to use IronX on the car to get the deposits from deep down in the paint removed. This is a very crucial step for a couple of reasons: 1- removes more bonded junk from the paint so claying is easier, and 2 – MAKES CLAYING EASIER. With as much as 80% of the deposits removed from the car, claying time is cut in half!
After pulling in the car and drying it off for the 2[SUP]nd[/SUP] time, I then began claying the car with a mild claybar. This was still removing a lot of contaminants, but the surface was still rough.
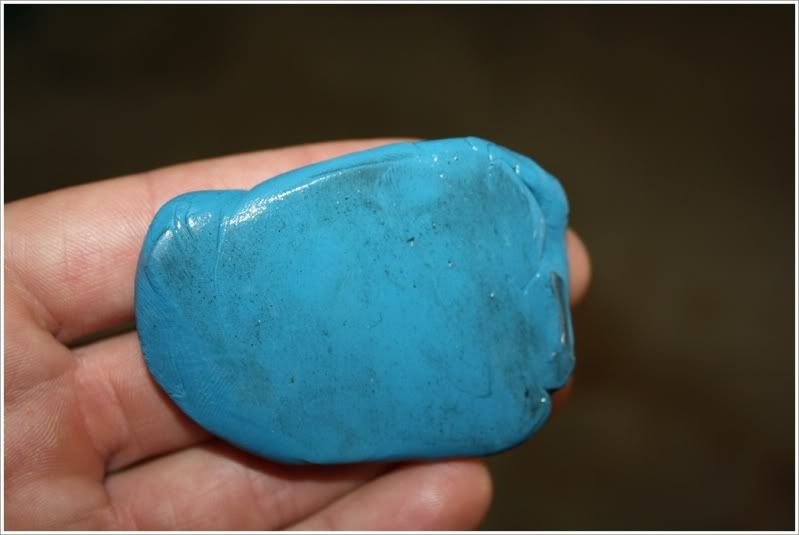
Something else was on the paint whether it was overspray, or I don’t know what, but an aggressive claybar was needed to remove all the bonded contaminants from the paint and leave it smooth. In this picture, I went back over the same section as the blue clay. Folded in half, this gives you an idea of the before and after of that 2x2 section.
I finished this step with an IPA wipedown to ensure that all surfaces were dry and protection free!
Next step was to tape off all necessary trim to avoid any unwanted contact between the polishing pad and the trim which would leave me buying new trim pieces because once they are burned, that’s it!
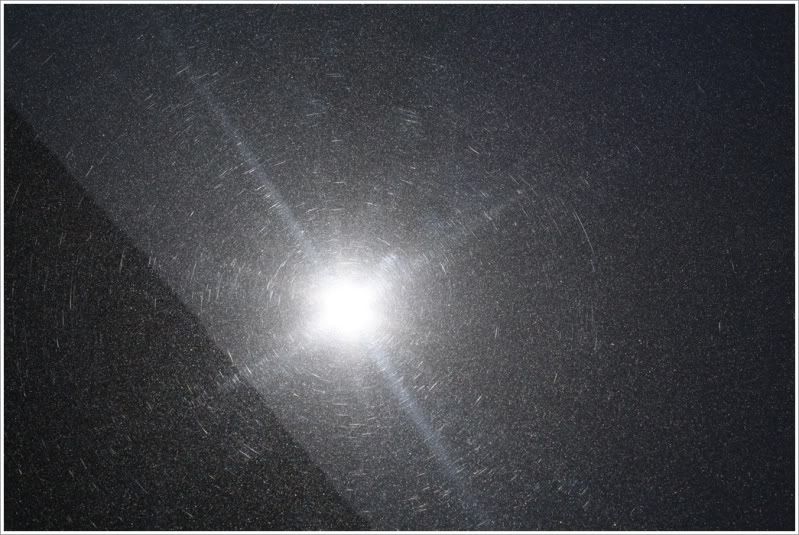
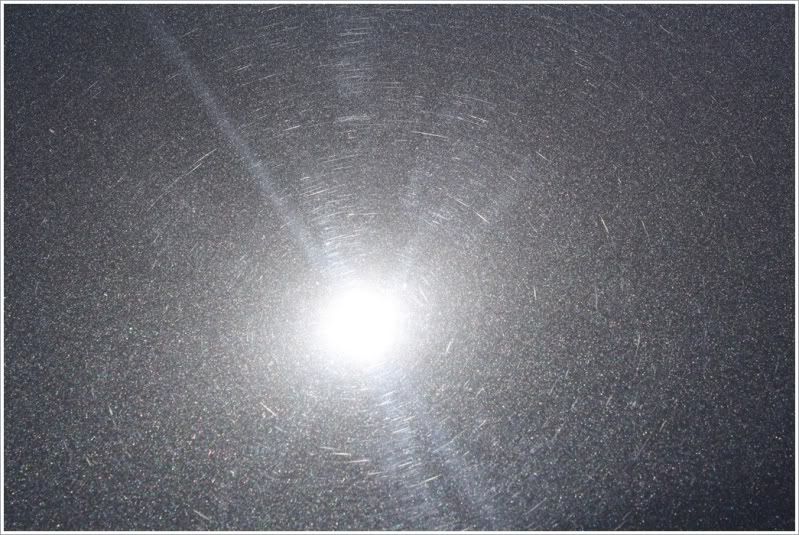
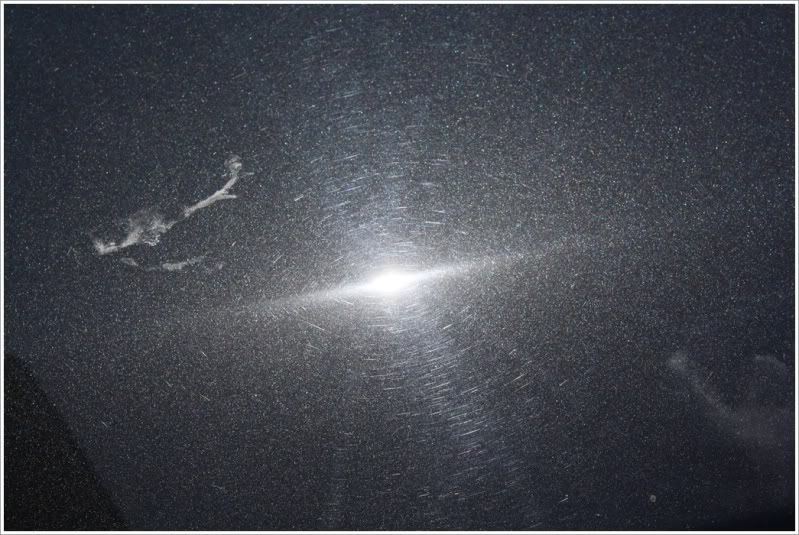
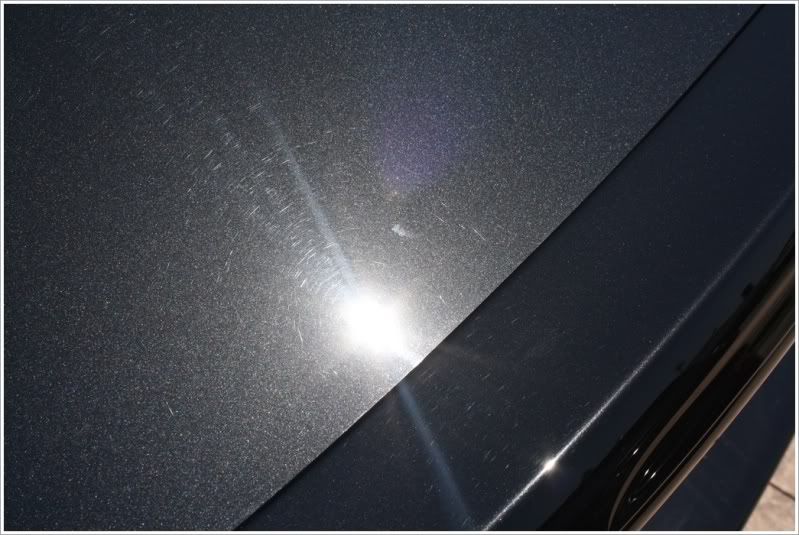
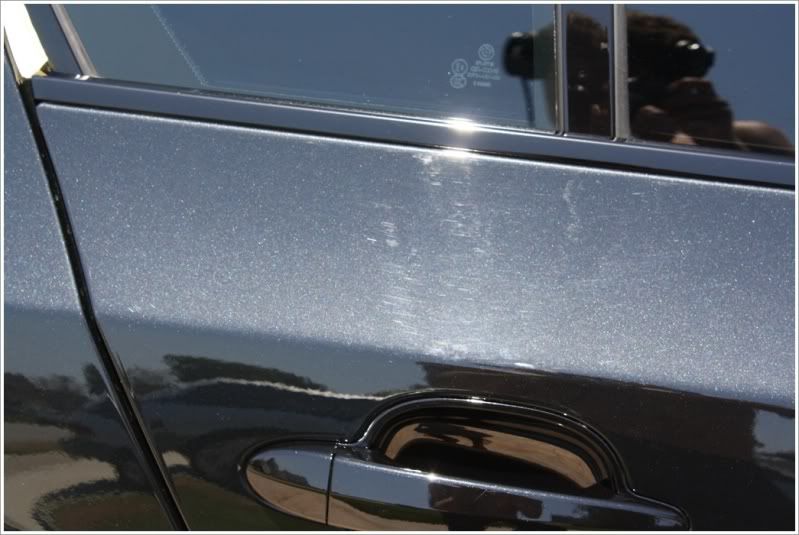
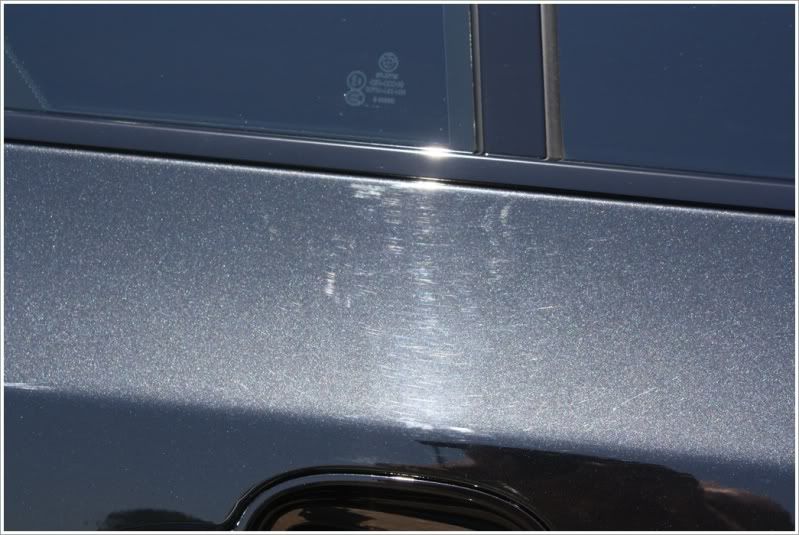
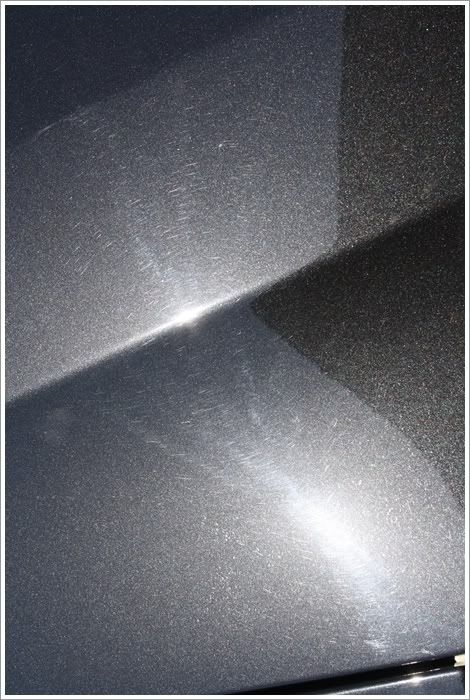
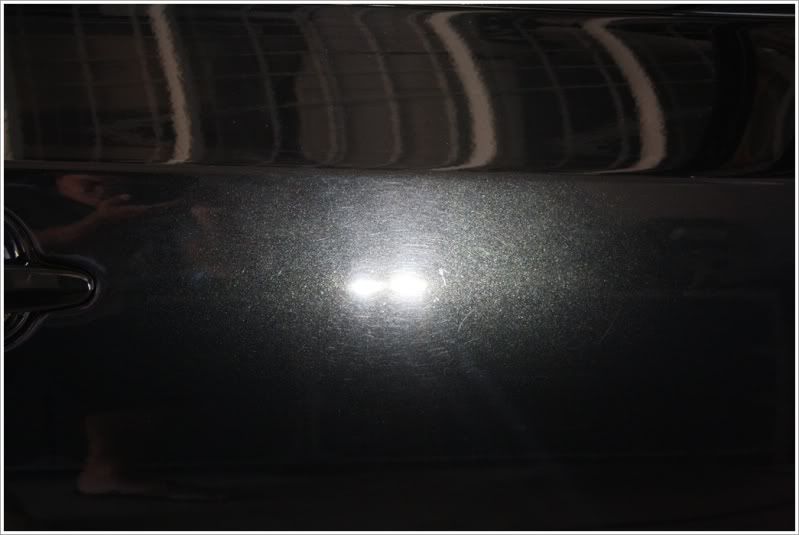
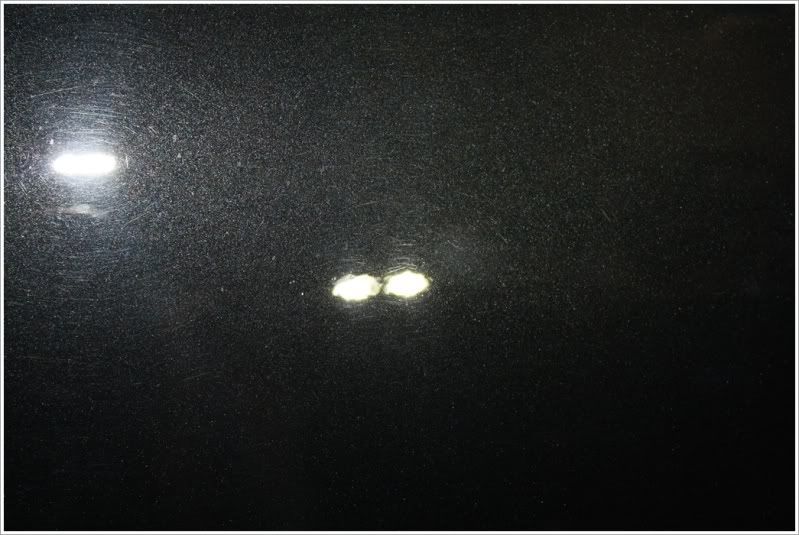
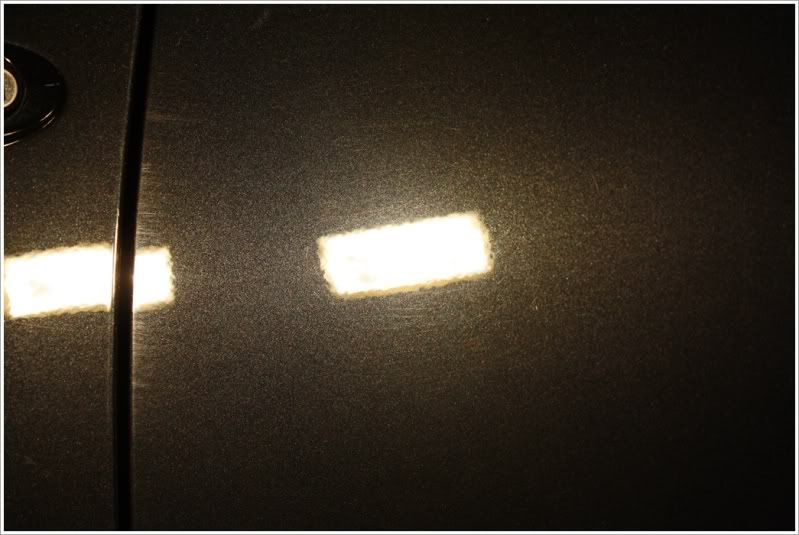
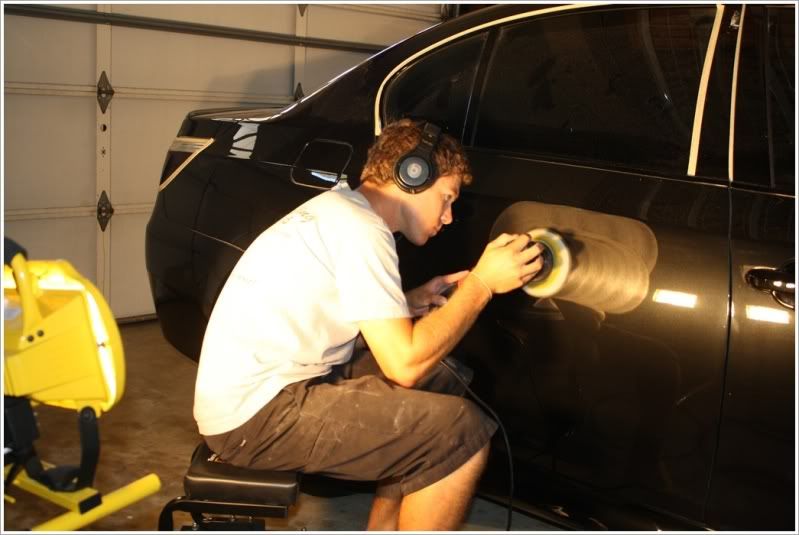
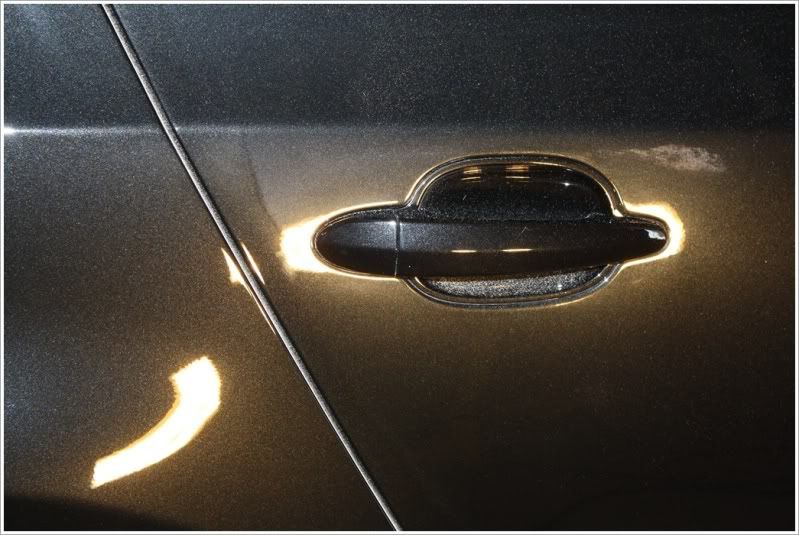
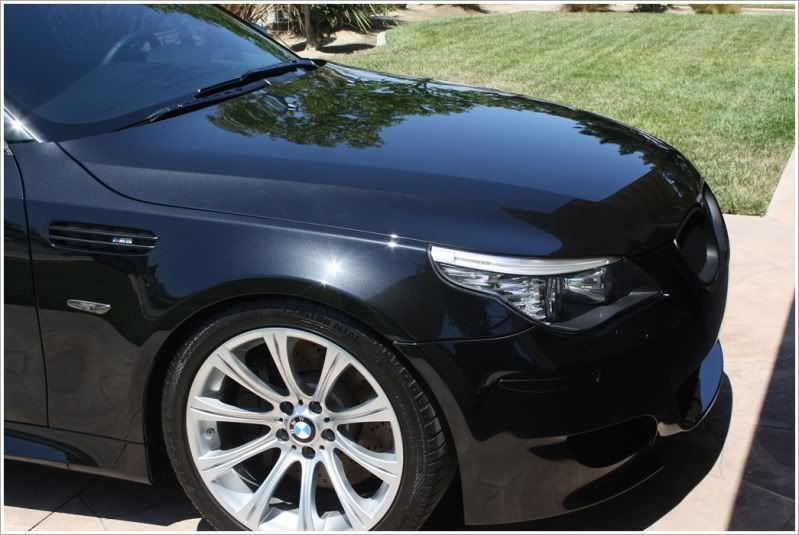
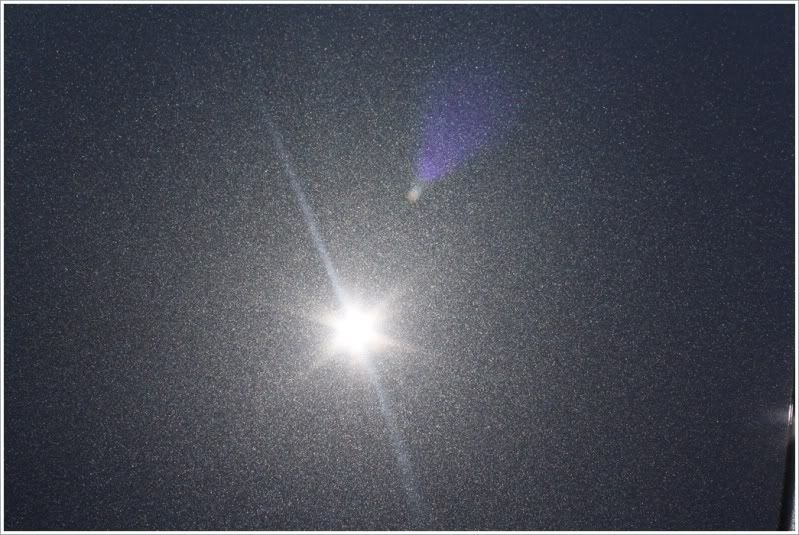
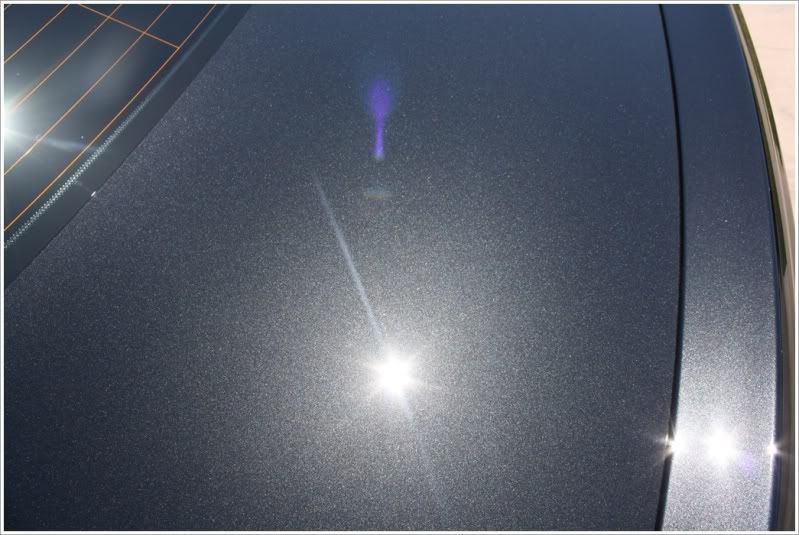
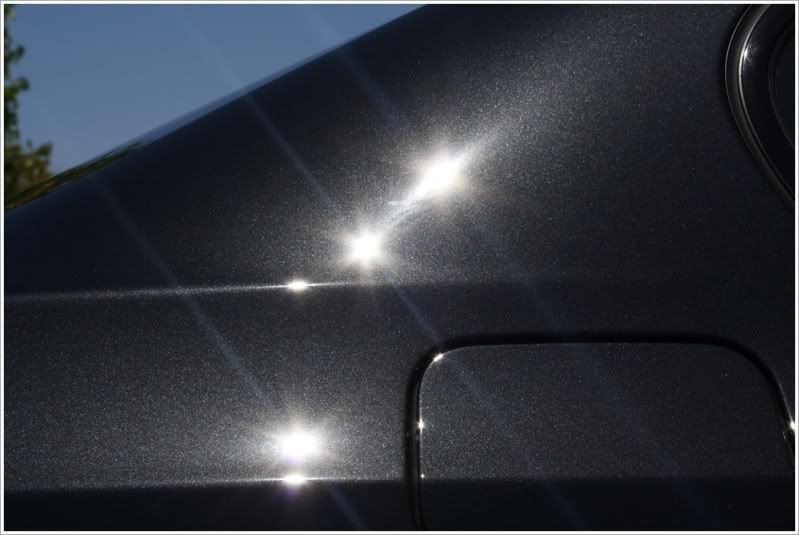
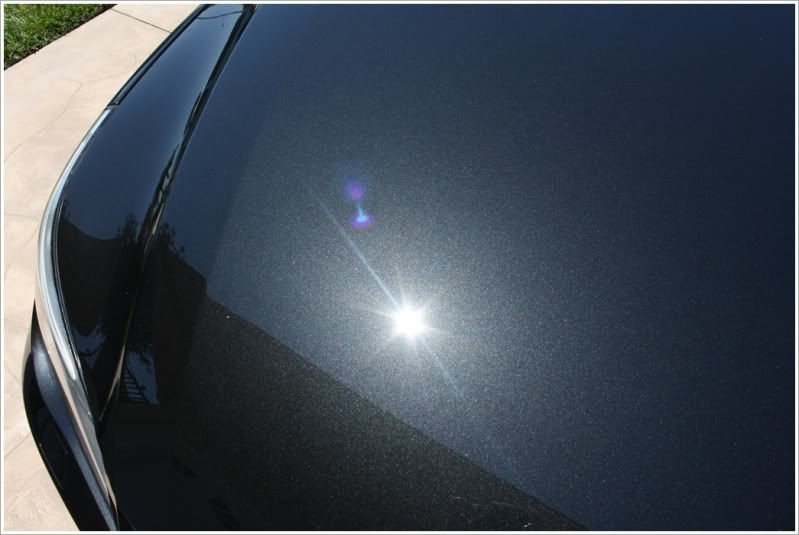
At this point, I began to get my test section out of the way to make sure I knew the proper game plan for this paint. I usually plan a cutting pad and compound for the first step, but this paint was a pain to work with. It was much harder paint than any other BSM I have worked on in the past. I ended up taking just over 13 hours to compound this car top to bottom, front to back. Two rounds were needed, and I had to work in smaller than normal sections to achieve the amount of correction needed to leave the car defect free.
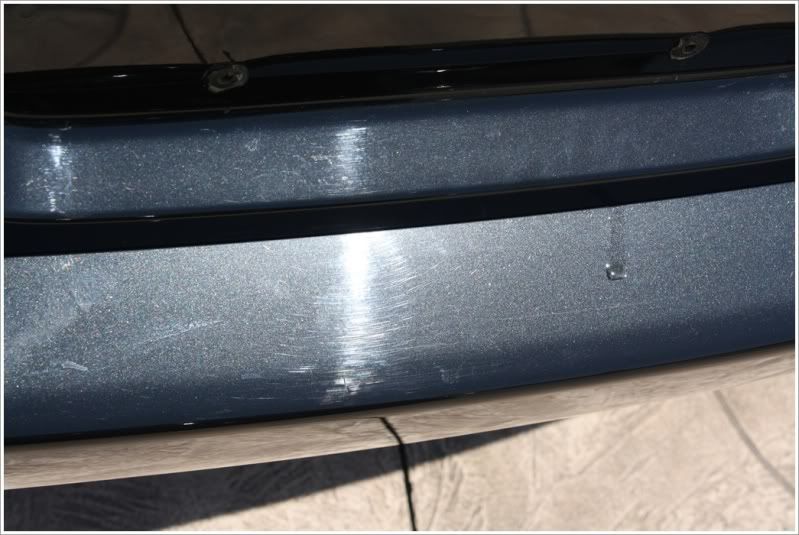
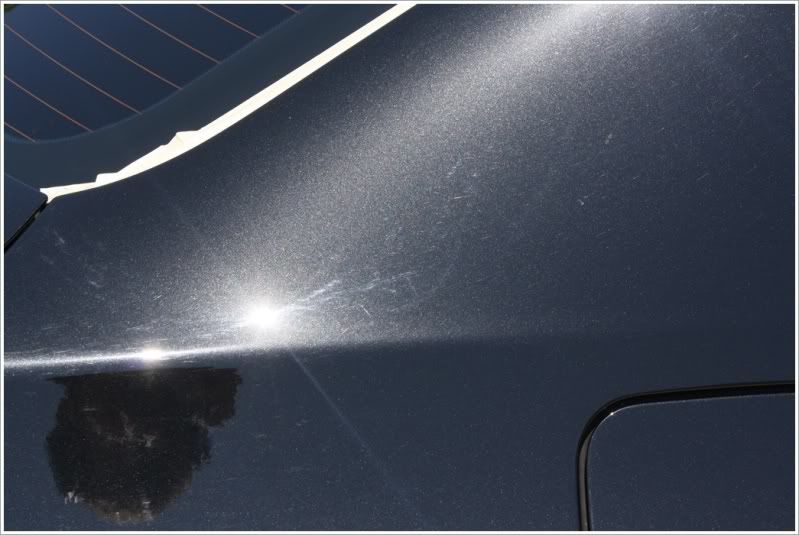
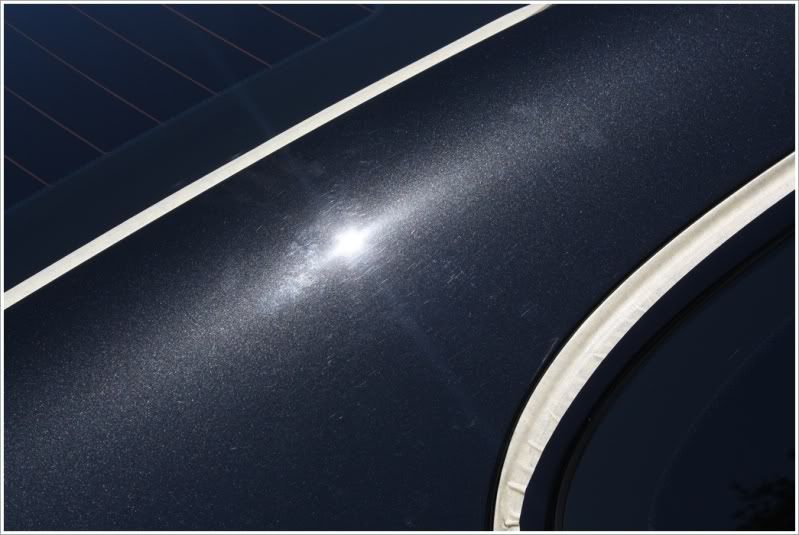
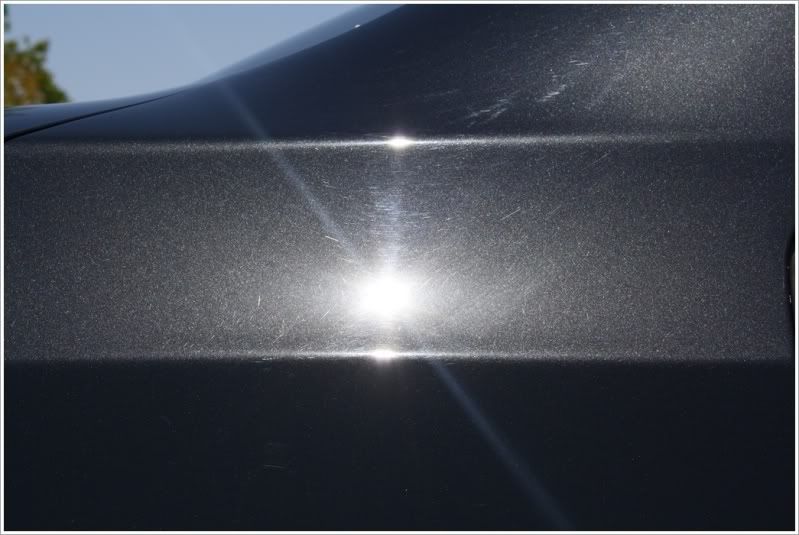
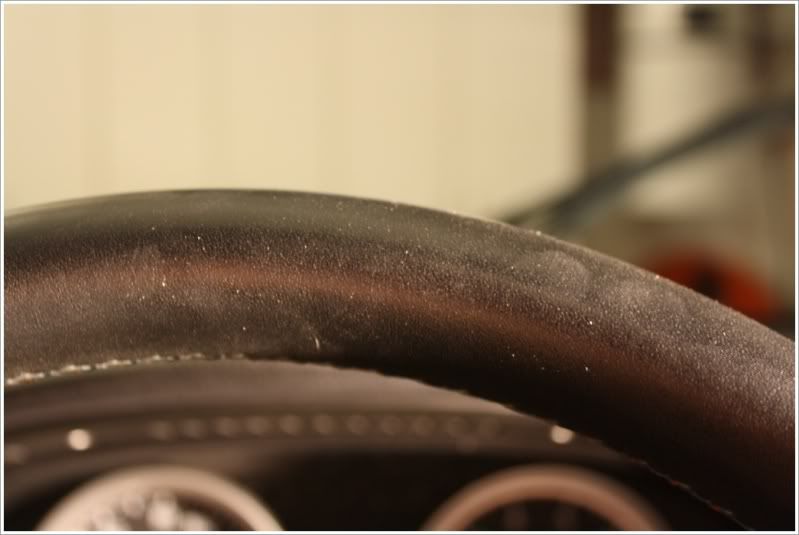
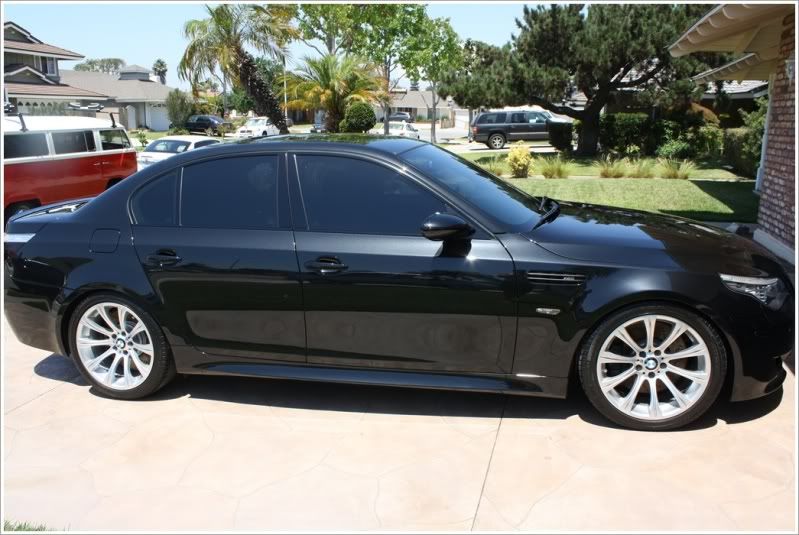
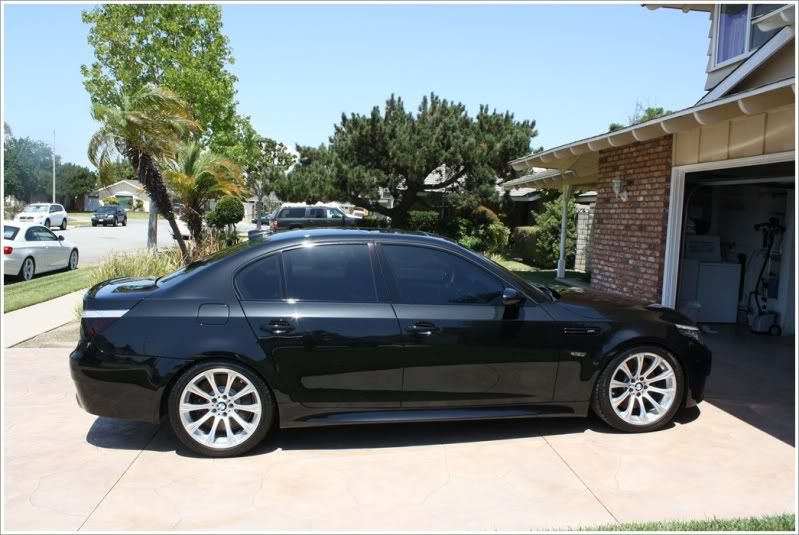
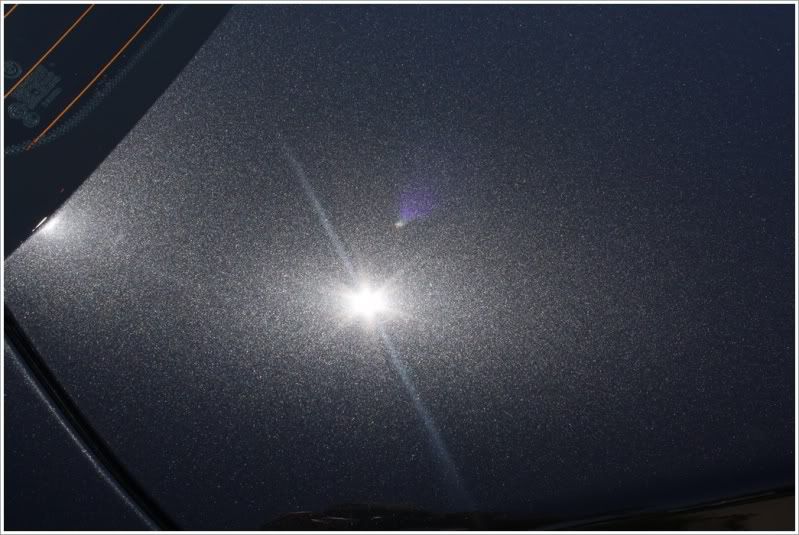
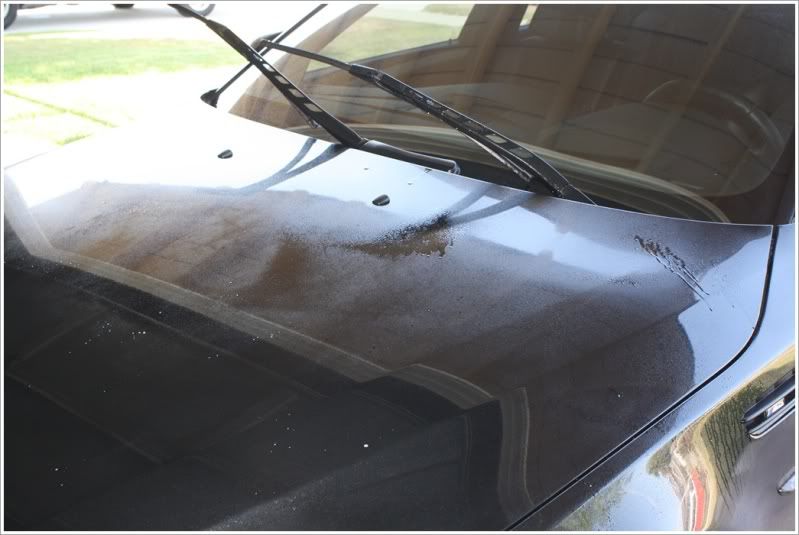
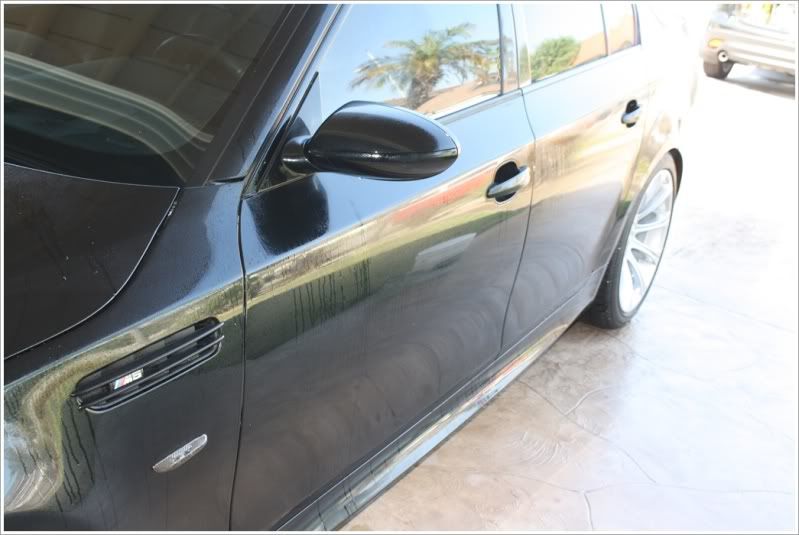
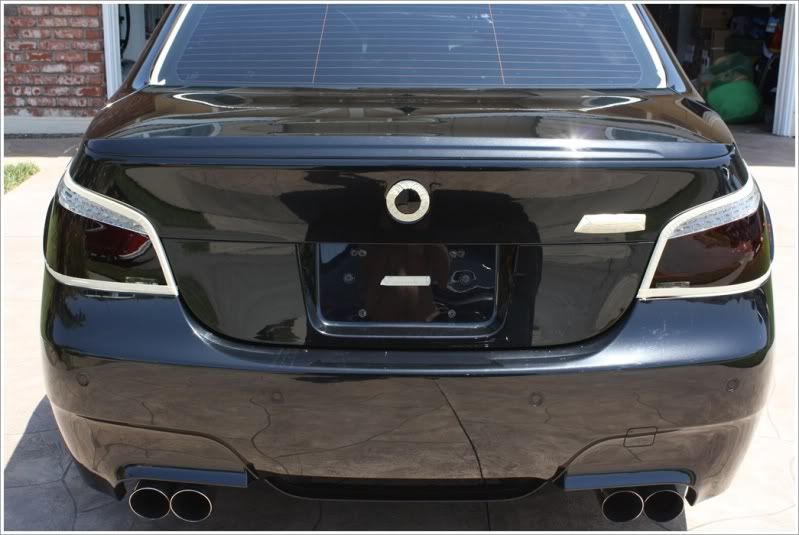
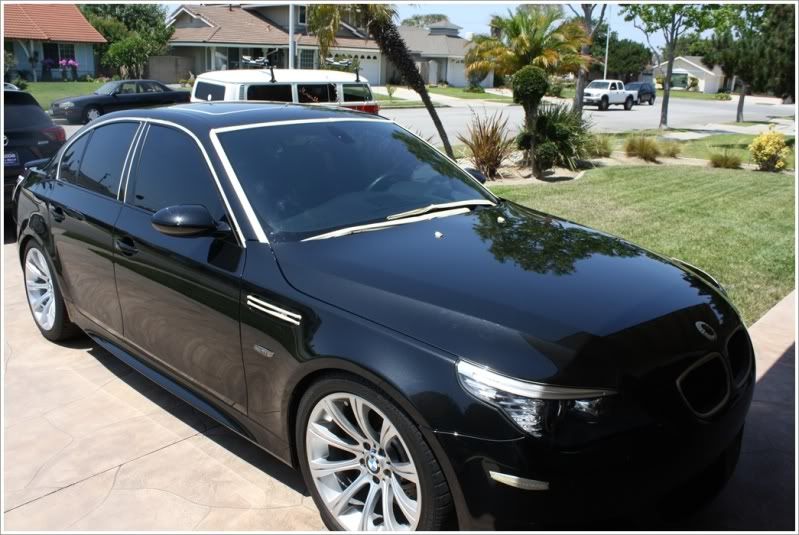
Before shots of the damaged paint throughout the entire car: