Divine Detail - F 350 & F 550

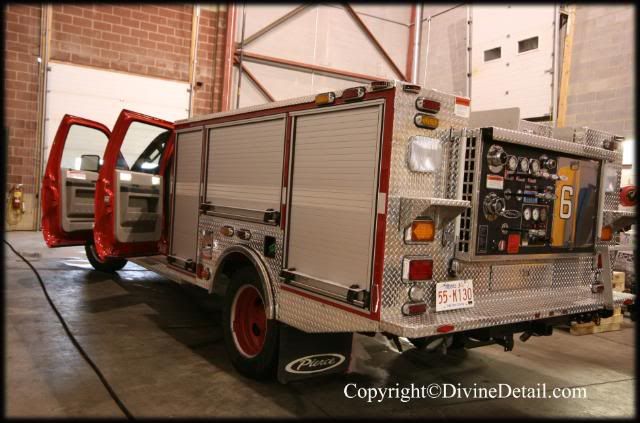
We were in for a treat, one of the vehicles was booked for a full detail with paint correction and the other just arrived to Calgary from the US and needed some pampering. The vehicles:


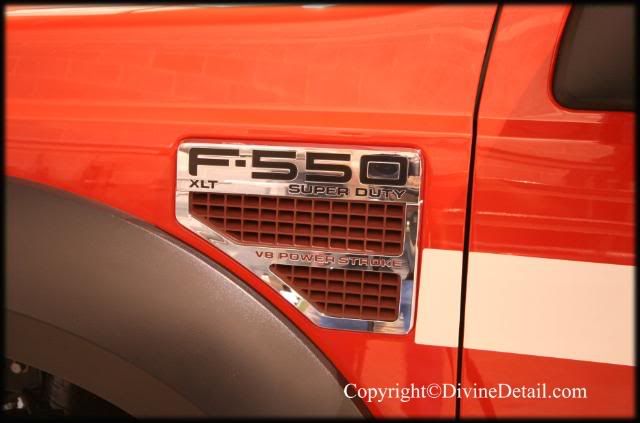
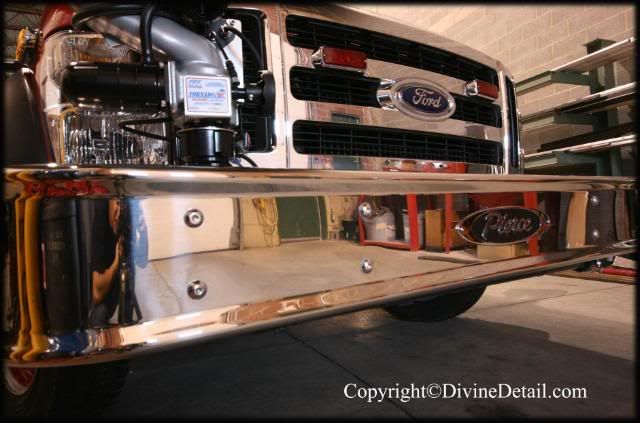
2008 Ford F-550 XLT Super Duty


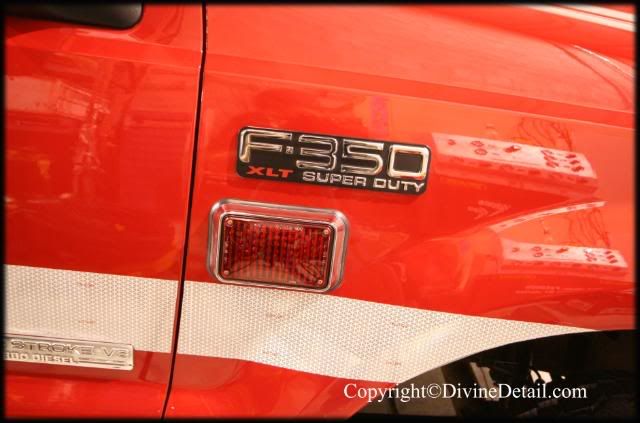
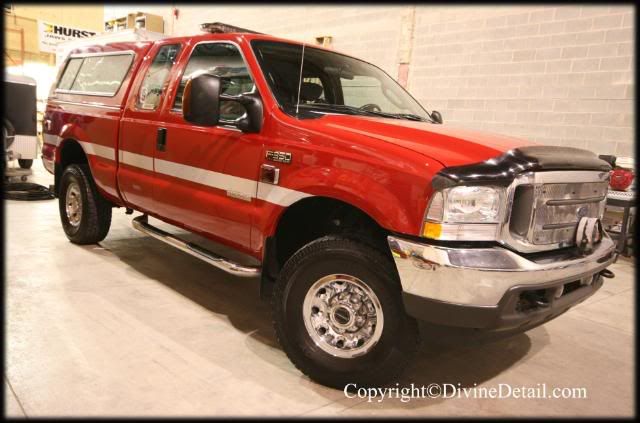
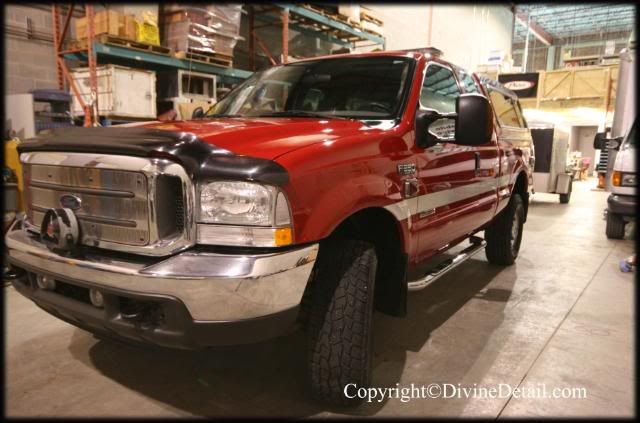
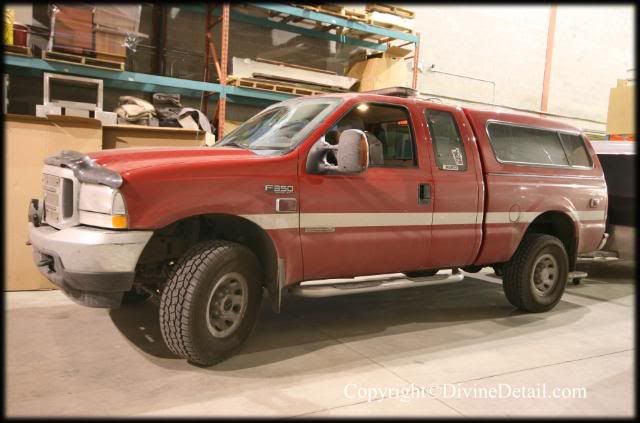
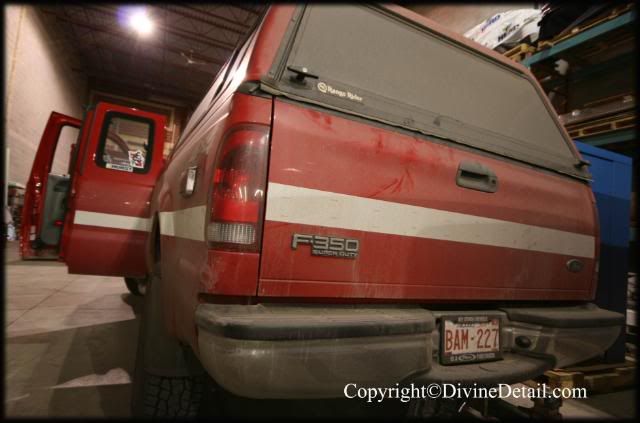
2004 Ford F-350 XLT Super Duty


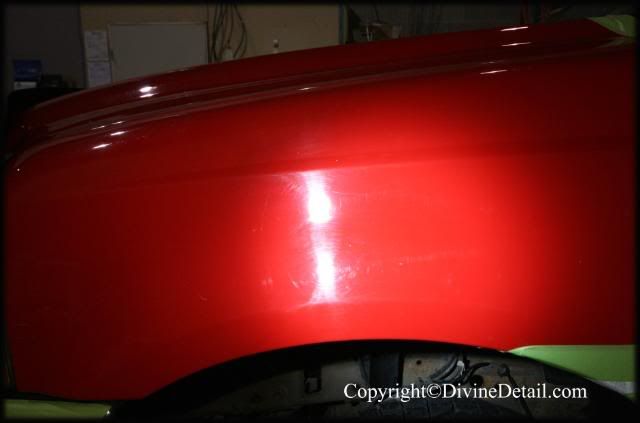
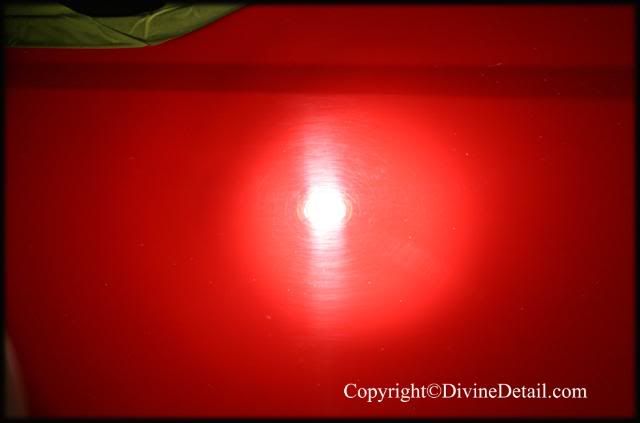
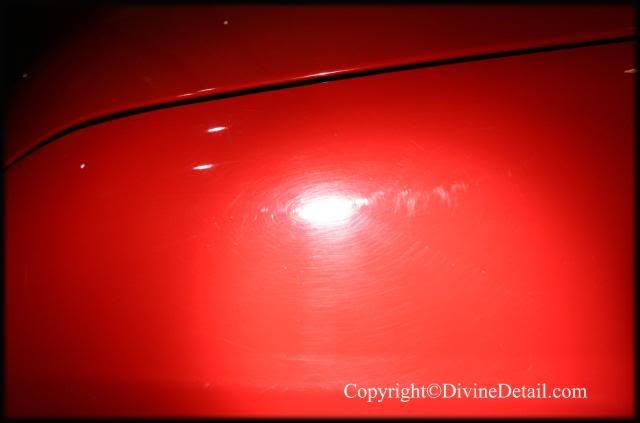
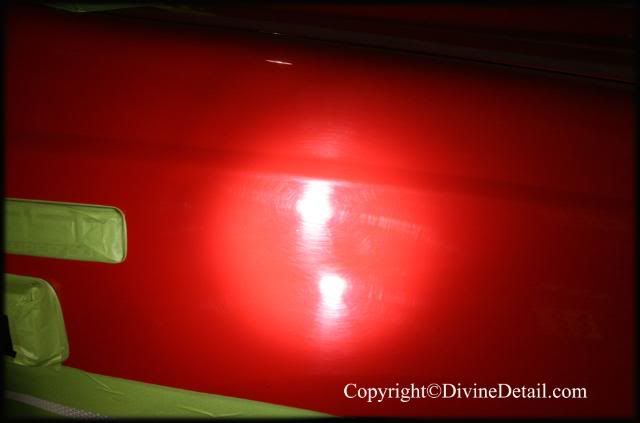
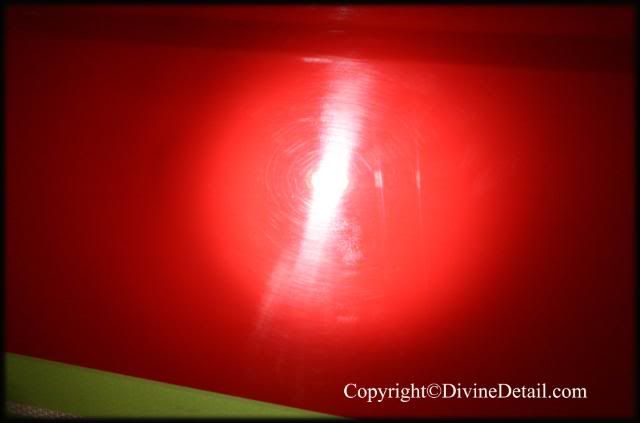
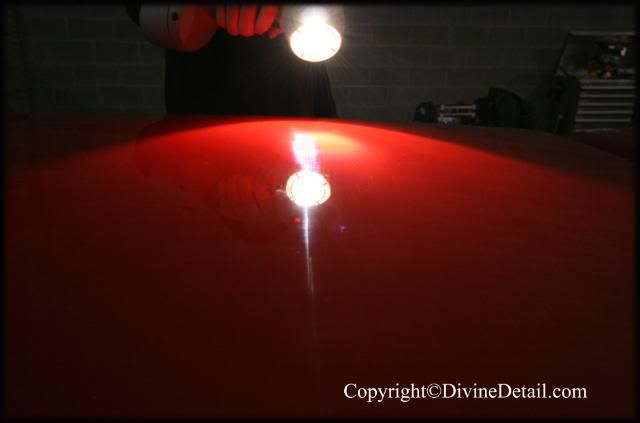
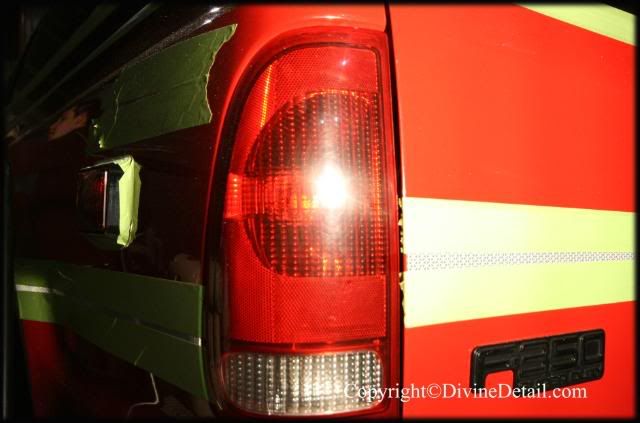
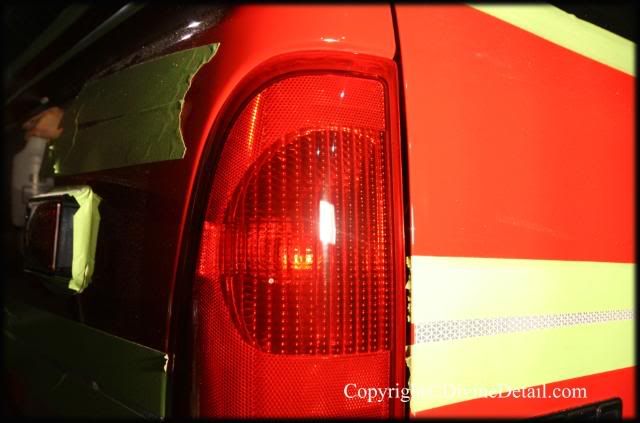
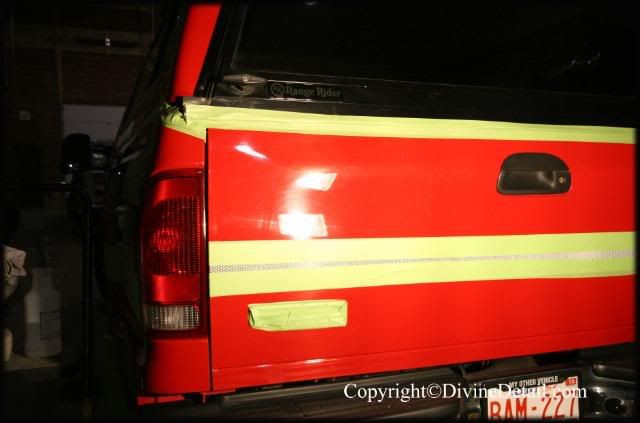
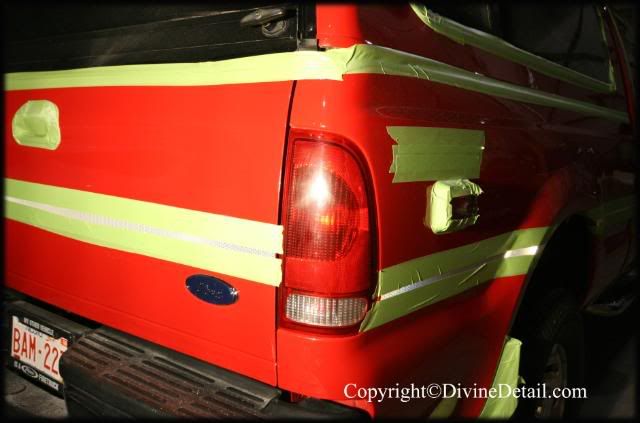
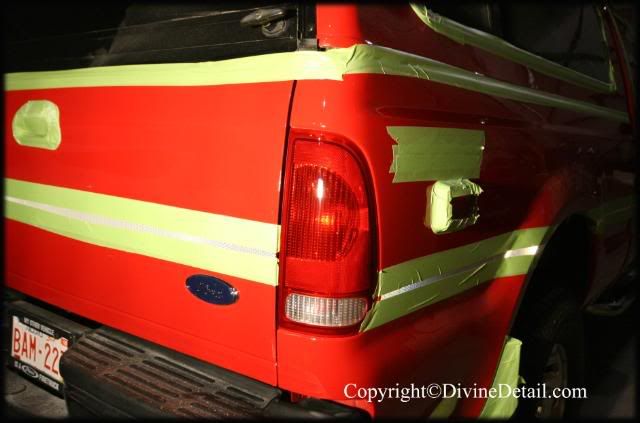
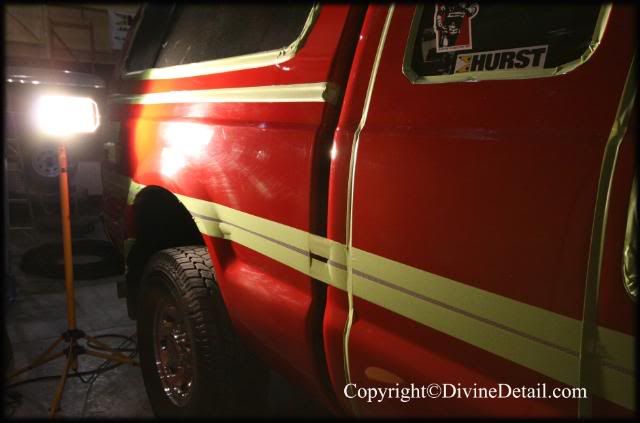
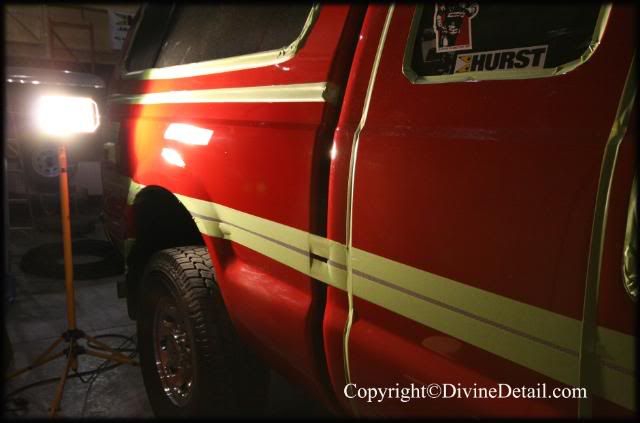
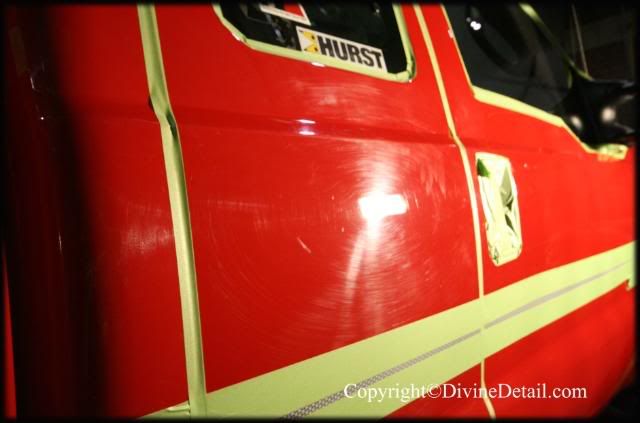
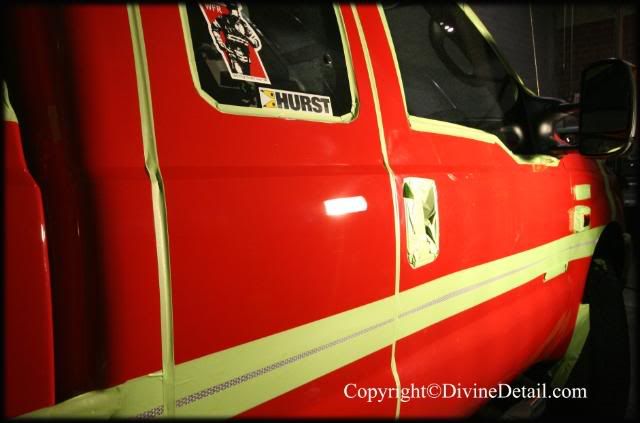
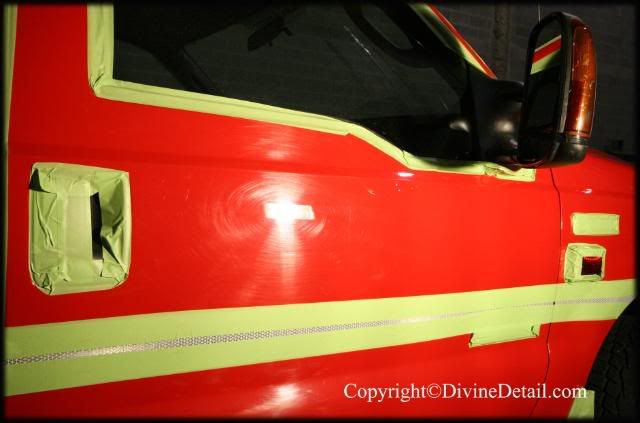
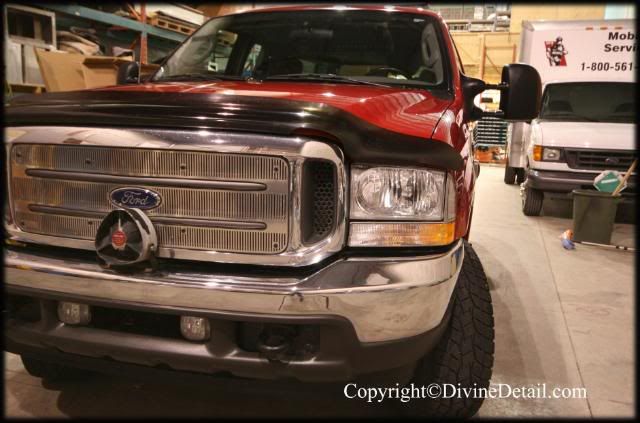
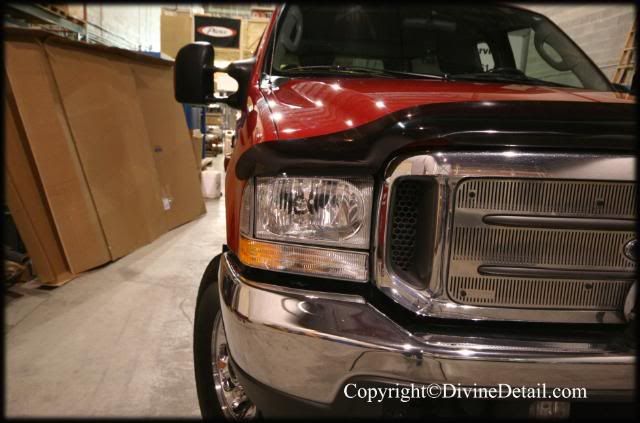
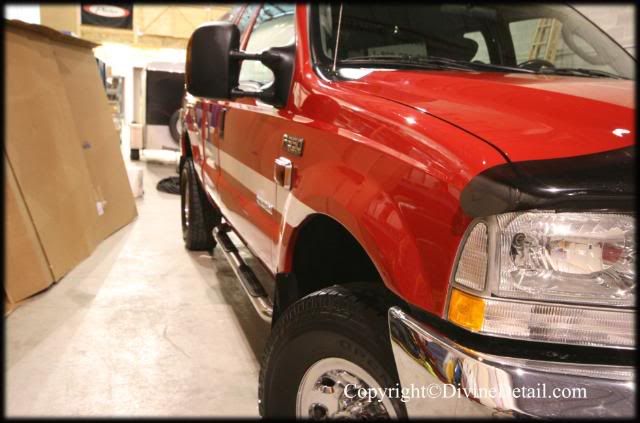
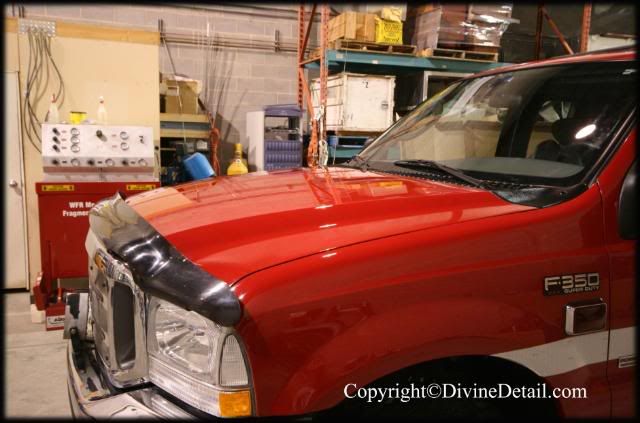
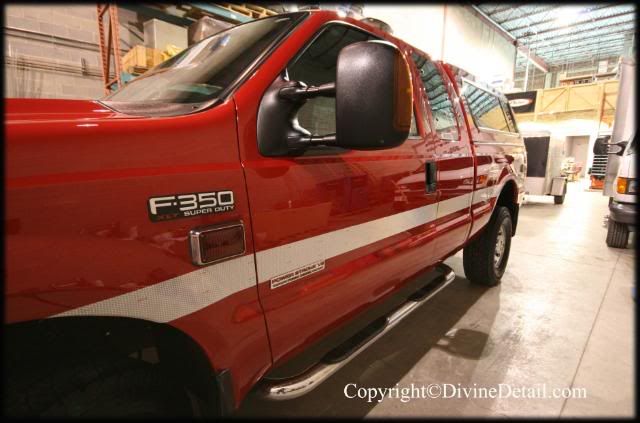
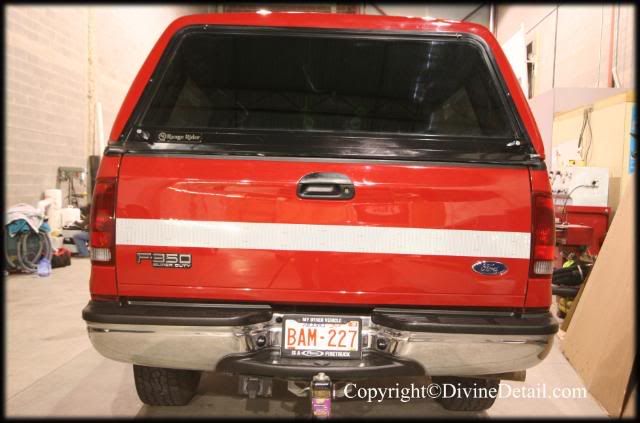
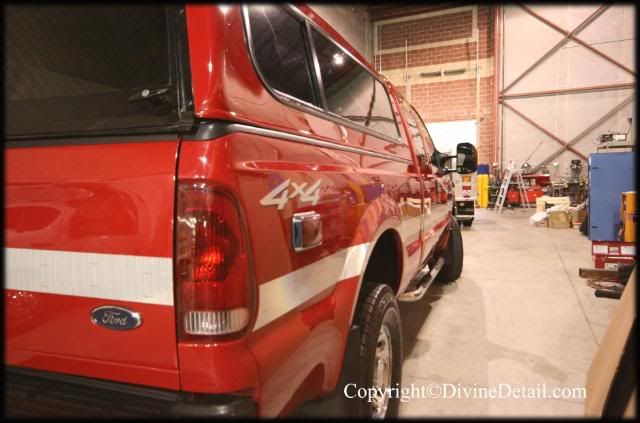
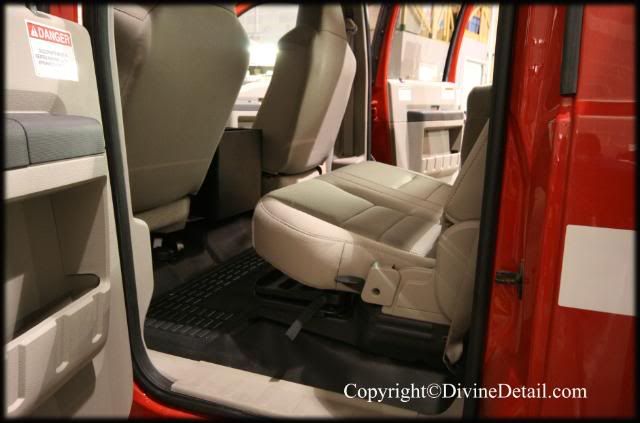
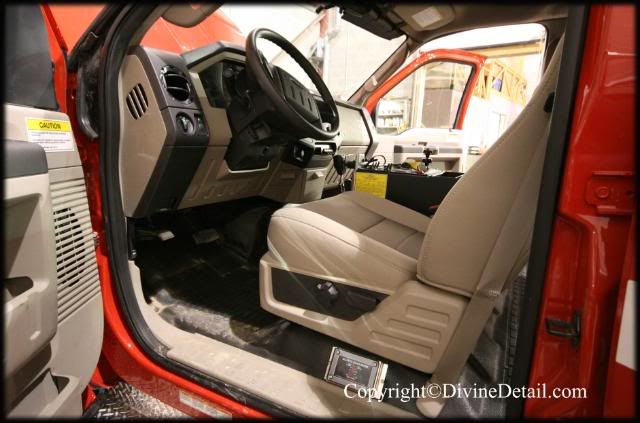
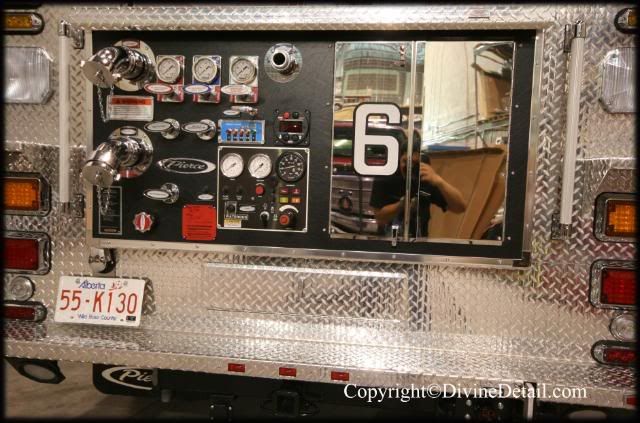
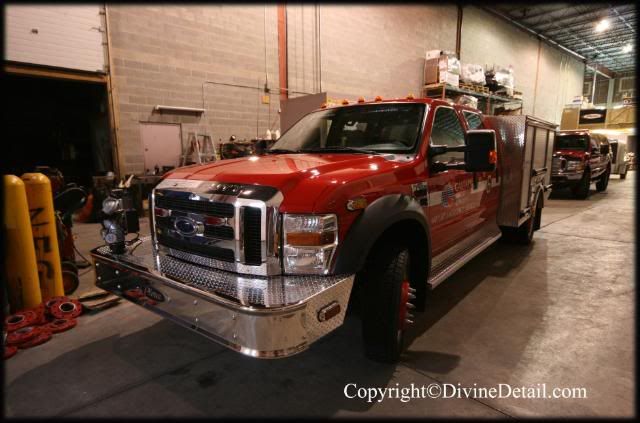
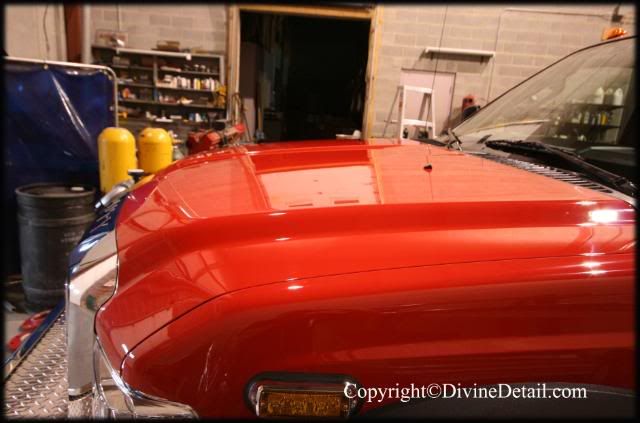
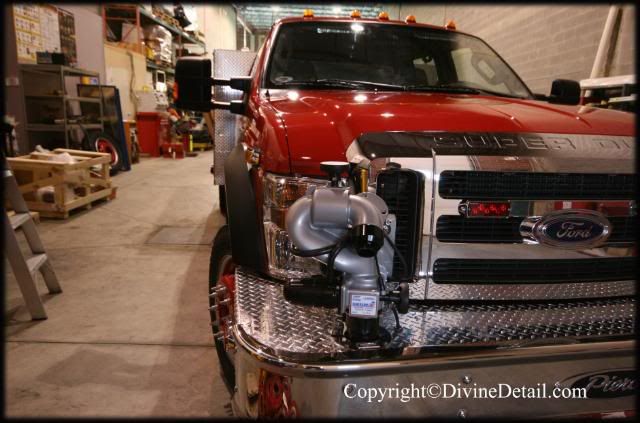
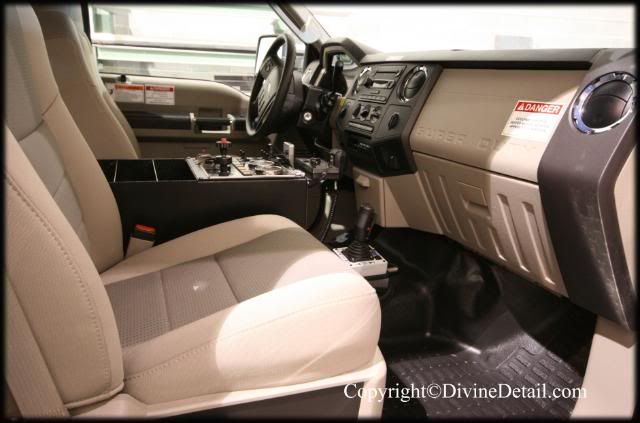
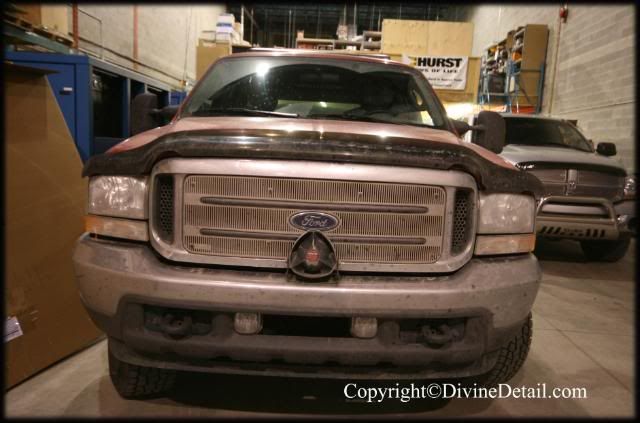
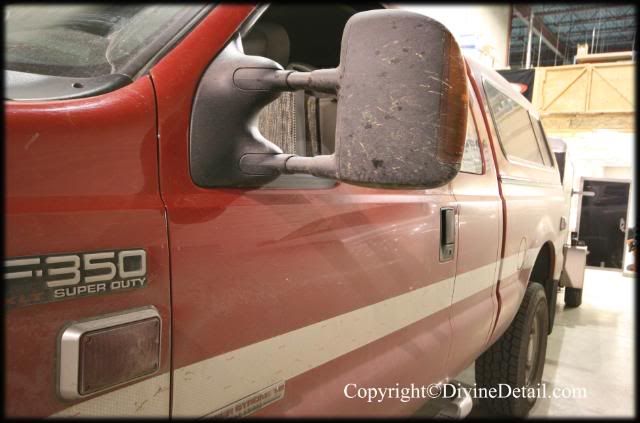
When we arrived the F-550 had not arrived to Calgary just yet so we got started with the F-350, this is what awaited us:

1copy.jpg


2copy.jpg


3copy.jpg


5copy.jpg


8copy.jpg


9copy.jpg


10copy.jpg


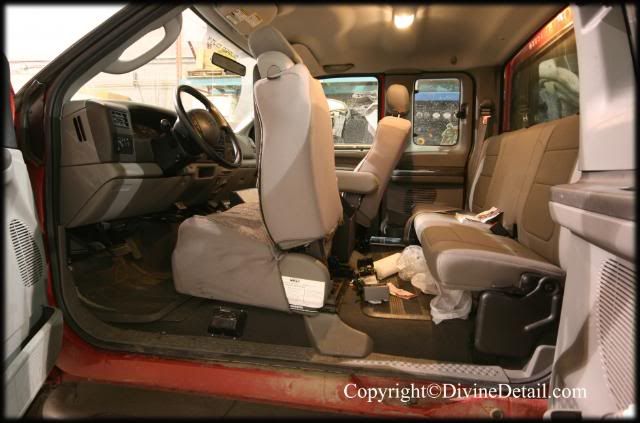
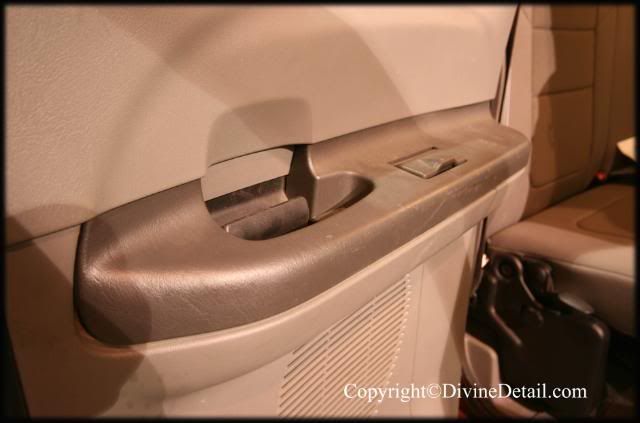
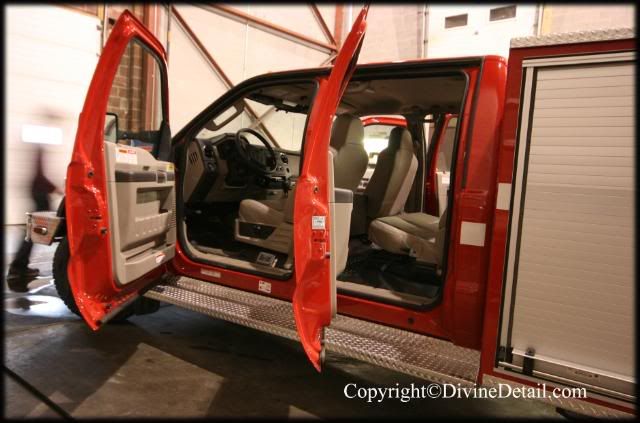
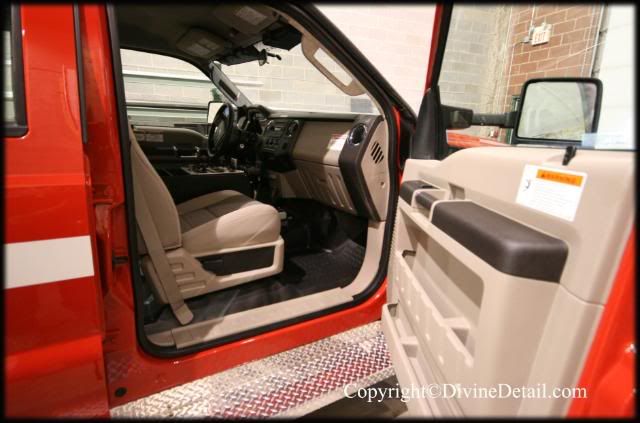
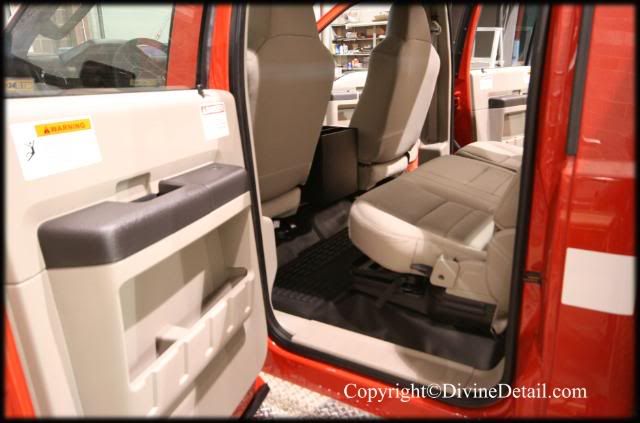
We got started with the interior, all floor mats were removed along with all personal belongings and were set inside a zip loc bag and aside wile we worked in side.


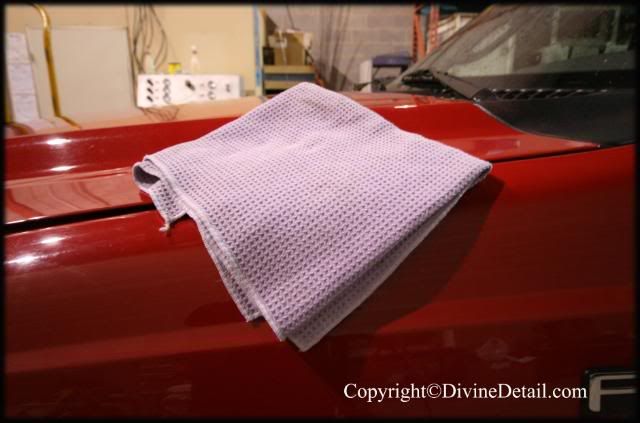
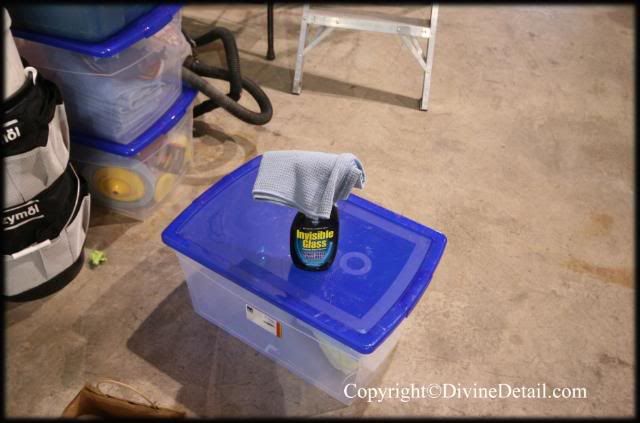
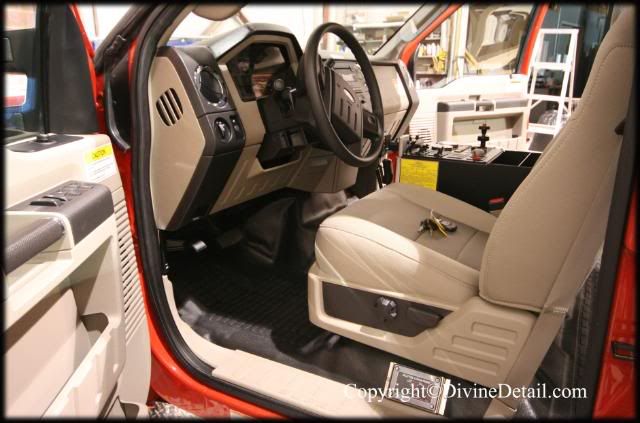
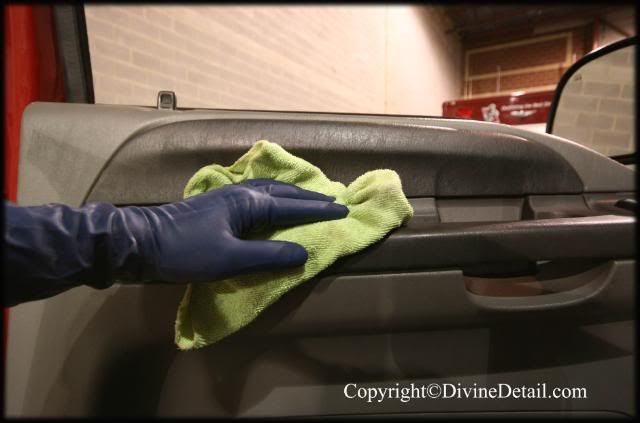
First up was to give the entire interior a wipe down, for the wipe down Meg’s APC diluted with hot water was used along with a yellow micro fiber towel:

13copy.jpg


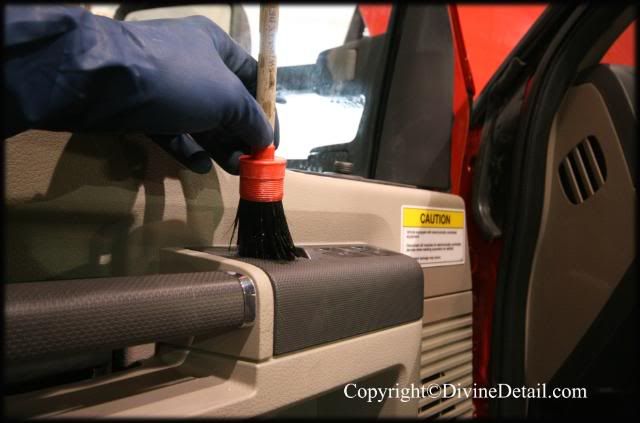
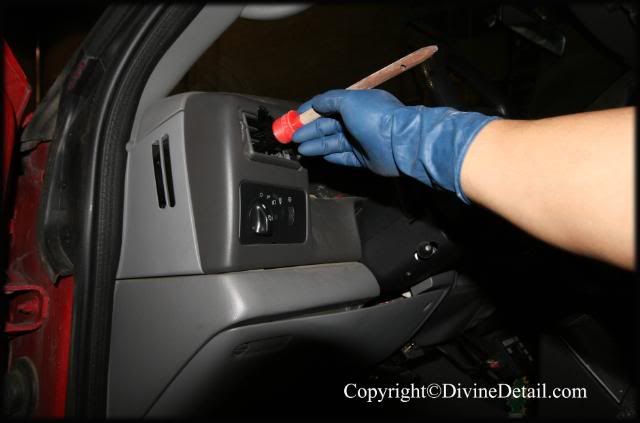
With the help of our interior Swissvax brush all vents were detailed:

15copy.jpg


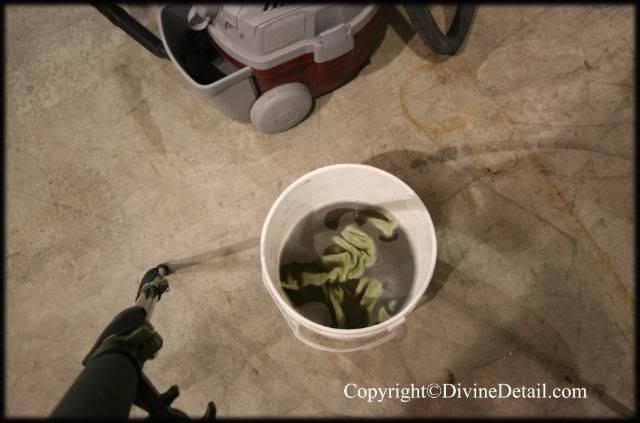
This is how the wipe down water finished off:

17copy.jpg


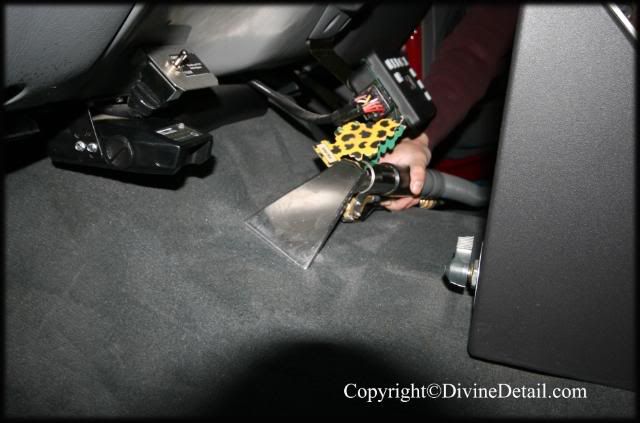
The interior received a good vacuum, once the interior had been vacuumed it was time to use our Mytee extractor:

16copy.jpg


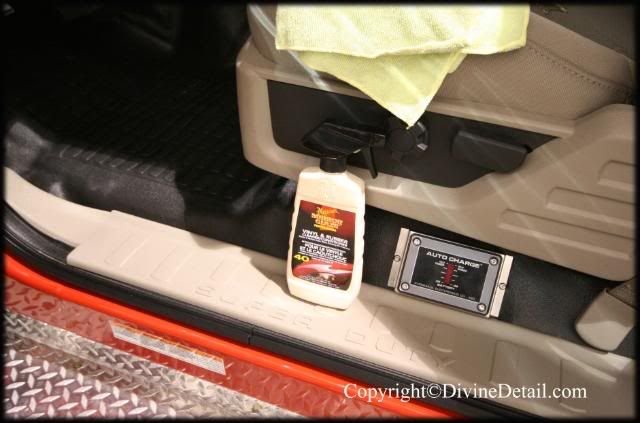
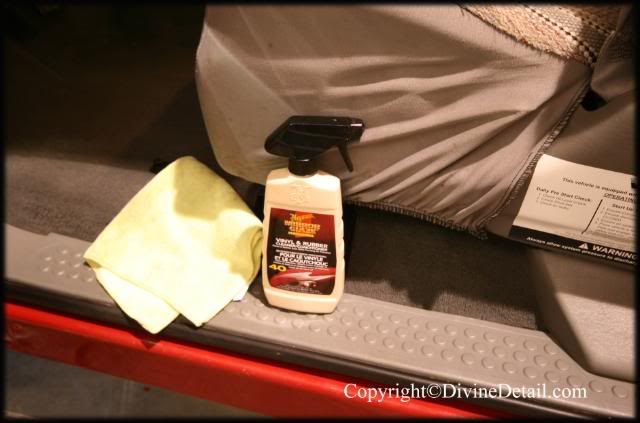
Now it was time to dress the interior, for this we used Meg’s #40 and applied with the help of a yellow micro fiber towel:

20copy.jpg


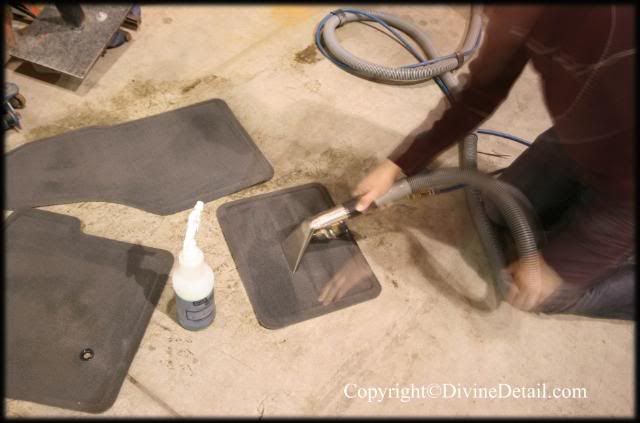
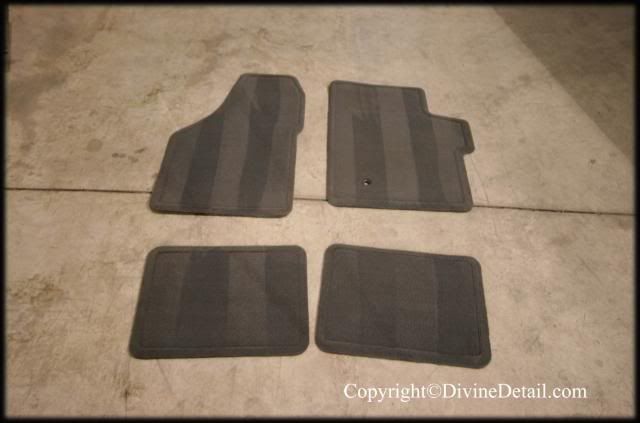
This took care off the interior, it was now time to concentrate on the floor mats, with the help of our Mytee extractor we were able to work on the floor mats:

18copy.jpg


Here is how the floor mats finished off:

21copy.jpg


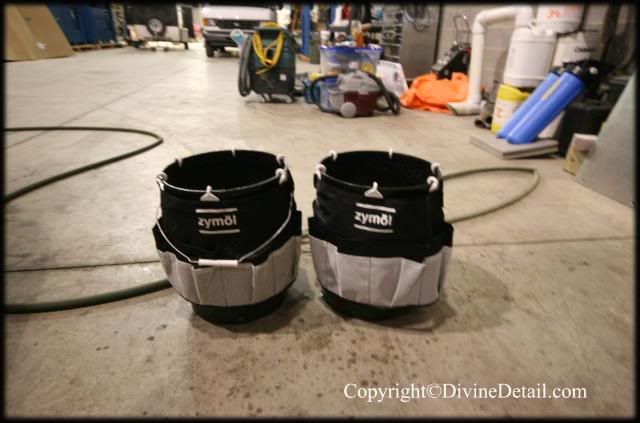
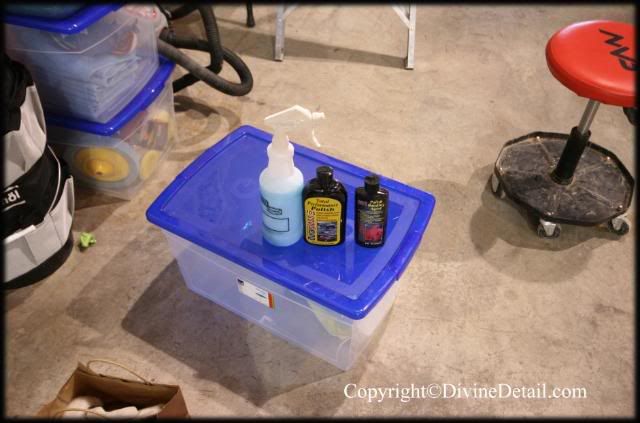
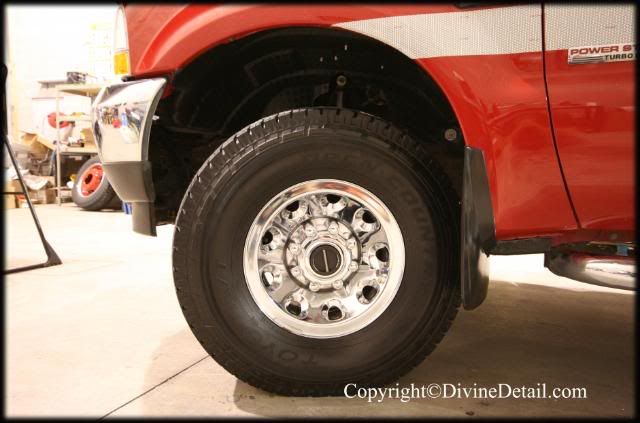
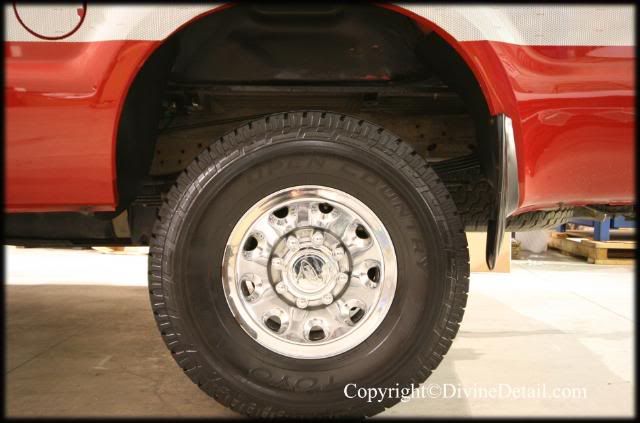
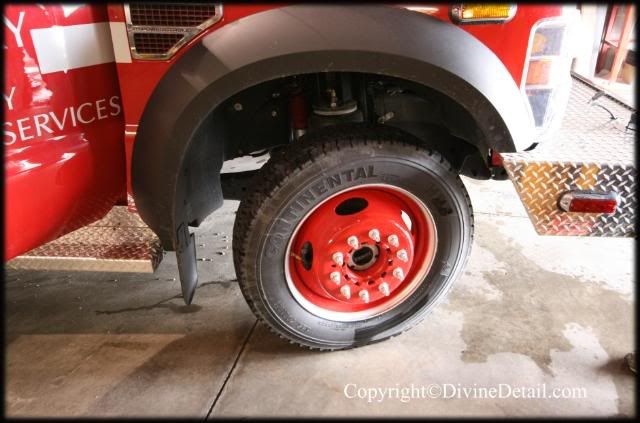
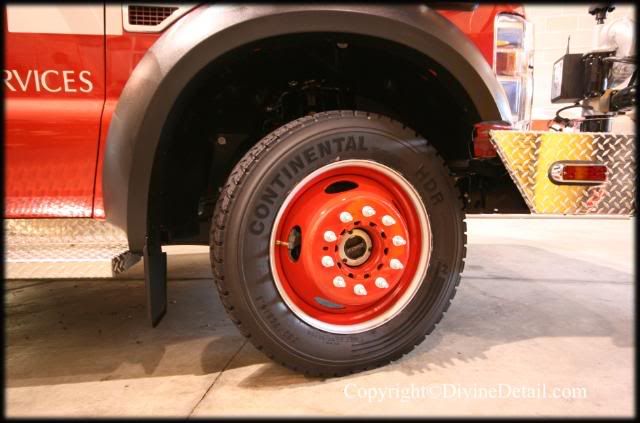
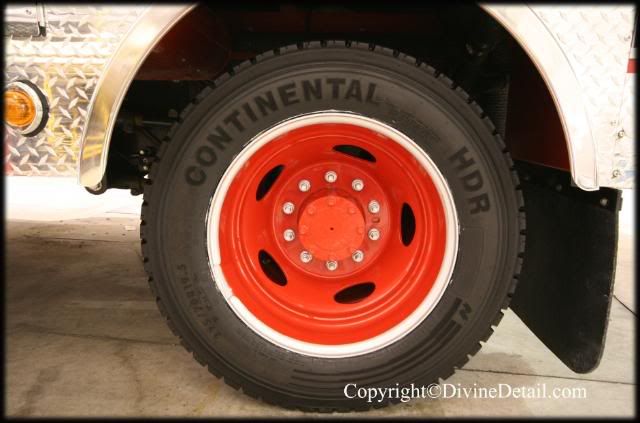
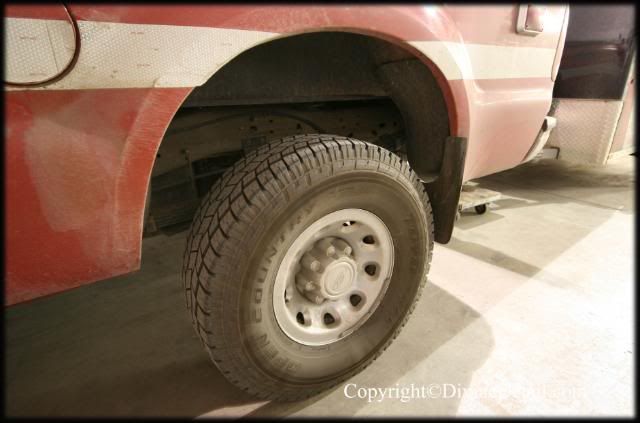
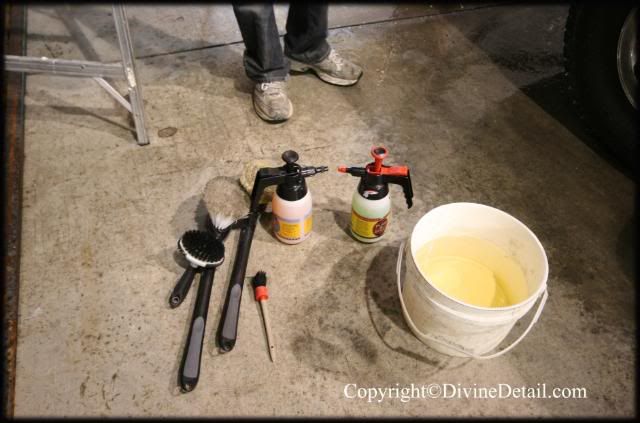
Now for the rims, first all tools were gathered:

22copy.jpg


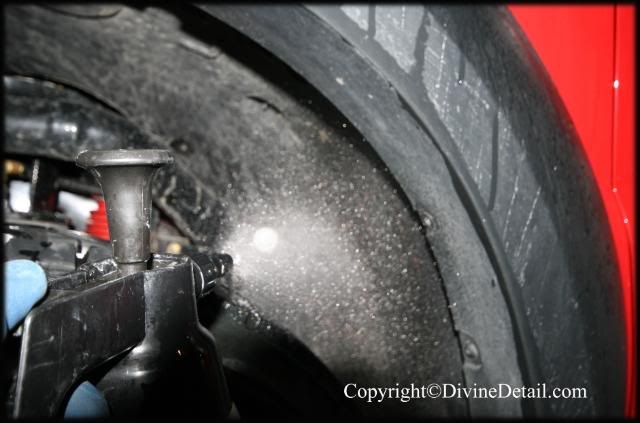
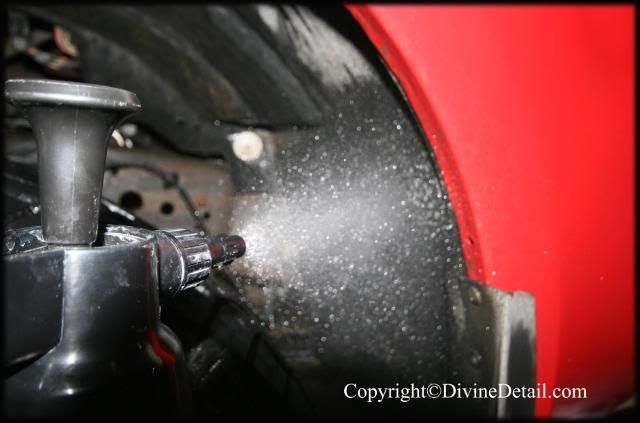
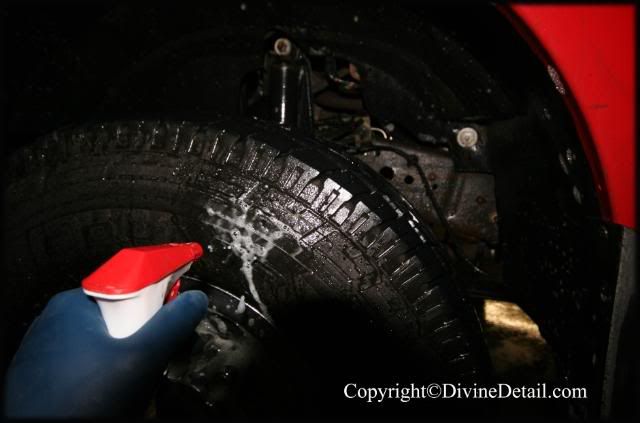
Now first up were the wheel wells, for the wheel wells P21S Total Auto Wash was applied:

24copy.jpg


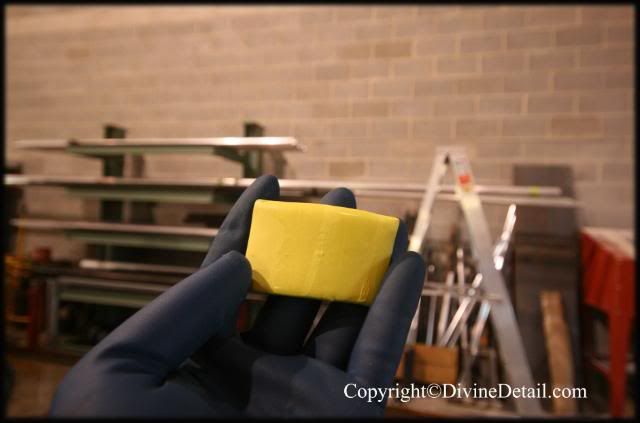
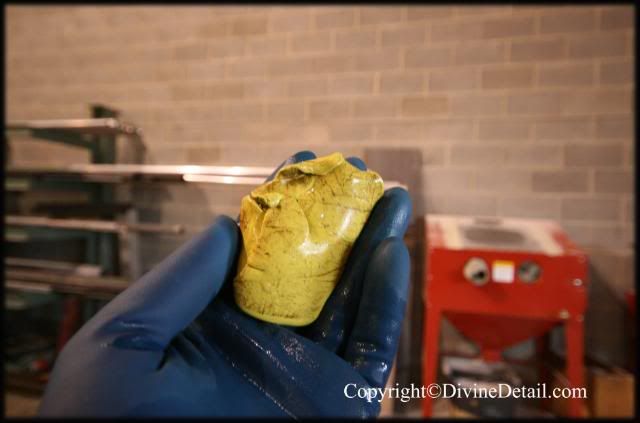
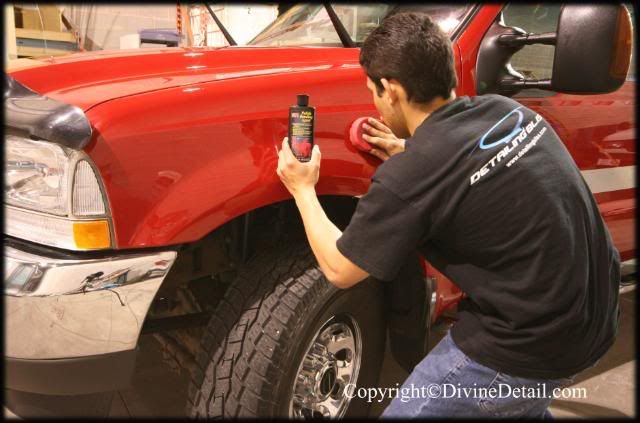
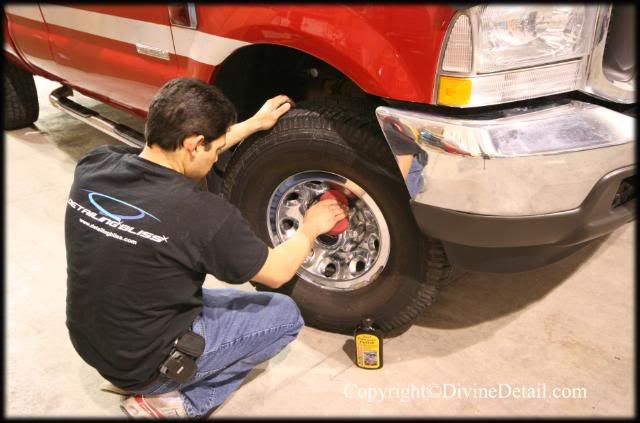
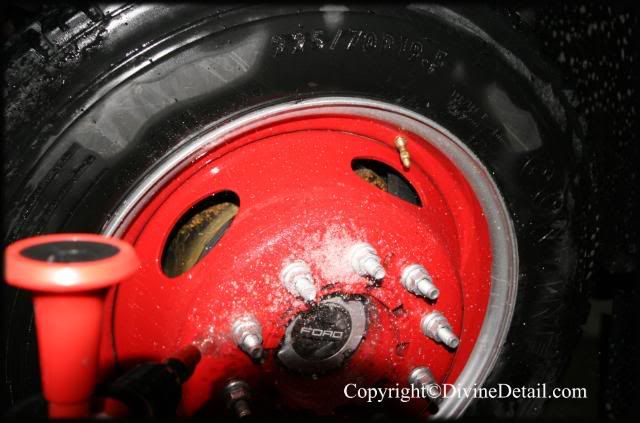
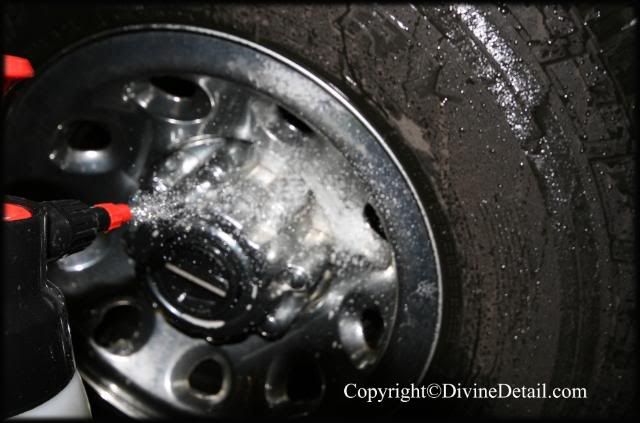
For the face of the rims P21S Gel was applied:

25copy.jpg


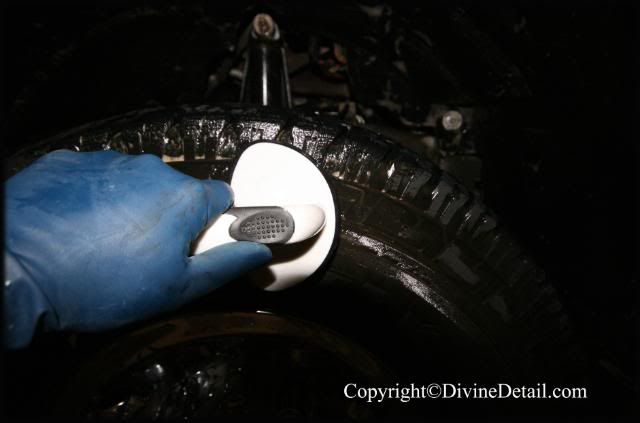
For the tires, ARO was used:

26copy.jpg


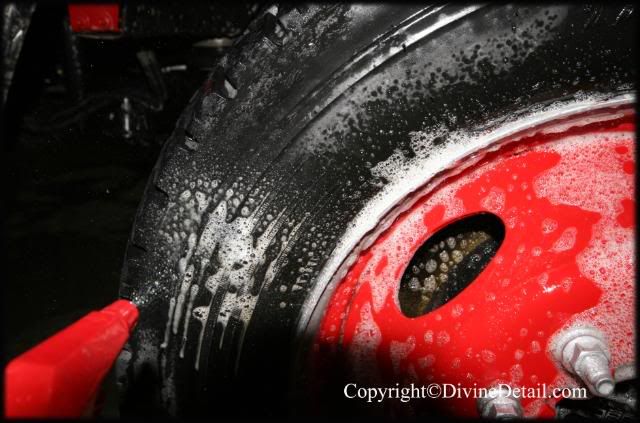
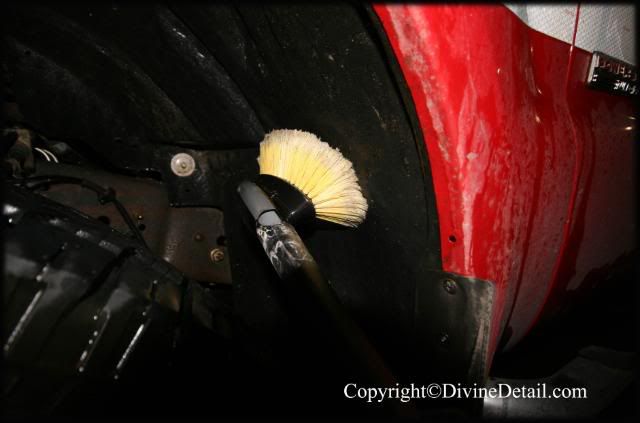
Now it was time to agitate the wheel wells, with the help of our Meg’s long handle brush we scrubbed the wheel wells:

30copy.jpg


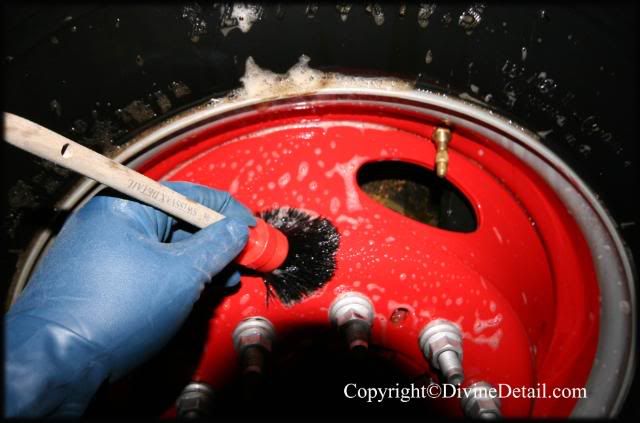
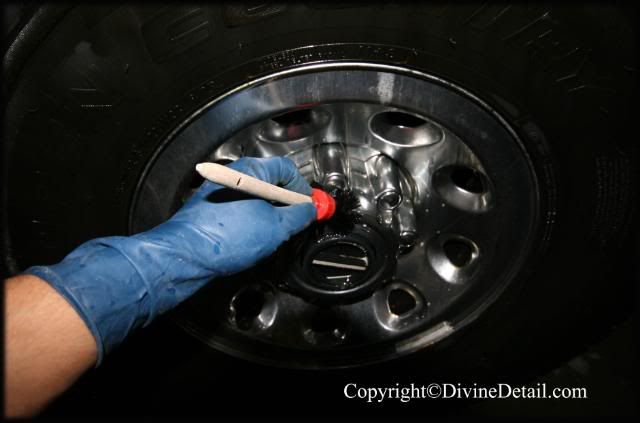
Once the wheel wells were agitated to satisfaction it was time to agitate the face of the rims, this was done with the help of our Swissvax brush:

33copy.jpg


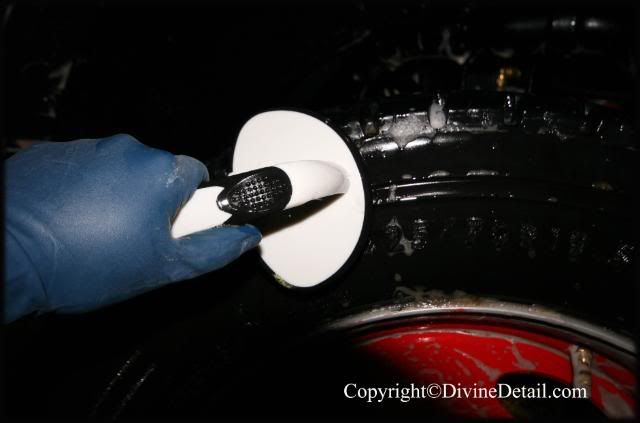
Once the face of the rims were agitated to satisfaction it was time to move on to the tires, for the tires we used our new tire brush:

36copy.jpg


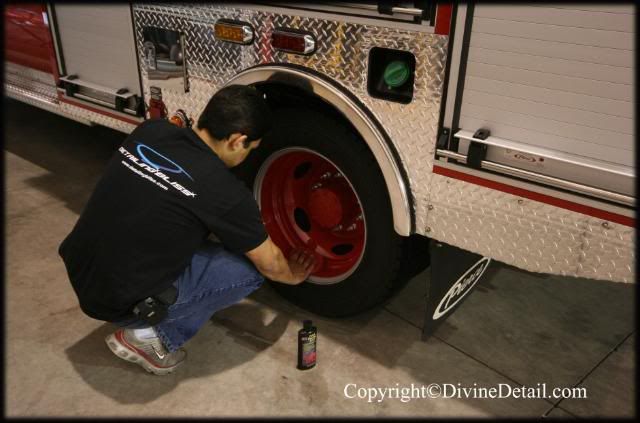
This was the process to all the rims, tires and wheel wells on this truck.


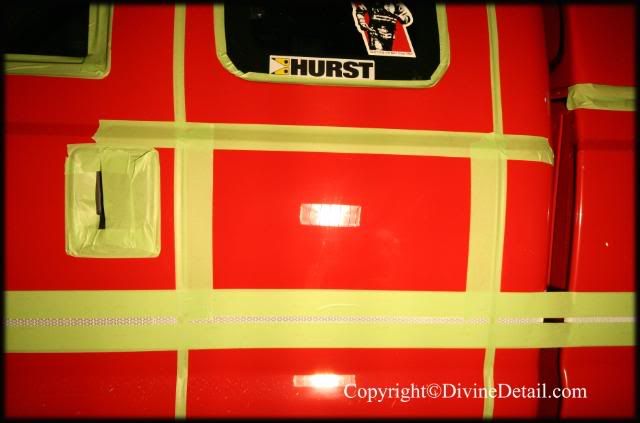
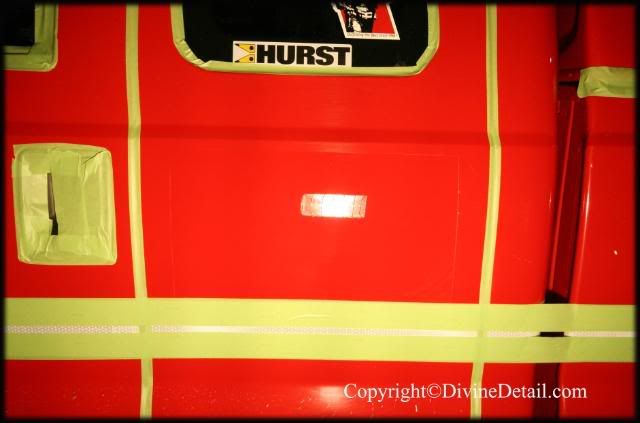
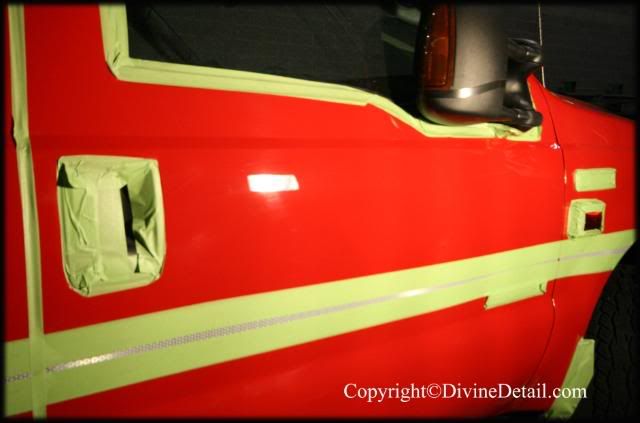
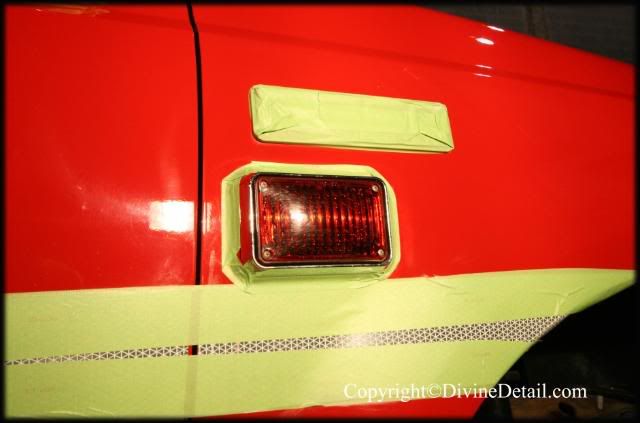
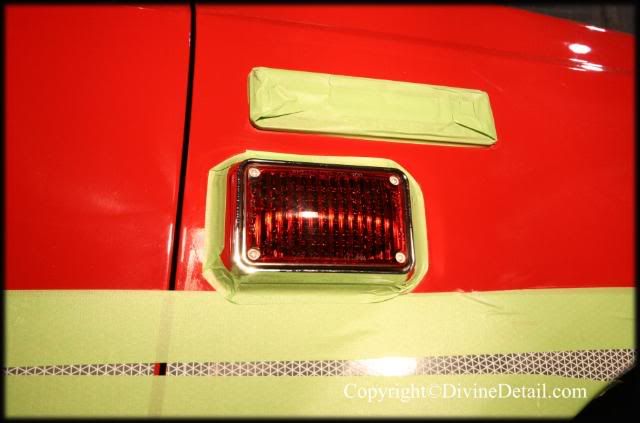
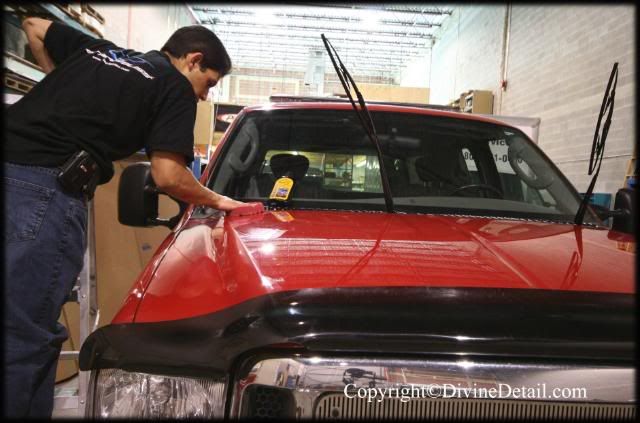
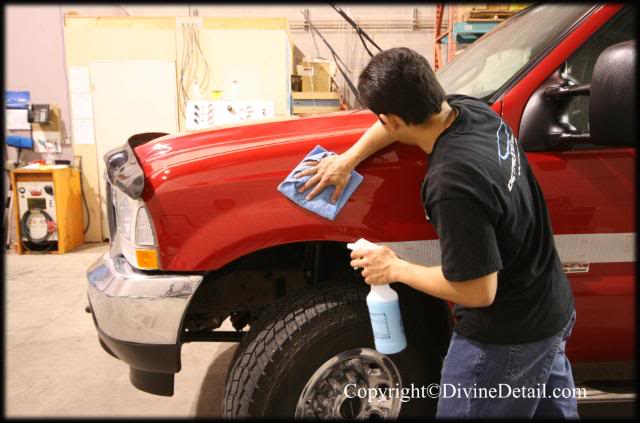
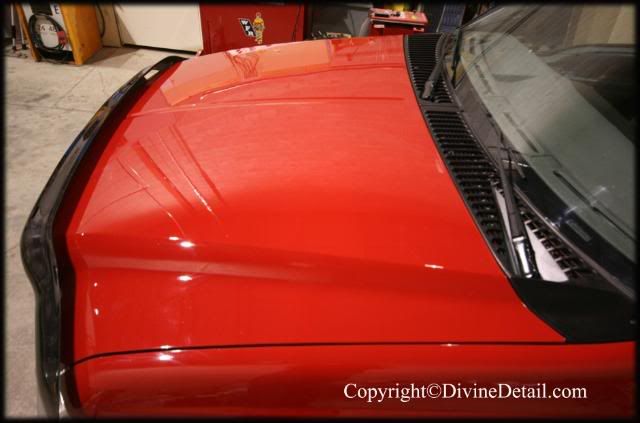
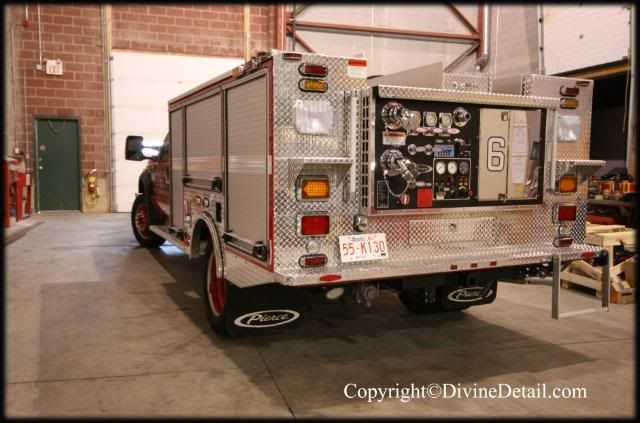
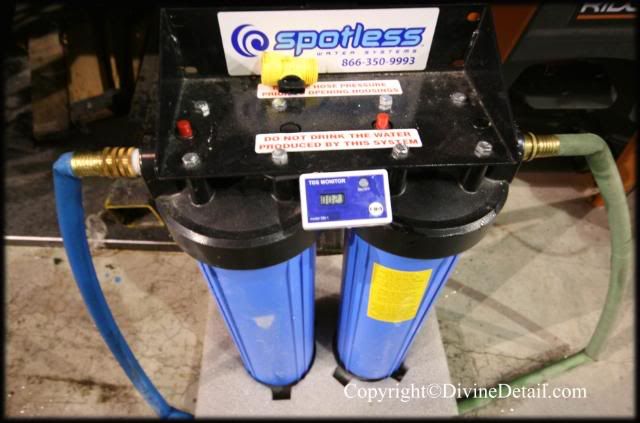
Moving along it was now time for the rest of the exterior of the truck, first we connected our CR System to obtain pure De-ionized water:

28copy.jpg
 
We then got out two buckets with grit guard ready:

27copy.jpg


The shampoo of choice is Meg’s Gold Class Shampoo.


The entire truck was washed and rinsed off with De-ionized water, once it had been completely washed and rinsed it was time to clay the vehicle. The clay of choice was Ricardo, here is the clay before the truck was clayed:

43copy.jpg


Here is the same peace when we were done claying the truck:

44copy.jpg


Once the entire truck had been clayed the truck was given a final rinse and dried of with our waffle weaved micro fiber towels:

46copy.jpg


Once the entire truck had been dried off all delicate areas were taped off and it was now time to take reading off the paint with our PosiTector 6000.


Here are the paint gauge readings from out PosiTector 6000:

Paintgaugereadingsbeforepolishing.jpg


This particular truck had plenty of clear coat the average being in the 200micron range, plenty of paint/clear coat for the paint correction process.


Now to see what we were up against:

66copy.jpg


73copy.jpg


75copy.jpg


76copy.jpg


79copy.jpg


87copy.jpg


This was the worst part and this was on the roof of the canapy of the truck, now we knew that the scratch was too deep and no way we would be able to remove it but we knew we could improve on the appearance of the scratch.


Well a section was taped off to see which combo would be best to go with and here is the section:

63copy.jpg


As you can see we had plenty of paint correction to do:

64copy.jpg


Now we always start from less aggrieve and work our way from there, so we decided to try 85RD3.02 with a 3M (UK version) pad at 1500 RPM and this combo turned out to be quite weak for this clear coat, we then bumped up the pad to a Meg’s cutting pad (maroon colour) with 85RD3.02 at 1500 RPM and this combo also turned out to be quite weak.


Well we then bumped up the polish to Menzerna Power Gloss with the Meg’s cutting pad (maroon colour) with Makita at 1500 RPM, followed up with Menzerna 85RD with a blue 3M (UK Version) Polishing pad, here is Mike working with this combo:

65copy.jpg


Here are the end results of the test section:

68copy.jpg


71copy.jpg


Here is a 50/50 of the test section:

70copy.jpg


Well these results were quite satisfactory and this is the combo we marched on for the rest of the vehicle.


Here are some pictures during the polishing process:

Before of the roof:

85copy.jpg


After:

84copy.jpg
 
Now before we continue, seeing as we were using Menzerna Power Gloss and multiple stage correction we decided to use our System 2000 to clean our foam pads on a regular basis:

86copy.jpg


The System 2000 came in really handy for this truck as the truck is quite large and it’ panels are quite long, that and by cleaning the pads on a regular basis we were able to maintain the dusting to a minimum.


Driver side tail lights before:

88copy.jpg


After:

89copy.jpg


Rear tail gate (left side) before:

91copy.jpg


After:

92copy.jpg


Pasenger tail light before:

95copy.jpg


After:

96copy.jpg


Passenger rear quarter panel before:

97copy.jpg


After:

98copy.jpg


Rear Passenger door before:

99copy.jpg


After:

101copy.jpg


Passenger door before:

104copy.jpg


After:

106copy.jpg


Passenger red light before:

124copy.jpg


After:

125copy.jpg


Passenger head light before:

132copy.jpg


After:

134copy.jpg


Well this completes the paint correction and by now time got the best of us and it was well over 3:00 AM, we removed all the tape from the truck and gave the truck a final wipe down to remove the famous white polish residue left over from the tape and also gave the truck a final paint inspection as well.


This concludes day one.


Day two:


After a good night sleep it was time to finish of this truck as we still had the other F-550 to complete.


First, all the windows were given a thorough clean with the help of Stoners Invisible Glass and a glass towel:

144copy.jpg


Then it was time to protect all the paint correction we had done the previous day to the vehicle, for this the customer wanted a sealant and we went with the following:

145copy.jpg


Fist up the entire vehicle along with all windows, mirrors, head lights, tail lights and rims received a healthy coat of Duragloss Polish Bonding Agent 601 applied with a red applicator:

146copy.jpg


Wile DG#601 was still on the surface of the vehicle Duragloss Total Performance Polish 105 was applied with a second red foam applicator:

148copy.jpg


Rims also received a healthy coat of DG#105 on top of DG#601:

151copy.jpg


The sealant was left to bond on the surface for several minutes, wile the sealant was bonding it was time to treat all the exterior plastic trims with Black WOW. The tires received a coat of Optimum Tire Gel and wheel wells received a coat of Optimum Protection Pluss.


Now it was time to remove DG#105, now to remove we used DG AW to give it that extra gloss:

152copy.jpg


With the help of our favorite micro fiber towel, The Cookie Monster, DG#105 was removed:

153copy.jpg


This concludes the first truck and here are some pictures to show the end results:

155copy.jpg


156copy.jpg


157copy.jpg


158copy.jpg


159copy.jpg


160copy.jpg
 
169copy.jpg


171copy.jpg


173copy.jpg


174copy.jpg


176copy.jpg


177copy.jpg


178copy.jpg


179copy.jpg


186copy.jpg


189copy.jpg


Very satisfied with the rims, tires and wheel wells.


Well this concludes one truck now on to the next truck, now keep in mind that this truck is brand new and just arrived from the US, here is what we were up against:

47copy.jpg


48copy.jpg


49copy.jpg


As you can see the back is hardly dirty.


50copy.jpg


The driver side on the other hand required some attention.


60copy.jpg


Well as usual we begging in the interior, normally we would remove all personal belonging but since this truck is brand new there were no personal belongings, well on with the wipe down, for all vents and hard to reach areas we used our Swissvax brush:

61copy.jpg


Once the interior had received a full wipe down it was time to give the interior a full vacuum.


The interior was dressed with Meg’s #40 and a yellow micro fiber:

62copy.jpg


This takes care of the interior, glass is usually left for last.


Now on to the rims, tires and wheel wells. First up we used P21S Total Auto Wash on the wheel wells:

138copy.jpg


Next we used P21S Gel on the face of the rims:

139copy.jpg


Then ARO was applied to the tires:

140copy.jpg


Now it was time to agitate the wheel wells, for this we used our Meg’s long handle brush:

141copy.jpg


With one of our Swissvax brush we agitated the face of the rim:

142copy.jpg


The tires were scrubbed with our new tire brush:

143copy.jpg


This process was carried out for all the tires, rims and wheel wells.


Then it was time to wash the rest of the truck and we once again connected the CR System. As usual we used the two bucket method with grit guard and once again the shampoo of choice is Meg’s Gold Class Shampoo.


Once the entire truck had been washed it was dried with the help of an air compressor and all assess water was removed with our waffle weaved micro fiber towels.


Now I was time to apply Duragloss sealant on the truck, like the previous truck first up Duragloss Polishing Bonding Agent 601 was applied to the entire vehicle along with all windows, mirrors, head lights, tail lights, rims and all chrome peaces received a healthy coat of Duragloss Polish Bonding Agent 601 applied with a red applicator:

147copy.jpg


Followed up with Duragloss Total Performance Polish 105 applied with a second red foam applicator.


DG#105 was left to bond for several minutes, mean wile all exterior plastic trims received a coat of Black WOW. Tires were dressed with Optimum Tire Gel and wheel wells were dressed with Optimum Protection Plus. Windows received Stoners Invisible Glass wiped off with our glass micro fiber towel.


Now it was time to remove DG#105, for this once again we used a Cookie Monster micro fiber towel along with DG AW and we were left with the following results:

190copy.jpg
 
206copy.jpg


207copy.jpg


208copy.jpg


Ah yes, now this is how the interior of a brand new vehicle should look.


214copy.jpg


212copy.jpg


216copy.jpg


217copy.jpg


Well this concludes the second truck and the second day.


As usual comments are always welcomed hope you enjoyed.
 
Denzil said:
WOW, amazing results! Looked like a very long and tiring job. I love your thorough and detailed C&B's!!!

Thanks, it was a long day but wel worth it...

jgh1987 said:
amazing work! that 350 must of been a bear to work on

thanks, and yeah the 350 was HUGE, and had some hard clear but the turn around was good

themightytimmah said:
Love the interior turnaround on that first one. Where did you get that SV brush from?


Thanks, and the SV brushes came from Swissvax, i know eshine and detailers domain both carry SV stuff
 
great job man. where did you get all the products you used on the wheels/wheel wells including the sprayers, etc. also the swissvax brush. (including p21 s products, etc) I'd like to order all that stuff.
 
AWESOME, AWESOME, AWESOME!!!!


I'm a huge fan of big trucks (rigs, fire, etc) and those look killer, tough job, came out astounding.
 
Wow nice work, first I seen of an Auotpian public service utility vehicles, hope those guys keep it looking nice and feel proud to drive it !
 
Back
Top