Divine Detail - 2007 Acura MDX SH-AWD

This was quite the detail, the owner just purchased this vehicle and wanted the vehicle looking its best, this particular vehicle was booked for a full exterior paint correction and it was booked for a full two day. The vehicle:
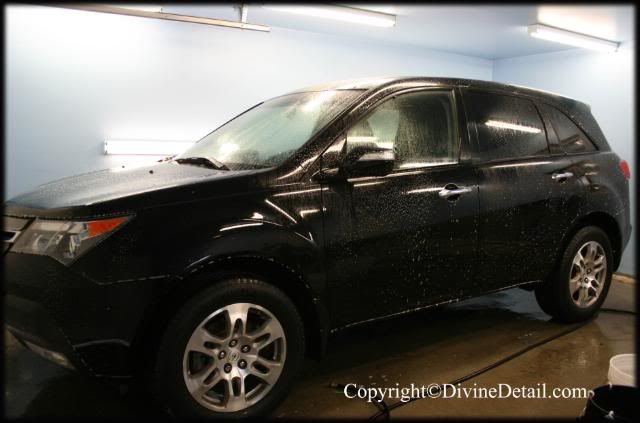
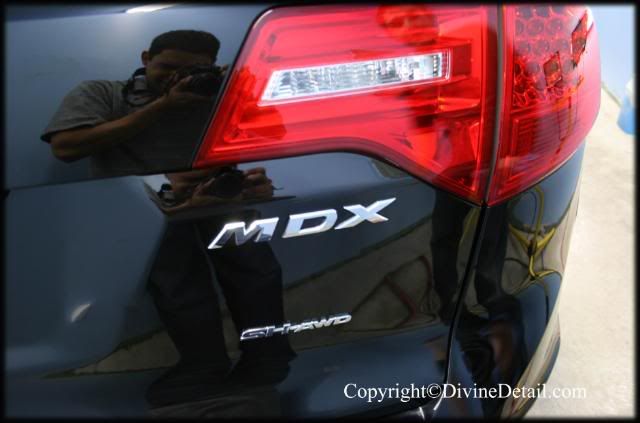
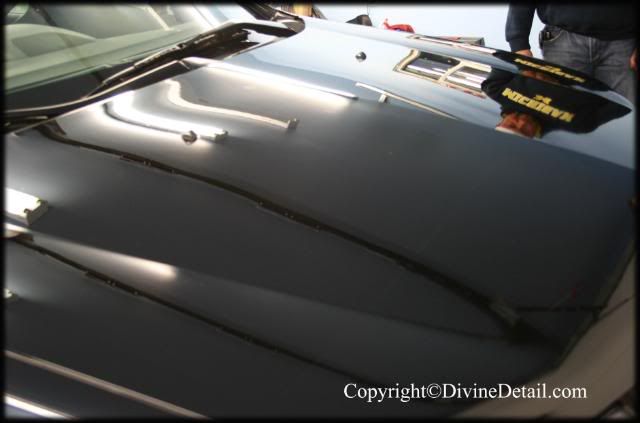
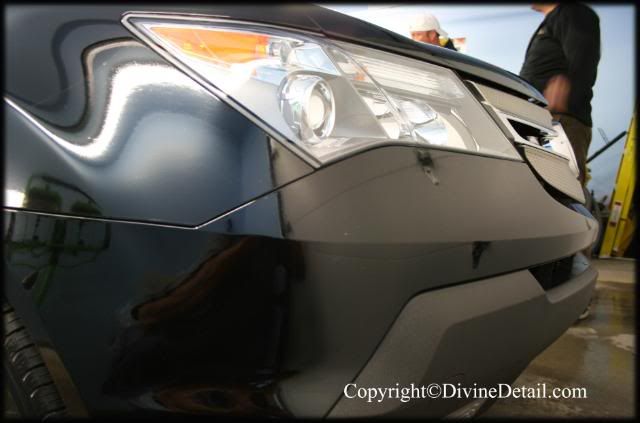
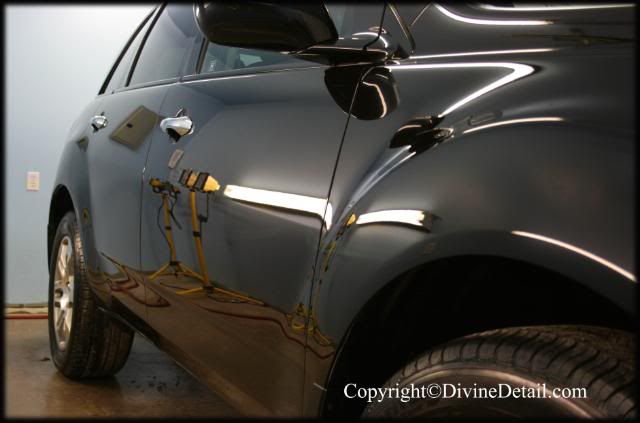
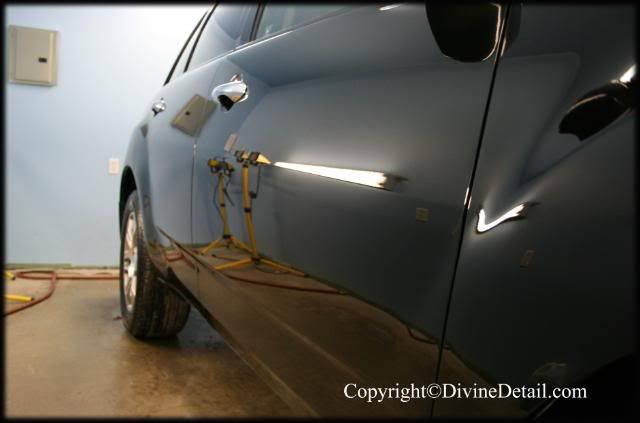
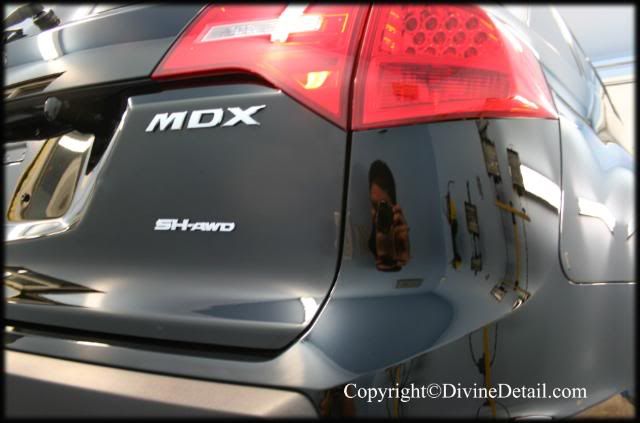
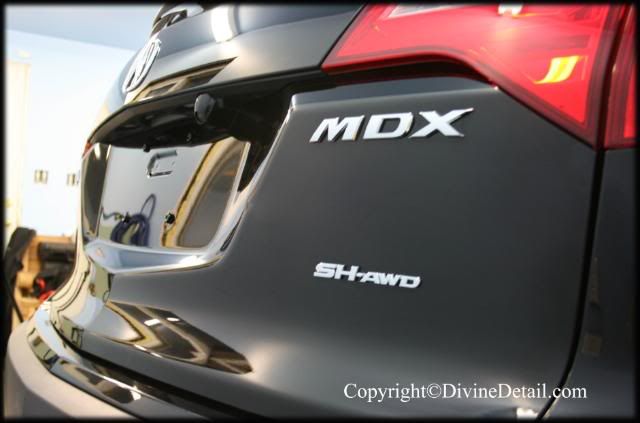
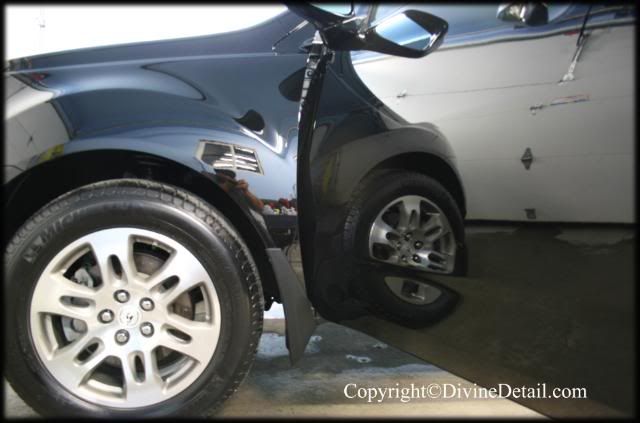
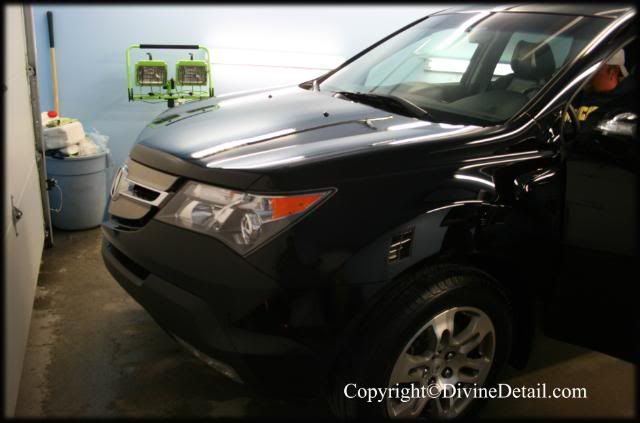
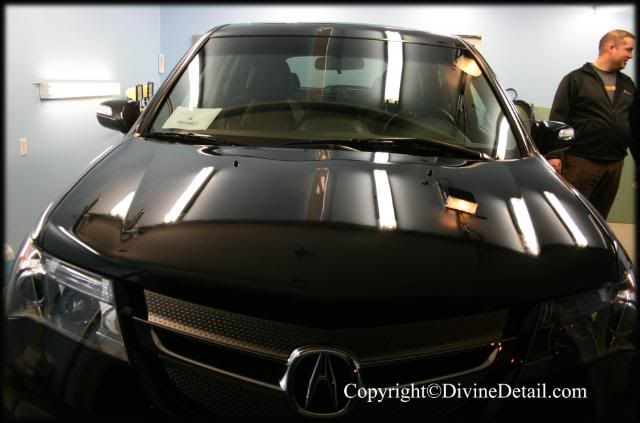
2007 Acura MDX
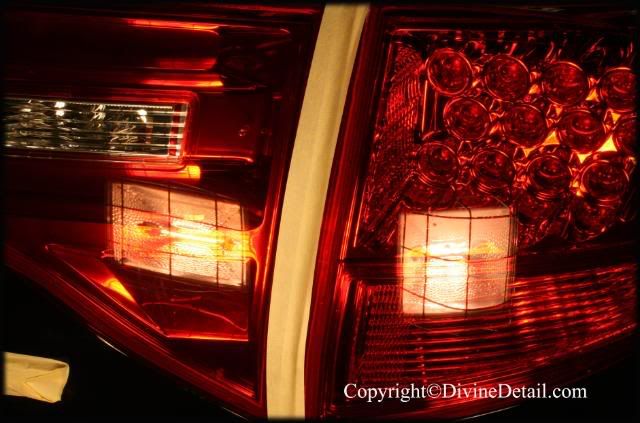
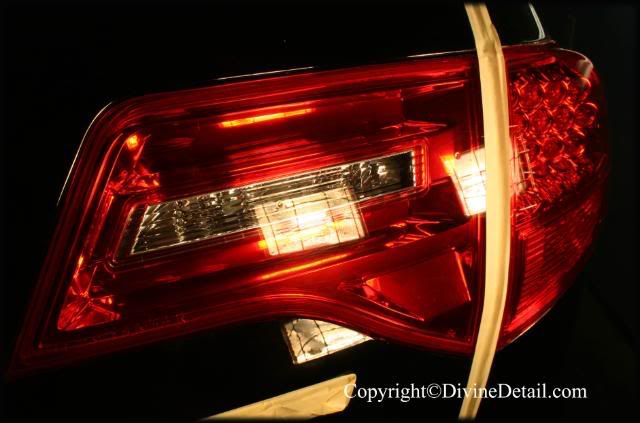
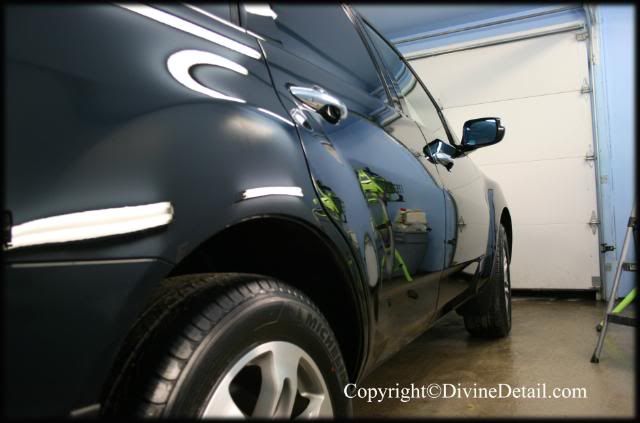
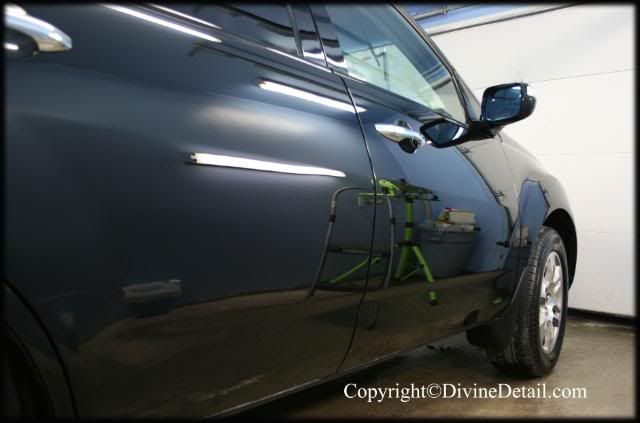
Now this is the vehicle delivered to us:
2copy.jpg

1copy.jpg

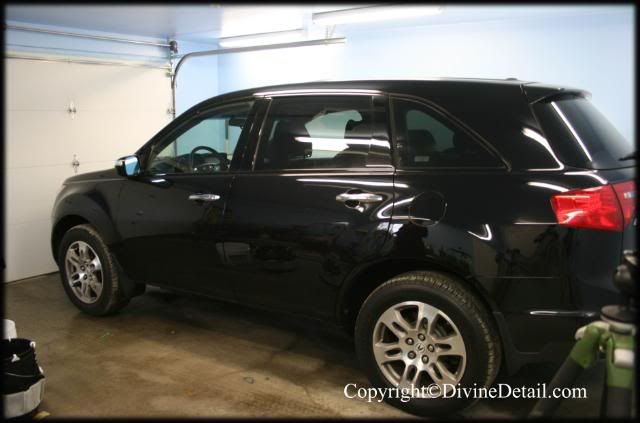
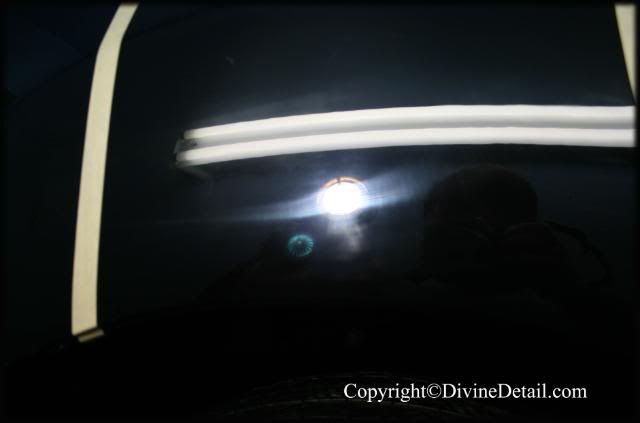
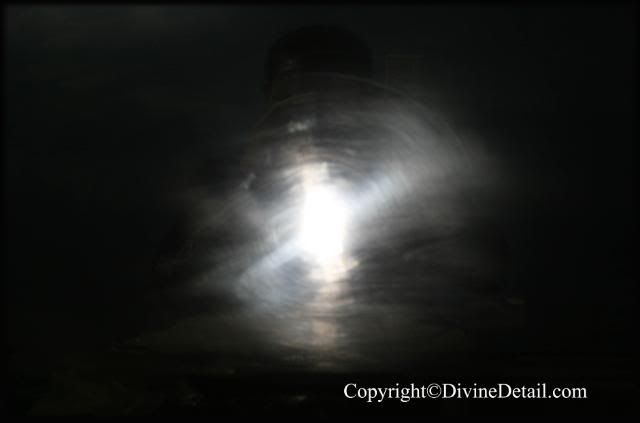
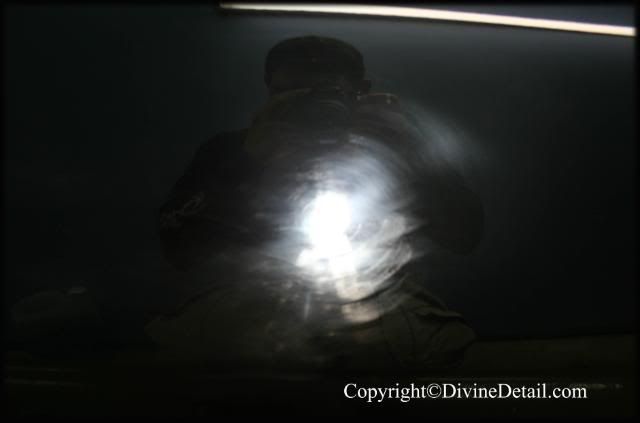
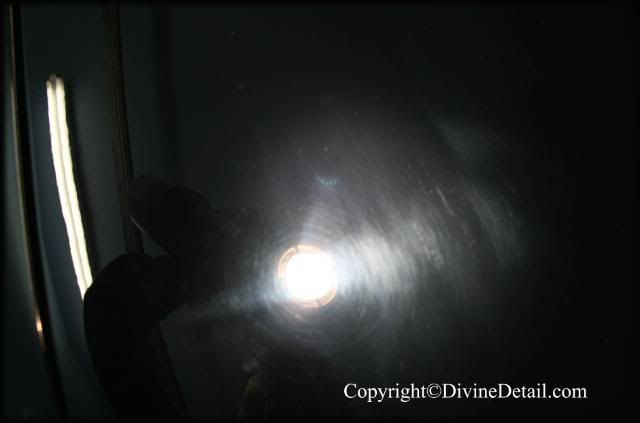
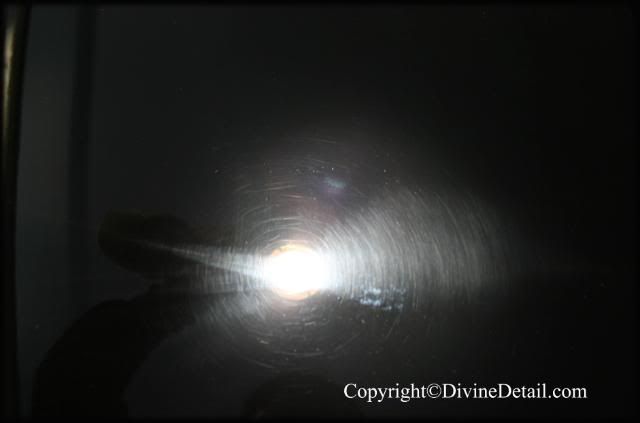
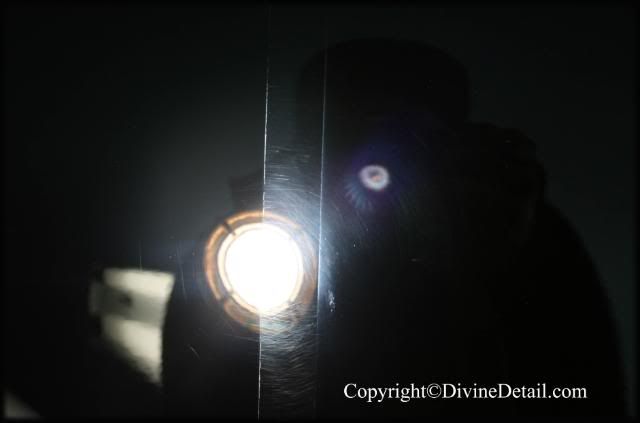
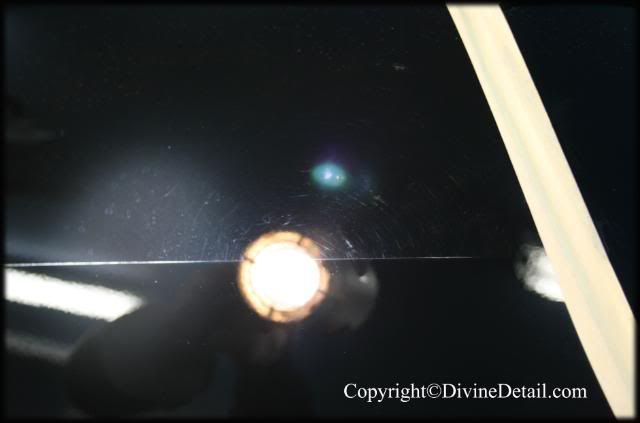
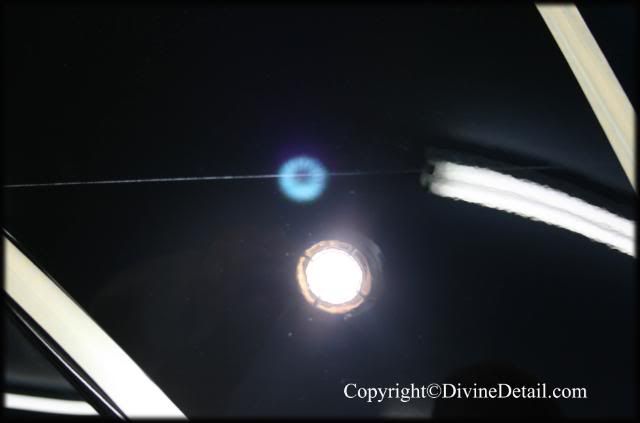
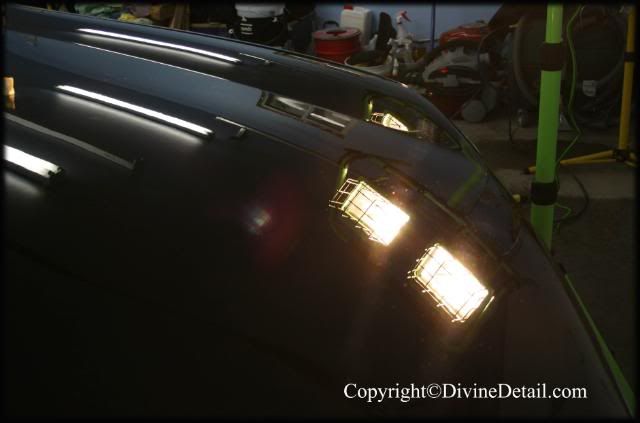
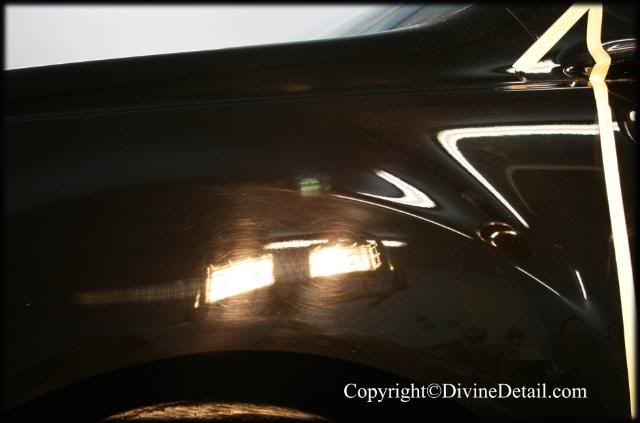
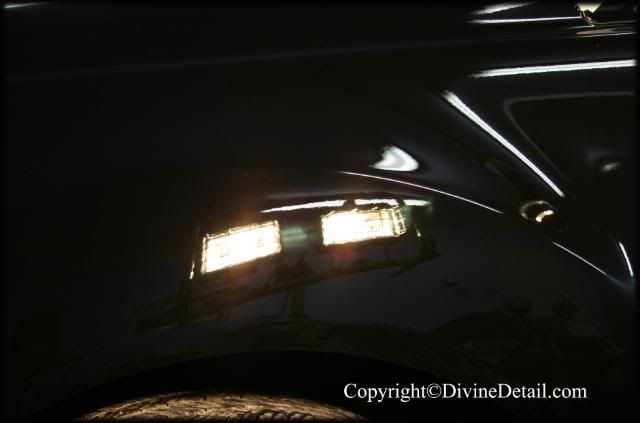
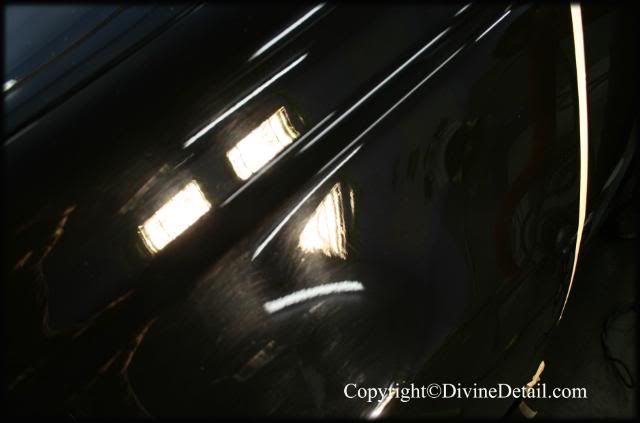
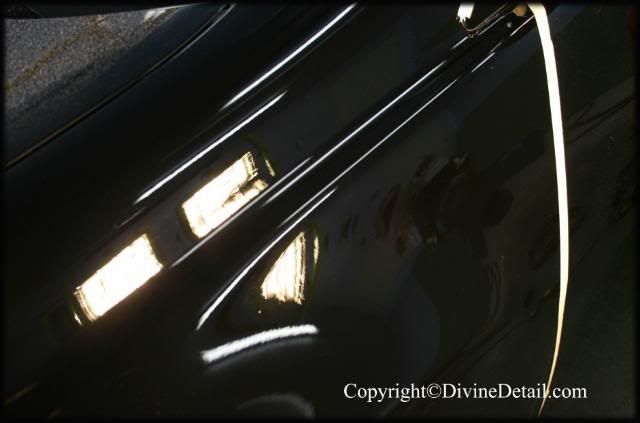
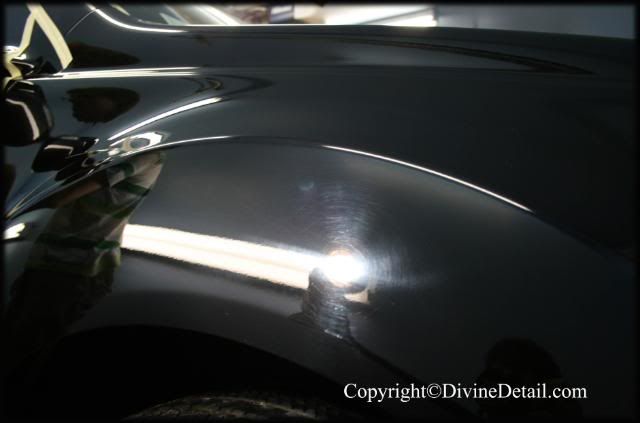
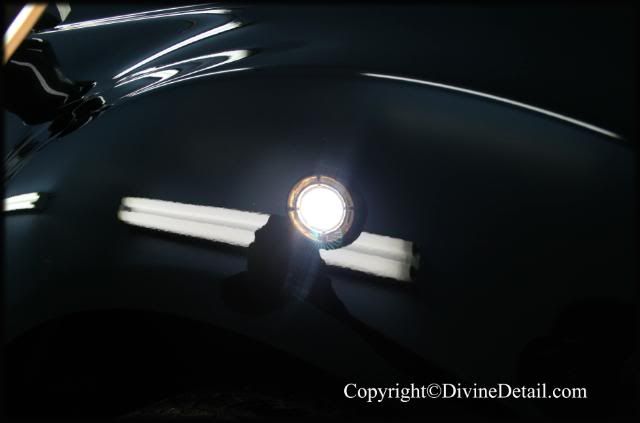
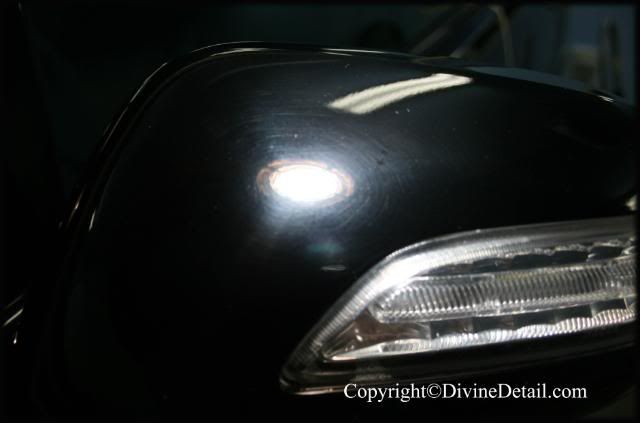
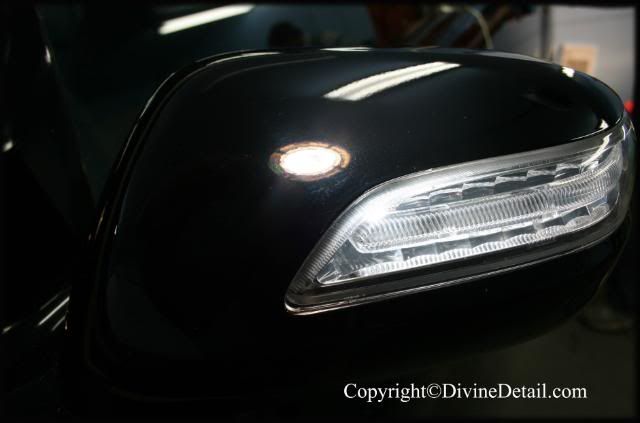
These pictures are quite deceiving as the vehicle “appears” to be in good conditions but it’s far from it. Well on with the detail.
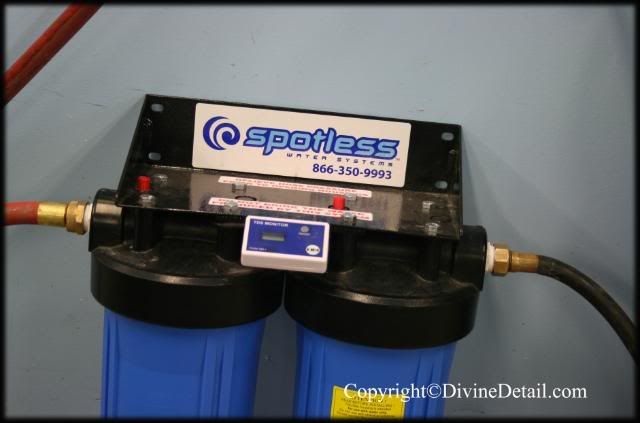
First of all the CR Spotless System is connected and ready to go:
4copy.jpg

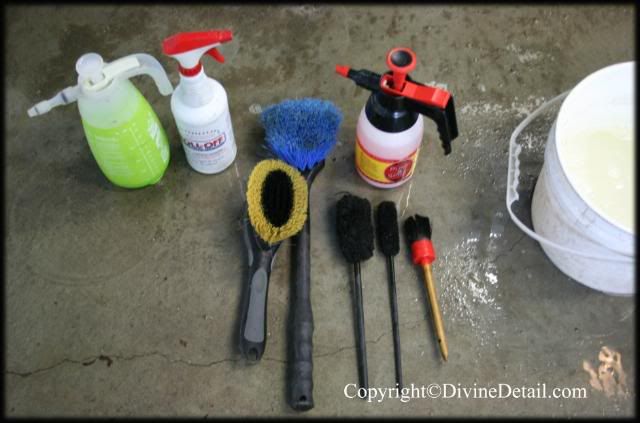
Tools are picked out to start with the wheel wells, rims and tires:
6copy.jpg

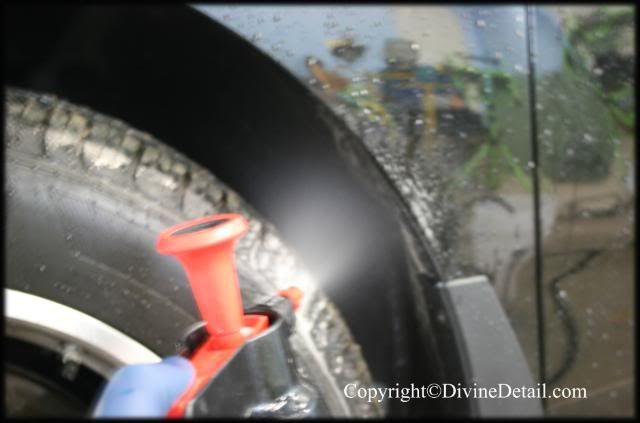
First the entire vehicle was given a rinse, then the wheel wells were given a healthy coat of P21S Total Auto Wash:
7copy.jpg

Wile letting Total Auto Wash duel, P21S Gel was used on the rims, first the face of the rims:
8copy.jpg

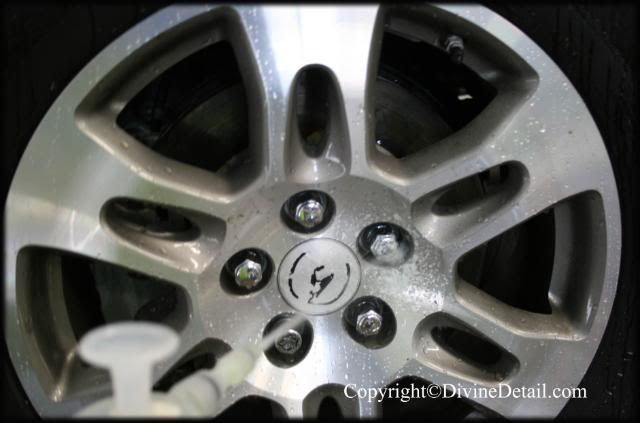
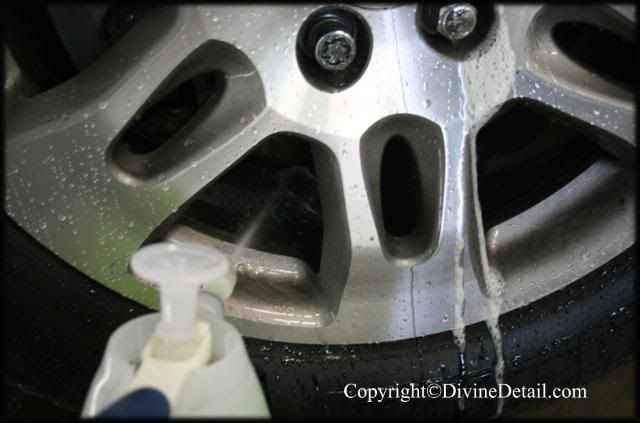
Then we made sure to get the P21S Gel all the way inside the rims:
9copy.jpg

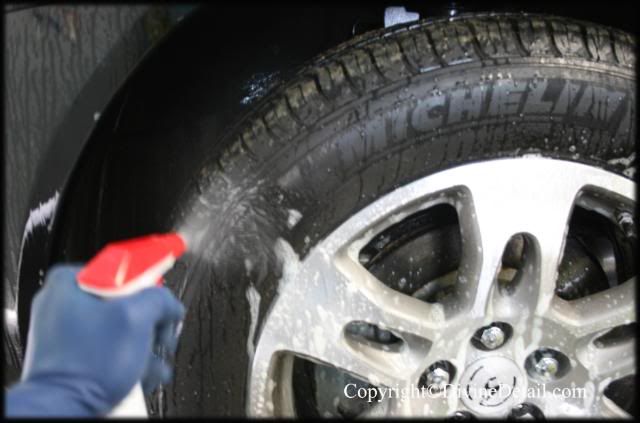
Tires received a coat of Amazing Roll Off:
10copy.jpg

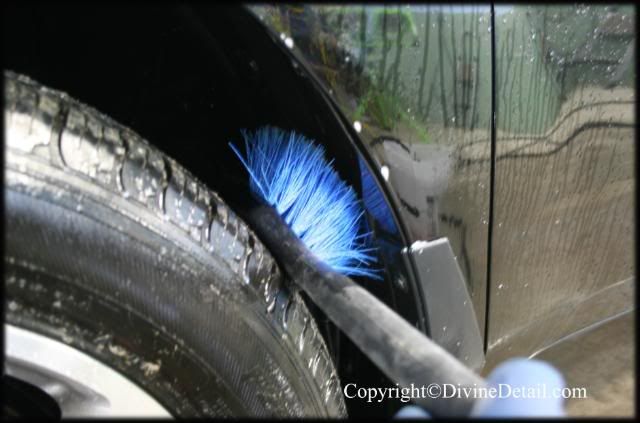
Now it was time to go back to the wheel wells and give them a good scrub with our long handle brush:
12copy.jpg

Once satisfied with the wheel wells it was time to focus on the rims. With the help of the two inch wool brush, the inside of the rim was given a thorough scrub:
14copy.jpg

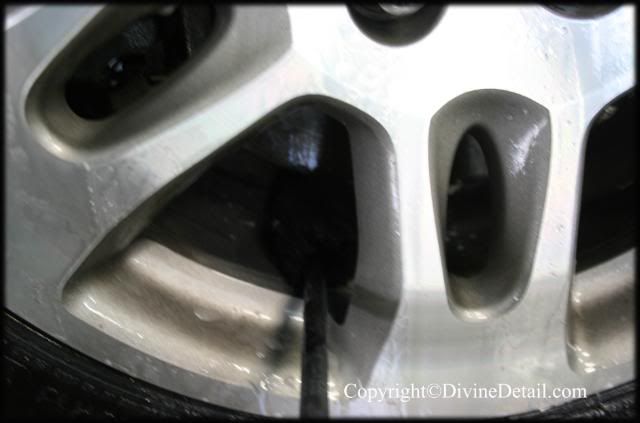
Making sure to get all the way inside the rims:
15copy.jpg

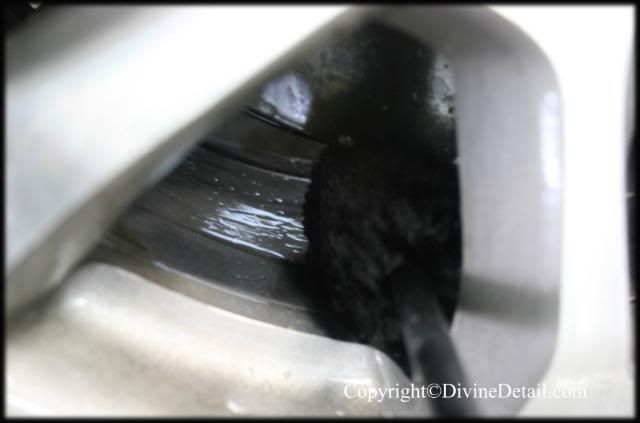
Now the two inch wool brush did not fit around the calipers so the one inch wool brush was used:
17copy.jpg

Again making sure to get all the way inside the rim:
18copy.jpg

As you can see the one inch wool brush makes it quite easy to get in behind the caliper.
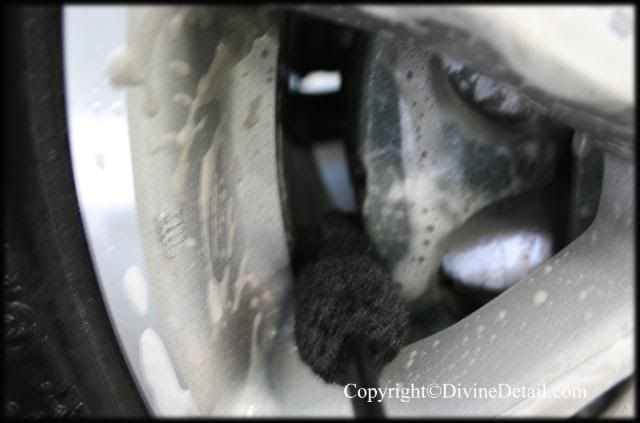
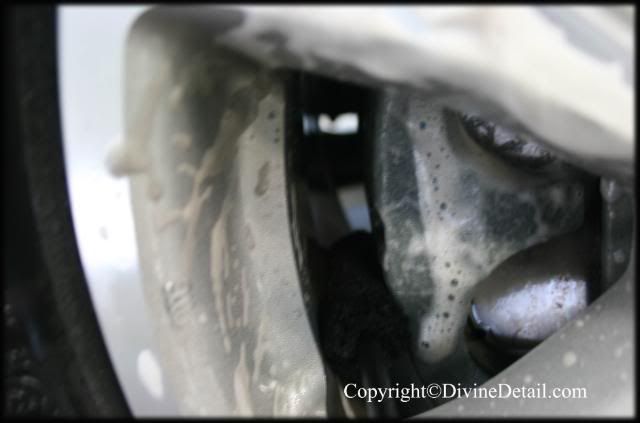
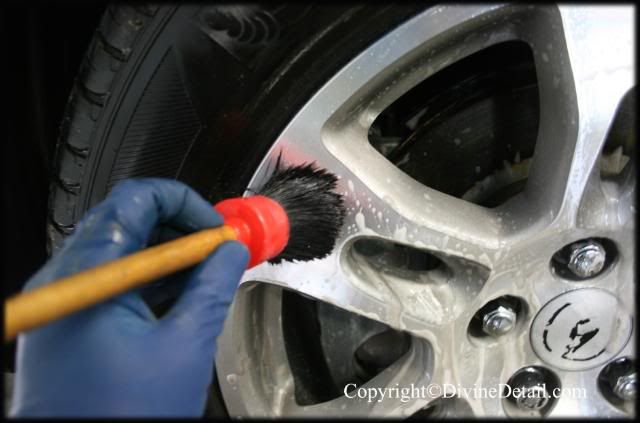
Now it was time to agitate P21S Gel on the face of the rim, with the help of a Swissvax brush the face of the rims were agitated:
19copy.jpg

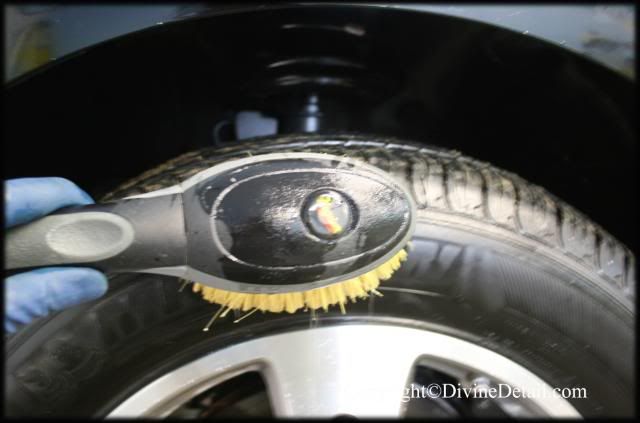
The tires were agitated with a Meg’s tire brush:
21copy.jpg

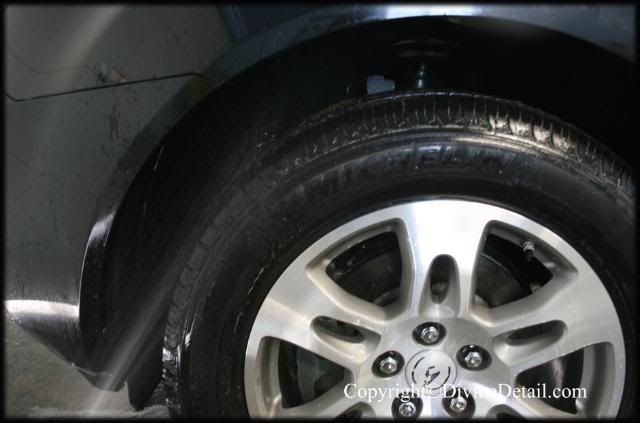
All that was left to do was to rinse the wheel wells, rims and tires:
22copy.jpg

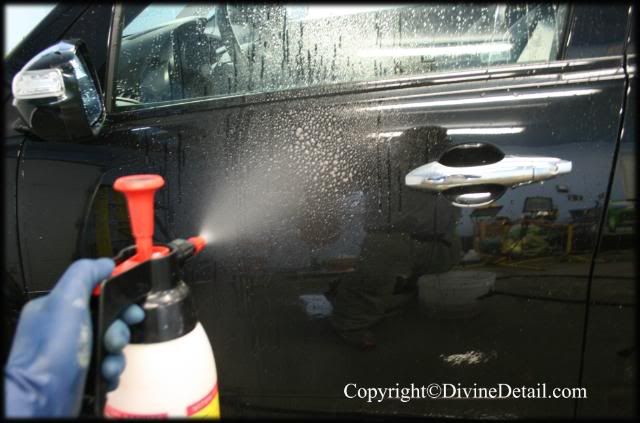
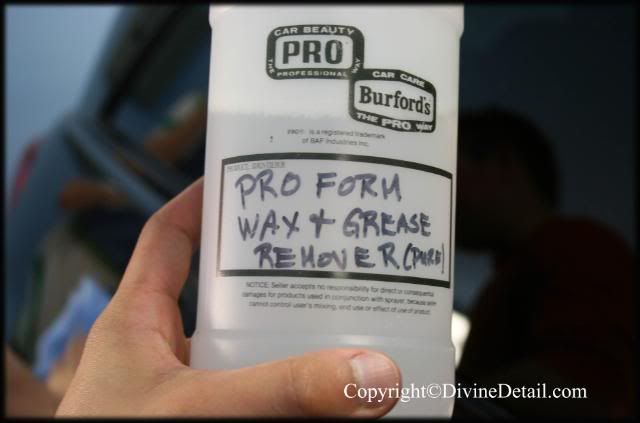
This process was followed for all rims, tires and wheel wells, now it was time to wash the rest of the vehicle. The vehicle was given a good rinse and it was noticed that something was on the surface, something that was causing the water to bead away. It was crucial to remove all previous protection off the vehicle so prior to washing the vehicle it was given a healthy coat of P21S Total Auto Wash:
23copy.jpg

26copy.jpg

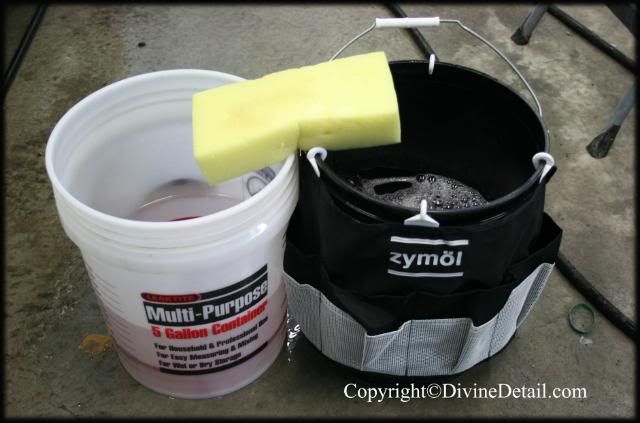
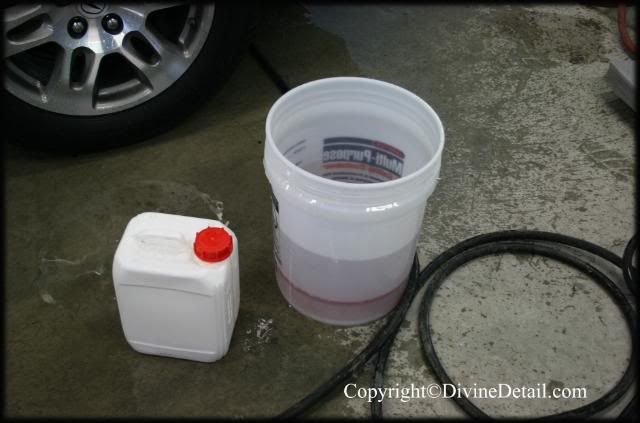
While P21S Total Auto Wash was left to duel on the surface of the vehicle, it was time to get the two bucket’s ready to wash the vehicle. Zymol Clear was used as shampoo.
27copy.jpg

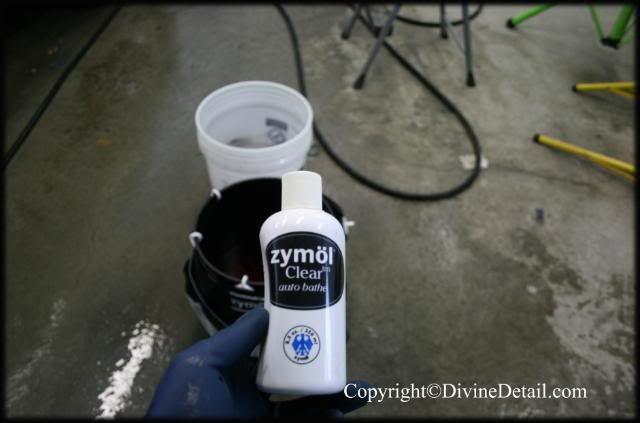
Along with a Zymol sponge:
28copy.jpg

Vehicle was given a good wash. After the entire vehicle had been washed it was time to start claying the vehicle. The vehicle was clayed with a Riccardo Clay Bar:
30copy.jpg

Here is how the clay bar finished off:
32copy.jpg

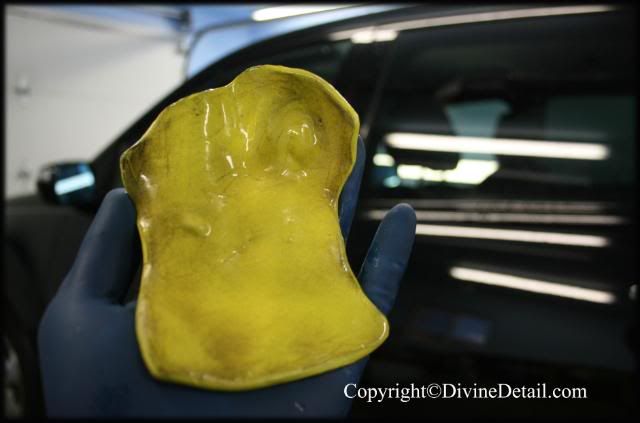
Vehicle had quite a bit of contamination and surprisingly no tar and hardly any tree sap. It has some tree sap but nothing that Riccardo couldn’t take care off.
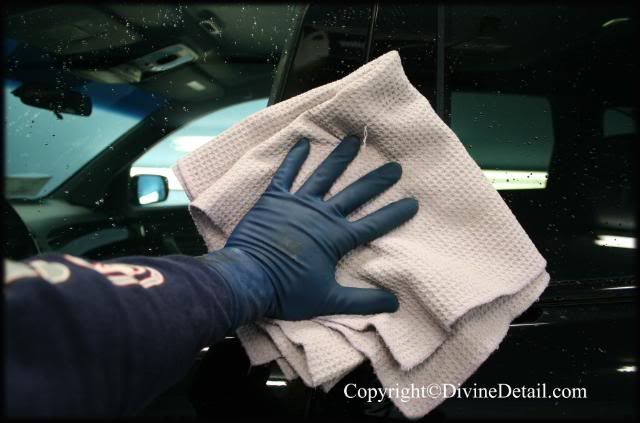
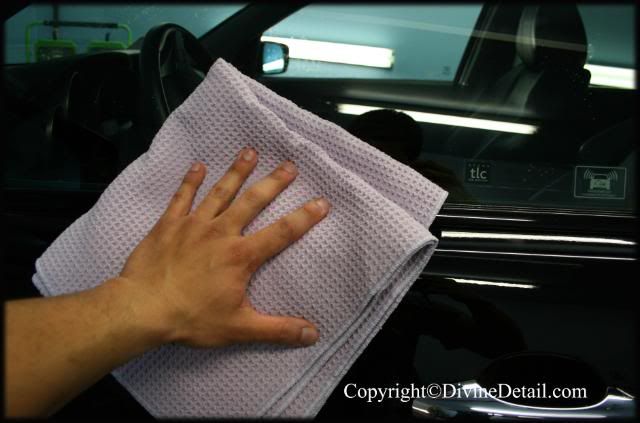
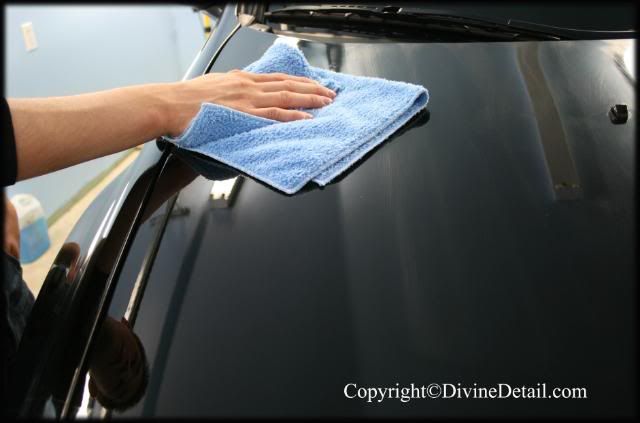
Well the vehicle was given another rinse and dried with our waffle weaved micro fiber towels:
35copy.jpg
 
After the vehicle had been completely dried off it was time to tape off the vehicle, once it was taped off with the help of our 3M Sun Gun it was time to see the true condition of the vehicle, here are some pictures as to what we are up against:
37copy.jpg

39copy.jpg

40copy.jpg

This was quite interesting as this particular section seemed to have been wetsanded but the wetsanding marks were not polished out, a mental note was made on this section as it’s never good to see wetsanding marks.
42copy.jpg

43copy.jpg

Well as you can see the vehicle was covered in swirls, holograms and shockingly wetsanding marks. Well now that we know what we are up against it was time to use the PosiTector 6000 to see how much clear coat we had to play with:
48copy.jpg

49copy.jpg

50copy.jpg

Here are the readings take with the PosiTector 6000 graphed:
PosiTector6000readingsfortheMDX.jpg

Now remember that section that had wetsanding marks, actually it’s the rear passenger door that had the wetsanding marks. Well from the graph you can see that huge spike, well the very upper portion of the rear passenger door was reading 300 (and more) microns, the mid section of the rear passenger door was reading 500 (and more) microns and the lower section (where the wetsanding marks were located) of the rear passenger door was reading 1,000 microns (and more). Oddly enough the rest of the vehicle gave us average readings ranging from 110 to 130 microns. Well obviously the rear passenger door had some work done on it.
Well after the PosiTector 6000 it was time to take readings on all the plastic sections (front and rear bumpers and side view mirrors). The PosiTector 200 was used:
53copy.jpg

PosiTector200ReadingsontheMDX.jpg

As you can see from the graph the readings were quite normal, so no surprises here.
Well now that we know what we are up against and know that we had plenty of clear coat to do some major paint correction it was time to pick a section and test the polish and pad combo to the test. Knowing that Honda/Acura for the most part tends to have soft clear we decided to go with the Menzerna 85RD3.02, a 3M Polishing pad (UK version) and Metabo Rotary at 1500rpm:
55copy.jpg

This combo provided these results with just one pass:
62copy.jpg

Now the results were quite nice but we were just not quite satisfied with it as it was still leaving some micro marring behind, so the same section was followed up with 85RD, a Sonus Finishing pad and the Metabo again at 1500rpm. This combo resulted on these results:
60copy.jpg

57copy.jpg

As you can see the results were very satisfying, so this was the combo. One pass with 85RD3.02 with a 3M Polishing pad (UK version) then followed up with 85RD with a Sonus Finishing pad.
Now one thing to note is that the clear coat on this vehicle is extremely soft and even when removing the polish residue the microfiber towels were inducing fine micro marring, so we had to use our cookie monsters to remove polish residue and even then we were still inducing some mocromarring. Also in some pictures polish residue is visible and that is because we were being extremely careful not to put to much pressure when removing the polish residue, causing some hazy appearance (almost like holograms) on the surface of the vehicle.
Well this was quite a frustrating detail to say the least as certain sections received a multiple polishing steps to get it looking just right and to remove the fine micro marring that we were inducing every time we removed the polish residue.
Well here is how the hood finished off:
63copy.jpg

Here is the driver side fender before:
67copy.jpg

After:
70copy.jpg

Again the driver front fender before:
68copy.jpg

After:
72copy.jpg

The passenger front fender before:
73copy.jpg

After:
78copy.jpg

Driver side mirror before:
45copy.jpg

After:
80copy.jpg
 
was having a hard time capturing the swirls on the rear tail lights, it had some swirls and they definitely stood out with the 1,000W lights we had on them but for some strange reason it was quite difficult to capture them on the before picture:
81copy.jpg

But if you look closely enough you can just make out the light scratches on the tail lights
Well here is an after:
83copy.jpg

Well the entire vehicle was polished off on day one, it was quite a long day but we were determined to get the vehicle looking flawless and well time got the best of us as we were up till 3AM on day one.
Now for day two or what we called round two.
Now the owner had scheduled the vehicle to get 3M installed on the entire front of the vehicle, so the vehicle was driven over to the 3M specialist. Now I use the term “specialist” because that’s exactly what this gentle man is, a true 3M specialist for a lack of better words a 3M Guru. The vehicle was returned to us by around 4PM and the 3M protection looked incredible on the vehicle…the only draw back was that it appears that during the 3M installation some fine micromarring was induced, this was expected as the clear coat was extremely soft :wall:
Well out came the rotary’s again with 85RD and a Sonus finish pad and went over all areas that had micromarring. The good thing was that it was mostly on the front section of the vehicle.
Once all the polishing was done it was time to remove all the polish residue, not were thinking of using our traditional wipe down with the help of:
86copy.jpg

But seeing as the clear coat was extremely soft we knew that the traditional method would result on nothing but a disaster for us so we went with another wash, not just any wash a P21S wash with our Zymol sponge:
87copy.jpg

Now P21S was directly applied on the entire vehicle to insure that no white polish residue was left over and very gently the Zymol sponge was passed over the surface of the vehicle.
Well the vehicle was rinsed off with the CR System and this time was dried with an air compressor, we were trying to avoid touching the surface of the vehicle as much as possible.
Well the air compressor method worked quite well but we still needed to remove what ever was being left behind so again we used our waffle weaved microfiber towels:
90copy.jpg

Again being as careful as possible not to put too much pressure on the paint.
Once the entire vehicle was dried it was time to apply Swissvax Cleaner Fluid:
91copy.jpg

Method of application was one person applied the other person would wipe off, yes in a wipe on wipe off method. This was done through out the entire vehicle and as careful as possible.
Now for protection, the owner purchased a tub of Souveran and had left it inside the vehicle for us to finish the vehicle off with but the owner is quite meticulous an demanded perfection and we felt that Souveran would just not cut it so we decided to upgrade his SLP to Swissvax Smaragd:
95copy.jpg

Smaragd was applied as thin as possible:
96copy.jpg

Left on for several minuets, wile Smaragd was left to duel and bond to the surface of the vehicle all exterior plastic trims received Black WOW.
Then it was time to remove Smaragd, our favorite microfiber towel was used. The Cookie Monster:
97copy.jpg

Well after the removal of Smaragd we were left with the following results:
98copy.jpg

99copy.jpg

100copy.jpg

101copy.jpg

102copy.jpg

103copy.jpg

104copy.jpg

105copy.jpg

106copy.jpg

107copy.jpg

108copy.jpg

109copy.jpg

111copy.jpg

114copy.jpg

112copy.jpg

113copy.jpg

This is the owner standing next to his vehicle and was extremely pleased with the results.
Well this was one detail I’m sure we will never forget, frustrating at times but like anything in life, live and learn and this experiance will be well remembered.
Hope you enjoyed the detail and like always questions or concerns are always welcome.
 
Excellent job, and an excellent write up....

I wish I had the patience to take all those pictures...
 
Great work, although if you didn't use a rotary on any of the paint isn't using a paint gage a little over kill? Are you actually worried about taking that much paint off, or is it a matter of letting the customer think he/she is getting more?
 
thanks everyone of the compliments, i did not do the write up or take the pics, it was my business partner... all i did was detail lol

as for the paint gauges, we did polish it out using a rotary... but we gague them to make sure there is a safe amount of paint to polish.. we have done a few cars that were cutting it close (50microns and under) so polishing would be very risky....as for show, not at all most of the time customers do not see us gague the car. they have goten board at this point and left... its more for us and ensuring we do not burn the clear
 
Great job on the detail and the write up. That gauging graph was quite impressive as well. Once again great job.
 
Simply astounding!!
thanks
Great job on the detail and the write up. That gauging graph was quite impressive as well. Once again great job.
Thanks, the graph software comes with thegauge i think.. carlos takes careof all that
What are the spray bottles you are using? Where could someone get them?

Flash
they are body shop spray bottles, you can get them at a body shop supply store. you can also fet the fertilizer ones from a home and garden store, there about half the price, but not quite asgood... but there a good place to start
Nice work

Dang man, that was an excellent writeup! Great work!
thanks, the write up was actully done by my busines partner, I do all the book keeping and he does a write up.. works well for us
You sir are a detailing G-d! I want to drive my Jag to Calgary right now!
haha thanks, i wouldnt go that far :lol2:...maybe one day but for now Im a newb who has lots to learn :bigups

and bring the jag up... once the snow melts my dads jag is comming out... we can have a DC/Jag meet.... alright its stlered your driving the jag up :rockon
 
It would be an epic trip! According to Google Maps only 1,963 mi – about 1 day 5 hours

Oh, and very nice of you to use that wax. What is it, like US$240.00?
 
It would be an epic trip! According to Google Maps only 1,963 mi – about 1 day 5 hours

Oh, and very nice of you to use that wax. What is it, like US$240.00?
well that just means you have to come up for more the just the detail :)

and im not sure the price of that wax.. I think its 200 but im not sure, I bought it used (the guy used it on one car) for cheaper... all the waxes we use are higher end... our basic wax is Zymol concours... but every once in a while we like to play with other stuff

I actully just got concourso for 200 bucks shiped used on 3 pannels :bigups so im looking forward to giving that a try
 
Back
Top