CalgaryDetail
Mike
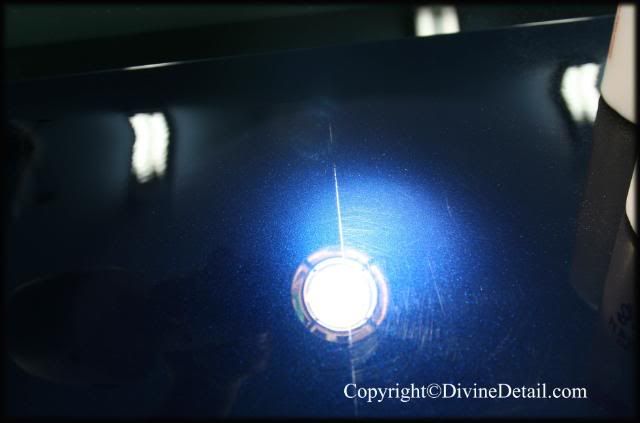
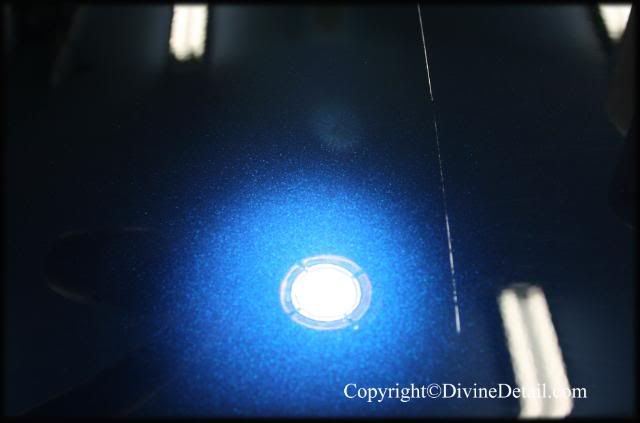
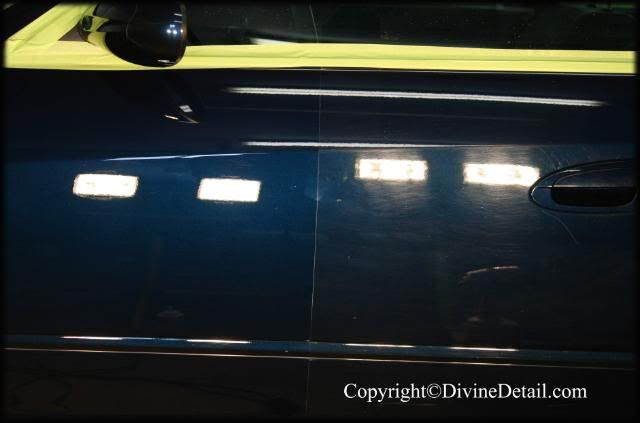
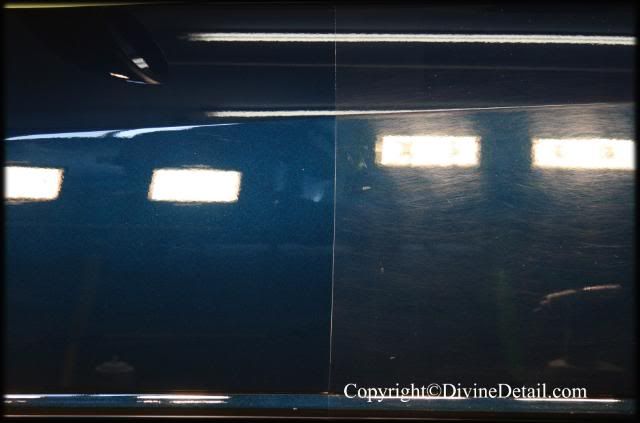
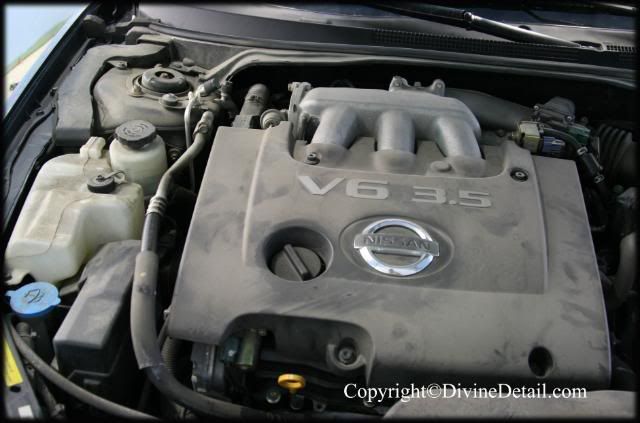
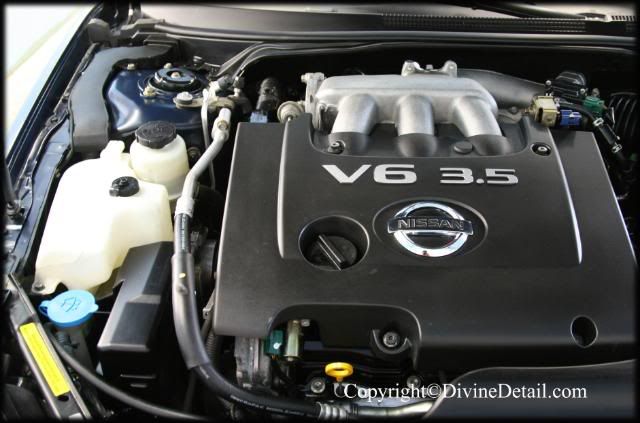
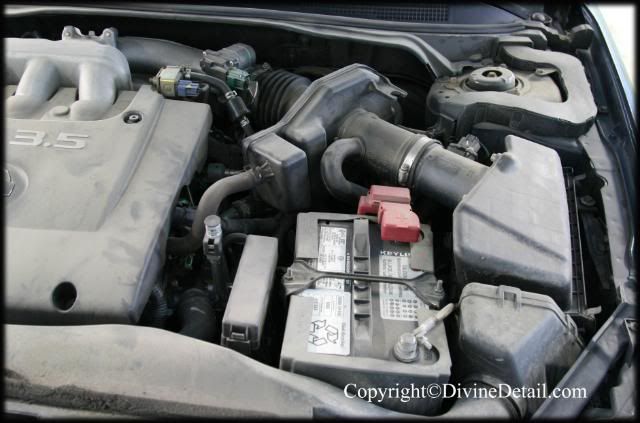
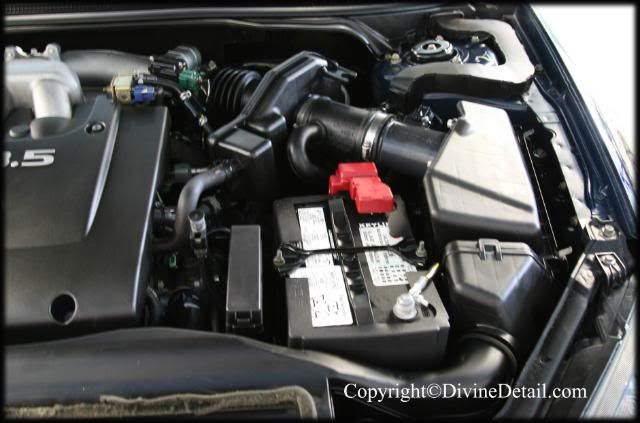
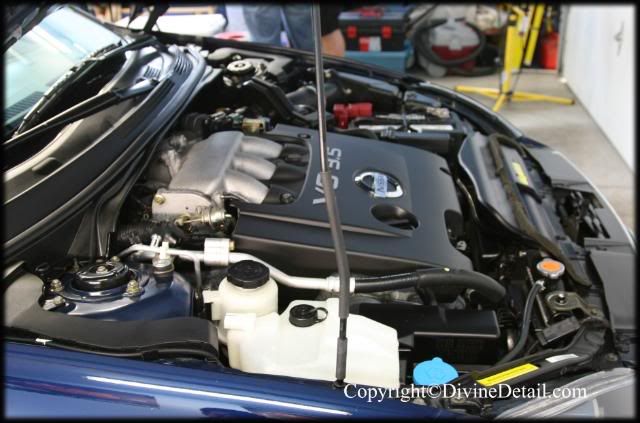
Well this vehicle was booked for our Ambassador Detail, this is our outmost, meticulous detail. A complete interior detail, with a full exterior paint correction, with engine bay. This vehicle was booked for a full three day detail. The vehicle:
2005 Nissan Altima
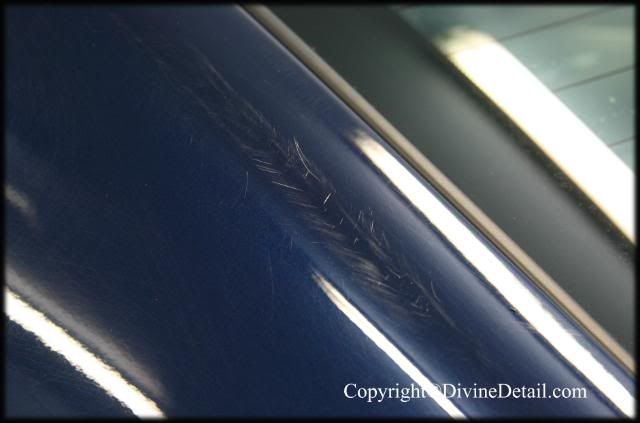
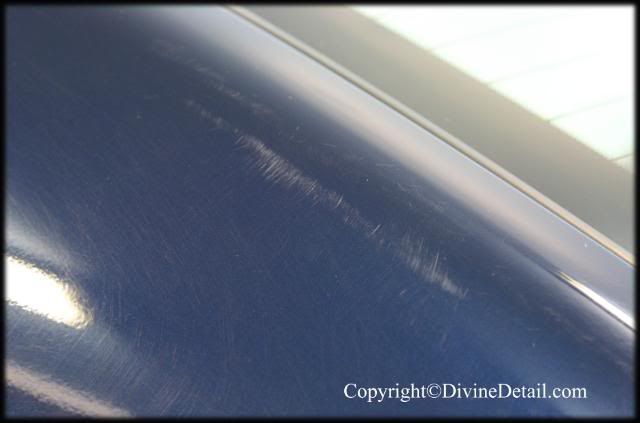
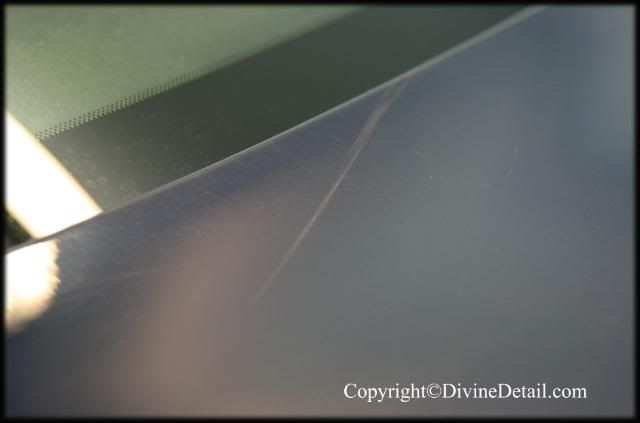
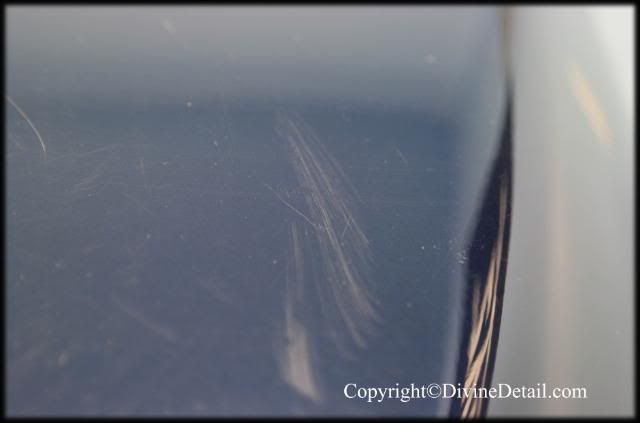
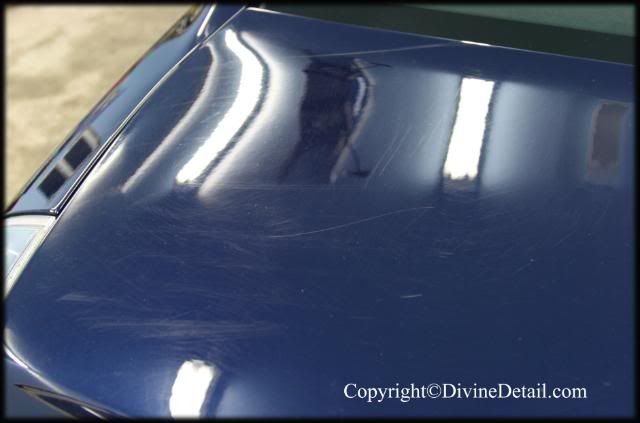
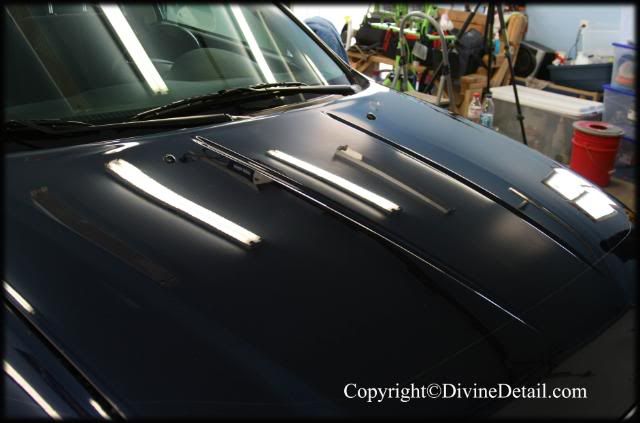
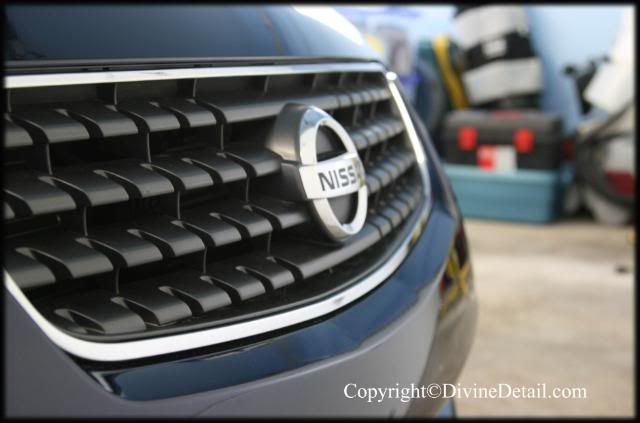
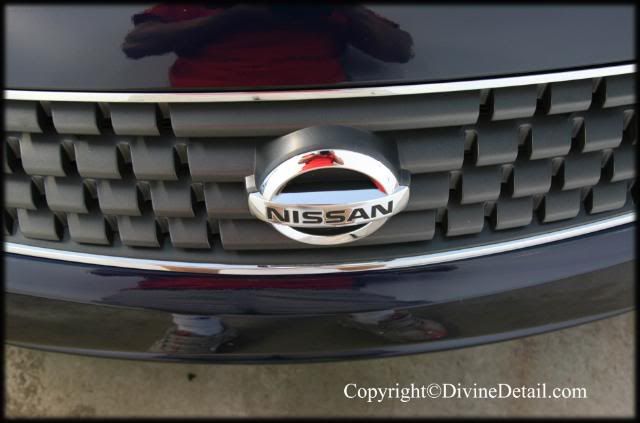
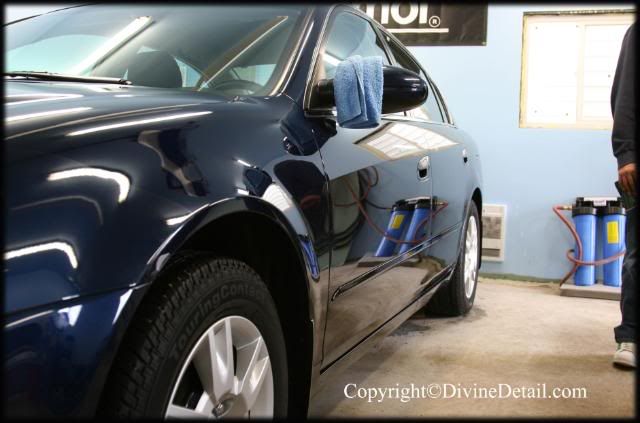
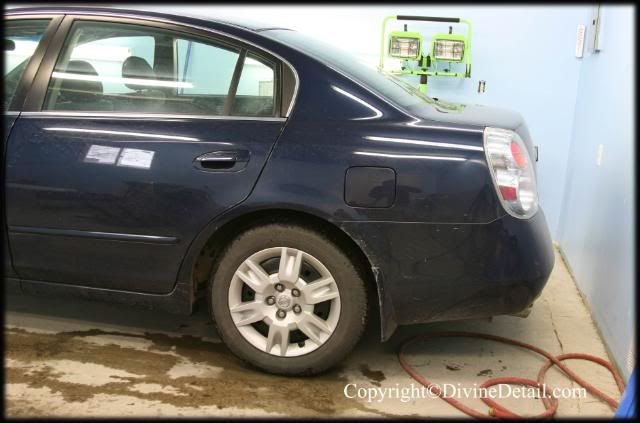
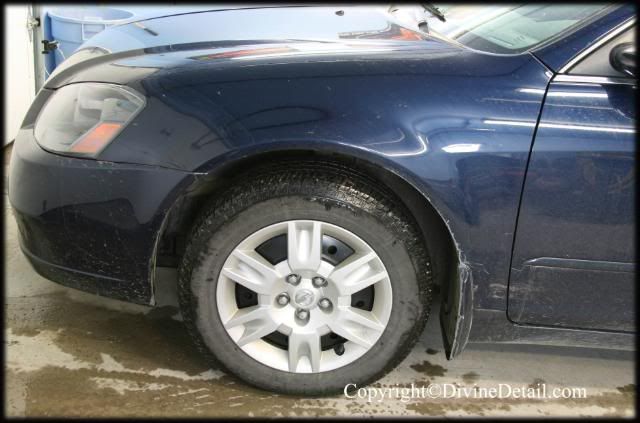
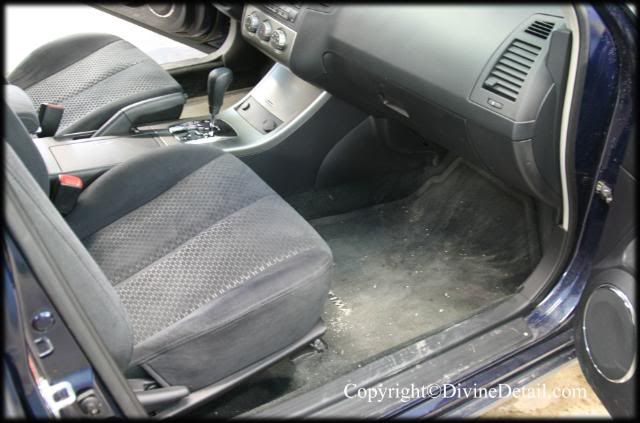
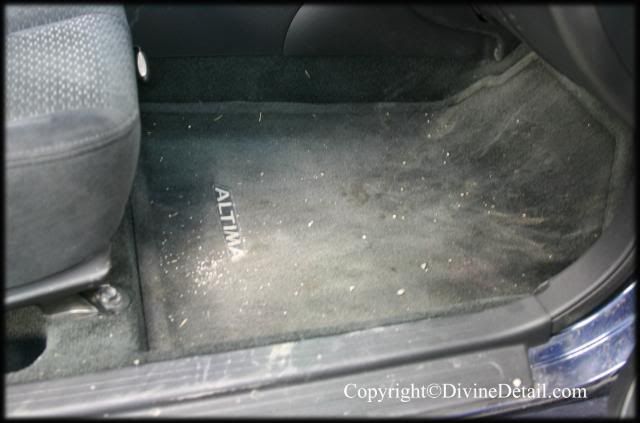
Here is the vehicle as it was delivered:
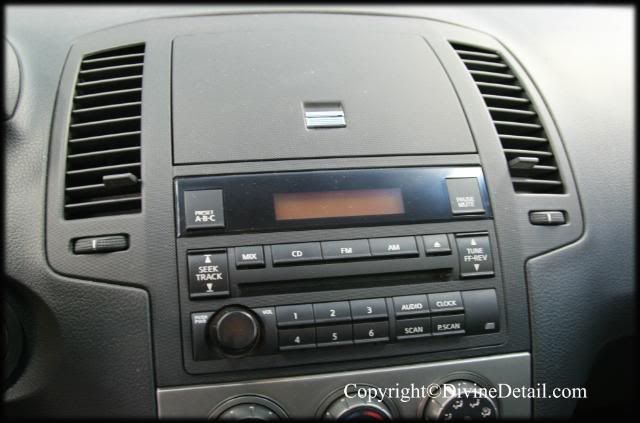
The speedometer along with the rest of the gauges were going to be interesting to detail as they have some tight spots to get into.
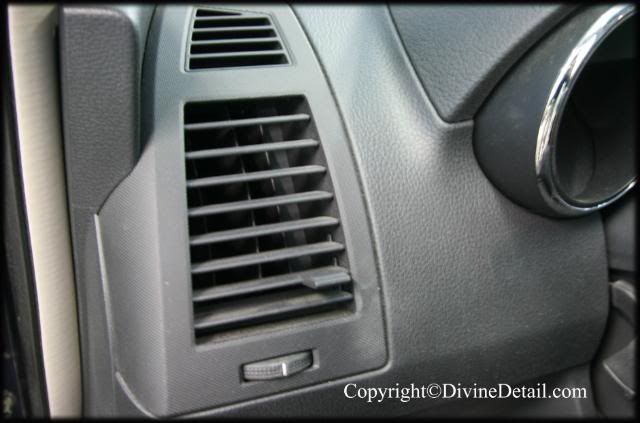
Vents were going to require a little extra.

Well this is how day one went.
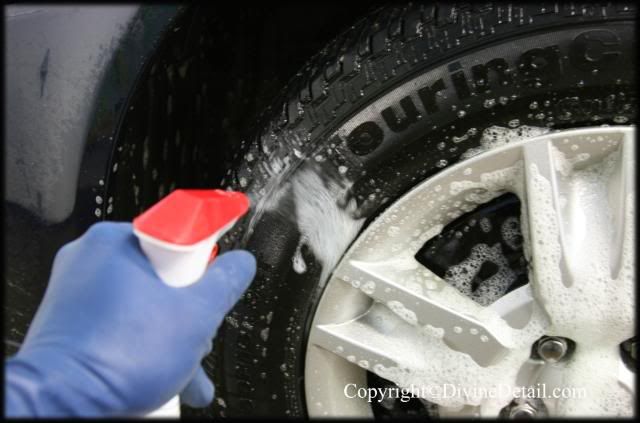
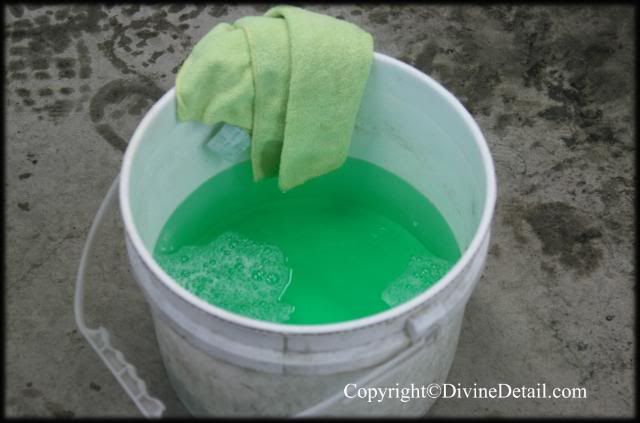
The first day was spent strictly on the interior of the vehicle, so first up was to give the vehicle a full wipe down. For this a diluted Meg’s APC was used:
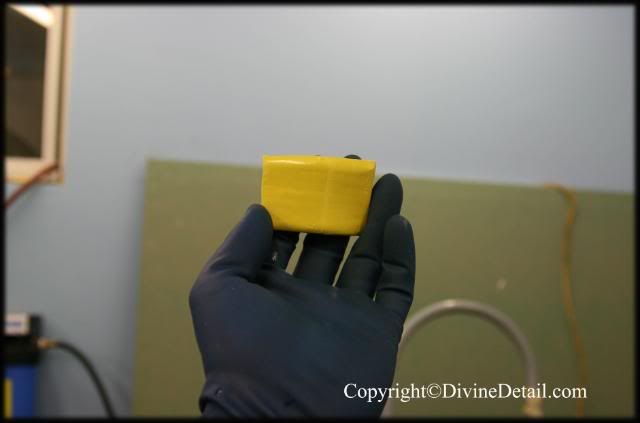
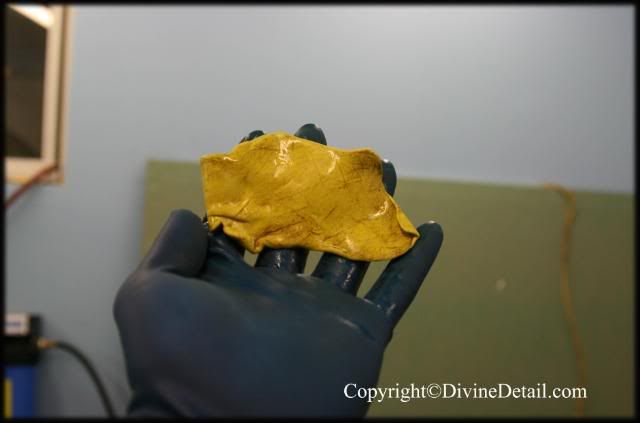
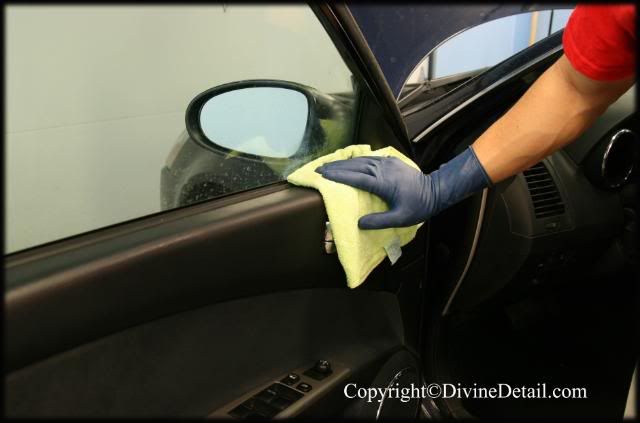
With the help of a yellow micro fiber towel the entire interior was given a wipe down:
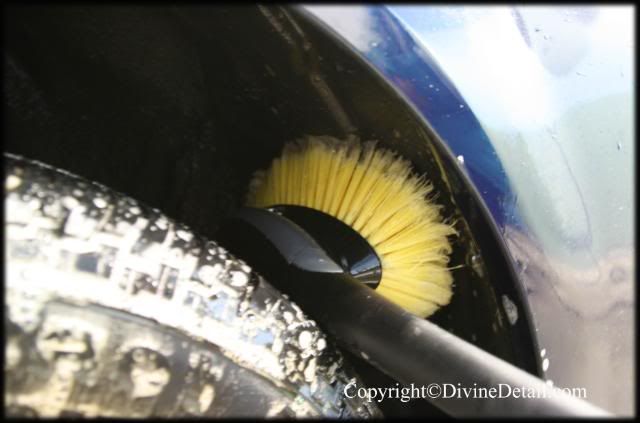
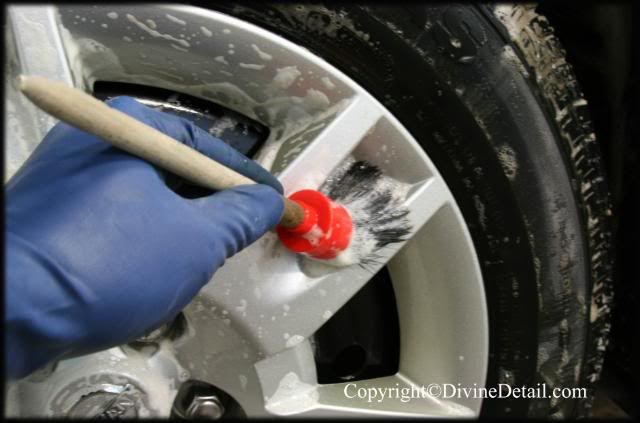
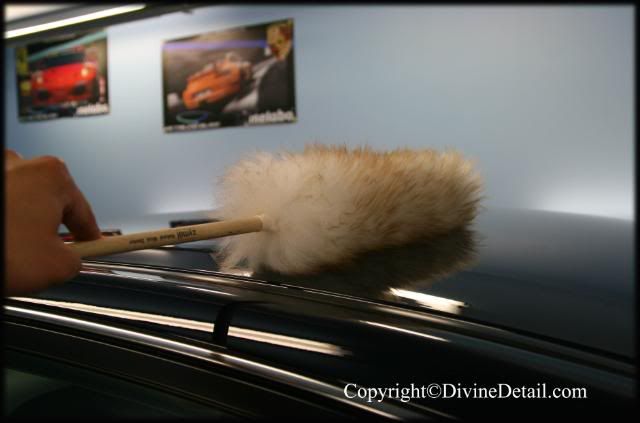
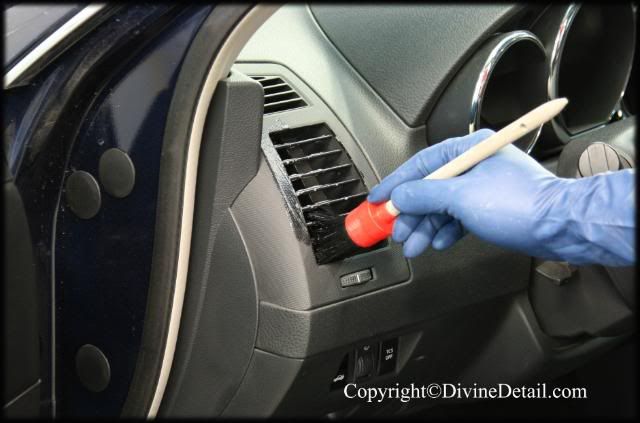
All vents were treated with our interior Swissvax brush:
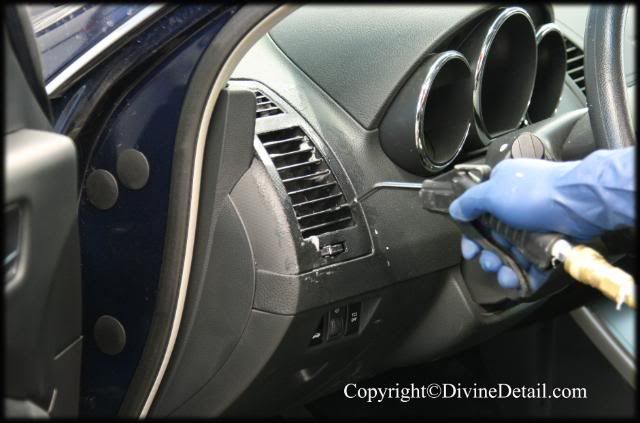
Followed up with air compressor to insure all dust/wipe down water is completely removed:
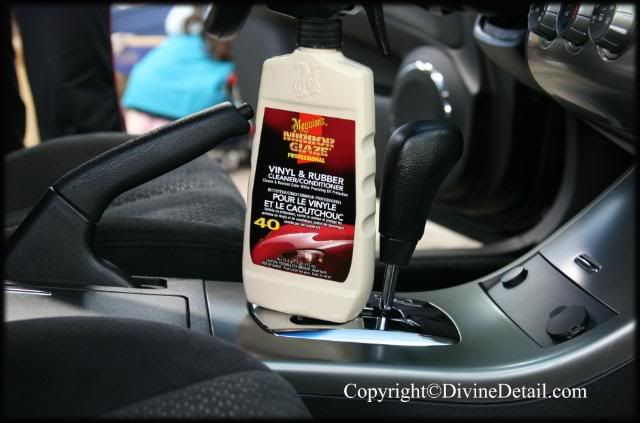
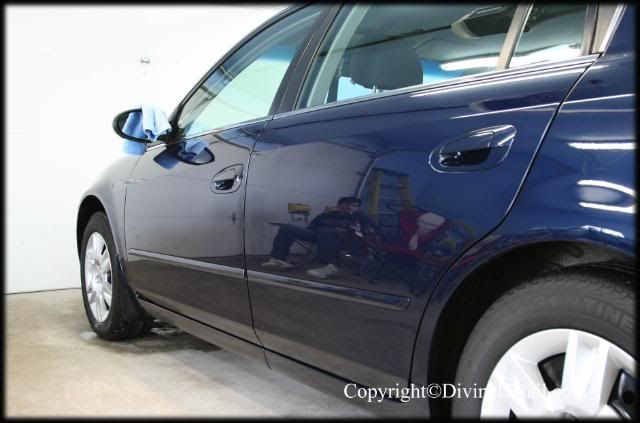
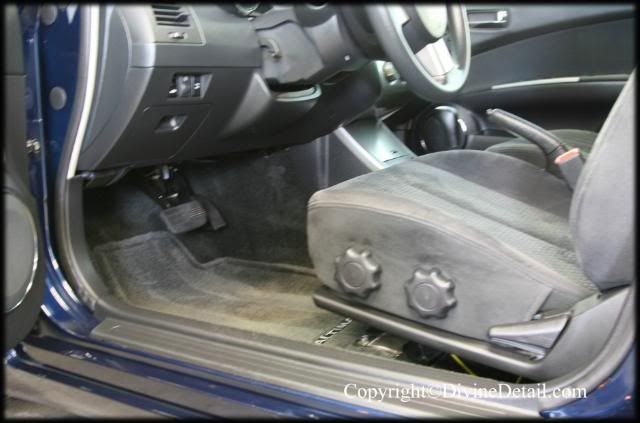
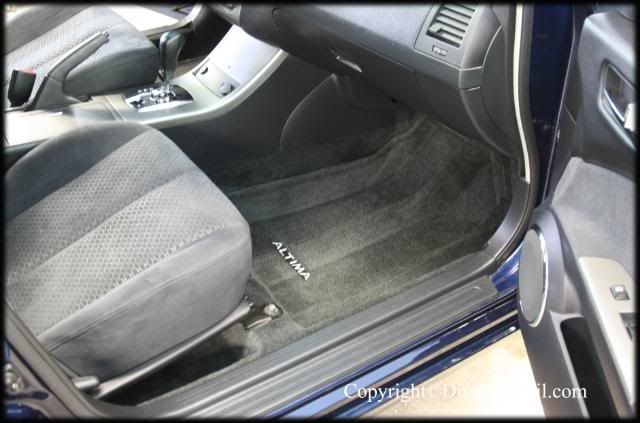
This process was done to all vinyl trims within this vehicle, this process took a few hours. Once the wipe down had been completed and satisfied with the end results it was now time to give the interior a full vacuum, first all floor mats were removed from the vehicle:
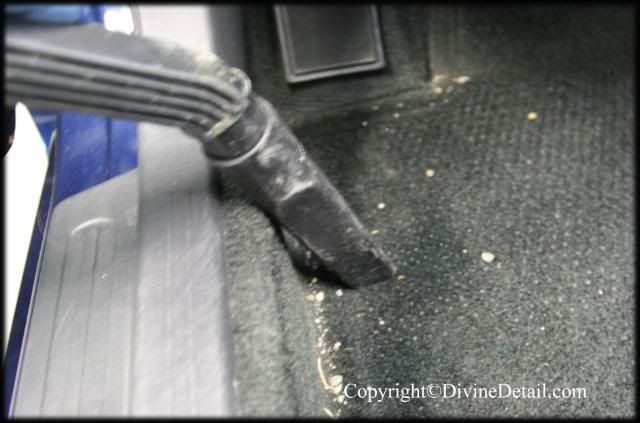
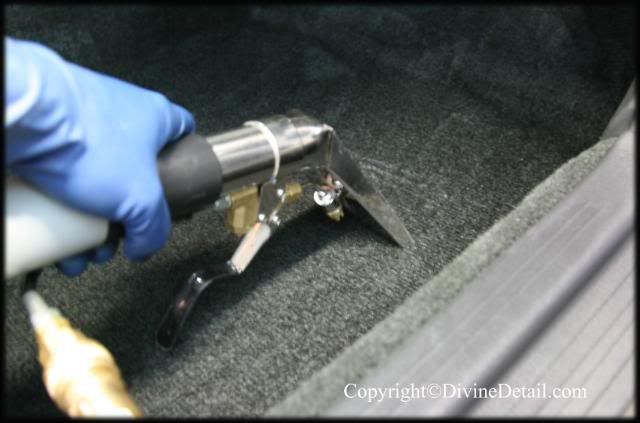
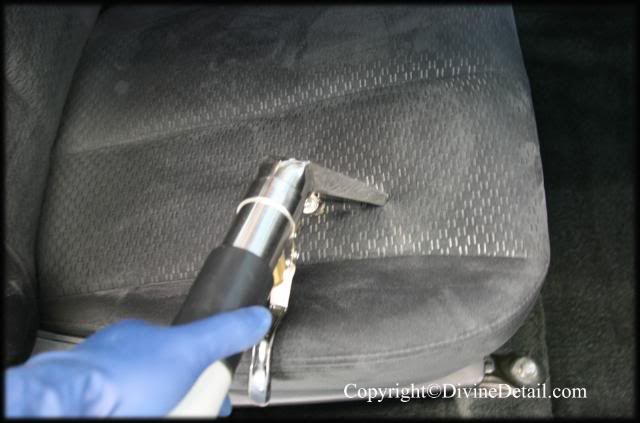
Once the entire vehicle had been completely vacuumed it was time to use our HP-60 extractor and extract the entire interior, including the seats of the vehicle:
2005 Nissan Altima
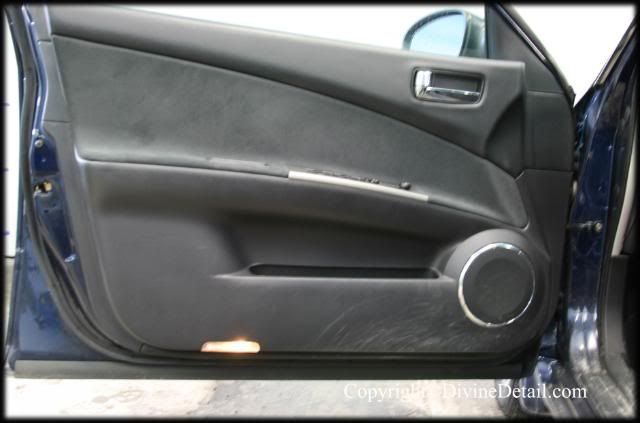
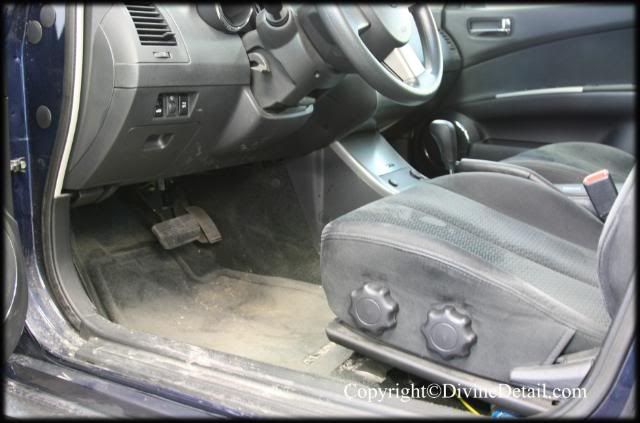
Here is the vehicle as it was delivered:
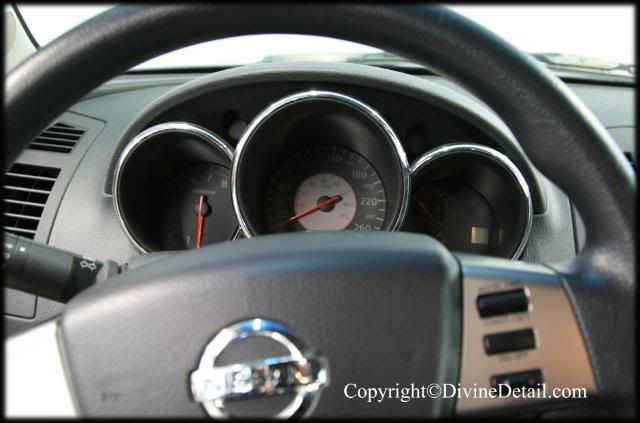
The speedometer along with the rest of the gauges were going to be interesting to detail as they have some tight spots to get into.
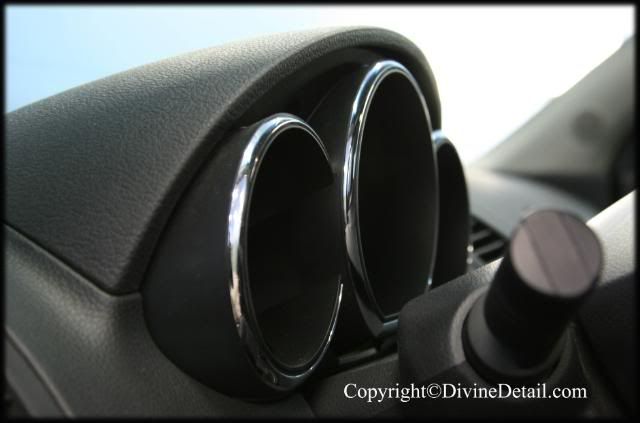
Vents were going to require a little extra.
Well this is how day one went.
The first day was spent strictly on the interior of the vehicle, so first up was to give the vehicle a full wipe down. For this a diluted Meg’s APC was used:
With the help of a yellow micro fiber towel the entire interior was given a wipe down:
All vents were treated with our interior Swissvax brush:
Followed up with air compressor to insure all dust/wipe down water is completely removed:
This process was done to all vinyl trims within this vehicle, this process took a few hours. Once the wipe down had been completed and satisfied with the end results it was now time to give the interior a full vacuum, first all floor mats were removed from the vehicle:
Once the entire vehicle had been completely vacuumed it was time to use our HP-60 extractor and extract the entire interior, including the seats of the vehicle: