Divine Detail - 1996 Nissan Maxima

A co-worker of Carlos just purchased this vehicle and wanted to spruce it up a bit, the vehicle:
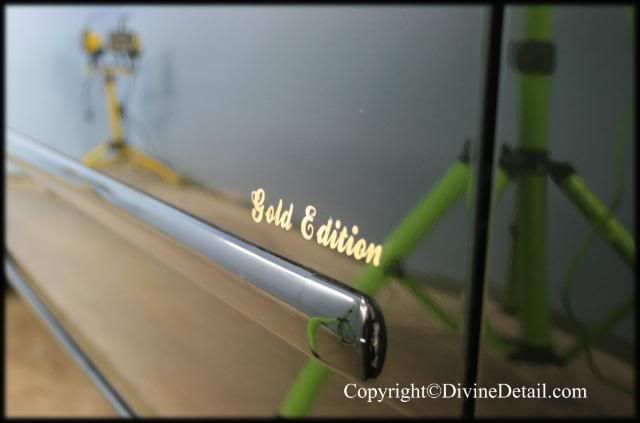
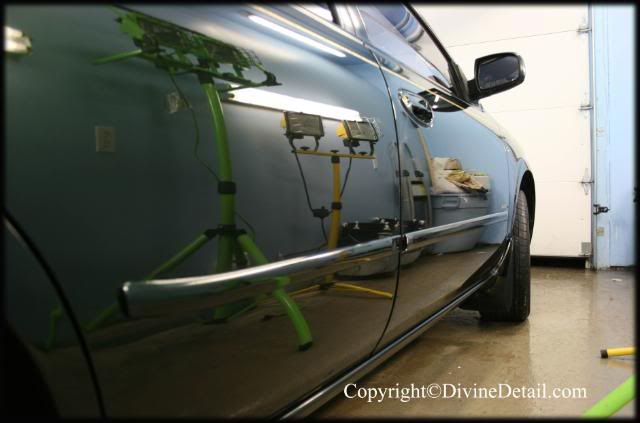
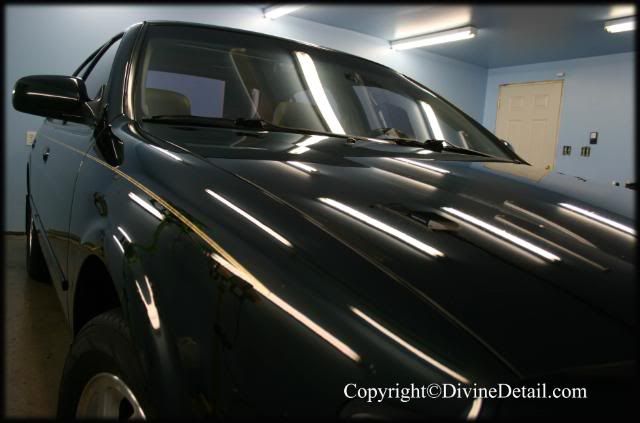
1996 Nissan Maxima
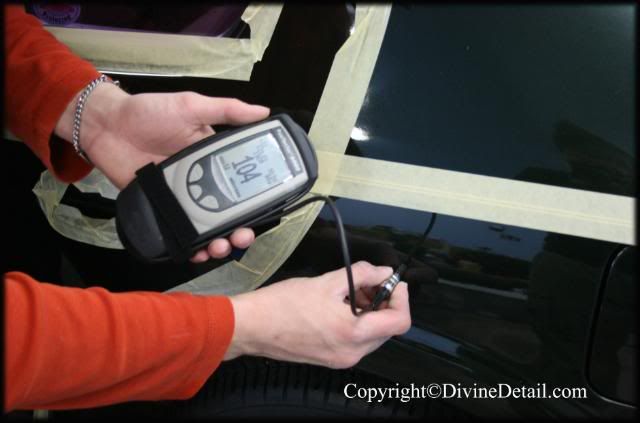
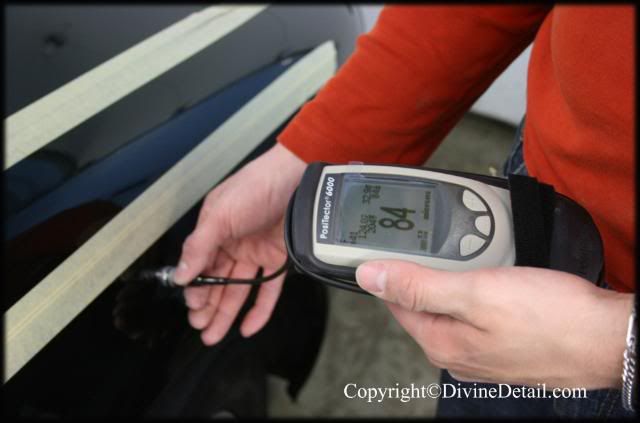
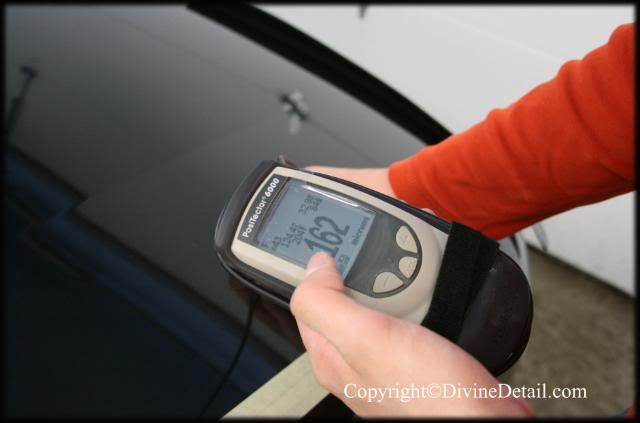
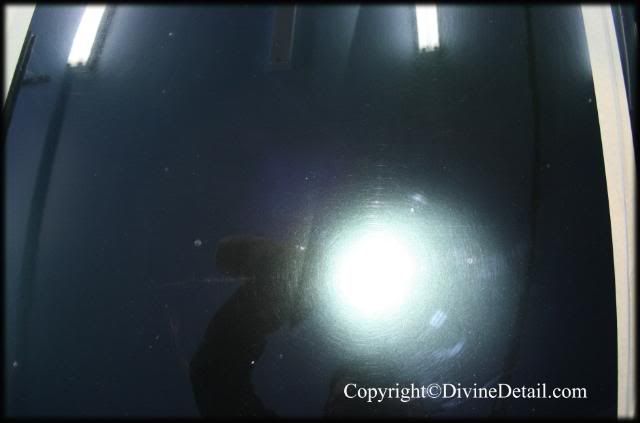
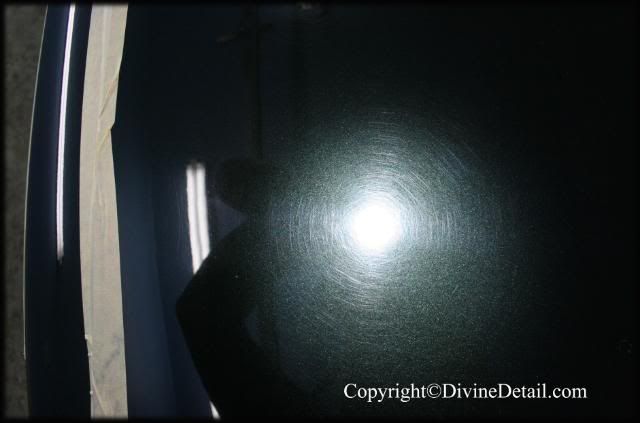
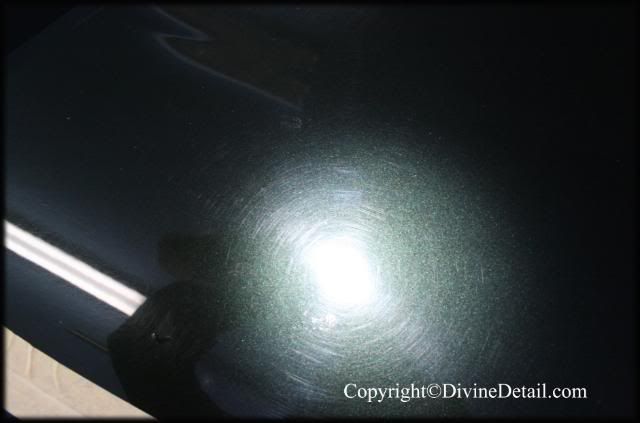
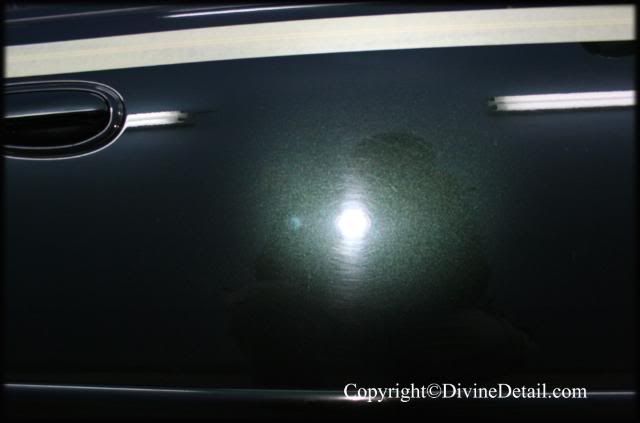
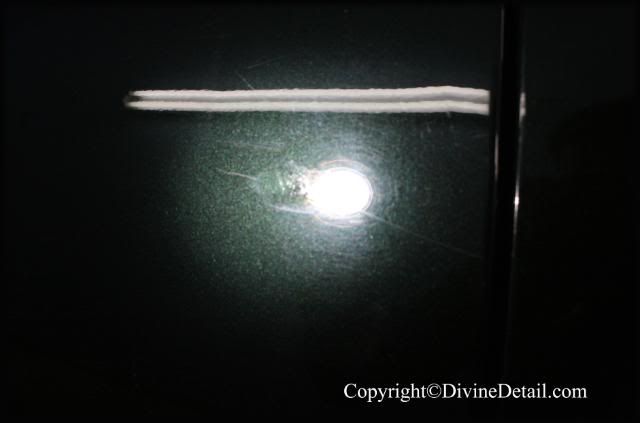
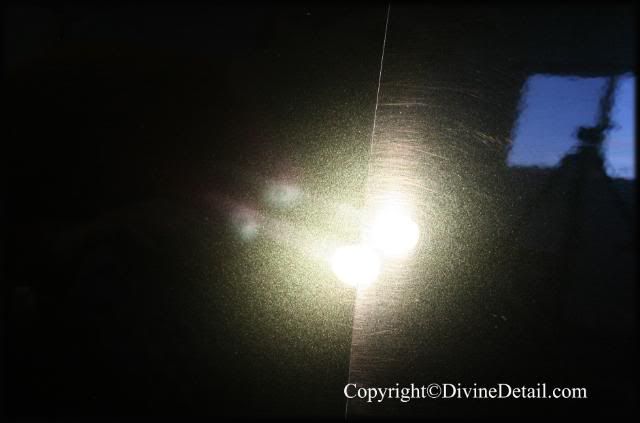
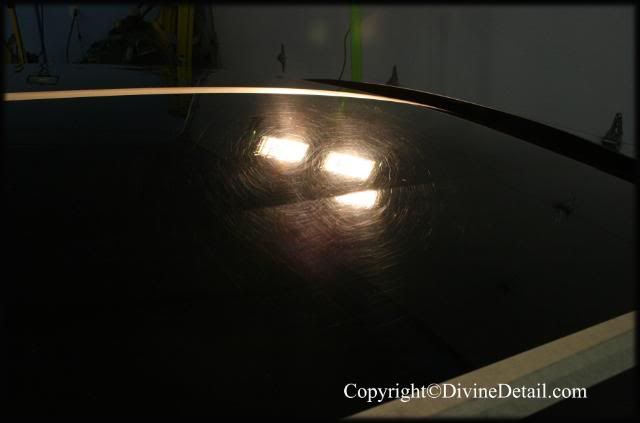
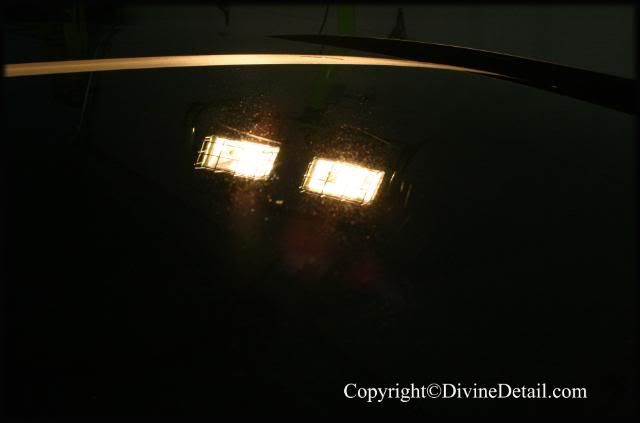
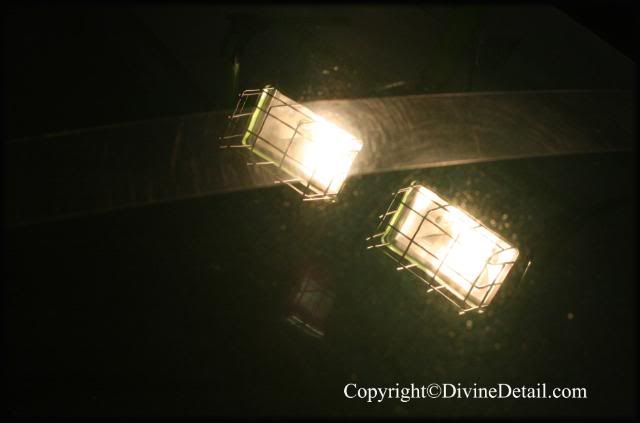
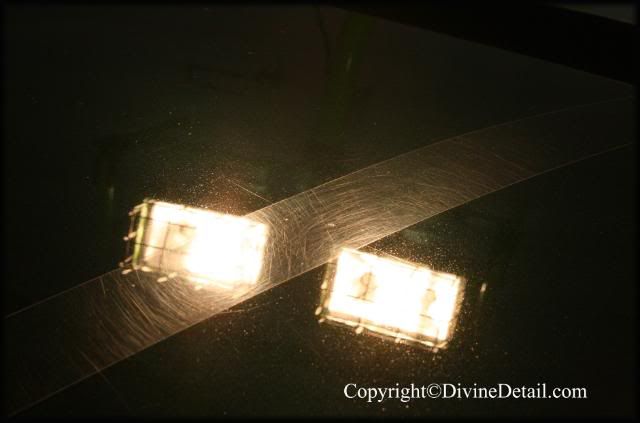
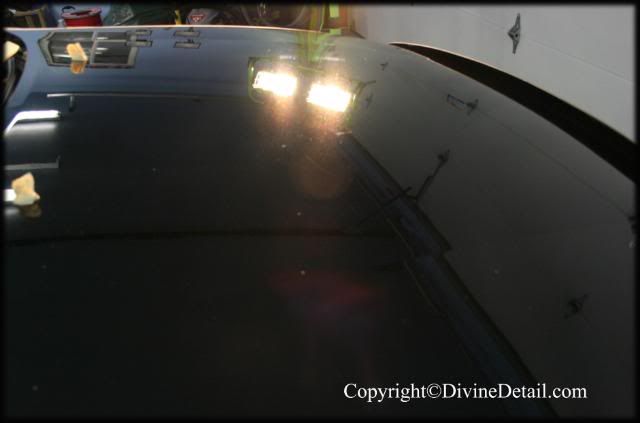
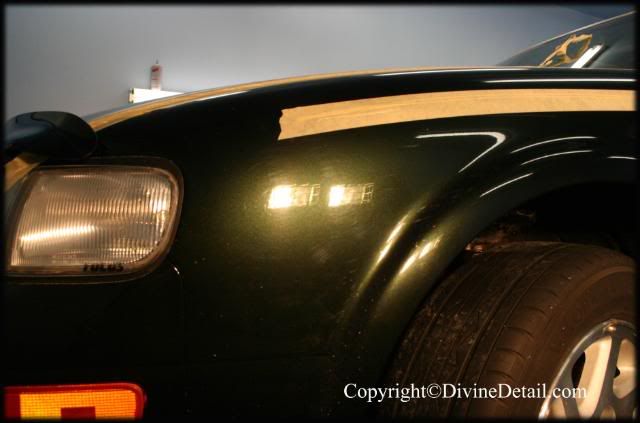
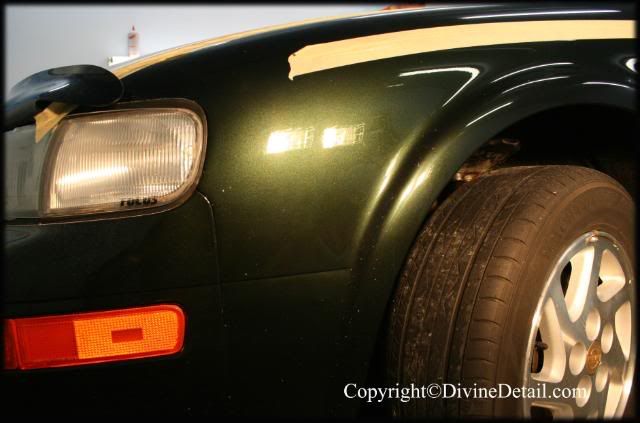
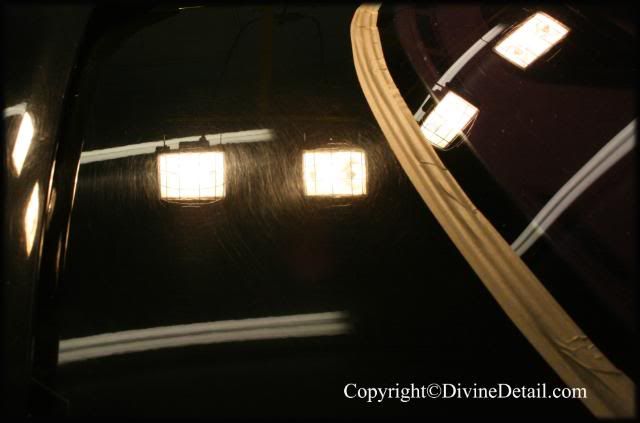
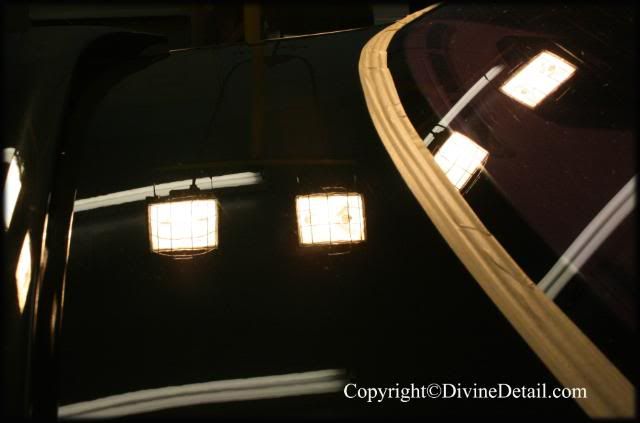
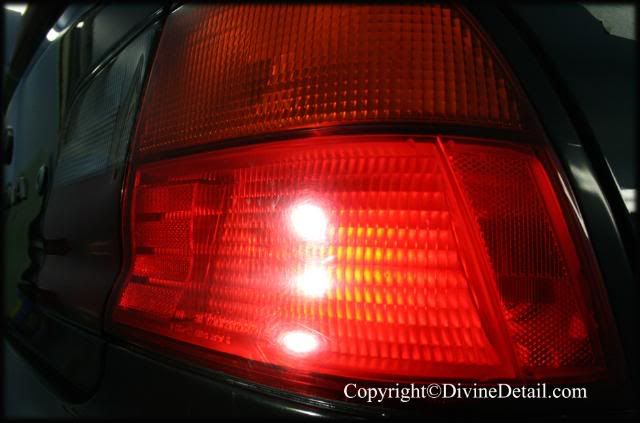
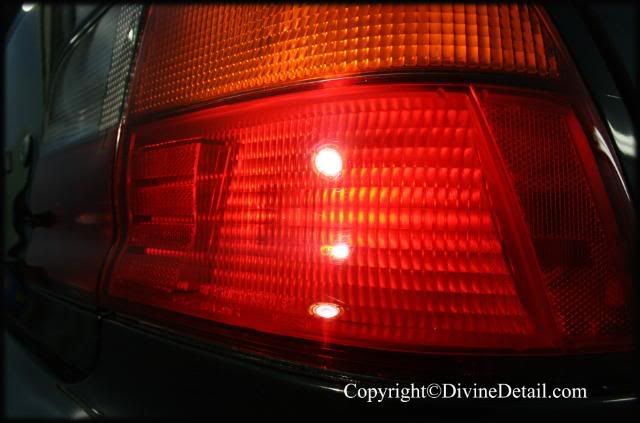
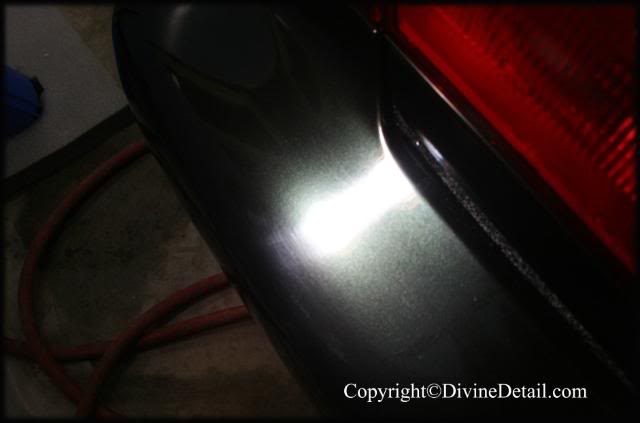
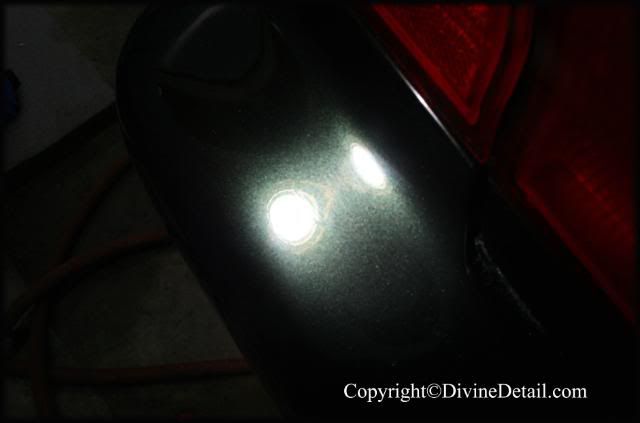
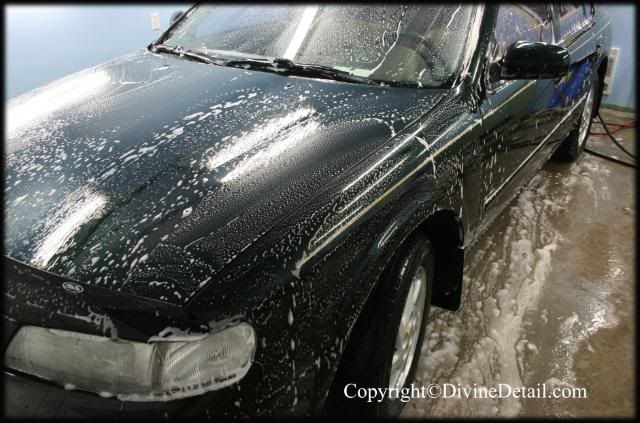
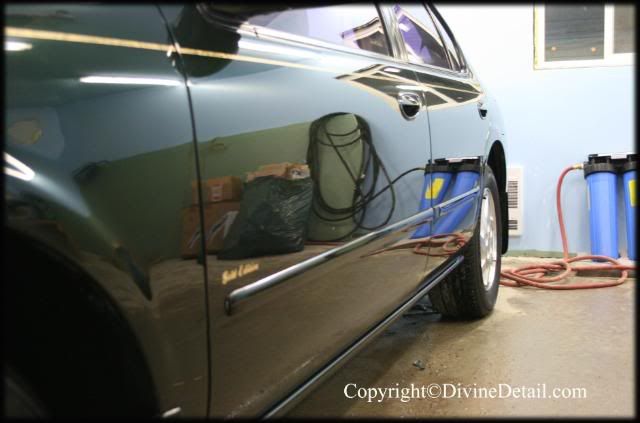
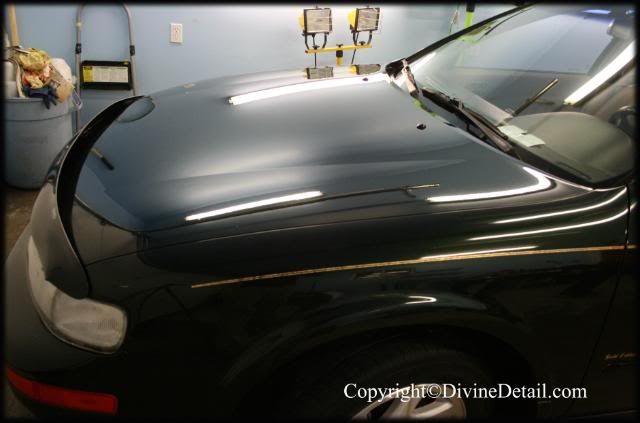
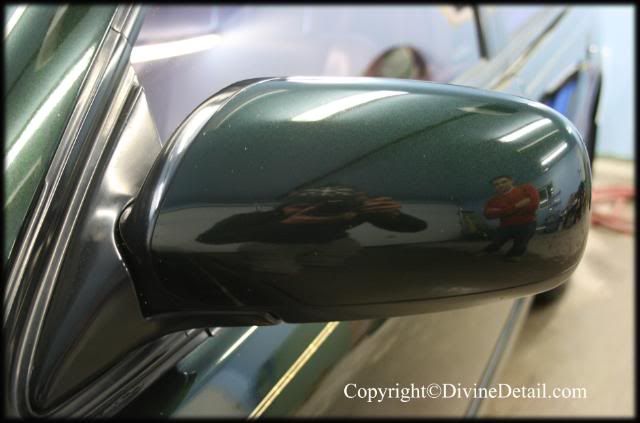
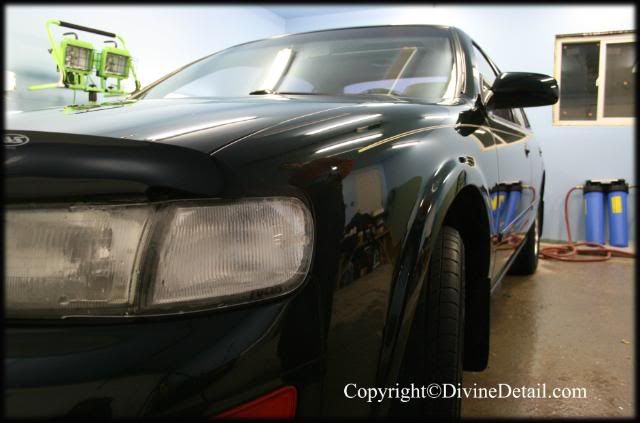
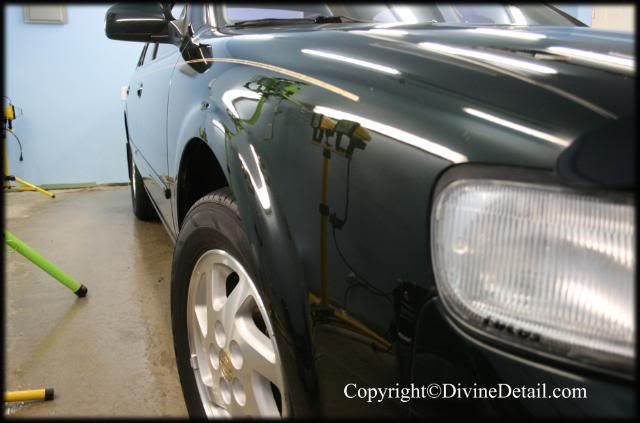
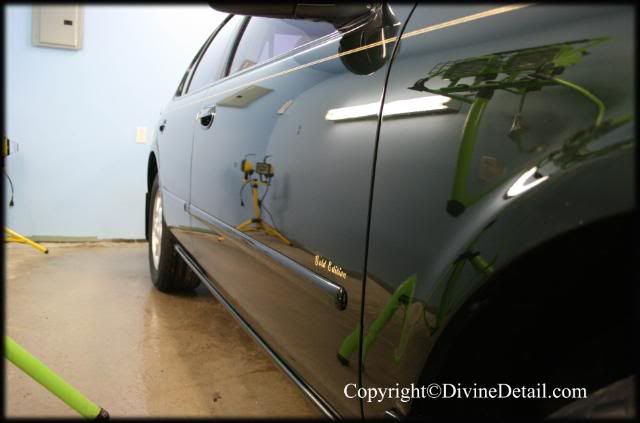
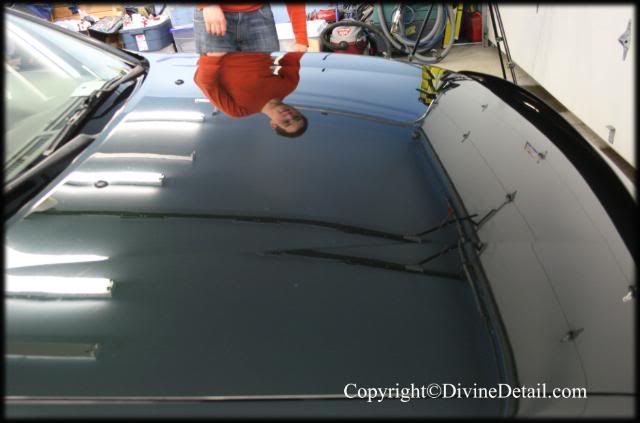
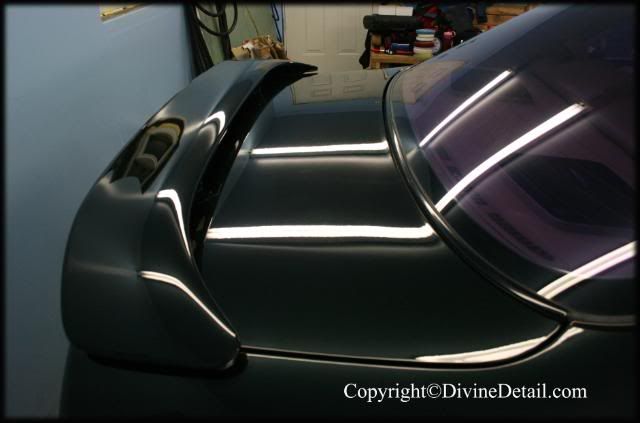
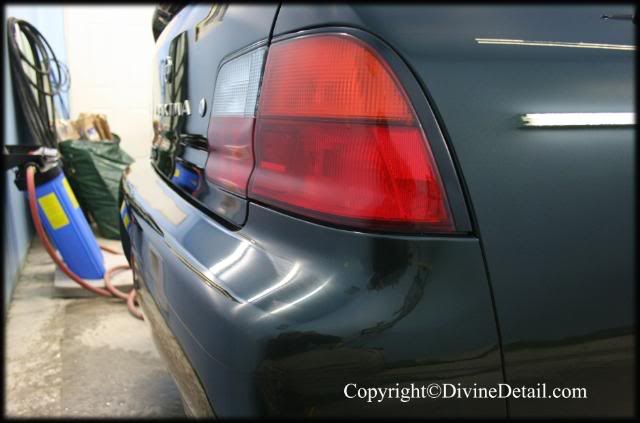
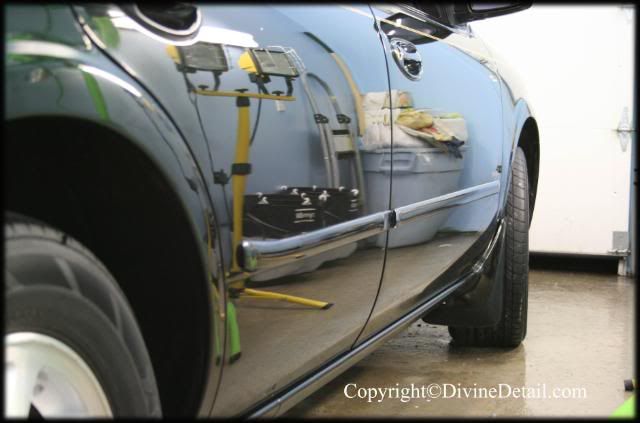
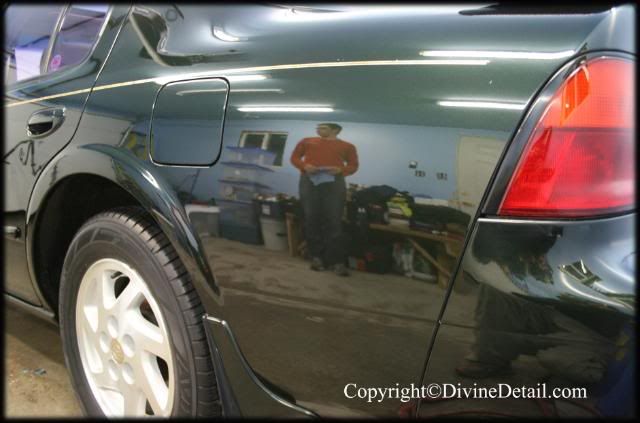
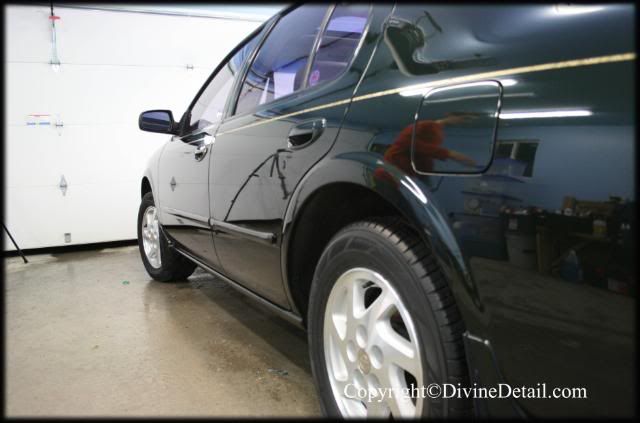
Despite the age of this vehicle, the vehicle is in great condition. Looks like the previous owners took good care of it. The vehicle had been polished before, there were signs of it from holograms to burnt paint, well here is the vehicle:
1copy.jpg

2copy.jpg

3copy.jpg

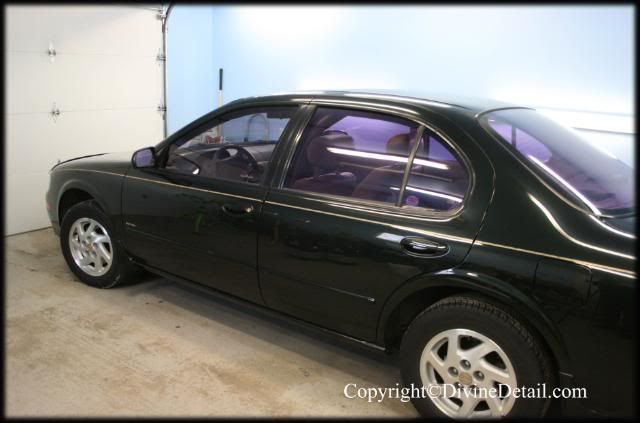
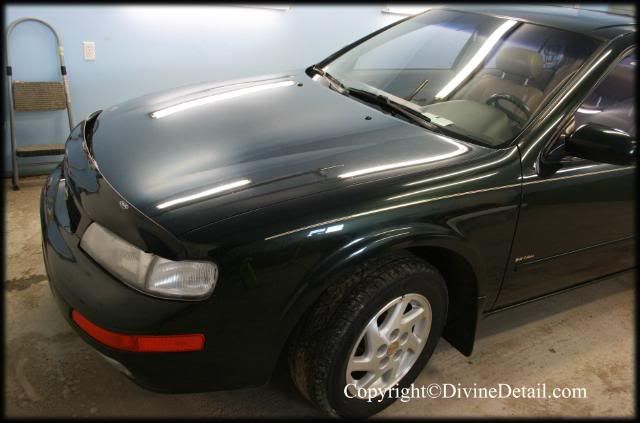
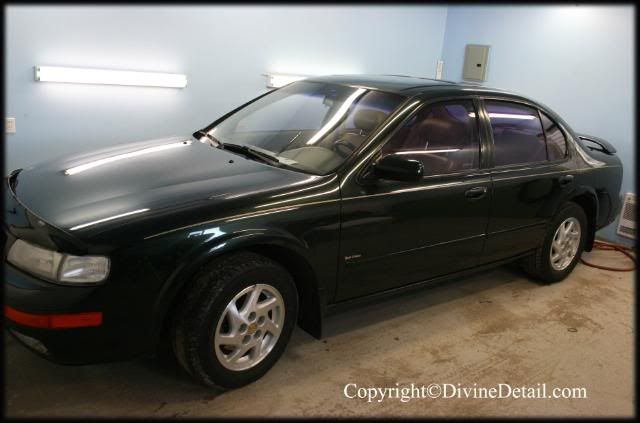
Now don’t let these images fool you, vehicle appears to be in good shape but it will show it’s true state shortly.
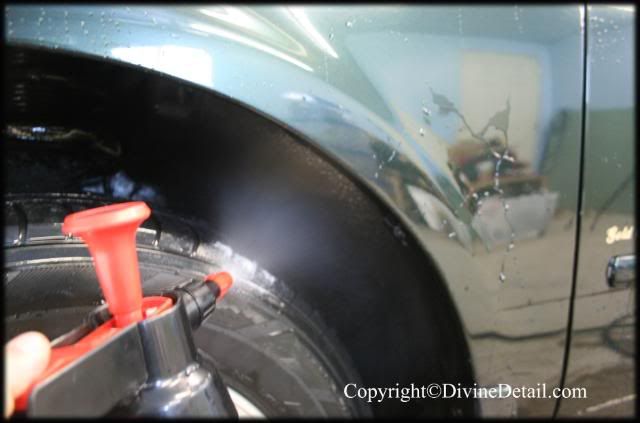
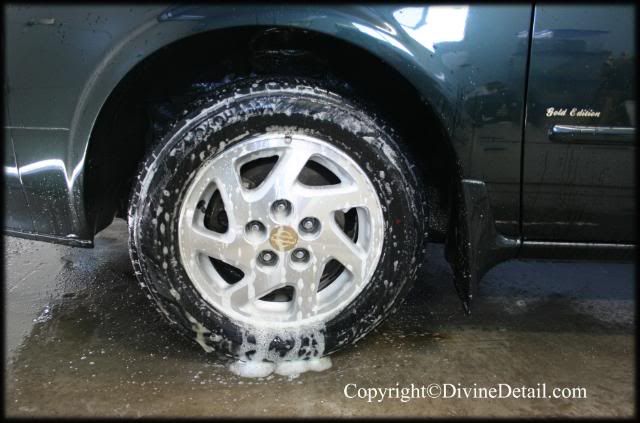
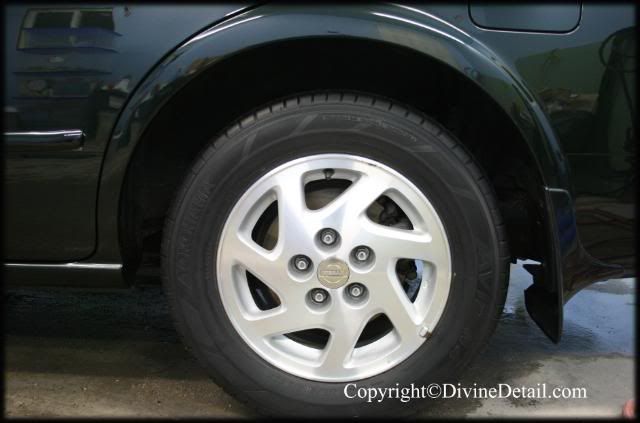
On to the detail, like all details we start at the rims, wheel wells and tires so first up the wheel wells, sprayed P21S Total Auto Wash on the wheel wells:
5copy.jpg

6copy.jpg

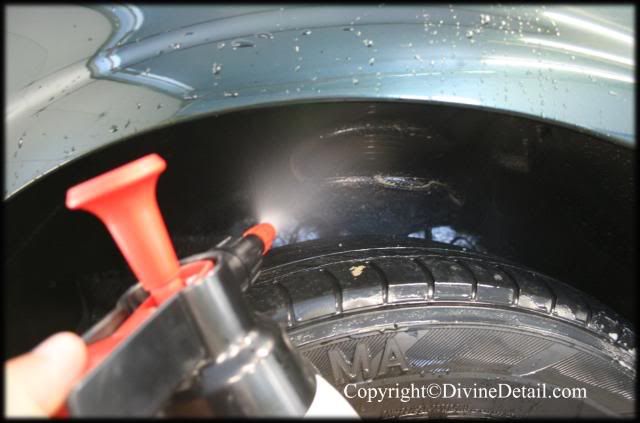
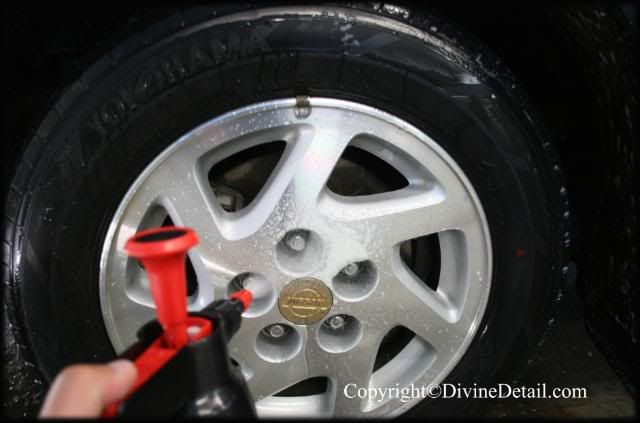
For the rims we use P21S Gel on the rims:
7copy.jpg

8copy.jpg

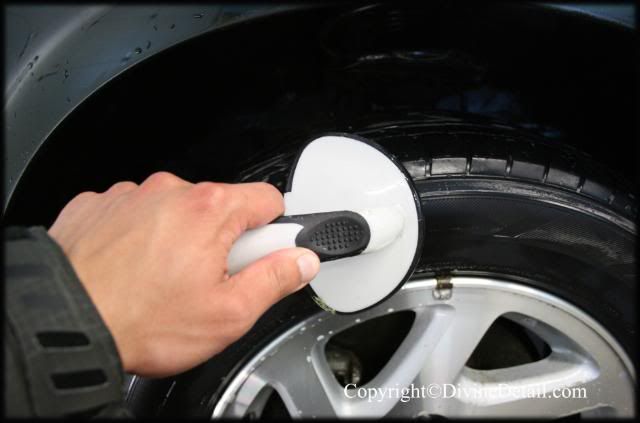
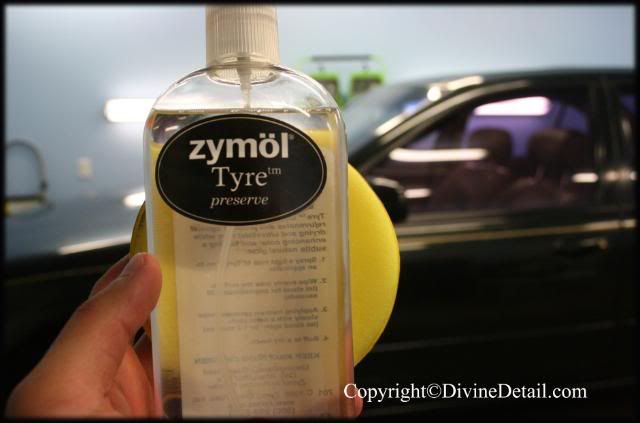
For the tires ARO is used:
9copy.jpg

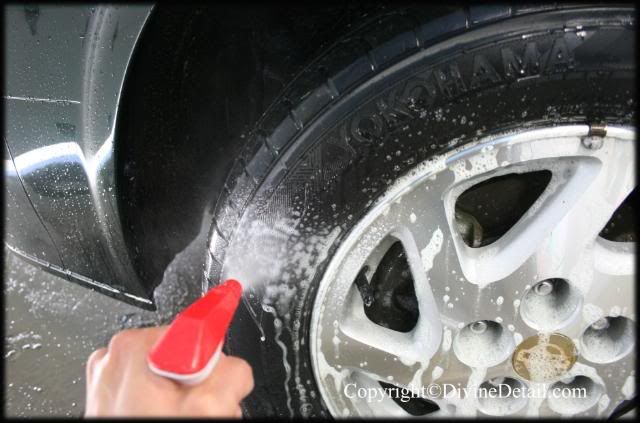
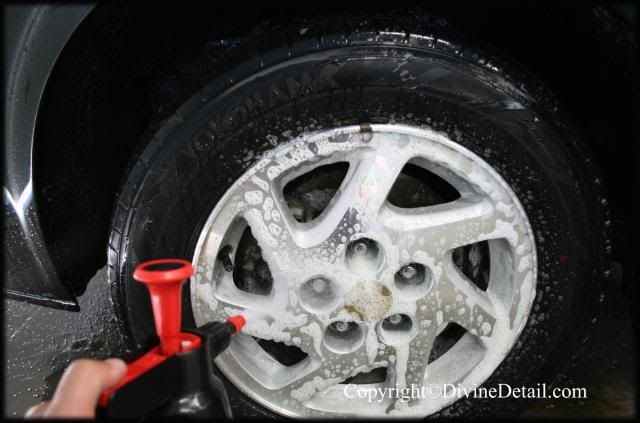
Here is how P21S Gel, Total Auto Wash and ARO looks like wile it’s working it’s magic:
10copy.jpg

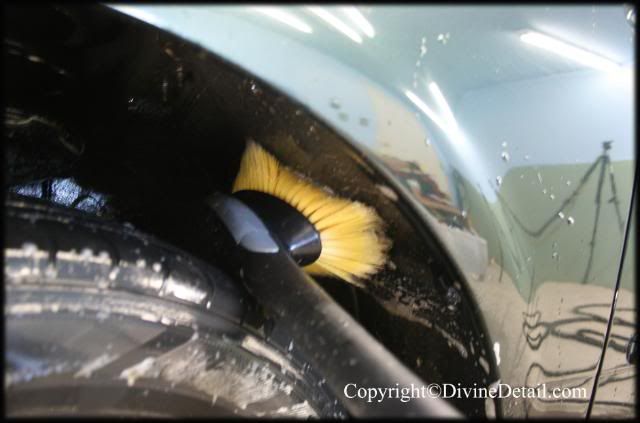
Now it was time to agitate the wheel wells, for this we used our long handle Meg’s brush:
11copy.jpg

13copy.jpg

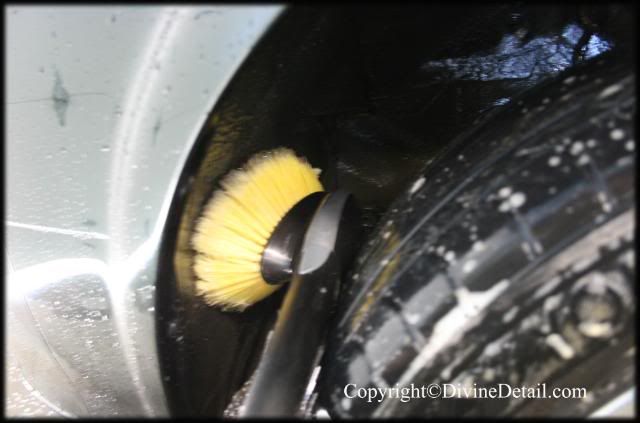
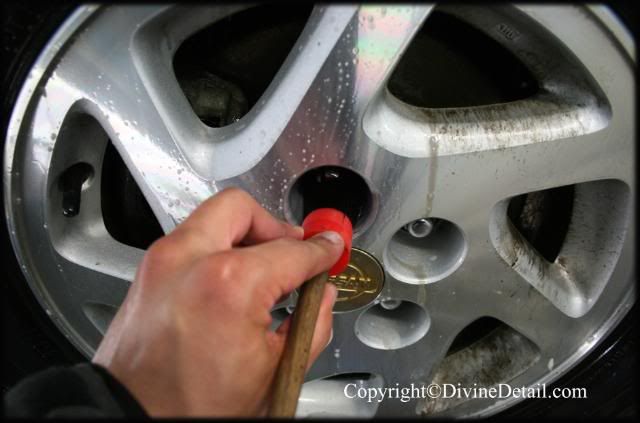
For the inside of the rims the EZ brush is used:
14copy.jpg

Making sure to get all the way inside:
15copy.jpg

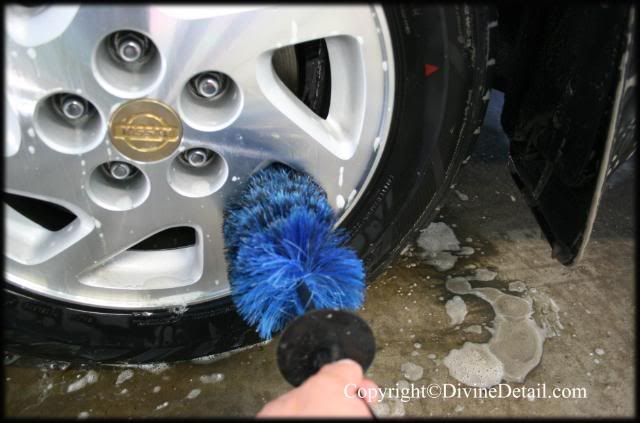
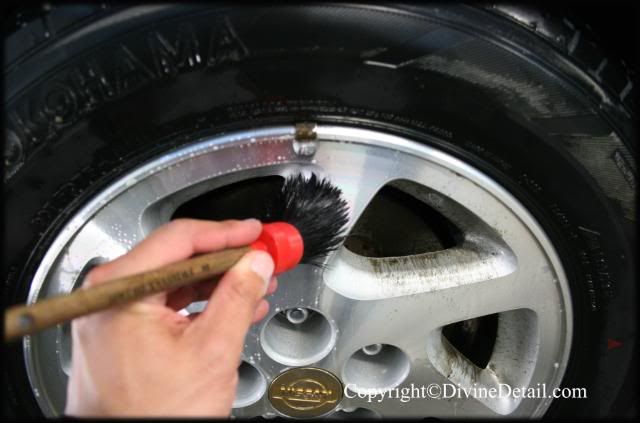
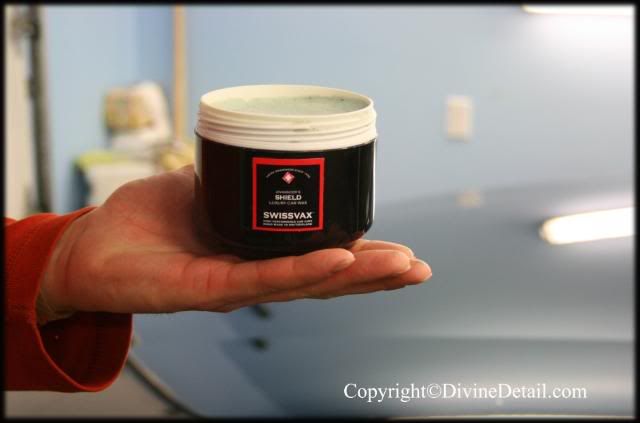
For the face of the rims we use a Swissvax brush:
16copy.jpg

17copy.jpg
 
The last step left is to scrub the tires, for this we used a new tire brush:
18copy.jpg

This process was done for all the wheel wells, tires and rims. Now it was time to take care of the exterior of the vehicle. As usual we use the two bucket method with grit guard, for shampoo we used Meg’s Gold Class Shampoo with the Zymol sponge:
21copy.jpg

We also got the CR Spotless System ready:
23copy.jpg

Once the vehicle was washed we used Ricardo clay bar on this vehicle, vehicle was quite rough and the claying took some time on this vehicle. Once the entire vehicle was clayed it was given another rinse and dried with our waffle weaved micro fiber towel.
After the vehicle was dried it was time to tape all delicate areas on the vehicle, paint readings were taken:
25copy.jpg

26copy.jpg

27copy.jpg

1996NissanMaximareadings.jpg

As you can see the vehicle has healthy amount of clear coat and paint which is really good because the paint correction process was going to be quite grueling. Oh that spike you see on the graph that’s a bad reading, that’s what happens when you don’t hold the sensor flush with the surface of the vehicle.
Well now that we knew that the vehicle has sufficient paint and clear coat, it’s time to see what we were up against, with the help of the 3M Sun Gun the paint was inspected and here is what we were up against:
28copy.jpg

30copy.jpg

31copy.jpg

32copy.jpg

34copy.jpg

This last image show's one of the marks were the paint had been burt through and touch up paint had been used to cover it up.
Now as you can see by the inspection images, we had our work cut out. Now previous experience on Nissan’s clear coat’s has proven that they are generally medium soft, so we started with a combo used on other Nissan clear coat, Menzerna 85RD3.02 with 3m blue polishing pad with Metabo at 1500RPM.
41copy.jpg

Like I said before, this combo has performed quite well in the past but regrettably on this particular clear coat it proved to be futile and the existing swirls didn’t even budge. So time to step up the pad, for this we stepped up to a Meg’s cutting pad with Menzerna 85RD3.02 with Metabo at 1500RPM:
50copy.jpg

Now this is one of those rare times where a cutting foam pad combined is required but with this combo it just wasn’t cutting it, swirls stilled remained and it didn’t even put a dent on them.
 
So next step up is to go from 85RD3.02 to Menzerna Power Gloss with Meg’s cutting pad, Metabo at 1500RPM:
42copy.jpg

This combo finally gave some results but unfortunately not satisfactory to our standards.
Therefore, it’s time to step up to some wool. As to the type of wool, we decided to go with Menzerna 6inch wool pad combined with Menzerna Power Gloss at 1500RPM:
45copy.jpg

Followed up with Menzerna 85RD3.02, Meg’s cutting pad and Metabo at 1500RPM:
50copy.jpg

Followed up with Menzerna 85RD with 3M blue polishing pad and Metabo at 1800RPM.
This grueling combo finally gave the following, satisfactory results on the test panel:
39copy.jpg

So this combo was used for this vehicle, here is how the hood of the vehicle was turned around:
Before:
48copy.jpg

After:
52copy.jpg

Here is a 50/50:
54copy.jpg

56copy.jpg

Here is the entire hood corrected:
60copy.jpg

Front driver fender before:
61copy.jpg

After:
62copy.jpg

Trunk lid before:
63copy.jpg

After:
64copy.jpg

Now for the tail lights, the same combo was not used but very close, Menzerna Power Gloss Compound with Menzerna Compounding pad followed up with 85RD with 3M blue polishing pad. This gave the following results.
Rear passenger tail light before:
67copy.jpg

After:
68copy.jpg

Rear bumper before:
71copy.jpg

After:
72copy.jpg

Once all the paint correction process had been completed it was time to remove all the tape and all the dust, instead of using our Zymol duster we decided it would be best to wash the vehicle again, this time wash the vehicle with the two bucket method with grit guard and instead of a shampoo we used P21S Total Auto Wash to completely remove and break down any polish residue:
76copy.jpg

77copy.jpg

The vehicle was once again dried with some waffle weaved micro fiber towels. Once the vehicle had been dried it was time to protect all the paint correction, first up we used Swissvax Cleaner Fluid applied with a yellow foam applicator and removed with a cookie monster:
79copy.jpg

Once the entire vehicle received a healthy amount of Cleaner Fluid it was time to apply Swissvax Shield:
81copy.jpg

Shield was applied and left on for several minuets, wile the wax was left to cure it was time to dress the tires, for this we used Zymol Tyre:
82copy.jpg

This was applied with another yellow foam applicator.
Now it was time to remove shield with the help of a few Cookie Monster micro fiber towels Shield was removed and left with the following finish:
86copy.jpg

87copy.jpg

88copy.jpg

91copy.jpg

92copy.jpg

93copy.jpg

95copy.jpg

96copy.jpg

97copy.jpg

98copy.jpg

100copy.jpg

103copy.jpg

104copy.jpg

108copy.jpg

Ah yes this is how the wheel wells, tires and rims finished off. Rims were also protected with Zymol Wheel Coat and as previously mentioned tires dressed with Zymol Tyre, quite the lovely combo and lovely finish on the tires.
111copy.jpg

116copy.jpg

Well that concludes another detail hope you enjoy
 
Fantastic write up, I like how you take the time to show and explain each step....I would so love to do this, but detailing takes me so long to do already that this would add another two hours for me easily....

Great after shots:bigups
 
I love the write up. Once again great work Mike! It is nice to see older cars turn out the way that Maxima did!
 
It is the attention to details that make an ordinary detail into an extra-ordinary one. Nice write up and pictures of the process.

Since I have been reading about the paint thickness gauge on the forums of late I need to ask an opinion about the "need" of such a tool? As a enthusiast I hesitate to invest in such an implement. I guess I need to start a new thread instead of hijacking this one.
 
Great detailing and also a great job explaining the process you used!

Nice work!

:bigups
 
Fantastic write up, I like how you take the time to show and explain each step....I would so love to do this, but detailing takes me so long to do already that this would add another two hours for me easily....

Great after shots:bigups
Thanks, yeah carlosdoes them... I go home and sleep while he does the wrtie ups... actually we normaly do them anwyehere frm 3 days to a week after. :wall but thanks
I love the write up. Once again great work Mike! It is nice to see older cars turn out the way that Maxima did!
thanks, and I have more fun on older cars liket his with huge turn arounds over the new higher end cars.... dont get me wrong i love the expensive cars. but the turn around on these isso much greater.. so much fun to step back and say i did that?
Awesome job - Love the Maxima
thanks, i do to... i have a soft spot for nissans
It is the attention to
details that make an ordinary detail into an extra-ordinary one. Nice write up and pictures of the process.

Since I have been reading about the paint thickness gauge on the forums of late I need to ask an opinion about the "need" of such a tool? As a enthusiast I hesitate to invest in such an implement. I guess I need to start a new thread instead of hijacking this one.
thanks, as for the paint gagues, they are not needed. They have savrs us a few times but i know most people dont use them, i know i went a few years without them..... my partner had theses ones before we started DD so he spent stupid money on theses but you can get electonice paint gagues for 600 bucks
WOW great work as always!
thanks
Great detailing and also a great job explaining the process you used!

Nice work!

:bigups
thanks, we like to show the customer after so they know exactly what they paid for... its a great advertising tool ;) people see there car and sent it to all there friends, then the friends go I want my car in a write up, they dont care about the etail they just want to be famous lol :rockon


thanks everyone
 
Back
Top