Detroit Modern Muscle: 2010 Camaro 2SS by AutoLavish featuring Mark Kerckaert

boywonder

New member
Since I am looking into relocating, one of the things I am looking at is a nice garage. Although I am looking most for efficient storage, I am really considering putting a washer/dryer in the garage to facilitate washing my detailing towels. My question is whether or not it would be practical to put a side by side washer/dryer or a stackable washer/dryer in the garage.


My gut says stackable since the loads aren't that big and it wouldn't take up that much space.
 
Hey PrinzII:


I'd agree with you that stackable would be the best choice. In a garage, space always seems to be at a premium no matter how big it gets, so you have to be efficient. To do this, you must fully utilize the space available to you.


How? Go wall to wall and stack it to the ceiling. It's much easier to go from wall to wall then to go up to the ceiling, so anything you can get up high instead of side by side would be great! As long as you get the right stackable models and make sure no water lines burst :mad: you'll be fine!


Good luck,

puterbum
 
Right now, I am seriously interested in a townhome with a 2 car garage. Now that they have given me flexibility in custom items, I am definitely going to think about how to do the garage (and what to put in it besides the Maxima :D)
 
Two similar sized items stacked on top of each other versus two next to each other will take up the same amount of space, but in living space the two on top will seem to take up less because it goes by floor sq. footage. Plus the double washer dryers take up less space then two larger ones anyways.


If you already have a washer and dryer somewhere else in the house then putting only the smaller washer in your garage, just for towels may serve just that purpose, you can line dry the towels or just go to your dryer.


One thing, I believe they make all in one machines, but they're probably expensive.


One other thing, a sink my be advantageous too, so you can wash your hands and clean stuff up etc. something to think about
 
<blockquote class='ipsBlockquote' >

<em class='bbc'>Originally posted by Gimp [/i]
<strong class='bbc'>
As someone who has two multi-level homes, please allow me to make these suggestions:
*Put the washer/dryer connections for the household laundry on the floor that the clothes are going to be on. We learned this the hard way several years ago with our first multi-story. At first we thought having the washer/dryer/laundry room at the back of the garage was a great idea until we got tired of toting dirty clothes down 2.5 floors and clean clothes back up 2.5 floors.
*Put a second washer/dryer connection in the garage for you to use for your detailing cloths.

If you have the extra room:
Hey, while you're at it, how about cable in the garage and an icemaker connection for your personal beverage refrigerator. Since all this will probably only leave room for one ride in the garage, make the wife park outside. :D

Good luck [/b]</blockquote>
Since I have no wifey, I don't have to worry about putting her car out because of garage mods. :D But I will eventually have a second vehicle to play with. :D
 
Cars less than a year old usually show minimal wear, but without a thorough new car prep, they can still have issues. Dealerships using their goons to "prep" new cars usually leave swirls, halograms, and of course; they always skip over must needed claying.
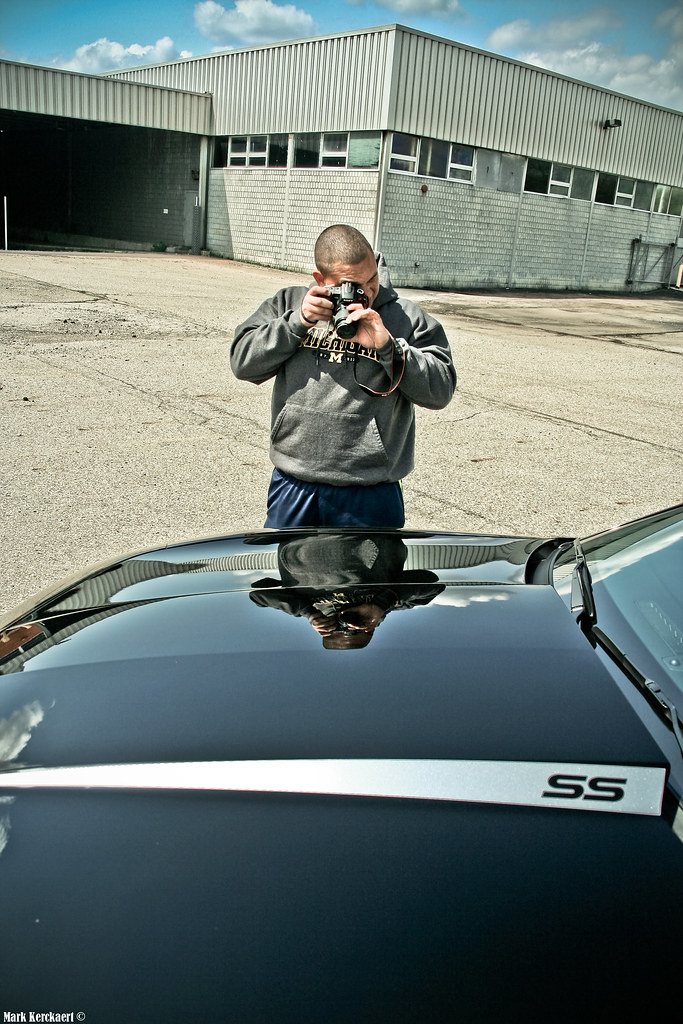
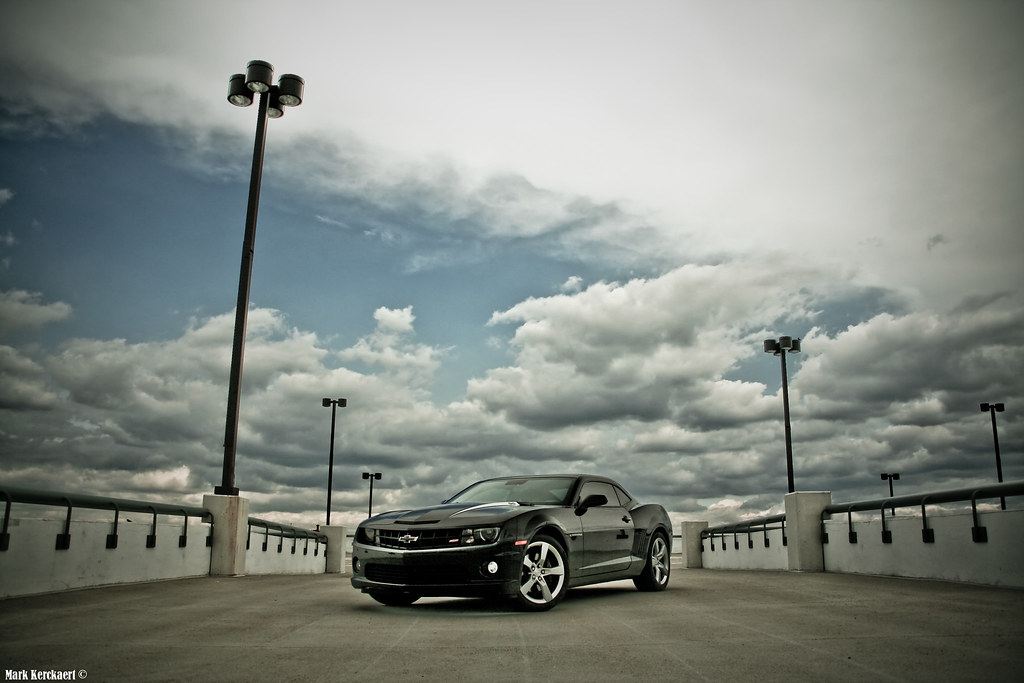
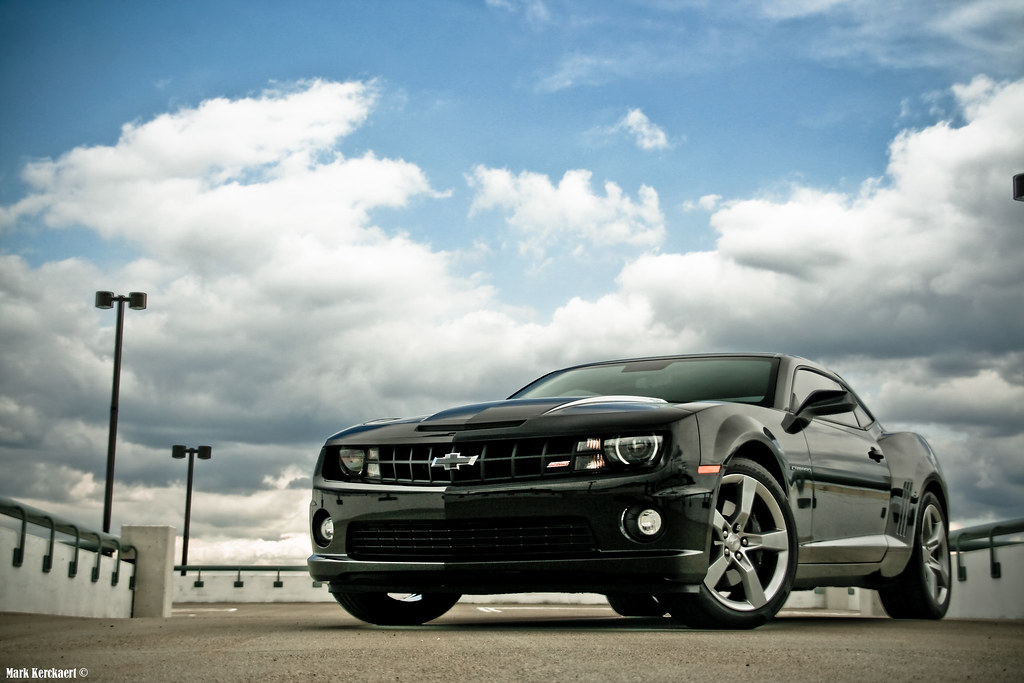
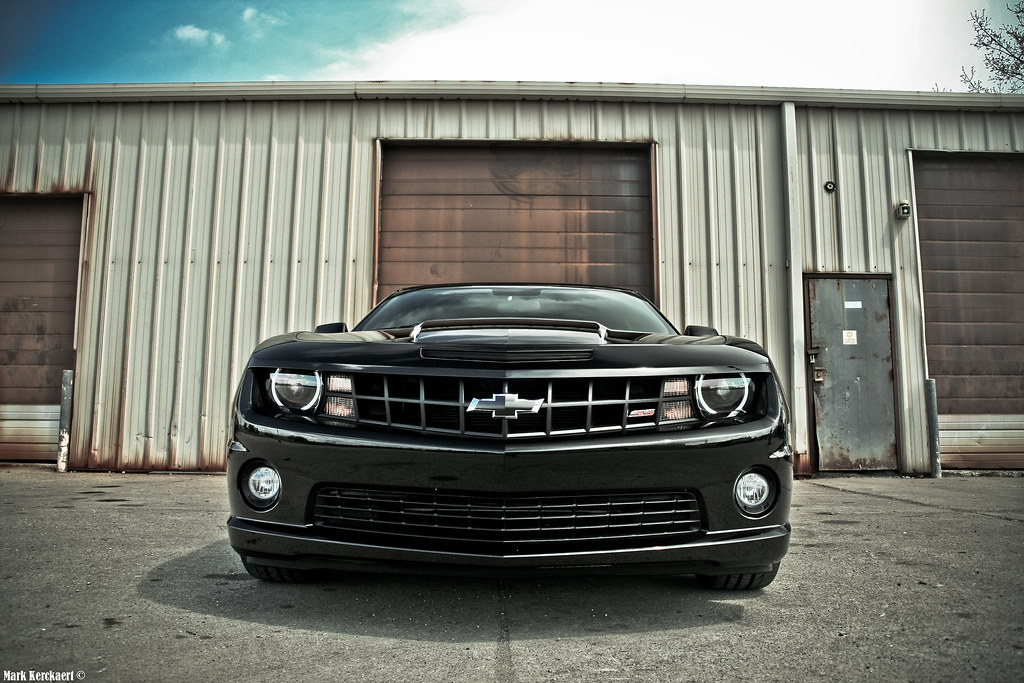
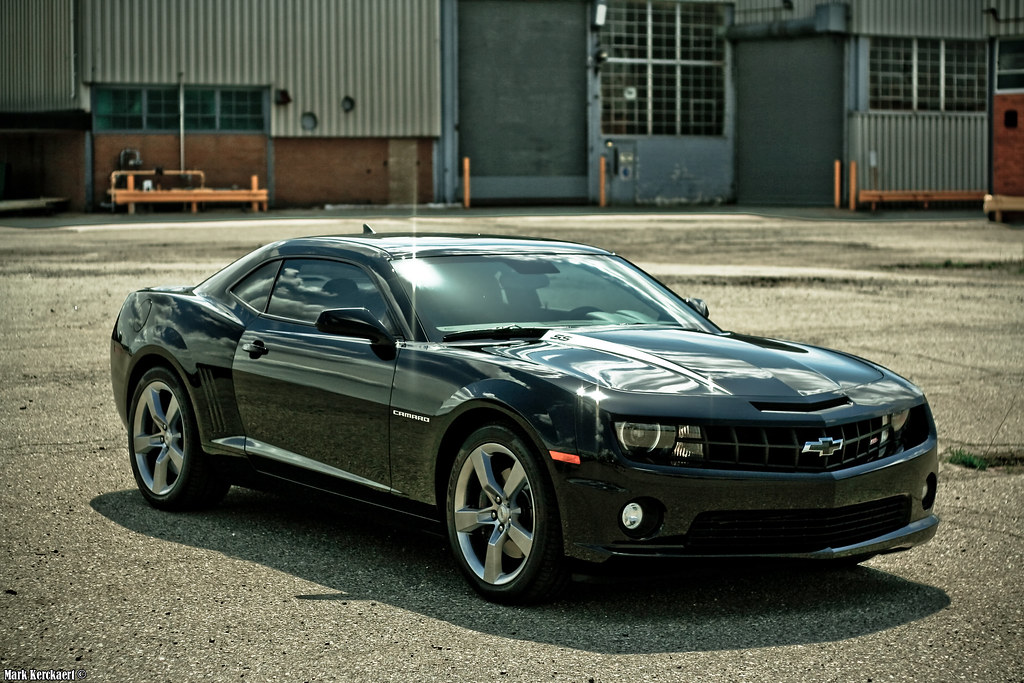
While we have 10+ cars still to post, we wanted to get this write-up out asap for multiple reasons: it's an awesome ride (a 6.2liter v8 kicking out 426 hp and 420 ft/lbs stock helps), it's "new" (we'd like to show how new cars can need love too!), and we had the chance to work with a great local photographer to truly capture the end result in a way that we could not.
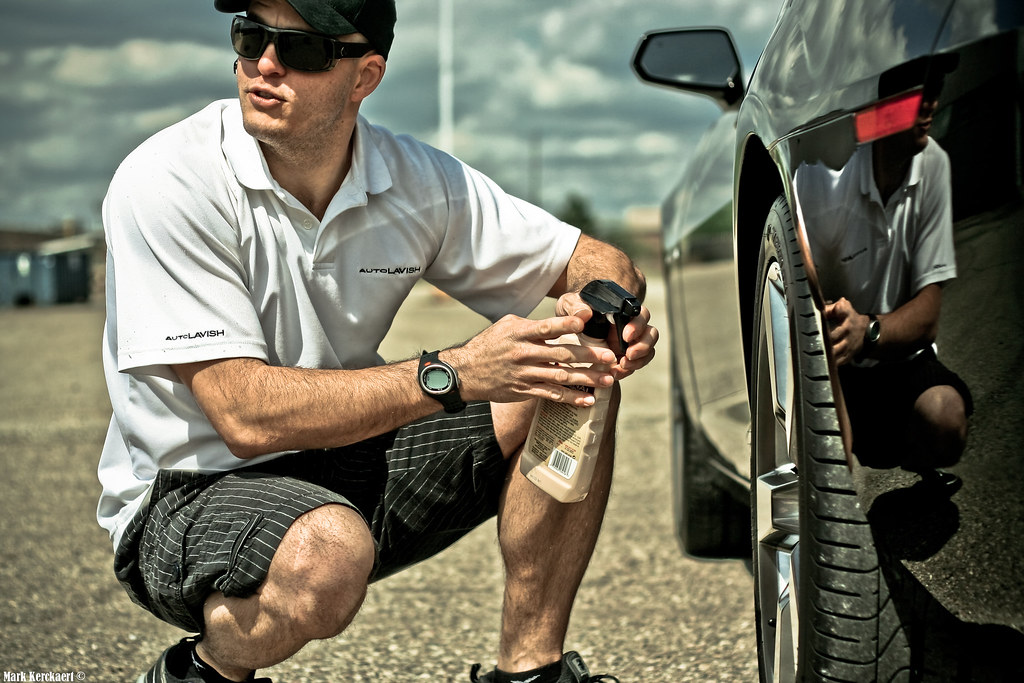
We were introduced to this client after he had already seen some of our work. He had plans on getting it detailed properly to remove the light swirl marks already accumalating on the finish, and gave us a call to set up an appointment. Not much longer and we arrived ready to work.

First look: Clean? No doubt a well maintained vehicle that gets babied quite a bit. Once looking around further, we could see some of the areas we'd need to give a little more attention to.

DSC02746.jpg


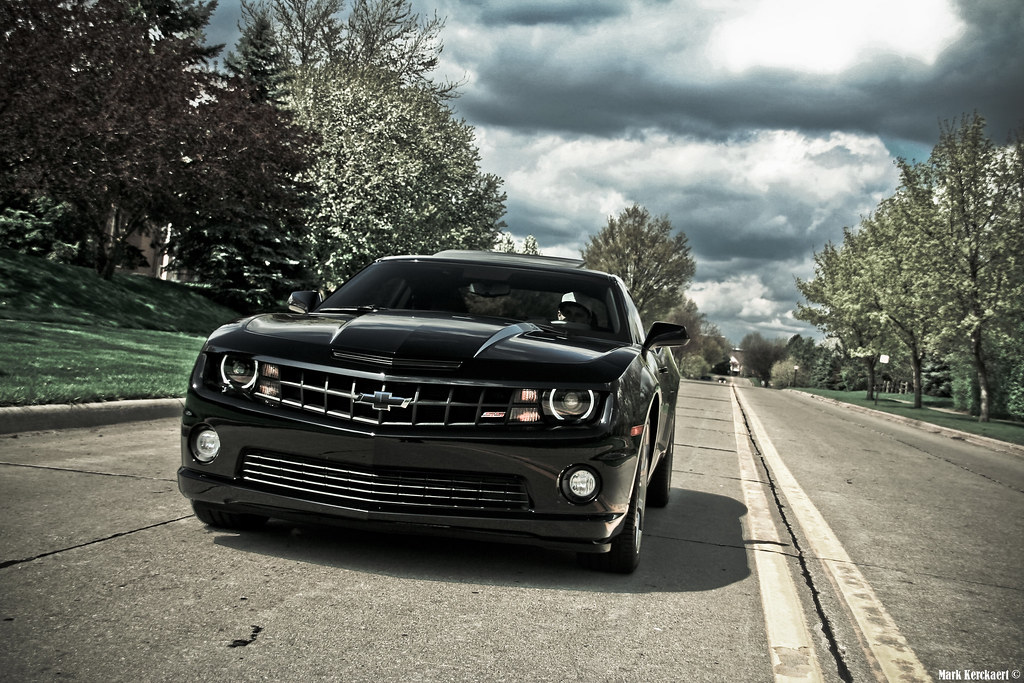
Every vehicle has it's highs and lows. While this might only be less than a year old with less than 15,000 miles, it requires additional attention to detail to bring the rest of the car to a better-than-new state.
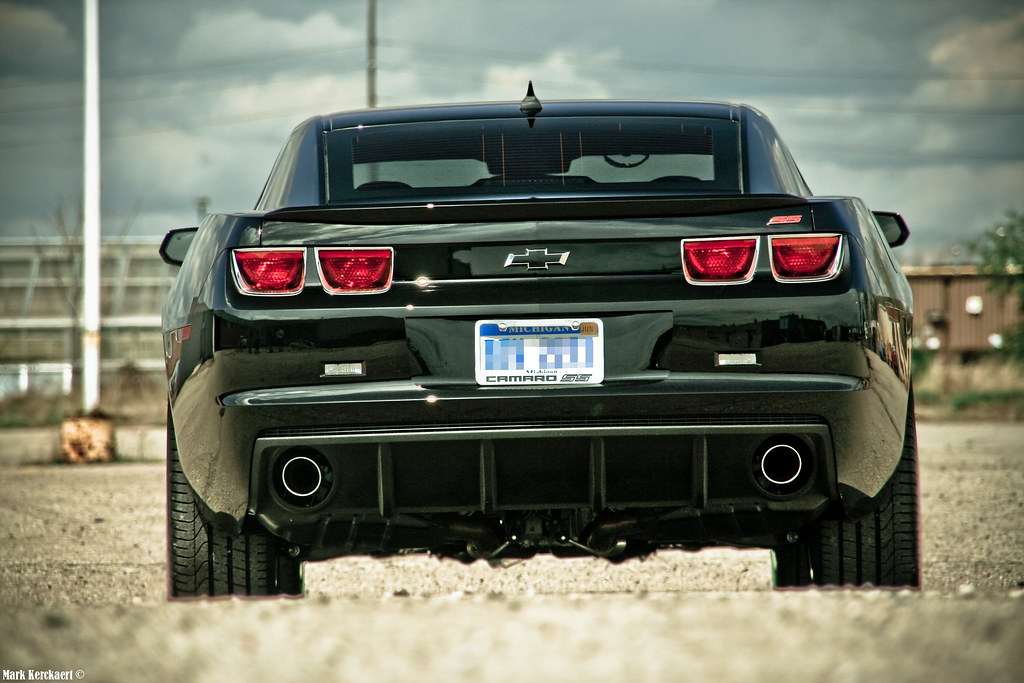
Exhaust tips:

DSC02747.jpg


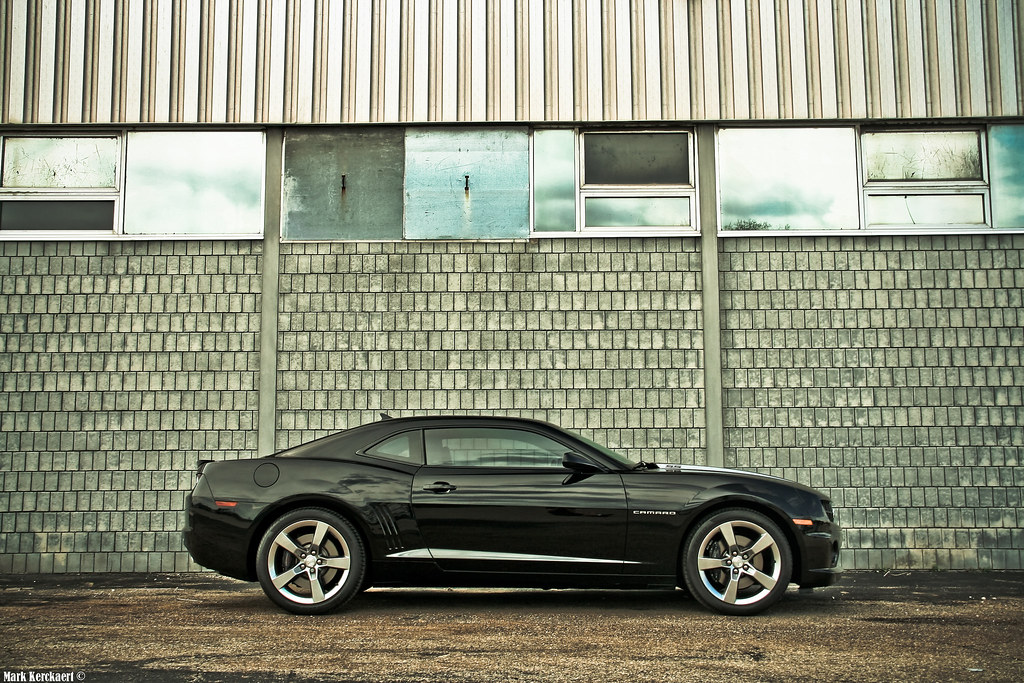
Wheel faces weren't bad, but the wheel weights shouldn't cause someone to frown on your upkeep, nor should wheel wells:

DSC02748.jpg


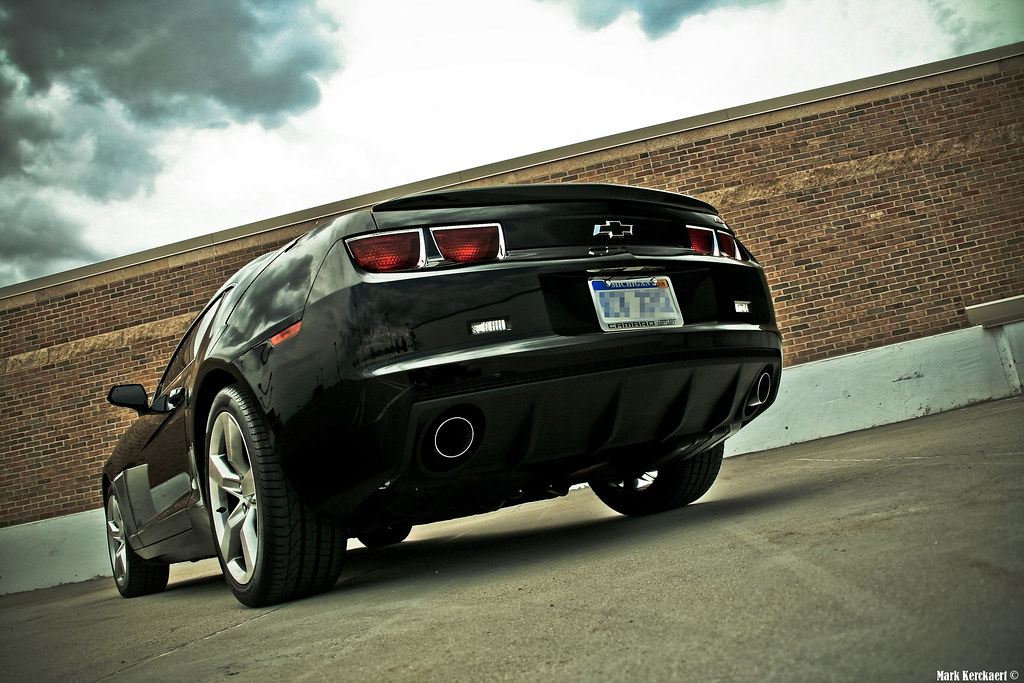
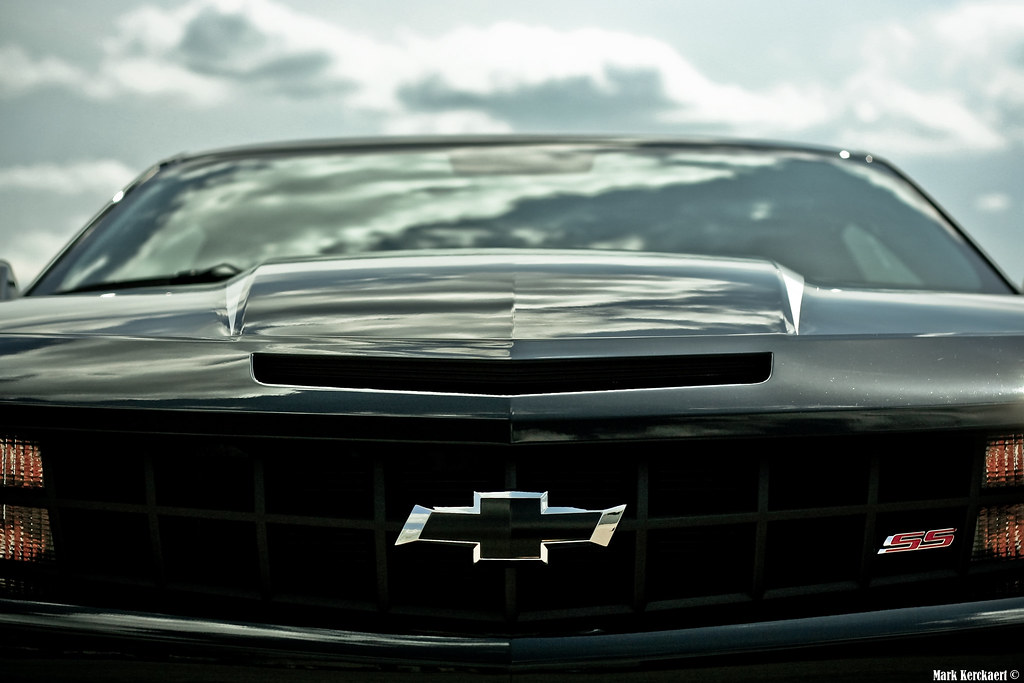
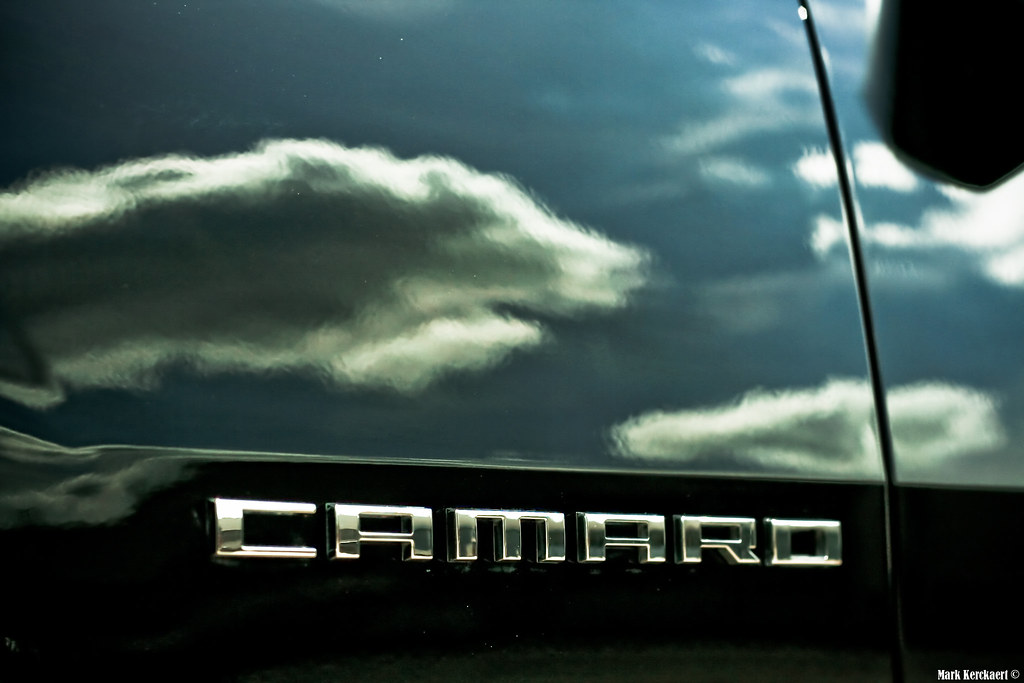
Camaro badge with some gunky build-up:

DSC02750.jpg


Plate removal

DSC02754.jpg


DSC02758.jpg


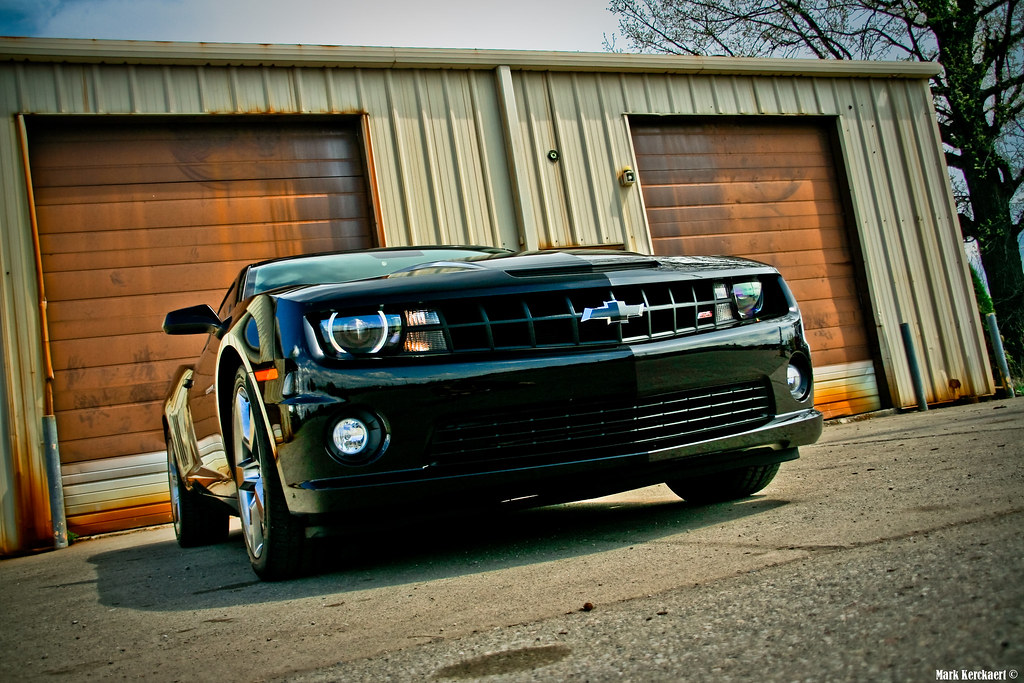
In the sun, it was clear to see why our services were requested

DSC02760.jpg


DSC02765.jpg


Even some light etching was present in some areas.

DSC02769.jpg


Taking initial readings - even with a new car you never know if you may find something odd. Best to know prior to polishing and to alert the owner.

DSC02777.jpg


Starting with the wheels, wheel wells, brakes:

DSC02784.jpg


Wheel weights 50/50 - you can see the weights behind the spoke haven't been touched yet

DSC02787.jpg


For a realitively "clean" wheel - you can see how much nasty stuff was agitated that eventually got rinsed free.

DSC02794.jpg


Much cleaner!

DSC02820.jpg


Exhaust tips need love too!

DSC02880.jpg


After working on exhaust tips... Jacob's hands need love too! (why it pays to remember to wear gloves!)

DSC02881.jpg


Initial foaming to loosen grime

DSC02822.jpg


Then rinsed:

DSC02823.jpg


Followed by foam+wash

DSC02824.jpg


Rinsed off...

DSC02827.jpg


No beading!

DSC02828.jpg


Claying did yeild some nasty stuff that was stuck to the clear-coats. This is the norm for newer cars as they are often in huge parking lots for awhile waiting on shipping.

DSC02839.jpg


Lower portions were particularly grimey

DSC02844.jpg


Only the best and highest quality microfiber drying towels were used to dry in addtion to our blower.

DSC02850.jpg


DSC02852.jpg


Some tar specs got hit with bug and tar remover which quickly cleared-up the contamination

DSC02857.jpg
 
After taping, we experimented with a half a dozen combinations until we could achieve the desired result:

DSC02859.jpg


Other than the polishing dust specs, you can easily see the visual difference in finish of what has and has not been worked during the testing stage of polishing:

DSC02864.jpg


Smearing polish prior to starting to avoid start-up splatter, you can still see the area that hasn't been worked on :D

DSC02867.jpg


DSC02870.jpg


The four-suns of approval

DSC02875.jpg


Last step was 3M Ultrafina:

DSC02879.jpg


Final Foam Showdown

DSC02883.jpg


DSC02885.jpg


DSC02887.jpg


What it must feel like to be a make-up artist for Halle Berry

DSC02888.jpg


Final rinse means special attention should be paid to ensure no polish residue is left behind.

DSC02891.jpg


DSC02899.jpg


Sealant choice was simple: Menzerna Powerlock. Jacob works it on with a gold pad while I hit the wheel wells with Meg's All Season Dressing

DSC02903.jpg


I applied Optimum tire shine while Jacob finished applying Aquapel to the windshield:

DSC02904.jpg


Oh no!!! What's that?!??!

DSC02906.jpg


...oh nothing... Just clean wheel weights :)

DSC02907.jpg


DSC02909.jpg


DSC02917.jpg


David (of StreetDreams Detailing) gave some quality in-depth reviews of this new sealant and I have to give it to him; I really like it so far. What blew me away was he was actually right: it's so easy to use, you can use the blower to remove it!

DSC02921.jpg


High shine, very slick (not as much as BFWD), and less chance than most sealants to streak. A+ in our book so far, now to find out about durability.

DSC02925.jpg


The owner with Jacob: "So you're telling me you waxed the wheels?"

DSC02927.jpg


Yes... Opti-seal on the wheels, calipers, wheel barrels, and behind the spokes even.

DSC02945.jpg


DSC02956.jpg
 
A week later, we were lucky enough to have Mark Kerckaert come out and do a quick photoshoot. We take pride in all aspecs of our work, to include doing our own photography work, but sometimes leaving things to a professional has it's advantages. The skill, dedication, equipment, and passion for photography allows for pro's to do what they do best.

4528135452_7a2468a415_b.jpg


4528138146_e07fec2efb_b.jpg


Mark Kerckhaert said:
I was contacted by AutoLavish to shoot this beautiful Camaro SS. I've been wanting to photograph more of the muscle car side in the automotive industry so this was the perfect opportunity. I was told it was a black car so I decided to shoot earlier in the day, using my circular polarizer to help really bring out those reflections.

We went to a couple local locations to shoot this car. I took roughly 500 photos but I'm very picky when it comes to which I use. I will let the photos do the talking!

4536133297_ab52440842_b.jpg


4536784894_7063ed1b0e_b.jpg


4527494621_3bff905c90_b.jpg


4536142209_495aa14a51_b.jpg


4528143970_314799db23_b.jpg


4528129952_57728016e5_b.jpg


4536139637_6b6a81b97b_b.jpg


4528129164_536968b5d2_b.jpg


4527488085_5386c375df_b.jpg


4536147633_718beee8be_b.jpg


4527510073_0e7a34ef81_b.jpg


Mark Kerckaert said:
I am looking to diversify my portfolio and though I'm located in the metro Detroit area, I'm willing to travel. If anyone is interested in having a photoshoot, or if you have any questions, feel free to contact!


Thanks for taking a look, and special thanks to our guest photographer Mark, who helped bring the best out of this modern muscle car.

4528125752_5931e08ca0_b.jpg
 
That was an absolutely great job you did on both the Camaro as well as the write-up. For what it is worth, the photographer took some georgeous shots of that beauty.:hurray:
 
Back
Top