911fanatic
New member
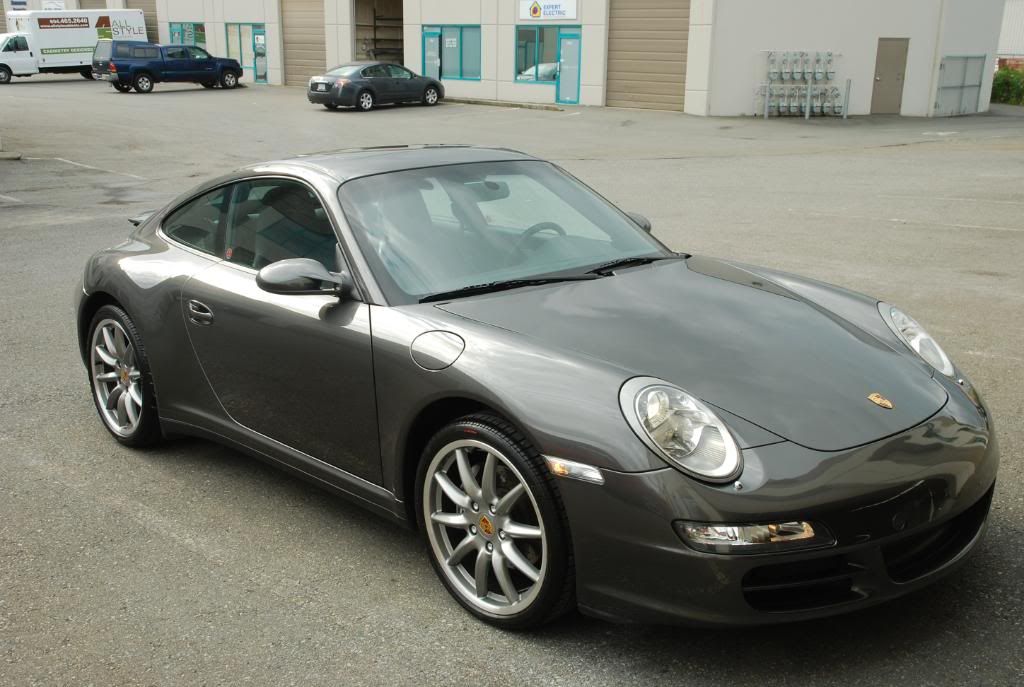
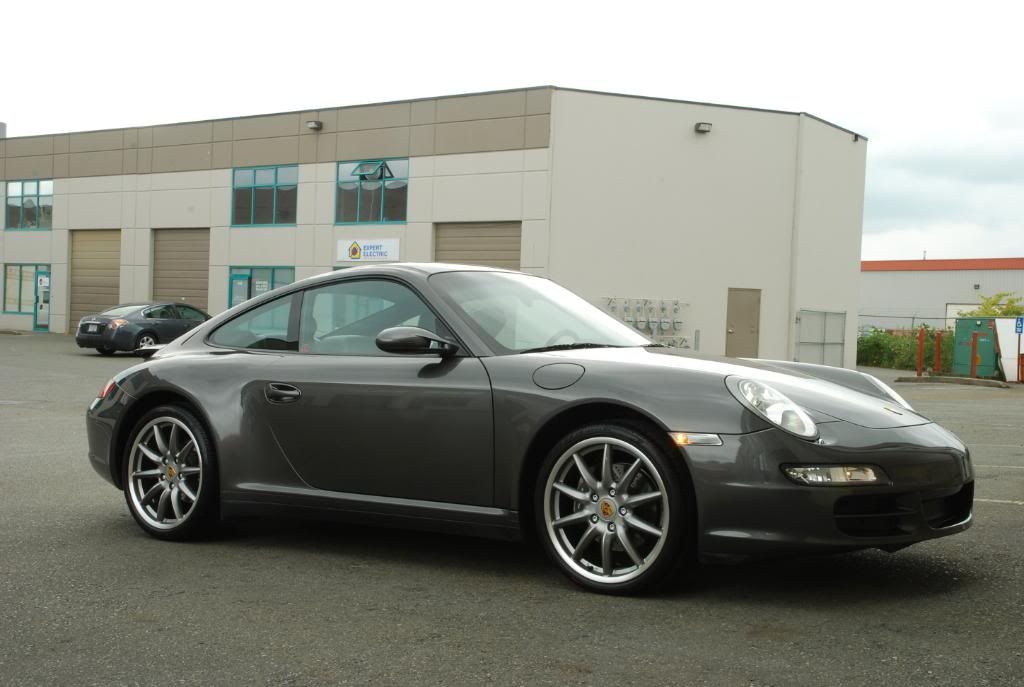
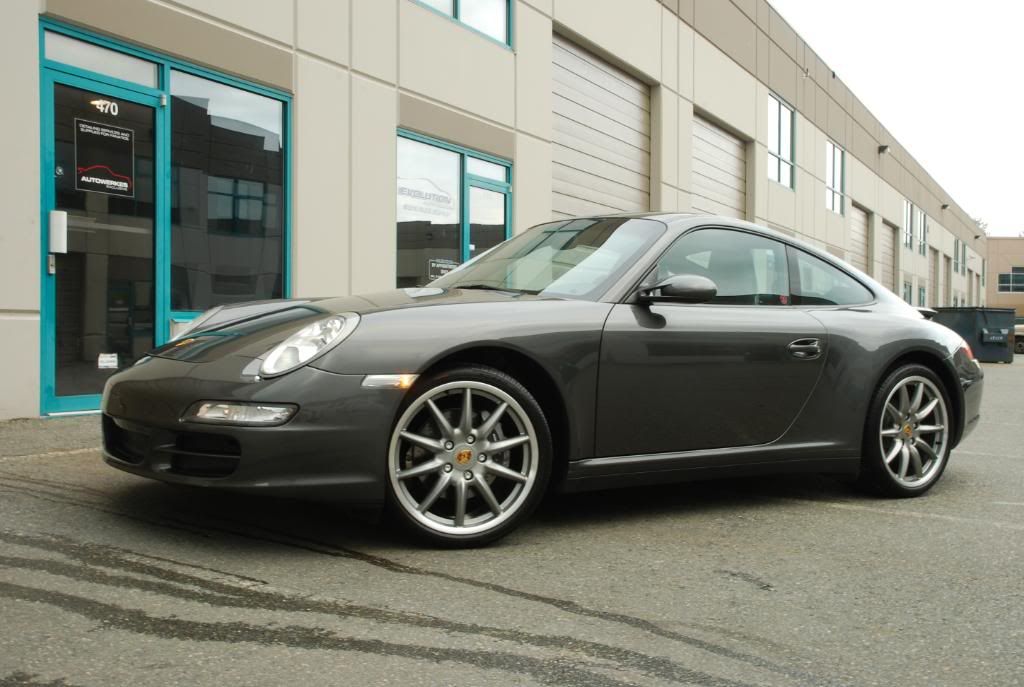
This client ad owned this car for a few years but had never had it professionally detailed. Al though it had low mileage, the lack of care bestowed by the previous owner meant this P car was due for some serious TLC. After an inspection, we decided the best course of action was a two step correction. As well, we were sending the two rear wheels out for some repair. As the client had other cars to drive, we were able to keep it as long as we needed to make it nice.
Engine, jambs and all trim cleaned with Exclusive APC@3:1 and RG brushes
Washed with Blackfire Soap and Megs MF mitt
Inner fenders cleaned with Exclusive APC straight and dressed with 303
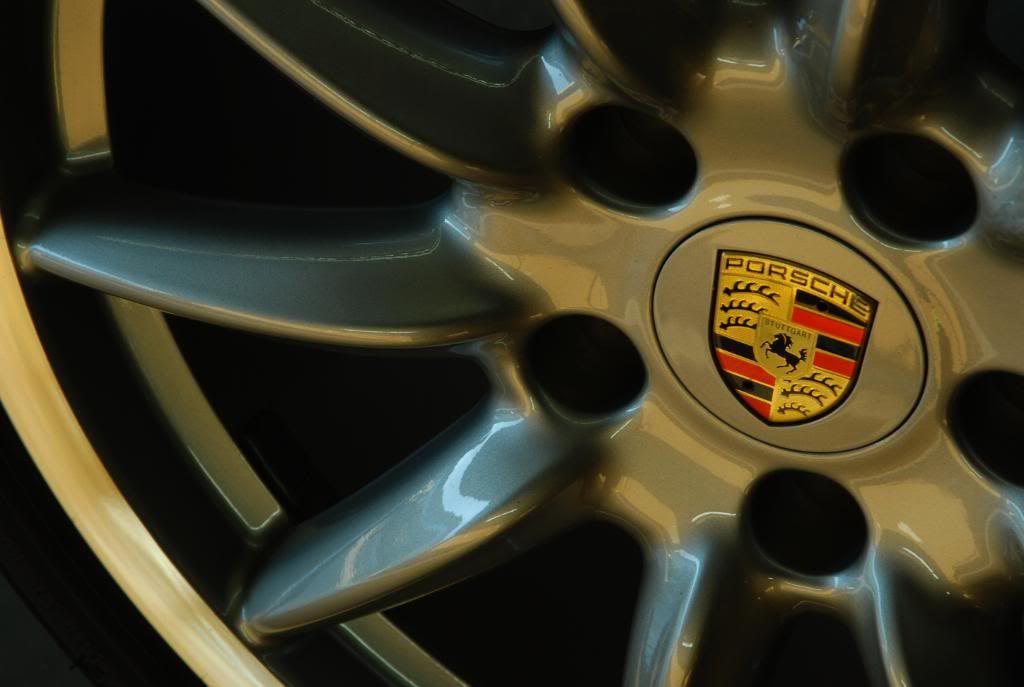
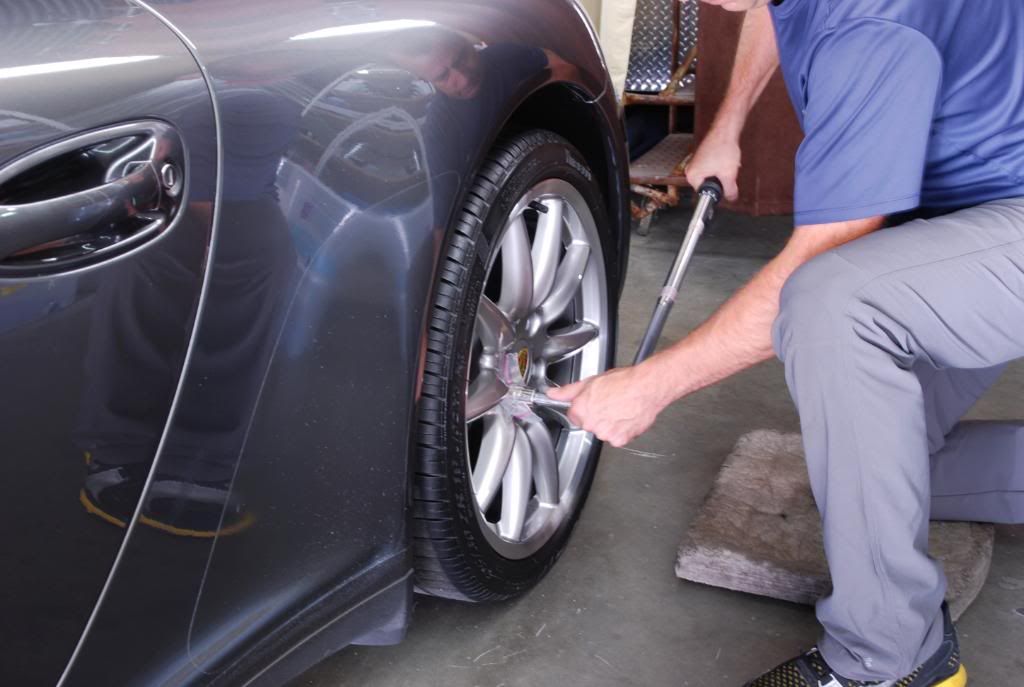
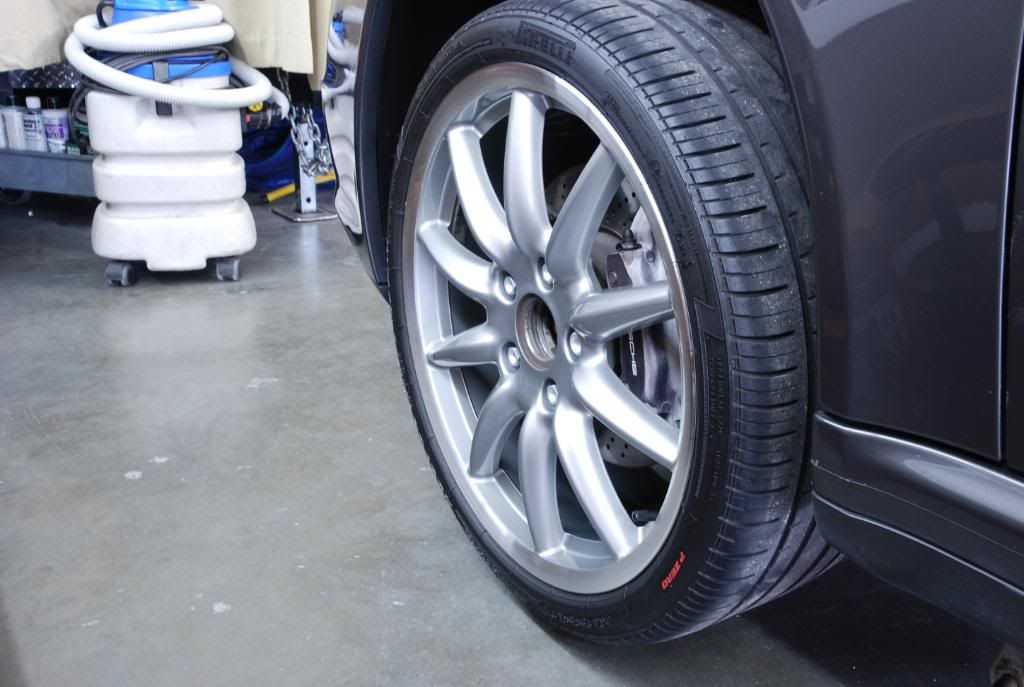
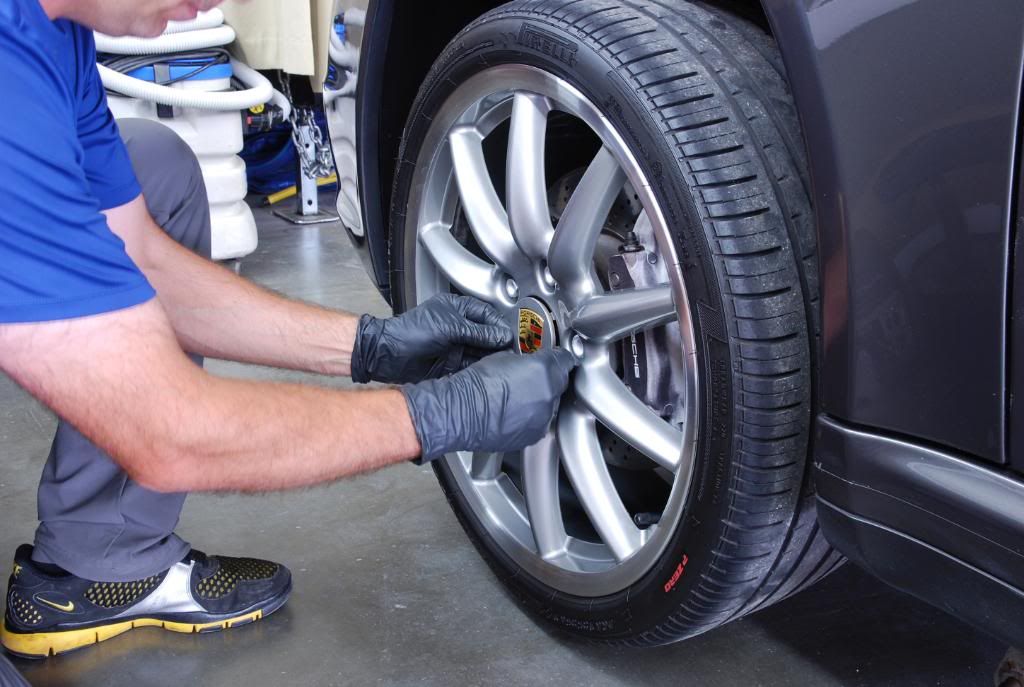
Wheels cleaned with Exclusive Wheel Cleaner beta. Built up brake dust on back of spokes tidied up with a mild acid @8:1
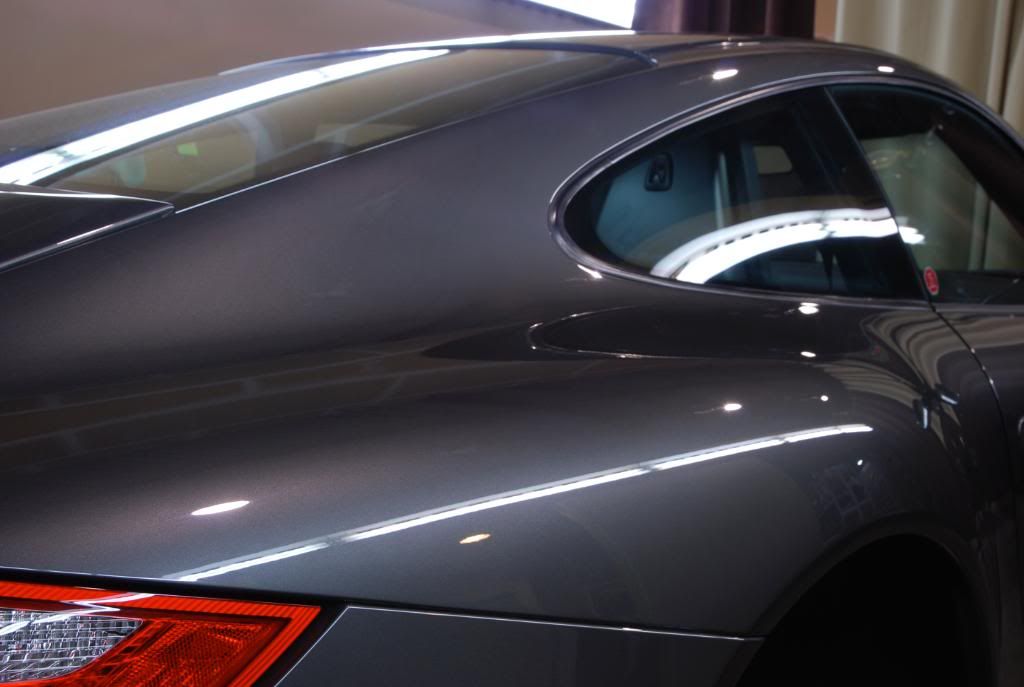
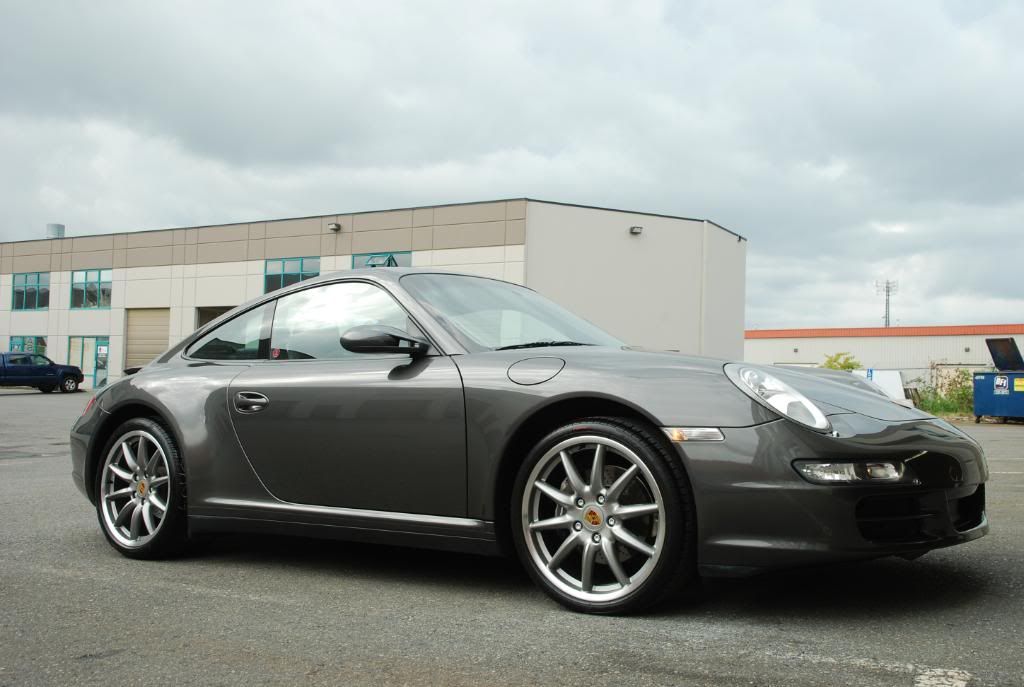
Polished with Megs MF cutting pad and Megs D300 cutting compound on my PC. Finishing was done with Scholl S30 / B&S Green on my PC as well.
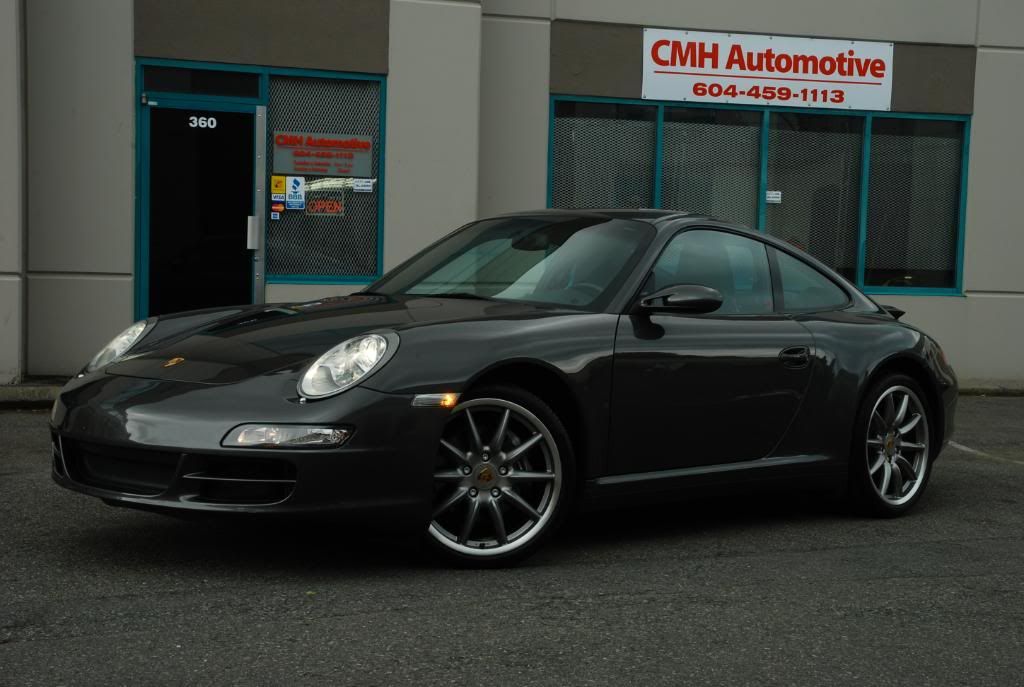
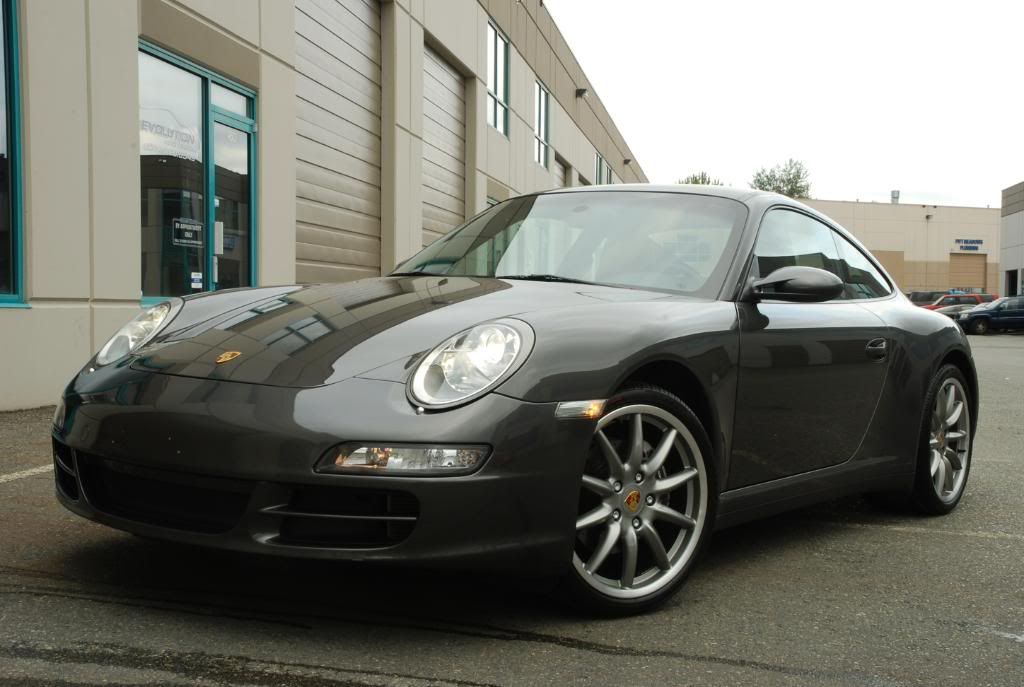
LSP was two coats of Exclusive Paint Sealant
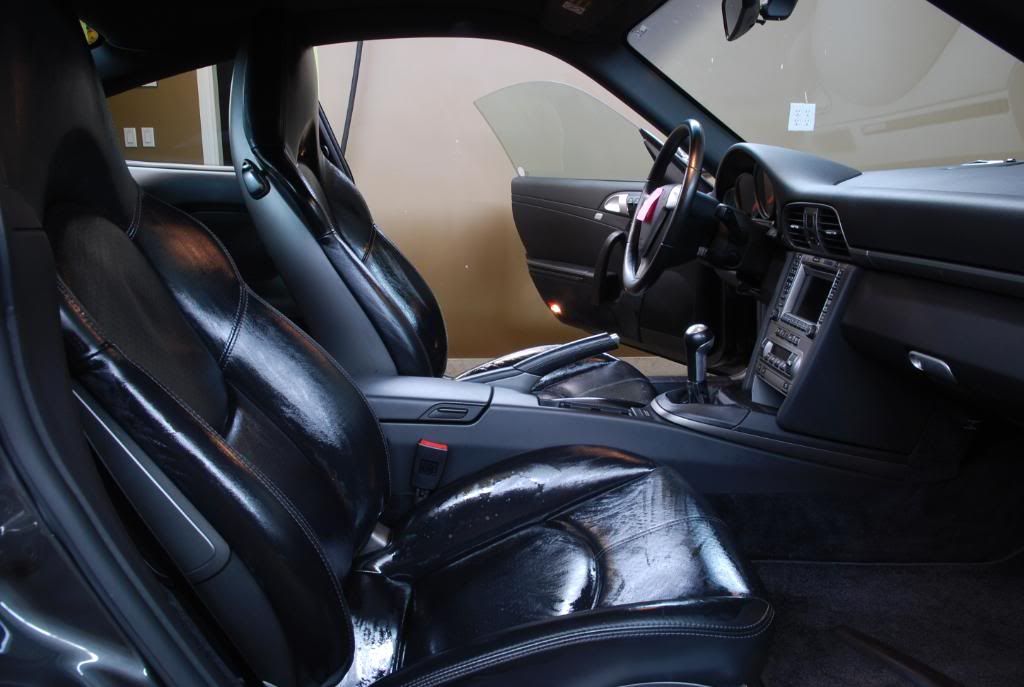
Interior wiped down with AG Interior Shampoo
Seats cleaned with Leatherique Rejuvenator and conditioned with Leatherique Prestine Clean.
All glass cleaned with AG Glass Polish
Exterior glass sealed with DG Nano Sealant beta
Wheels sealed with BF All Metal Sealant
Tires dressed with Exclusive Tire Dressing
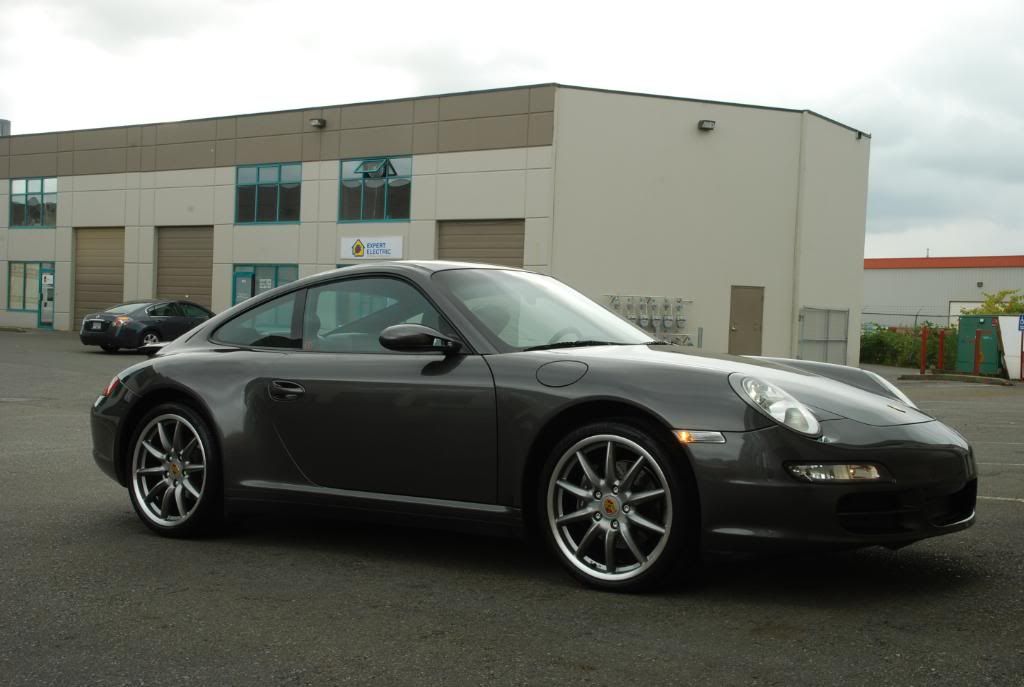
Total time - I stopped counting at 30 hours
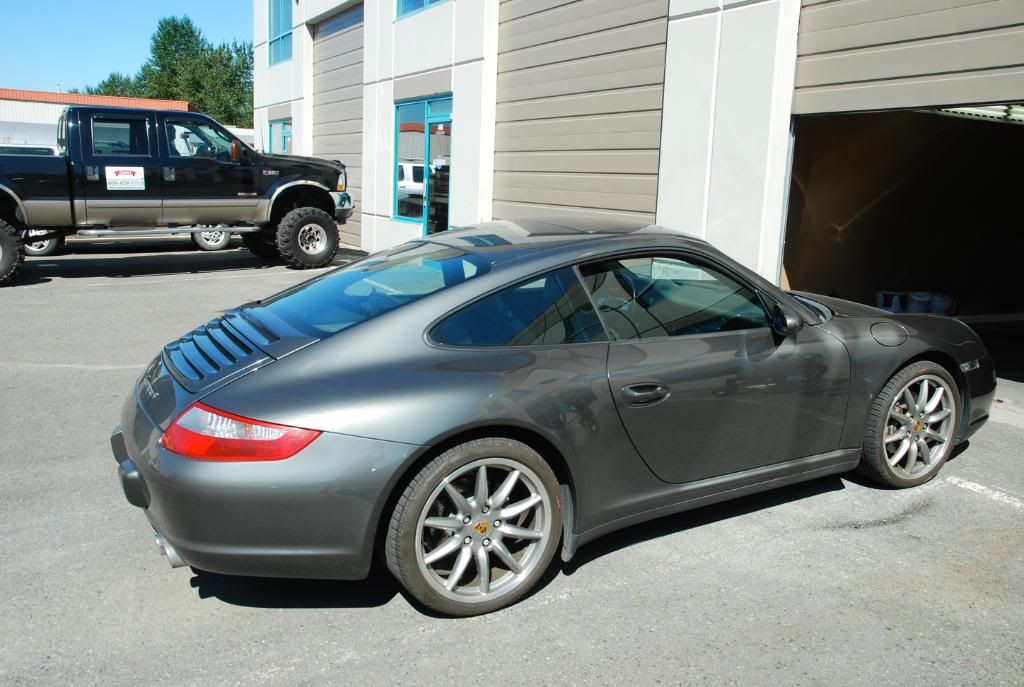
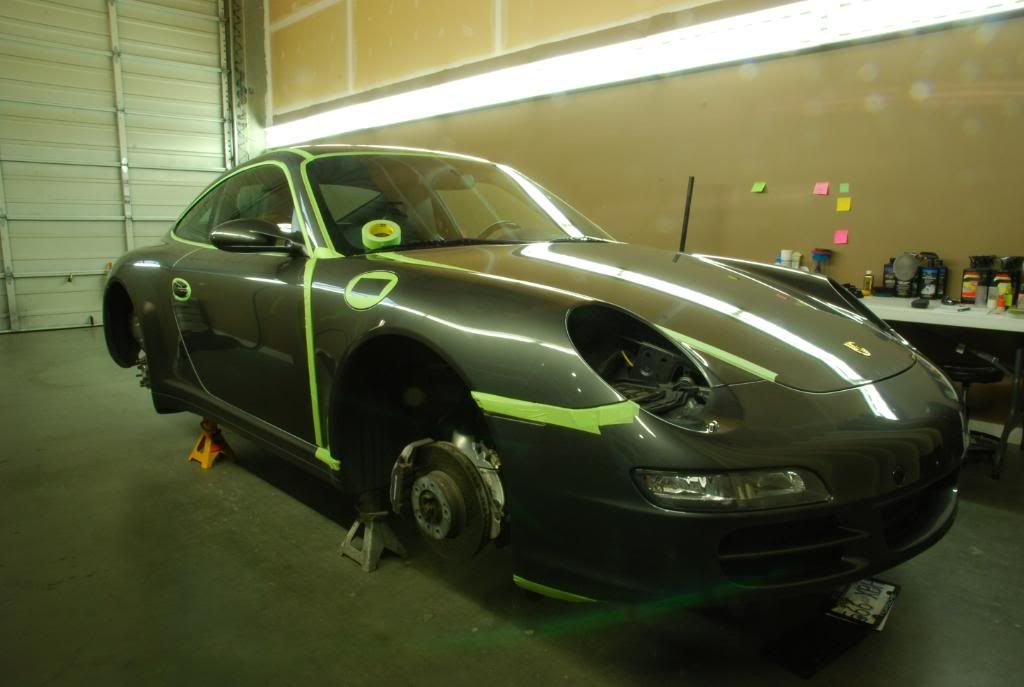
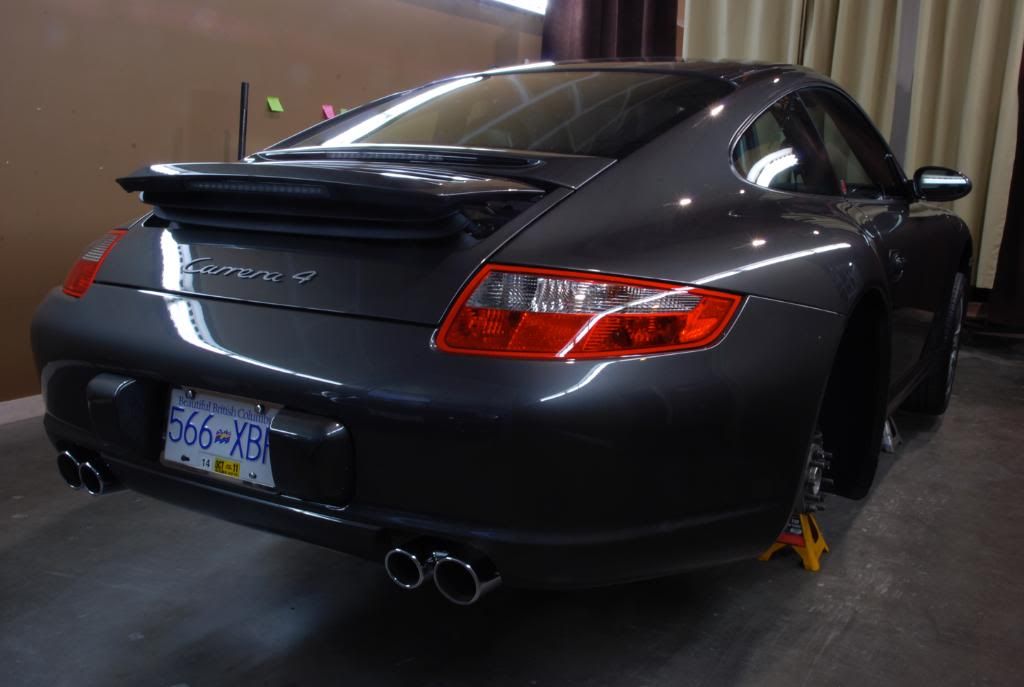
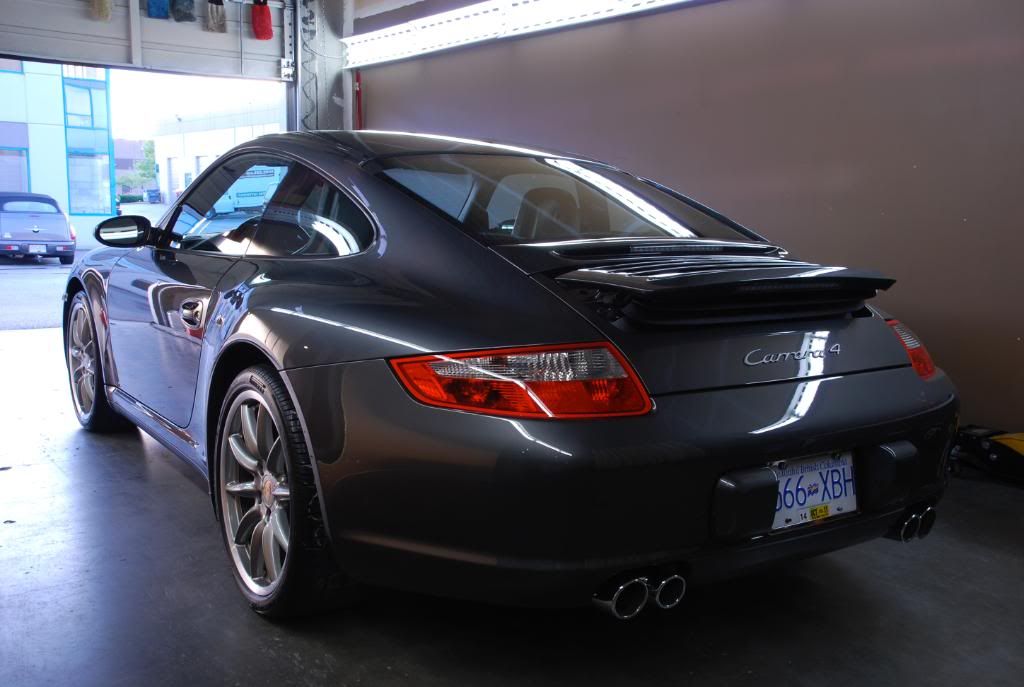
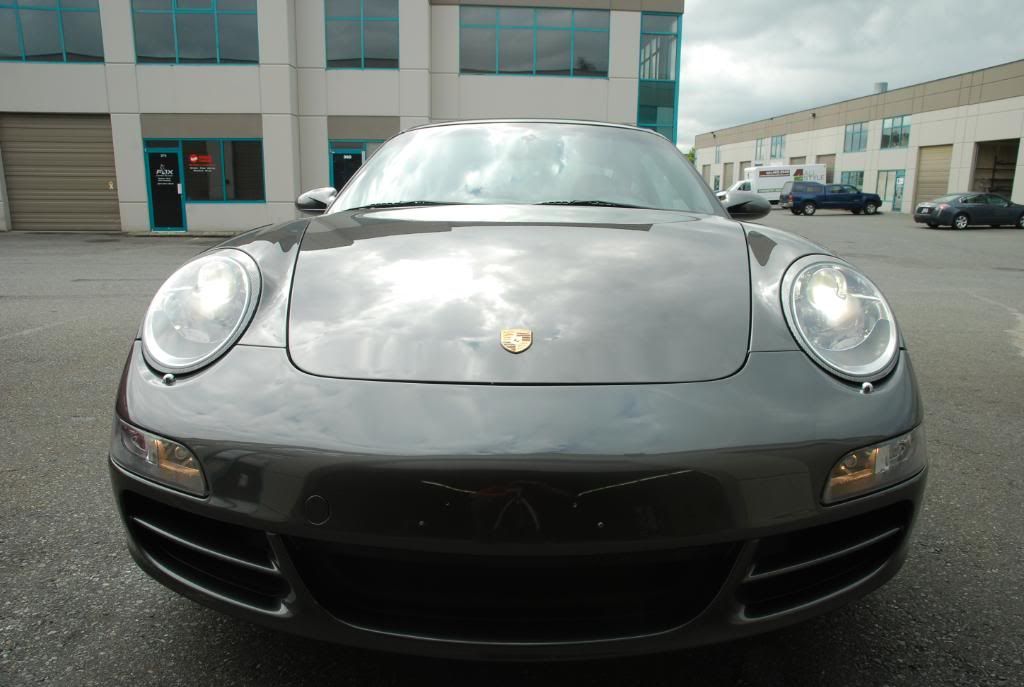
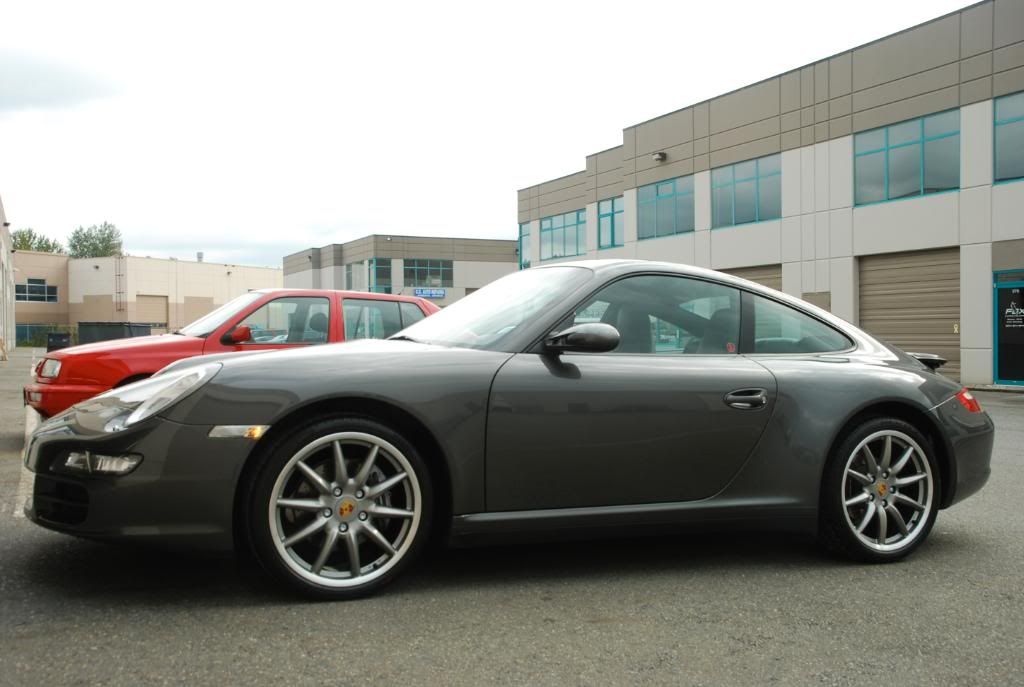
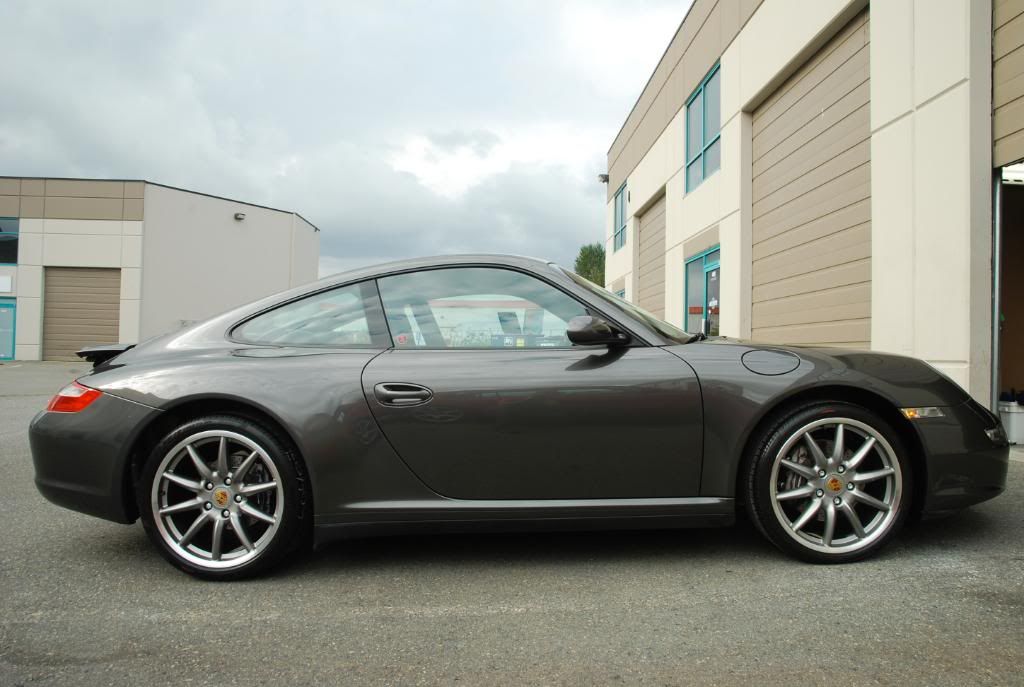
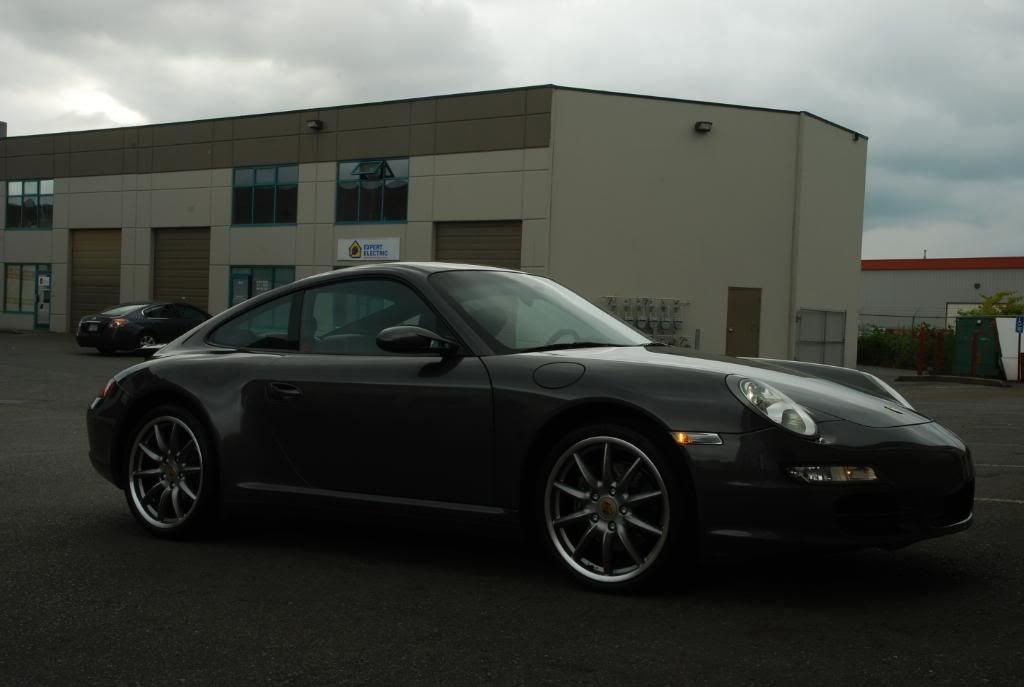
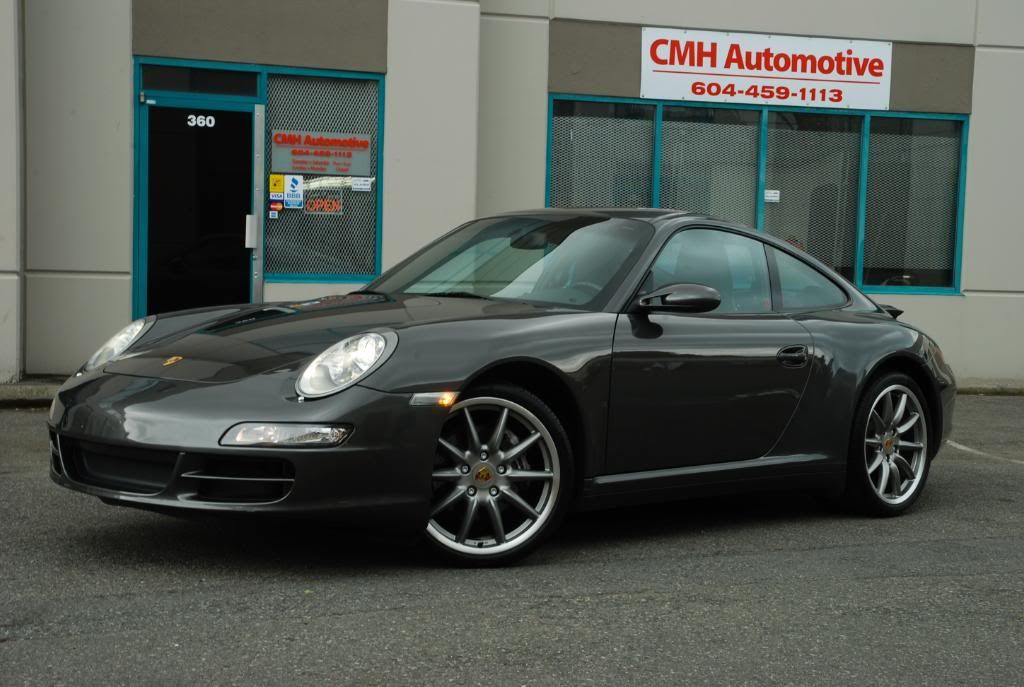
The Porsche as delivered. Looking a little sad.
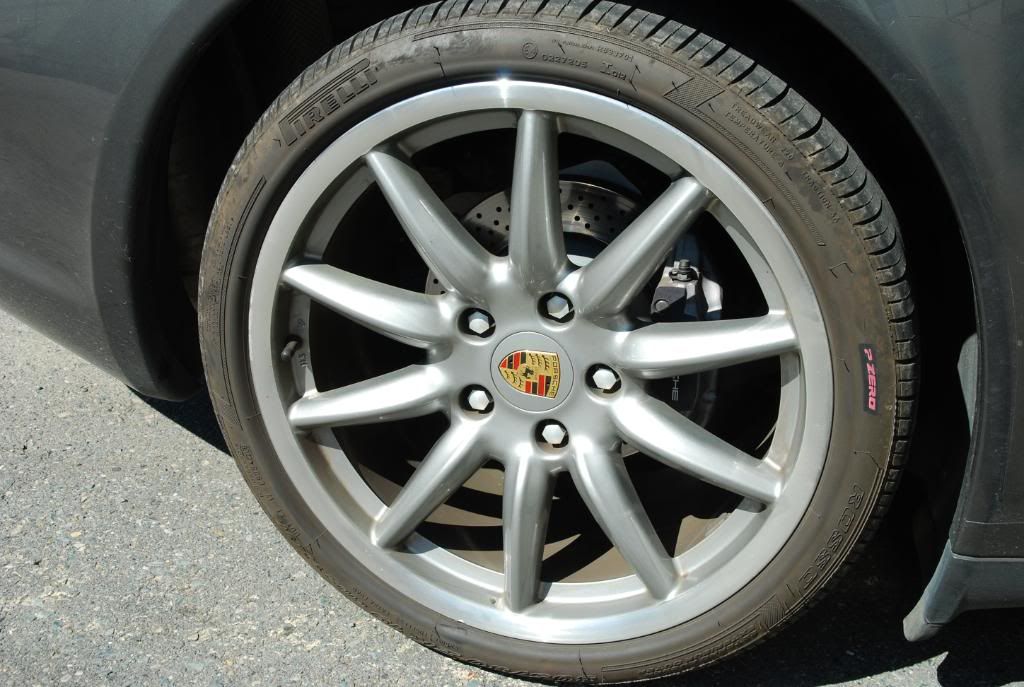
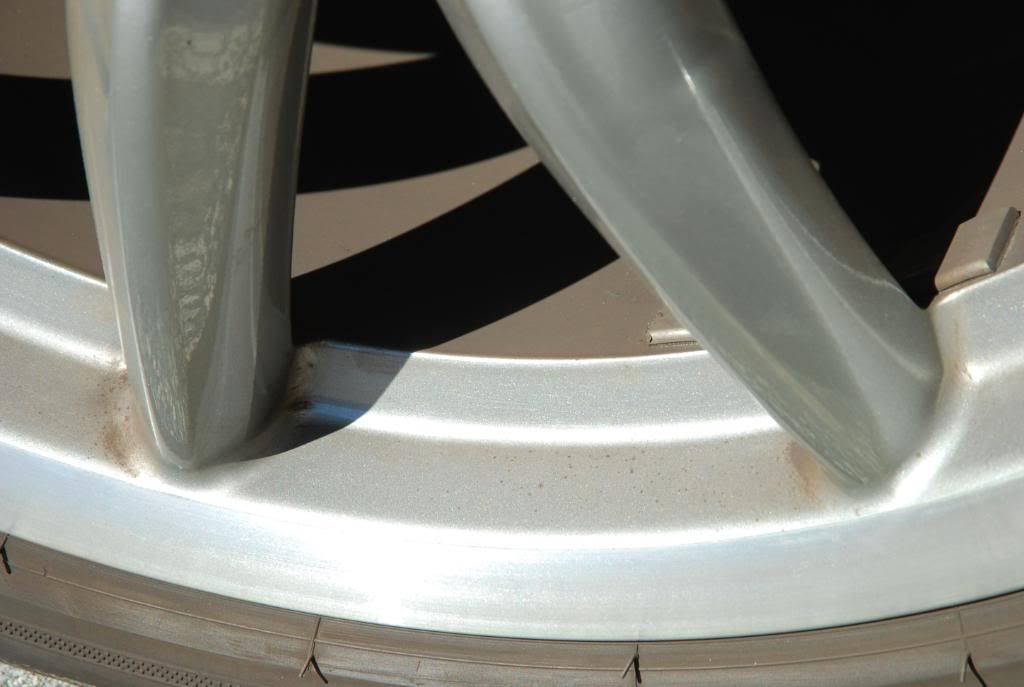
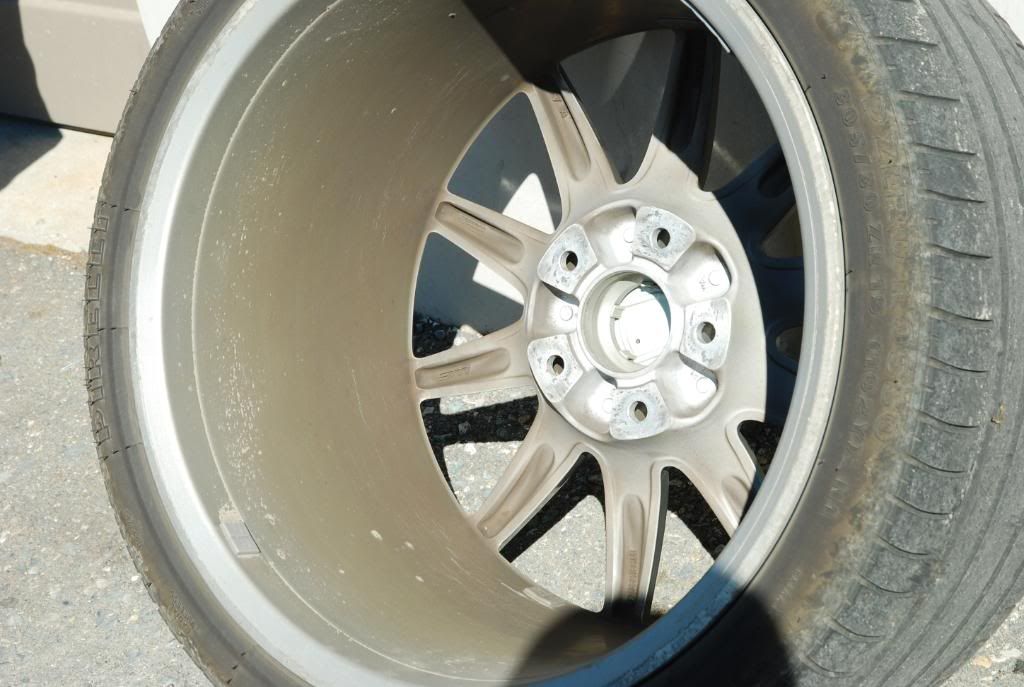
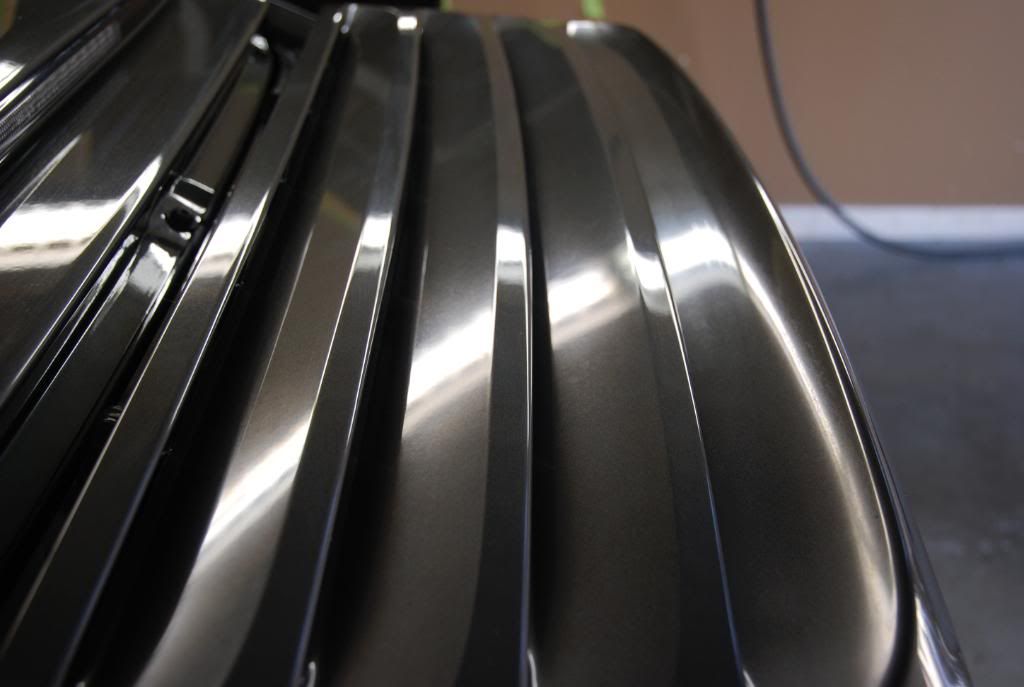
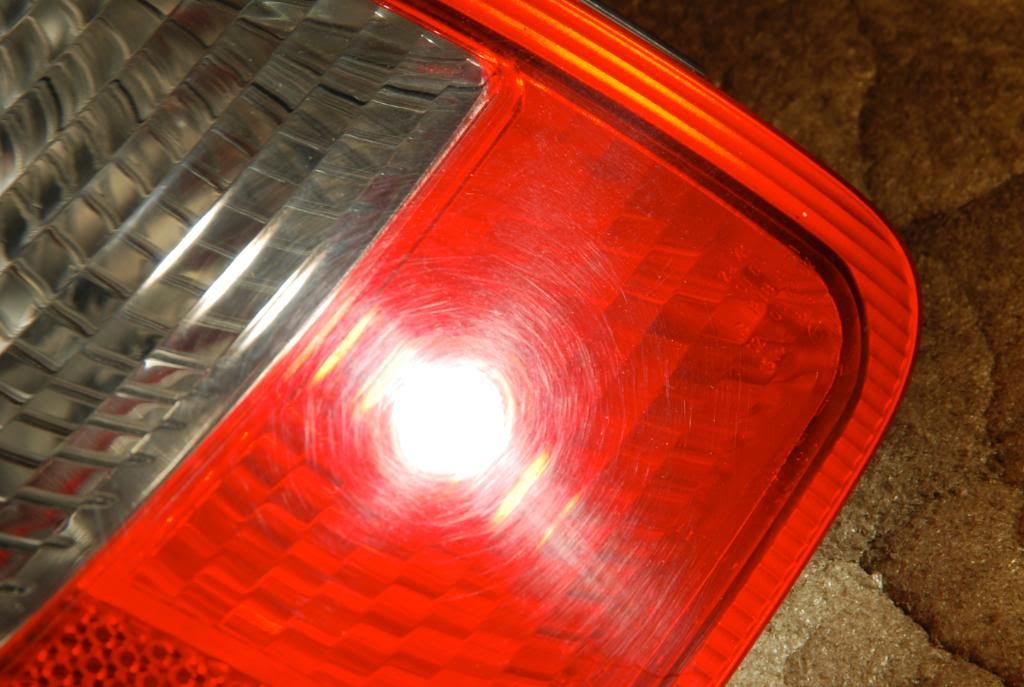
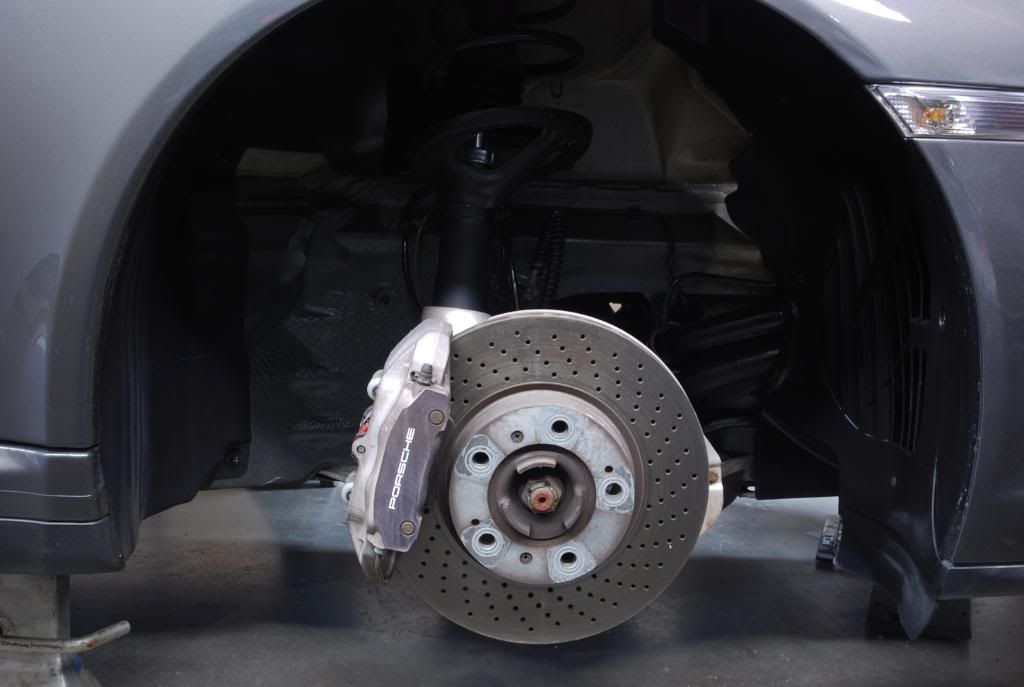
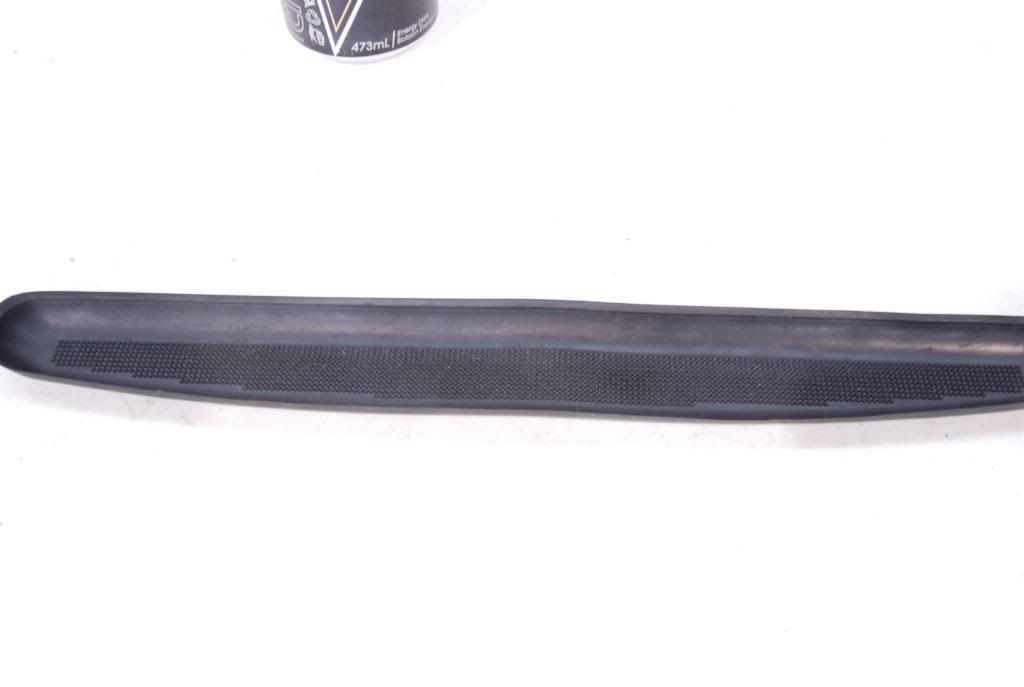
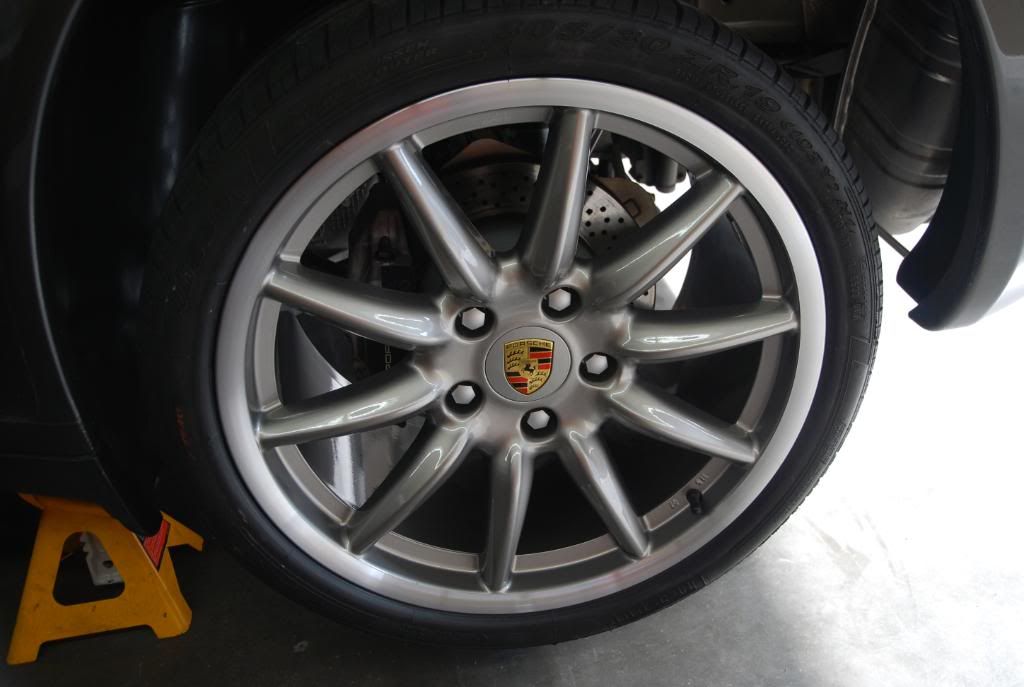
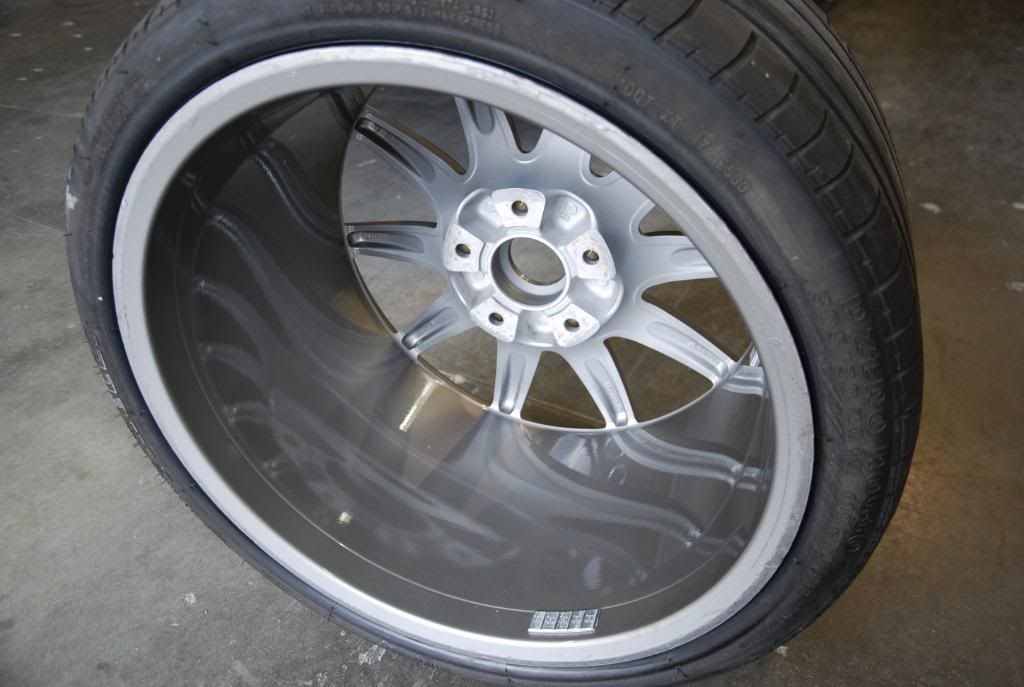
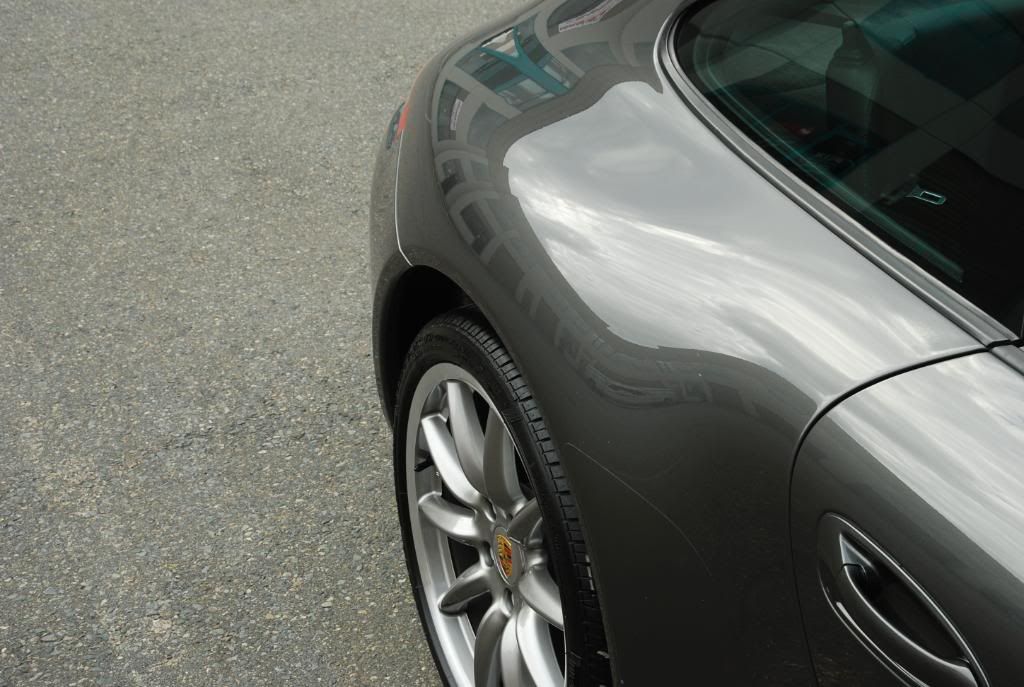
There was quite a bit of brake dust build up on the wheels.

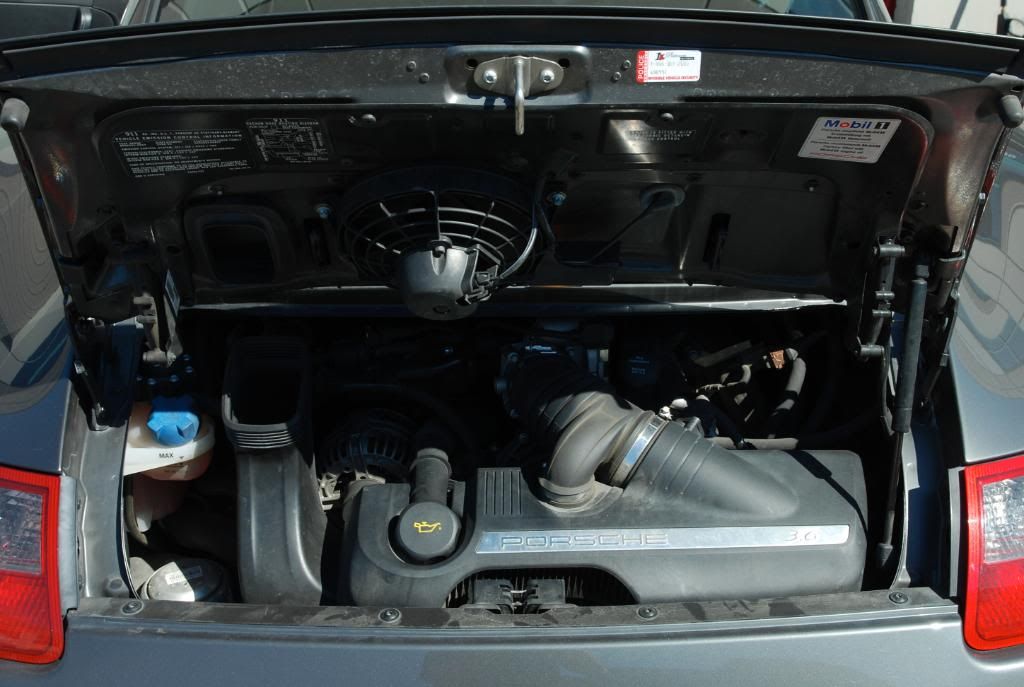
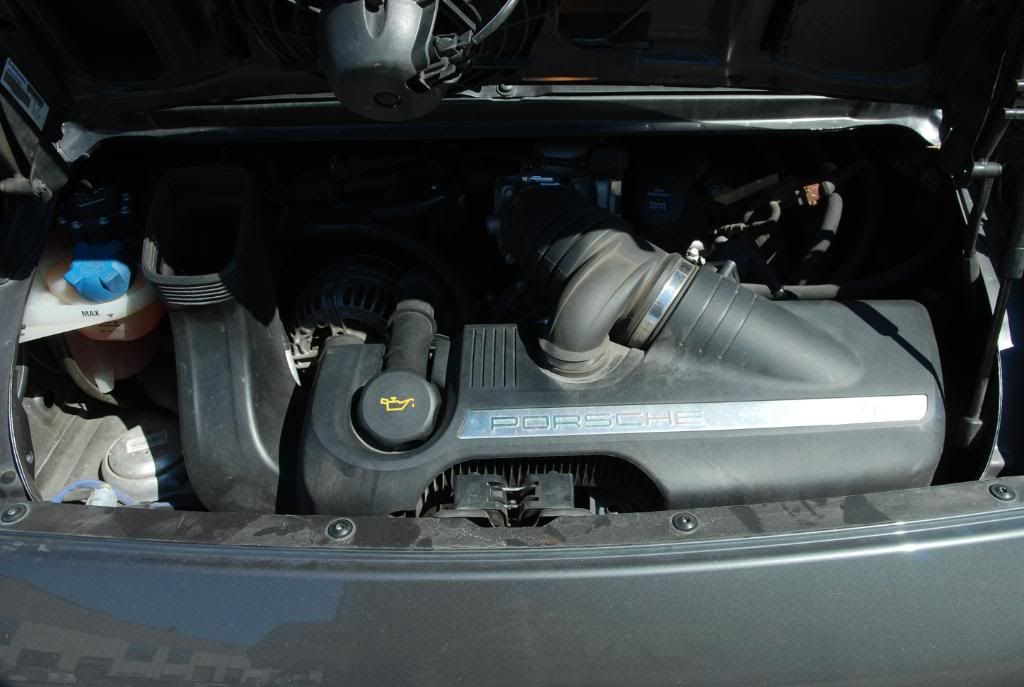
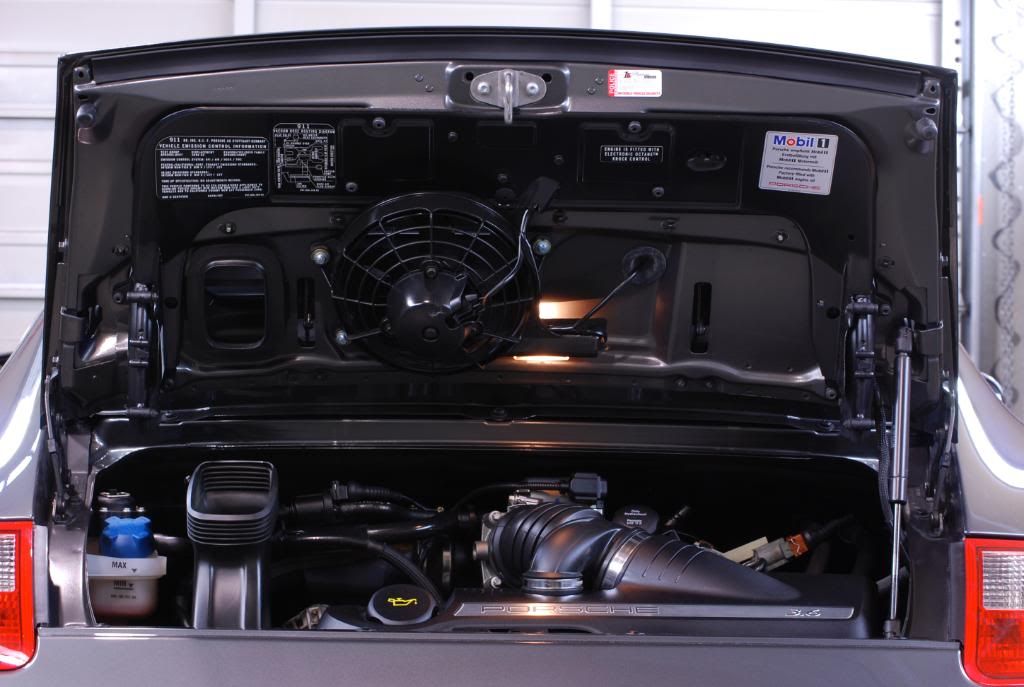
The engine and compartment were quite dirty. This area was cleaned with Exclusive APC@3:1 and then dressed with Carpro PERL.
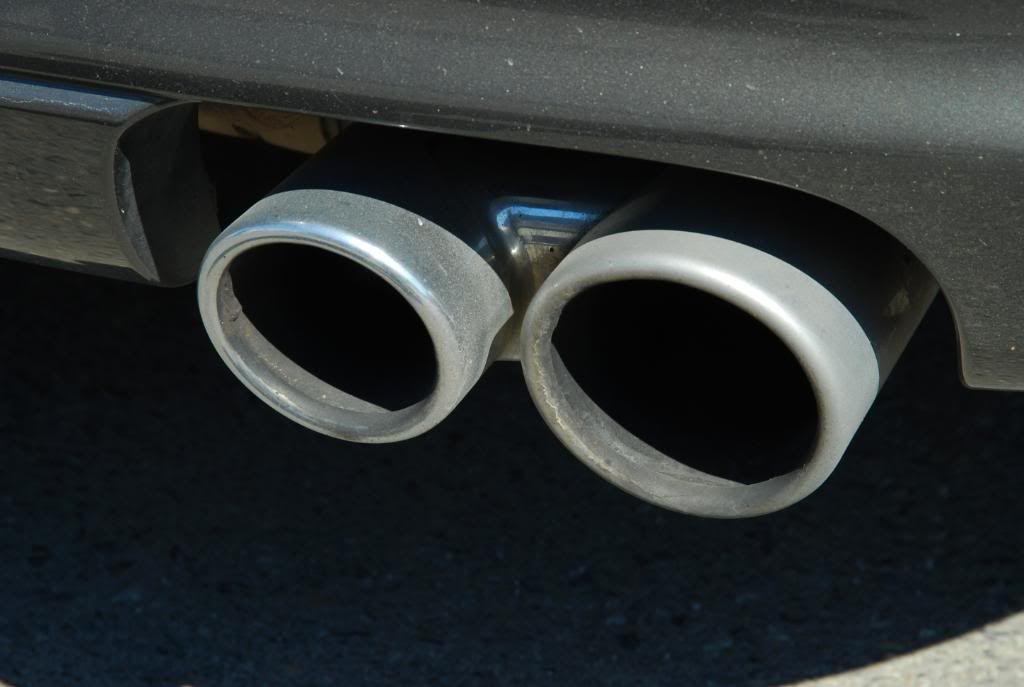
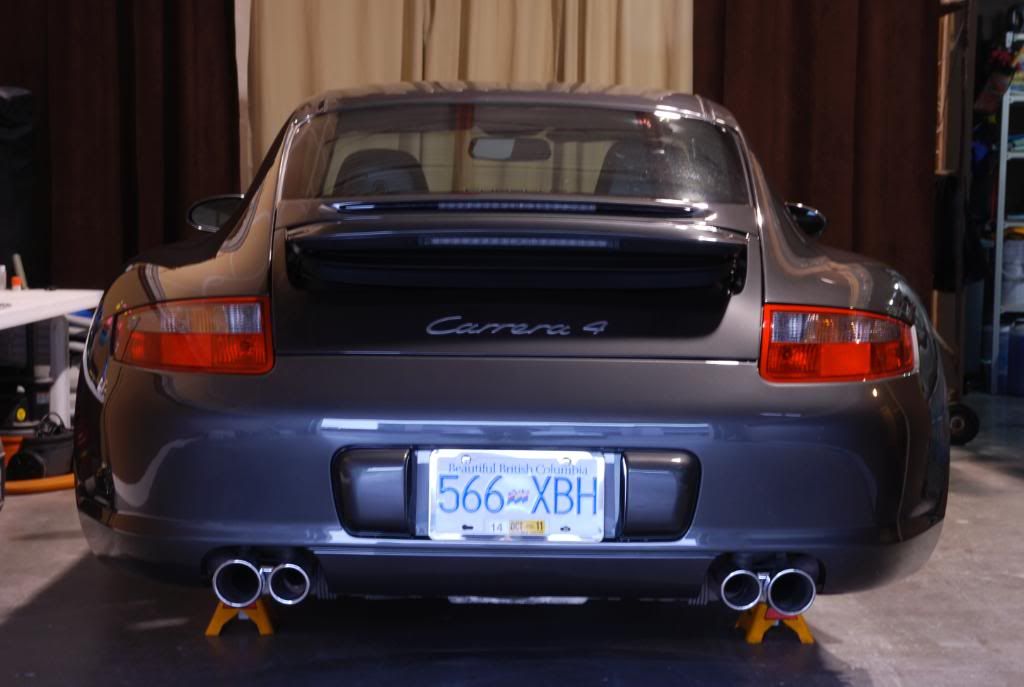
Exhaust tips were quite dirty and were polished with Optimum Metal Polish and 0000 steel wool before being sealed with BF All Metal Sealant.
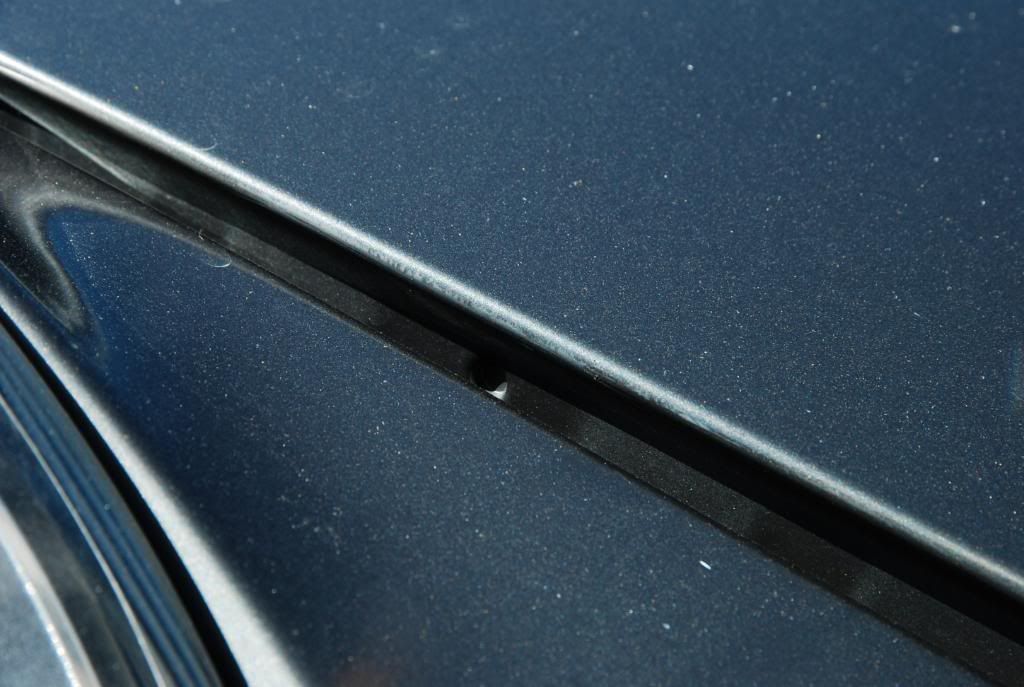
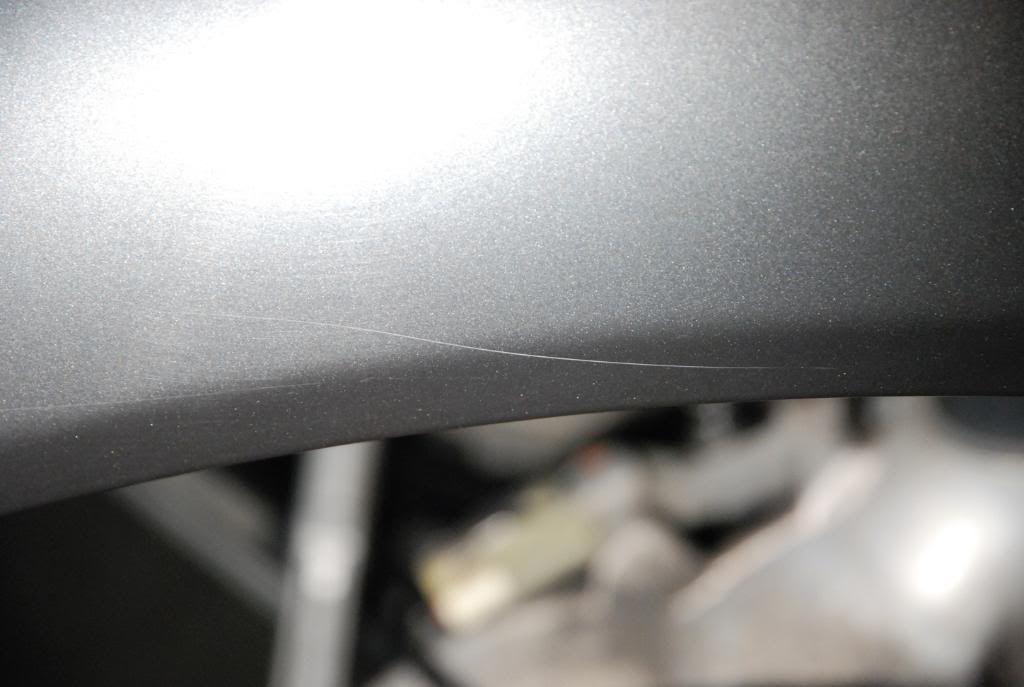
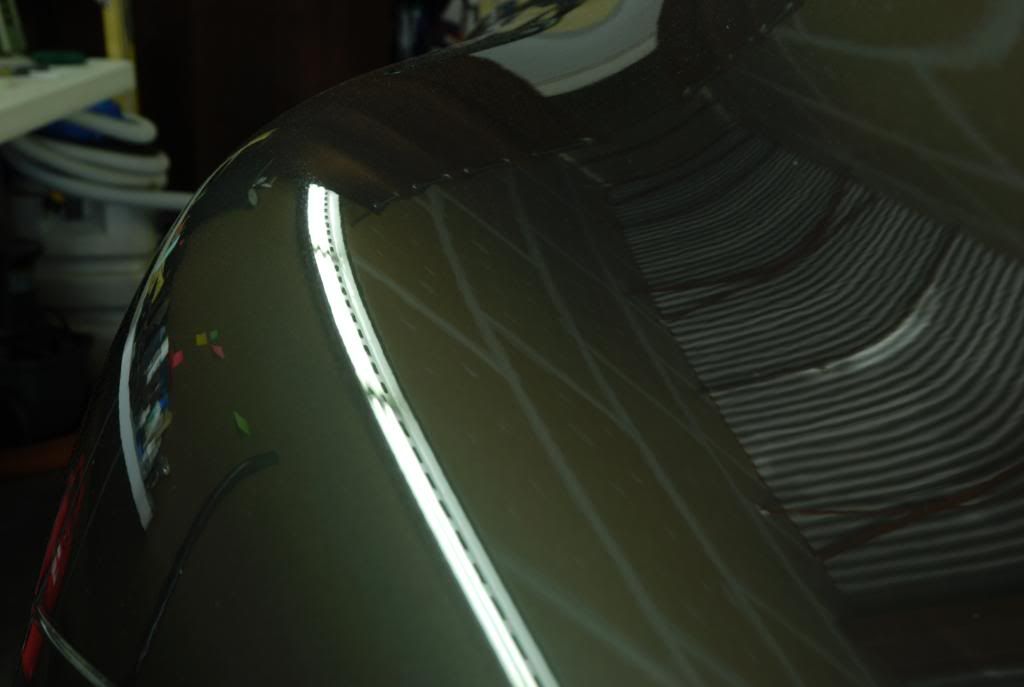
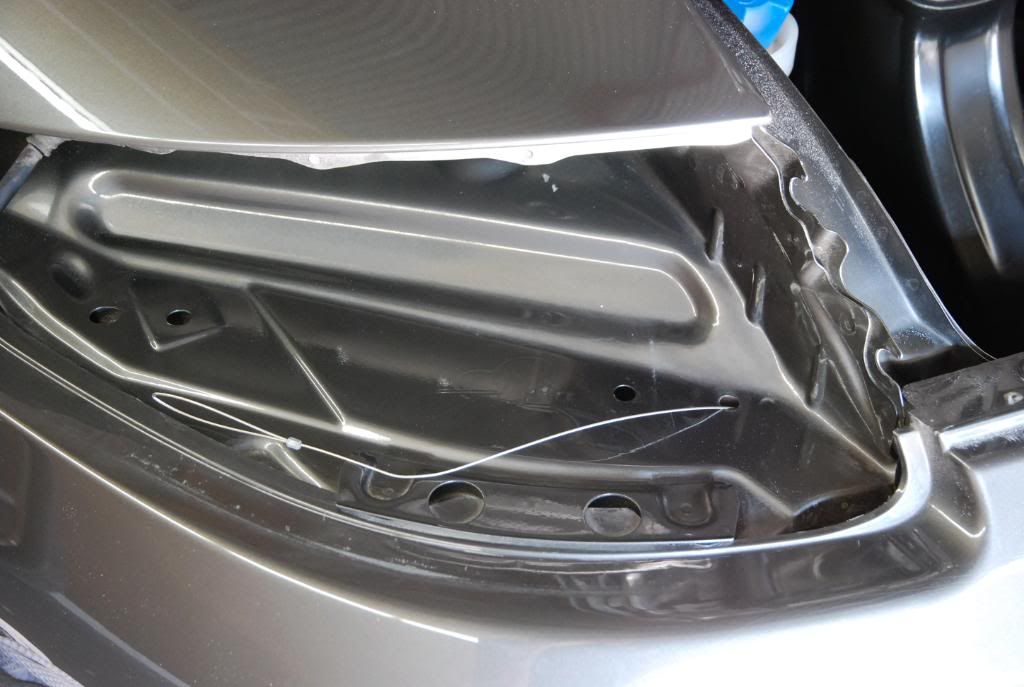
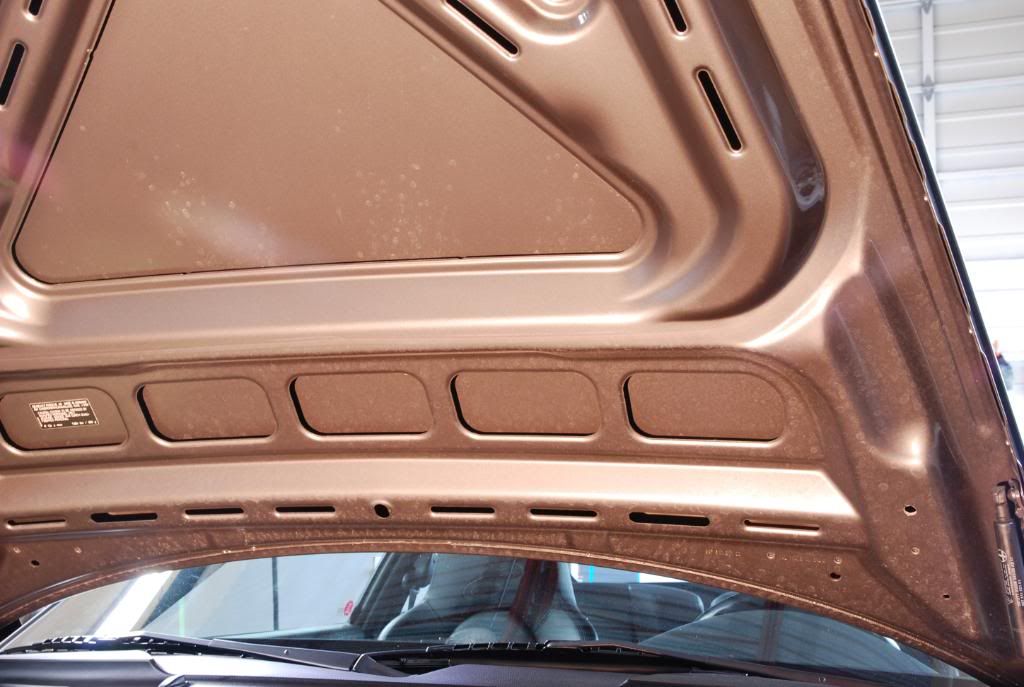
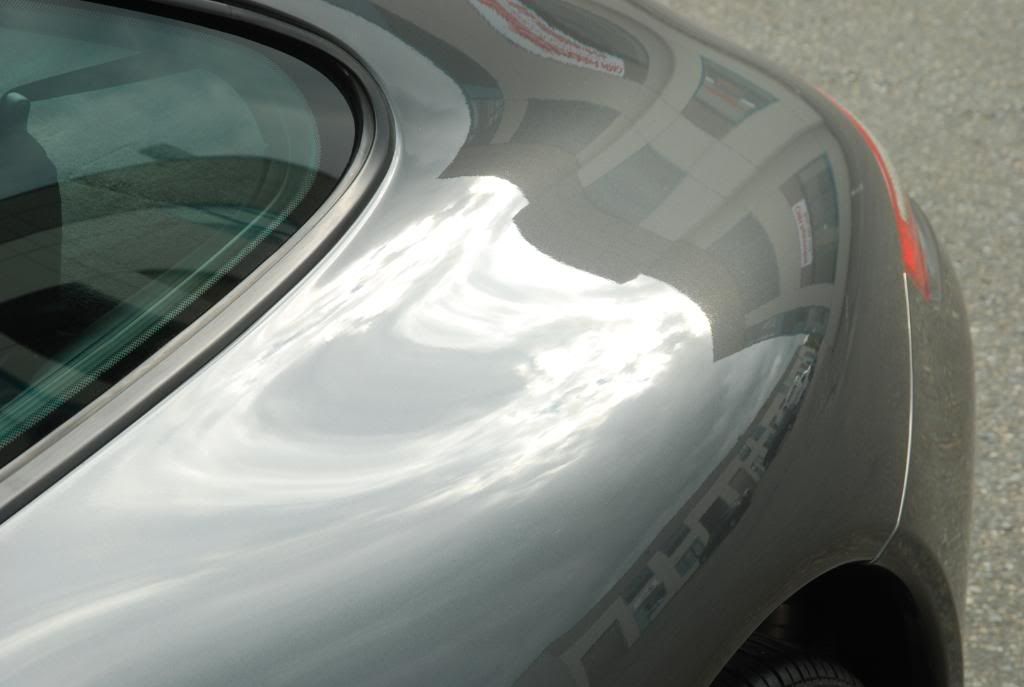
Small bit of was built up on the edge of the hood.
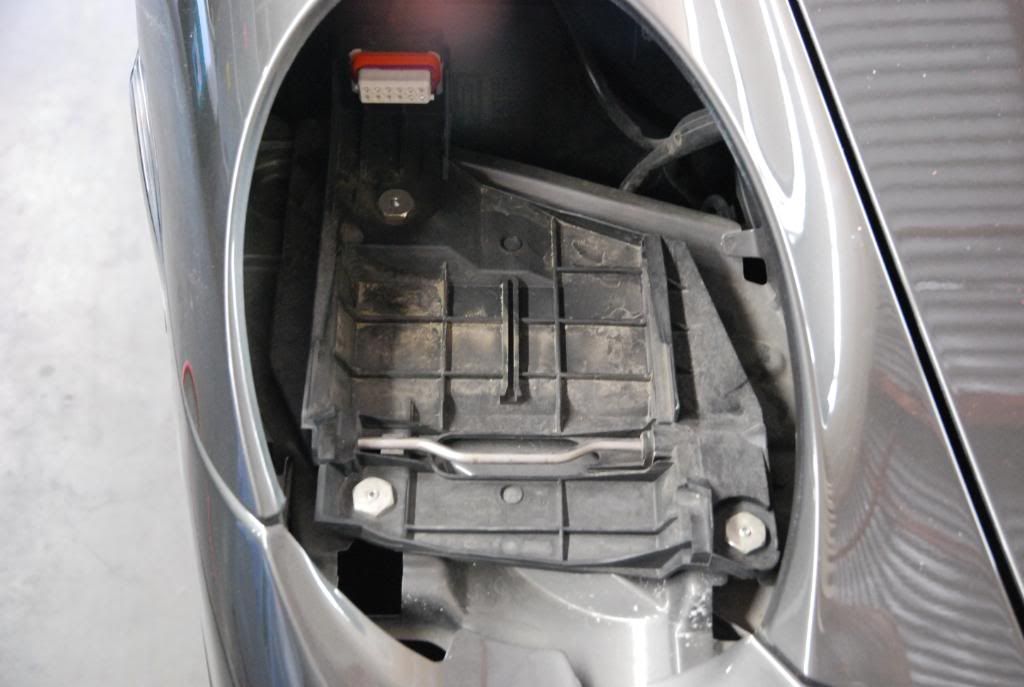
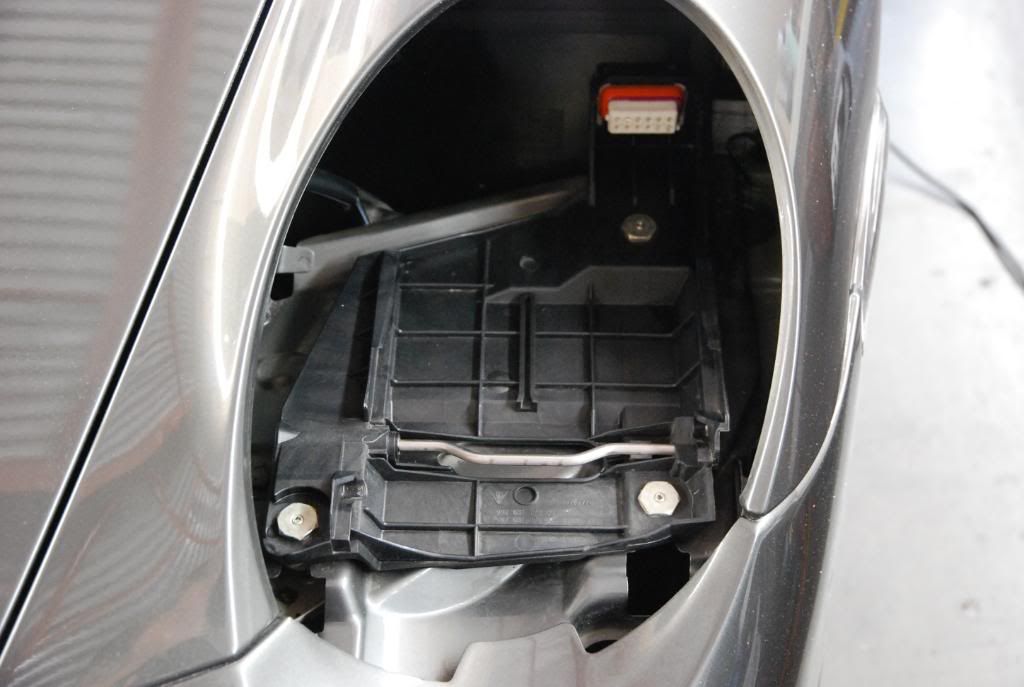
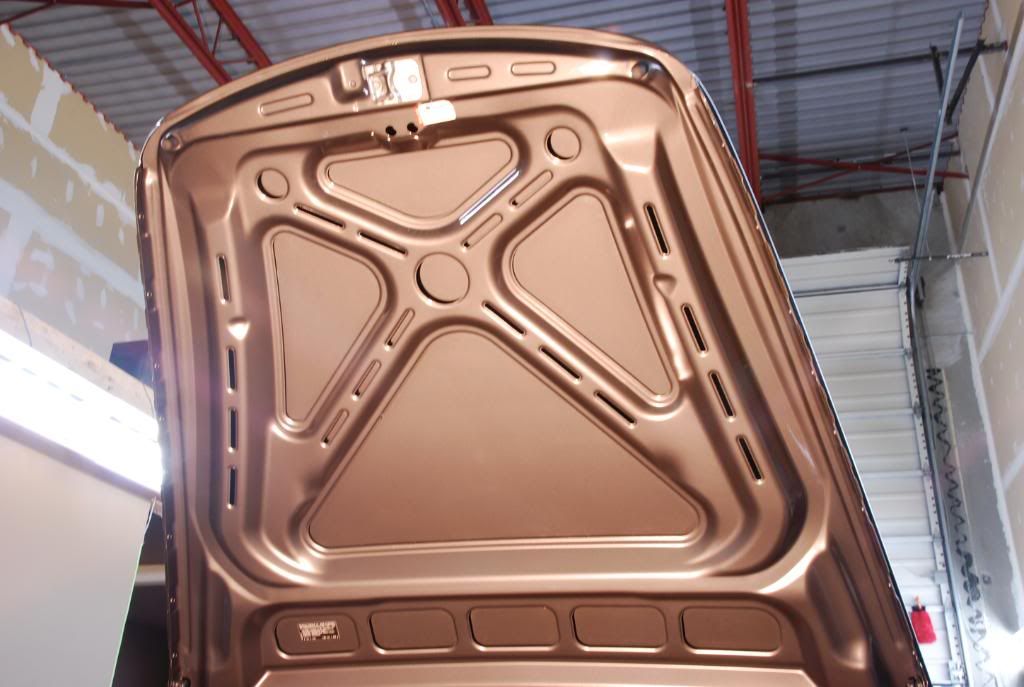
Under the hood was very dusty. Area was cleaned with Exclusive APC@3:1 and all plastics and rubber seals were dressed with Carpro PERL.
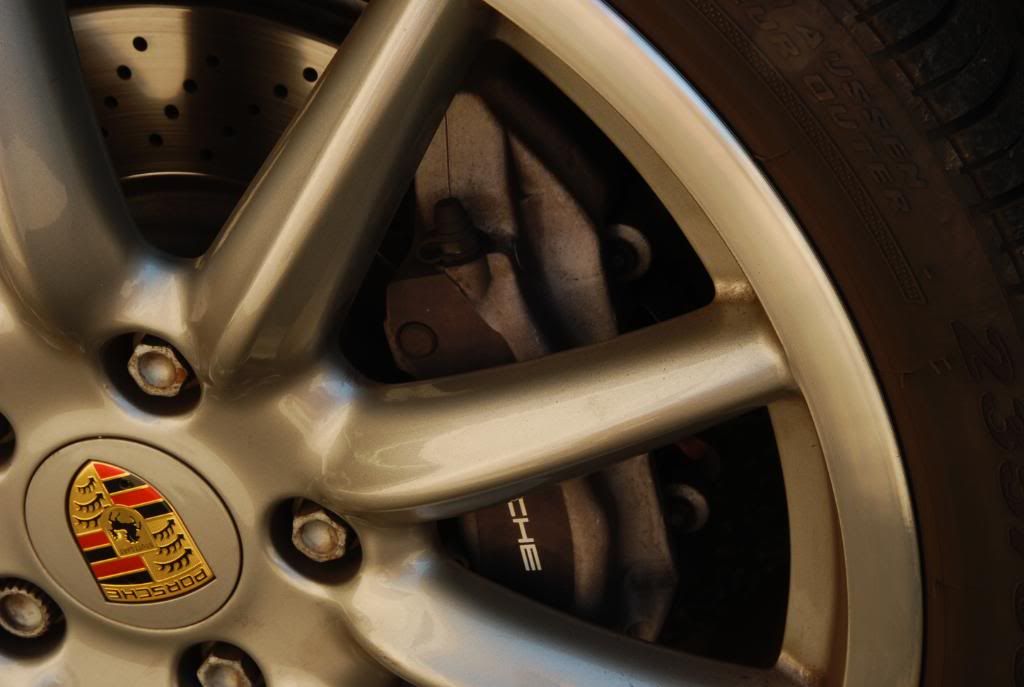
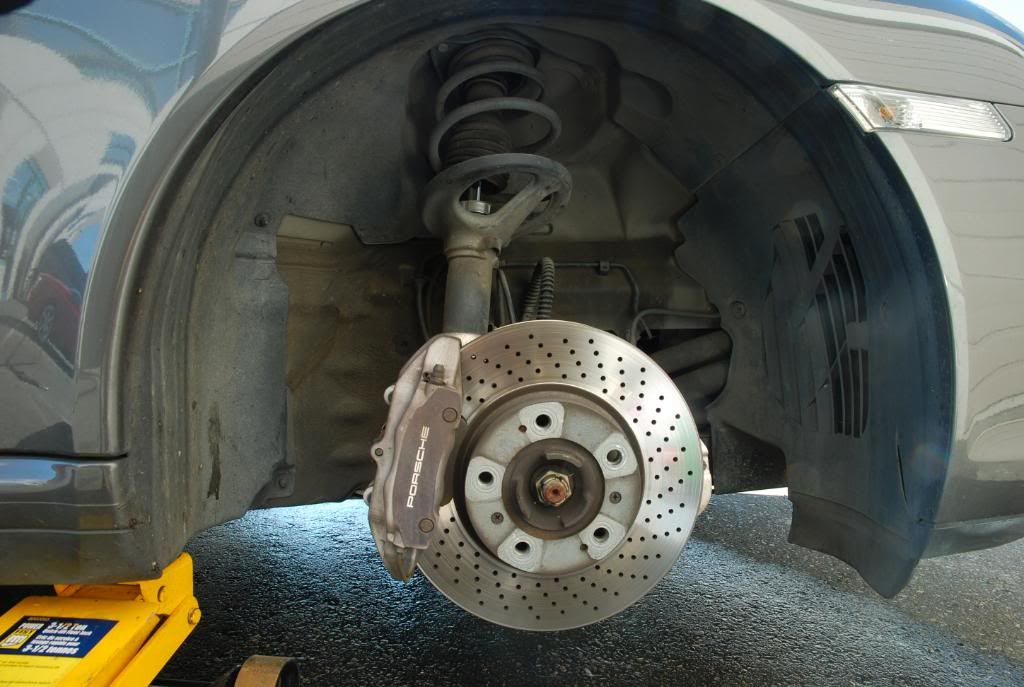
Calipers were unpainted cast versions and unfortunately were stained from someone using an inappropriate cleaning solution.
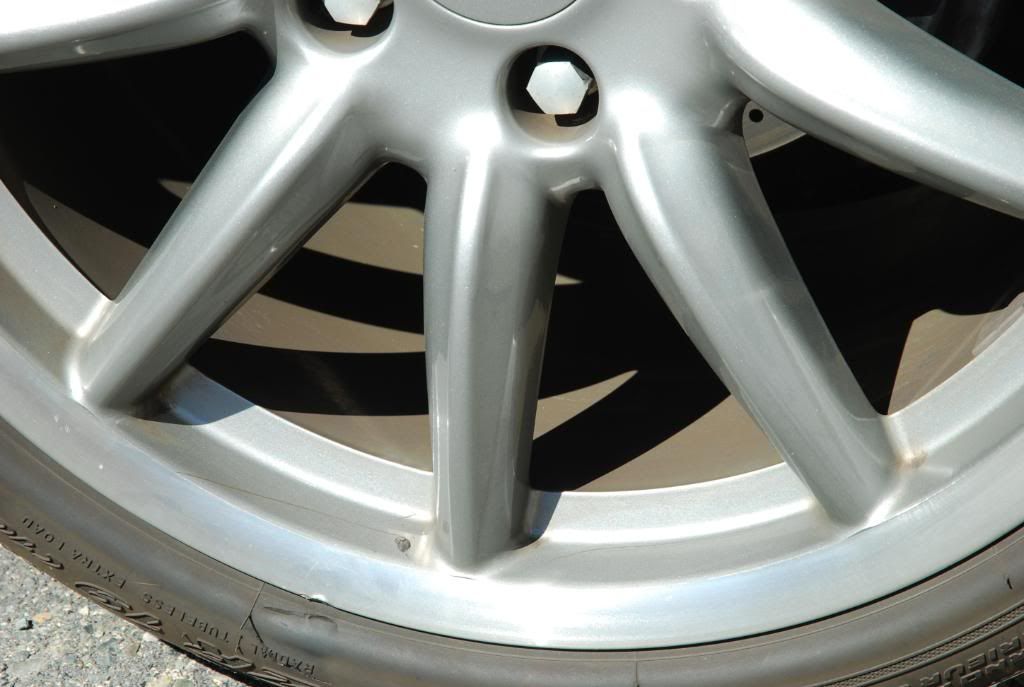
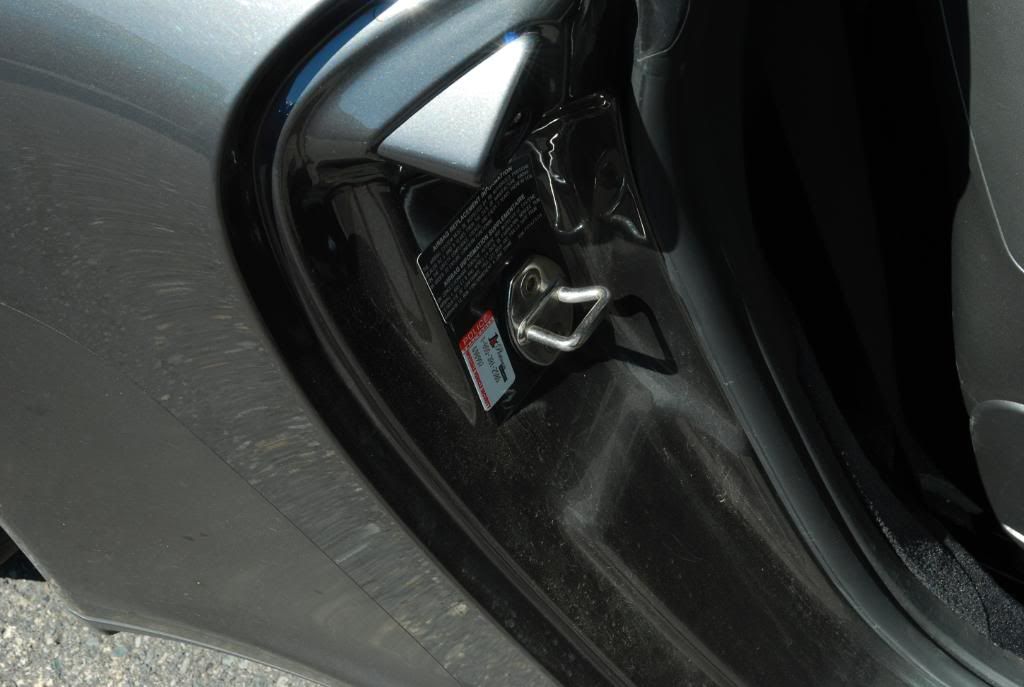
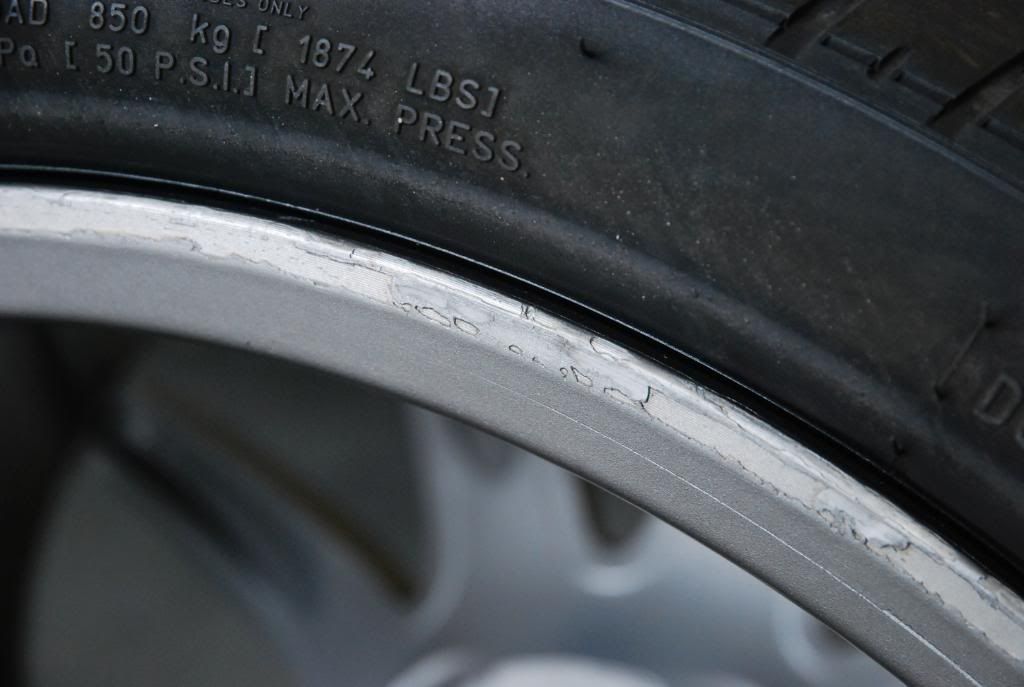
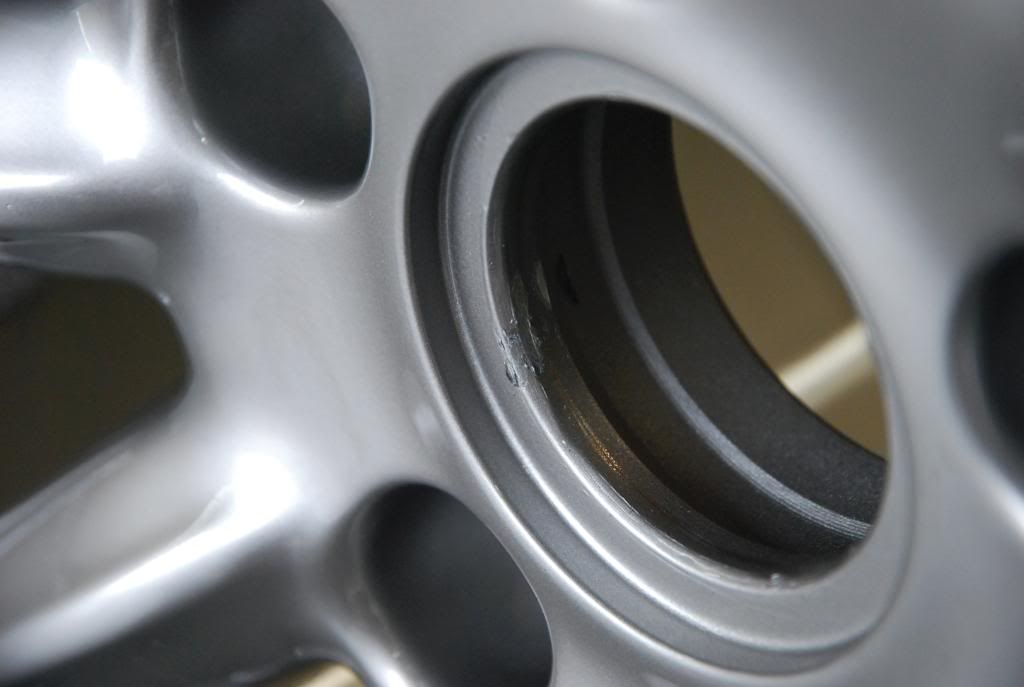
The two rear wheels were damaged and were being sent out for refinishing but evidently would need some cleaning before going out.
Inner fender before....
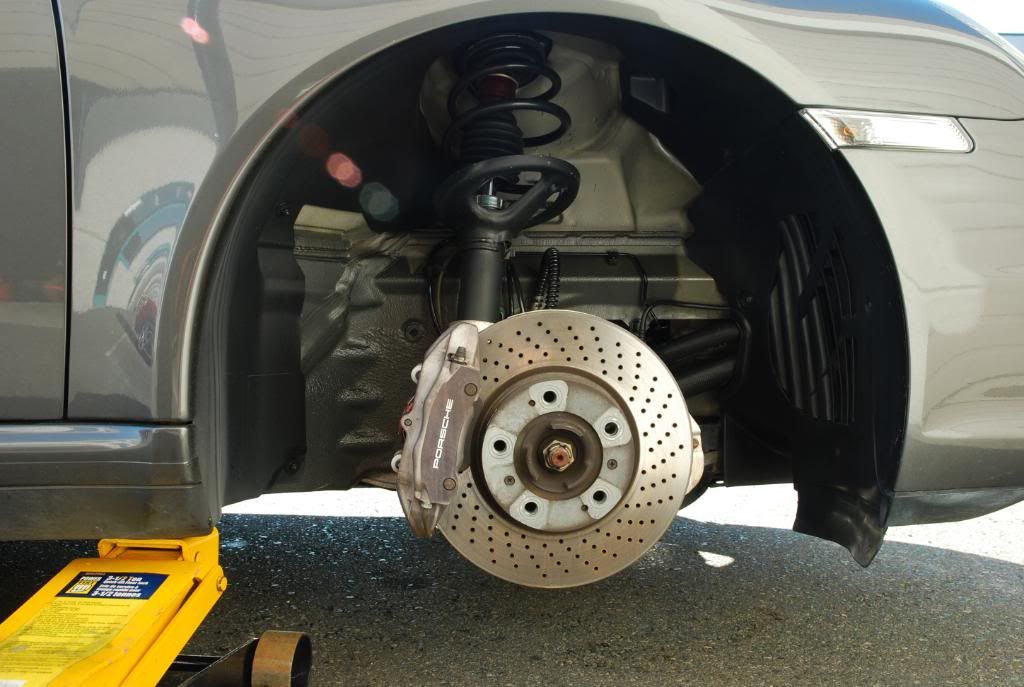
and after. It took around 3.5 hours to clean and dress all four inner fenders and suspension.
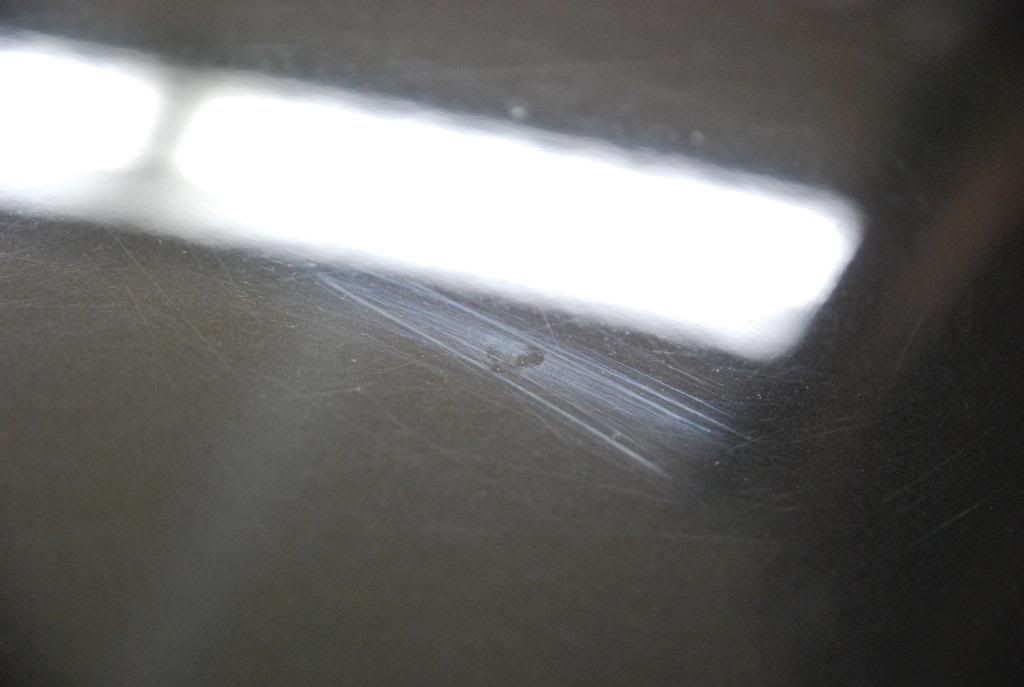
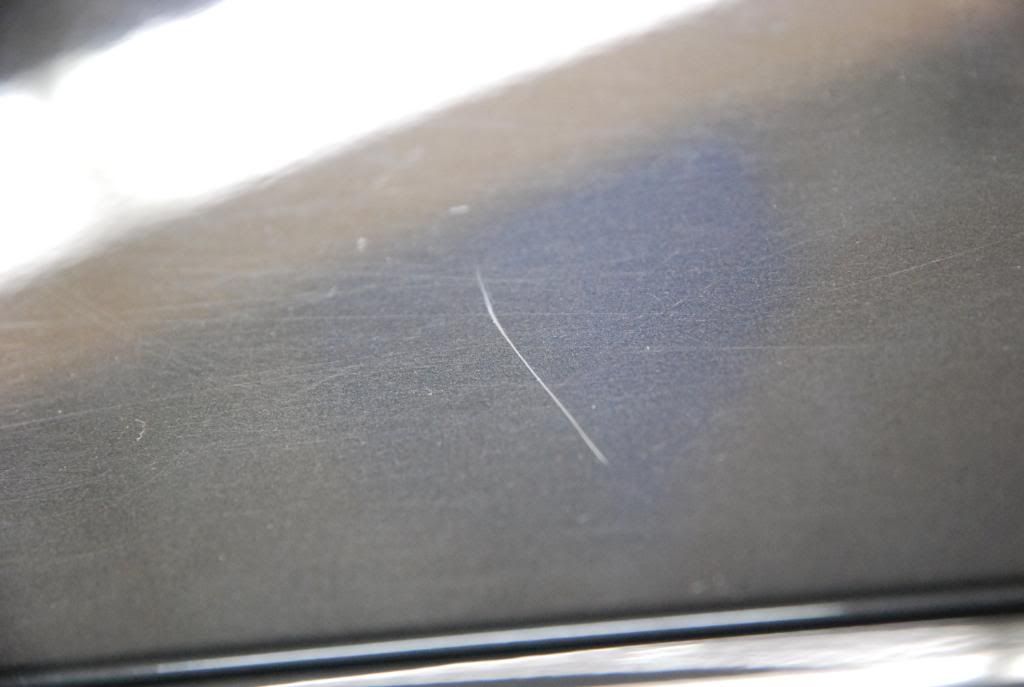
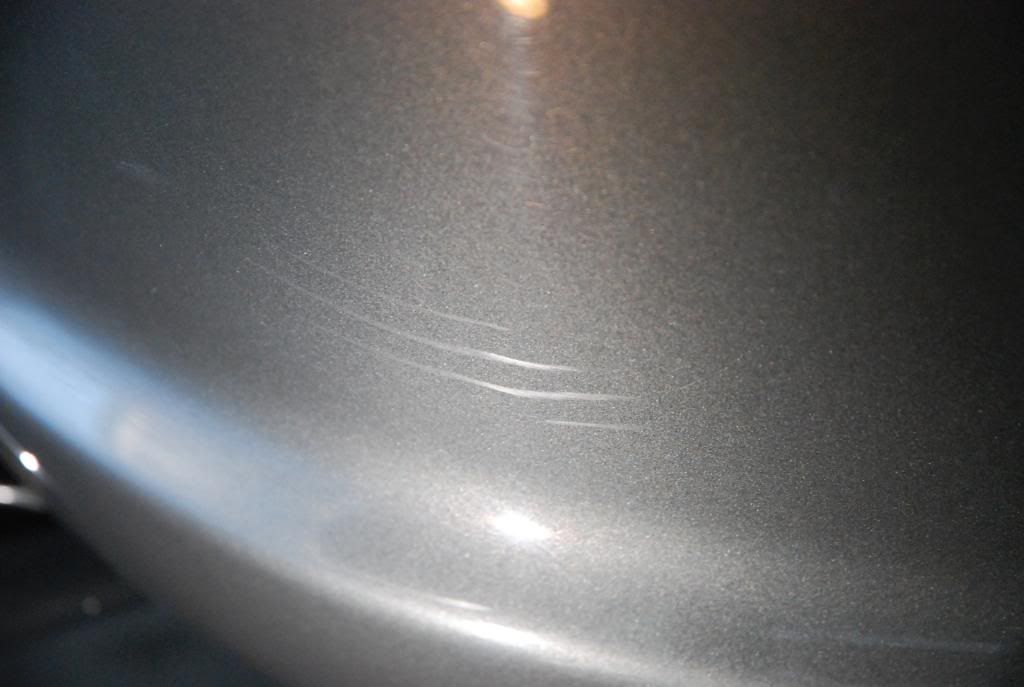
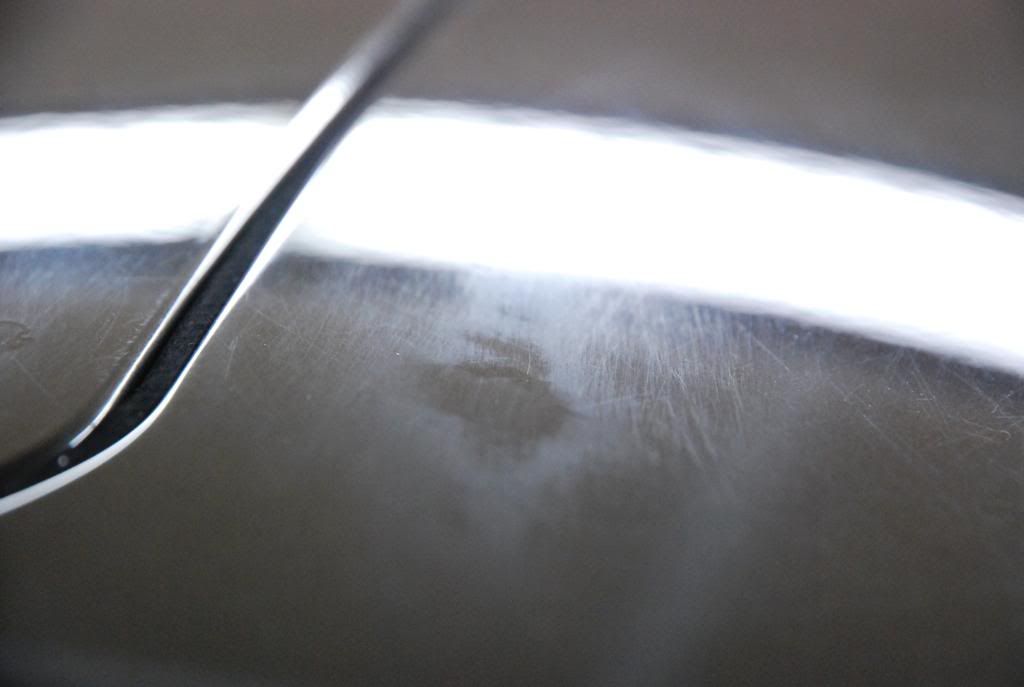
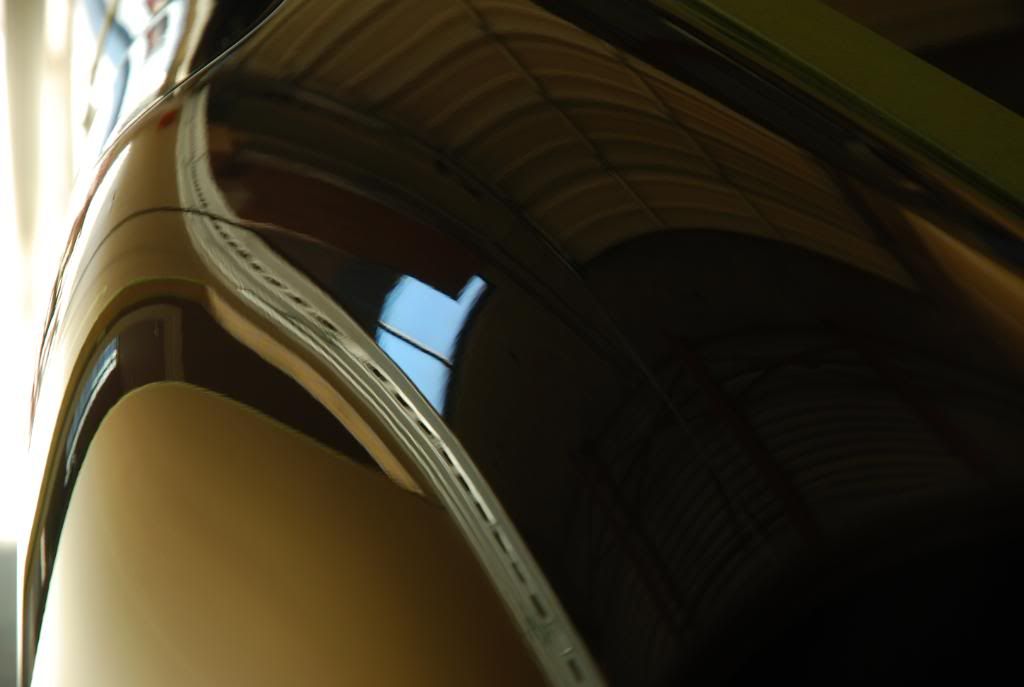
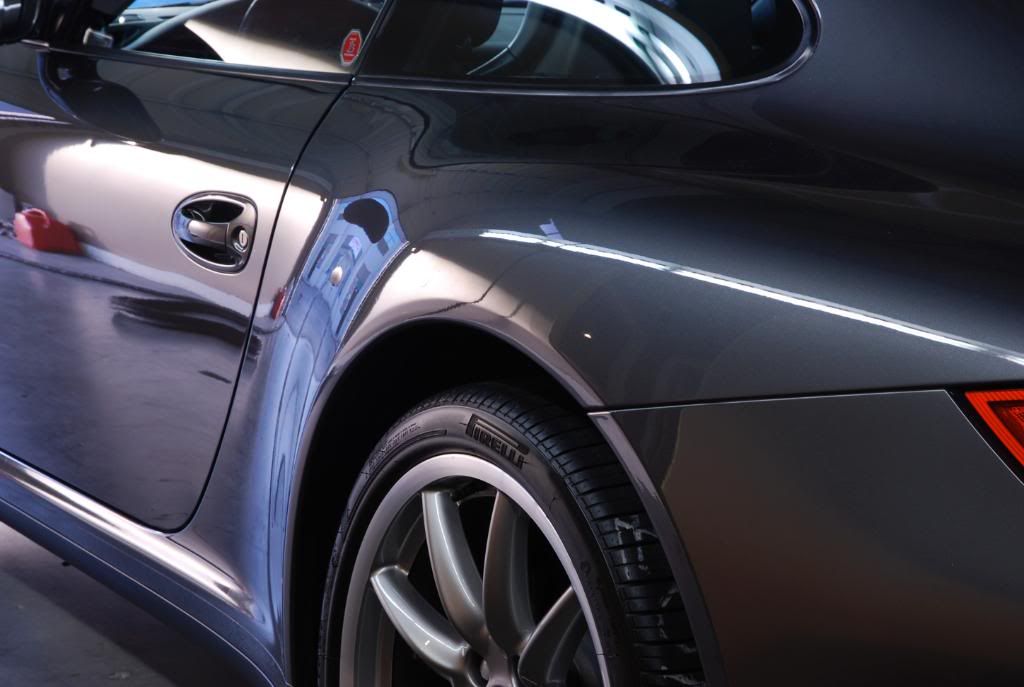
One of the many scratches around the car.
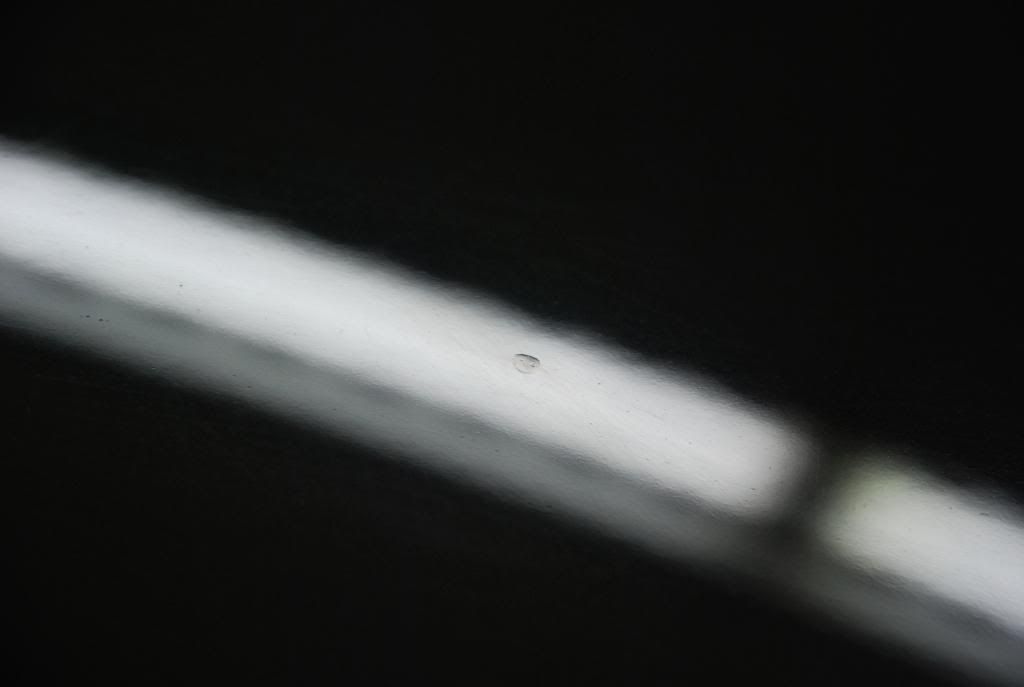
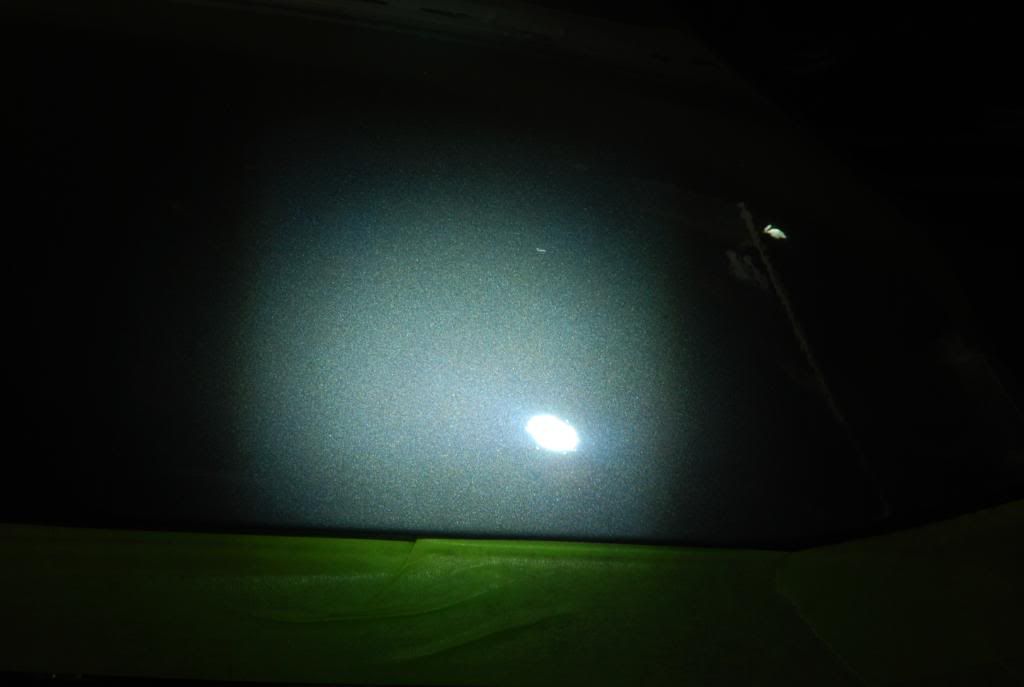
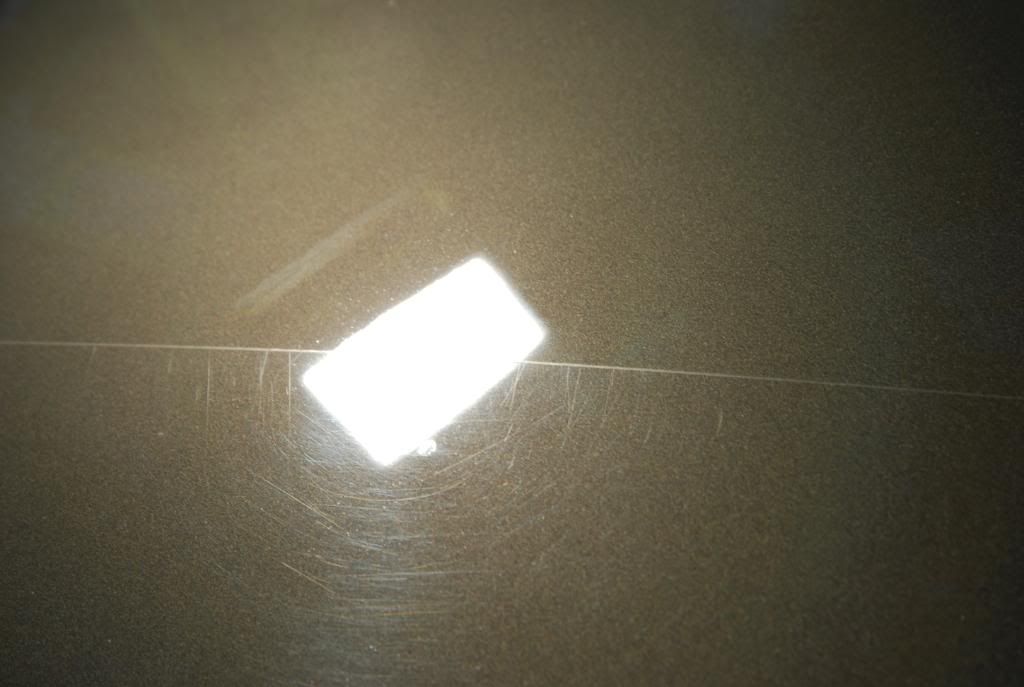
Undetermined "stuff" on paint.
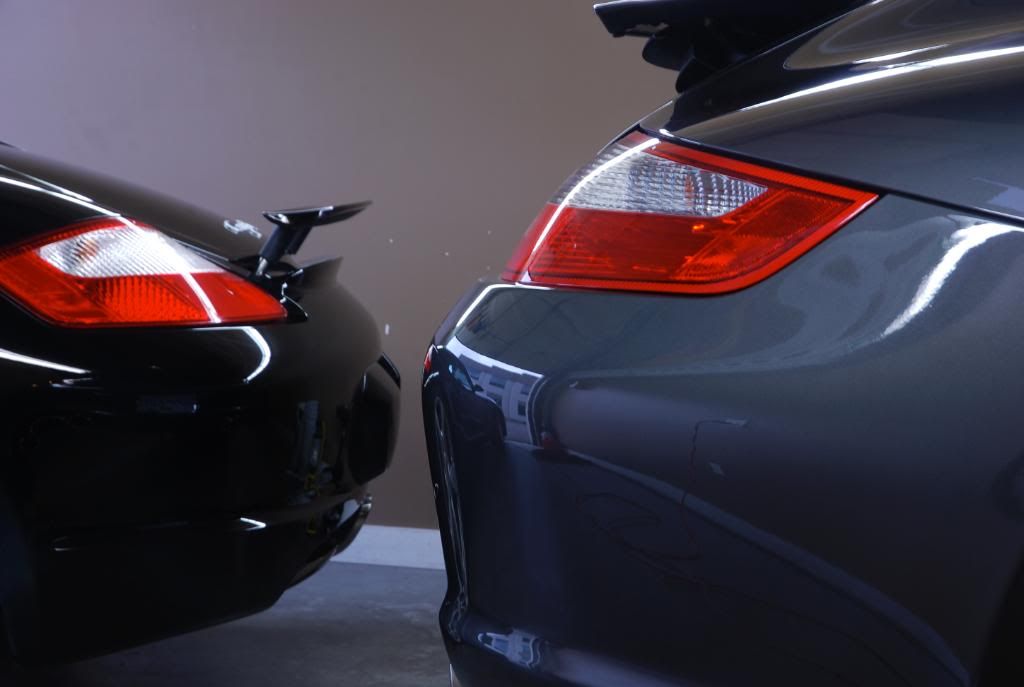
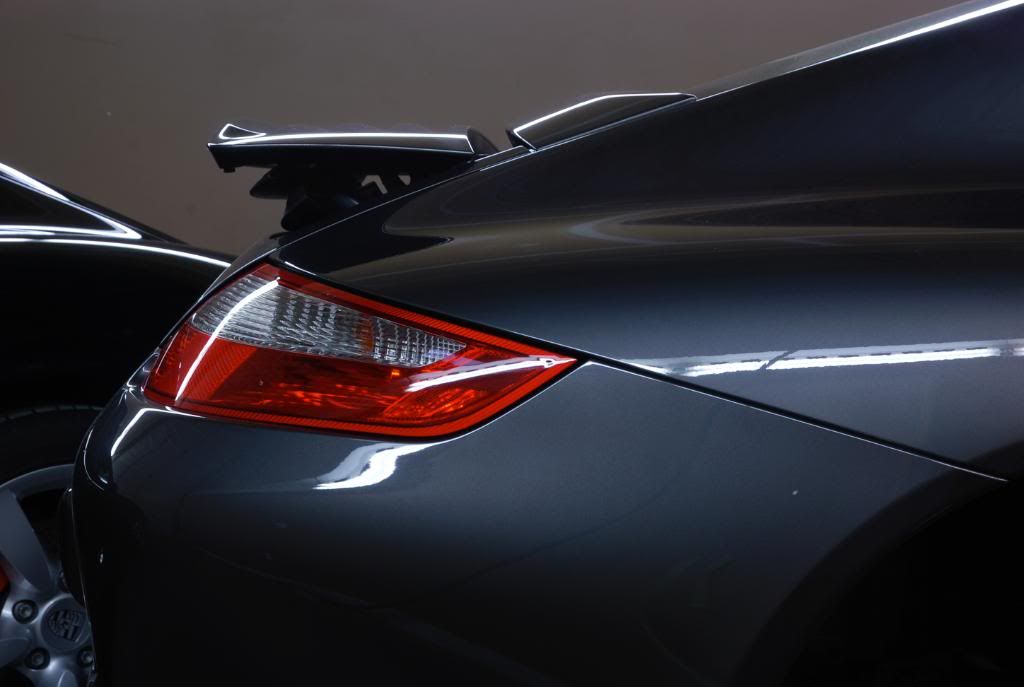
The dullness on the rear spoiler is actually overspray. Great.
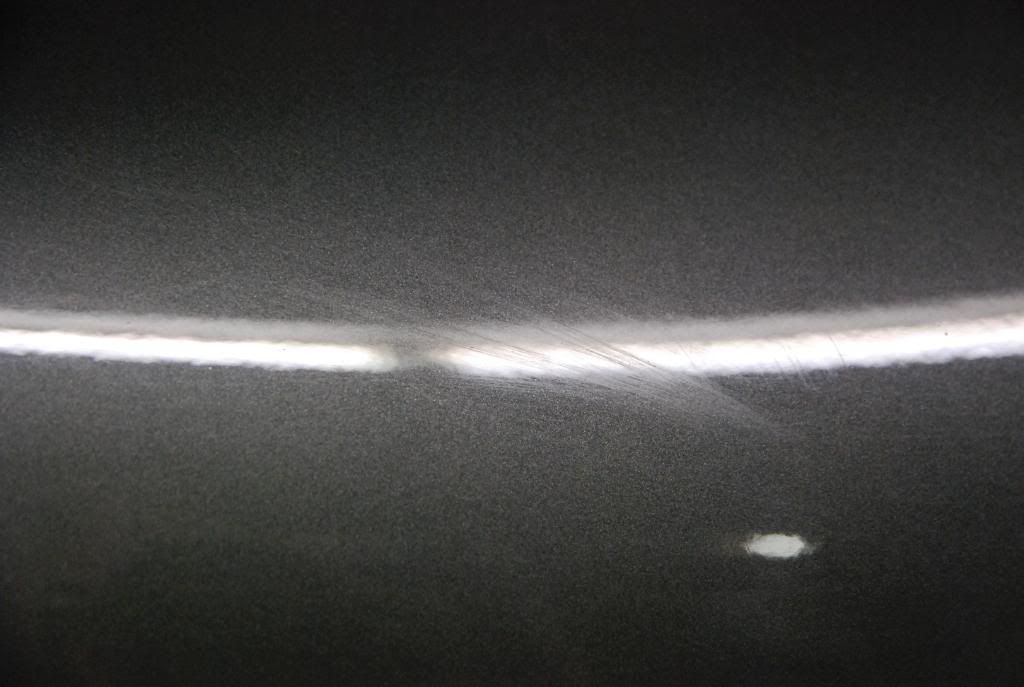
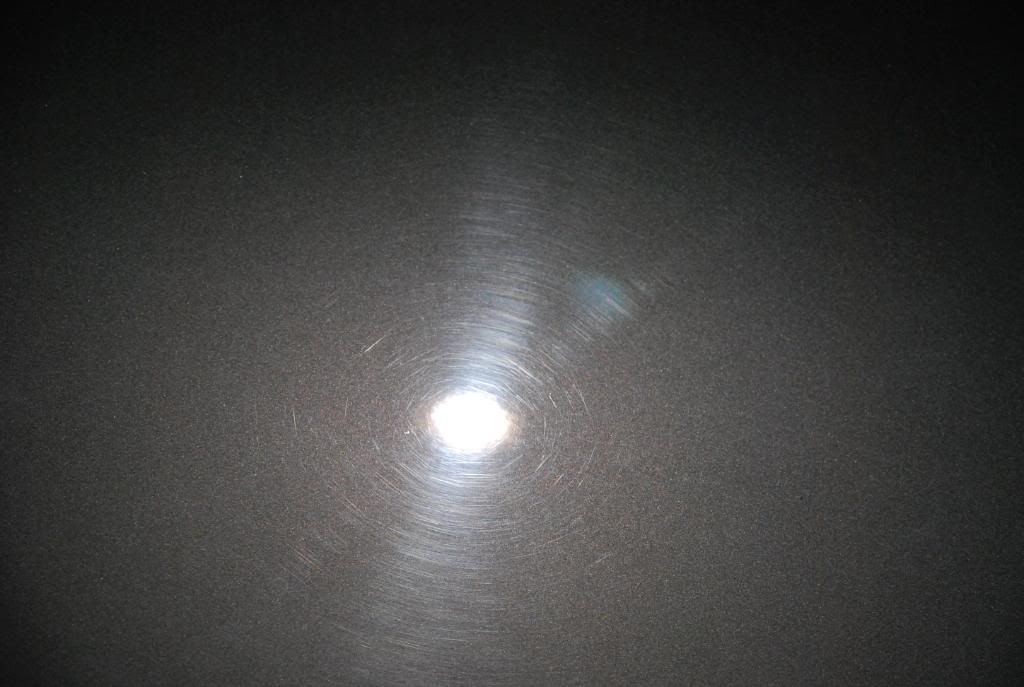
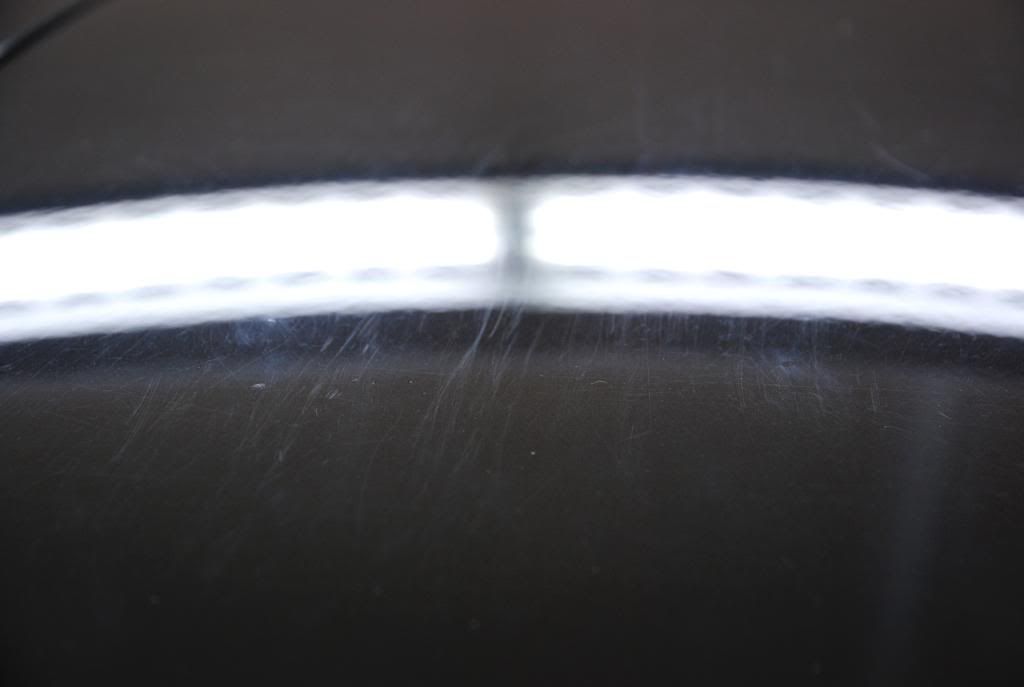
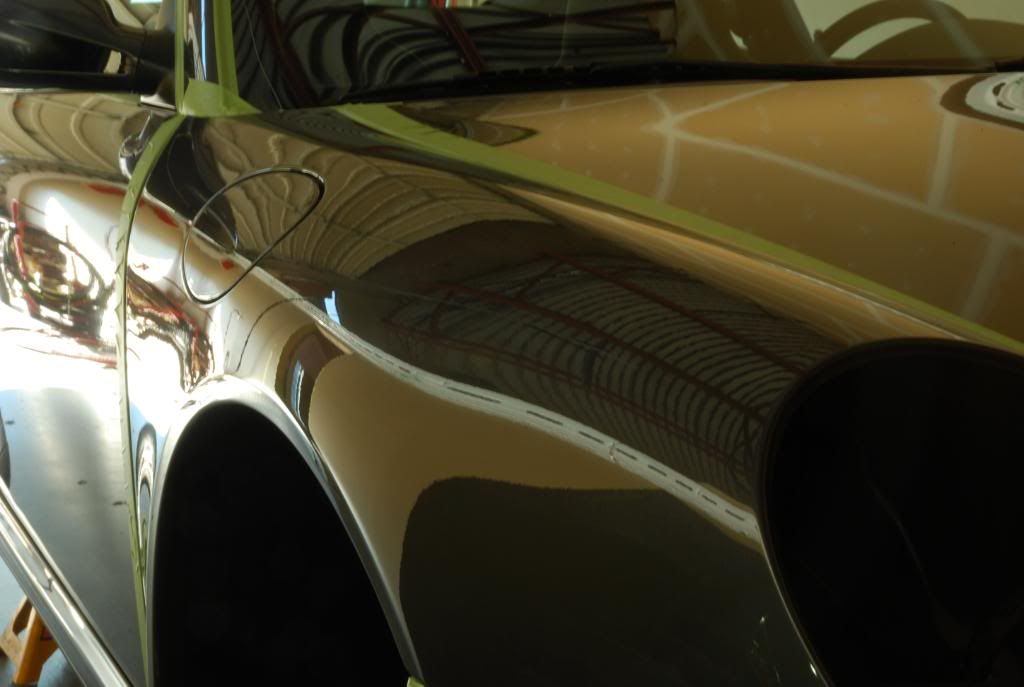
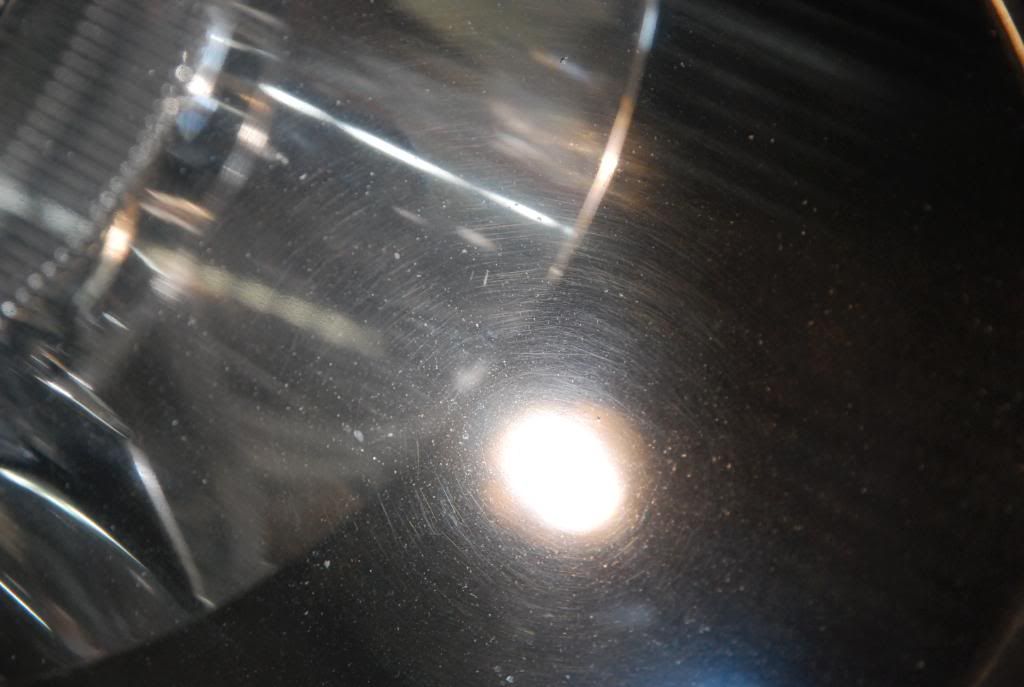
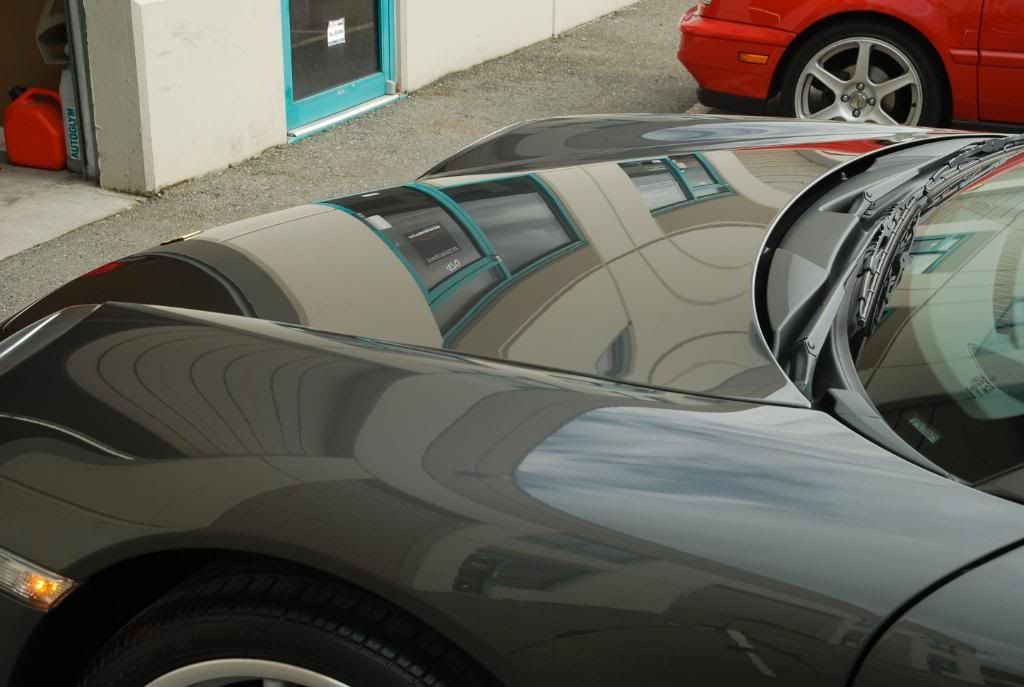
Swirling is evident all over the car and deeper RIDS were evident on most panels as well.
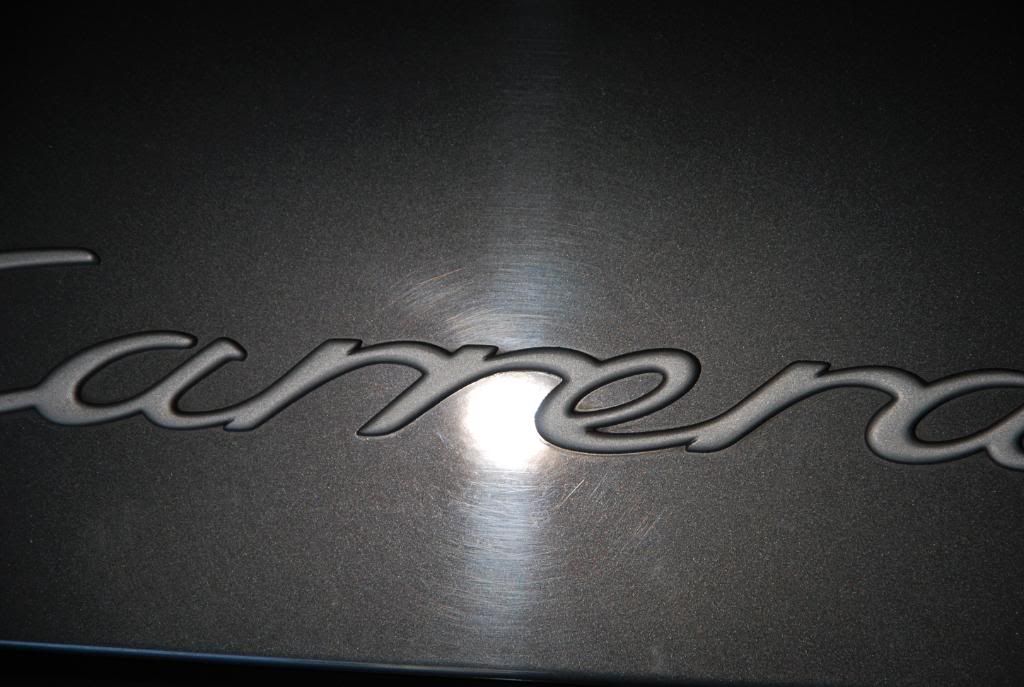
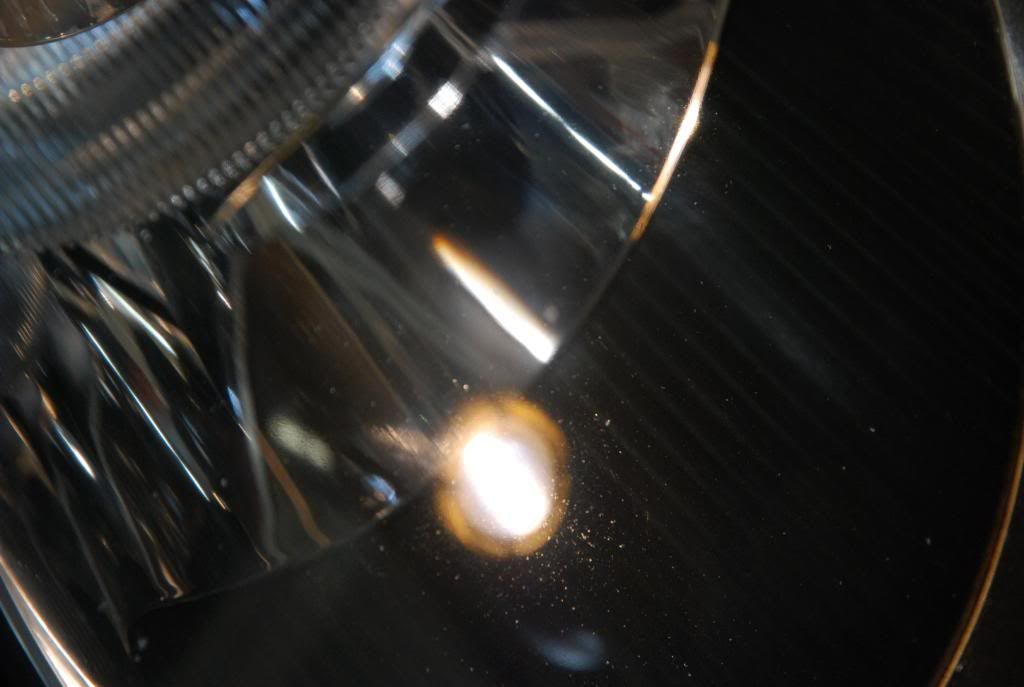
Swirling was really bad on rear trunklid. As we couldn't remove the emblem ( over $100 for a new one ) we would have to carefully tape it off and polish as closely as possible.
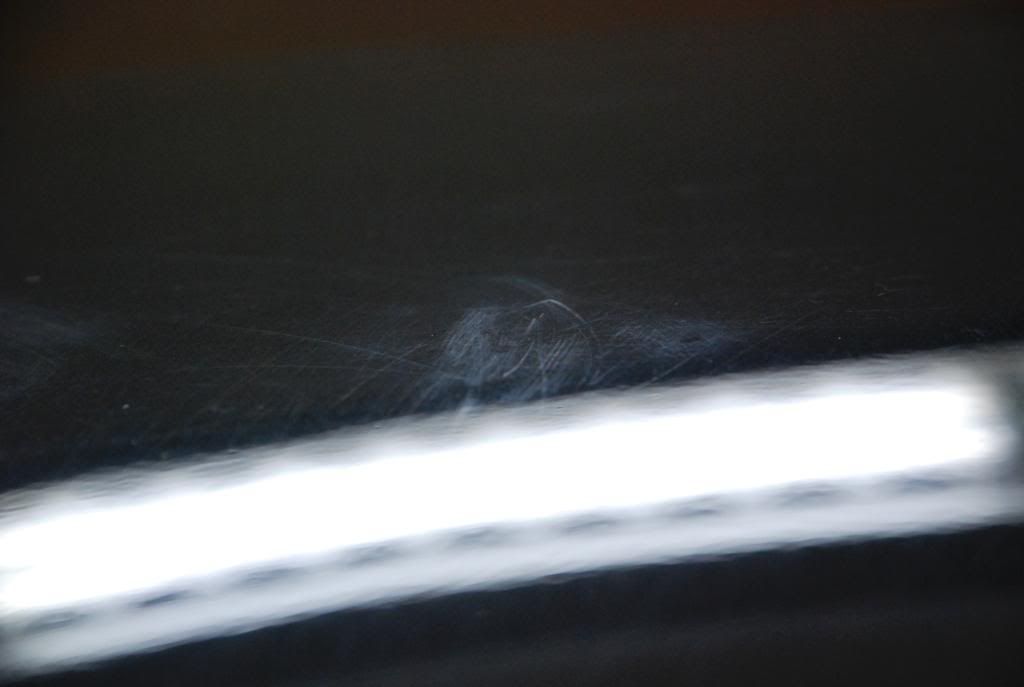
Looks like a birdbomb had sat on the paint and then the subsequent wipedown did even more damage.
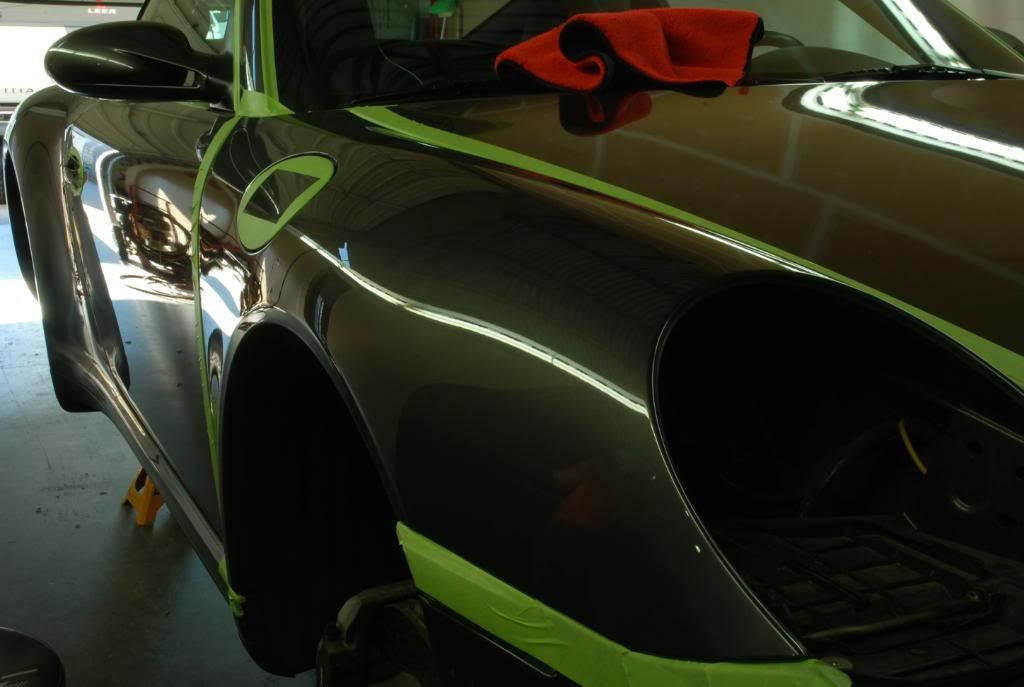
All taped off, waiting for polishing. Notice how dull the paint is looking.
Engine, jambs and all trim cleaned with Exclusive APC@3:1 and RG brushes
Washed with Blackfire Soap and Megs MF mitt
Inner fenders cleaned with Exclusive APC straight and dressed with 303
Wheels cleaned with Exclusive Wheel Cleaner beta. Built up brake dust on back of spokes tidied up with a mild acid @8:1
Polished with Megs MF cutting pad and Megs D300 cutting compound on my PC. Finishing was done with Scholl S30 / B&S Green on my PC as well.
LSP was two coats of Exclusive Paint Sealant
Interior wiped down with AG Interior Shampoo
Seats cleaned with Leatherique Rejuvenator and conditioned with Leatherique Prestine Clean.
All glass cleaned with AG Glass Polish
Exterior glass sealed with DG Nano Sealant beta
Wheels sealed with BF All Metal Sealant
Tires dressed with Exclusive Tire Dressing
Total time - I stopped counting at 30 hours
The Porsche as delivered. Looking a little sad.
There was quite a bit of brake dust build up on the wheels.
The engine and compartment were quite dirty. This area was cleaned with Exclusive APC@3:1 and then dressed with Carpro PERL.
Exhaust tips were quite dirty and were polished with Optimum Metal Polish and 0000 steel wool before being sealed with BF All Metal Sealant.
Small bit of was built up on the edge of the hood.
Under the hood was very dusty. Area was cleaned with Exclusive APC@3:1 and all plastics and rubber seals were dressed with Carpro PERL.
Calipers were unpainted cast versions and unfortunately were stained from someone using an inappropriate cleaning solution.
The two rear wheels were damaged and were being sent out for refinishing but evidently would need some cleaning before going out.
Inner fender before....
and after. It took around 3.5 hours to clean and dress all four inner fenders and suspension.
One of the many scratches around the car.
Undetermined "stuff" on paint.
The dullness on the rear spoiler is actually overspray. Great.
Swirling is evident all over the car and deeper RIDS were evident on most panels as well.
Swirling was really bad on rear trunklid. As we couldn't remove the emblem ( over $100 for a new one ) we would have to carefully tape it off and polish as closely as possible.
Looks like a birdbomb had sat on the paint and then the subsequent wipedown did even more damage.
All taped off, waiting for polishing. Notice how dull the paint is looking.


 ound: Sorry, couldn't help it. You have NOTHING to worry about there!