Extreme Garage Makeover!
My house was built 9 years ago, and unfortunately the garage has been a neglected area as it is in many homes. I finally decided that it was time to do something about it, and I started on the project late in December. It was originally supposed to be a “2 week� project, but that quickly turned into 6. I decided that if I'm going to do it, it's going to be done correctly, and done just once.
This year I am taking my detailing to a whole new level (website in the works as well), and I knew that I needed a much more professional look for when my customers bring their prized possessions to me. A clean and well organized work space is equally as important.
After much thought, I came up with the following list of needs:
Insulated wall and garage door
Finished wall
Garage heater
More electrical outlets
Storage space
Organization
Better lighting
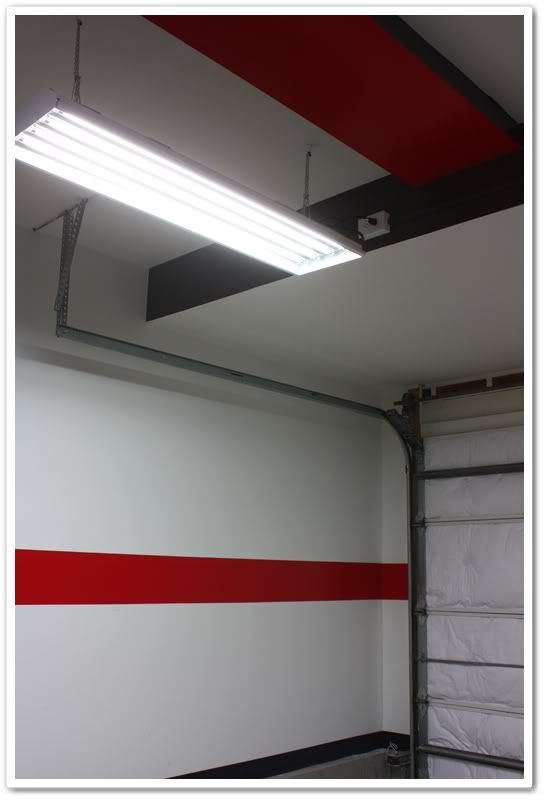
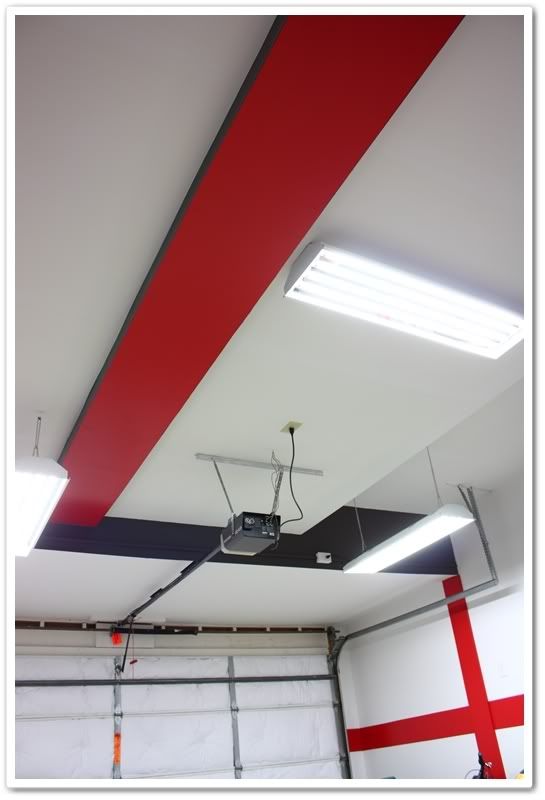
First up was to address electrical needs. I installed 7 new outlets on 2 new circuits...one of them being a 240v outlet for a new garage heater. Several of the outlets needed to be on the ceiling so that I could hang a few more fluorescent fixtures. For the lighting, I went with 3, 48�, 4-bulb T-5 high output light fixtures with 5000K bulbs. These are very bright, and produce a color very similar to sunlight. 57,000 lumens in a 400sq/ft garage...! Wear your sunglasses kids.
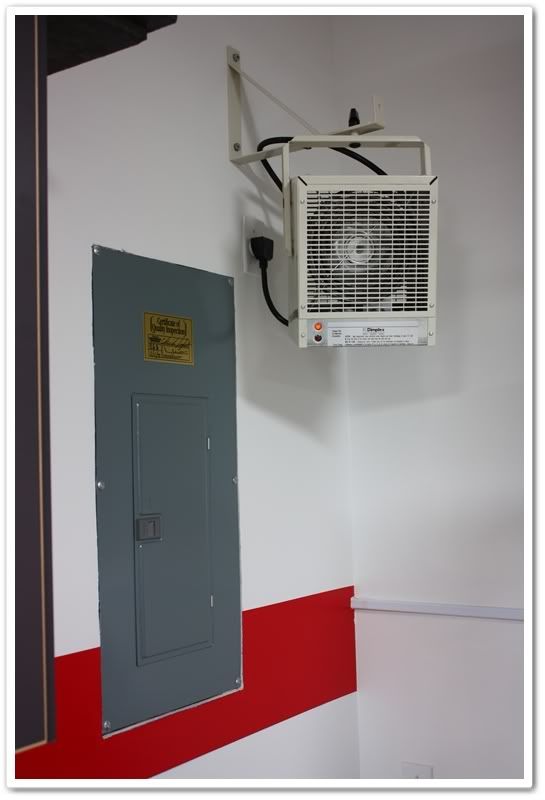
Now that the electrical was done, I was able to install my new Dimplex DGWH4031 garage heater. It's a 240v, 13,000 BTU unit that's perfect for heating a 400sq/ft garage. Even when it's single digits outside, I can easily heat up my garage to 65 or 70 degrees! And now that it's all insulated, it's not difficult to maintain a comfortable temperature while I'm working out there.
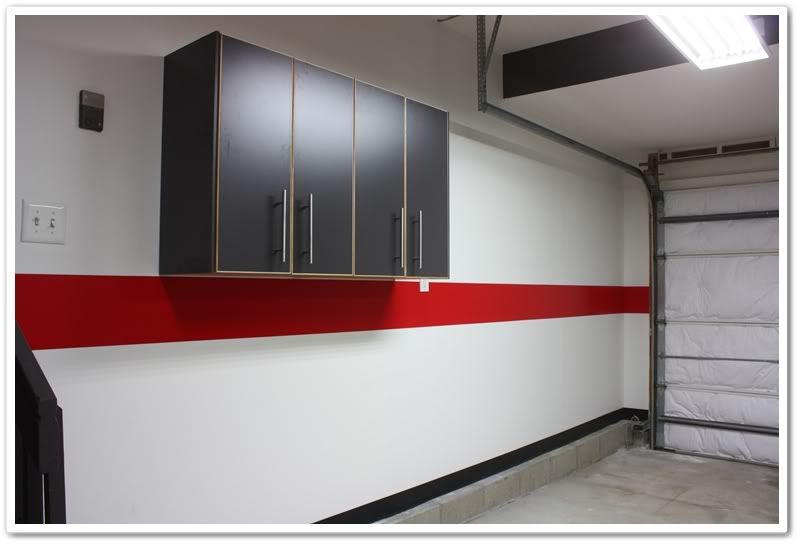
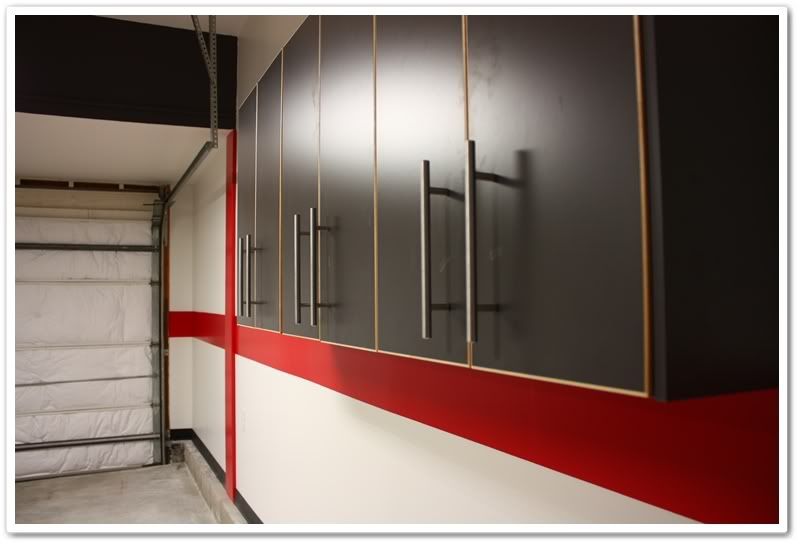
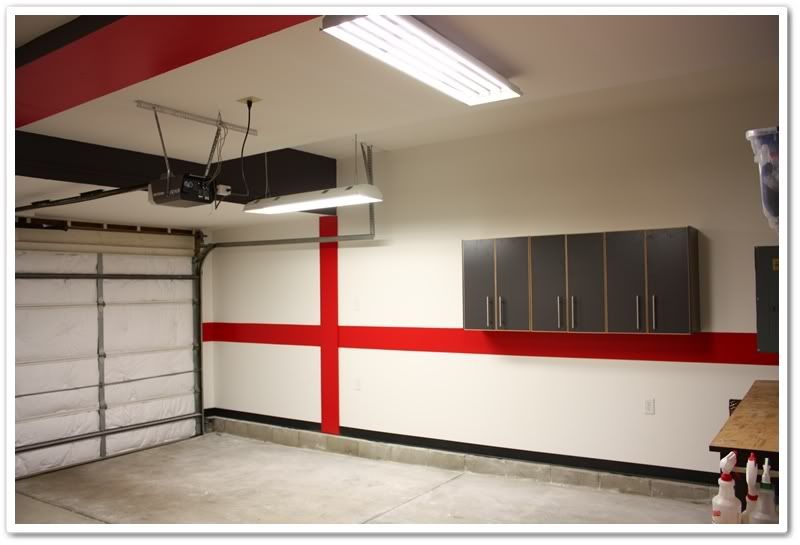
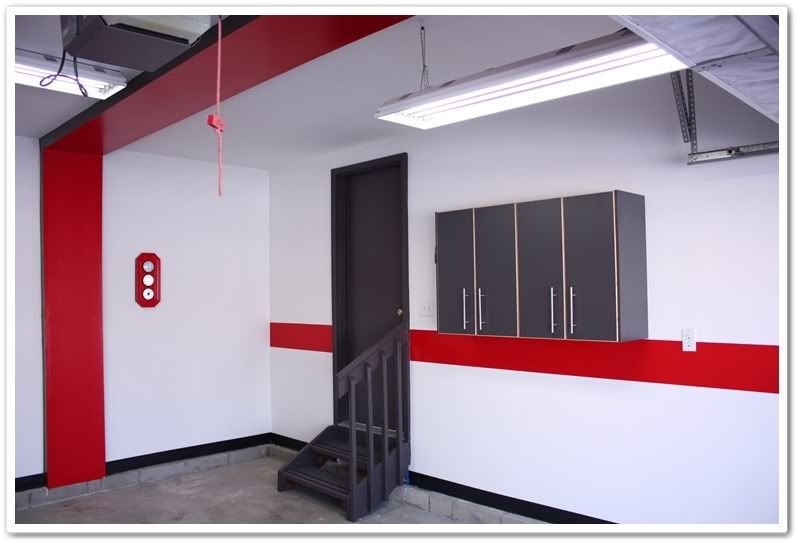
I knew I needed some nice cabinets, but some of the garage-specific models were just too much. I found some really nice ones at IKEA, and they only cost me $70/each. I placed 3 of them on the far wall for my detailing supplies, and put 2 of them near the entrance of the house for food and kitchen overstock (this helped with the wife-acceptance factor).
For the trim paint (part of ceiling, workbench, steps, door), I took one of the cabinet doors to Lowe's and had them color match the dark grey. Now everything is properly color-matched throughout the garage!
I still have to work on the floor, but it's simply too cold right now for any kind of finishing. That will be a good project for late spring.
I got a bit camera happy, so don't mind all of the photos. Enjoy!
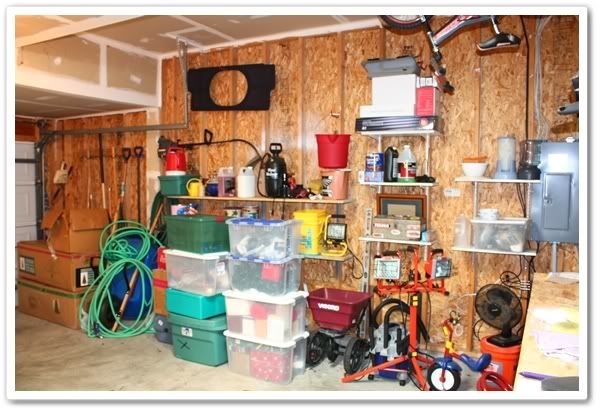
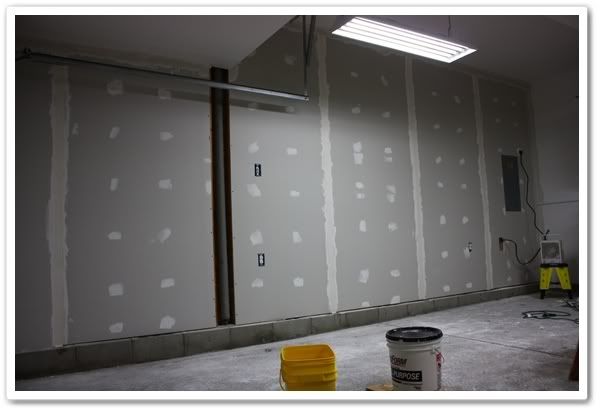
It was exceptionally messy here because I had extra clutter from Christmas decorations. As you can see though, the wall was less than impressive:
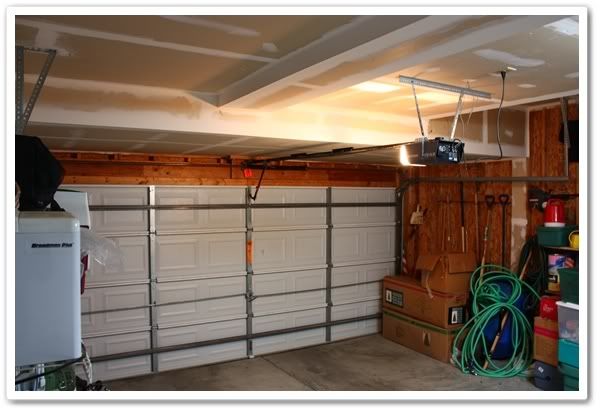
Unfinished ceiling as well:
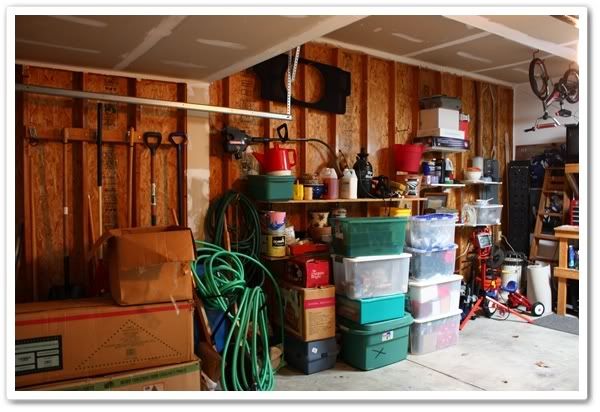
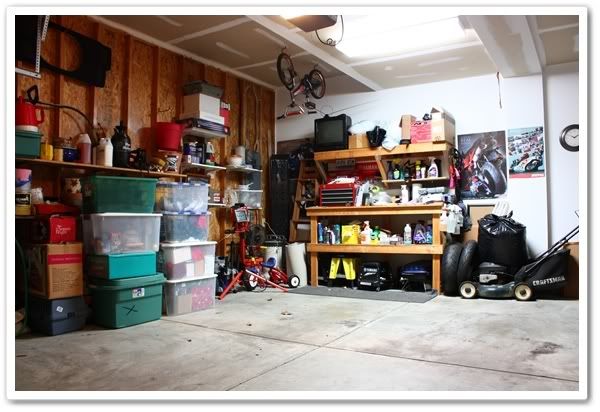
Workbench is a bit cluttered:
In process. As you can see, I have a support pole on the wall that barely stuck out further than the studs, so I couldn't just cover it with drywall. Later in the photos I'll show you how I addressed this.
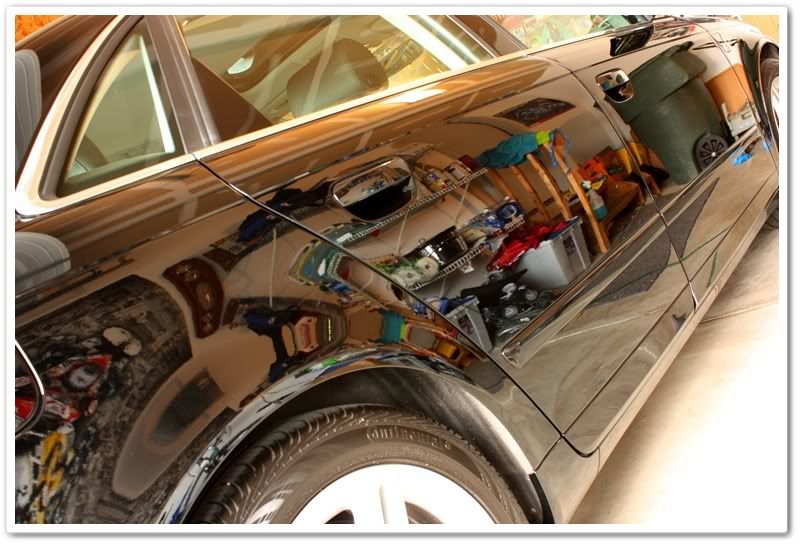
As you can see from this photo that I took last year while working on this Audi, the side wall added some great reflections of clutter! Cool photo, but not very professional by any means.
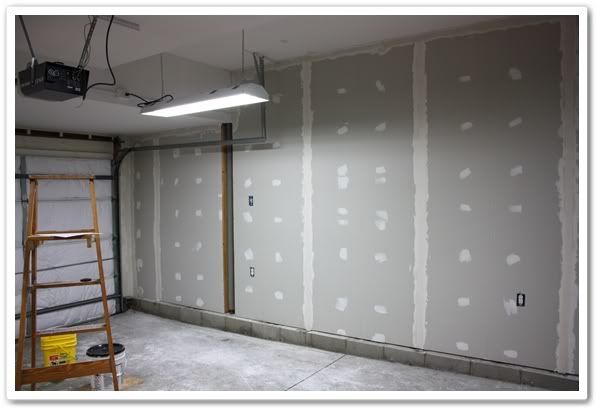
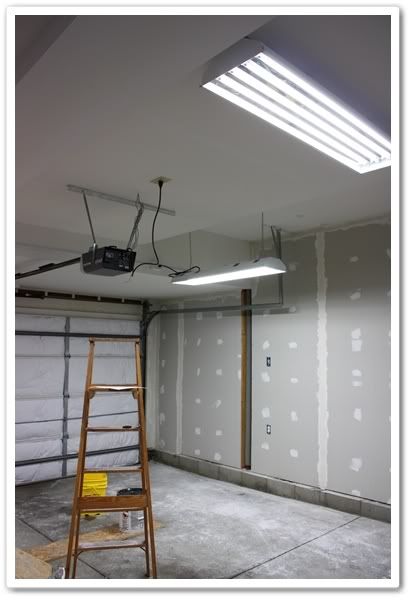
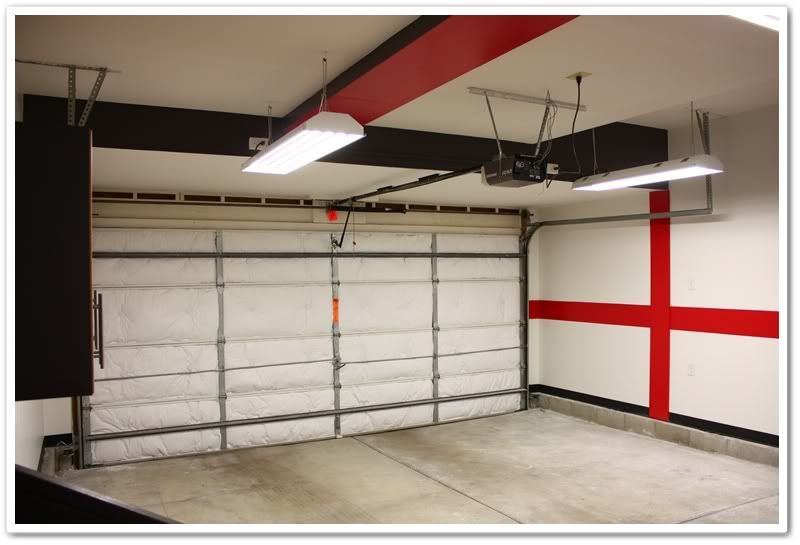
The ceiling is already painted, and new T-5 lights installed:
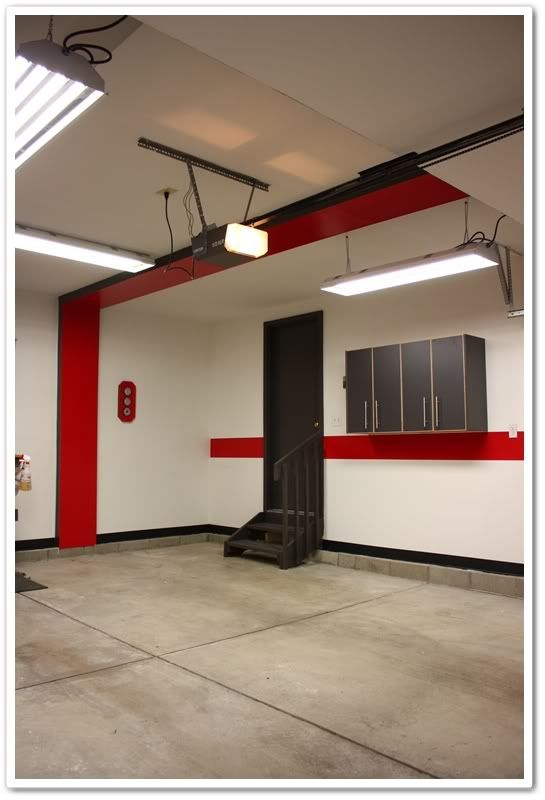
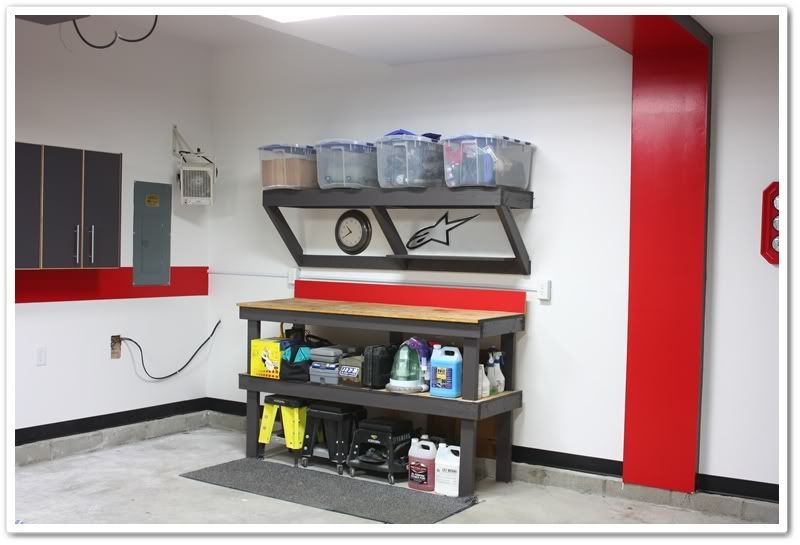
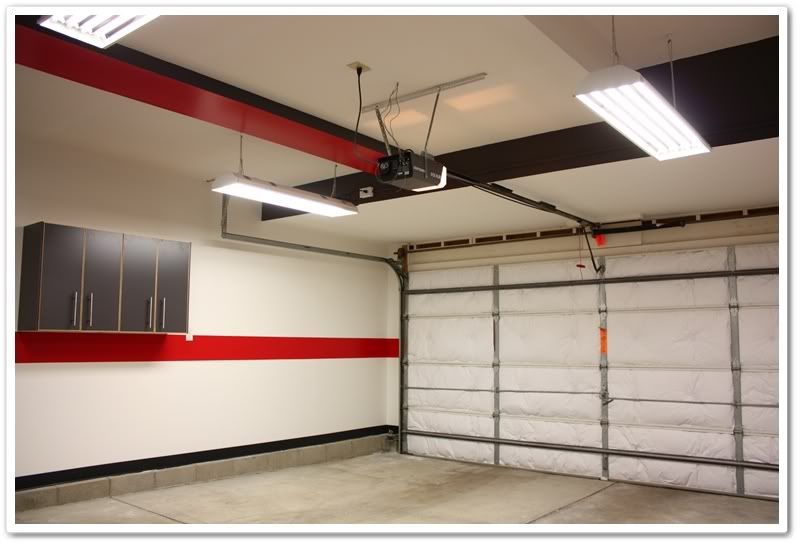
Here is it mostly finished. I still have some decorating to do, and a few more bins of “stuff� to put on shelves, but it's pretty much ready.

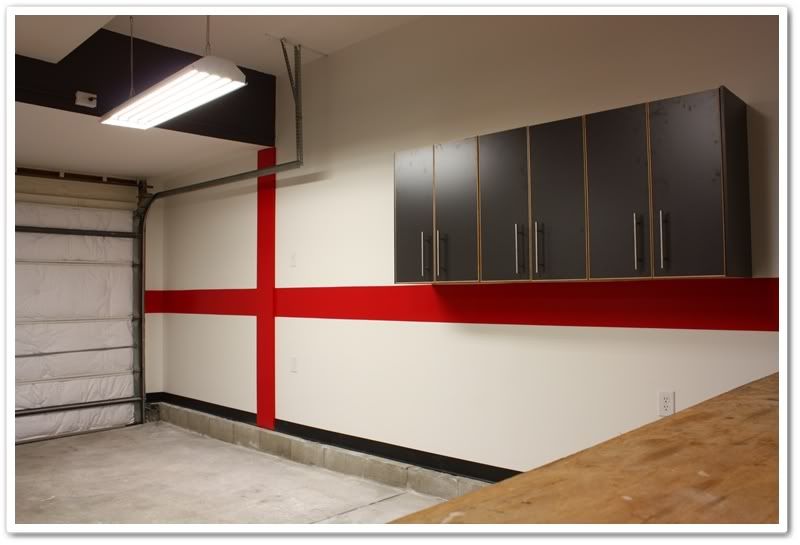
Notice the vertical red stripe on the left. I bought an 8� board, sanded and painted it, and used it to cover up the support pole shown earlier. It was a great solution, and added a nice design element as well.
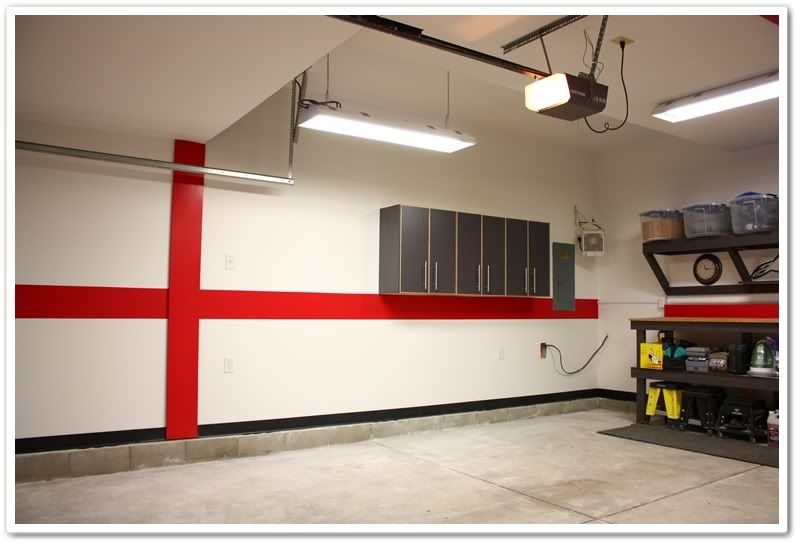
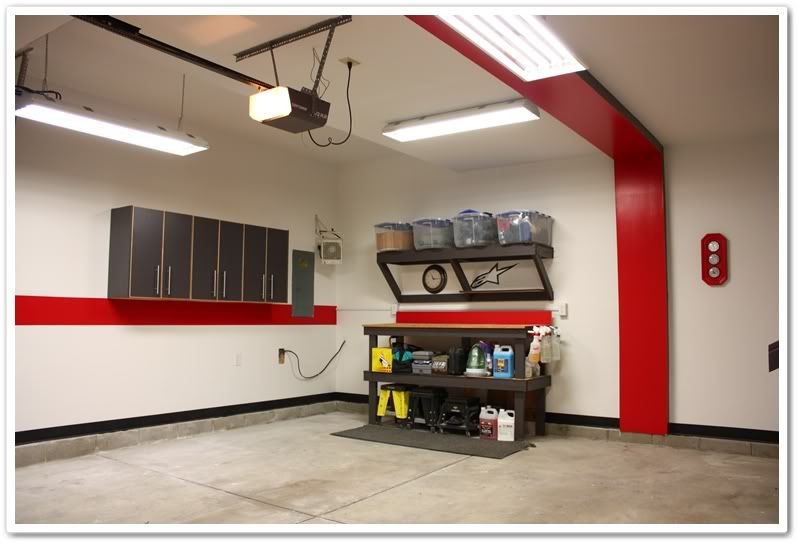
The red area with dark grey trim that goes up from the floor, and across the ceiling was a boxed-in section that was raised about 3� from the surface. It was a great canvas for me to work with and add some color and dimension. It will also create some wicked hood reflection shots!
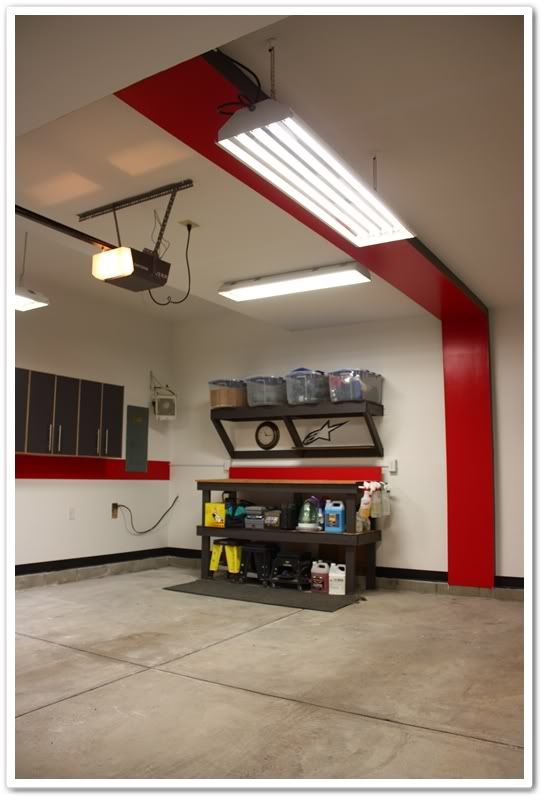
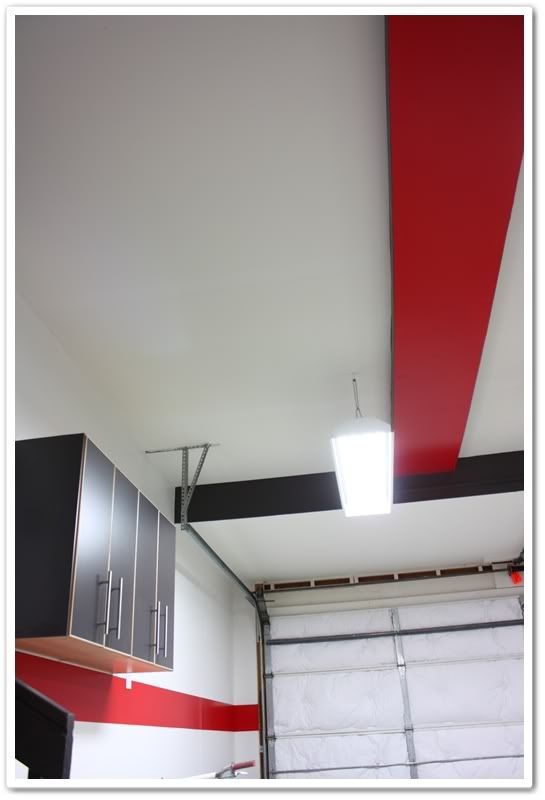
You can see here where that raised area meets up with a lowered face to the ceiling. Once again...another opportunity to mix up some colors on different surfaces.
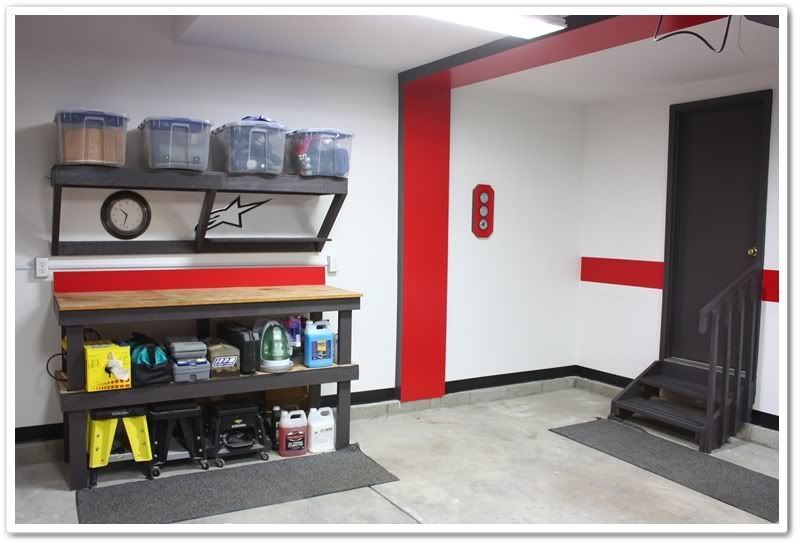
I've yet to finish the top of the workbench:
To the bottom left you can see a hole in the wall with cable coming out of it. I'm going to get an access box like you find on the outside of the house and finish this off. I just haven't gotten that far yet.
IKEA 24x30 cabinets.
Here you can see where/how I ran the outlets for two of the light fixtures:
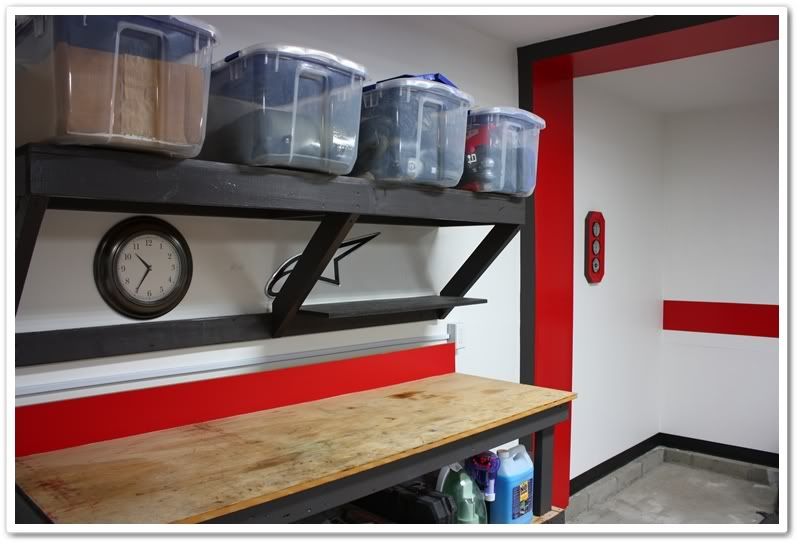
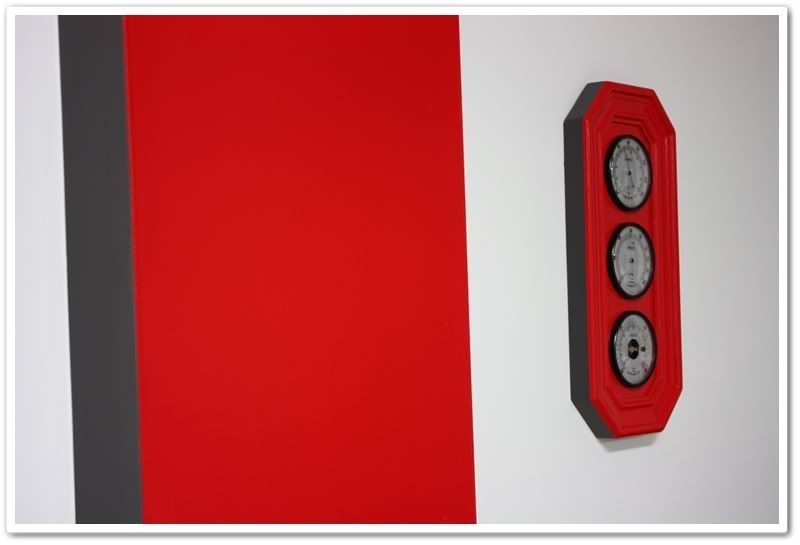
Here's an example of my OCD, err I mean my attention to detail. I took apart my weather gauges and painted the assembly to match the rest of the garage.
The Dimplex heater is awesome! Small, compact, and puts out a lot of heat!
I tried to get the colors to flow from one side of the garage...from the floor, across one way in red, to another direction in grey, and then back down to the floor on the other side of the garage in red.
Thanks for checking it out!
My house was built 9 years ago, and unfortunately the garage has been a neglected area as it is in many homes. I finally decided that it was time to do something about it, and I started on the project late in December. It was originally supposed to be a “2 week� project, but that quickly turned into 6. I decided that if I'm going to do it, it's going to be done correctly, and done just once.
This year I am taking my detailing to a whole new level (website in the works as well), and I knew that I needed a much more professional look for when my customers bring their prized possessions to me. A clean and well organized work space is equally as important.
After much thought, I came up with the following list of needs:
Insulated wall and garage door
Finished wall
Garage heater
More electrical outlets
Storage space
Organization
Better lighting
First up was to address electrical needs. I installed 7 new outlets on 2 new circuits...one of them being a 240v outlet for a new garage heater. Several of the outlets needed to be on the ceiling so that I could hang a few more fluorescent fixtures. For the lighting, I went with 3, 48�, 4-bulb T-5 high output light fixtures with 5000K bulbs. These are very bright, and produce a color very similar to sunlight. 57,000 lumens in a 400sq/ft garage...! Wear your sunglasses kids.
Now that the electrical was done, I was able to install my new Dimplex DGWH4031 garage heater. It's a 240v, 13,000 BTU unit that's perfect for heating a 400sq/ft garage. Even when it's single digits outside, I can easily heat up my garage to 65 or 70 degrees! And now that it's all insulated, it's not difficult to maintain a comfortable temperature while I'm working out there.
I knew I needed some nice cabinets, but some of the garage-specific models were just too much. I found some really nice ones at IKEA, and they only cost me $70/each. I placed 3 of them on the far wall for my detailing supplies, and put 2 of them near the entrance of the house for food and kitchen overstock (this helped with the wife-acceptance factor).
For the trim paint (part of ceiling, workbench, steps, door), I took one of the cabinet doors to Lowe's and had them color match the dark grey. Now everything is properly color-matched throughout the garage!
I still have to work on the floor, but it's simply too cold right now for any kind of finishing. That will be a good project for late spring.
I got a bit camera happy, so don't mind all of the photos. Enjoy!
It was exceptionally messy here because I had extra clutter from Christmas decorations. As you can see though, the wall was less than impressive:
Unfinished ceiling as well:
Workbench is a bit cluttered:
In process. As you can see, I have a support pole on the wall that barely stuck out further than the studs, so I couldn't just cover it with drywall. Later in the photos I'll show you how I addressed this.
As you can see from this photo that I took last year while working on this Audi, the side wall added some great reflections of clutter! Cool photo, but not very professional by any means.
The ceiling is already painted, and new T-5 lights installed:
Here is it mostly finished. I still have some decorating to do, and a few more bins of “stuff� to put on shelves, but it's pretty much ready.
Notice the vertical red stripe on the left. I bought an 8� board, sanded and painted it, and used it to cover up the support pole shown earlier. It was a great solution, and added a nice design element as well.
The red area with dark grey trim that goes up from the floor, and across the ceiling was a boxed-in section that was raised about 3� from the surface. It was a great canvas for me to work with and add some color and dimension. It will also create some wicked hood reflection shots!
You can see here where that raised area meets up with a lowered face to the ceiling. Once again...another opportunity to mix up some colors on different surfaces.
I've yet to finish the top of the workbench:
To the bottom left you can see a hole in the wall with cable coming out of it. I'm going to get an access box like you find on the outside of the house and finish this off. I just haven't gotten that far yet.
IKEA 24x30 cabinets.
Here you can see where/how I ran the outlets for two of the light fixtures:
Here's an example of my OCD, err I mean my attention to detail. I took apart my weather gauges and painted the assembly to match the rest of the garage.
The Dimplex heater is awesome! Small, compact, and puts out a lot of heat!
I tried to get the colors to flow from one side of the garage...from the floor, across one way in red, to another direction in grey, and then back down to the floor on the other side of the garage in red.
Thanks for checking it out!
")
