Marc08EX
New member
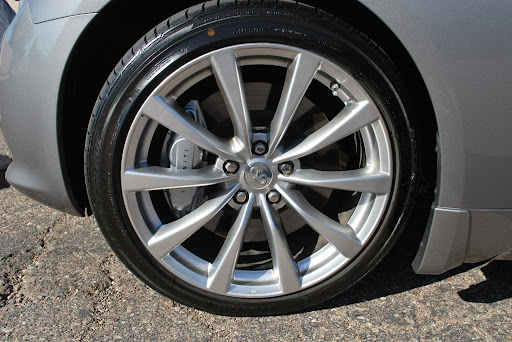
Wheels/Tires:
Meguiar's Deep Crystal on wheels
Meguiar's APC on tires
Meguiar's Hyper Dressing on tires
EZ Detail brush for the barrels
Meguiar's Ultimate Quik Wax for Brake Calipers
Wash:
Gilmour Foam Gun
Chemical Guys Citrus Wash and Gloss via Foam Gun and 2BM
Meguiar's Microfiber Wash Mitt
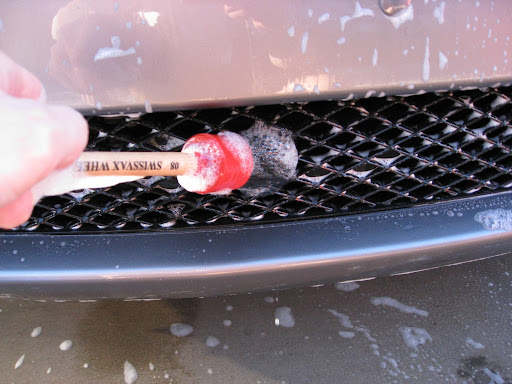
Swissvax Brush for Plastic Surfaces / Gas Tank
Clay:
Meguiar's OTC Clay
Meguiar's Last Touch
Paint Correction:
Flex 3401 VRG
Meguiar's G100 / 3.5" and 5" LC Backing Plates
Meguiar's M105 / LC Orange Pads
Meguiar's M205 / LC White Pads
Craftsman 500W Halogen Lights
LSP:
Menzerna Powerlock / LC Blue Pad (left 12 hours to cure)
Autoglym HD Wax
Interior:
Meguiar's Quik Interior Detailer
Meguiar's APC+
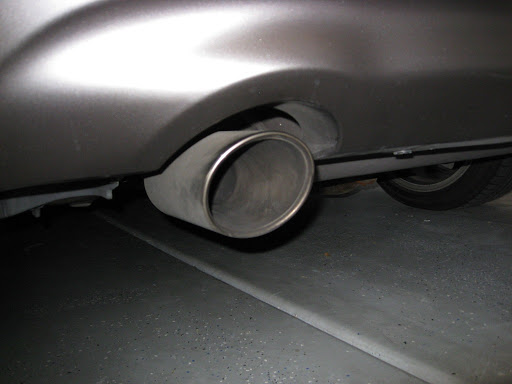
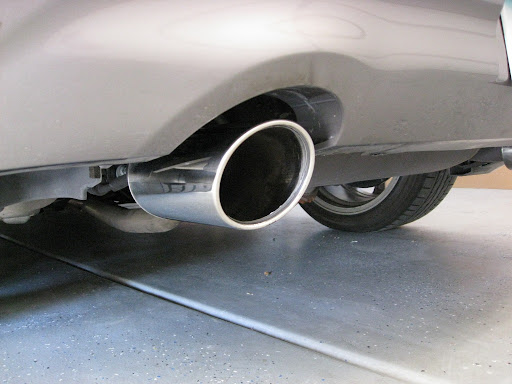
Exhaust:
Meguiar's NXT Metal Polish
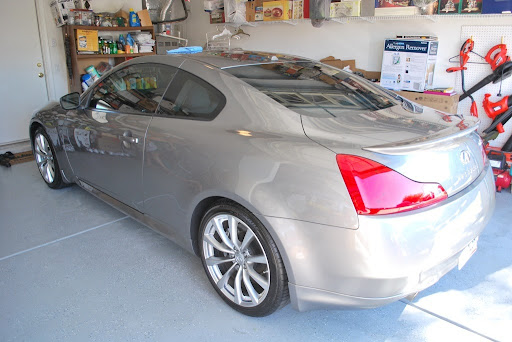
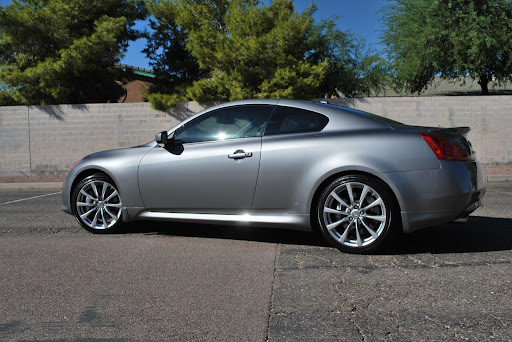
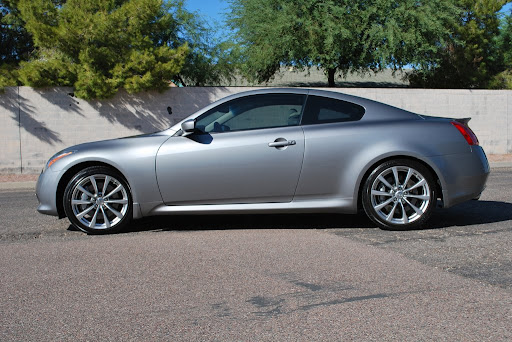
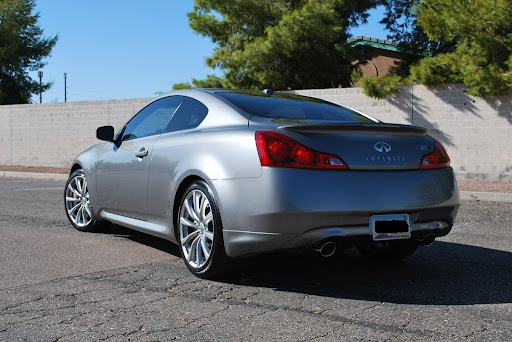
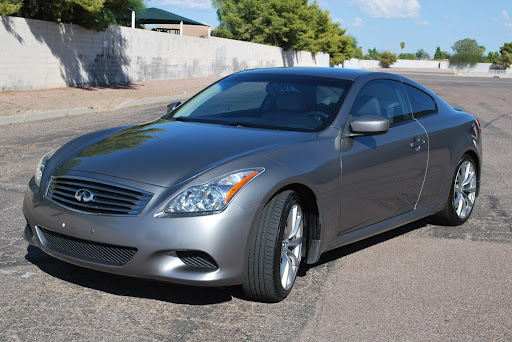
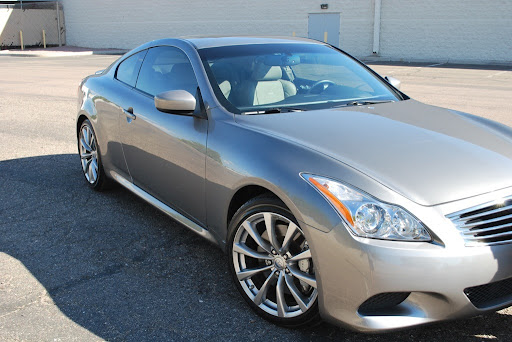
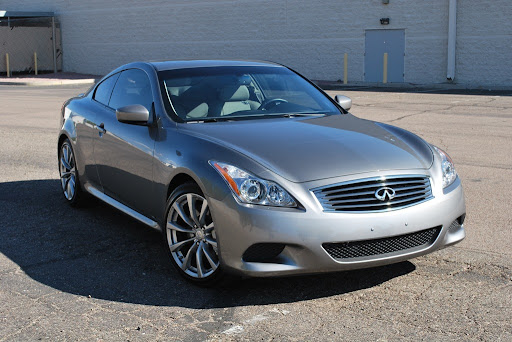
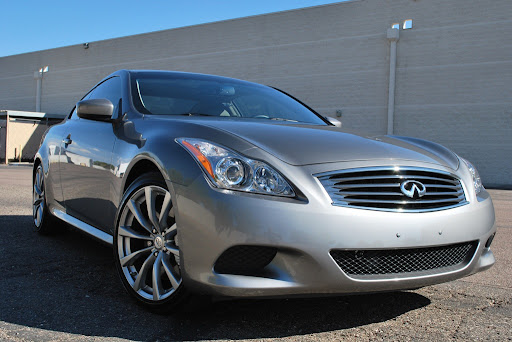
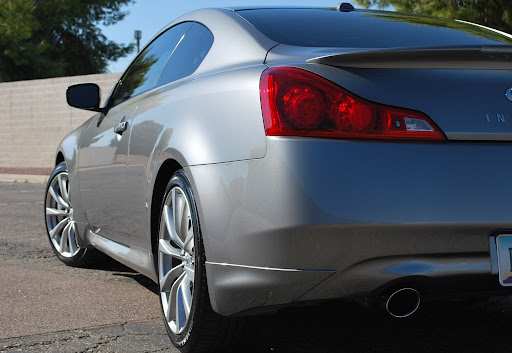
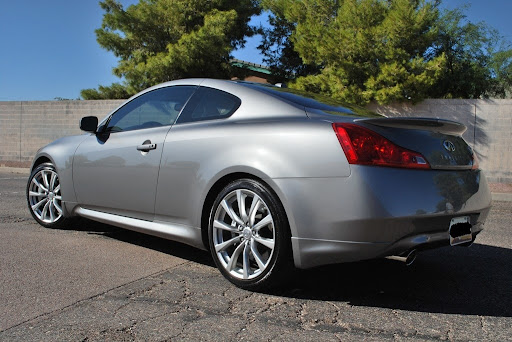
This car was brought to me for swirl removal. Upon inspection, there weren't a lot of swirl marks so I thought I would have an easy task at hand. I was really excited to do this detail because the Infiniti G coupes are sexy as hell. The drive and sound amazing especially when the transmission is a 6MT. This car is a beast and it sounds amazing! Now onto the pictures...
Wash:
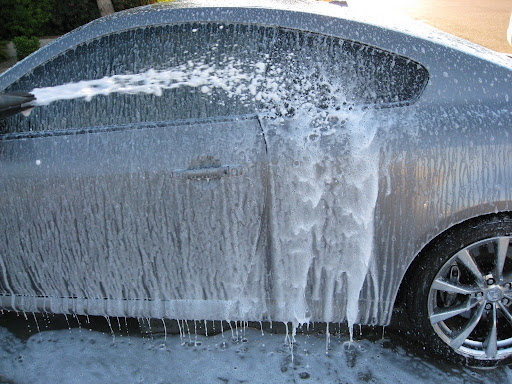
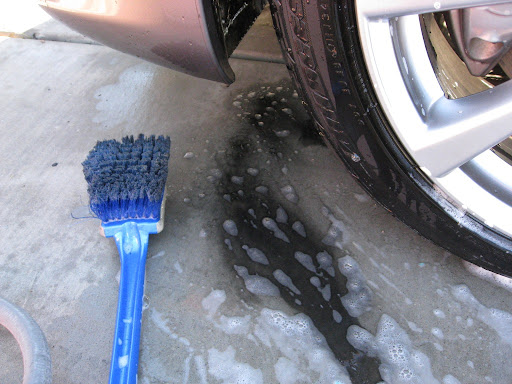
All of the gunk came from brushing the wheel well.
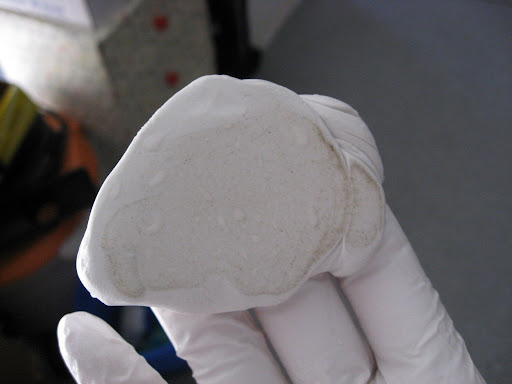
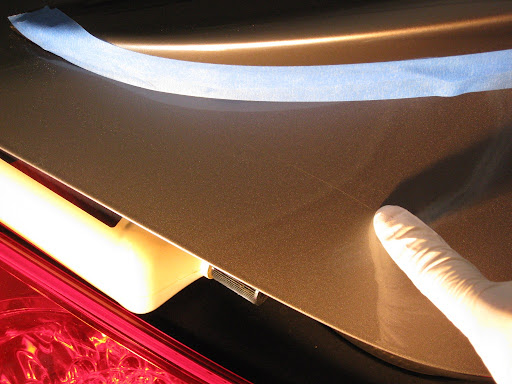
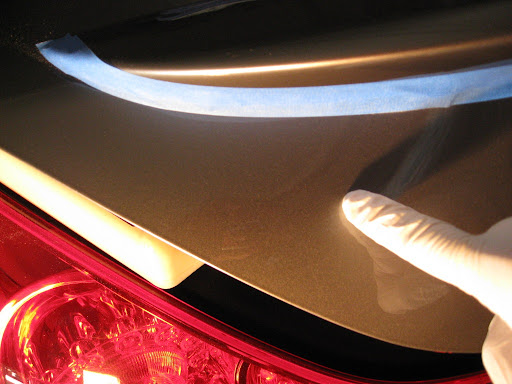
This is from claying 1/2 of the trunk. The paint was pretty contaminated with embedded dirt.
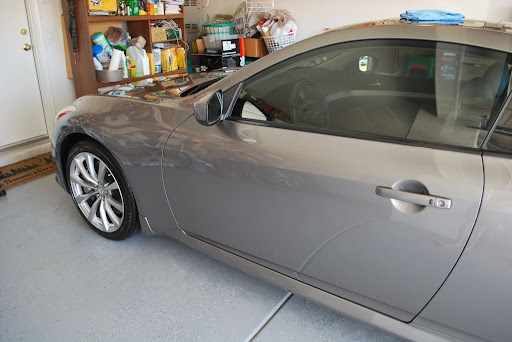
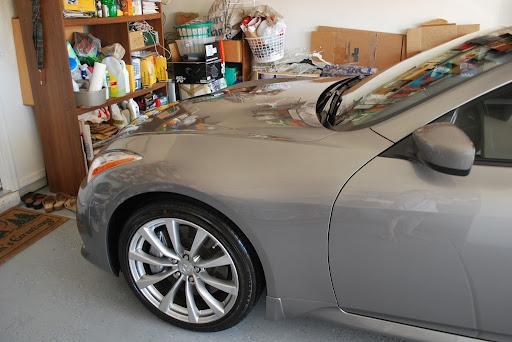
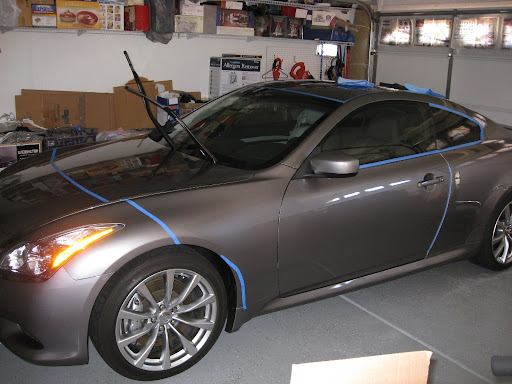
All taped up and ready to go:
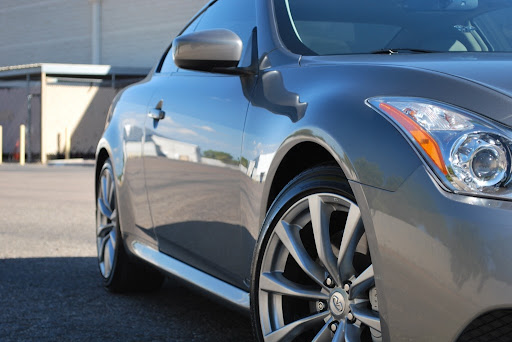
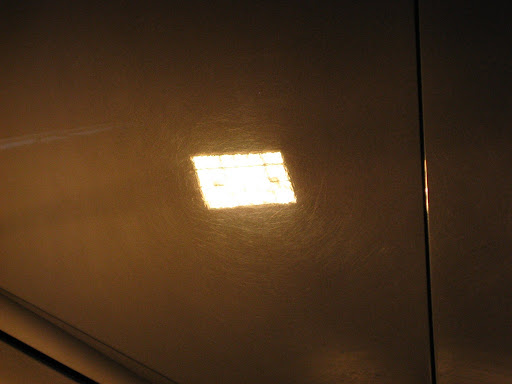
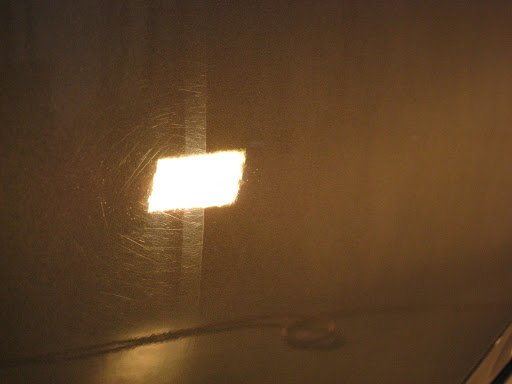
After claying the car, I performed an IPA wipe down to see the true condition of the paint. I was shocked to see the amount of swirls the paint had!!! It didn't have that much swirls when I first inspected the car. The dealer did a really good job on hiding the swirls the car had.
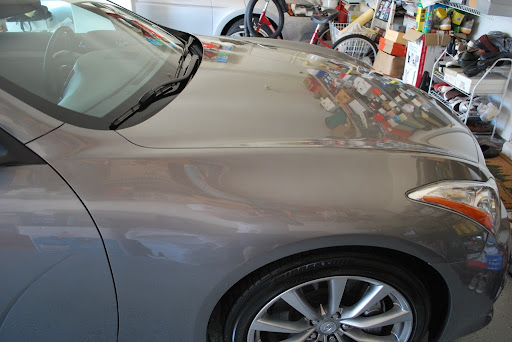
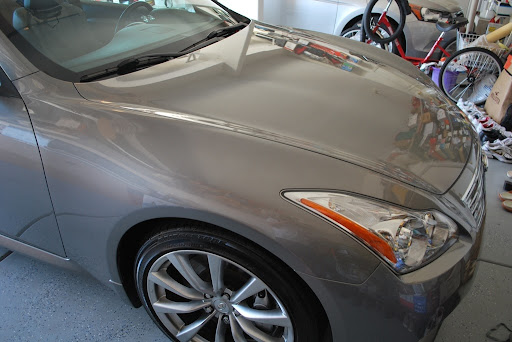
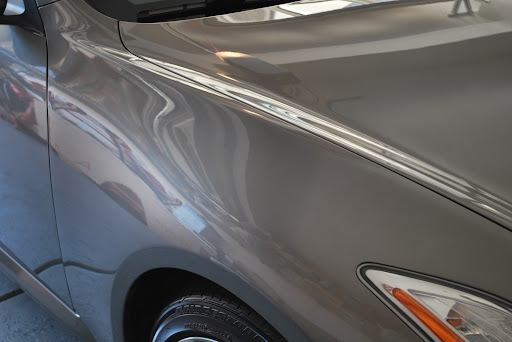
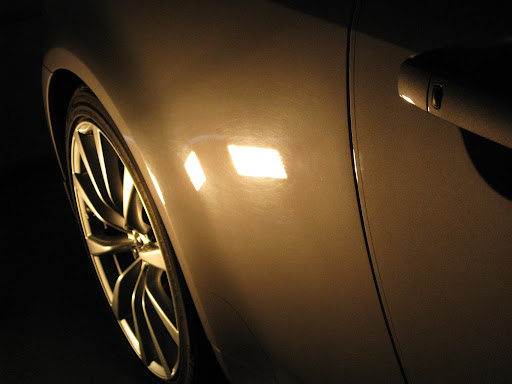
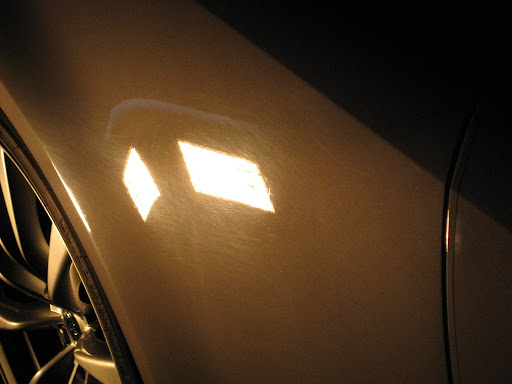
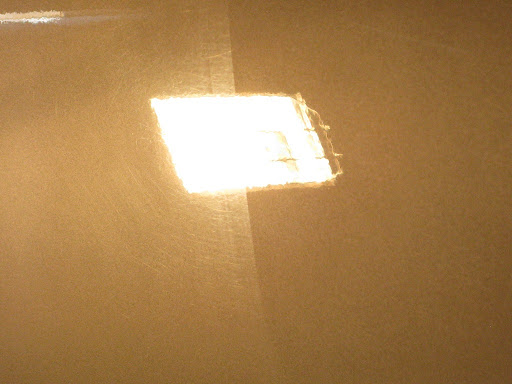
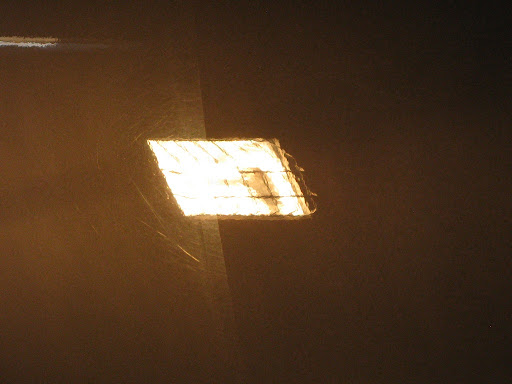
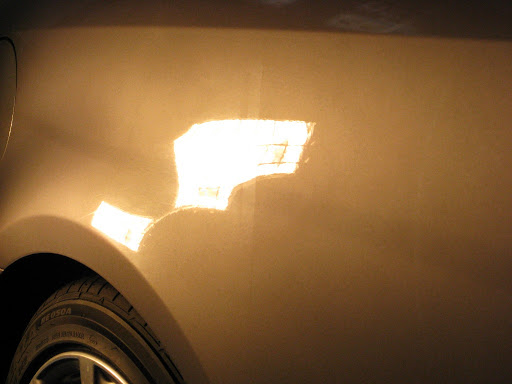
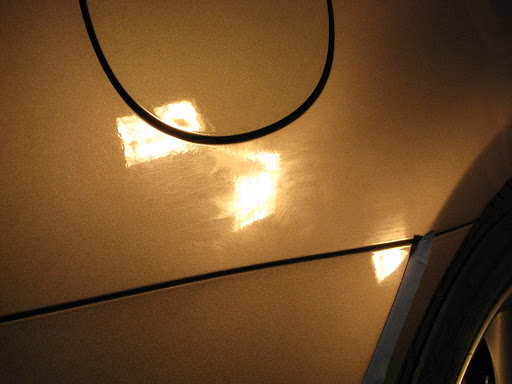
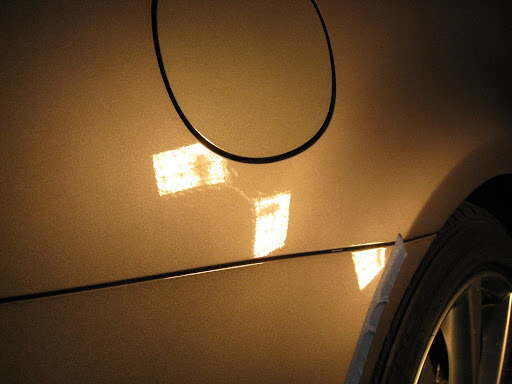
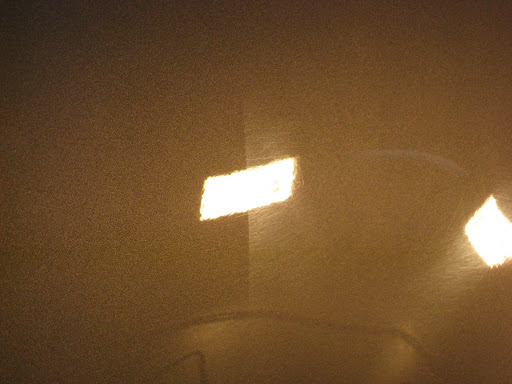
Before:
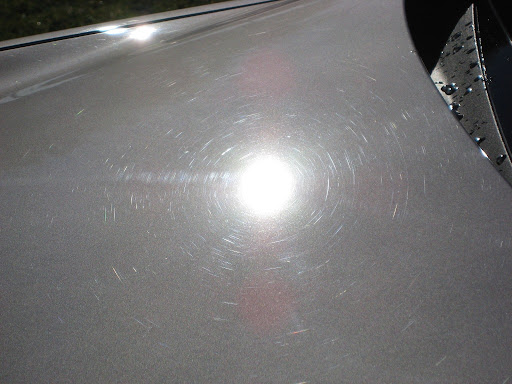
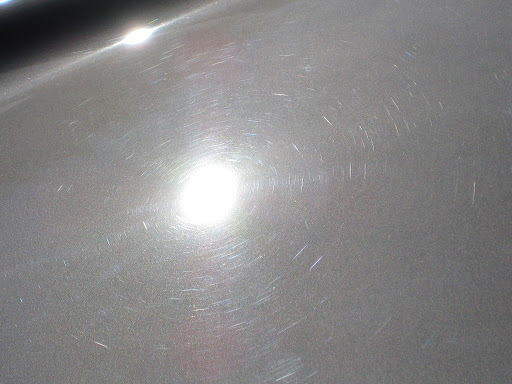
The above 2 pictures are the swirls in the hood. The hood was in much better shape than the rest of the car as seen below: Sorry the swirl pictures didn't come out as I hoped. It was very hard to capture the swirls given the car's color.
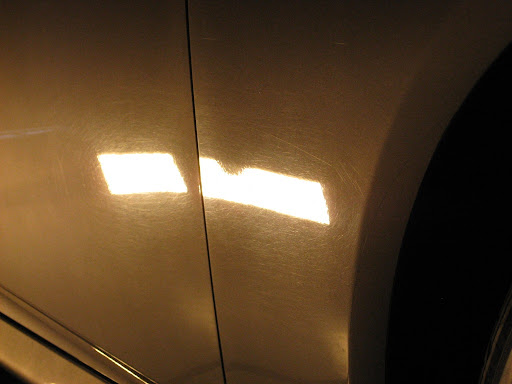
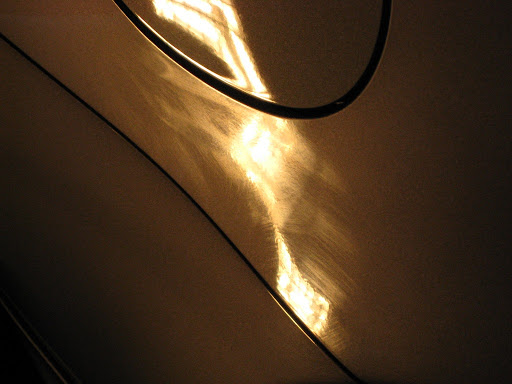
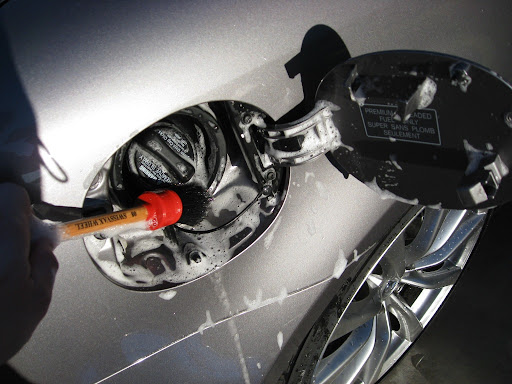
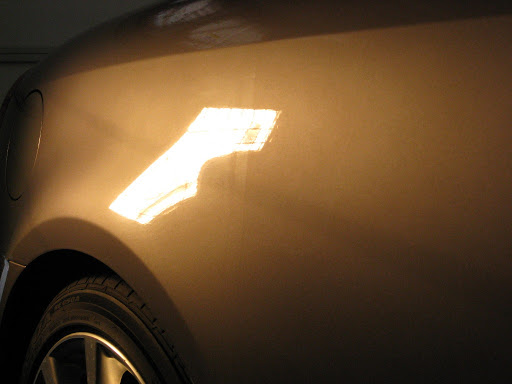
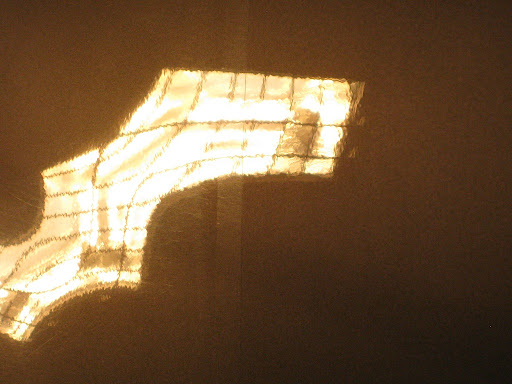
I think the picture above was ridiculous! It looked like the car originally had fuel stains below the gas filler door and someone tried to sand it down without even polishing it! I was shocked to say the least.
Because of the paint's condition, I decided to go ahead and use a 2 step detail right off the bat. I used both Meg's M105 and M205 throughout my paint correction phase. Here are some 50/50 shots:
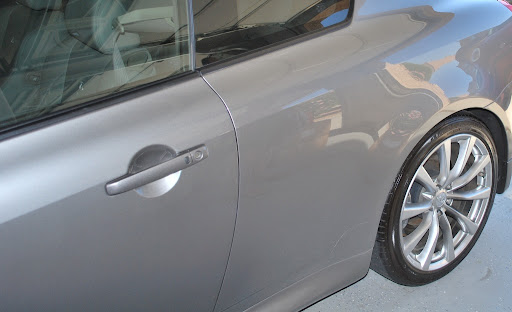
Passenger Side Door:
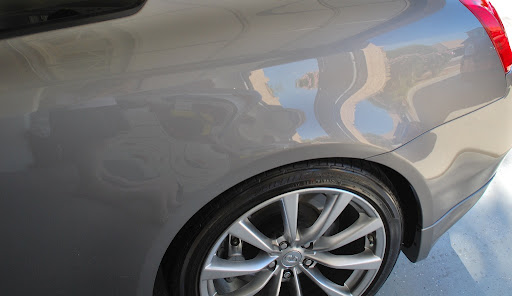
Passenger Rear Fender:
Fuel Filler Door:
Before
After
Driver Rear Fender
Driver Side Door:
Trunk:

Hood (Bird Poop Etching)
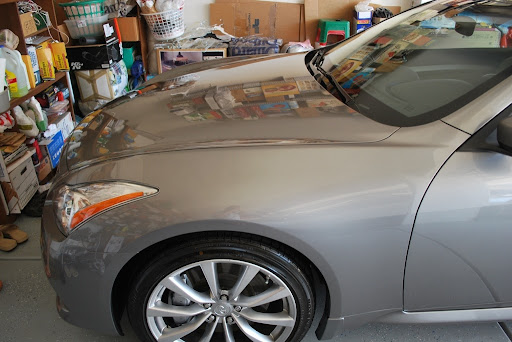
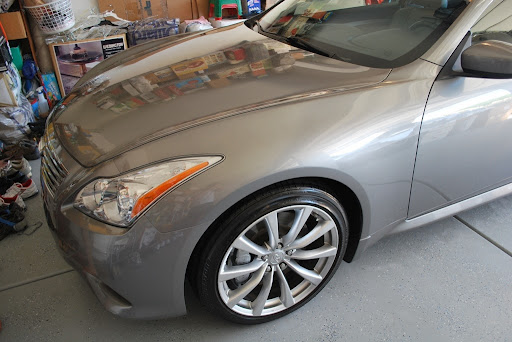
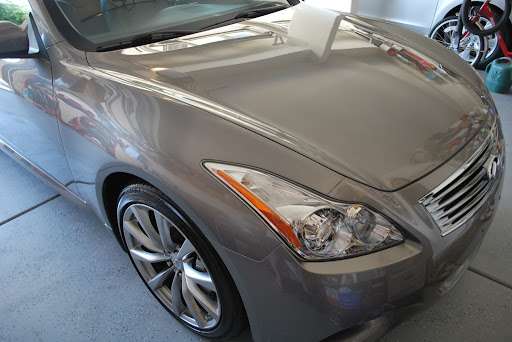
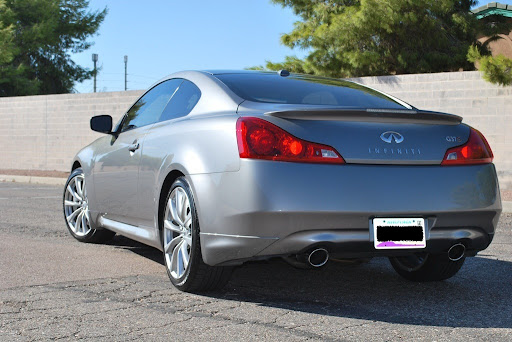
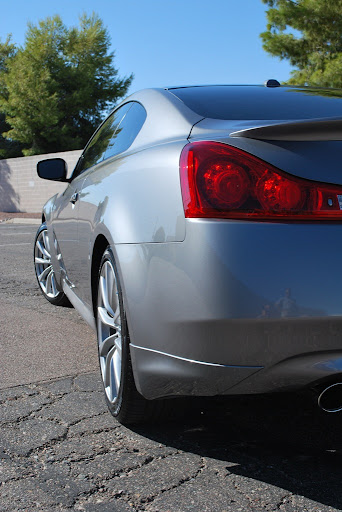
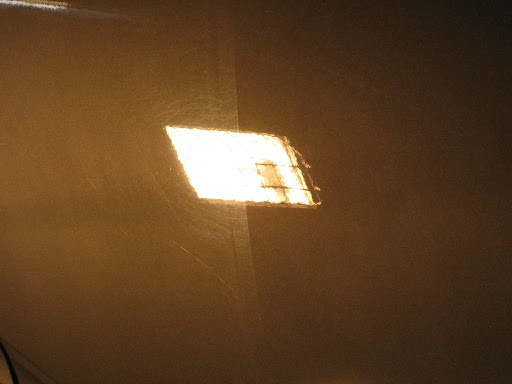
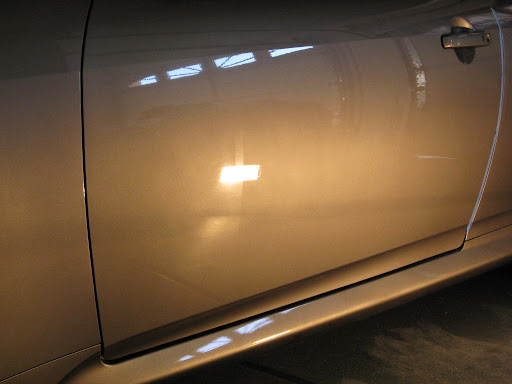
The paint's reflectivity and depth dramatically changed after the polishing stage. The paint already looked amazing at this stage.
Meguiar's Deep Crystal on wheels
Meguiar's APC on tires
Meguiar's Hyper Dressing on tires
EZ Detail brush for the barrels
Meguiar's Ultimate Quik Wax for Brake Calipers
Wash:
Gilmour Foam Gun
Chemical Guys Citrus Wash and Gloss via Foam Gun and 2BM
Meguiar's Microfiber Wash Mitt
Swissvax Brush for Plastic Surfaces / Gas Tank
Clay:
Meguiar's OTC Clay
Meguiar's Last Touch
Paint Correction:
Flex 3401 VRG
Meguiar's G100 / 3.5" and 5" LC Backing Plates
Meguiar's M105 / LC Orange Pads
Meguiar's M205 / LC White Pads
Craftsman 500W Halogen Lights
LSP:
Menzerna Powerlock / LC Blue Pad (left 12 hours to cure)
Autoglym HD Wax
Interior:
Meguiar's Quik Interior Detailer
Meguiar's APC+
Exhaust:
Meguiar's NXT Metal Polish
This car was brought to me for swirl removal. Upon inspection, there weren't a lot of swirl marks so I thought I would have an easy task at hand. I was really excited to do this detail because the Infiniti G coupes are sexy as hell. The drive and sound amazing especially when the transmission is a 6MT. This car is a beast and it sounds amazing! Now onto the pictures...
Wash:
All of the gunk came from brushing the wheel well.
This is from claying 1/2 of the trunk. The paint was pretty contaminated with embedded dirt.
All taped up and ready to go:
After claying the car, I performed an IPA wipe down to see the true condition of the paint. I was shocked to see the amount of swirls the paint had!!! It didn't have that much swirls when I first inspected the car. The dealer did a really good job on hiding the swirls the car had.
Before:
The above 2 pictures are the swirls in the hood. The hood was in much better shape than the rest of the car as seen below: Sorry the swirl pictures didn't come out as I hoped. It was very hard to capture the swirls given the car's color.
I think the picture above was ridiculous! It looked like the car originally had fuel stains below the gas filler door and someone tried to sand it down without even polishing it! I was shocked to say the least.
Because of the paint's condition, I decided to go ahead and use a 2 step detail right off the bat. I used both Meg's M105 and M205 throughout my paint correction phase. Here are some 50/50 shots:
Passenger Side Door:
Passenger Rear Fender:
Fuel Filler Door:
Before
After
Driver Rear Fender
Driver Side Door:
Trunk:
Hood (Bird Poop Etching)
The paint's reflectivity and depth dramatically changed after the polishing stage. The paint already looked amazing at this stage.