Marc08EX
New member
Wheels/Tires:
Sonax Full Effect Wheel Cleaner and Meguiar's Deep Crystal on wheels
Meguiar's APC on tires
Meguiar's Hyper Dressing on tires
Wash:
CG Citrus Wash and Gloss via 2BM
Meguiar's Microfiber Wash Mitt
Clay:
Meguiar's OTC Clay
Meguiar's Last Touch
Paint Correction:
Meguiar's G100 / 3.5" and 5" LC Backing Plates
Meguiar's M105 / LC HT Tangerine Pads
Optimum Poli-seal / LC White Pads
Craftsman 500W Halogen Lights
LSP:
DP Poli-coat / LC Black Pad
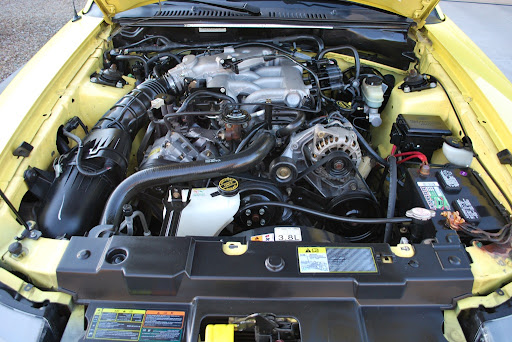
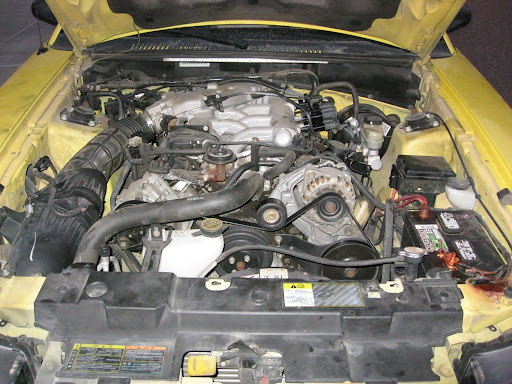
Engine:
Meguiar's Super Degreaser
Meguiar's APC
Meguiar's Hyper Dressing
Various Brushes
Trim:
Meguiar's Ultimate Protectant
Interior:
Meguiar's Quik Interior Detailer
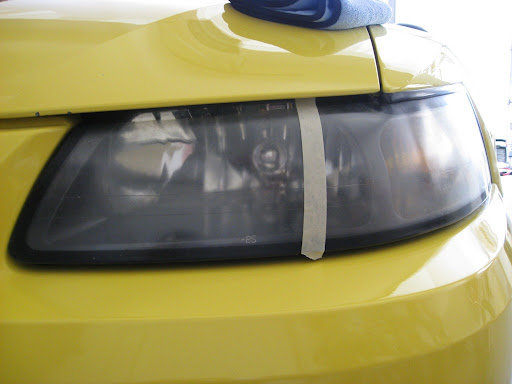
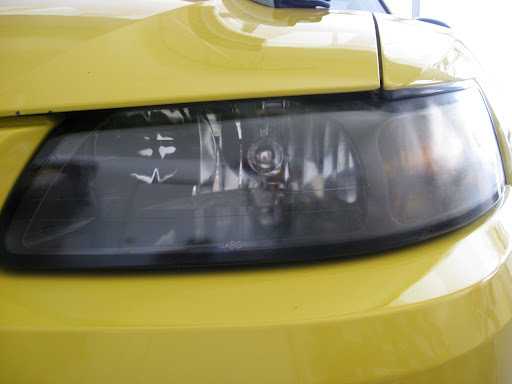
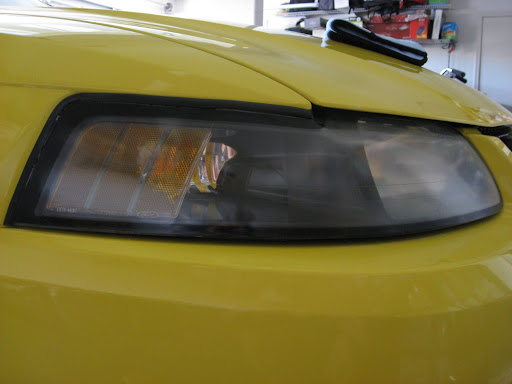
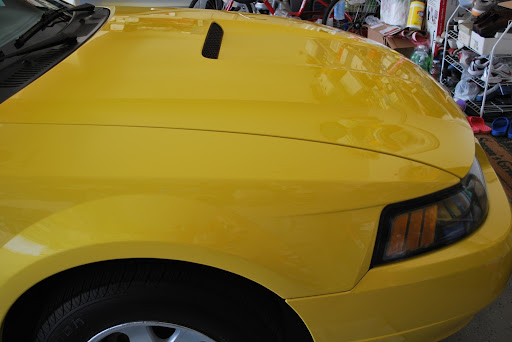
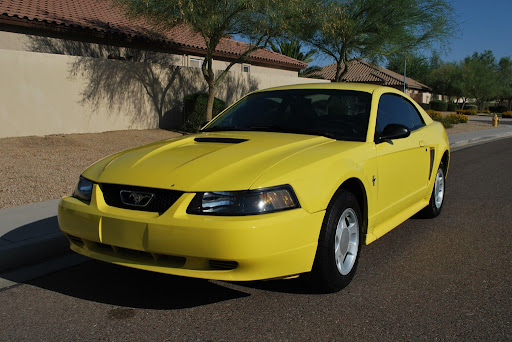
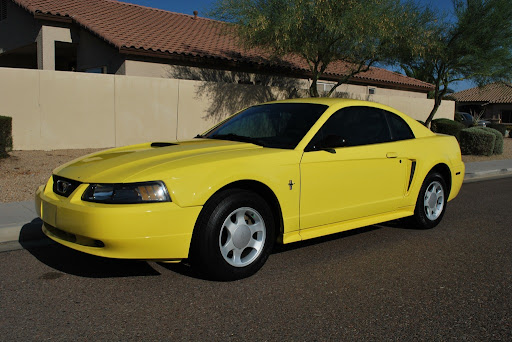
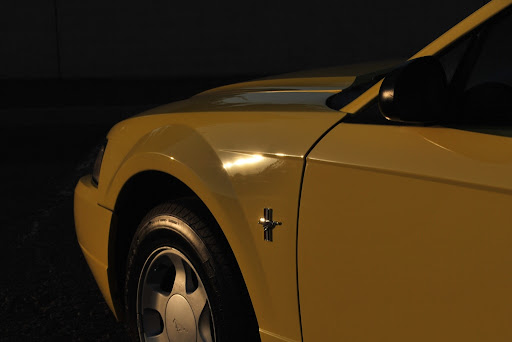
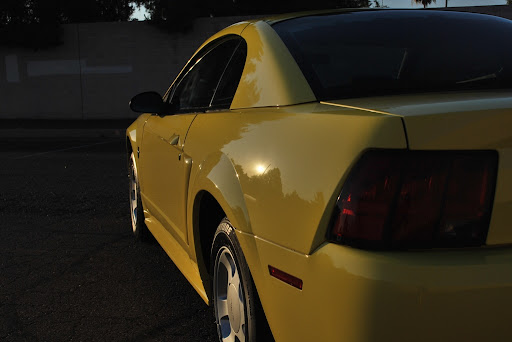
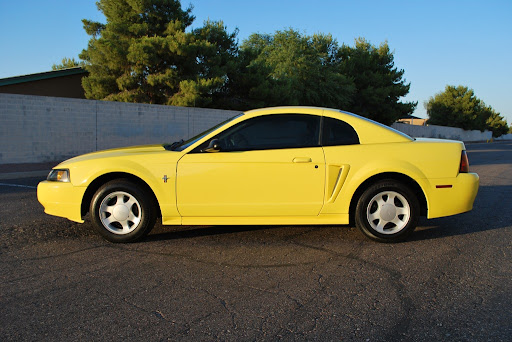
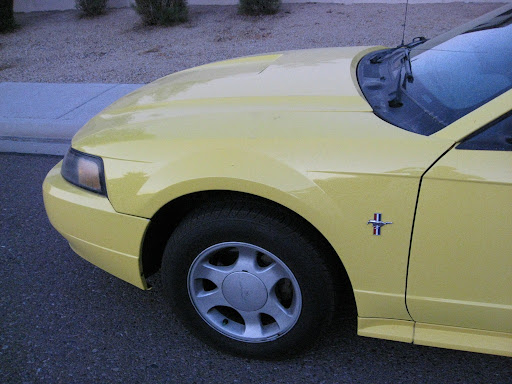
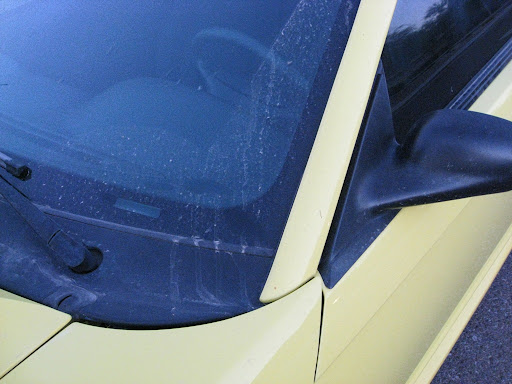
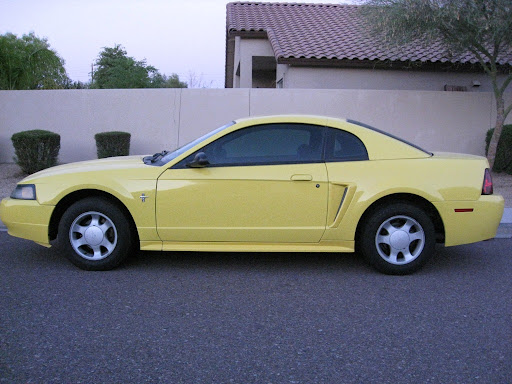
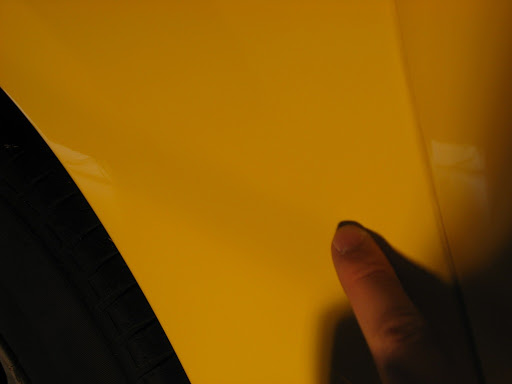
The owner of this car wanted to to have the car detailed in preparation of selling it. The owner said that the car had been sitting outside for who knows how long and it definitely shows. The paint has been severely oxidized and stained from sitting outside the hot Arizona sun. It had a lot of water spots and scuff marks as well. The paint was like faded yellow and the reflections were dull and lifeless. Needless to say, the car has seen better days.
Here are some before shots of the car:
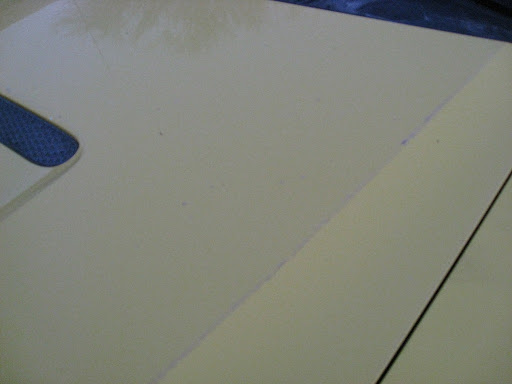


I'm sorry as I don't have any pictures during the wash process. I washed the car at night to get away from the Arizona heat. However, here are some pictures of the claying process:
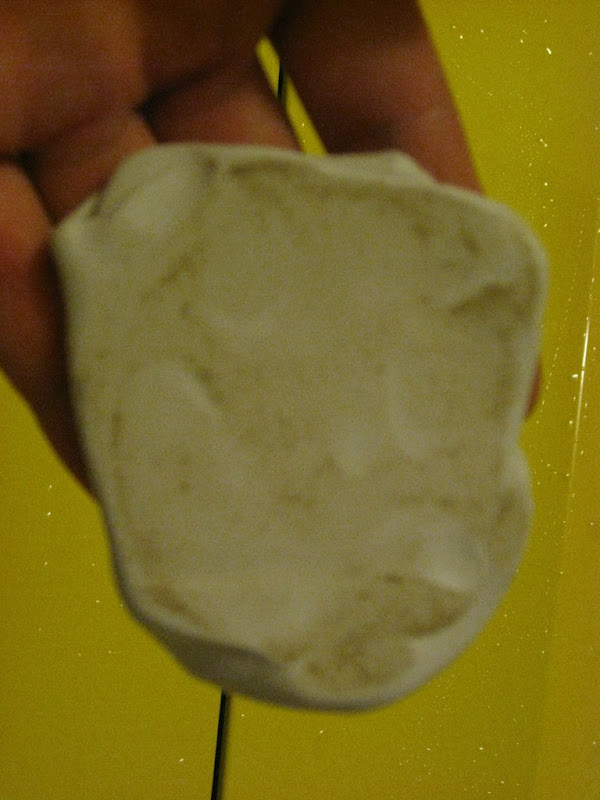
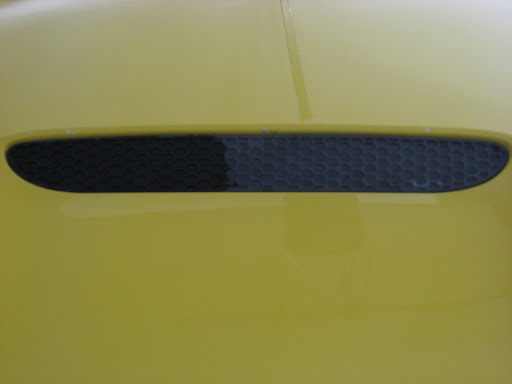
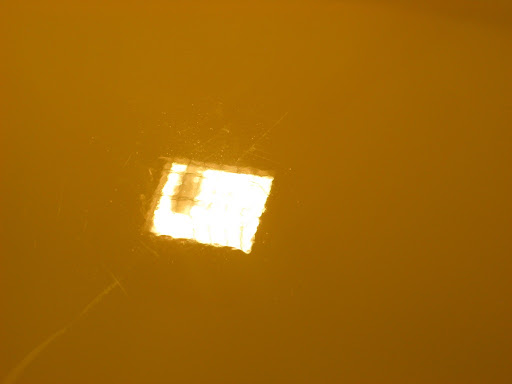
After 1/4 of the hood
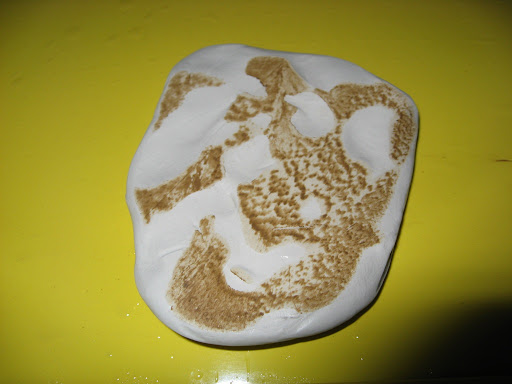
After 1/4 of the roof
The paint was indeed very contaminated especially with the horizontal surfaces. I threw away my clay bar after using it with this car. It pretty much trashed my clay.
The owner of this car opted for the 1 step AIO polish package. This has been the first customer who picked this package and I was planning to use Optimum Poli-seal with some LC White Polishing pads. I tried using it but boy it barely made a dent... The oxidation, water spots and scuff marks were etched in the paint pretty deep. I can do some improvement but it required multiple passes. Being the OCD me, I stepped it up even if the owner will be paying for the 1 step AIO package. I just wanted to make a difference where the owner will leave impressed. I chose to do a hybrid where in I'll be using M105 with some LC HT tangerine pads followed by Optimum Poli-seal with some LC white polishing pads on the top 3/4 of the car. I pretty much used the Optimum Poli-seal with the LC white polishing pads on the rocker panels and the lower parts of the bumpers. That's right, M105 to the rescue!!! :woot2
Here are some polishing process pictures:
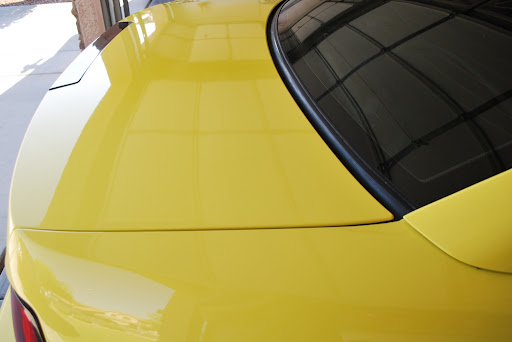
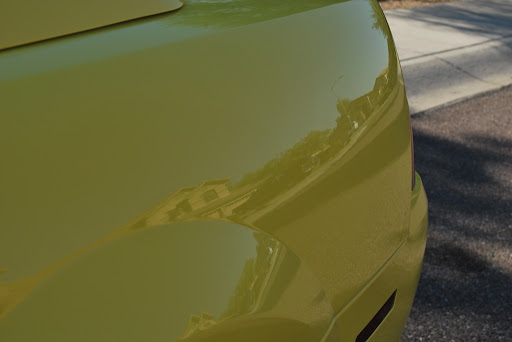
50/50 shot of the trunk
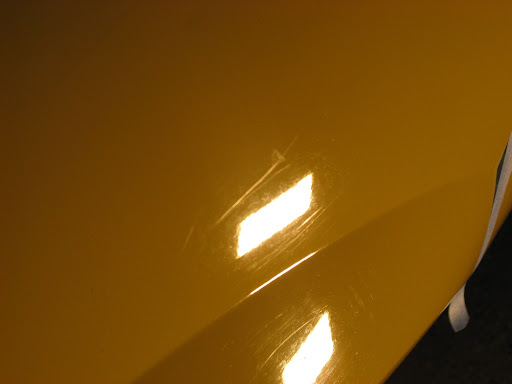
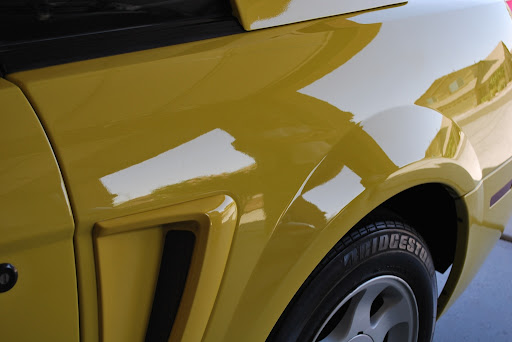
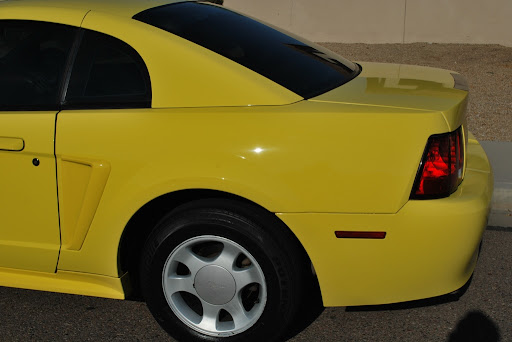
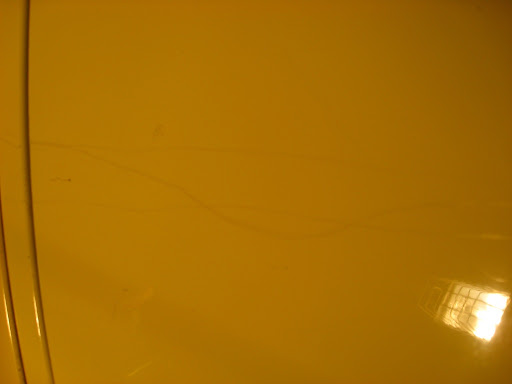
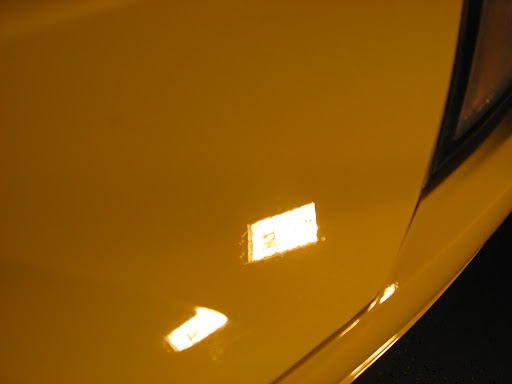
Rear Passenger Quarter Before: Scratches and Water Spots

Rear Passenger Quarter After: GONE!
Another Rear Passenger Quarter 50/50 Shot

Rear Passenger Quarter 2 Before: Scratches

Rear Passenger Quarter 2 After: GONE!
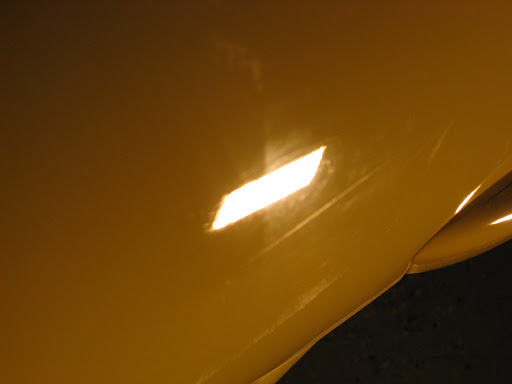
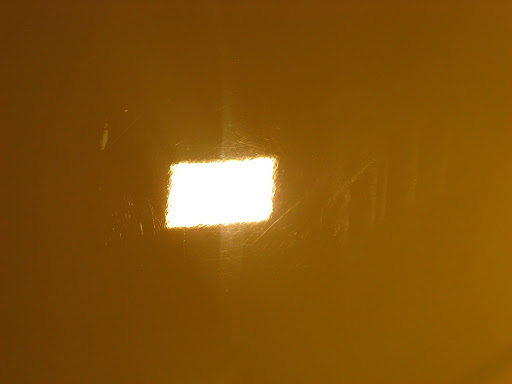
Rear Passenger Quarter 3 Before: Nasty Scuff Marks
Rear Passenger Quarter 3 After: GONE!
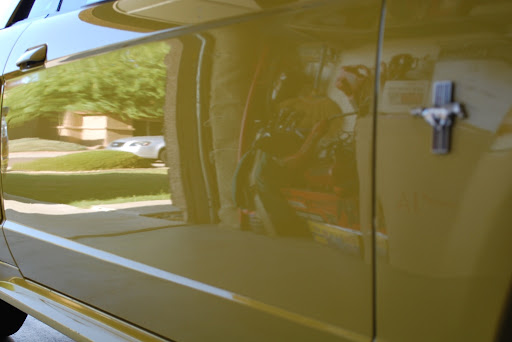
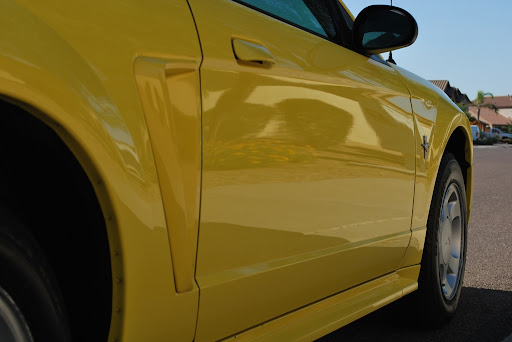
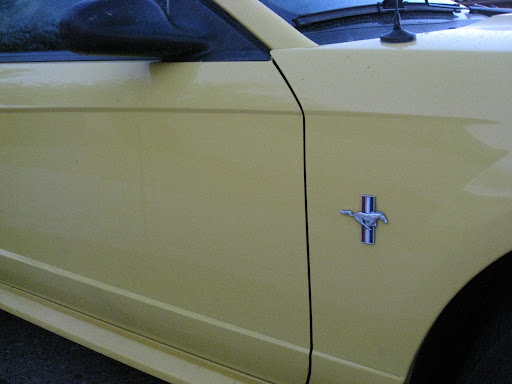
Passenger Side Door Before: Nasty Scuff Marks

Passenger Side Door After: GONE!
Passenger Side Door 50/50
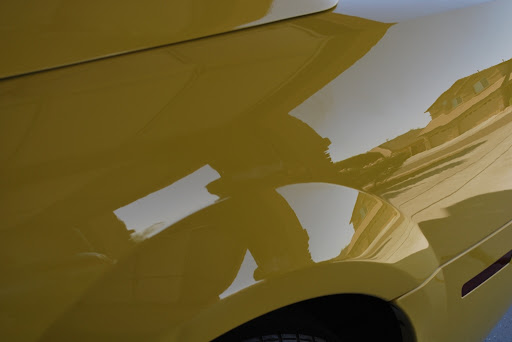
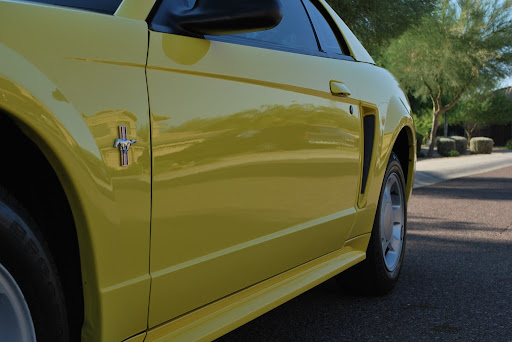
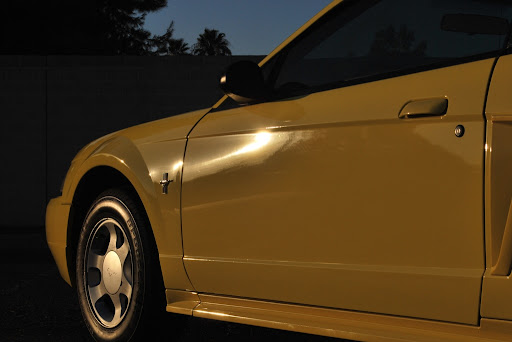
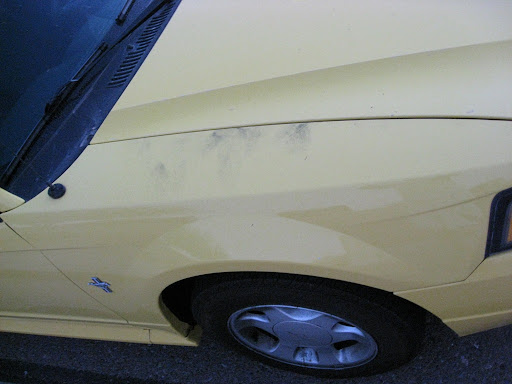
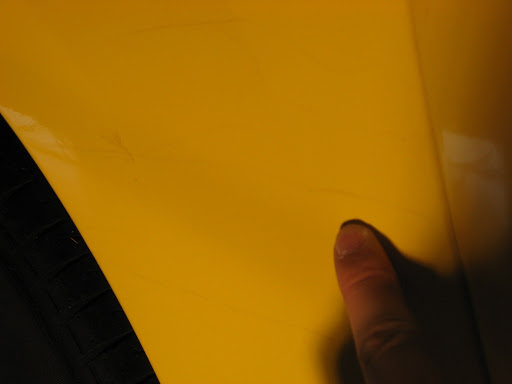
Passenger Side Front Fender Before: Swirls and Scratches
Passenger Side Front Fender After: Clarity Restored

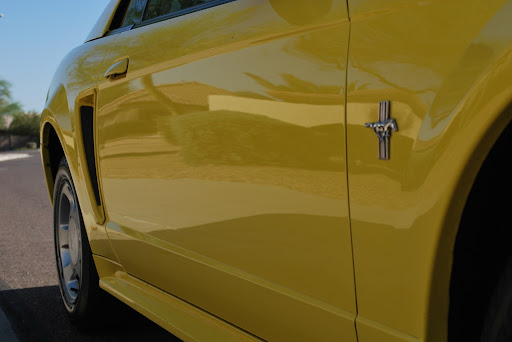
Passenger Side Front Fender 2 Before: Some weird stains and water spots
Passenger Side Front Fender 2 After: Clarity Restored
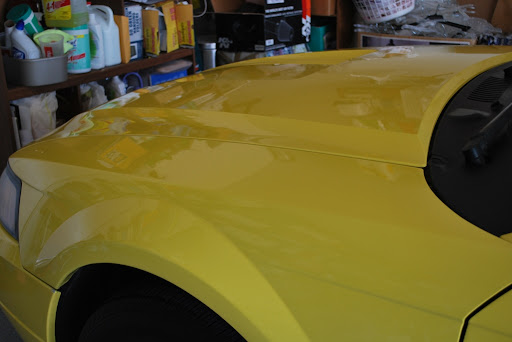
50/50 Shot on the hood

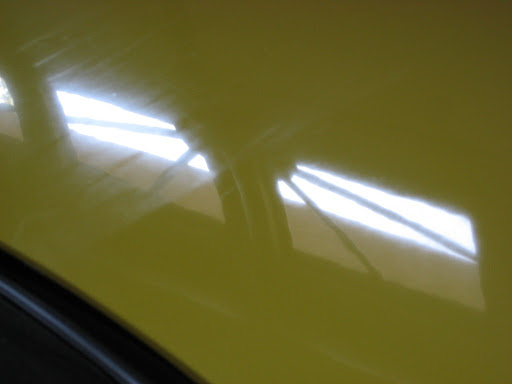
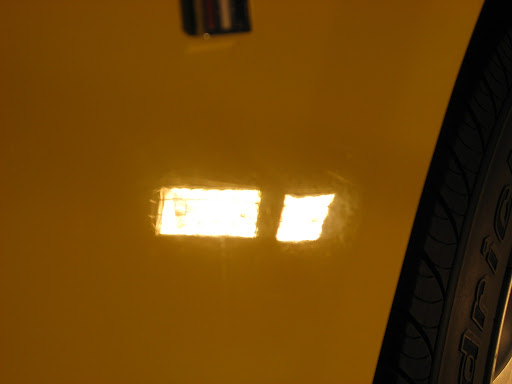
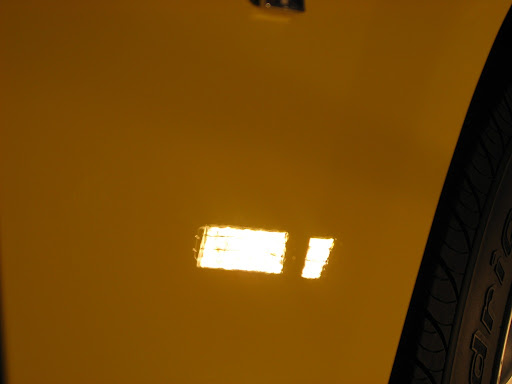
50/50 Shot on the Driver Side Rear Quarter Panel. You can see the water spots on the right half of the picture which distorts and dulls out the reflection. Polishing the paint restored the clarity and gloss of the paint.
Sonax Full Effect Wheel Cleaner and Meguiar's Deep Crystal on wheels
Meguiar's APC on tires
Meguiar's Hyper Dressing on tires
Wash:
CG Citrus Wash and Gloss via 2BM
Meguiar's Microfiber Wash Mitt
Clay:
Meguiar's OTC Clay
Meguiar's Last Touch
Paint Correction:
Meguiar's G100 / 3.5" and 5" LC Backing Plates
Meguiar's M105 / LC HT Tangerine Pads
Optimum Poli-seal / LC White Pads
Craftsman 500W Halogen Lights
LSP:
DP Poli-coat / LC Black Pad
Engine:
Meguiar's Super Degreaser
Meguiar's APC
Meguiar's Hyper Dressing
Various Brushes
Trim:
Meguiar's Ultimate Protectant
Interior:
Meguiar's Quik Interior Detailer
The owner of this car wanted to to have the car detailed in preparation of selling it. The owner said that the car had been sitting outside for who knows how long and it definitely shows. The paint has been severely oxidized and stained from sitting outside the hot Arizona sun. It had a lot of water spots and scuff marks as well. The paint was like faded yellow and the reflections were dull and lifeless. Needless to say, the car has seen better days.
Here are some before shots of the car:
I'm sorry as I don't have any pictures during the wash process. I washed the car at night to get away from the Arizona heat. However, here are some pictures of the claying process:
After 1/4 of the hood
After 1/4 of the roof
The paint was indeed very contaminated especially with the horizontal surfaces. I threw away my clay bar after using it with this car. It pretty much trashed my clay.
The owner of this car opted for the 1 step AIO polish package. This has been the first customer who picked this package and I was planning to use Optimum Poli-seal with some LC White Polishing pads. I tried using it but boy it barely made a dent... The oxidation, water spots and scuff marks were etched in the paint pretty deep. I can do some improvement but it required multiple passes. Being the OCD me, I stepped it up even if the owner will be paying for the 1 step AIO package. I just wanted to make a difference where the owner will leave impressed. I chose to do a hybrid where in I'll be using M105 with some LC HT tangerine pads followed by Optimum Poli-seal with some LC white polishing pads on the top 3/4 of the car. I pretty much used the Optimum Poli-seal with the LC white polishing pads on the rocker panels and the lower parts of the bumpers. That's right, M105 to the rescue!!! :woot2
Here are some polishing process pictures:
50/50 shot of the trunk
Rear Passenger Quarter Before: Scratches and Water Spots
Rear Passenger Quarter After: GONE!
Another Rear Passenger Quarter 50/50 Shot
Rear Passenger Quarter 2 Before: Scratches
Rear Passenger Quarter 2 After: GONE!
Rear Passenger Quarter 3 Before: Nasty Scuff Marks
Rear Passenger Quarter 3 After: GONE!
Passenger Side Door Before: Nasty Scuff Marks
Passenger Side Door After: GONE!
Passenger Side Door 50/50
Passenger Side Front Fender Before: Swirls and Scratches
Passenger Side Front Fender After: Clarity Restored
Passenger Side Front Fender 2 Before: Some weird stains and water spots
Passenger Side Front Fender 2 After: Clarity Restored
50/50 Shot on the hood
50/50 Shot on the Driver Side Rear Quarter Panel. You can see the water spots on the right half of the picture which distorts and dulls out the reflection. Polishing the paint restored the clarity and gloss of the paint.