Marc08EX
New member
Wheels/Tires:
Meguiar's Multi-piece Wheel Cleaner and Cleaner Wax on wheels
Meguiar's APC on tires
Meguiar's Hyper Dressing on tires
Swissvax Wheel Brush
Wash:
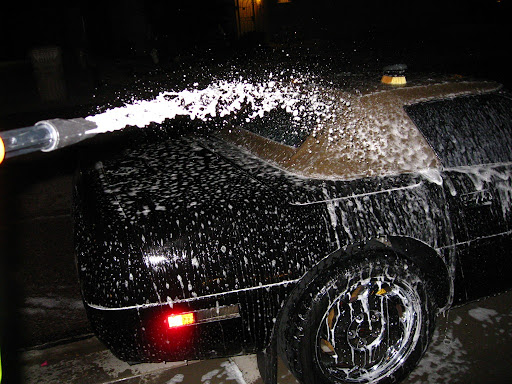
Gilmour Foam Gun
Chemical Guys Citrus Wash and Gloss via Foam Gun and 2BM
Meguiar's Microfiber Wash Mitt
Meguiar's Interior Brush for the convertible top
Clay:
Meguiar's OTC Clay
Meguiar's Last Touch
Paint Correction:
Flex 3401 VRG
Meguiar's G100 / 3.5" and 5" LC Backing Plates
Meguiar's M105 / LC Orange Pads / Meg's Polishing Pads
Meguiar's M205 / LC White Pads
Craftsman 500W Halogen Lights
LSP:
Menzerna Powerlock / LC Blue Pad (left 12 hours to cure)
Autoglym HD Wax
Interior:
Meguiar's Quik Interior Detailer
Meguiar's APC+
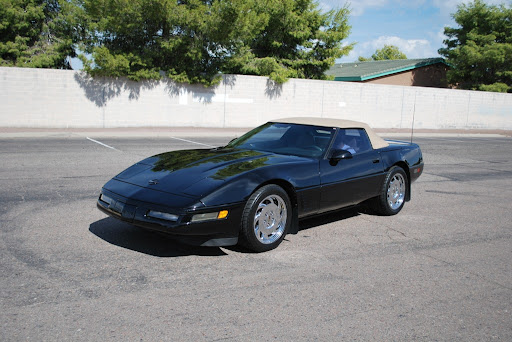
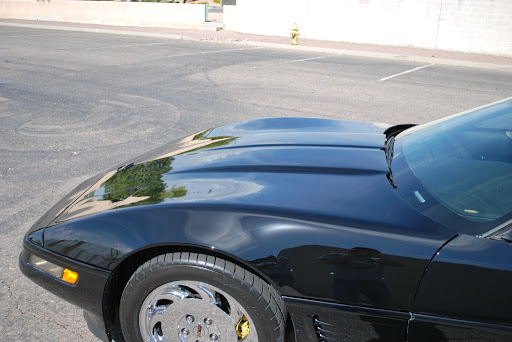
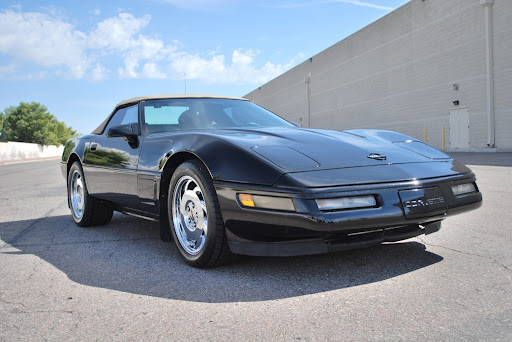
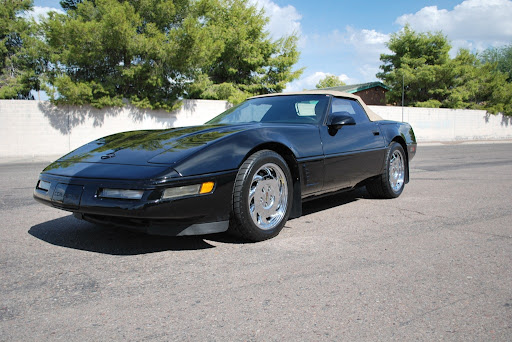
This car was brought in to have the multi-step detail process. The owner basically wanted the paint to look its best. I was excited to get my hands on this car because it's a CORVETTE!!! In addition, the paint color's black so the difference will be noticable.
The car came in worse shape than originally anticipated. It's ok since it's a chance for me to showcase my detailing skills. This car presented 2 challenges. First, the car had different paint jobs throughout the car therefore different techniques were used to attack each section. Second, the car originally had a leather bra in the front bumper and as a result of this, it scuffed up the bumper pretty bad. I will let the pictures do the talking.")
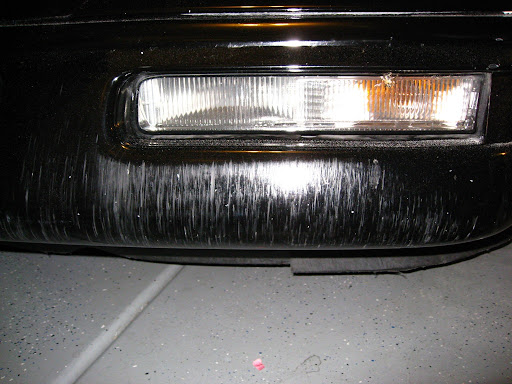
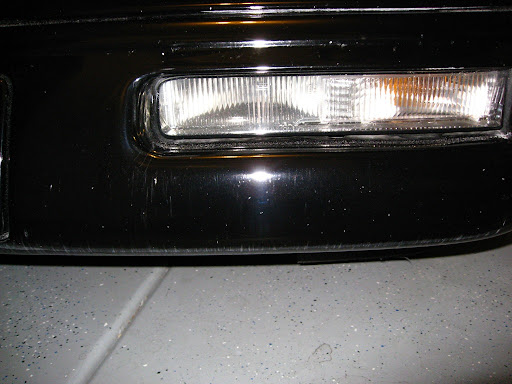
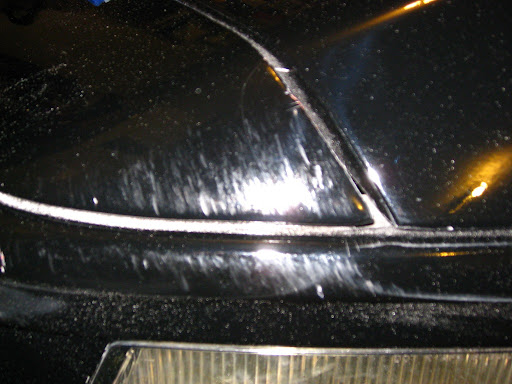
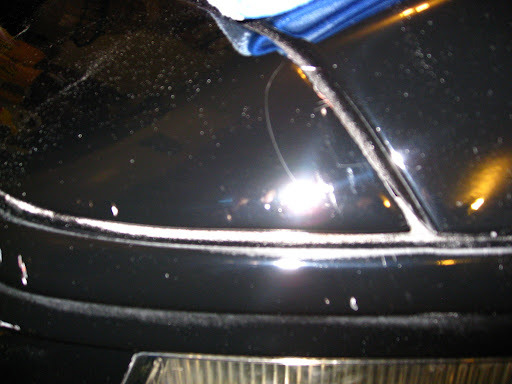
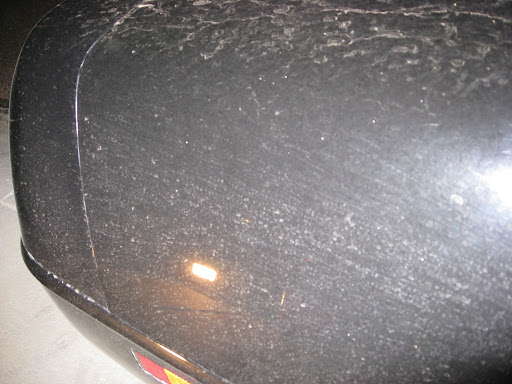
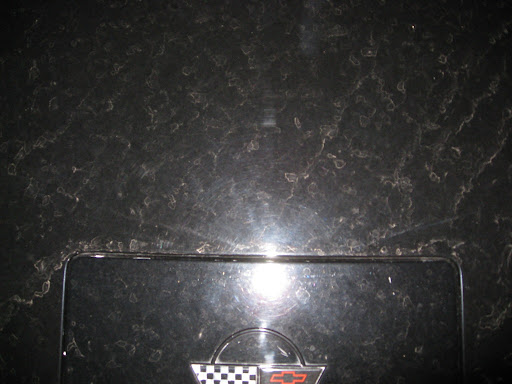
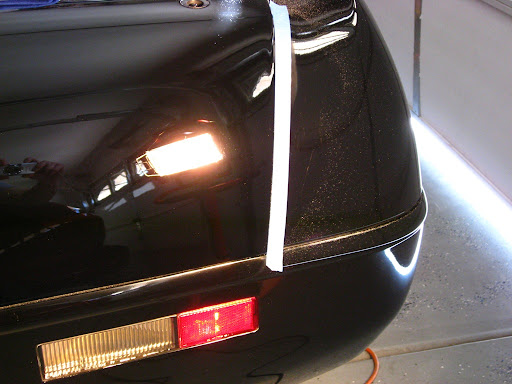
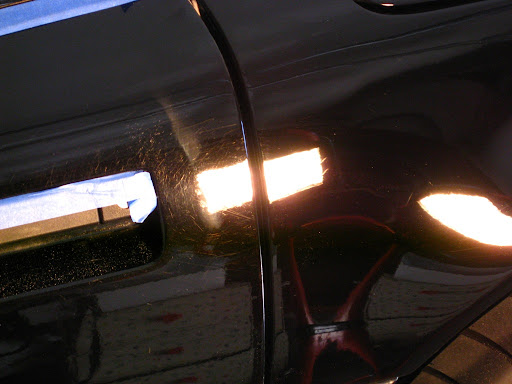
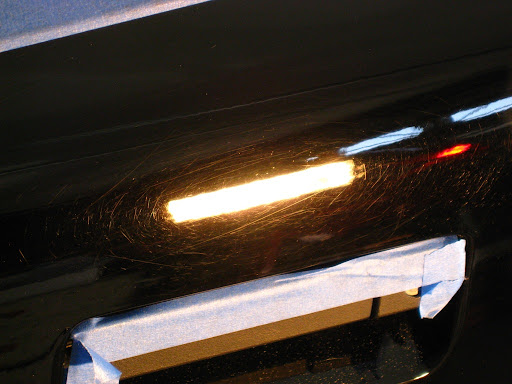
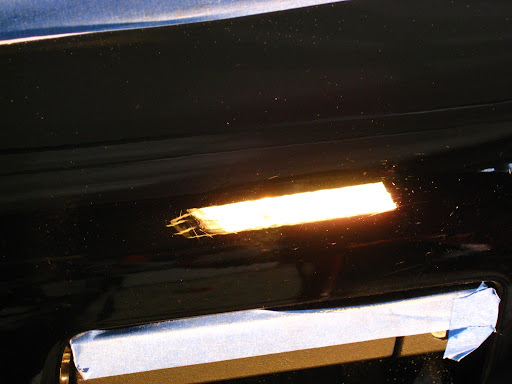
Before:
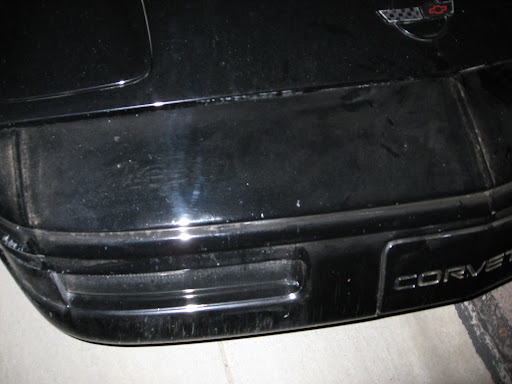
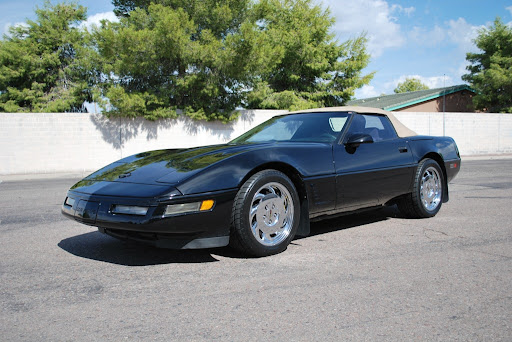
As you can see, the leather bra left the paint looking bad. You can see the scuff marks underneath the turn/park lights. Also, the brand of the leather bra indented itself to the paint through the accumulated dirt in between the bra and bumper.

Wash:
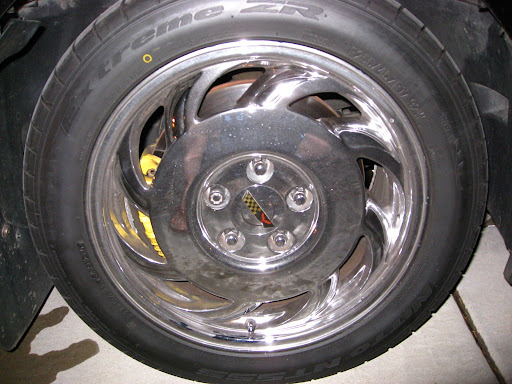
Dirty Wheels
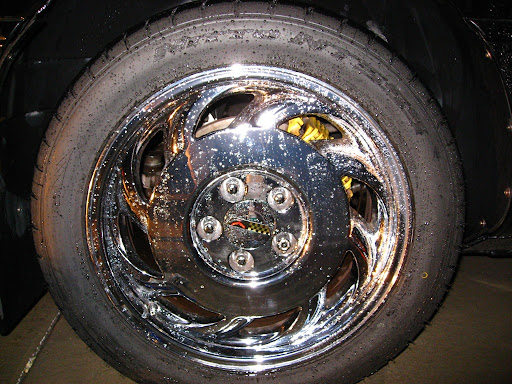
Clean Wheels
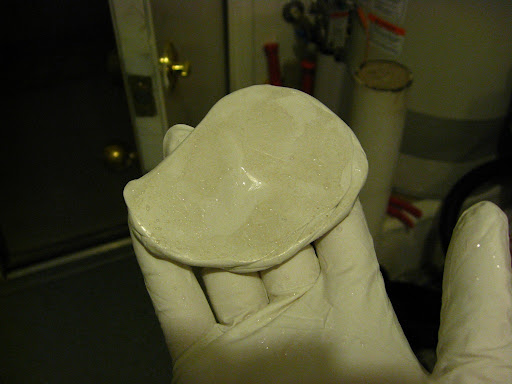
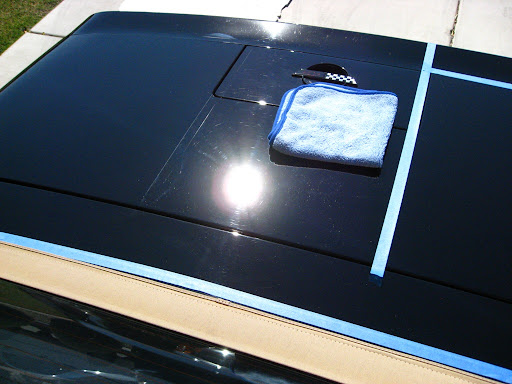
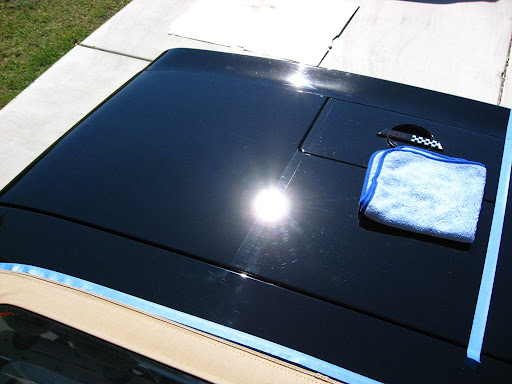
This is from claying 1/4 of the hood. The paint wasn't as contaminated. The rear section was the worst part.
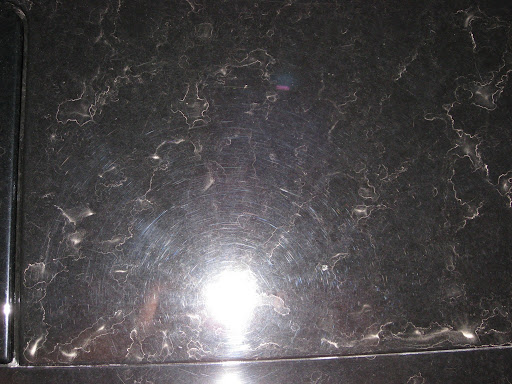
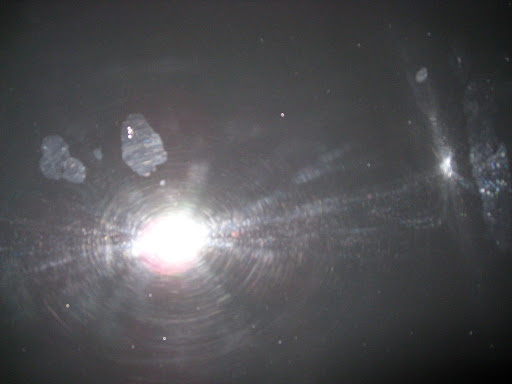
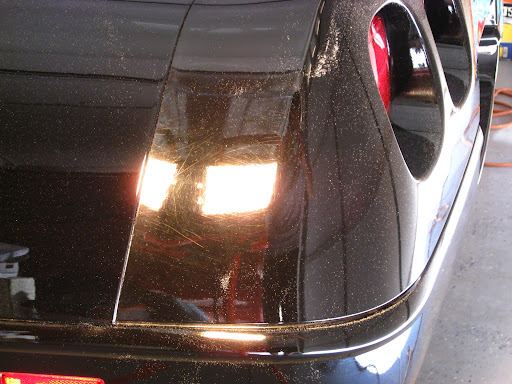
After claying the car, I performed an IPA wipe down to see the true condition of the paint. The paint had a ton of swirls...
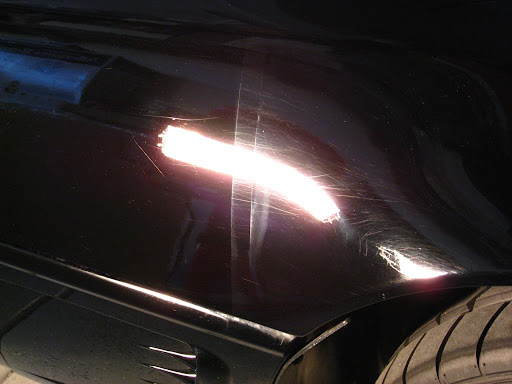
Before:
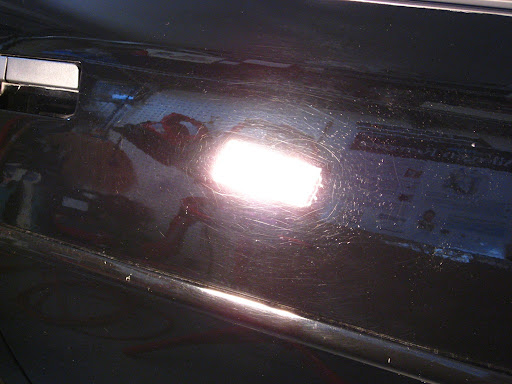
Passenger Side Door
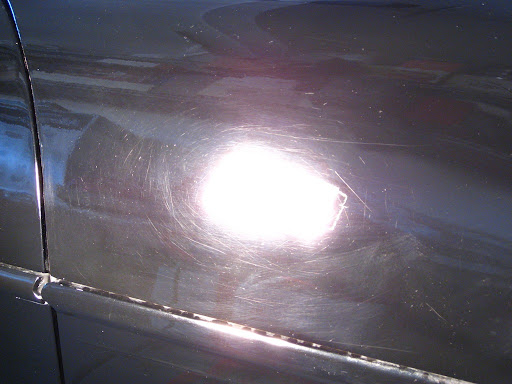
Passenger Side Front Fender
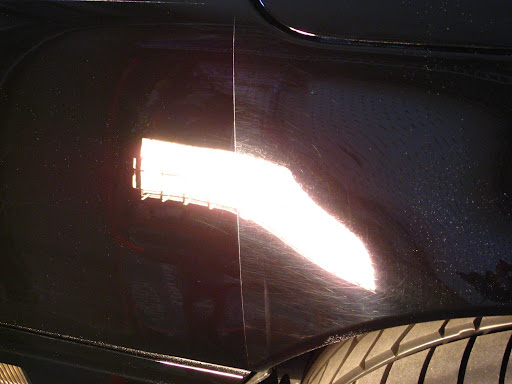
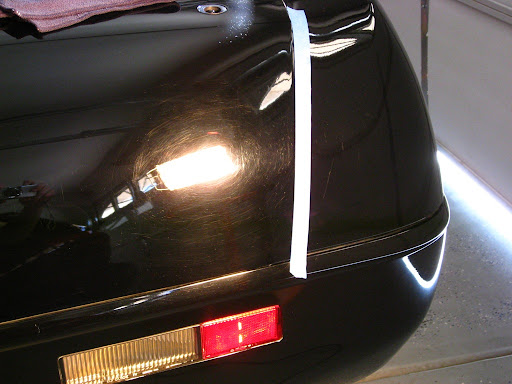
I always start with the least aggressive method to get the job done. The car being more than 10 years old, I wanted to be as fragile as possible. This was the result after hitting a panel with M205.
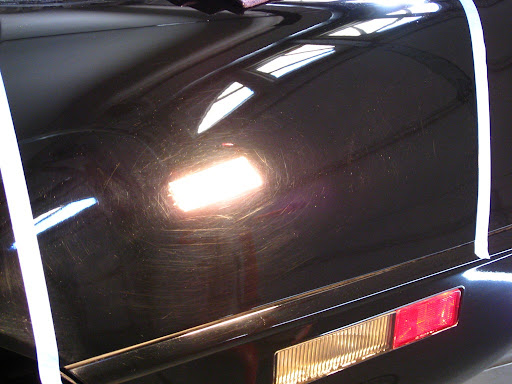
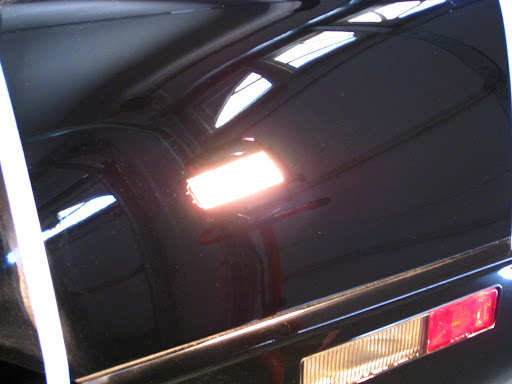
This method was still leaving some swirl marks behind. I wasn't happy with the results because I promised the customer a "swirl-free show car finish". I stepped it up to the M105 and finishing it up with M205 after. Here are some 50/50s.
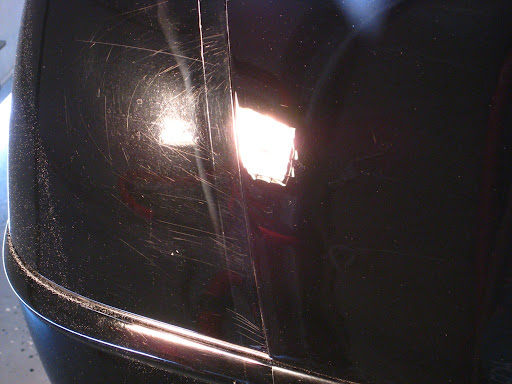
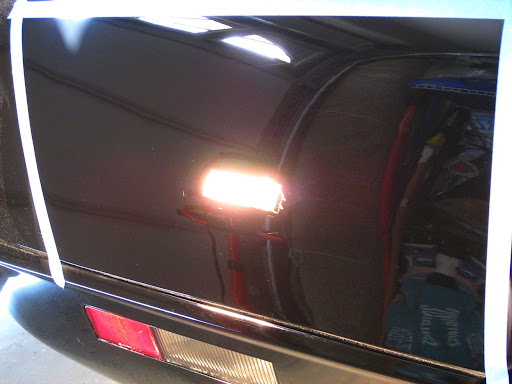
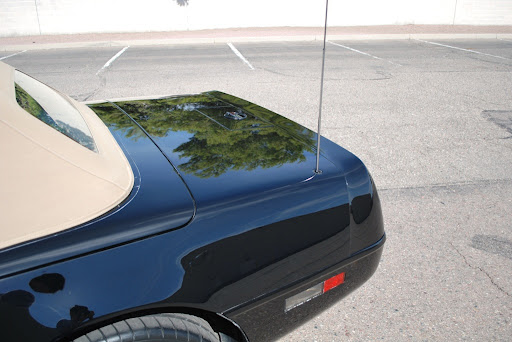
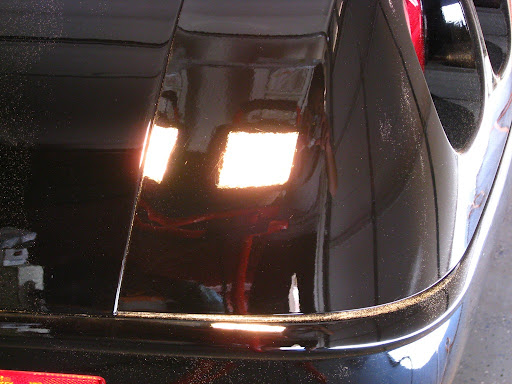
Above is the passenger side rear quarter panel after finishing it with the M105/M205 combo. The paint's reflection and depth were amazing. Not to mention it being swirl free. There were still a ton of RIDS that are too deep for me to remove.
Driver Side Rear Quarter Panel:
Before
After
Before
After
Driver Side Door:
Trunk:
Those 2 RIDS were pissing me off...
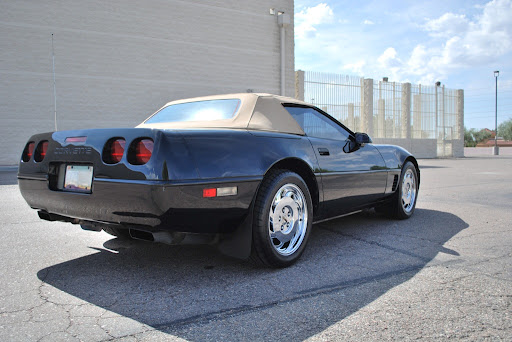
Rear Bumper:
Meguiar's Multi-piece Wheel Cleaner and Cleaner Wax on wheels
Meguiar's APC on tires
Meguiar's Hyper Dressing on tires
Swissvax Wheel Brush
Wash:
Gilmour Foam Gun
Chemical Guys Citrus Wash and Gloss via Foam Gun and 2BM
Meguiar's Microfiber Wash Mitt
Meguiar's Interior Brush for the convertible top
Clay:
Meguiar's OTC Clay
Meguiar's Last Touch
Paint Correction:
Flex 3401 VRG
Meguiar's G100 / 3.5" and 5" LC Backing Plates
Meguiar's M105 / LC Orange Pads / Meg's Polishing Pads
Meguiar's M205 / LC White Pads
Craftsman 500W Halogen Lights
LSP:
Menzerna Powerlock / LC Blue Pad (left 12 hours to cure)
Autoglym HD Wax
Interior:
Meguiar's Quik Interior Detailer
Meguiar's APC+
This car was brought in to have the multi-step detail process. The owner basically wanted the paint to look its best. I was excited to get my hands on this car because it's a CORVETTE!!! In addition, the paint color's black so the difference will be noticable.
The car came in worse shape than originally anticipated. It's ok since it's a chance for me to showcase my detailing skills. This car presented 2 challenges. First, the car had different paint jobs throughout the car therefore different techniques were used to attack each section. Second, the car originally had a leather bra in the front bumper and as a result of this, it scuffed up the bumper pretty bad. I will let the pictures do the talking.
Before:
As you can see, the leather bra left the paint looking bad. You can see the scuff marks underneath the turn/park lights. Also, the brand of the leather bra indented itself to the paint through the accumulated dirt in between the bra and bumper.
Wash:
Dirty Wheels
Clean Wheels
This is from claying 1/4 of the hood. The paint wasn't as contaminated. The rear section was the worst part.
After claying the car, I performed an IPA wipe down to see the true condition of the paint. The paint had a ton of swirls...
Before:
Passenger Side Door
Passenger Side Front Fender
I always start with the least aggressive method to get the job done. The car being more than 10 years old, I wanted to be as fragile as possible. This was the result after hitting a panel with M205.
This method was still leaving some swirl marks behind. I wasn't happy with the results because I promised the customer a "swirl-free show car finish". I stepped it up to the M105 and finishing it up with M205 after. Here are some 50/50s.
Above is the passenger side rear quarter panel after finishing it with the M105/M205 combo. The paint's reflection and depth were amazing. Not to mention it being swirl free. There were still a ton of RIDS that are too deep for me to remove.
Driver Side Rear Quarter Panel:
Before
After
Before
After
Driver Side Door:
Trunk:
Those 2 RIDS were pissing me off...
Rear Bumper: