DefiningDetails
New member
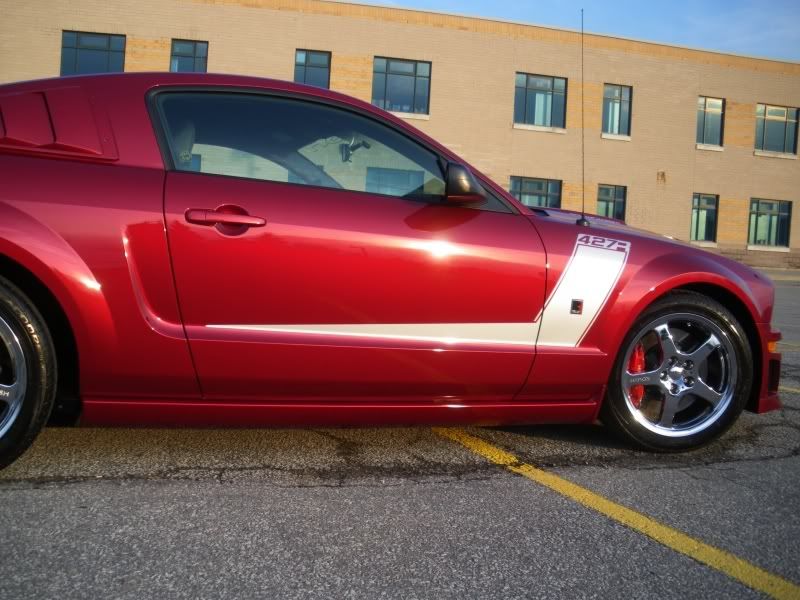
2007 Roush 427R
Background: My clients 427R is a well kept car, and it shows; at first glance, the car is mint! But upon closer inspection (and under the scrutiny of 1000w of Halogen and LED) we found a different story... This QUICKLY developed from a maintenance detail into a full 2 and 3 step correction :hifive:
Products used:
Dawn dishsoap wash
Optimum No Rinse wash
Optimum Polish II
Meguiars M105
Optimum Finishing Polish
Obsessive Detail Glaze
Obsessive Detail Wet Wax
Meguiars Gel Tire Dressing
Obsessive Detail silk shine interior dressing
Equipment Used:
PC 7424 D/A Polisher
Lake Country Orange and white pads
1000w Halogens
LED light
Wet/Dry shopvac
Obsessive Details MF product applicators
Obsessive Details MF towels – assorted
Process:
With the client keeping his car in top notch condition all the time, not much prep was needed. The car is a weekend cruiser and is garage kept. The paint was clayed in the fall last year just before it was put away for the winter, and the paint was still very smooth so we got to skip that step")
Car was washed down using Dawn dishsoap to strip all the wax currently on the car. The car was then sprayed down with Isopropyl Alcohol and water to remove any last bit of protection, in case the Dawn didn't get everything... Once we had a fresh canvas, it was time to get to work.
Started the polish process with Optimum Polish II on an orange pad, however the ford clear is pretty hard and it was not removing the defects to my liking. I stepped it up to the Meguiars M105 w/ White pad and we had success! The first stage of polishing was completed with M105 w/ white pad for defect removal, followed by a 2nd stage of Optimum Finishing Polish, used to remove the marring left by the more aggressive M105. The rear bumper required compounding using M105 + orange cutting pad to get the correction I was looking for (see pics below). It was then followed up with M105+white pad and Optimum Finishing Polish.
Once the polishing stages were complete, the car was pulled outside and given a final wash with Optimum No Rinse. The car was then dried using MF waffle weave towels, and crevices blown out with a blower.
The car was then rolled back inside, and received a layer of Obsessive Detail Wet Glaze, followed by a layer of Obsessive Detail Wet Wax. Interior was vacuumed, all dash / console dressed with Obsessive Detail Silk Shine, and gel dressing applied to the wheels. Then off we went to the local schoolyard for photos in the setting sun.
All in all, a rewarding days work Now onto what matters... THE PHOTOS
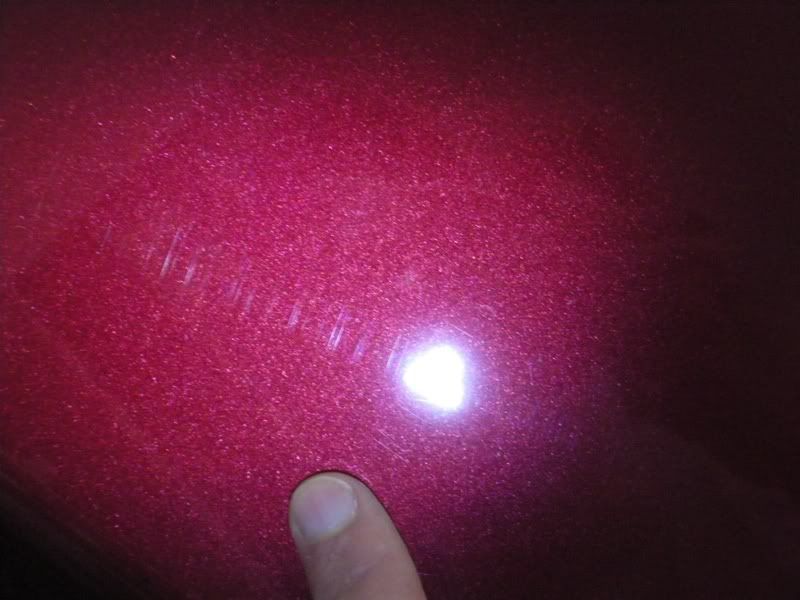
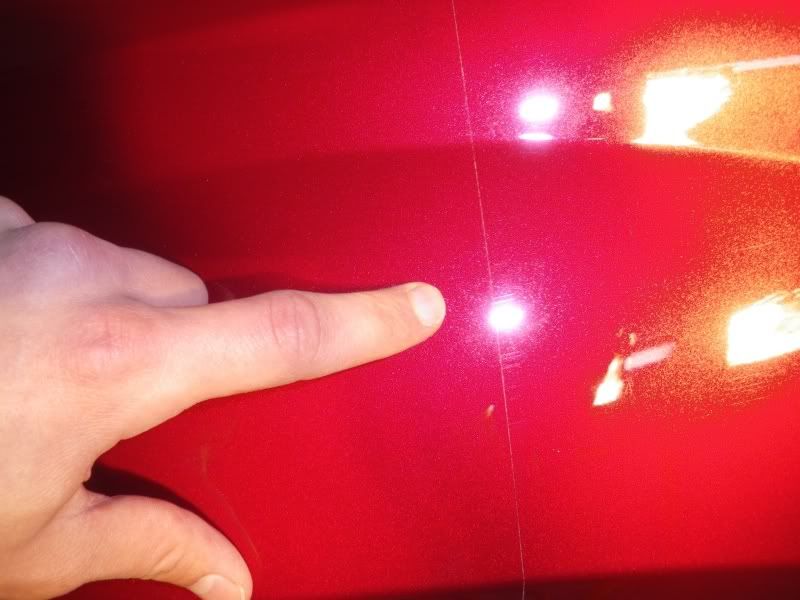
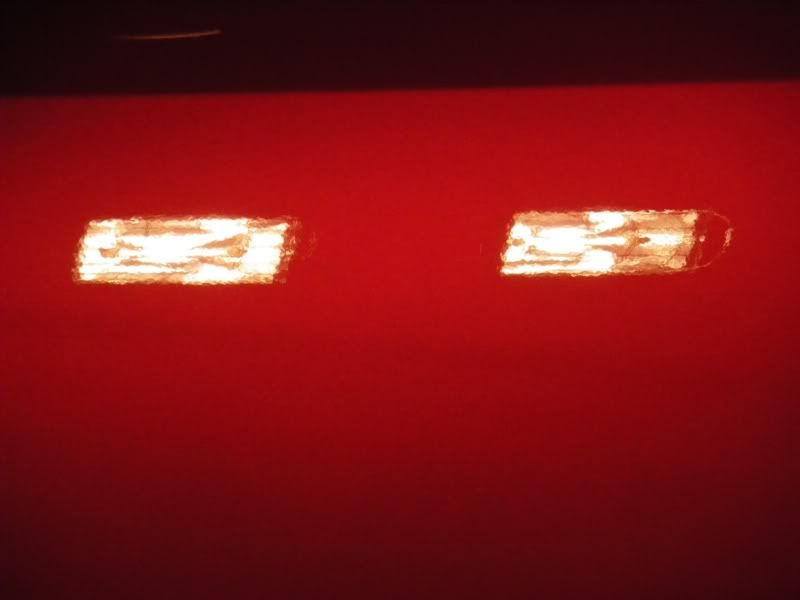
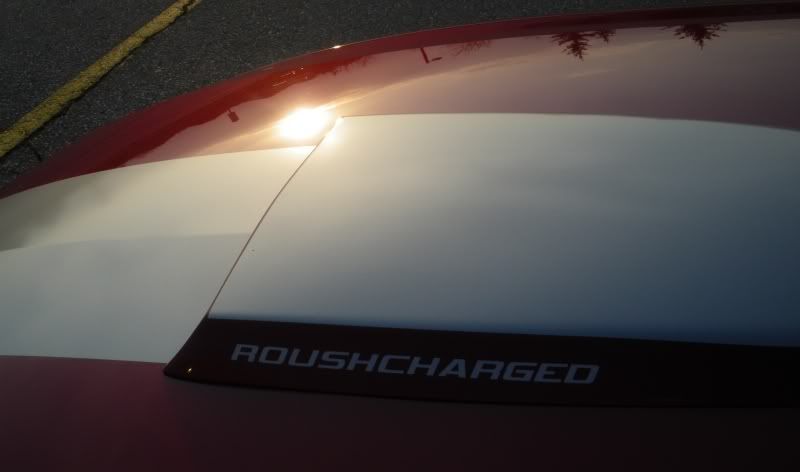
Hood Before:

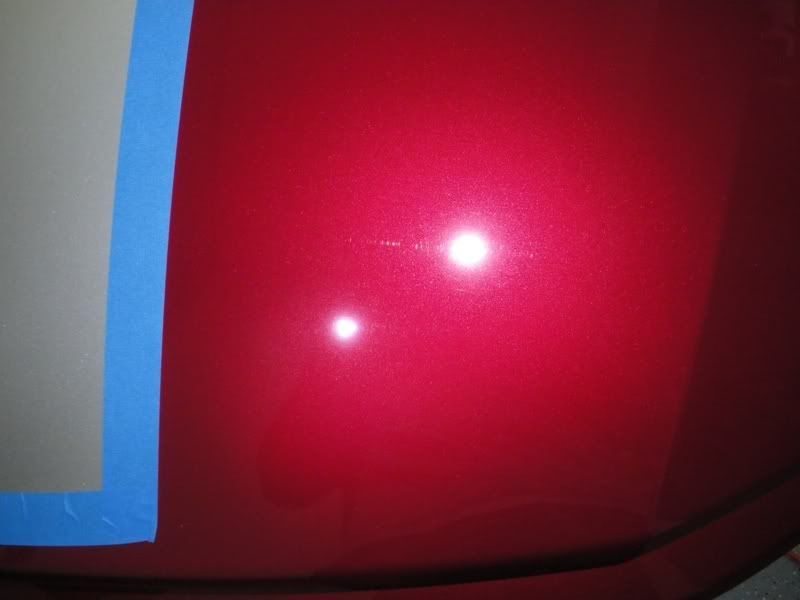
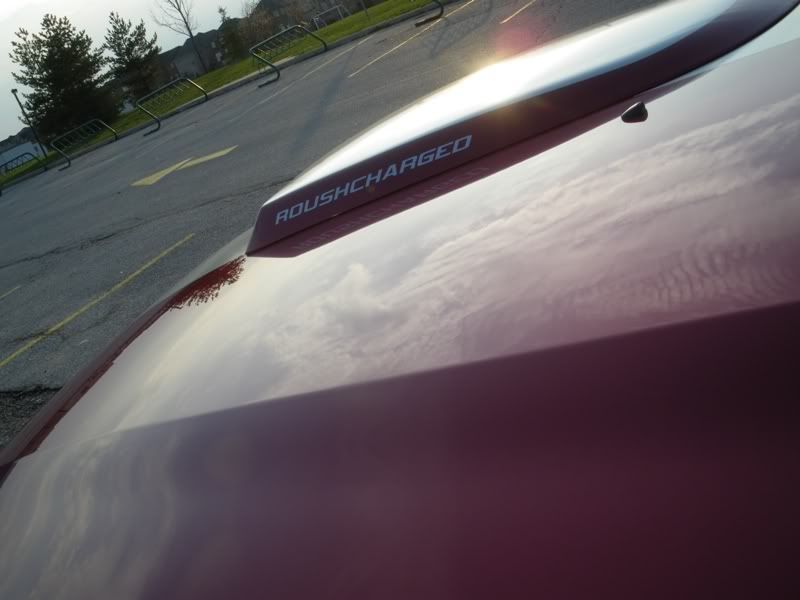
Hood After

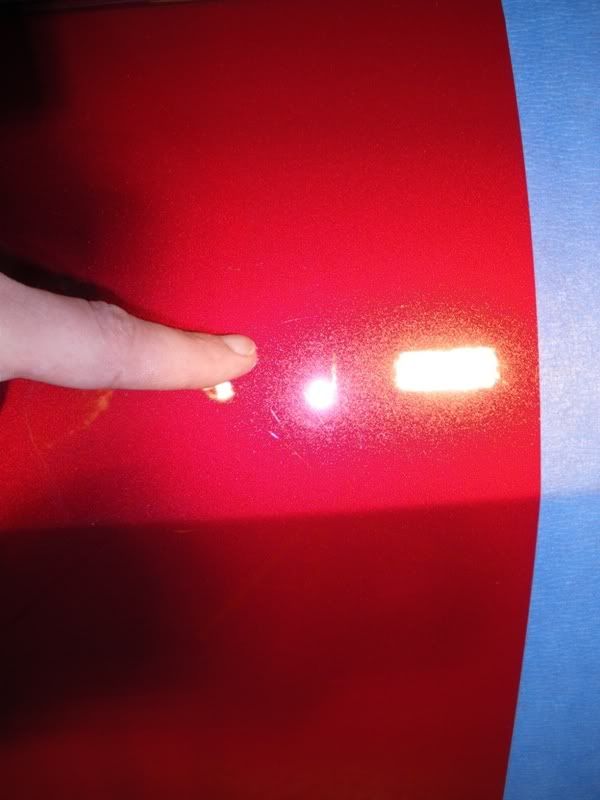
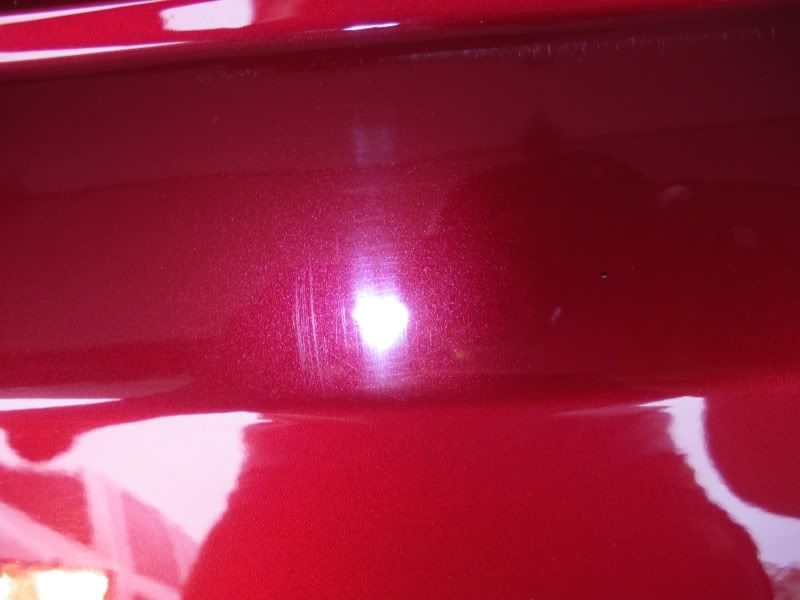
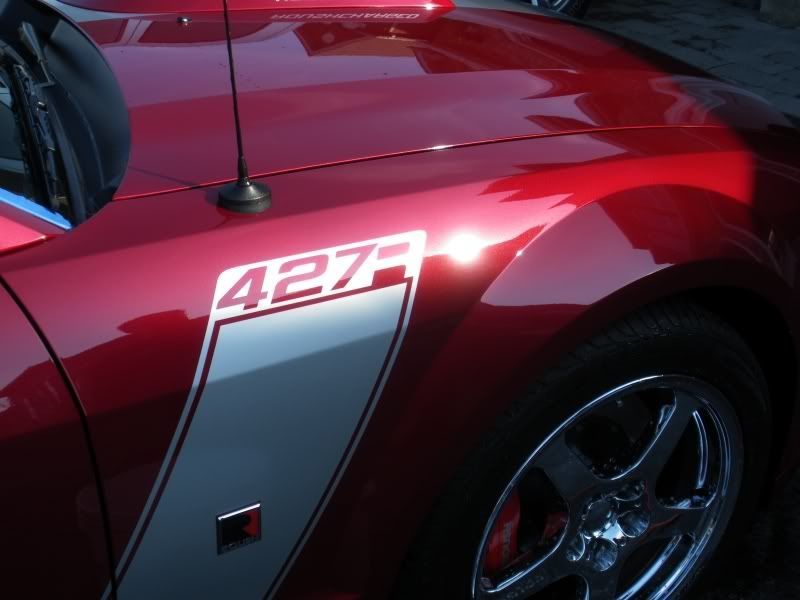
Driver side fender before:
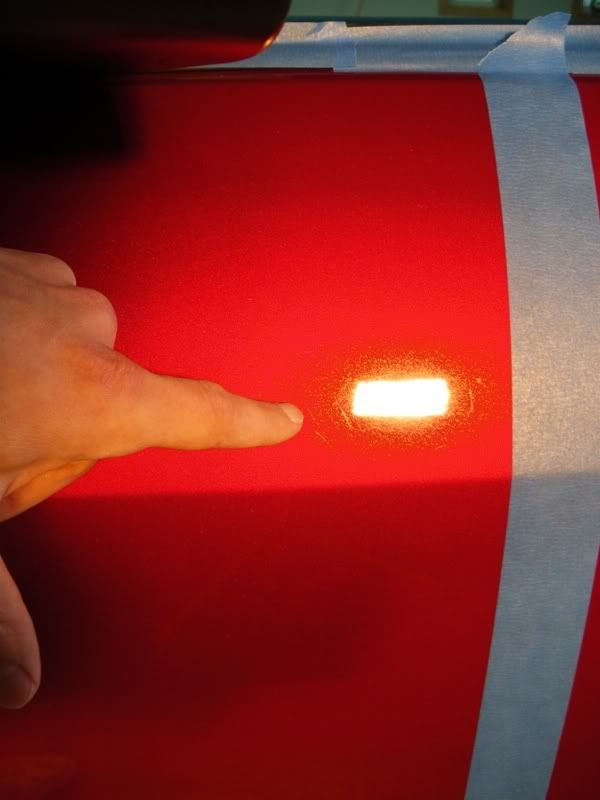
Driver fender 50/50 polished:
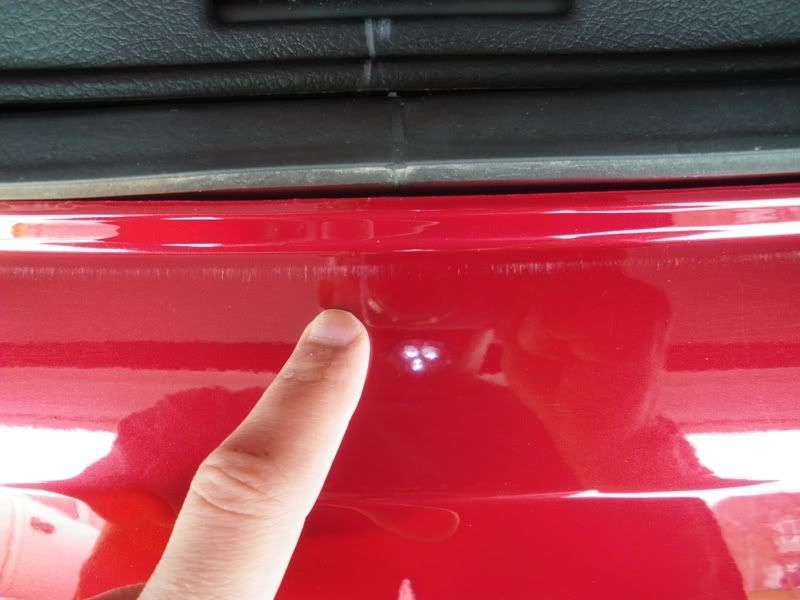
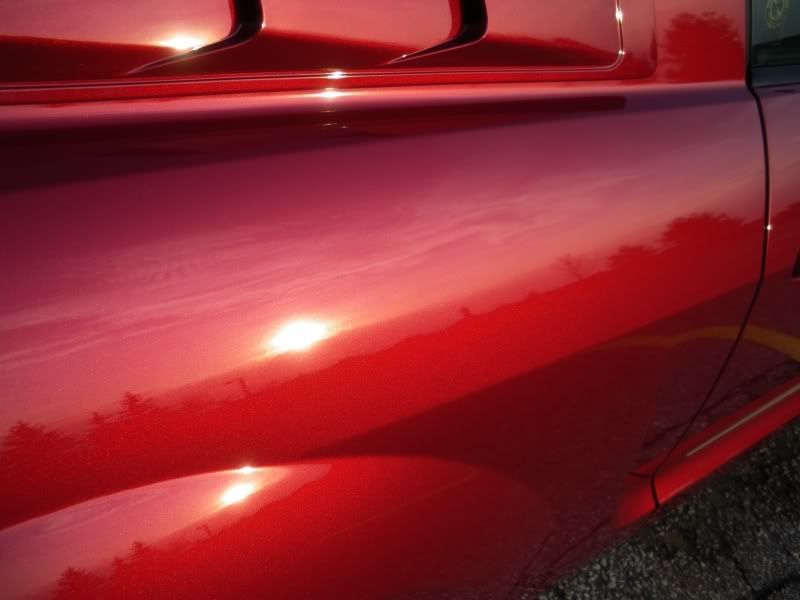
Drivers door before:
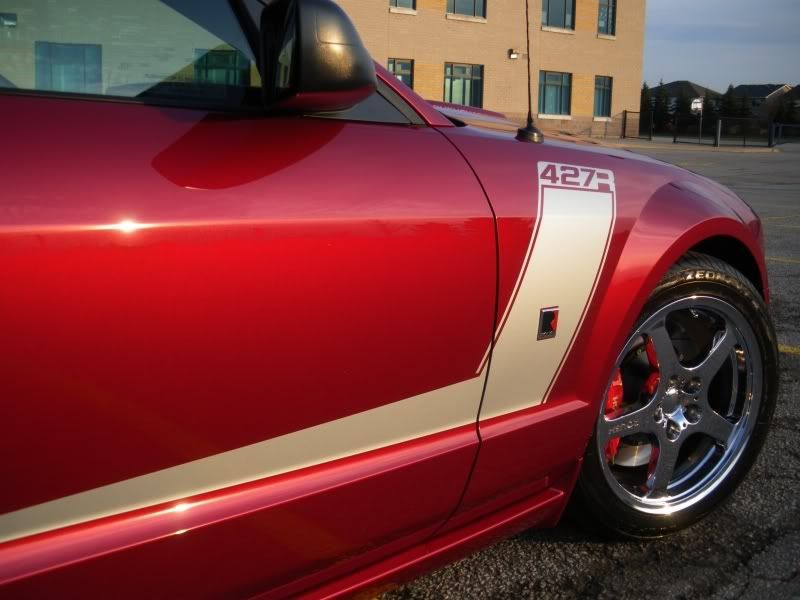
Drivers door after:
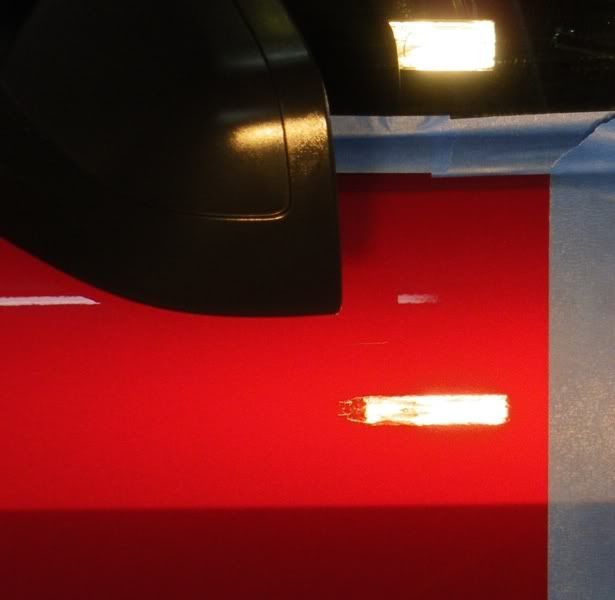
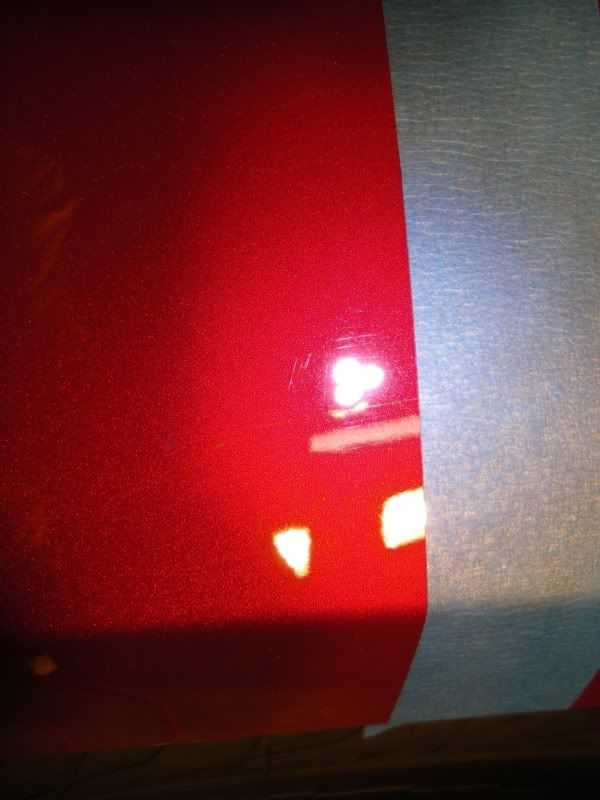
Rear Bumper before - check out those dealer plate scratches :nervous2:
Rear bumper after:

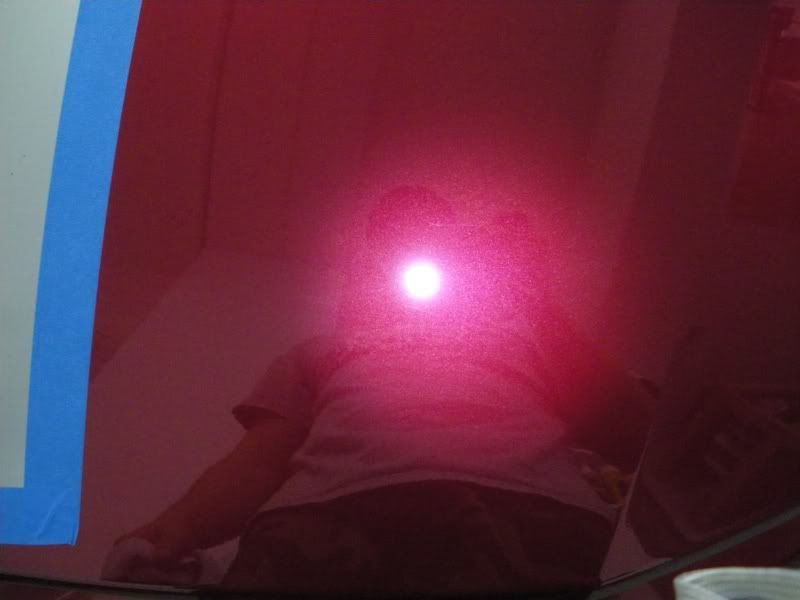
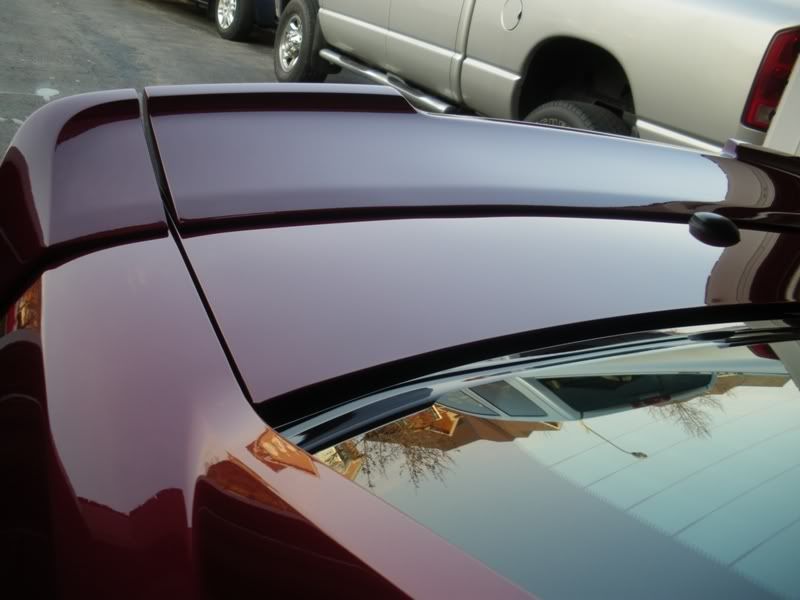
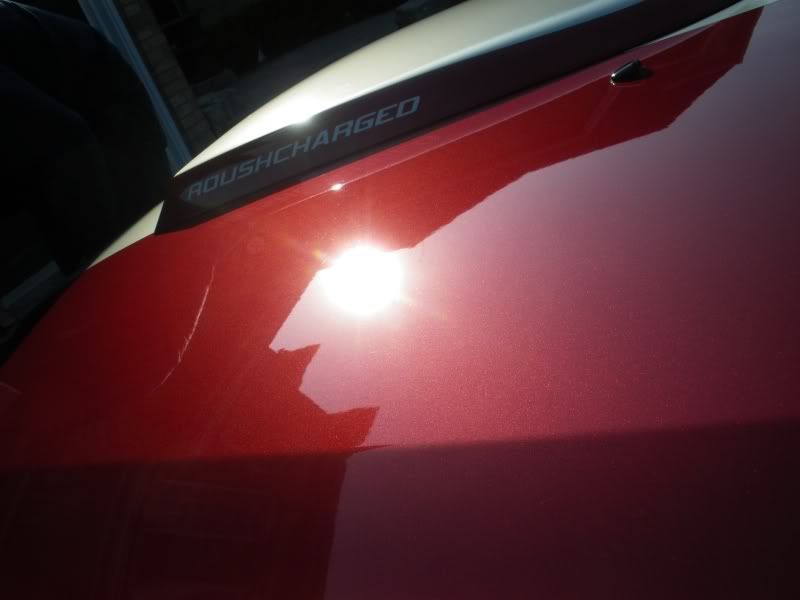
Pre-LSP reflections:
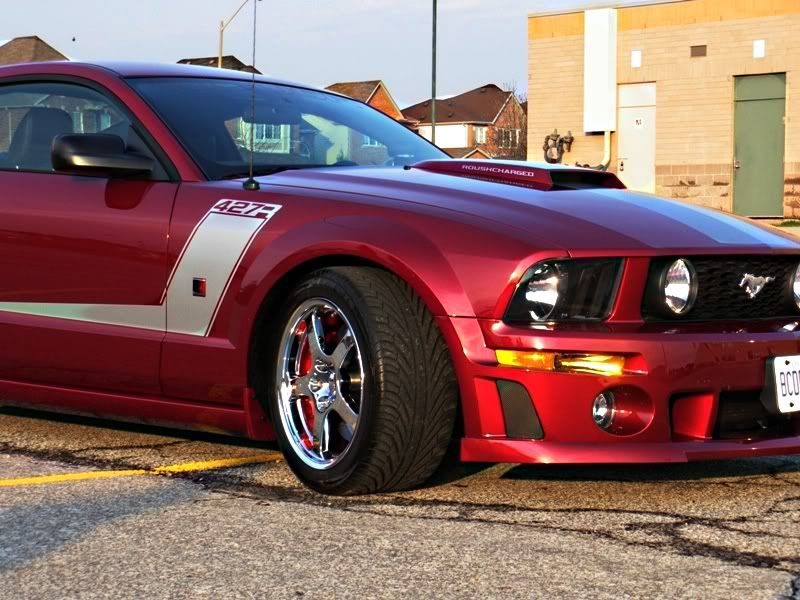
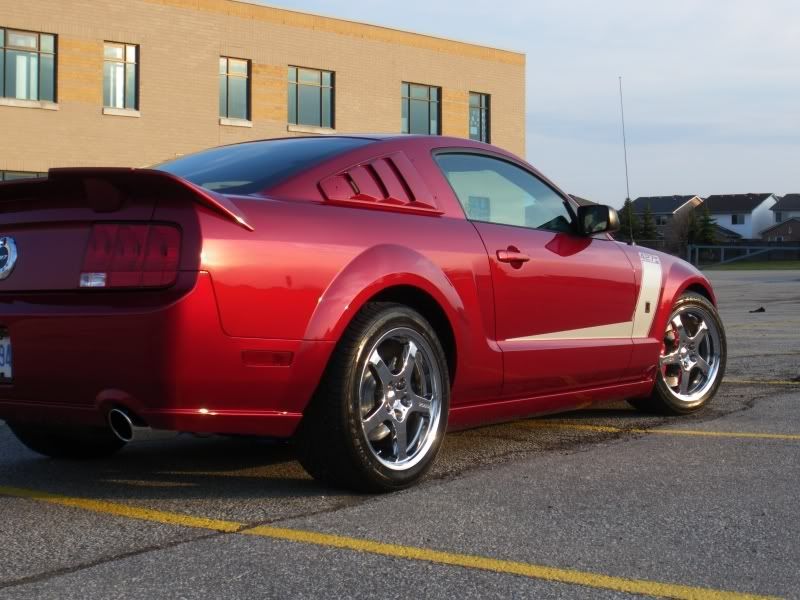
All finished!
Thanks for looking! Many more to come...
Background: My clients 427R is a well kept car, and it shows; at first glance, the car is mint! But upon closer inspection (and under the scrutiny of 1000w of Halogen and LED) we found a different story... This QUICKLY developed from a maintenance detail into a full 2 and 3 step correction :hifive:
Products used:
Dawn dishsoap wash
Optimum No Rinse wash
Optimum Polish II
Meguiars M105
Optimum Finishing Polish
Obsessive Detail Glaze
Obsessive Detail Wet Wax
Meguiars Gel Tire Dressing
Obsessive Detail silk shine interior dressing
Equipment Used:
PC 7424 D/A Polisher
Lake Country Orange and white pads
1000w Halogens
LED light
Wet/Dry shopvac
Obsessive Details MF product applicators
Obsessive Details MF towels – assorted
Process:
With the client keeping his car in top notch condition all the time, not much prep was needed. The car is a weekend cruiser and is garage kept. The paint was clayed in the fall last year just before it was put away for the winter, and the paint was still very smooth so we got to skip that step
Car was washed down using Dawn dishsoap to strip all the wax currently on the car. The car was then sprayed down with Isopropyl Alcohol and water to remove any last bit of protection, in case the Dawn didn't get everything... Once we had a fresh canvas, it was time to get to work.
Started the polish process with Optimum Polish II on an orange pad, however the ford clear is pretty hard and it was not removing the defects to my liking. I stepped it up to the Meguiars M105 w/ White pad and we had success! The first stage of polishing was completed with M105 w/ white pad for defect removal, followed by a 2nd stage of Optimum Finishing Polish, used to remove the marring left by the more aggressive M105. The rear bumper required compounding using M105 + orange cutting pad to get the correction I was looking for (see pics below). It was then followed up with M105+white pad and Optimum Finishing Polish.
Once the polishing stages were complete, the car was pulled outside and given a final wash with Optimum No Rinse. The car was then dried using MF waffle weave towels, and crevices blown out with a blower.
The car was then rolled back inside, and received a layer of Obsessive Detail Wet Glaze, followed by a layer of Obsessive Detail Wet Wax. Interior was vacuumed, all dash / console dressed with Obsessive Detail Silk Shine, and gel dressing applied to the wheels. Then off we went to the local schoolyard for photos in the setting sun.
All in all, a rewarding days work Now onto what matters... THE PHOTOS
Hood Before:
Hood After
Driver side fender before:
Driver fender 50/50 polished:
Drivers door before:
Drivers door after:
Rear Bumper before - check out those dealer plate scratches :nervous2:
Rear bumper after:
Pre-LSP reflections:
All finished!
Thanks for looking! Many more to come...