Dealer washes + black honda paint = you guys already know!! *56K* NO WAY

EBPcivicsi

GOT PREP?
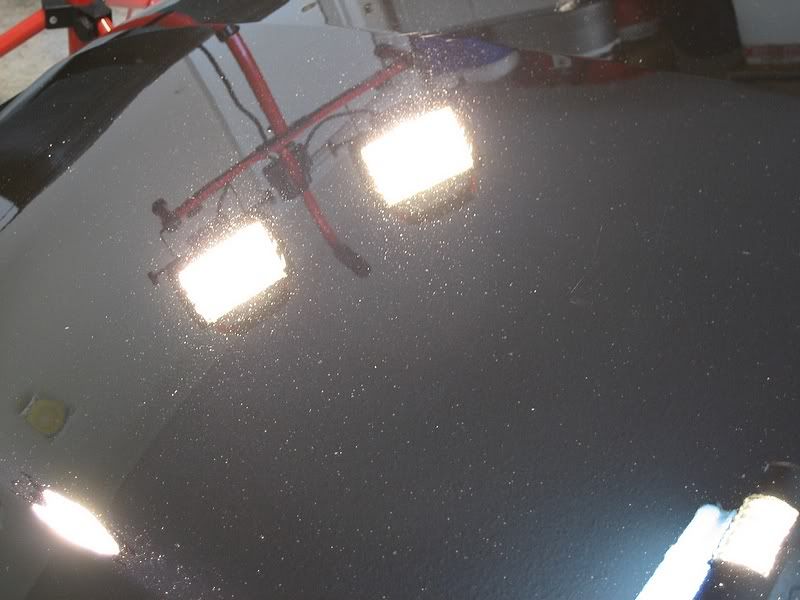
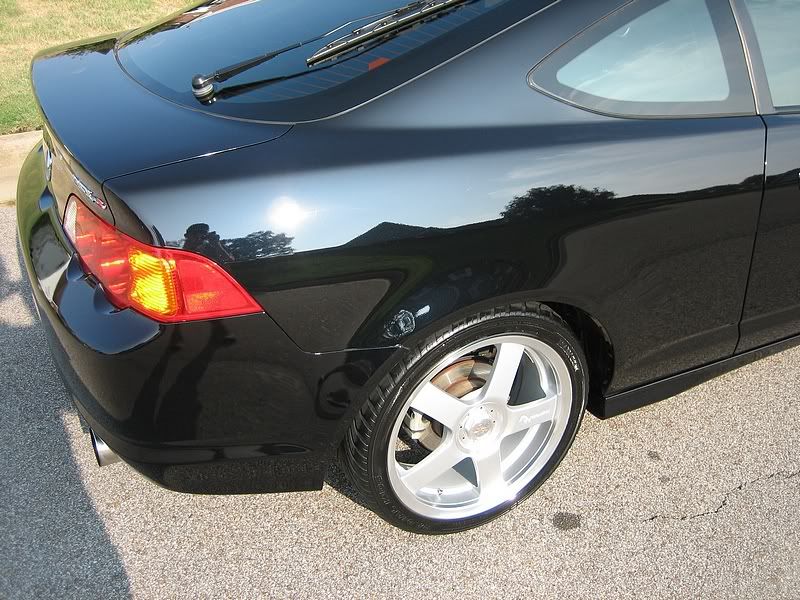
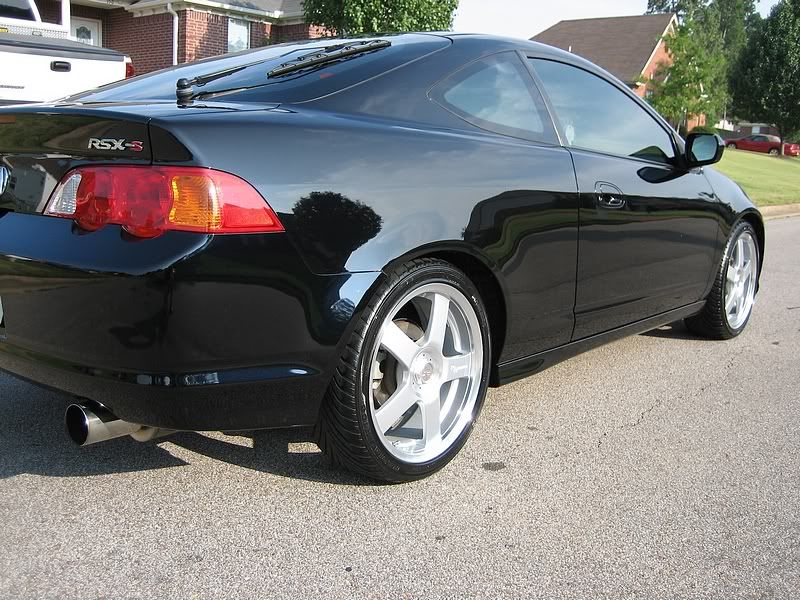
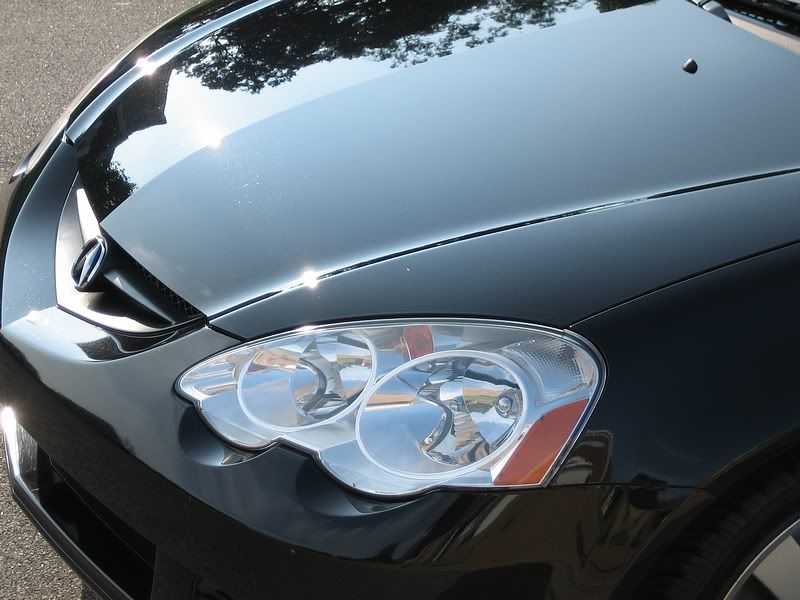
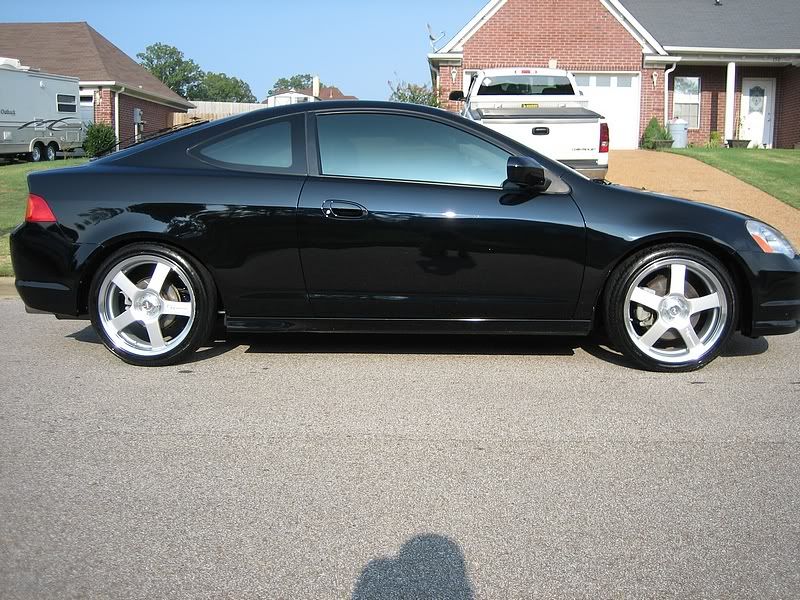
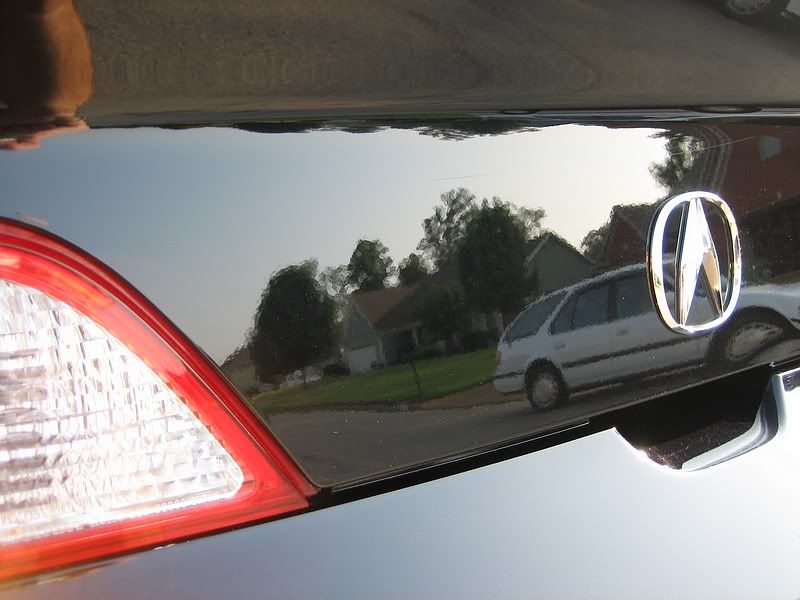
This was my task fro Saturday, the dealer washes this car so buckle up and get ready for the swirls. :D The interior was very clean, but needed a little “detailing.�


The process for the car was as follows:


Wash


Clay


Wet sand various scratches with 2000 unigrit, then 3000 unigrit


Buff with Hi-Temp Extreme cut/optimum polish via rotary @1500 RPM’s (meguiars polishing pad)


Buff with black fire SRC finishing polish via PC @speed 6 (SM Arnold light cut green pad


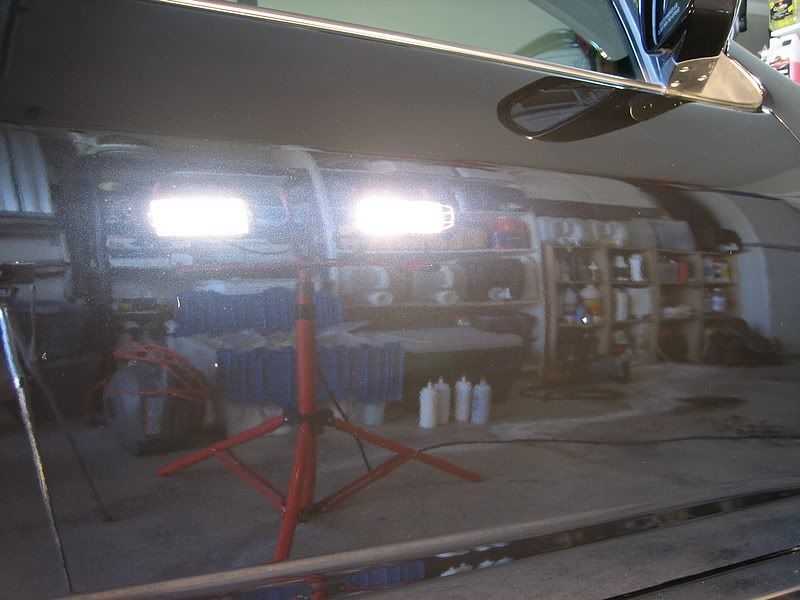
Apply two thin coats of Zaino ZPRO (ZFX’ed)


Apply Z8


Tires are dressed with Meguiars all-season dressing


All trim received Klasse All-In-One


Meguiars hyperdressing in the wheel wells


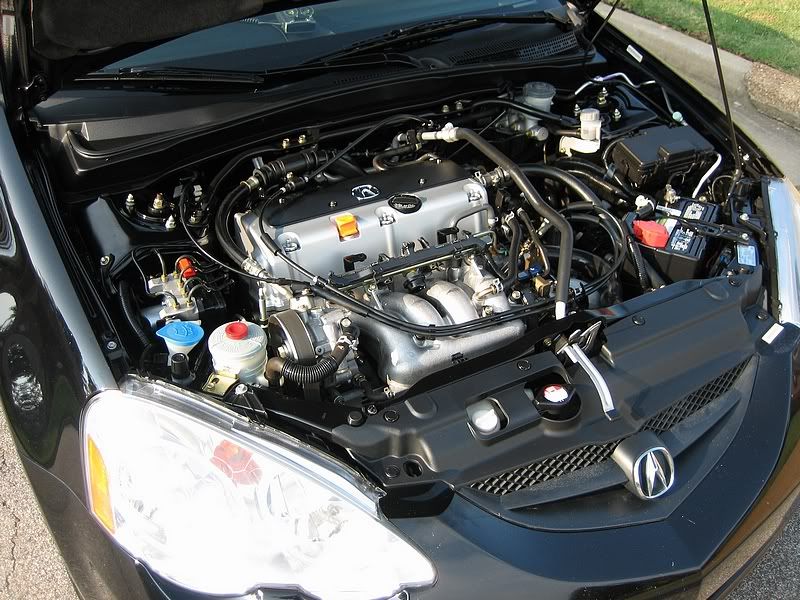
Engine was degreased, then dressed with hyperdressing


No pics of interior, but it was the standard vac, APC 10:1, steam cracks, etc.


Detail took about 8 hours to complete.
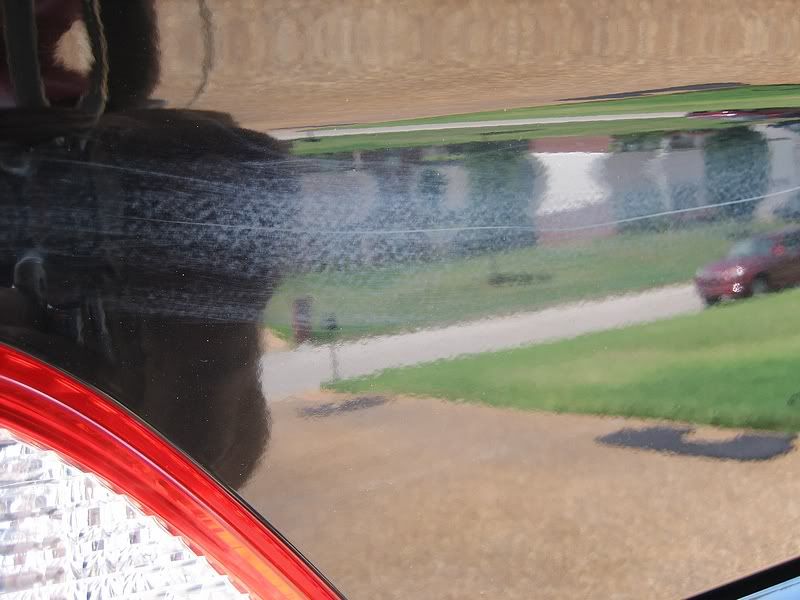
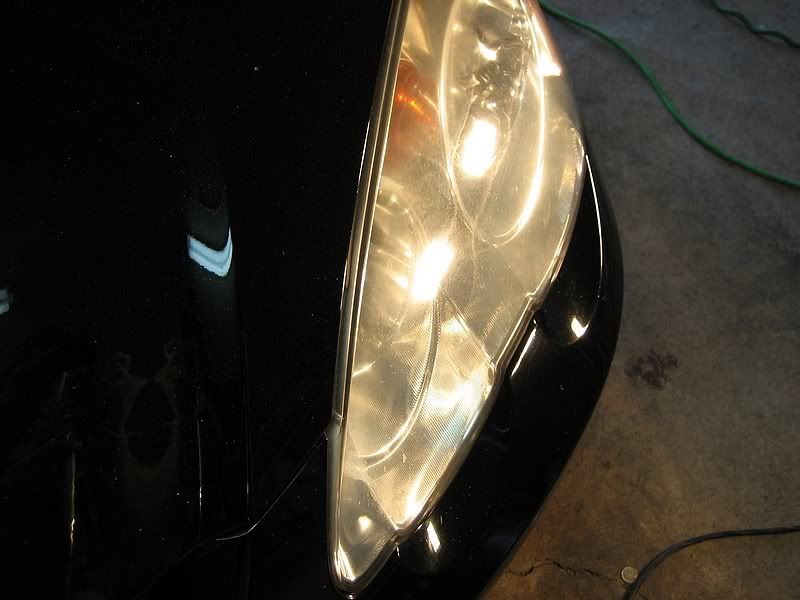
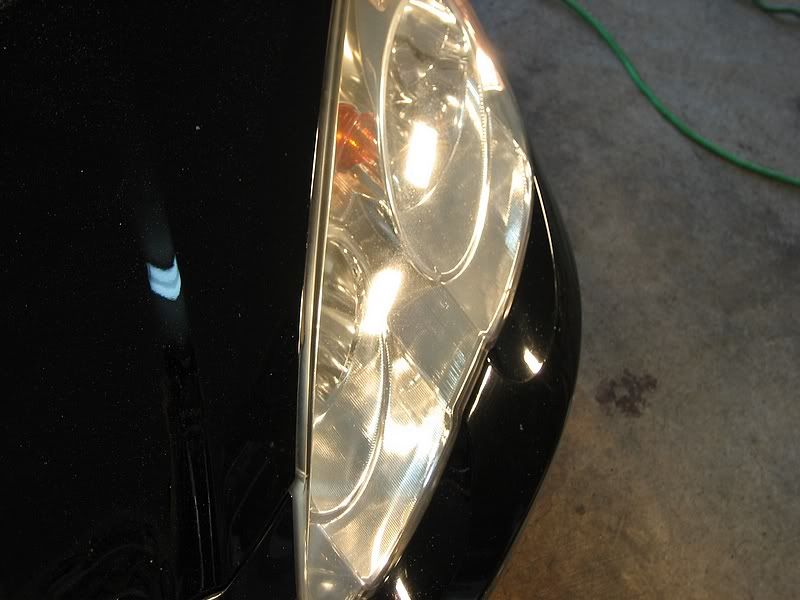
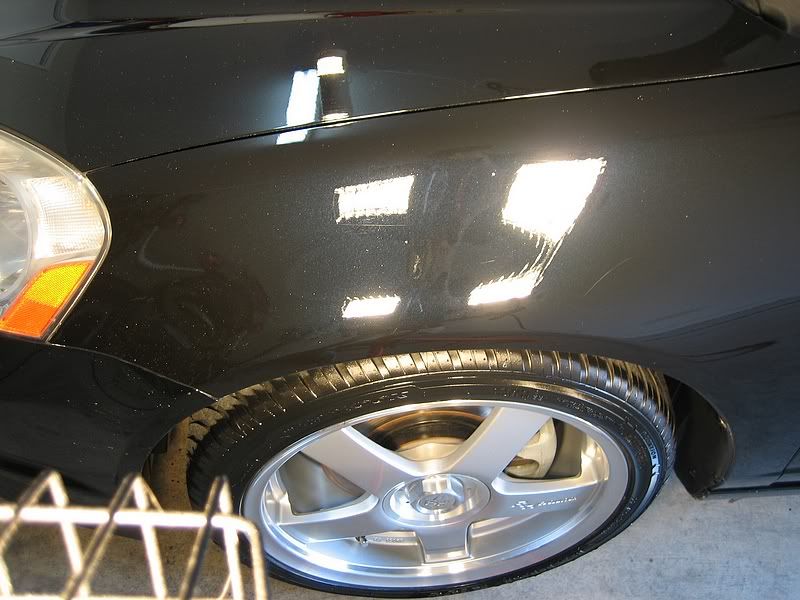
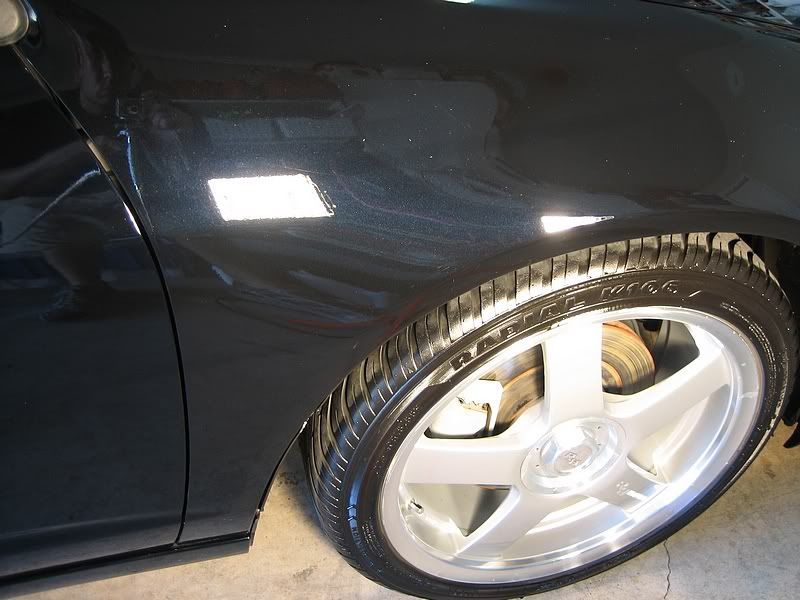
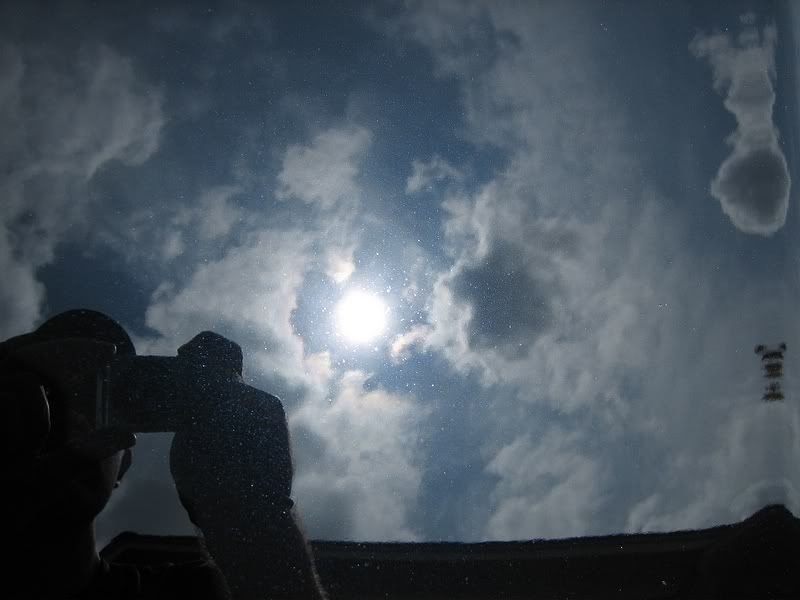
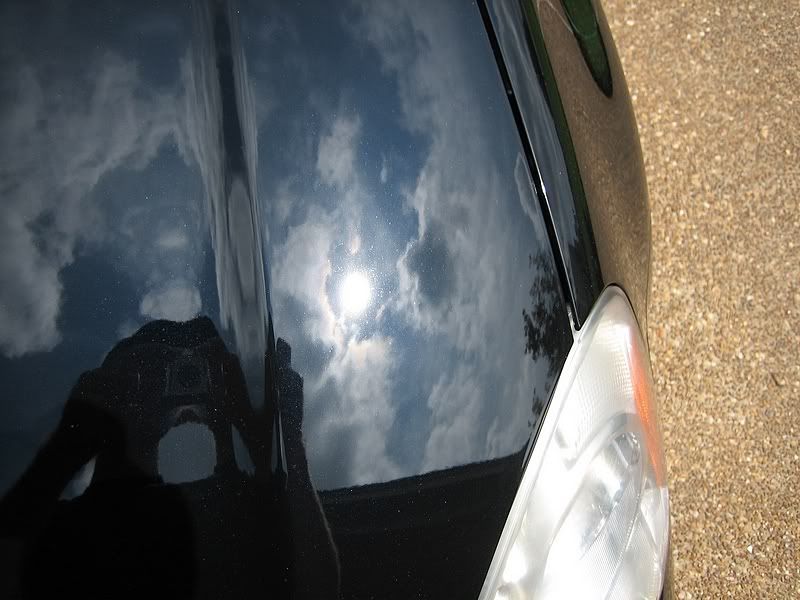
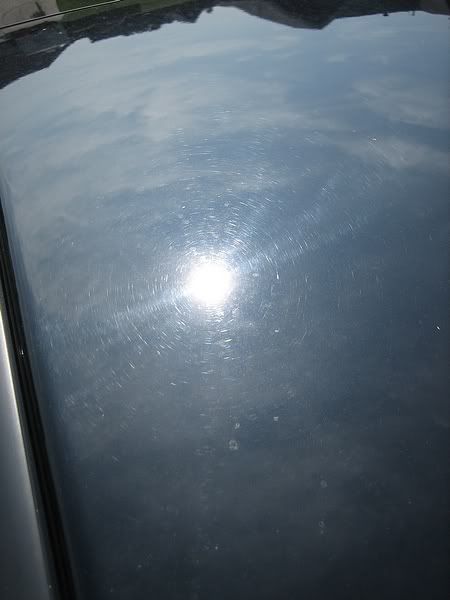
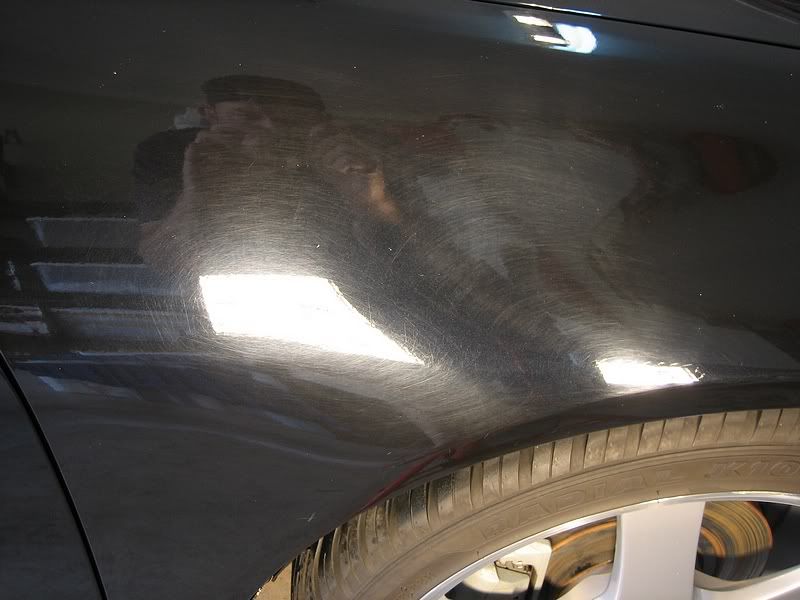
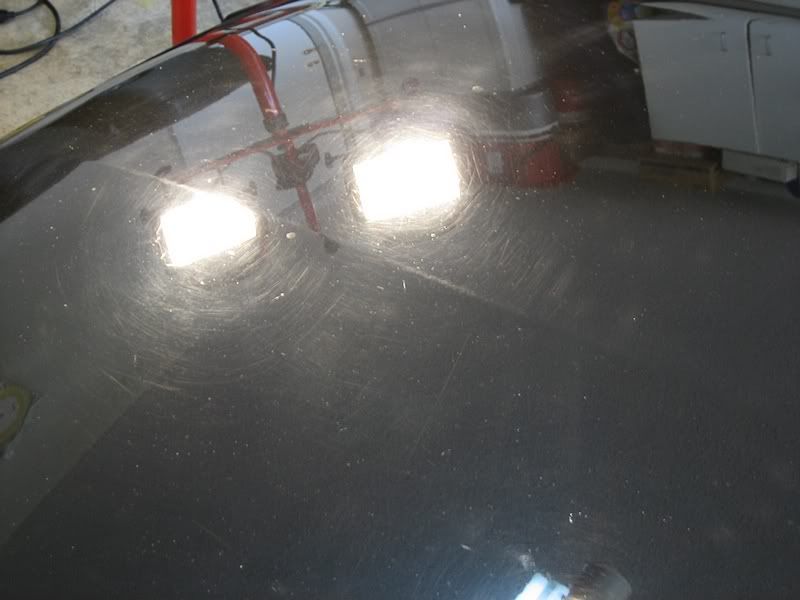
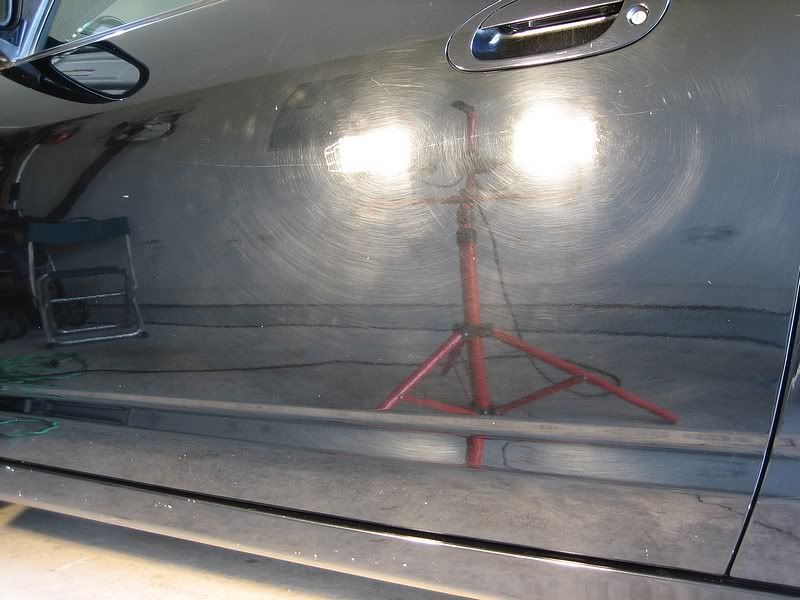


Before:

tn_IMG_3809.jpg


tn_IMG_3826.jpg


tn_IMG_3820.jpg


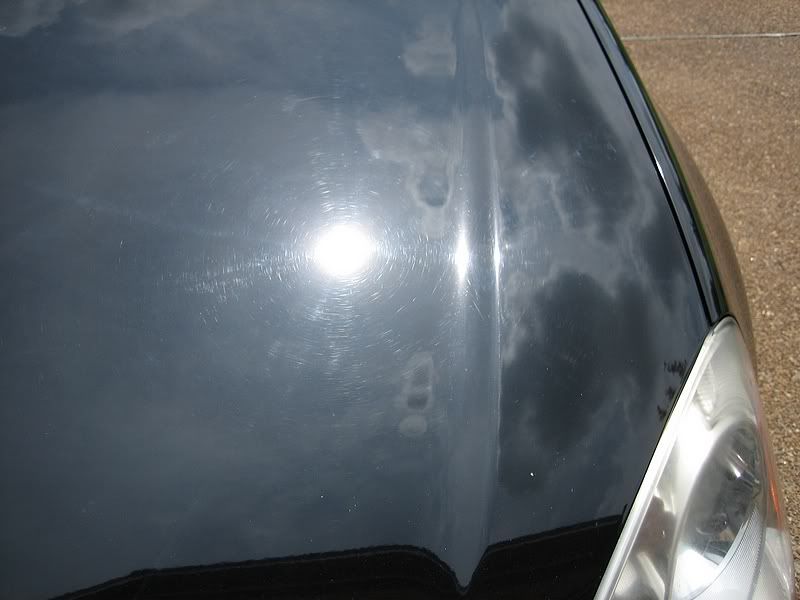
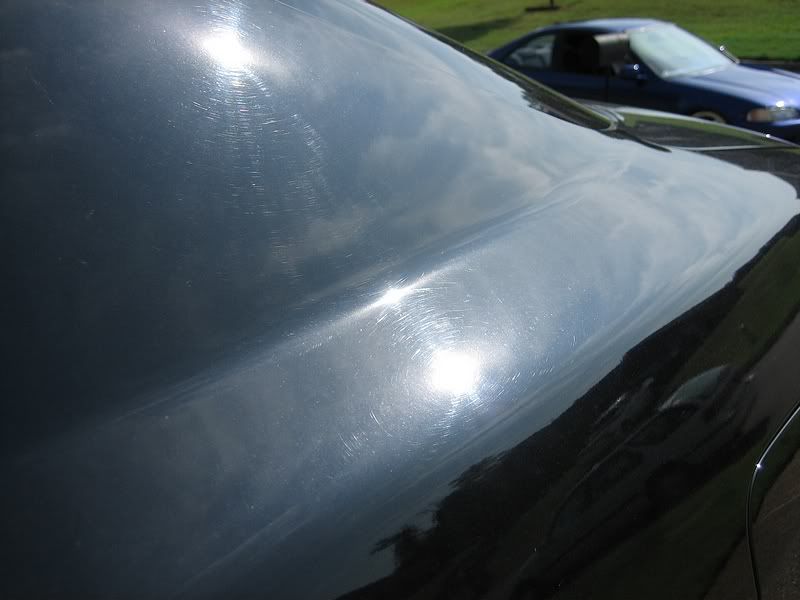
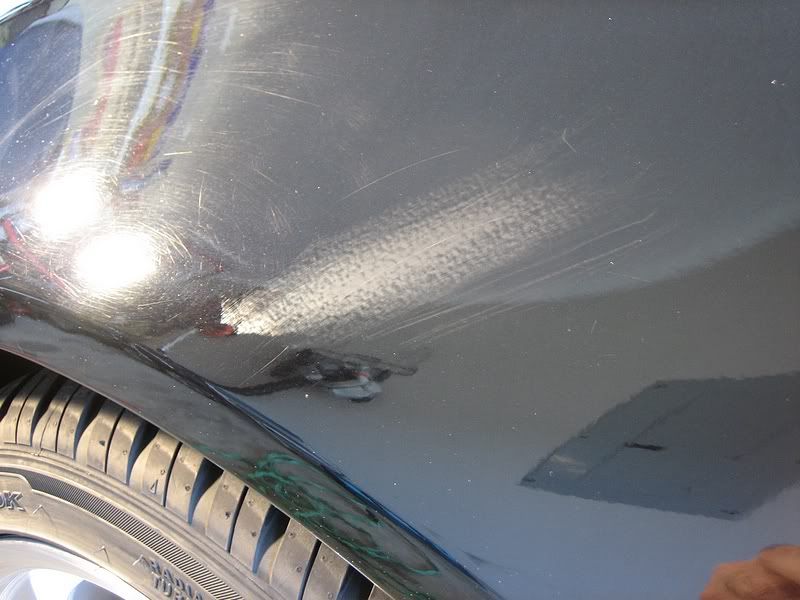
These are two areas that needed to be sanded:

tn_IMG_3812.jpg


tn_IMG_3814.jpg


tn_IMG_3829.jpg


tn_IMG_3832.jpg


tn_IMG_3841.jpg


tn_IMG_3845.jpg
 
This is a shot just after lightly sanding with 2000 unigrit, I followed it up with 3000 unigrit. This was a difficult area because I had to remove the marks by buffing—there were quite a few obstacles.

tn_IMG_3849.jpg


The headlights also needed some correction. I used 3M Perfect-it III rubbing compound and machine glaze to buff them.

tn_IMG_3866.jpg


Here are the afters:

tn_IMG_3870.jpg


tn_IMG_3872.jpg


tn_IMG_3875.jpg


tn_IMG_3877.jpg
 
Nice! Was your goal in wetsanding the scratch to completely remove it? Or to level it a bit to make less noticeable. I notice that in the wetsanding pic, the scratch is still very visible.
 
joyriiide1113 said:
Nice! Was your goal in wetsanding the scratch to completely remove it? Or to level it a bit to make less noticeable. I notice that in the wetsanding pic, the scratch is still very visible.


I knew that it couldn't ne removed complete, or at least it wasn't in my skill set to remove it completely.


In the pic I had just lightly sanded with 2000 unigrit--I followed that up with 3000.


My goal was to make it less noticeable while maintaining as much clear as possible. The area on the truck was especiialy challenging becasue of the location of the tail lights/emblem.


Spoiled man, the same people that washed the porsche cayenne that I fixed wash this one......weekly. :eek:
 
ebpcivicsi said:
Spoiled man, the same people that washed the porsche cayenne that I fixed wash this one......weekly. :eek:


In some country's, they could lose their hands for that crime! :chuckle:
 
Just wow!!!


I love studying your pix. I noticed the plastic/grill in the engine shot wwas still dirty. :(


I was expecting a honda. That is an Acura! :D
 
tdekany said:
Just wow!!!


I love studying your pix. I noticed the plastic/grill in the engine shot wwas still dirty. :(


I was expecting a honda. That is an Acura! :D


Hehe, sorry, it's compounding dust that should have been wiped off--I actually dressed it with hyperdressing prepolishing. :o
 
Hey,


for the HTEC/OP polish step,


do you use a Meg's polishing or cutting pad? ( it says polishing)

I'm just curious why you would choose the polishing over the cutting pad for the leveling step? Have you had any negative effects of using the cutting pad with this solution?


TIA for response!
 
EGPrelude said:
Hey,


for the HTEC/OP polish step,


do you use a Meg's polishing or cutting pad? ( it says polishing)

I'm just curious why you would choose the polishing over the cutting pad for the leveling step? Have you had any negative effects of using the cutting pad with this solution?


TIA for response!


I used the polishing pad.


The reason is because using a polishing pad with this product allows me to finish down to an almost LSP ready finish. With a cutting a pad I would have needed another step with the rotary. Why do that when I can get the results that I need with a polishing pad *and* save a step.


I personally would almost always rather increase the polish first, then increase the pad as needed.
 
Looks AWESOME.


For some reason whenever I do a newer Honda they turn into more work than any other car. My car ('97) isn't a big deal, but it seems the 2001+ ones have some weird paint going on.
 
Amazing JOb as usual. I use the exact same combo on the paint. Its marvelous isnt it!?

Keep up the great work, its always a treat to see your writeups and pics.


Greg
 
Back
Top