Lucci Elite
New member
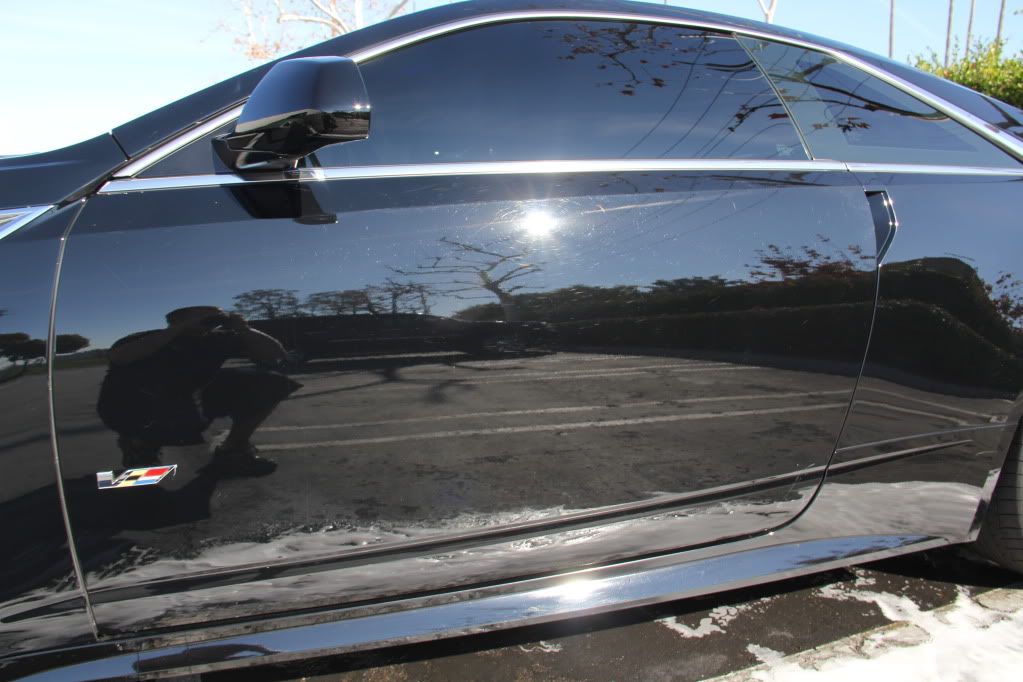
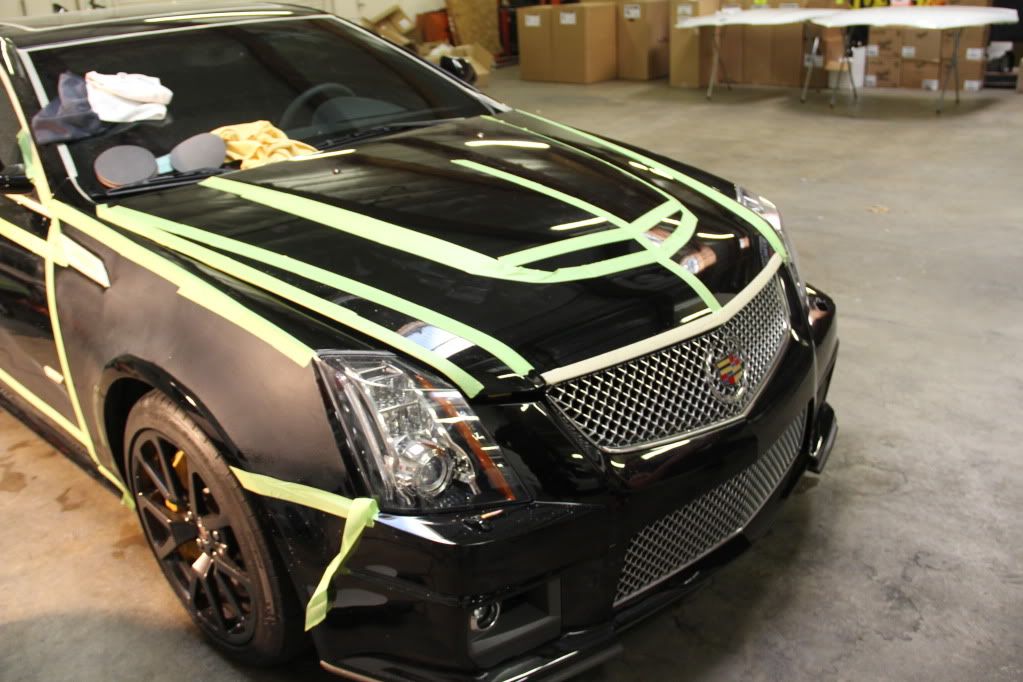
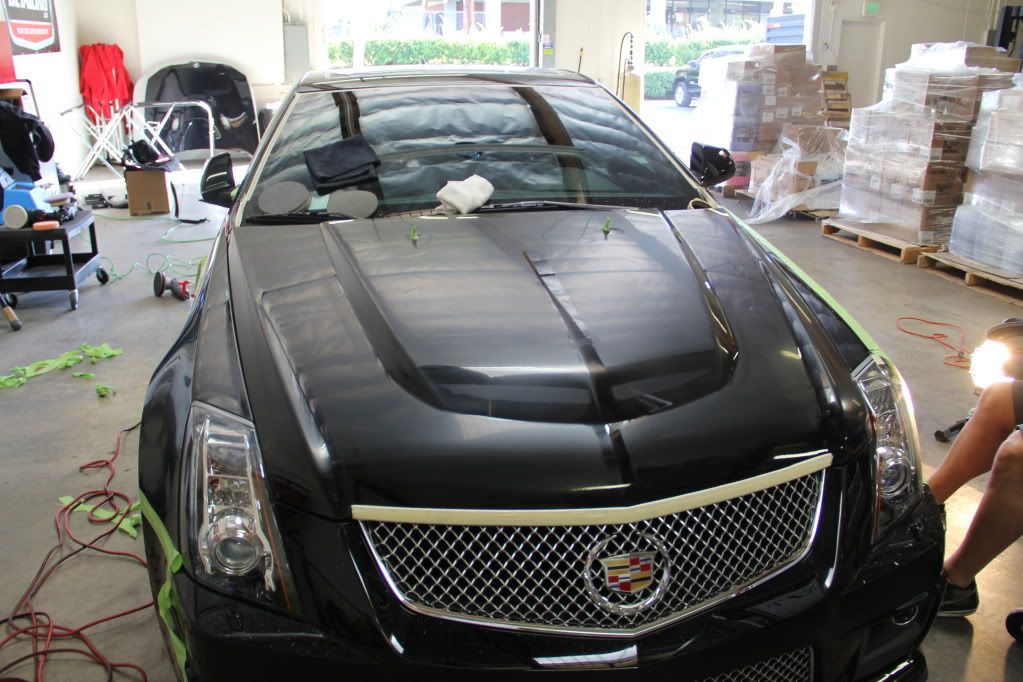
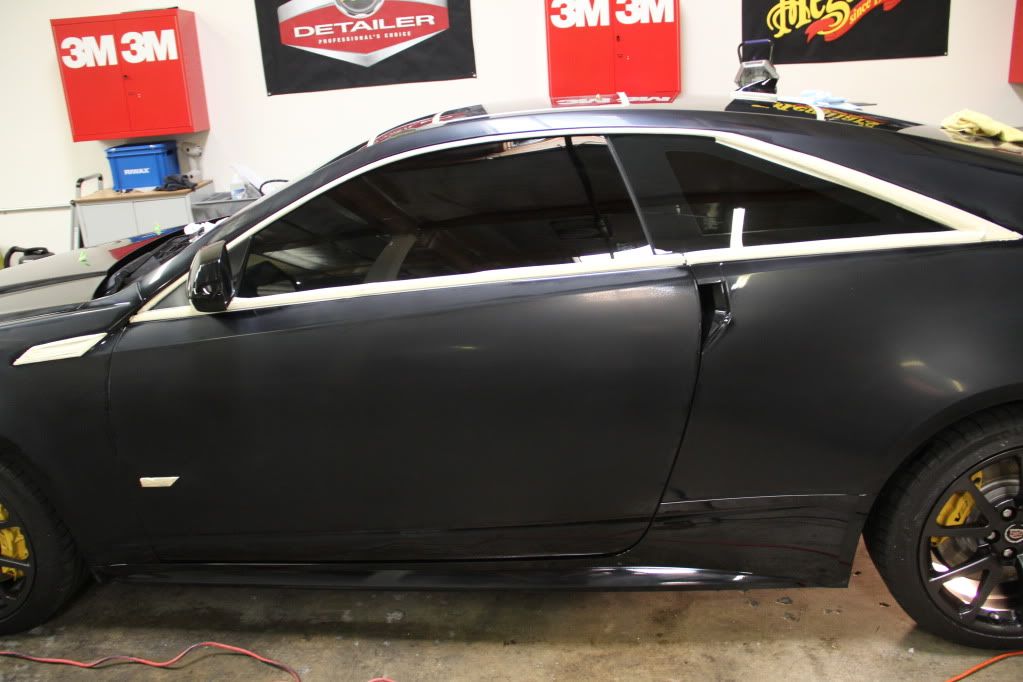
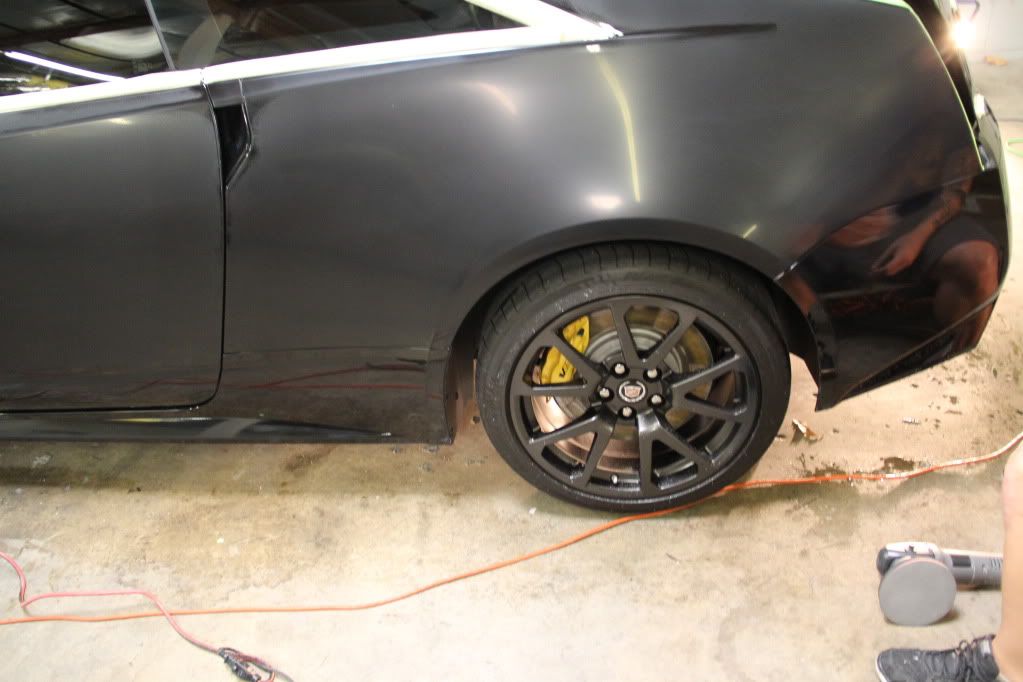
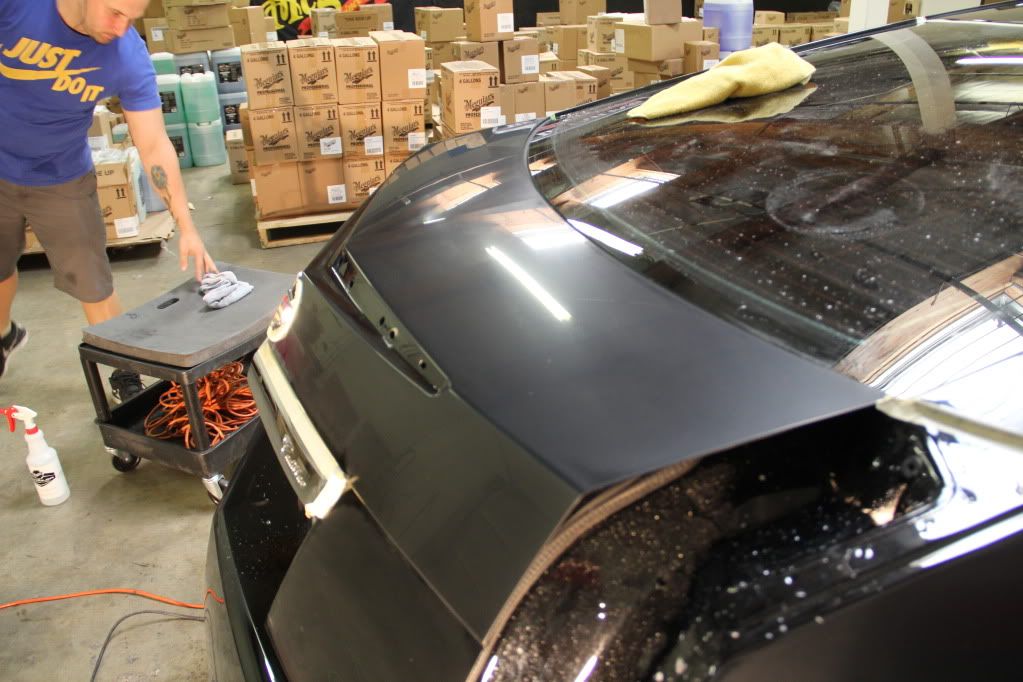
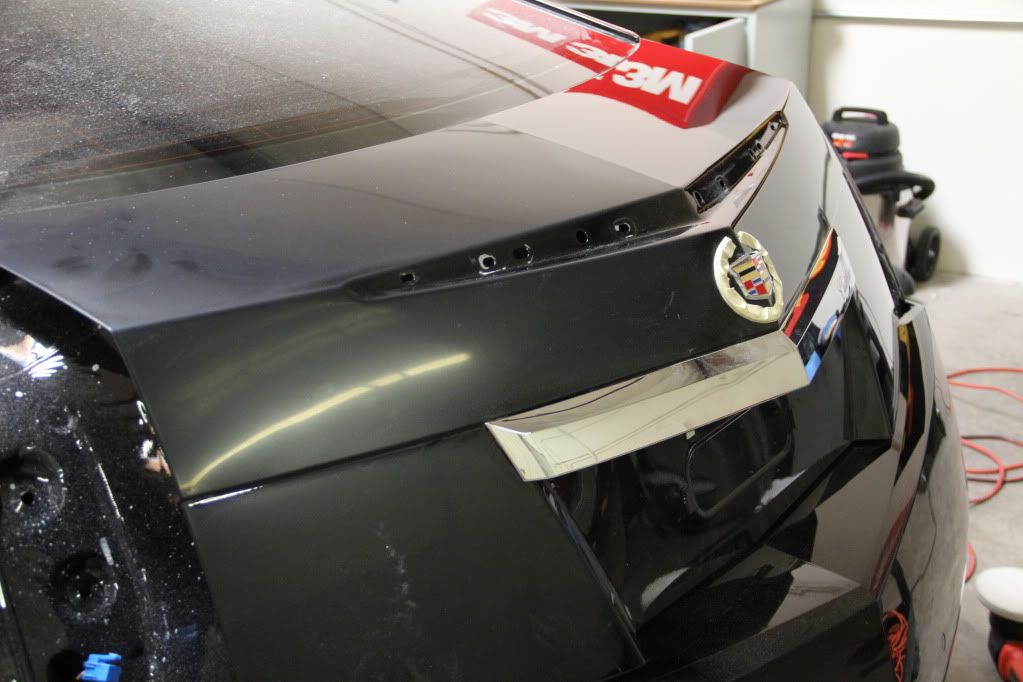
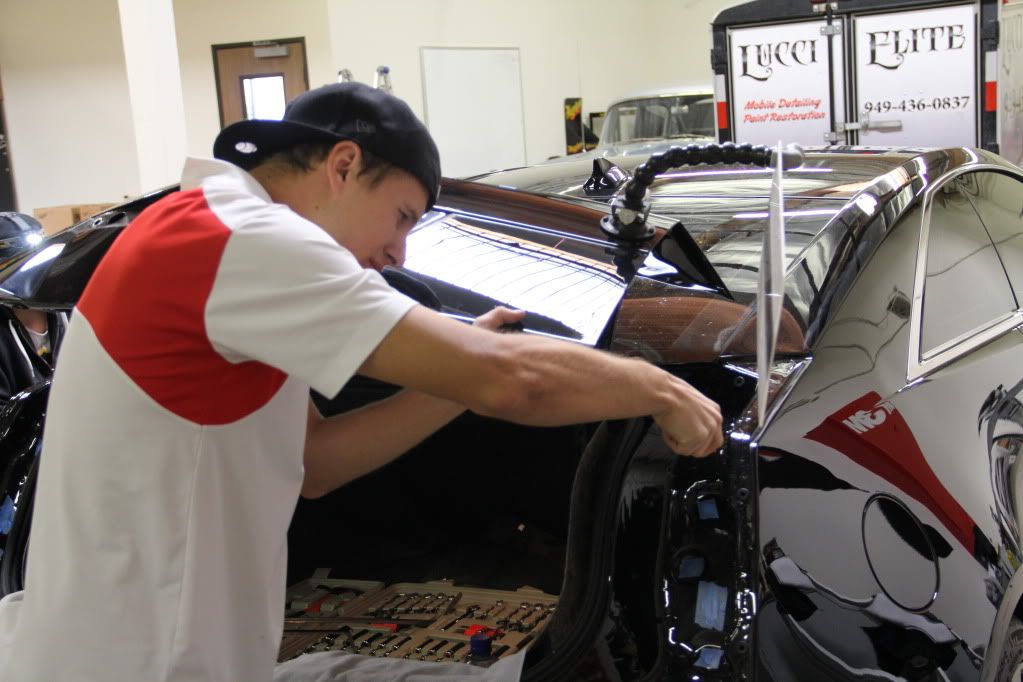
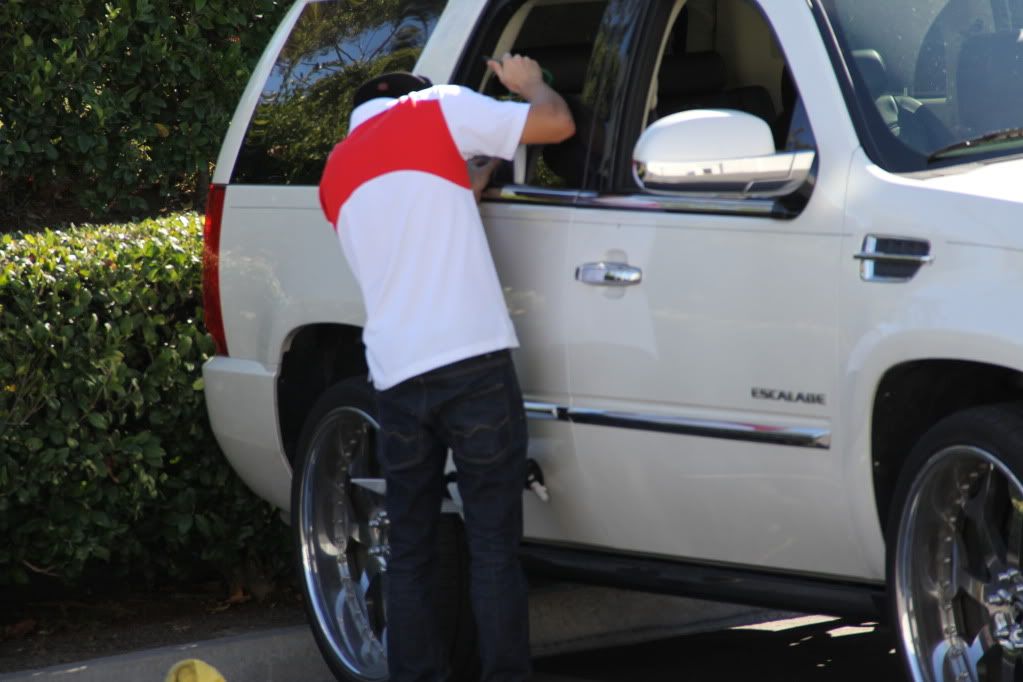
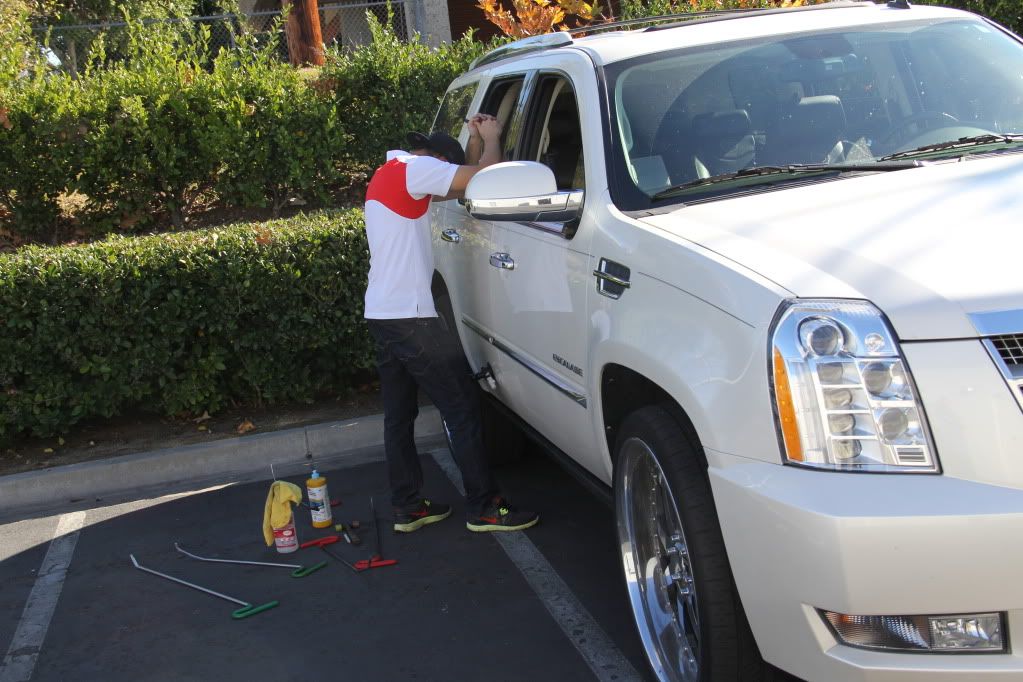
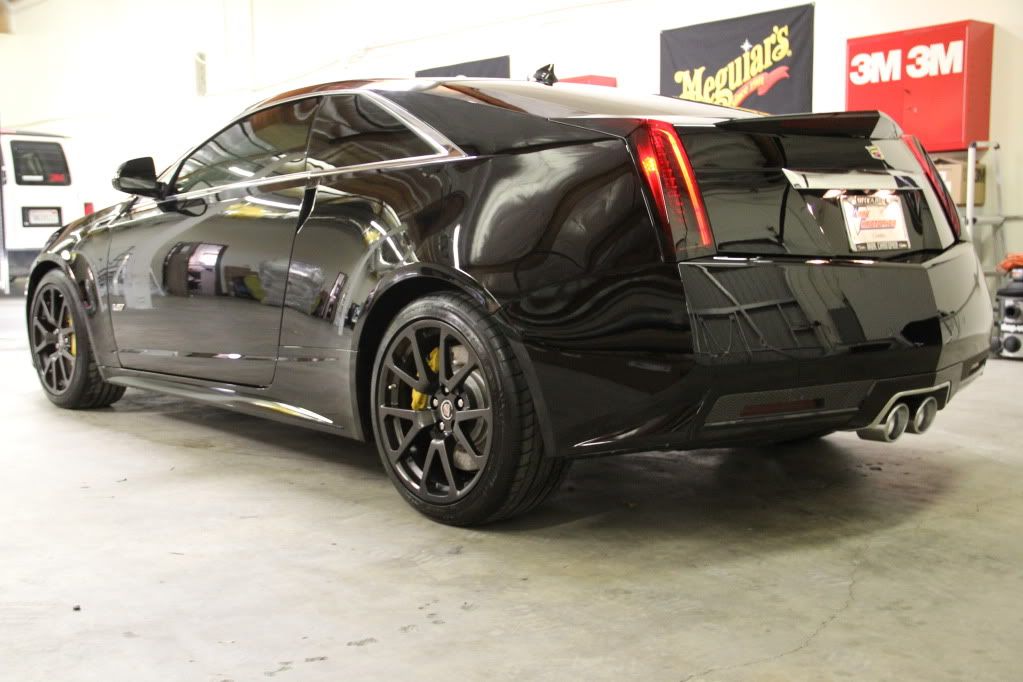
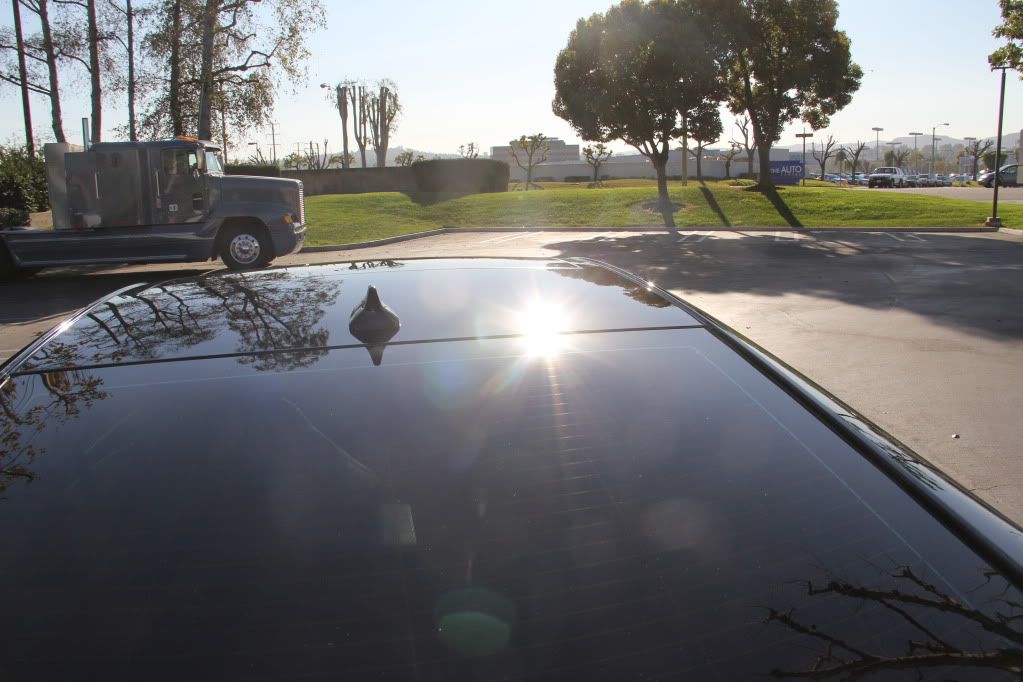
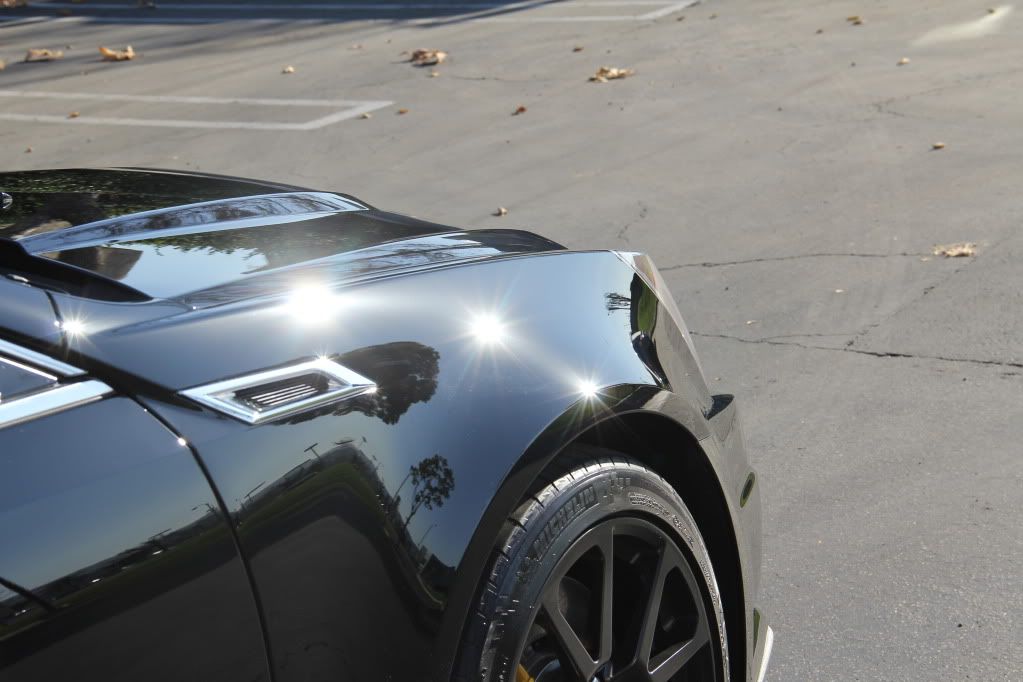
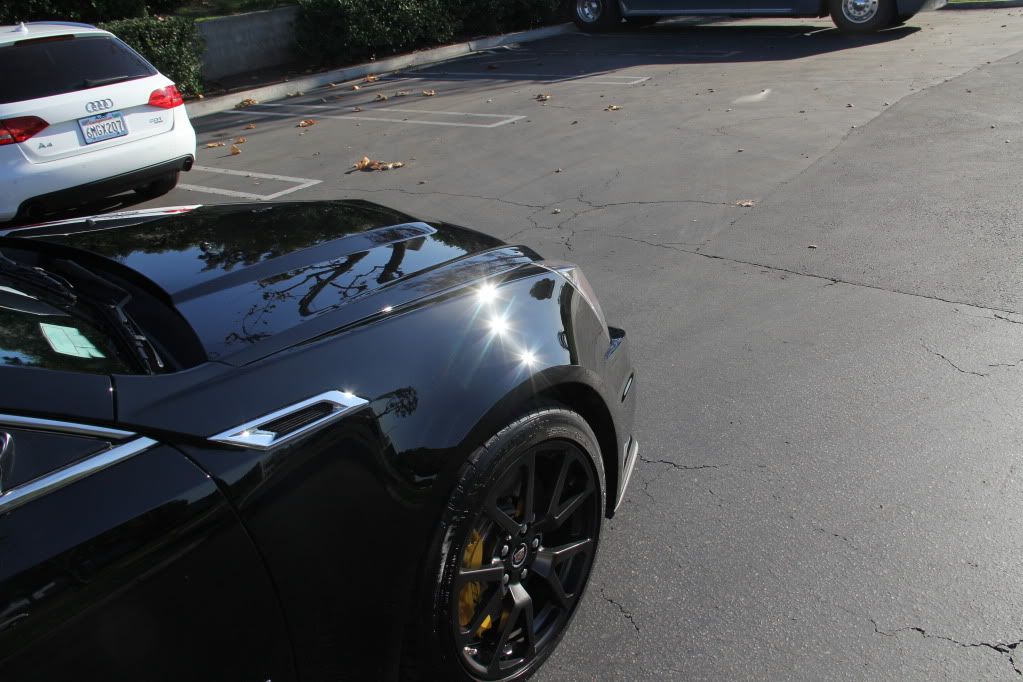
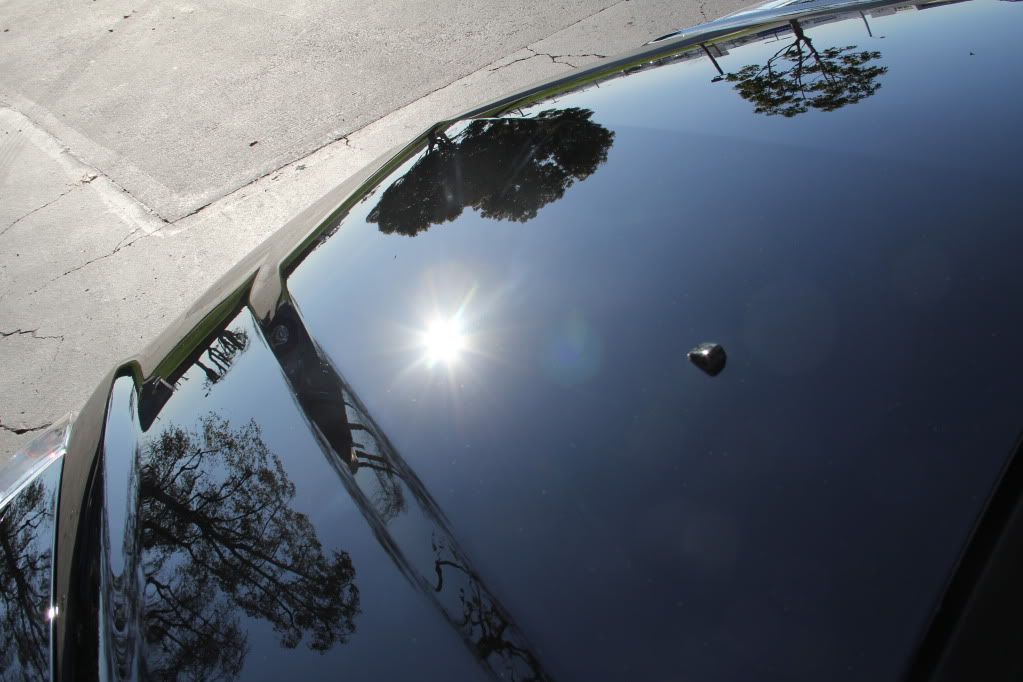
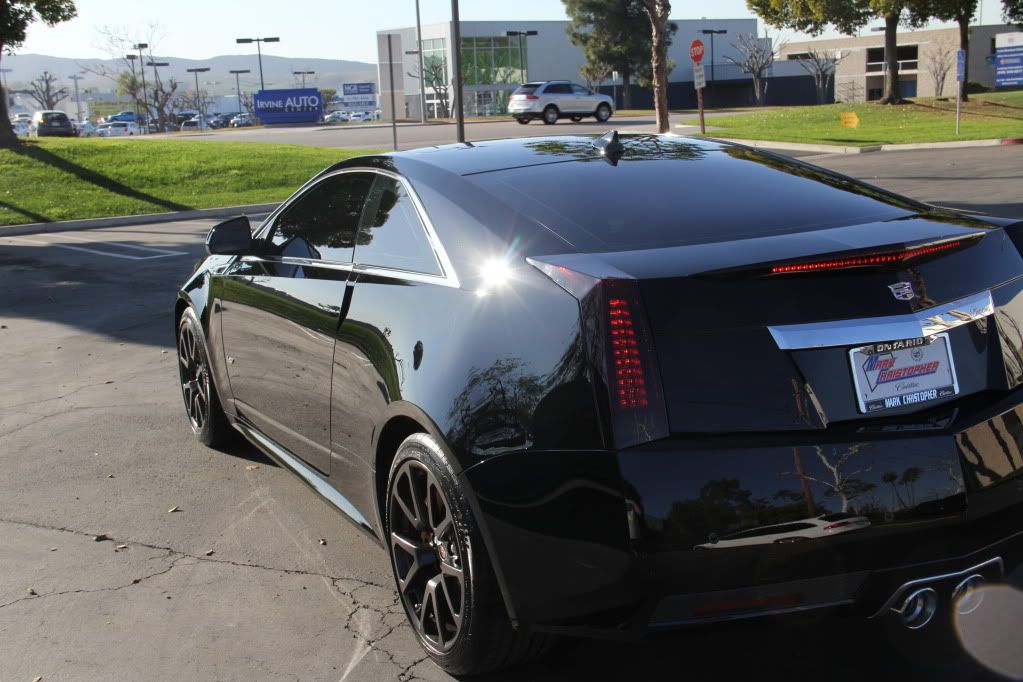
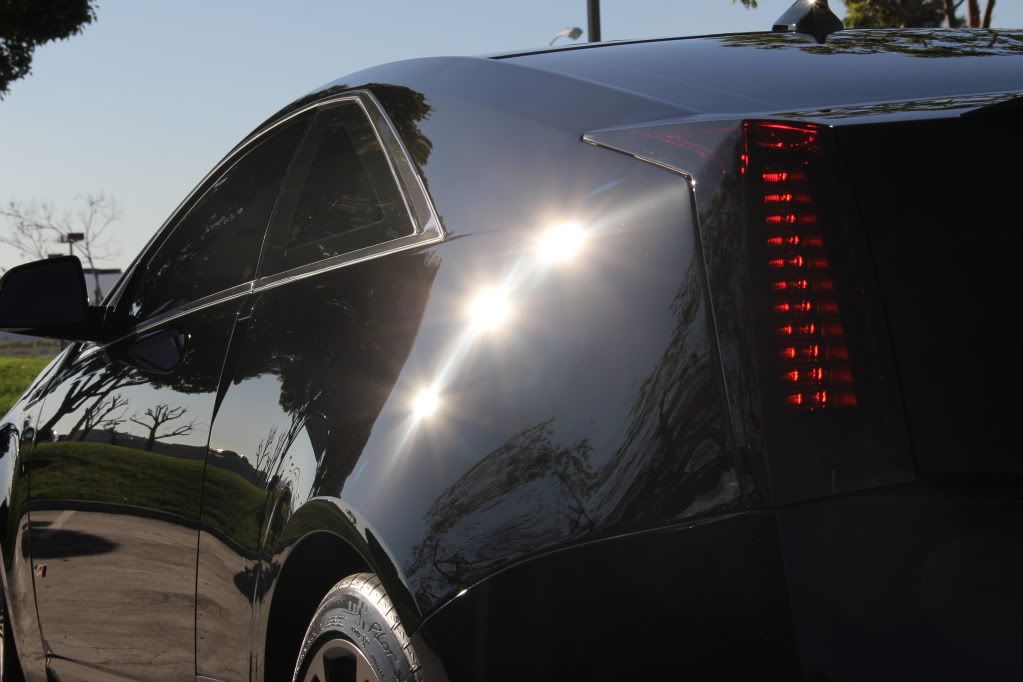
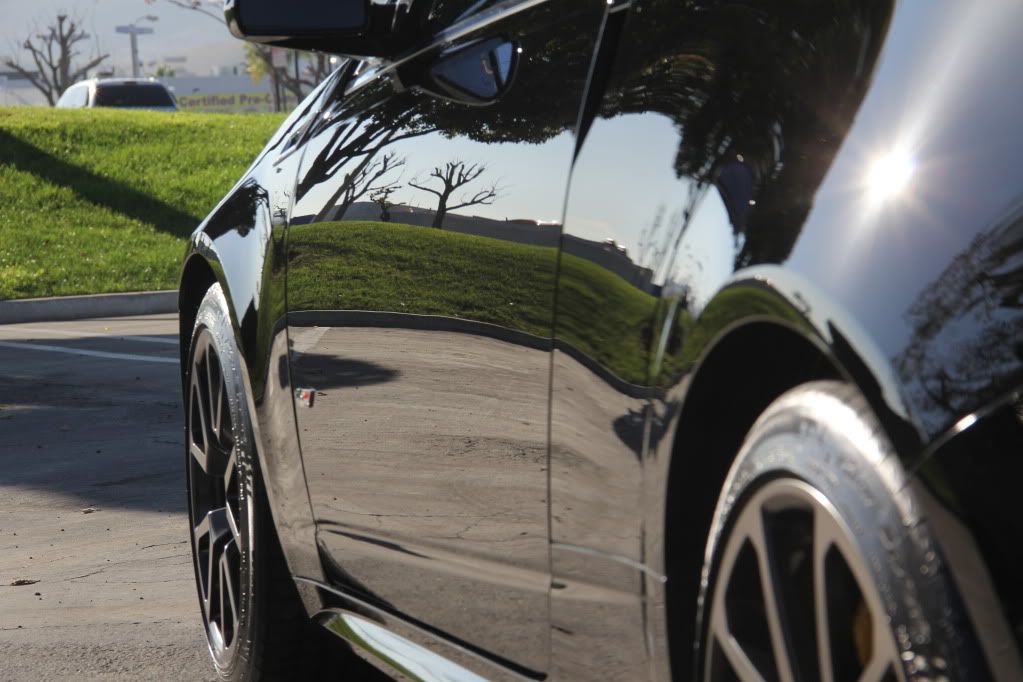
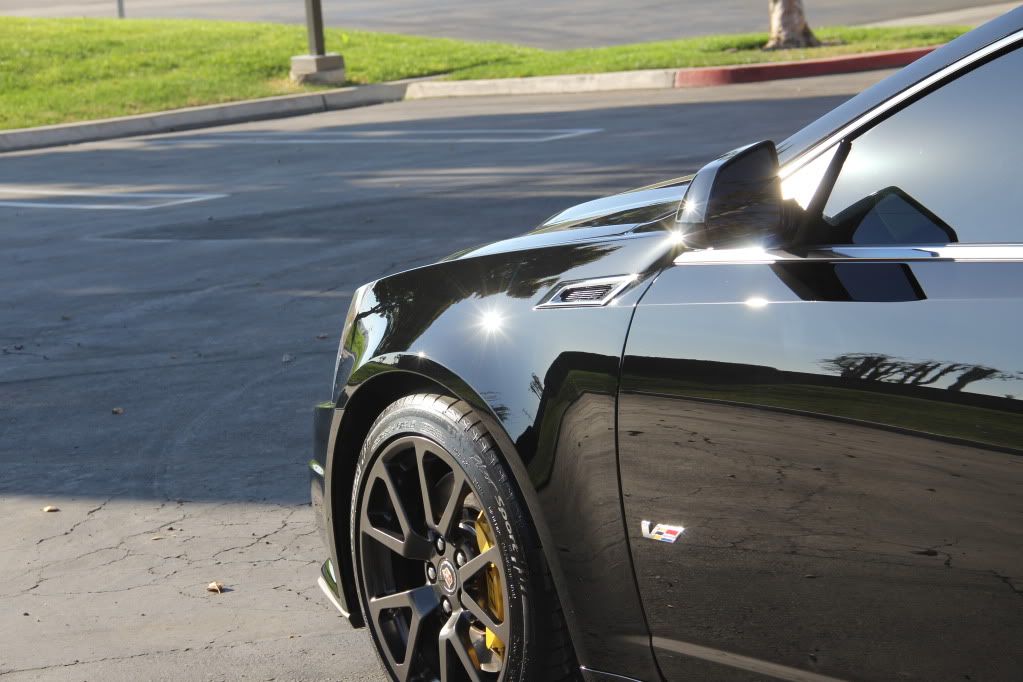
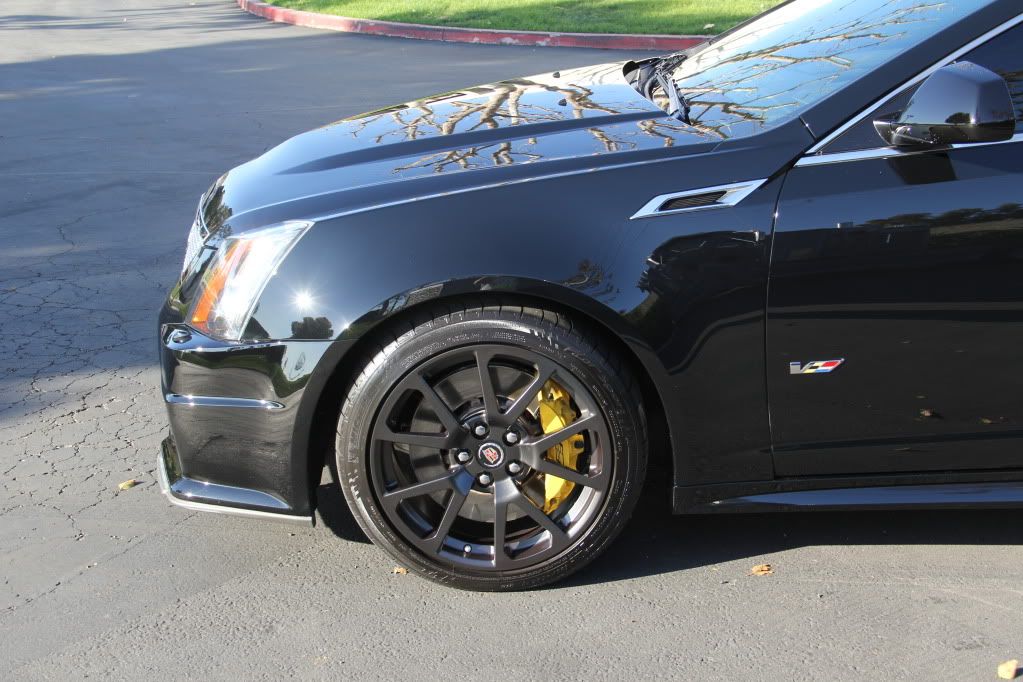
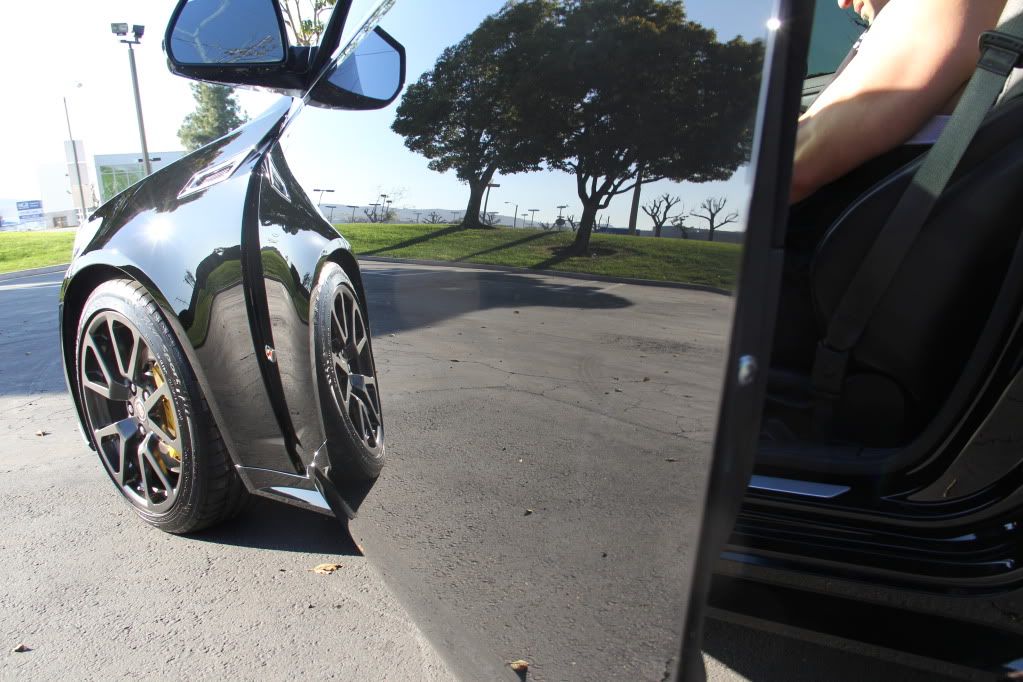
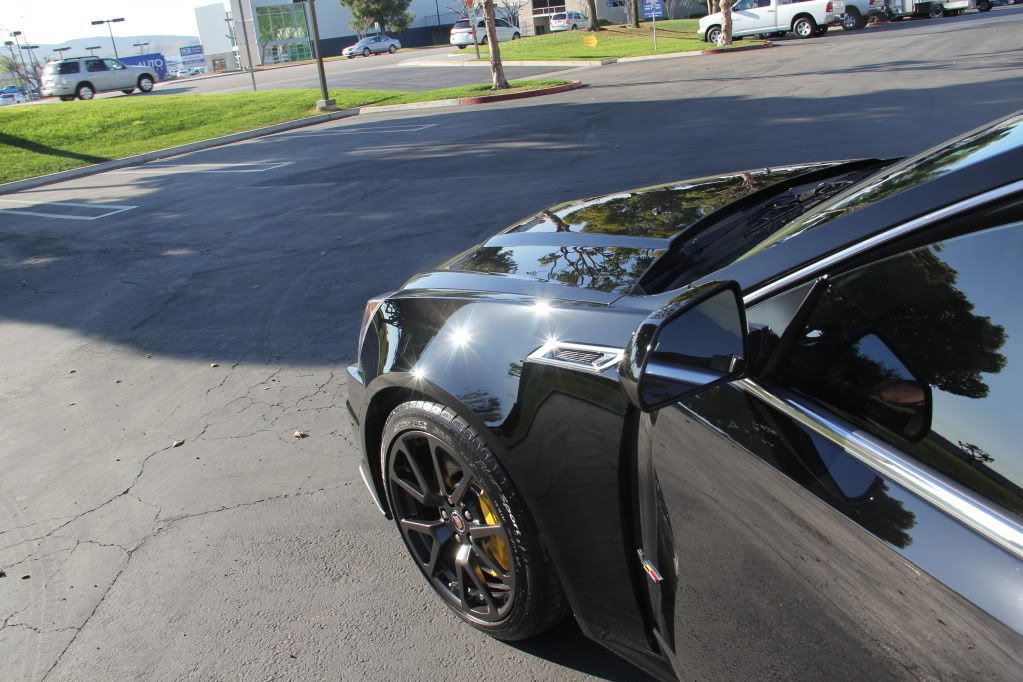
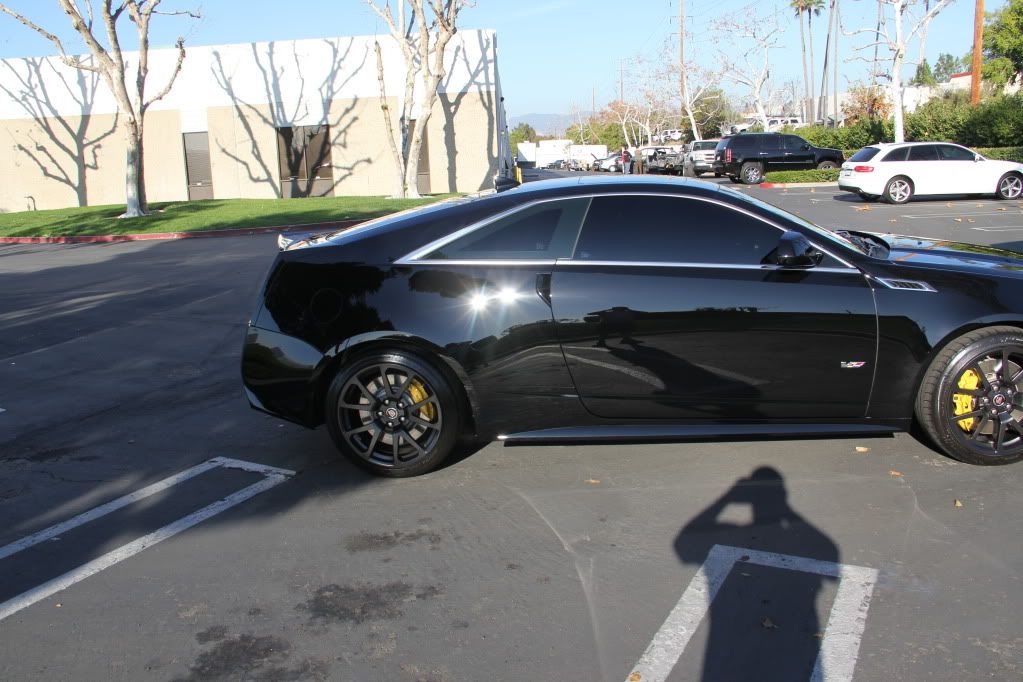
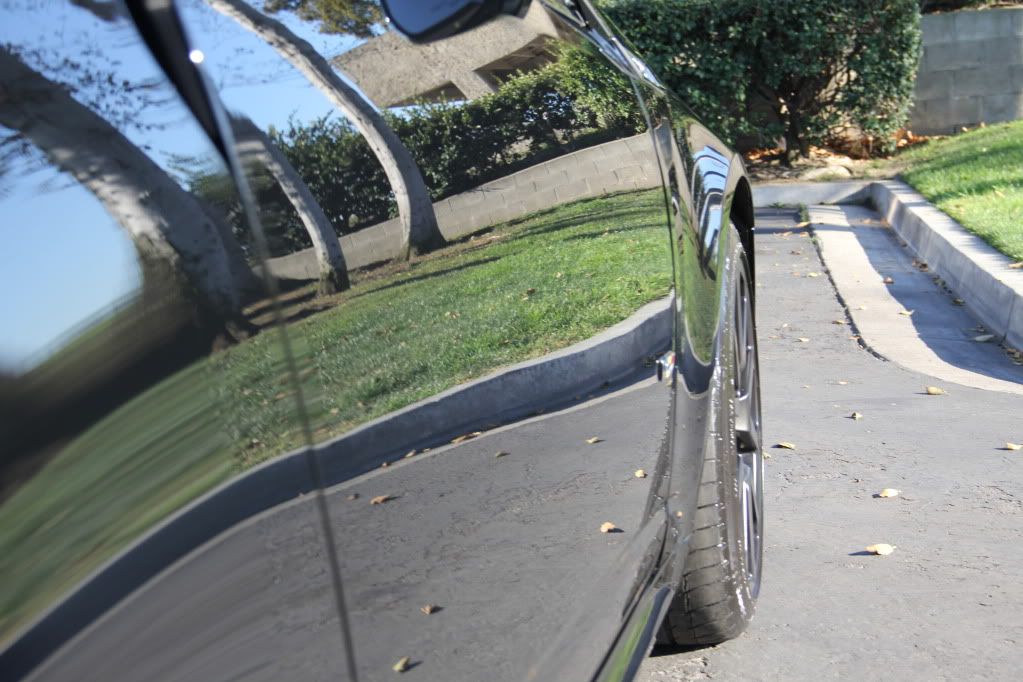
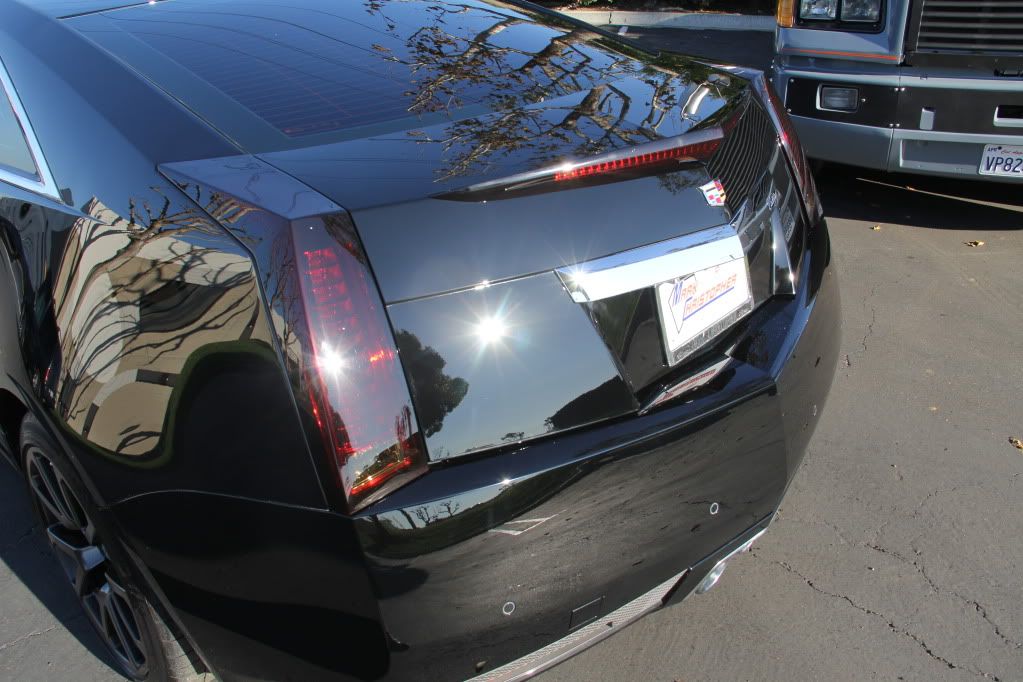
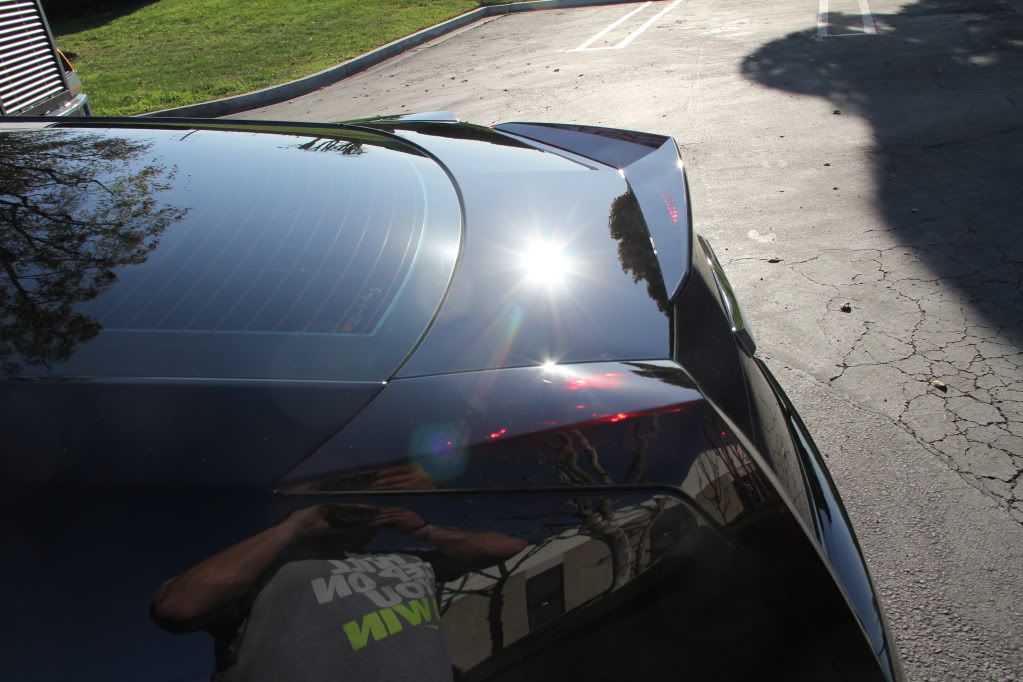
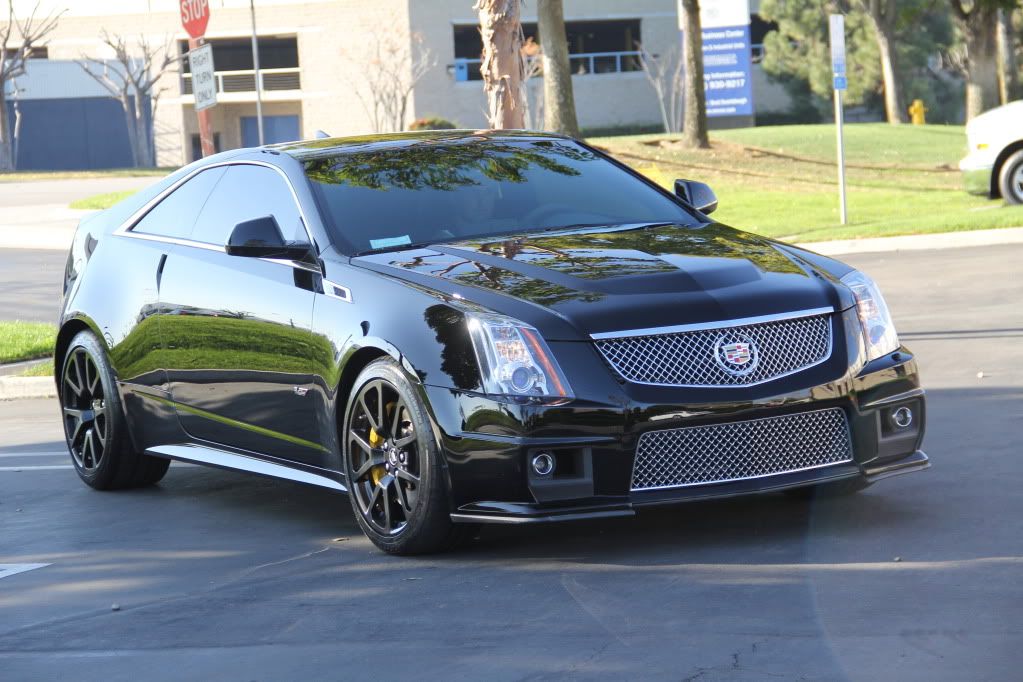
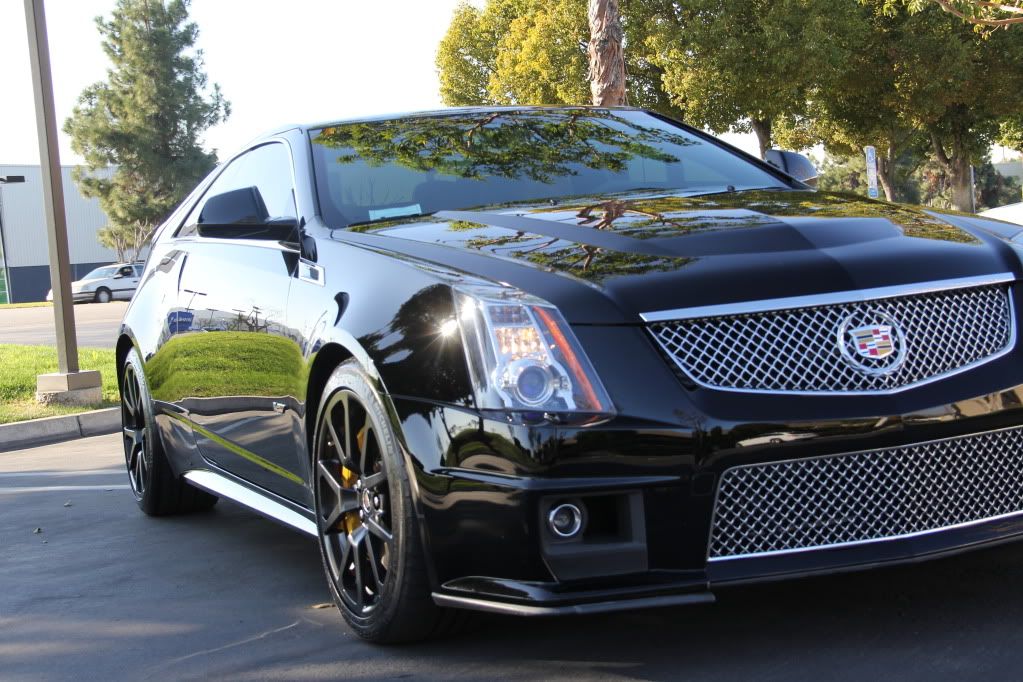
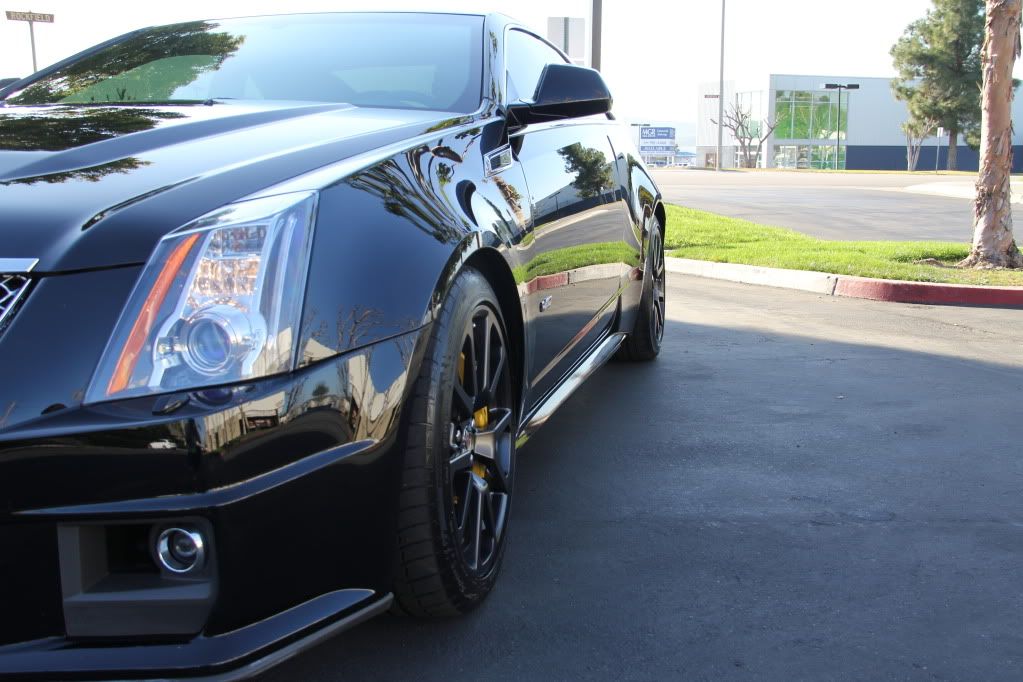
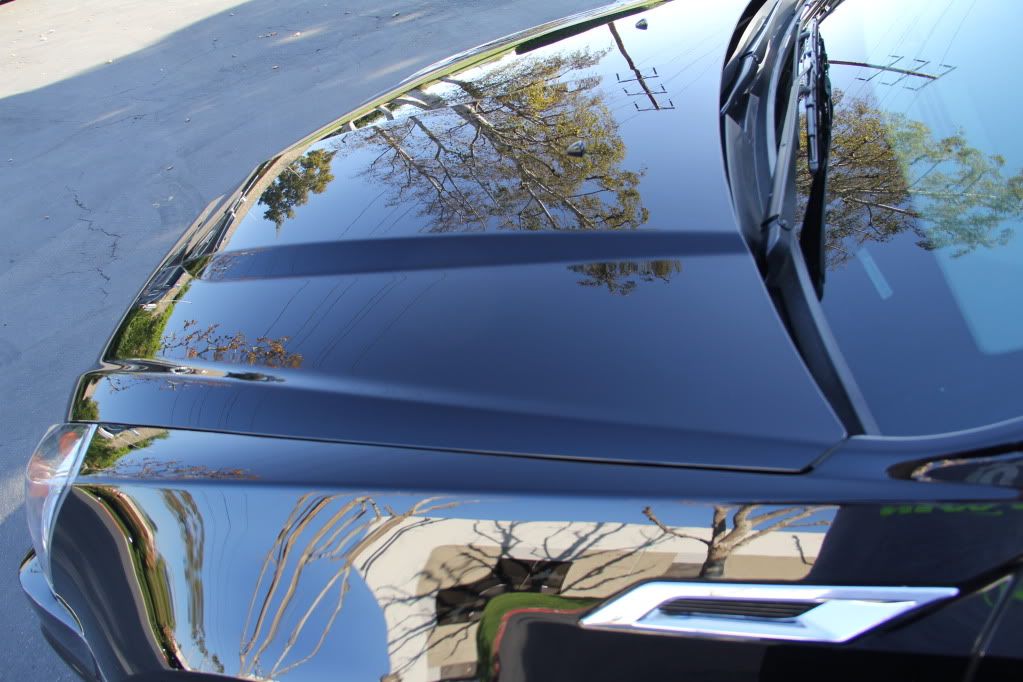
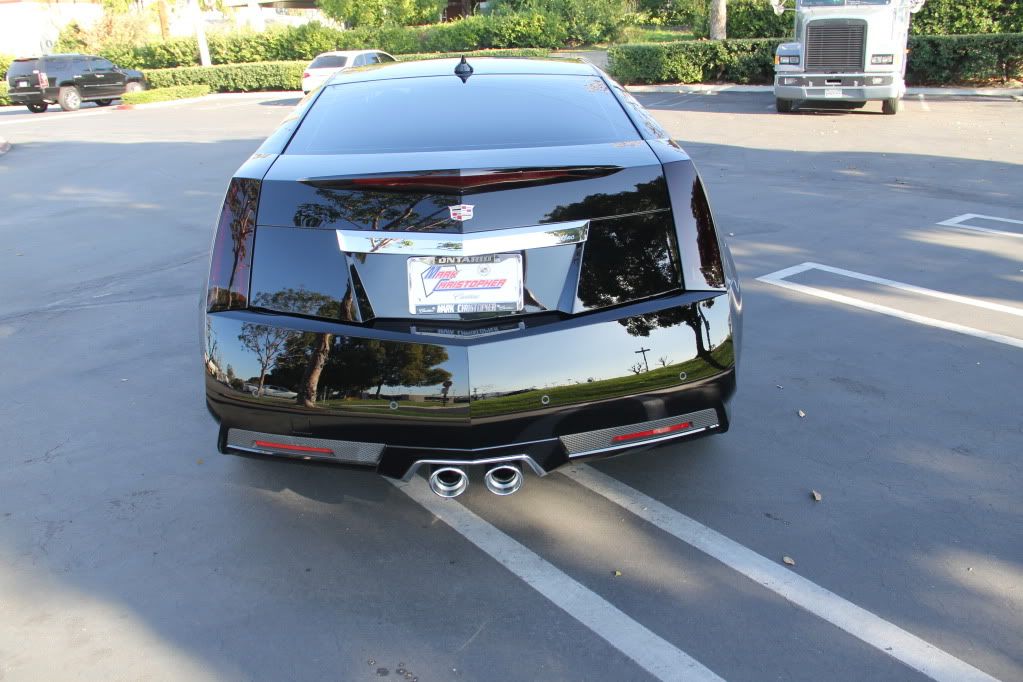
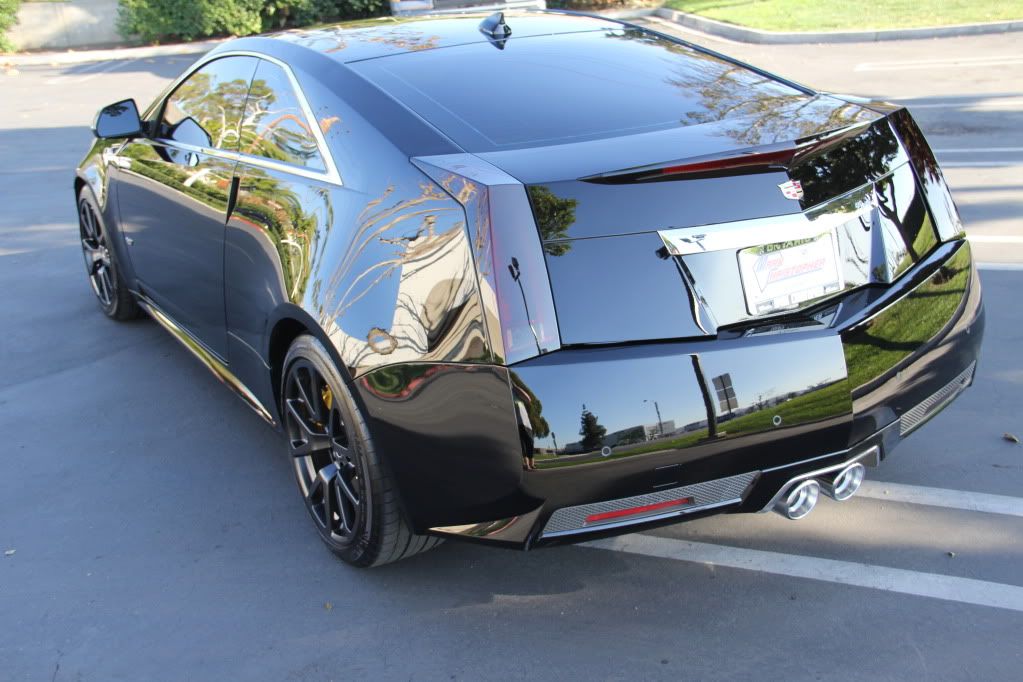
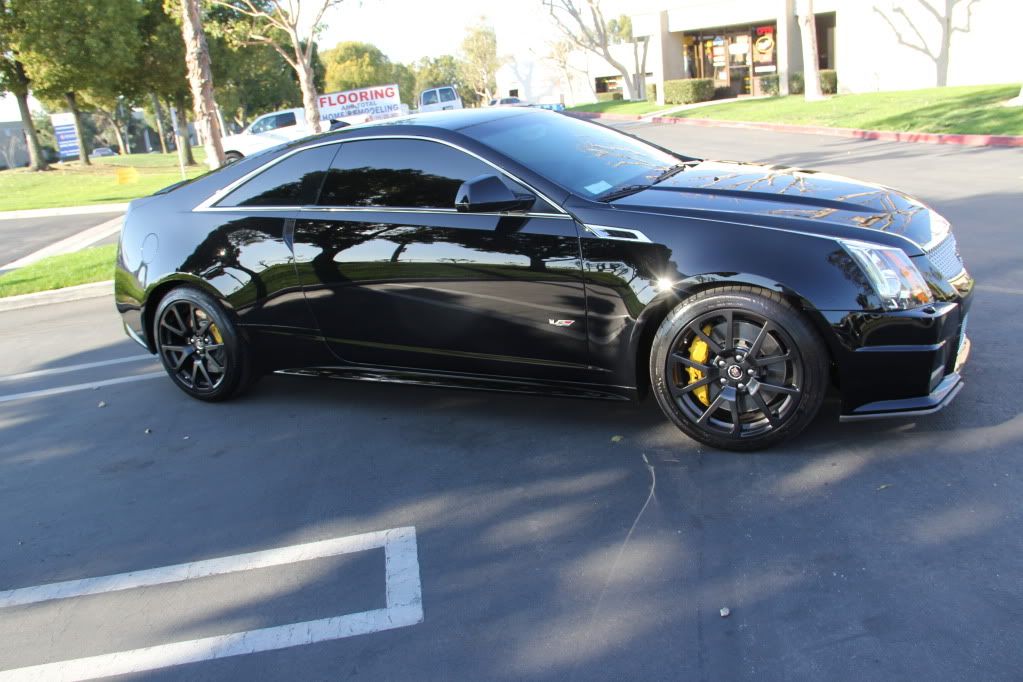
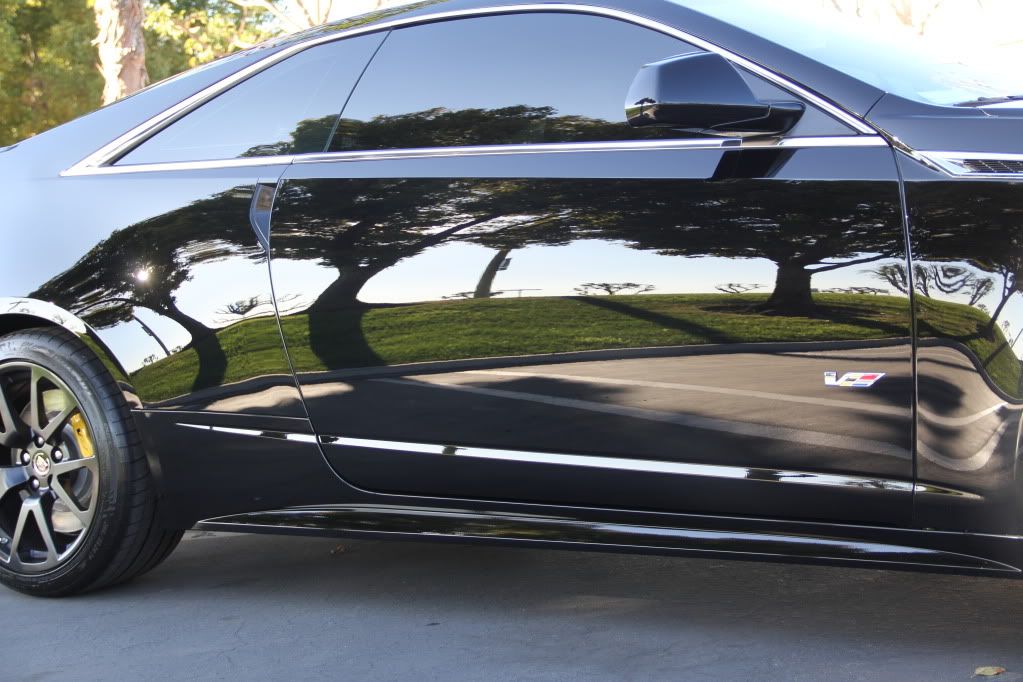
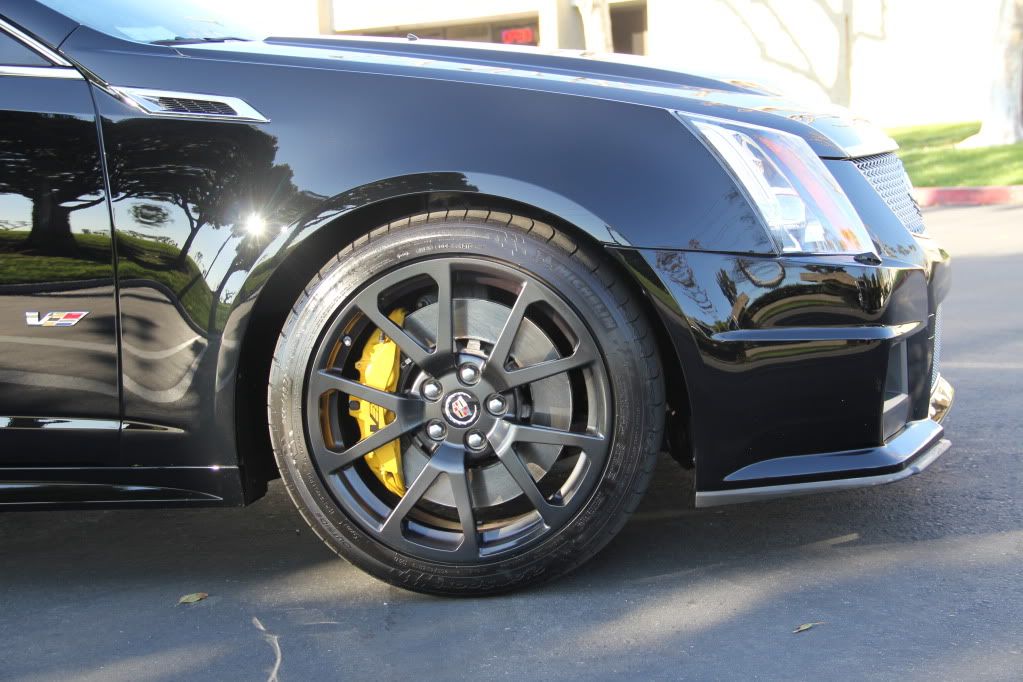
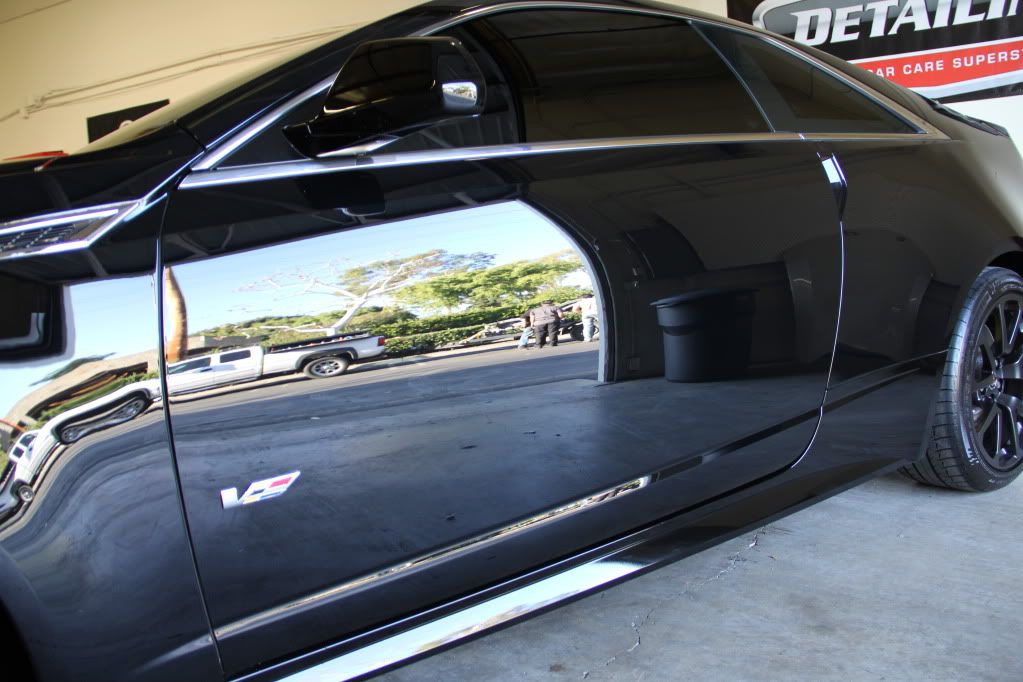
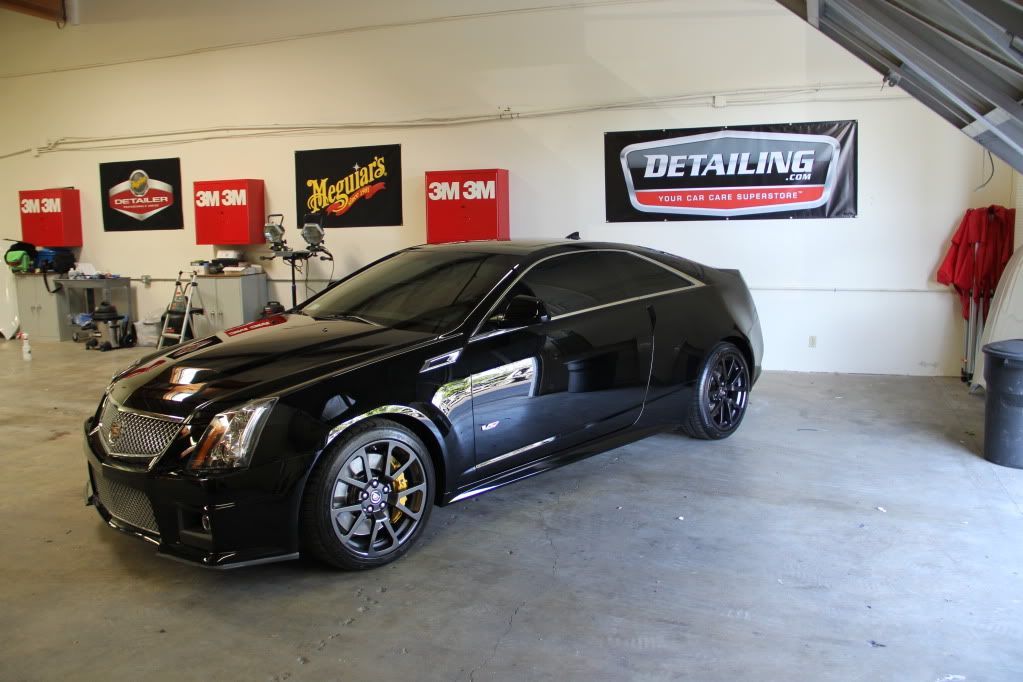
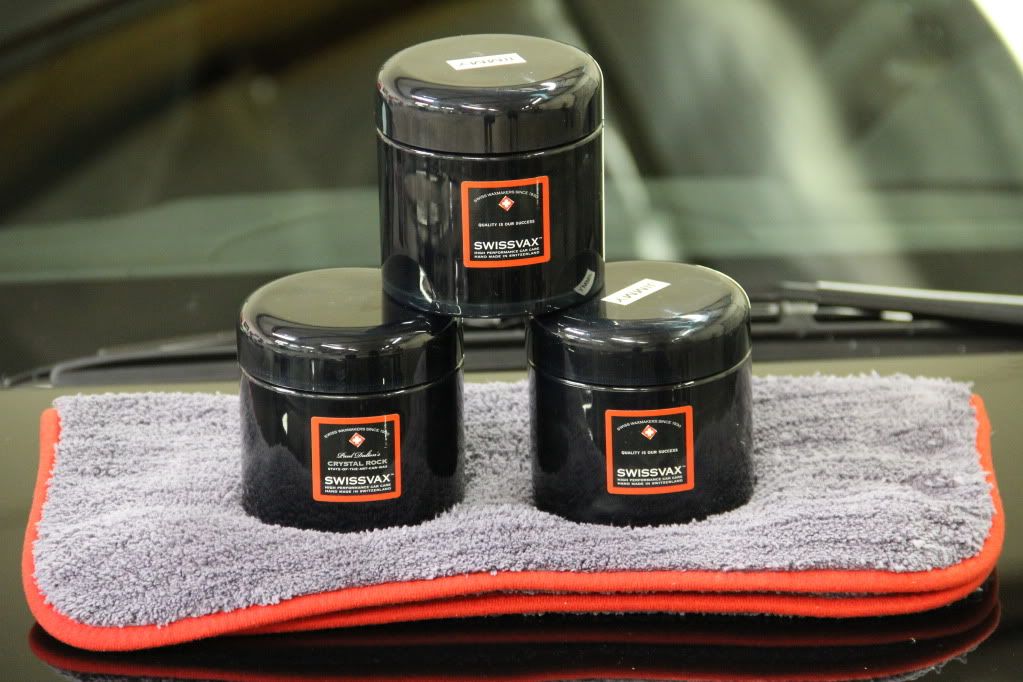
I recently picked up a 2011 CTS V Coupe, it was a demo used by the dealership and I got a smoking deal on it so I couldn't pass it up! After about a week of looking at how terrible the paint and texture was on my car I decided to fix it! Myself and Justin knew that this was not going to be a fun task to do in between all of the other cars we were correcting but the outcome was sure worth it all! After our prep process we pulled it inside to get some before shots with the Sun Gun and take reading with the DFT Combo. Once we checked the readings we determined what steps we were going to do. The sanding process was carried out with a Trizact Sander, starting with 1,500 dry, 3,000 wet, and finished with 4,000 wet. 4-5 steps were used in bringing the paint back to life. The car was topped with a coat of Crystal Rock, and the two others I have been testing. Enjoy the photos.
Sonax Full Effect
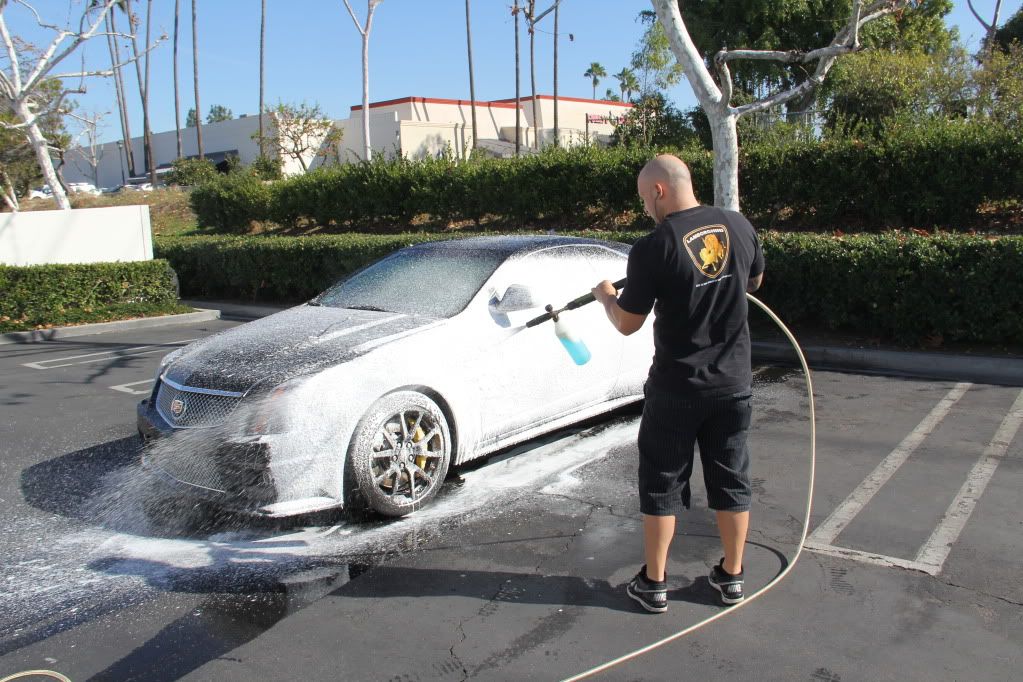
Foamed
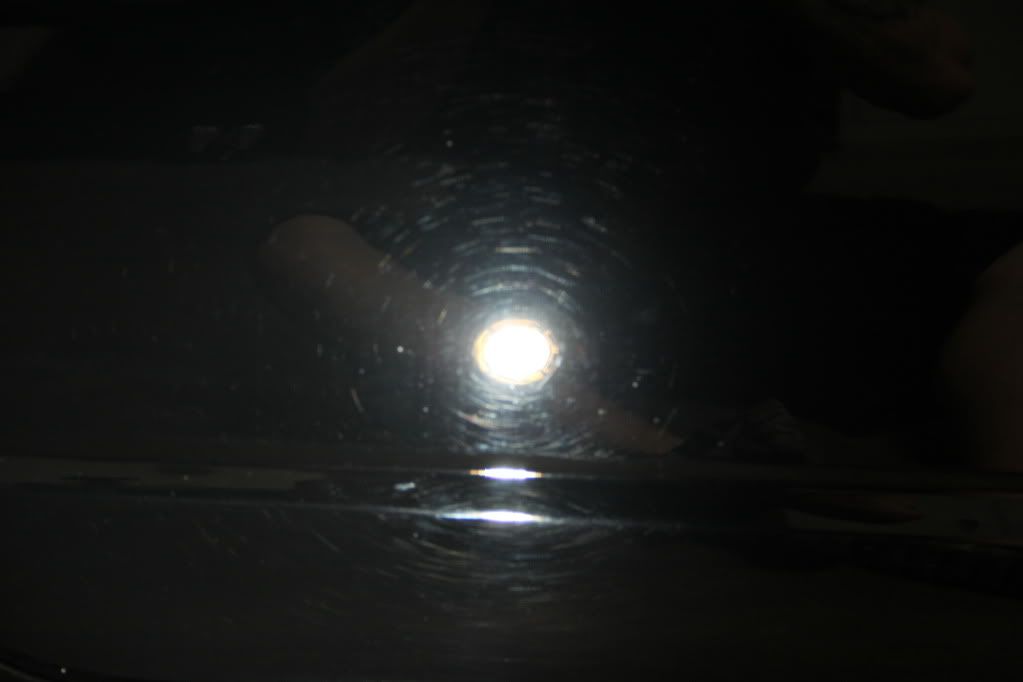
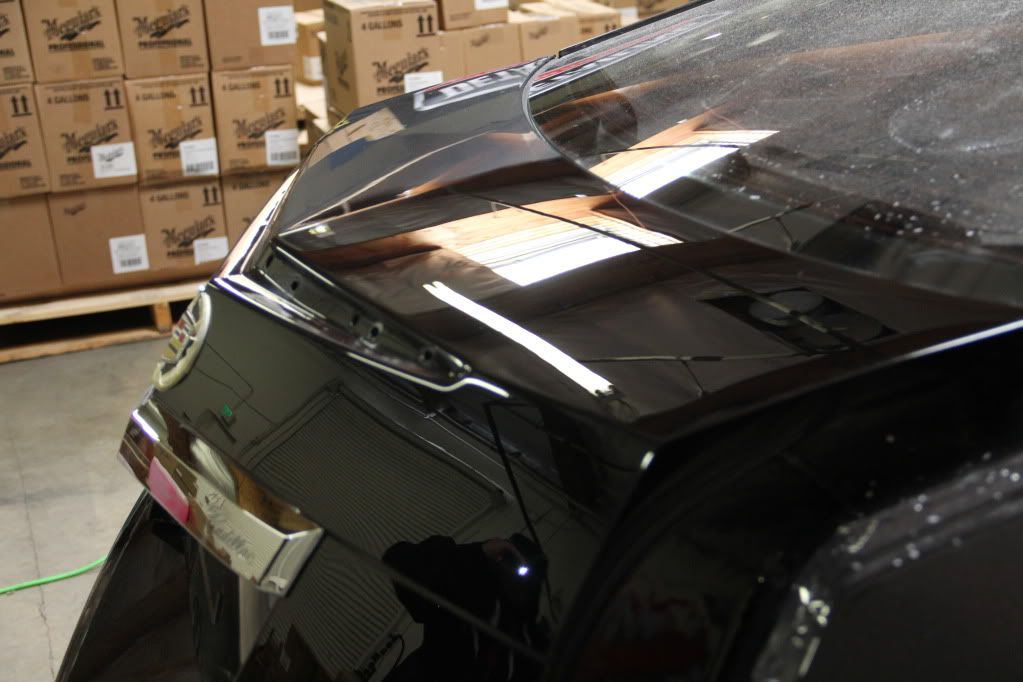
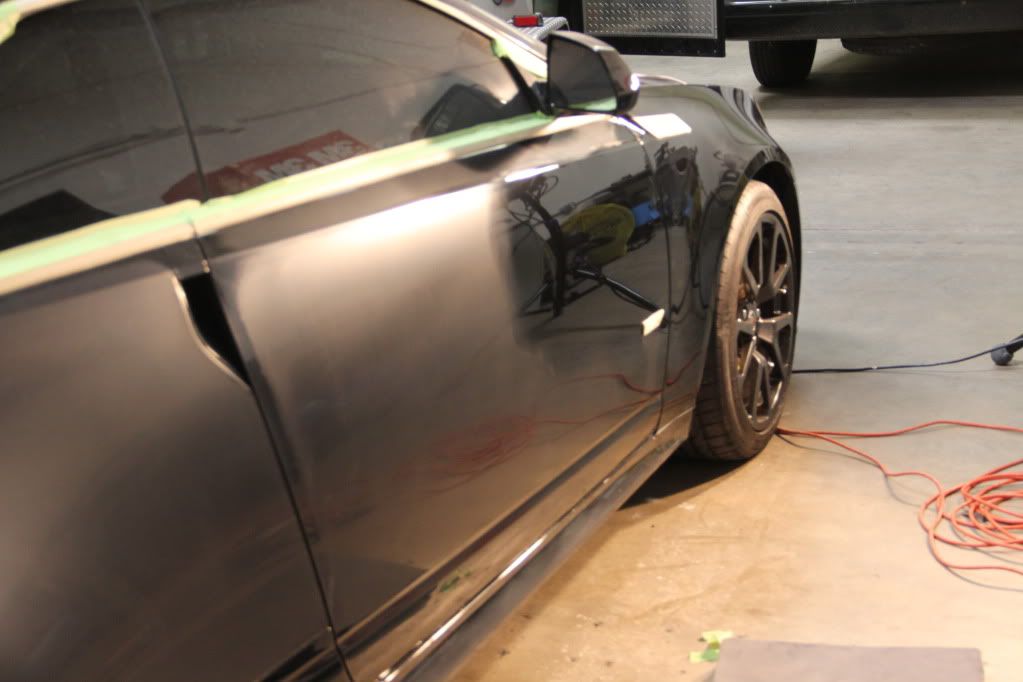
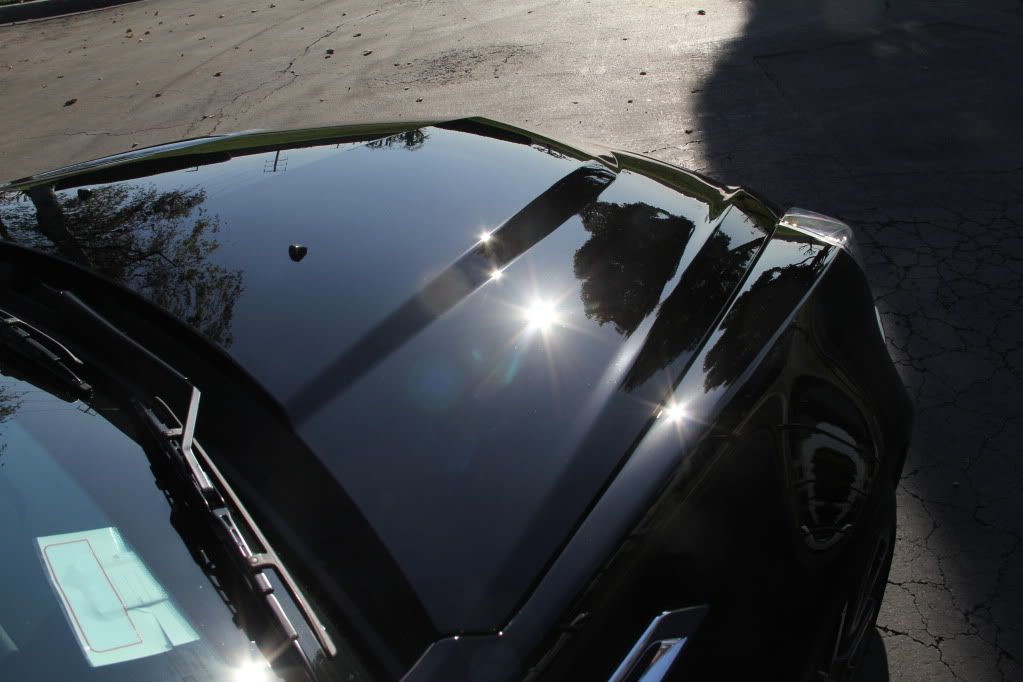
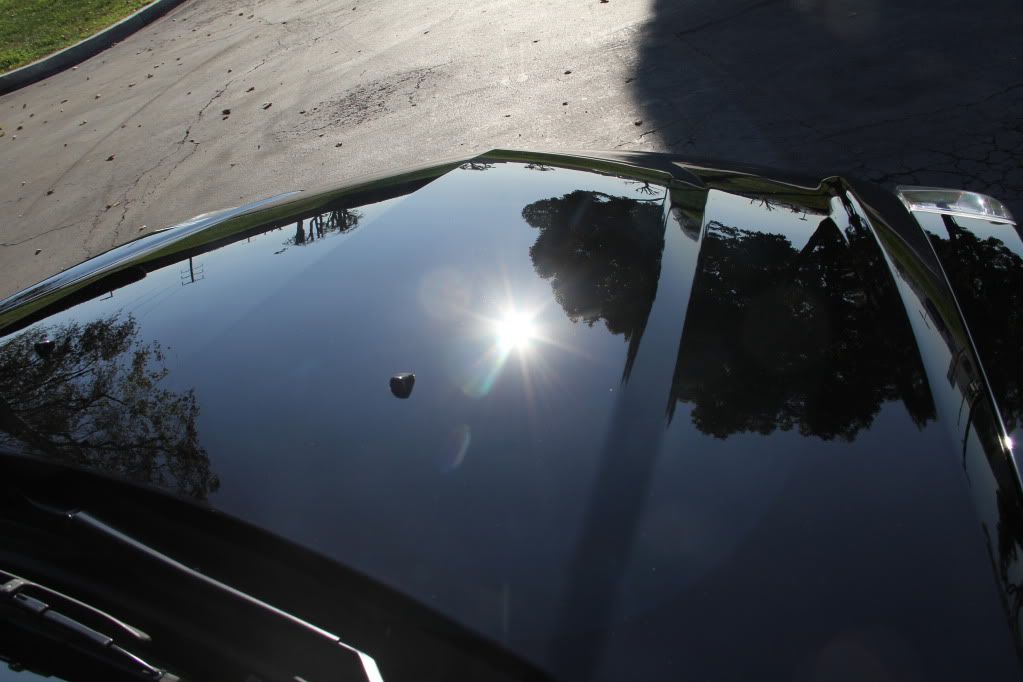
Before Damage Shots
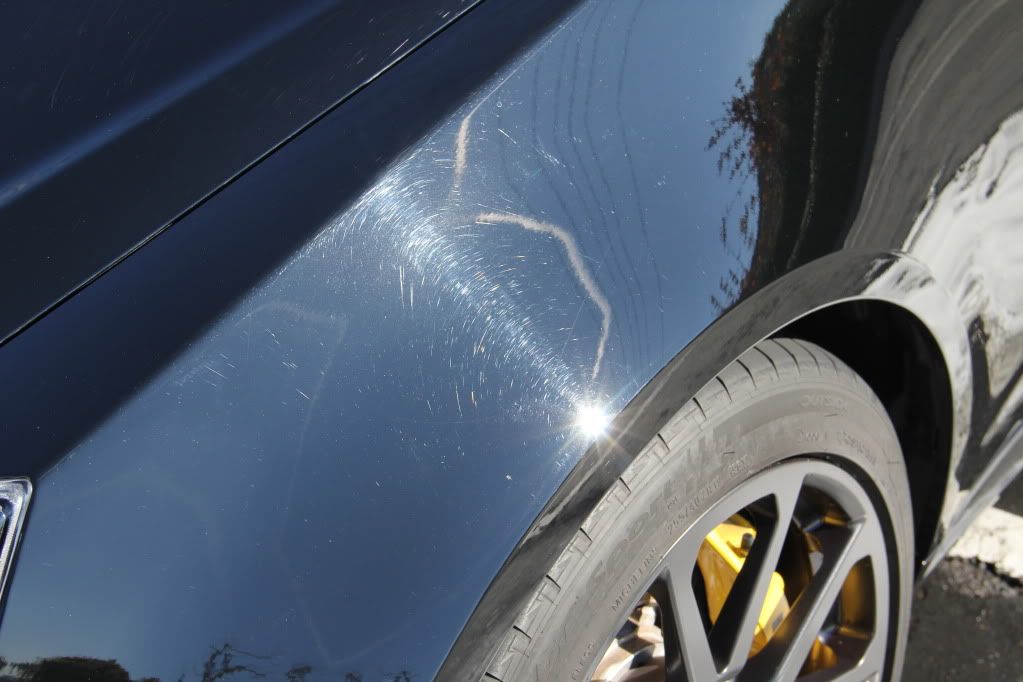
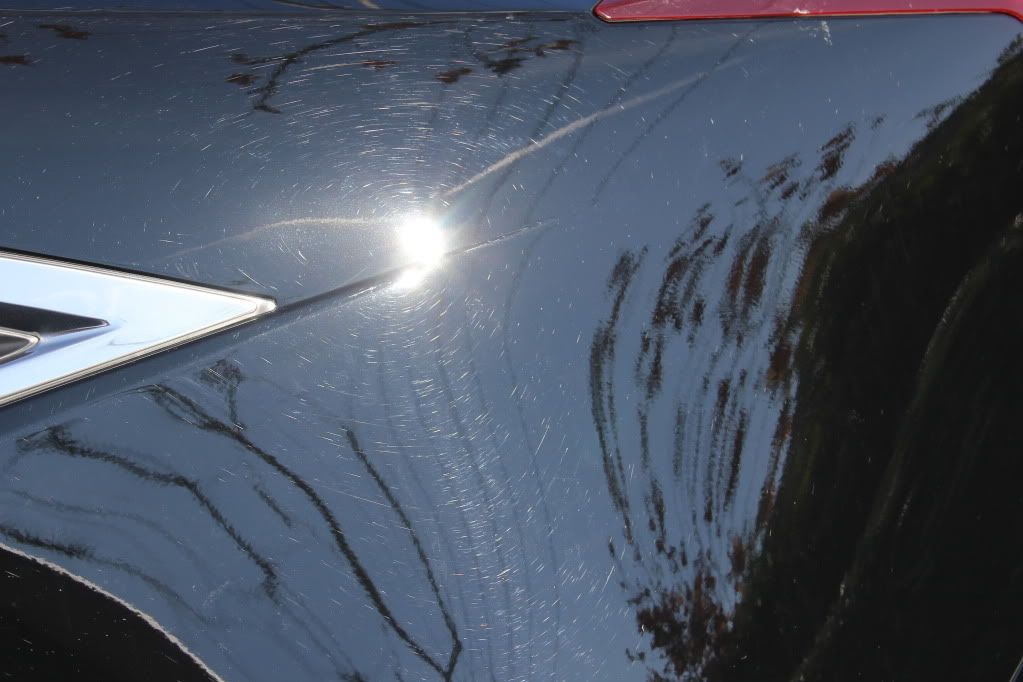
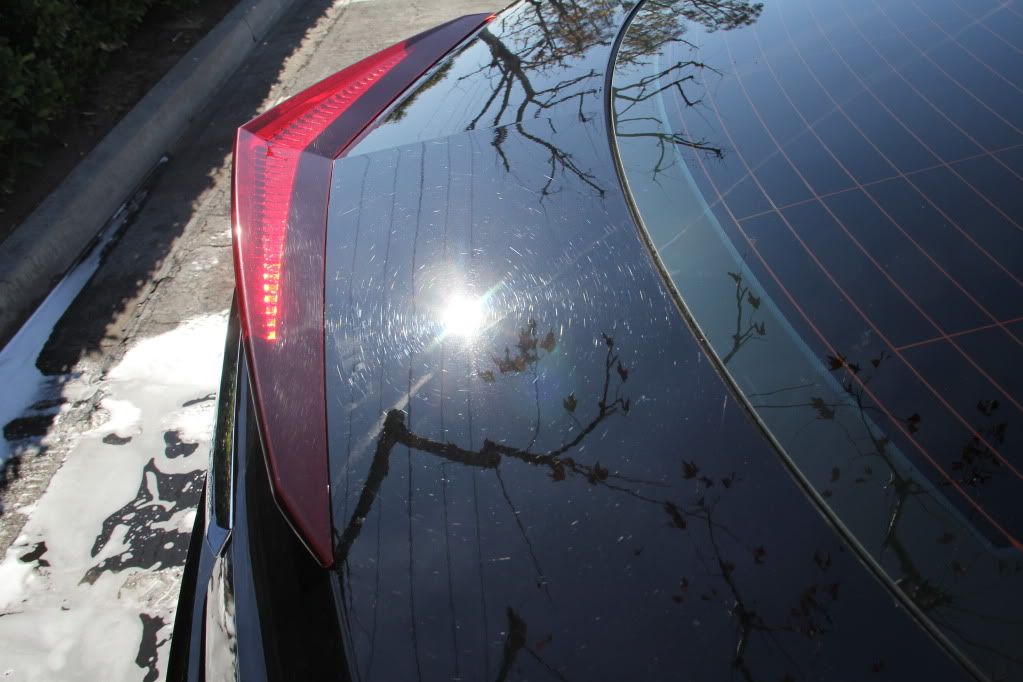
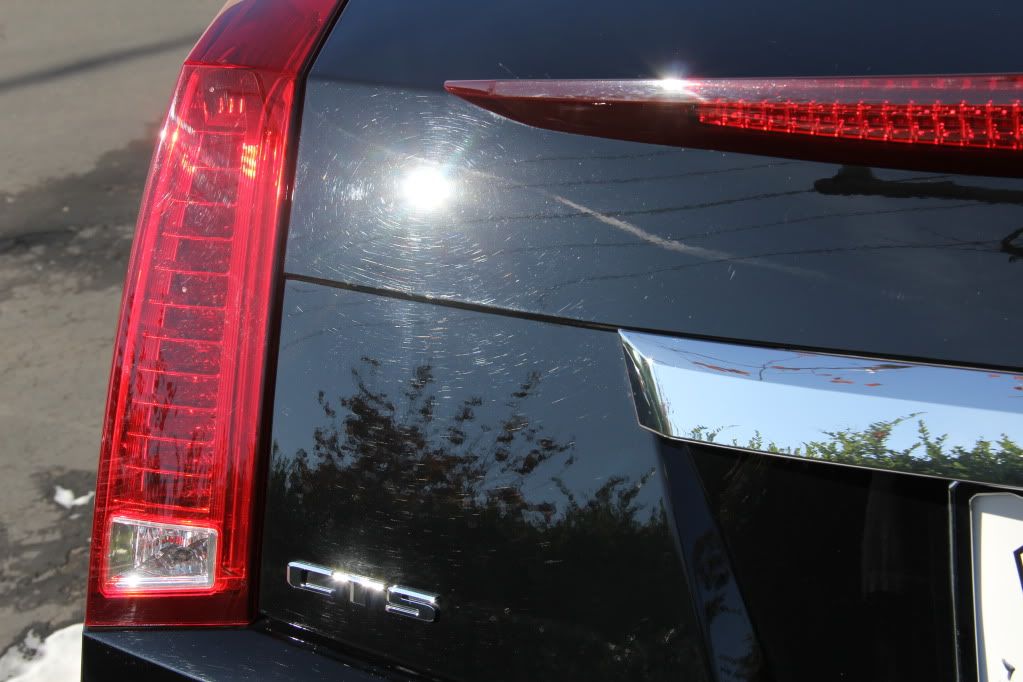
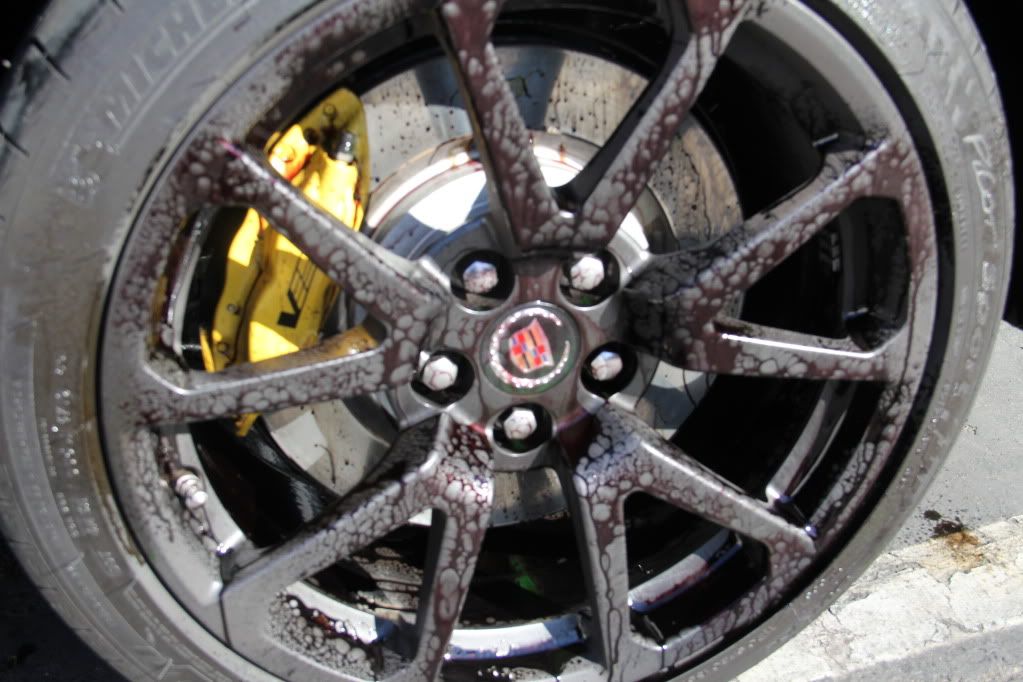
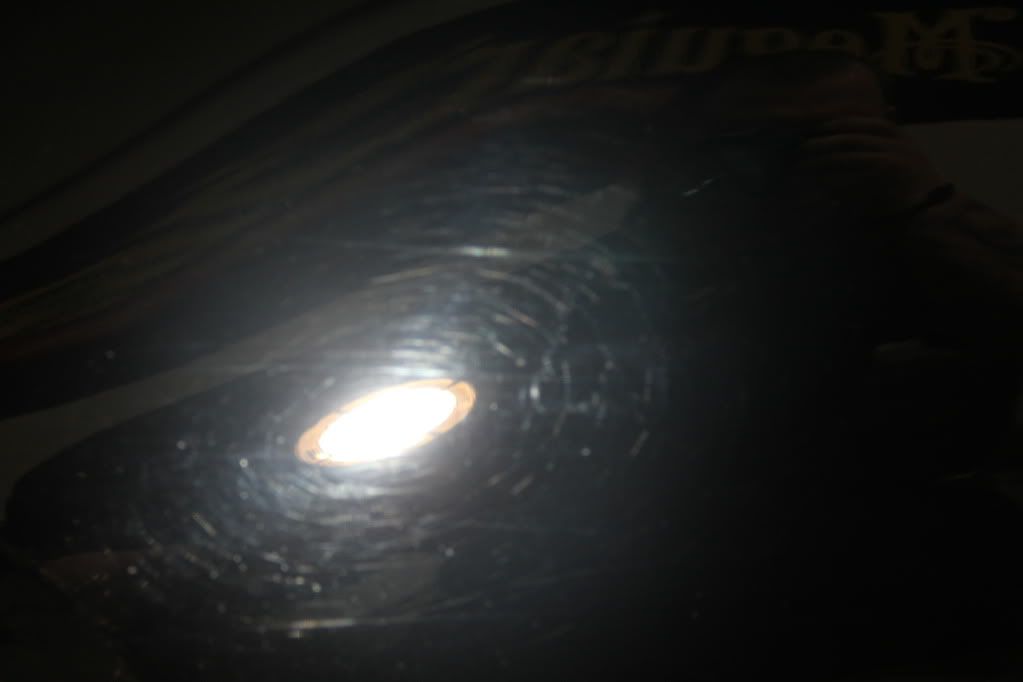
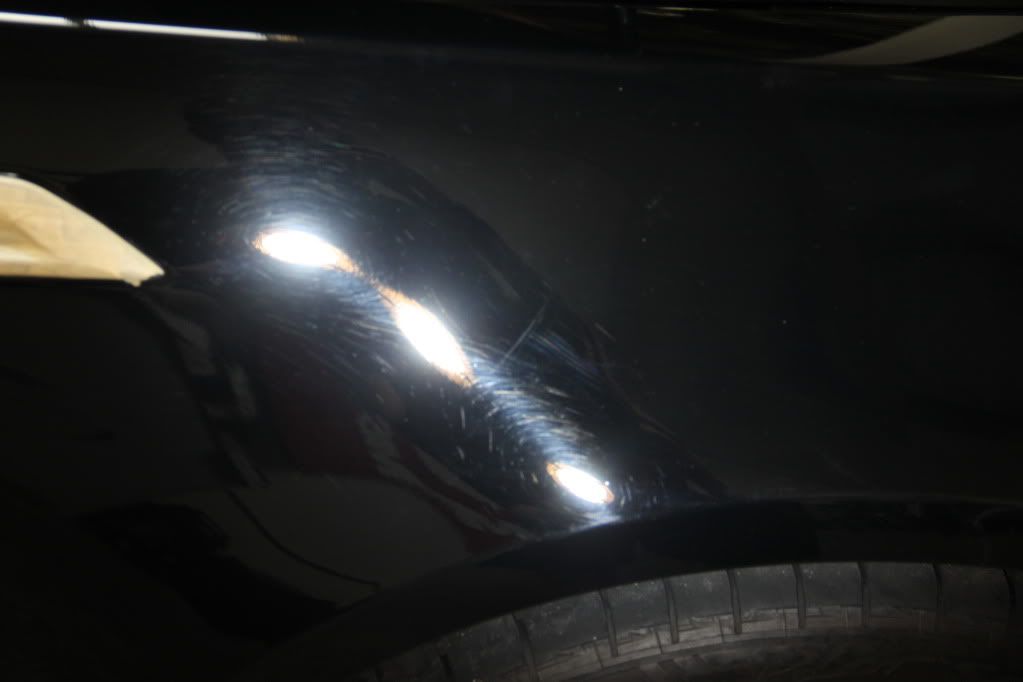
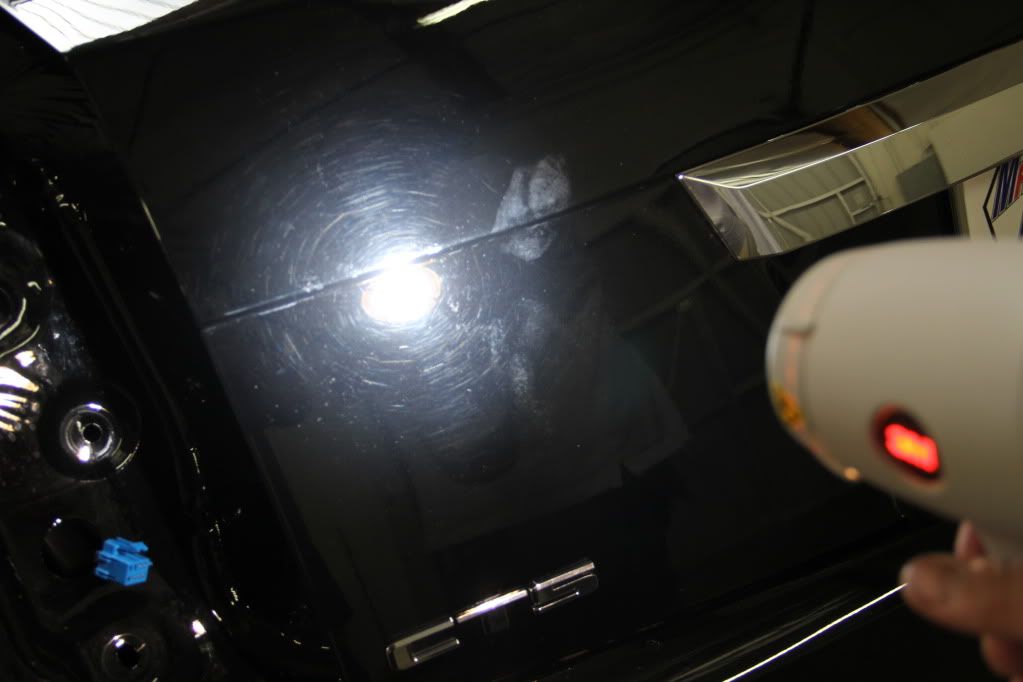
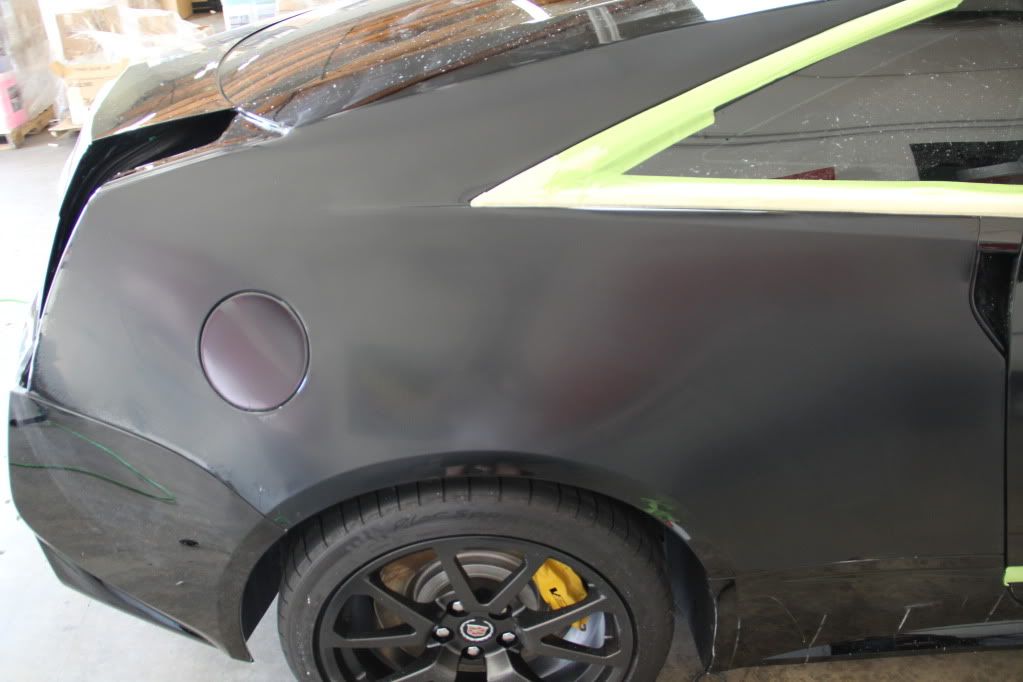
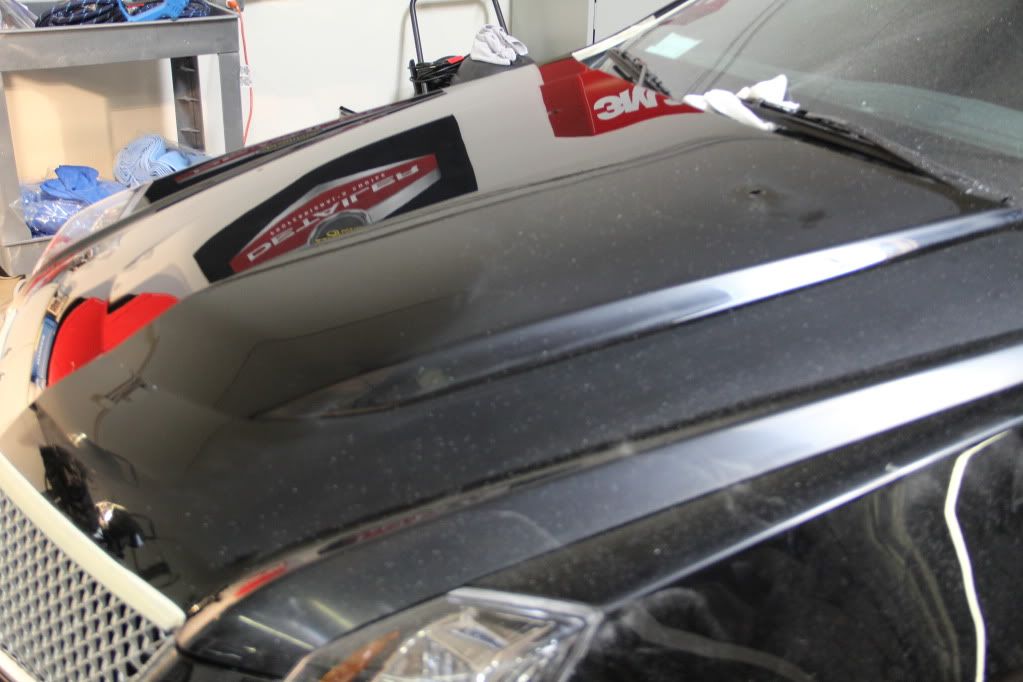
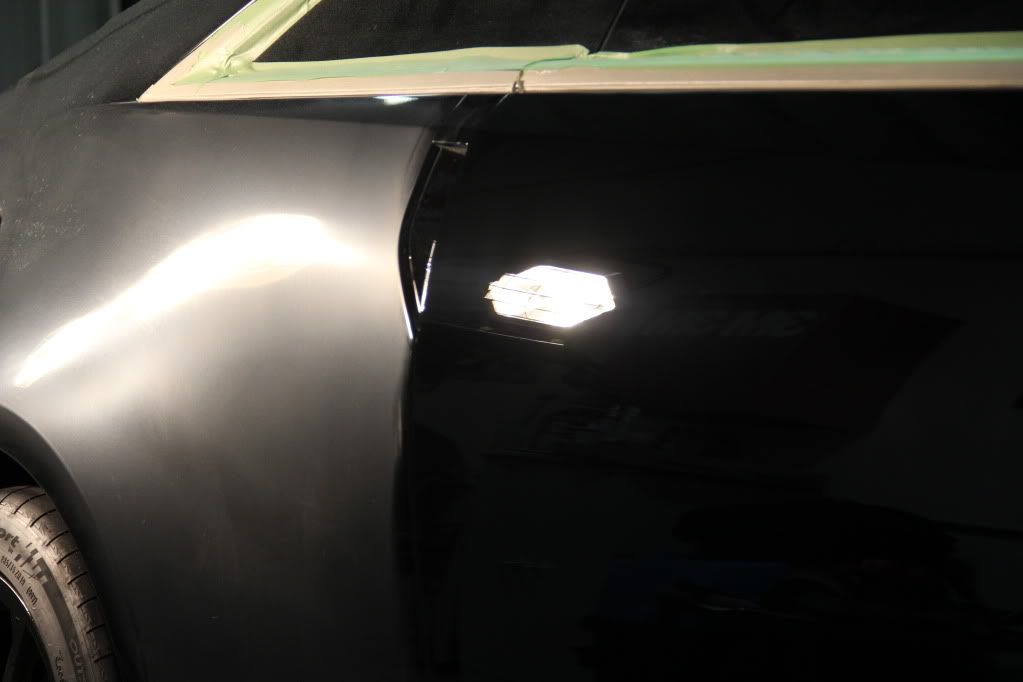
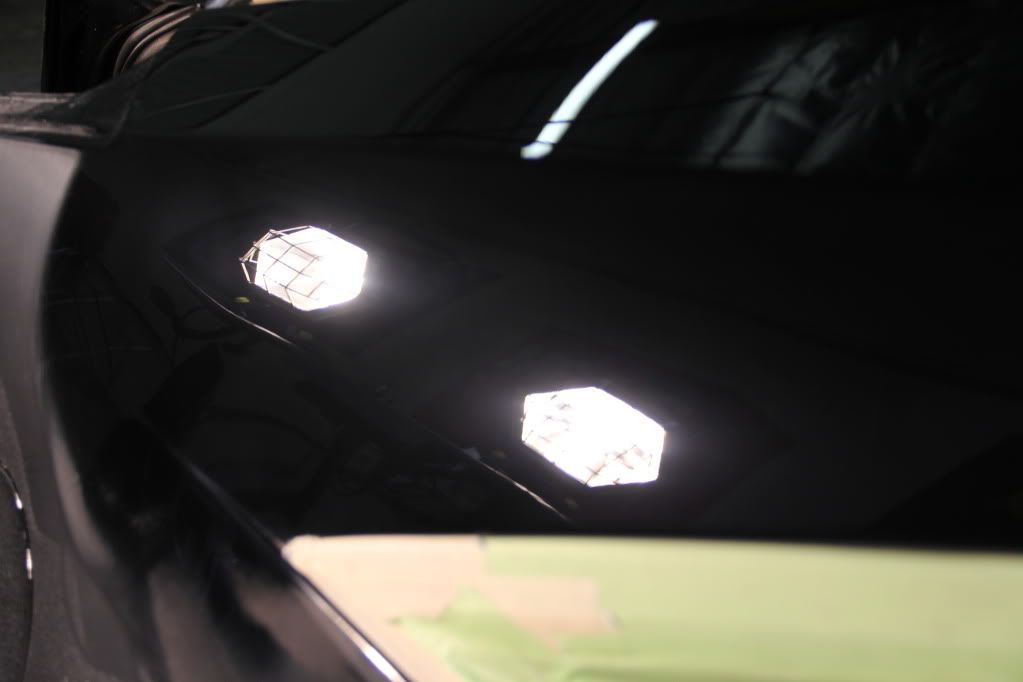
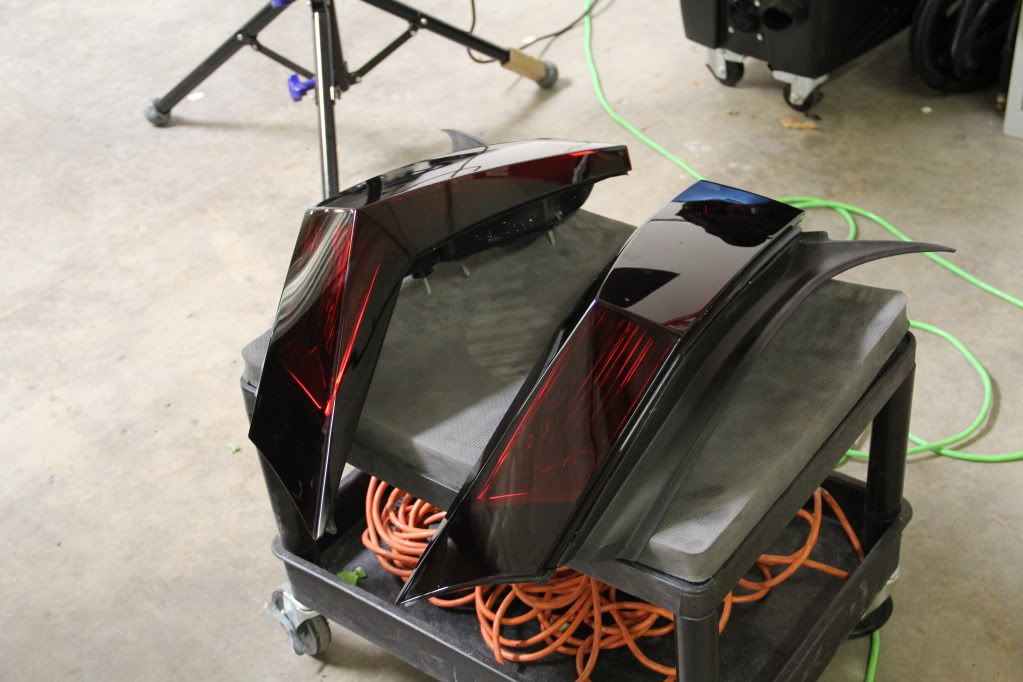
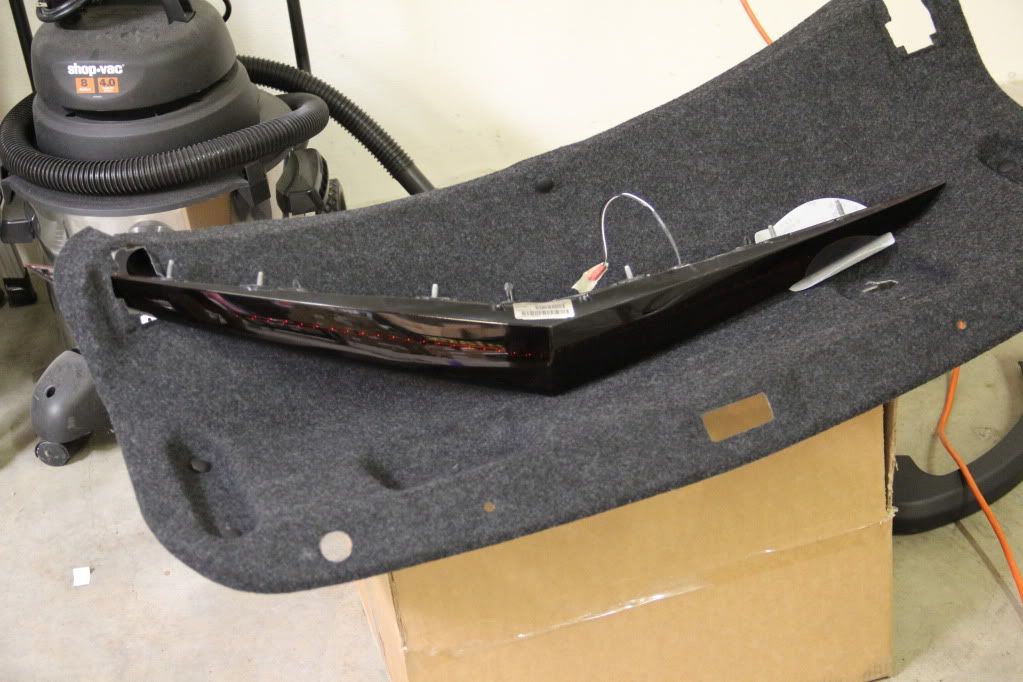
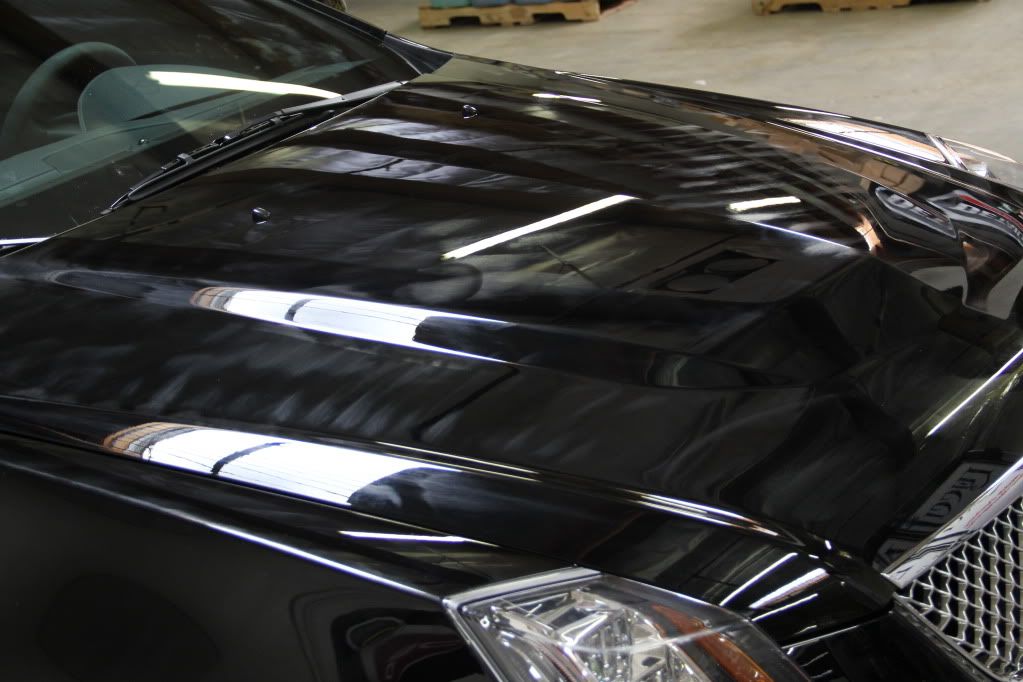
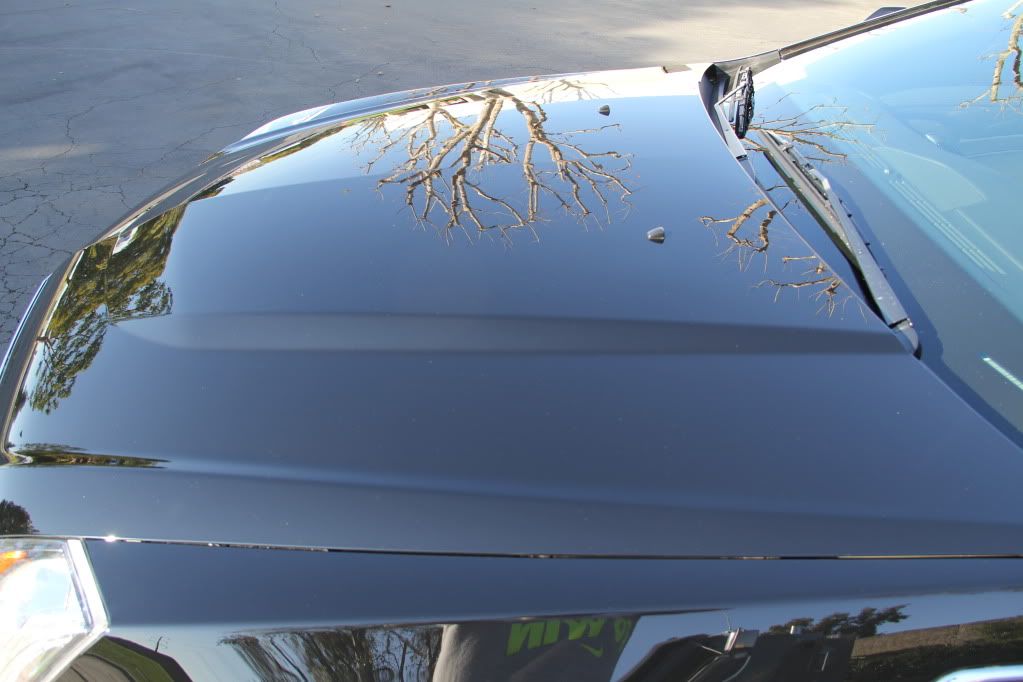
Nasty Texture (GM Quality)
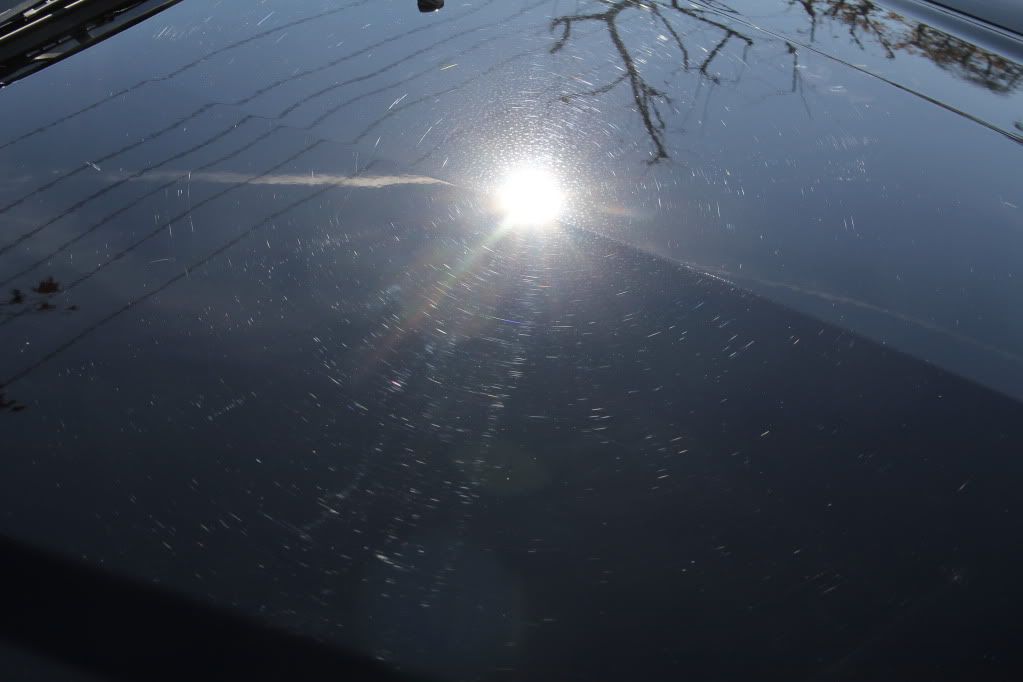
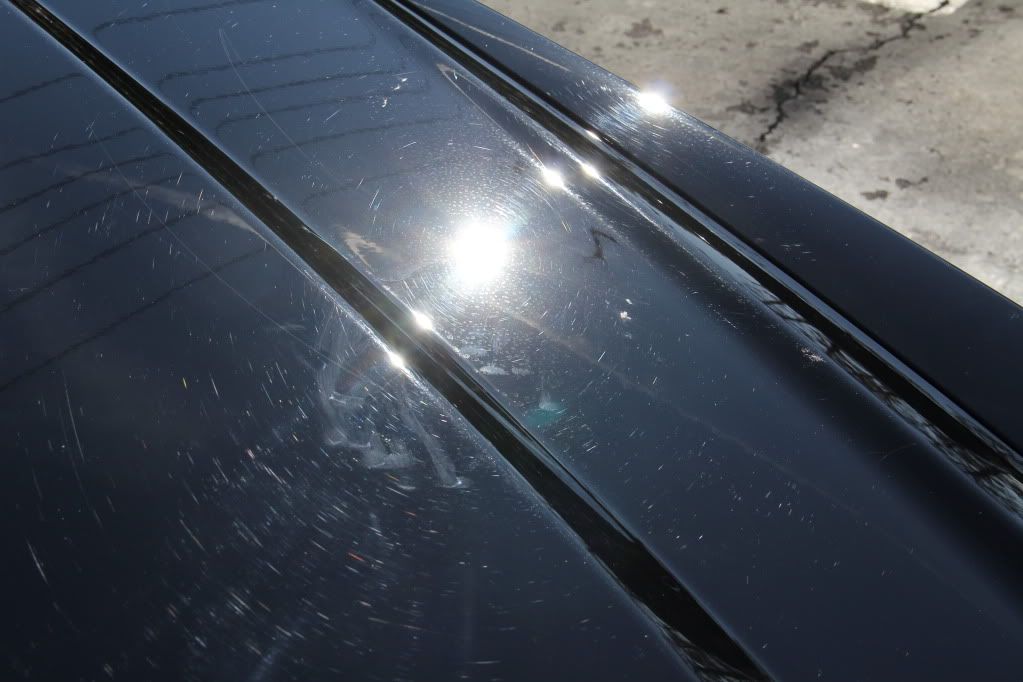
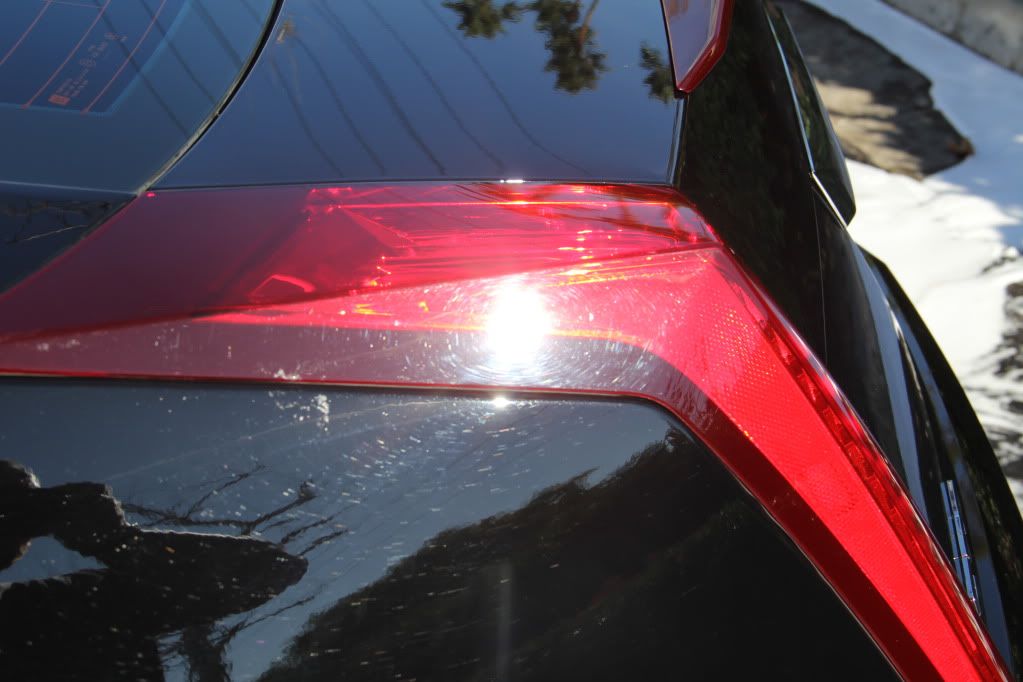
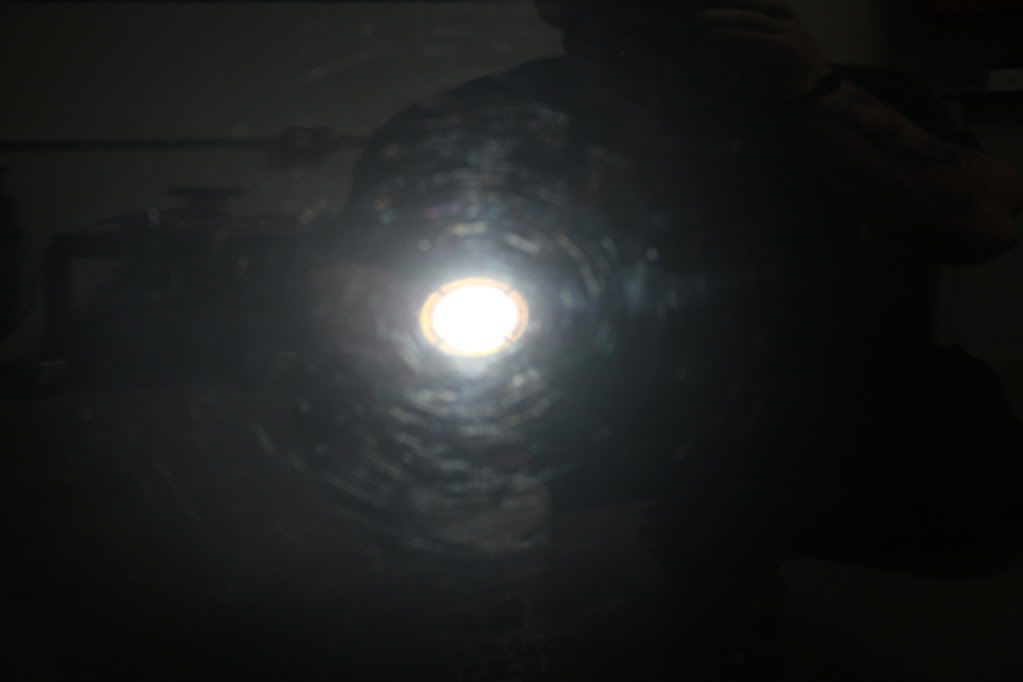
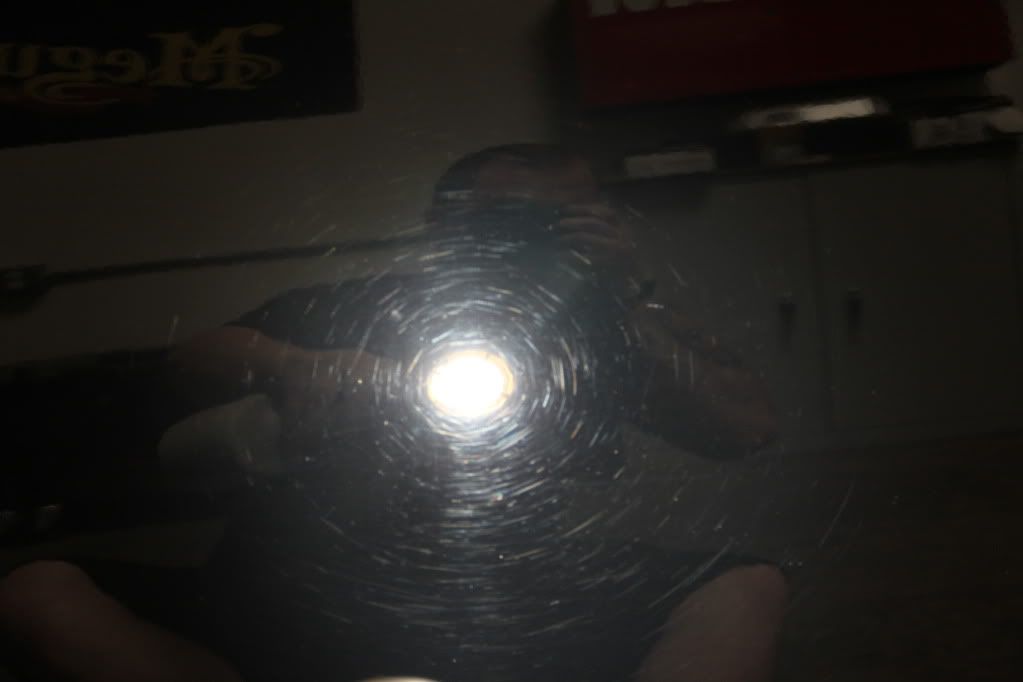
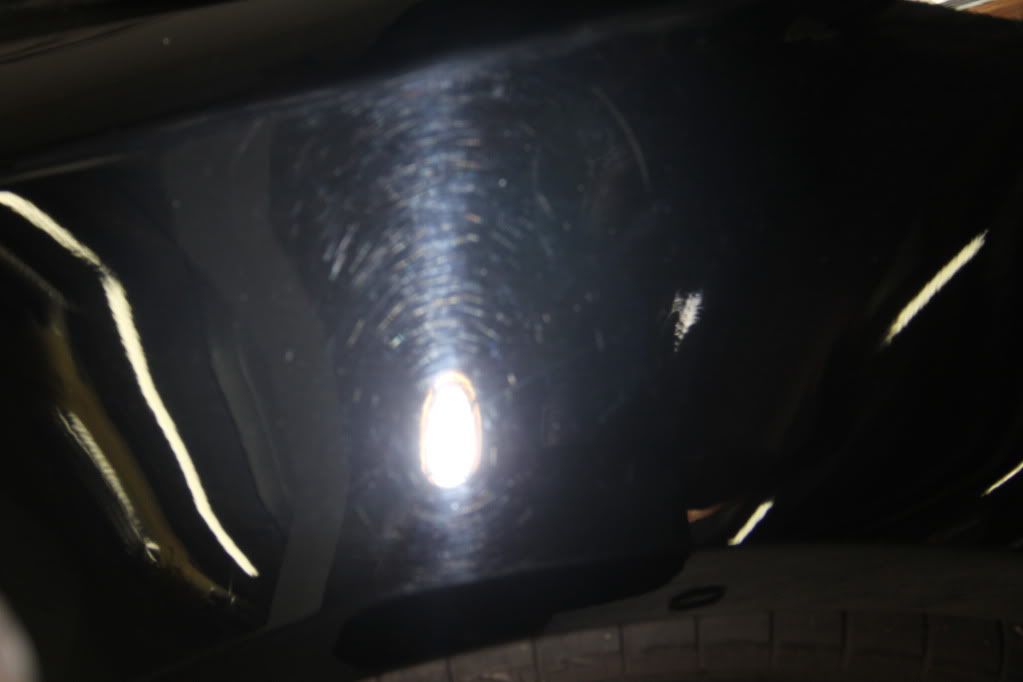
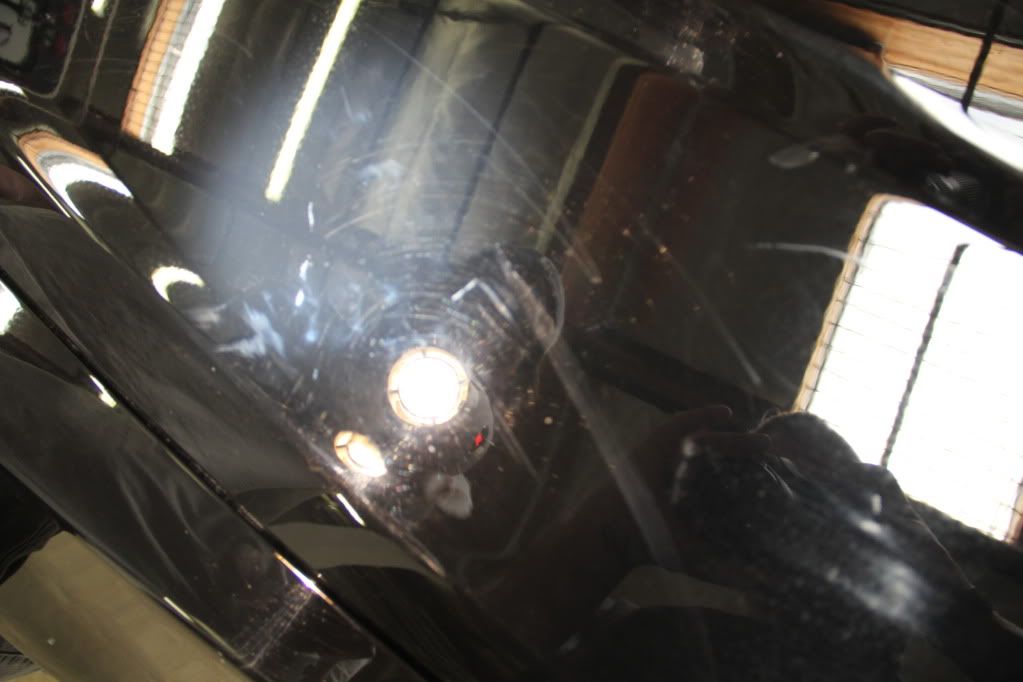
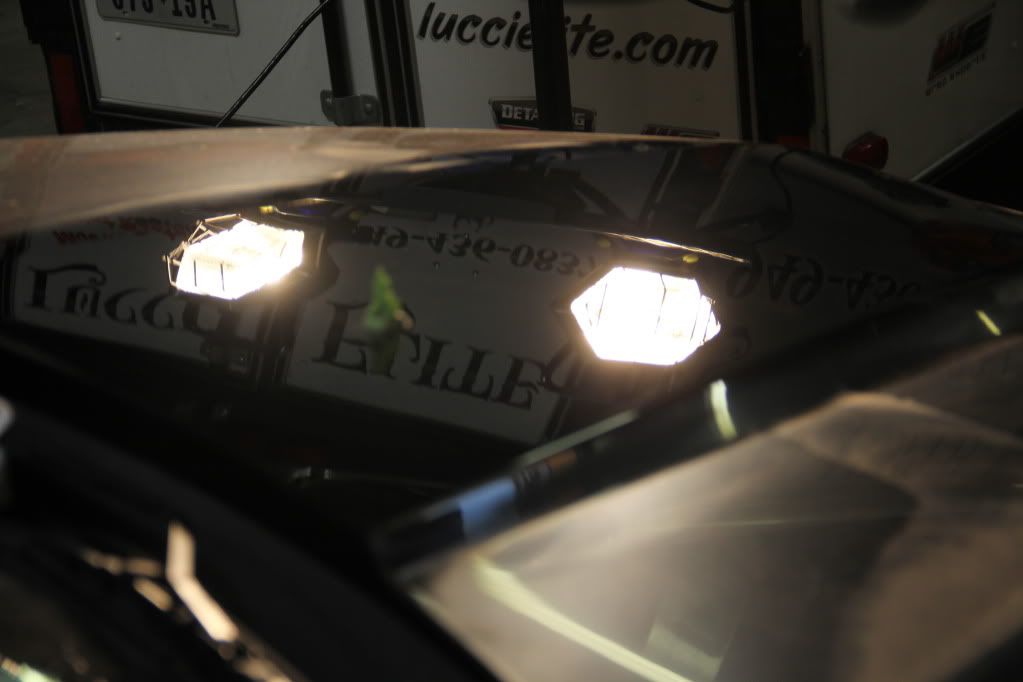
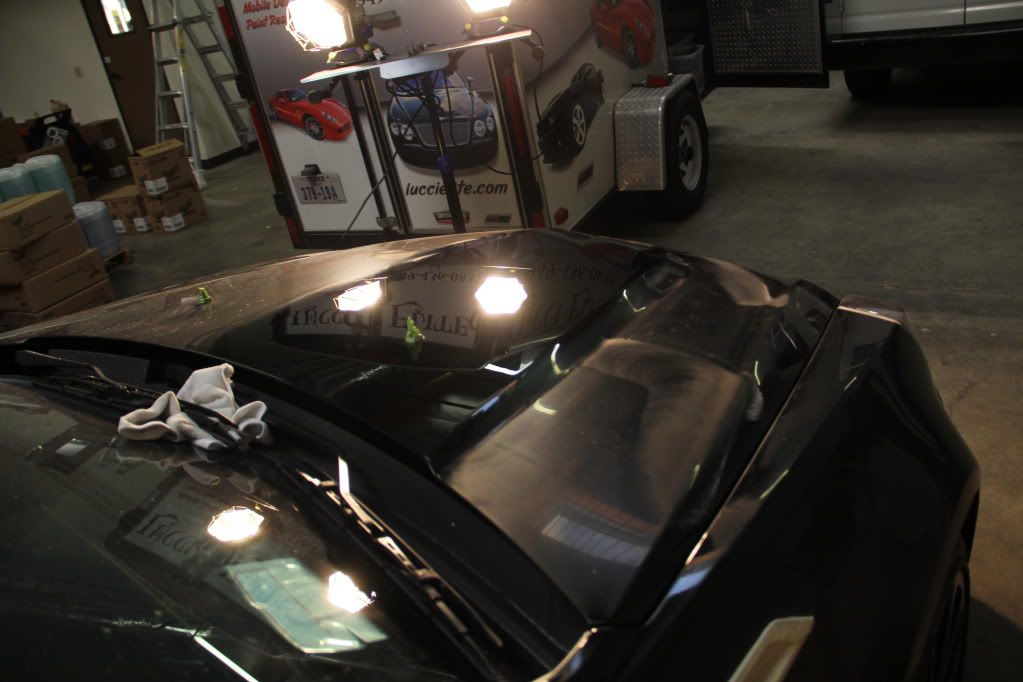
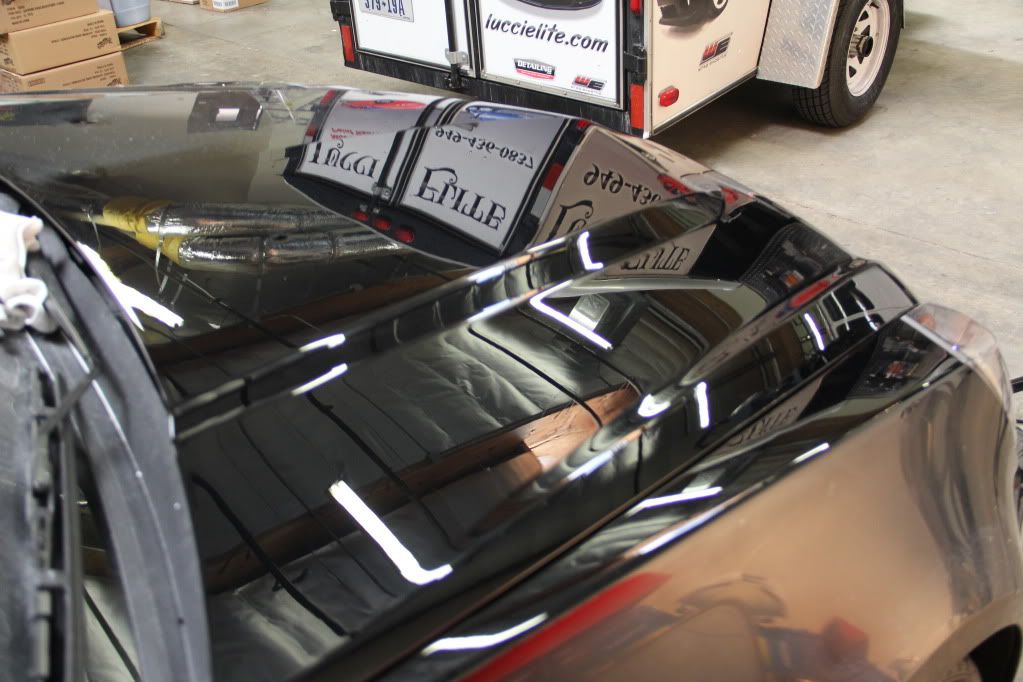
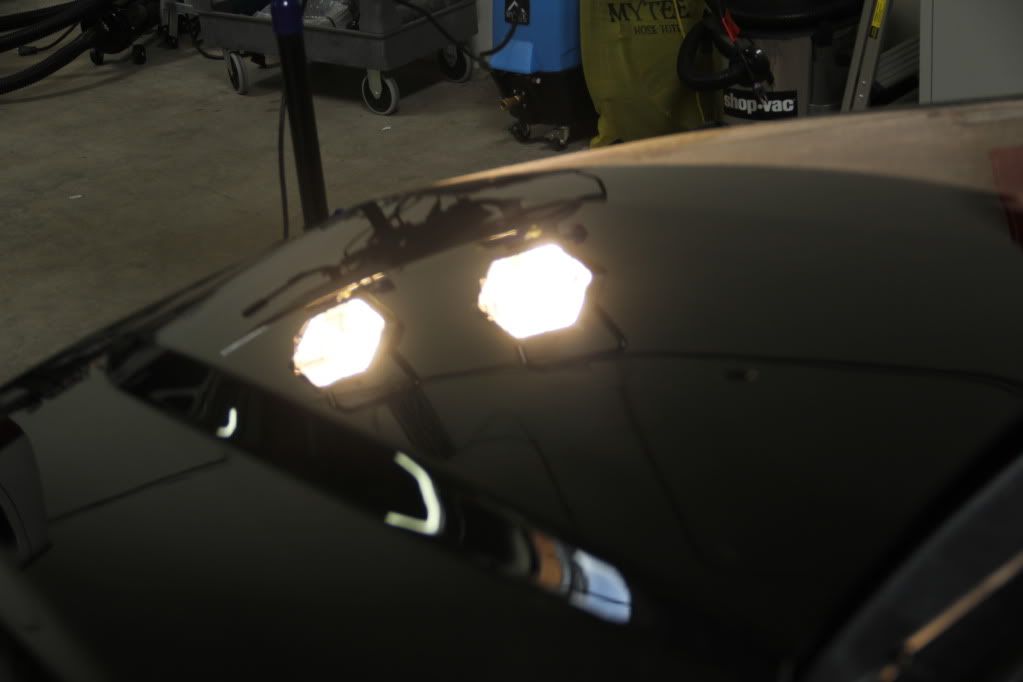
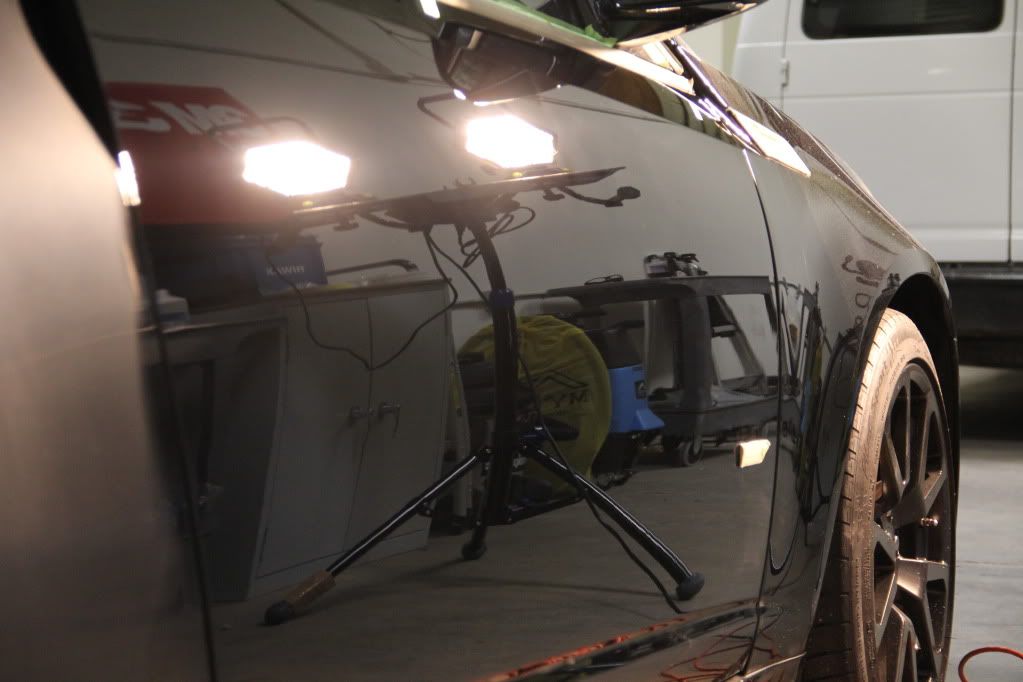
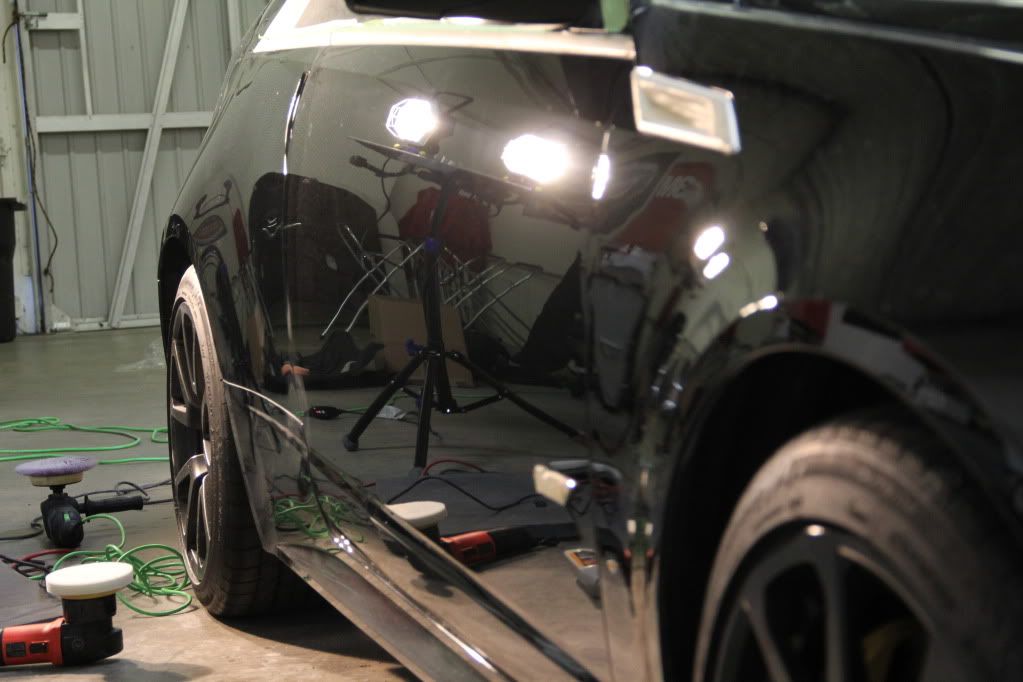
Under The Sun Gun
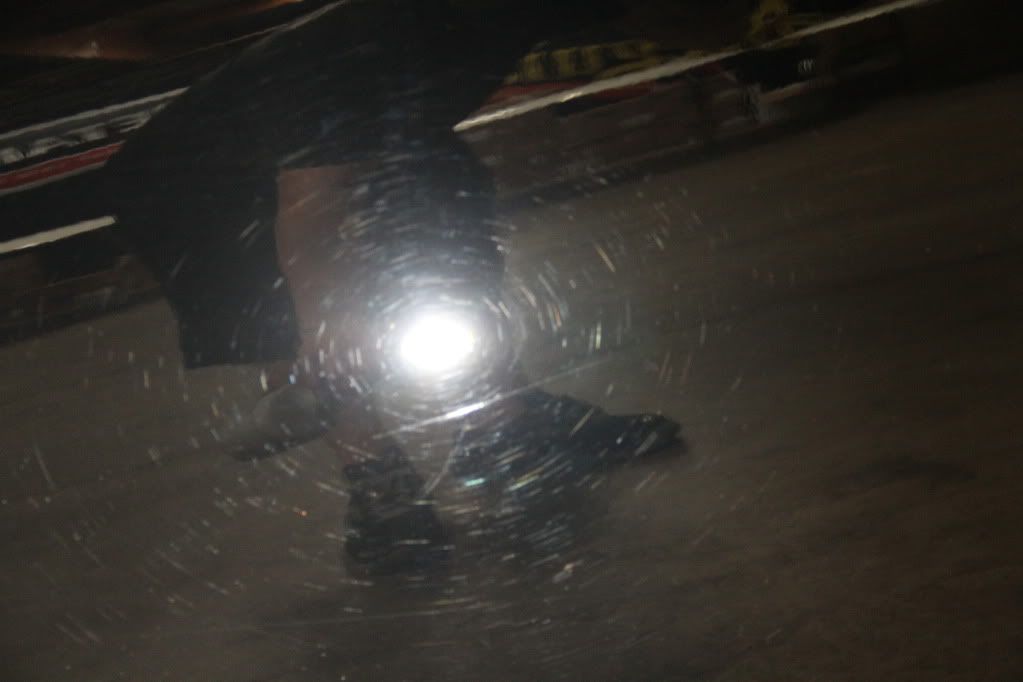
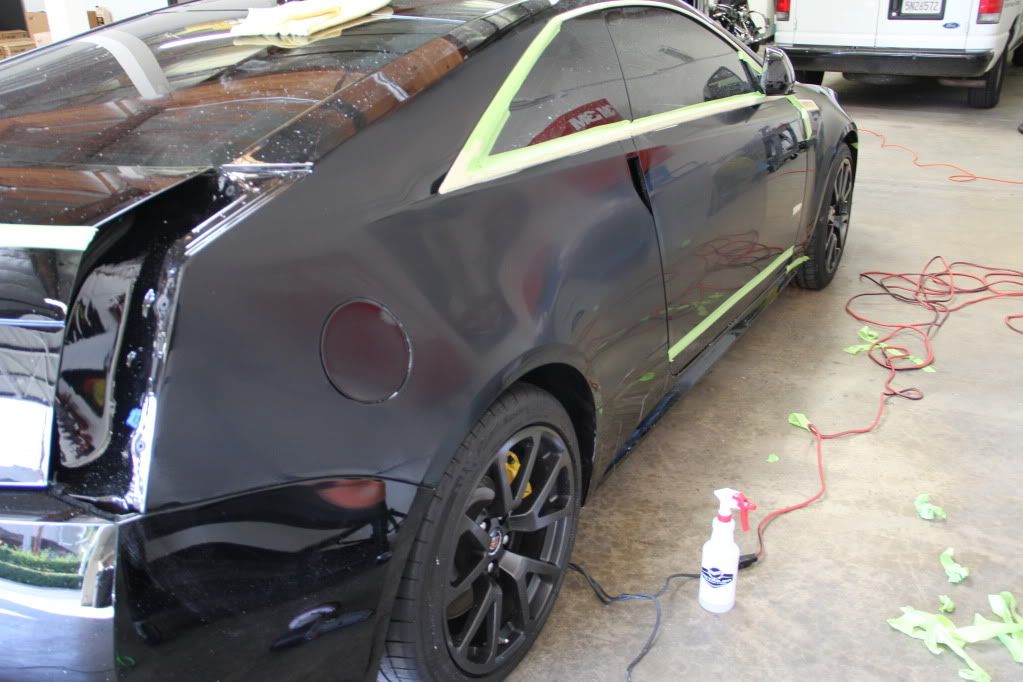
Sanding Process
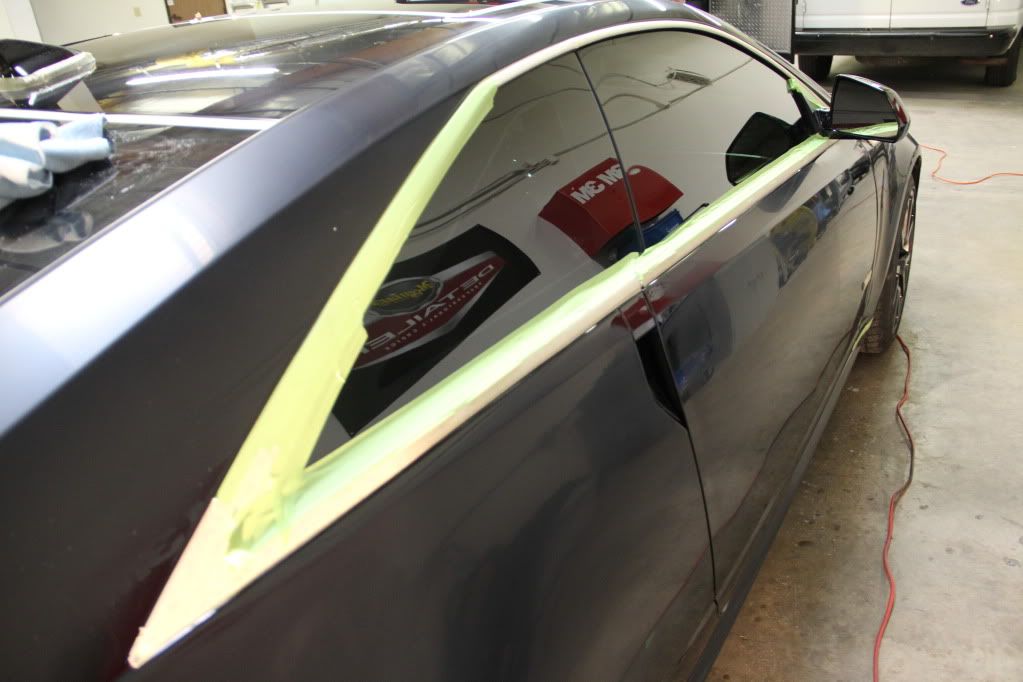
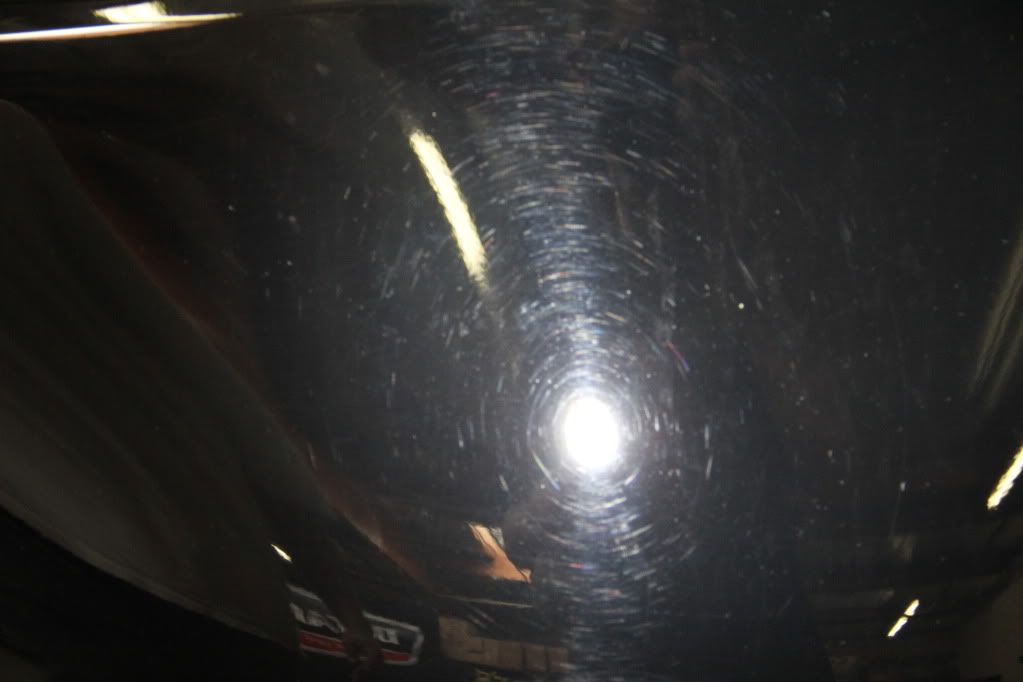
After 1 Step/ 50/50's Of First Step


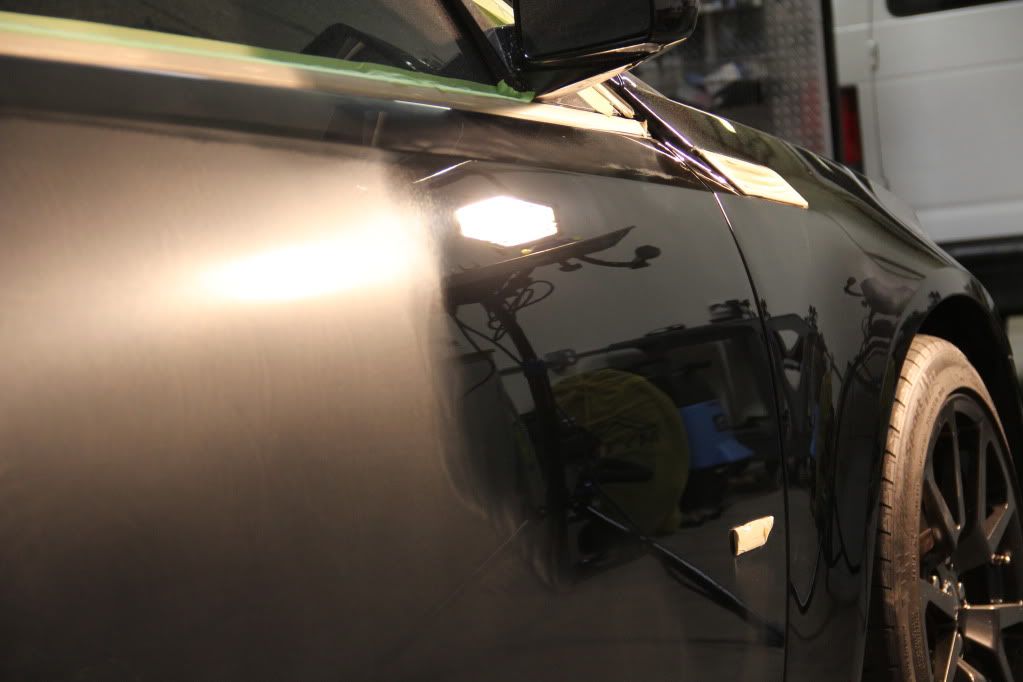

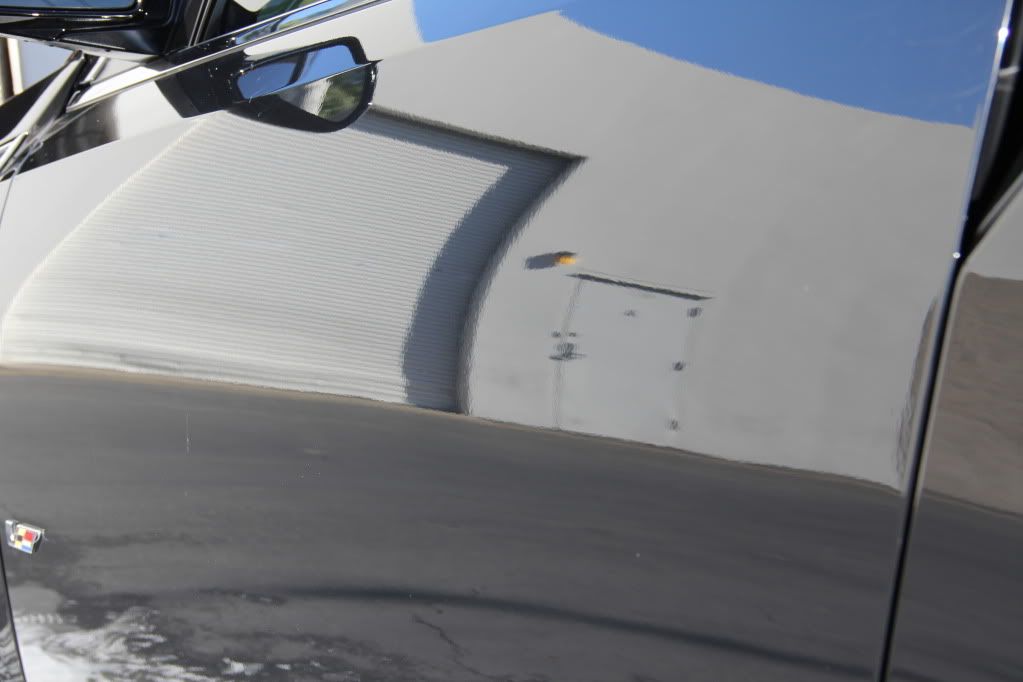
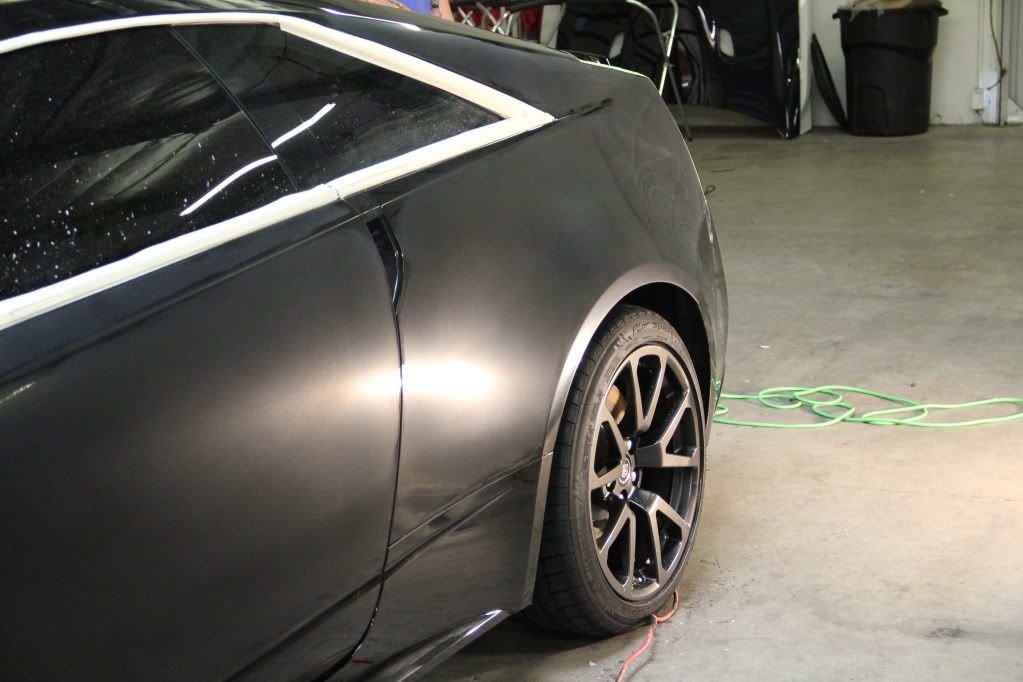
Clarity Coming Out Nicely
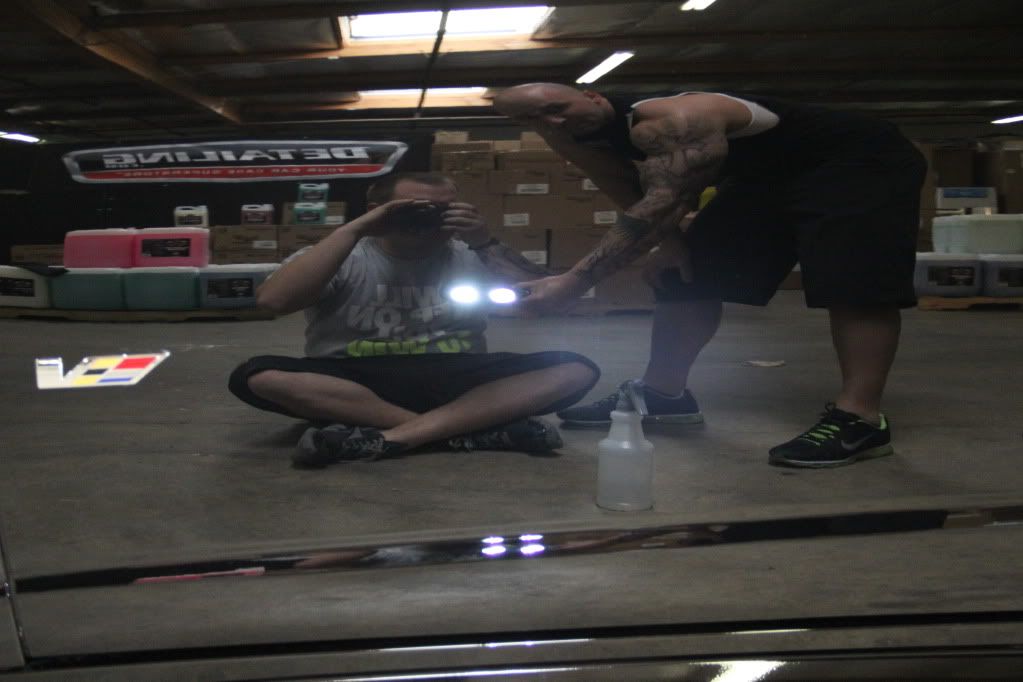
Had My Good Friend Demyan From LuxPdr Pull Some Dents Out On My Babies
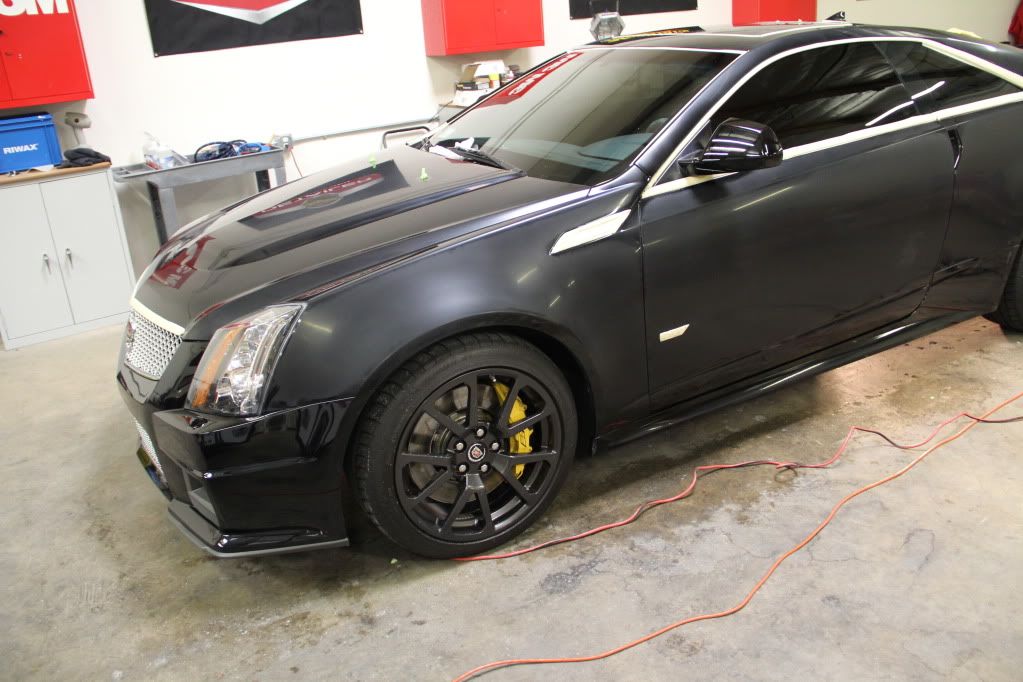
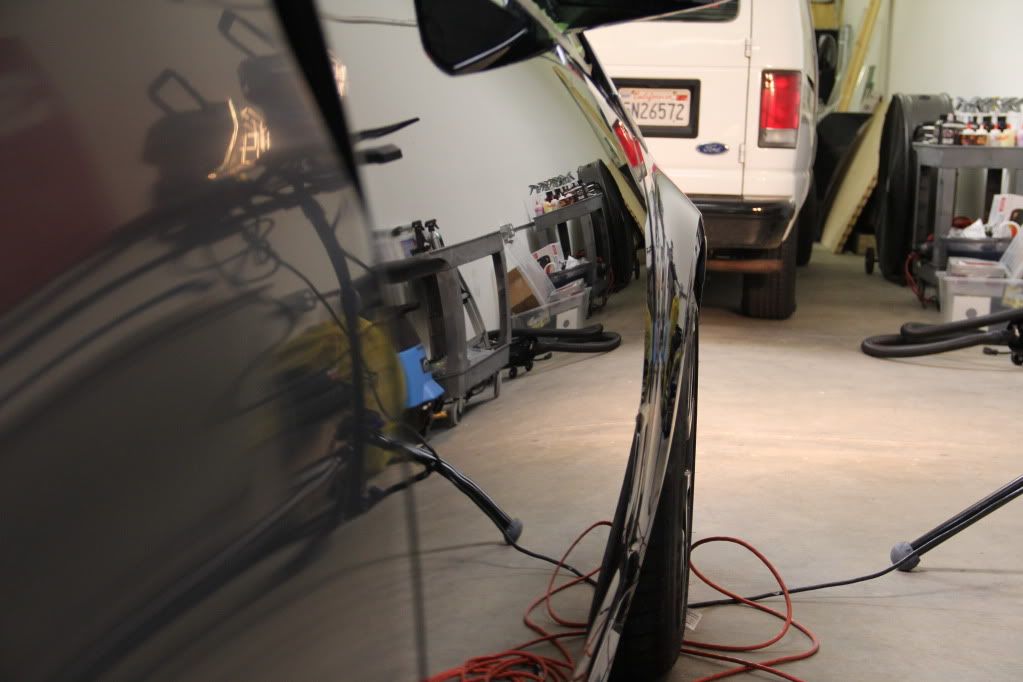
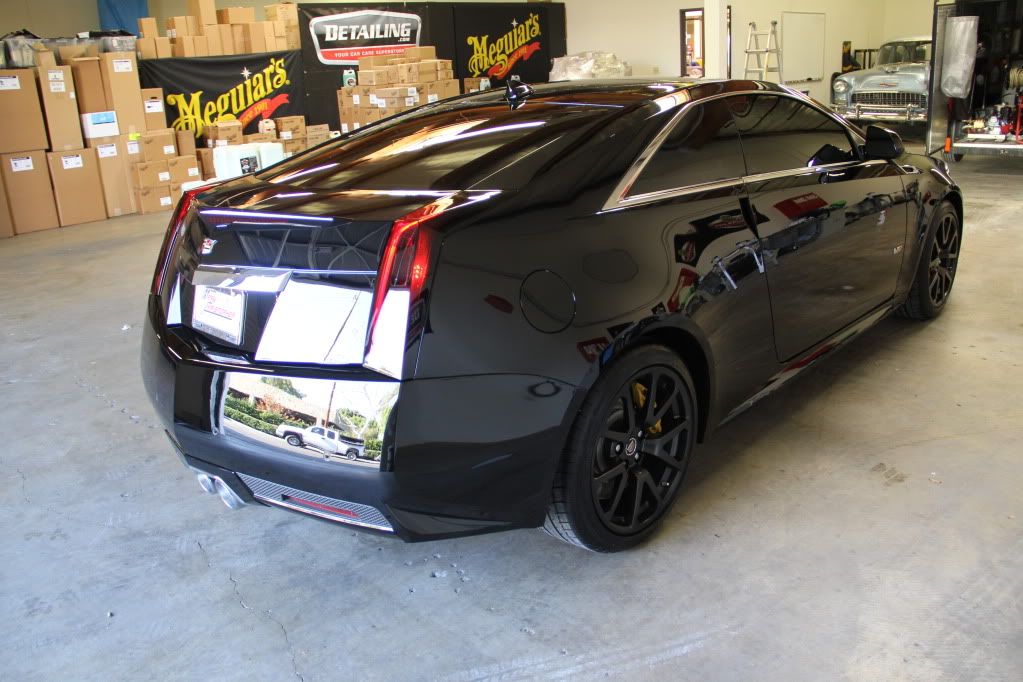
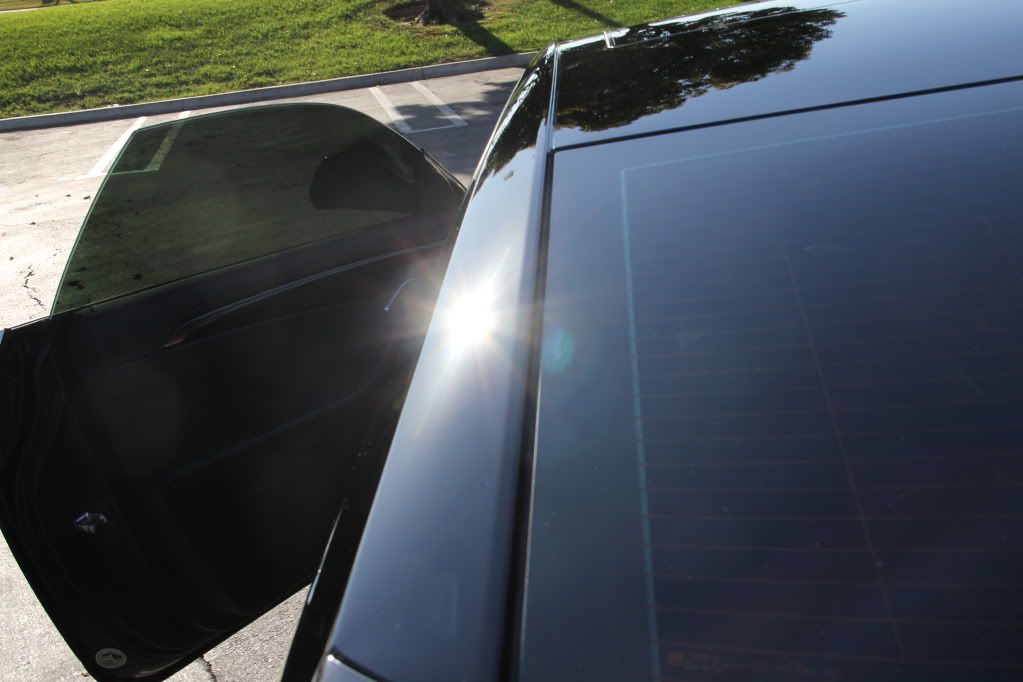
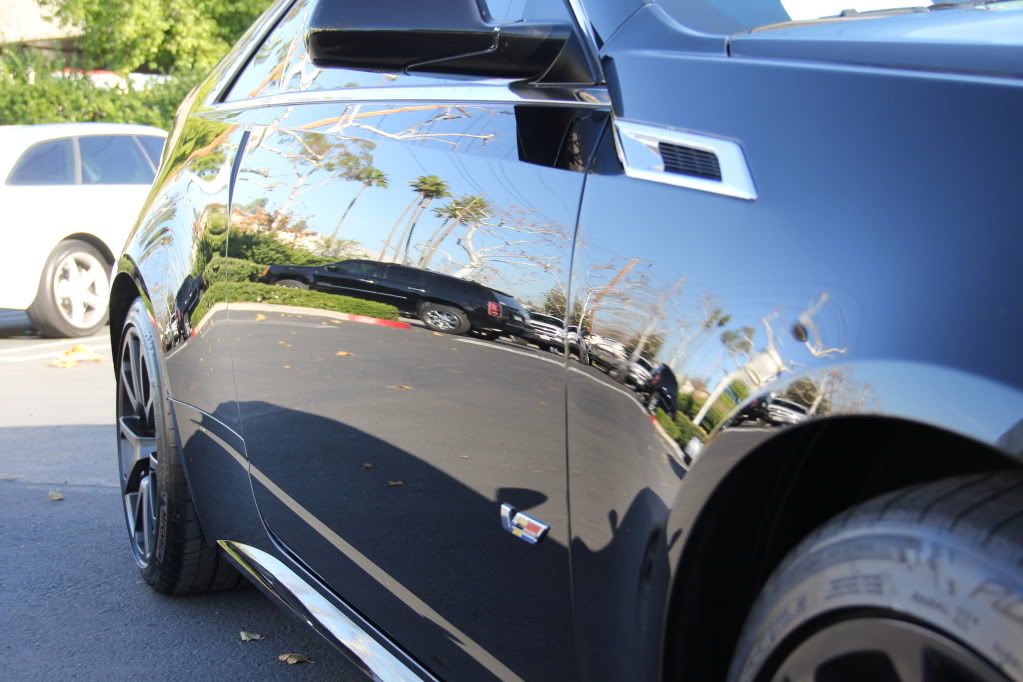
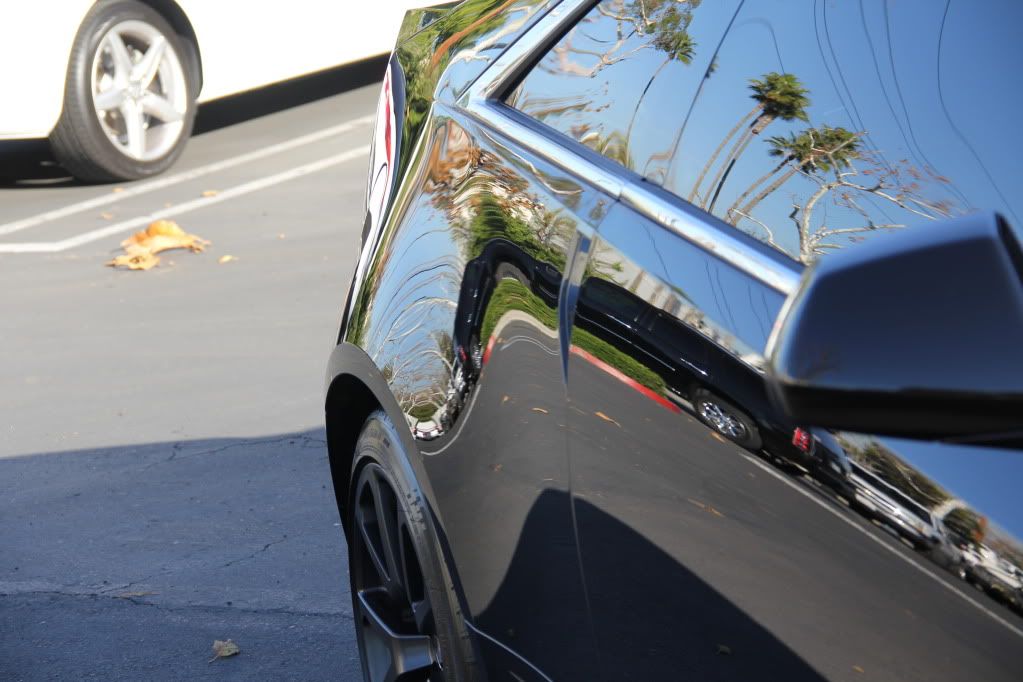
After Polishing Before LSP

Sonax Full Effect
Foamed
Before Damage Shots
Nasty Texture (GM Quality)
Under The Sun Gun
Sanding Process
After 1 Step/ 50/50's Of First Step
Clarity Coming Out Nicely
Had My Good Friend Demyan From LuxPdr Pull Some Dents Out On My Babies
After Polishing Before LSP


")