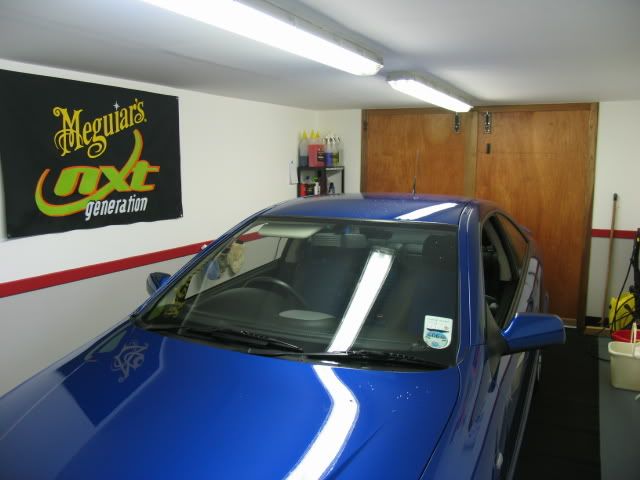
Here is an interesting one. I currently was working with a single garage and once I had the Golf parked in I could barely move around comfortably.
This then brings me to this thread. I am due to get a flat in the next few months so I was being very careful with my monies :thumb:
I then thought many other people must be in a similar boat with regard to keeping things tighter with luxuries such as having a specific detailing 'studio'
In this thread I am going to show how I managed to convert your normal wooden garage into a great place to detail. Ok so it doesn't have air lines etc etc, the last time I used my air compressor was to blow up the tyres LAST winter.
This garage probably gives an example of the basics needed to create a detailing studio - be it at the lower end :lol:
So onto the pictures YAY !! :driver:
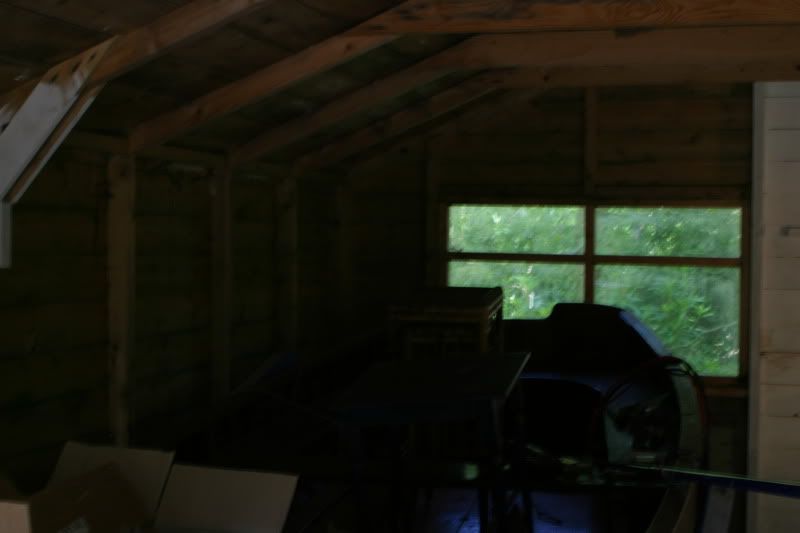
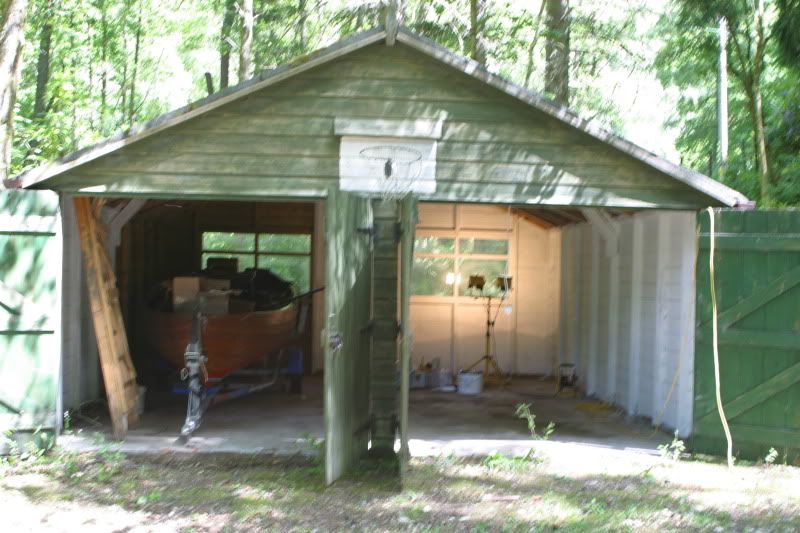
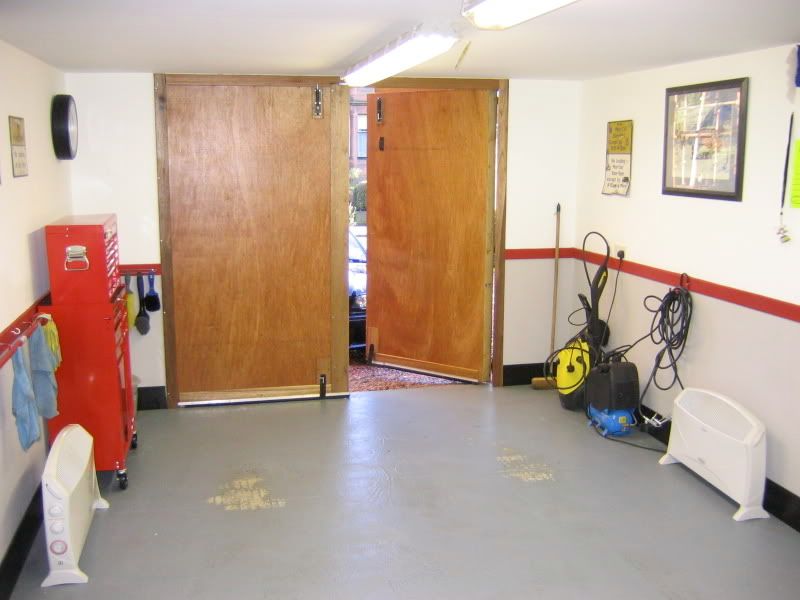
First off the garage was built in 1963 and has not been touched internally since, it is very solid and in good condition - nice and dry :thumb:
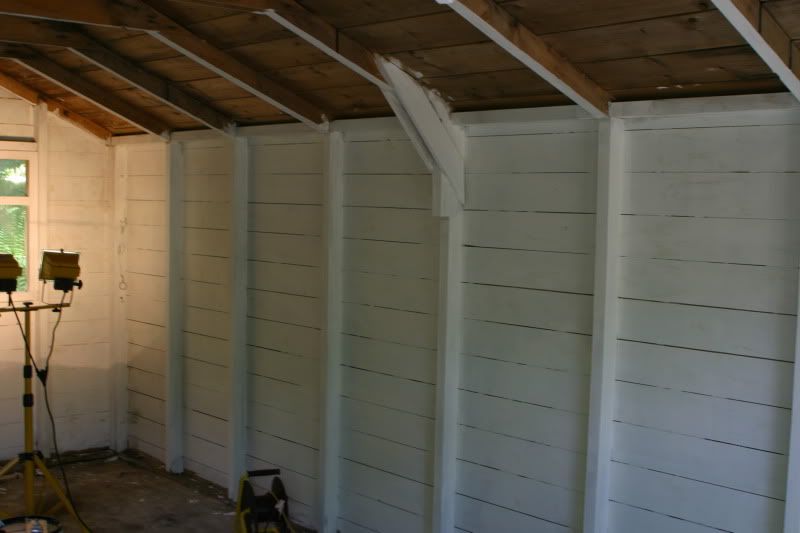
My first stage was to buy some paint, now I understand this is wood and it should have wood paint. However, I always have used white emulsion on my previous garages (two in total) and this worked out fine.
The paint cost me about £10/15Ltr. I bought two, in hindsight I only needed one.
At the time I never had a roller etc so I bought that at £6.97 for a stanley 'kit'
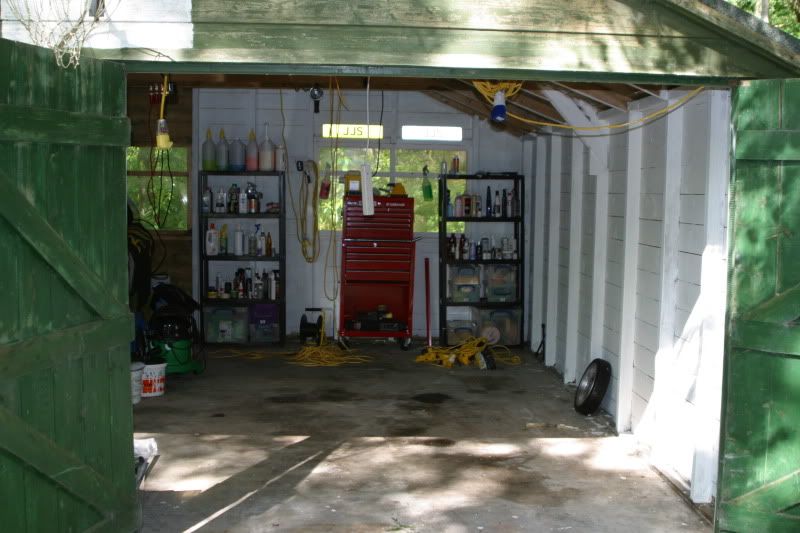
So far we are up to 26.97 and we have lovely new white walls, in retrospect I should have went satin as it would reflect more like but not look as garish as gloss.
Still need to move the clinker to get in there - it weighs a ton!!
My nearest electricity point is about 75m away. Booo So I had to improvise here. I noticed most heavy duty cable was going to cost c£100 I just didn't want or have that to spend on ONLY cable.
So off to ebay. I secured two 50m ex. Guitar/Band wiring reels. When this stuff arrived at only £30.00 each including delivery I was gobsmacked the thickness of cabling and wiring is very good.
I now had 100m of wiring for only £60.00 this takes us to £86.97 in total so far. I joined the two reels by three pin industrial slip over plugs at about a cost of £3.00. This means its very safe and covered as well as waterproof.
So £89.97 later we have white walls and electricity which is safe to use.")
I knew I would use the other 25m for lighting rigs and extension cabling.
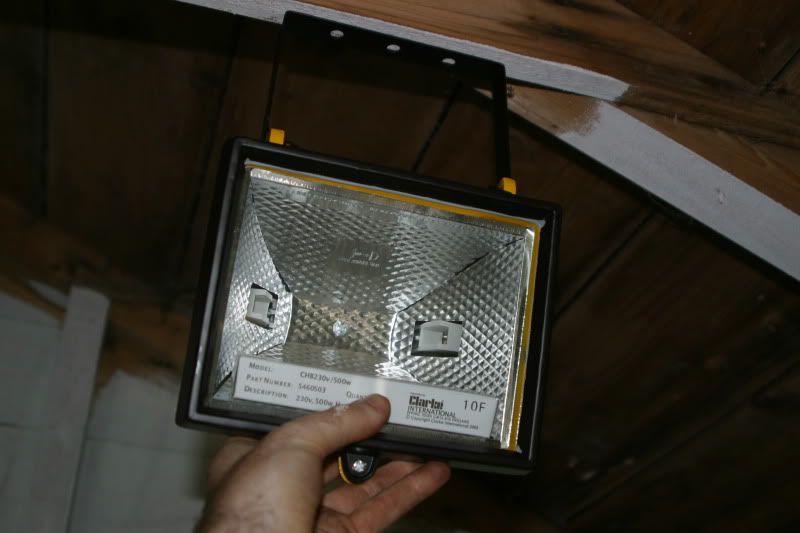
Now onto the most important part - the lighting!! For this I used the same idea as my old garage. 500w indoor floodlights. At only £4.99 each they are one of the most economical ways to light my garage and provide me with swirl spotting capabilities. The other big advantage is they also give off quite a bit of heat.
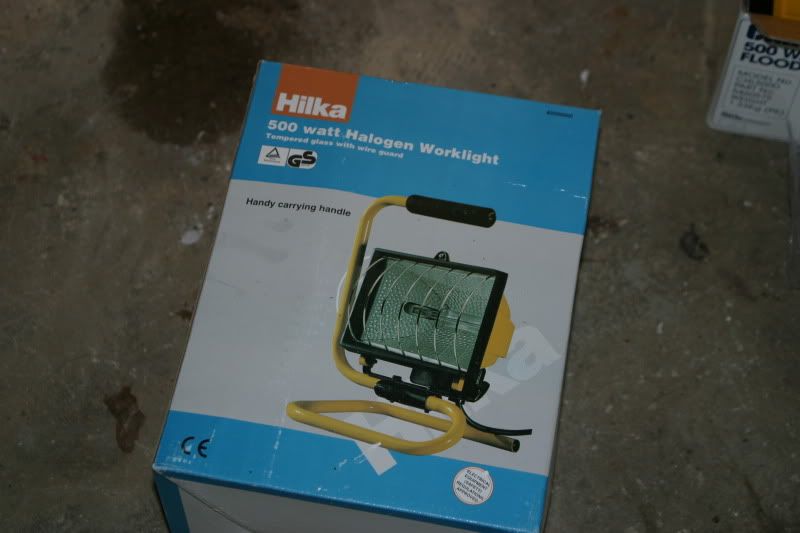
I had to buy two as I already had two from a bust set of floodlights - the tripod failed
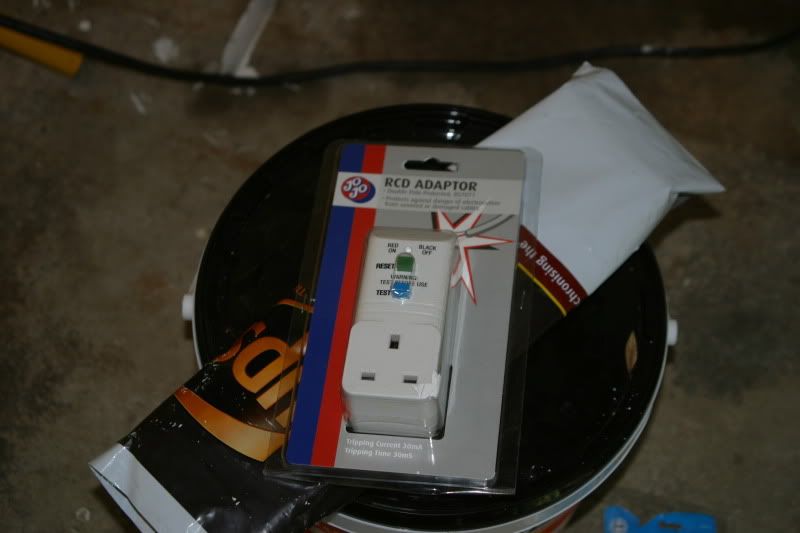
Also with this purchase I bought a circuit breaker for the end of the extension, the beginning already has one. Just being super careful.
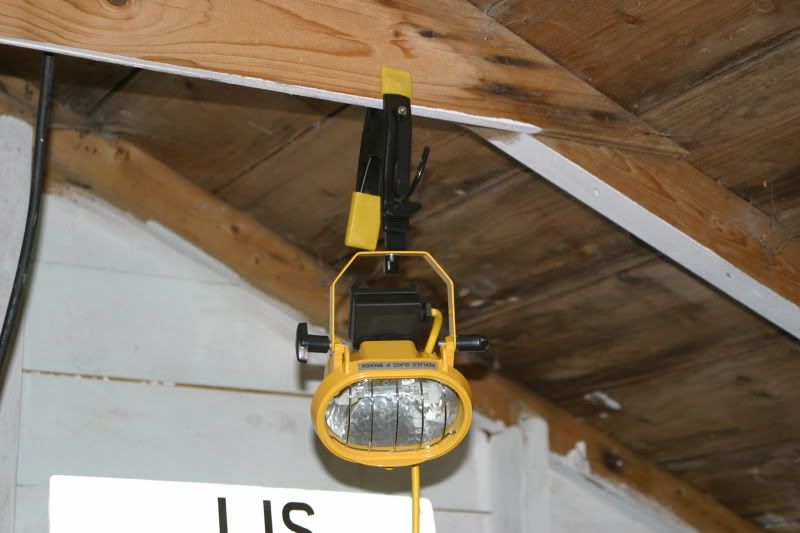
As well as this I had been wanting a low level floodlight for spotting defects on the bumpers and lower panels.
All in this set me back about £25.00 so upto around £115.00
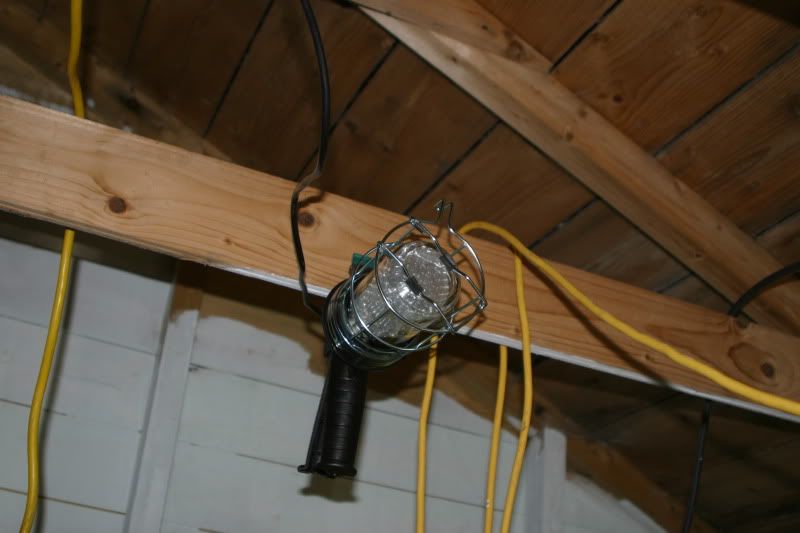
At this point I thought, what if I just want a tungsten light for footering/testing, so this came in about £5.00.
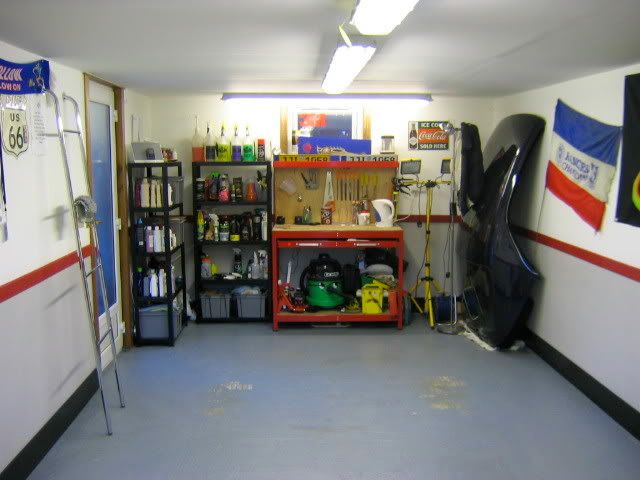
Like most people I had various bits from the old garage inc. Shelving and the rolling tool store.
I still have to buy about 3 plugs both female and male.
My idea is to have one plug hanging from the roof to attach my polisher to and two on the other side again to attach my polisher to.

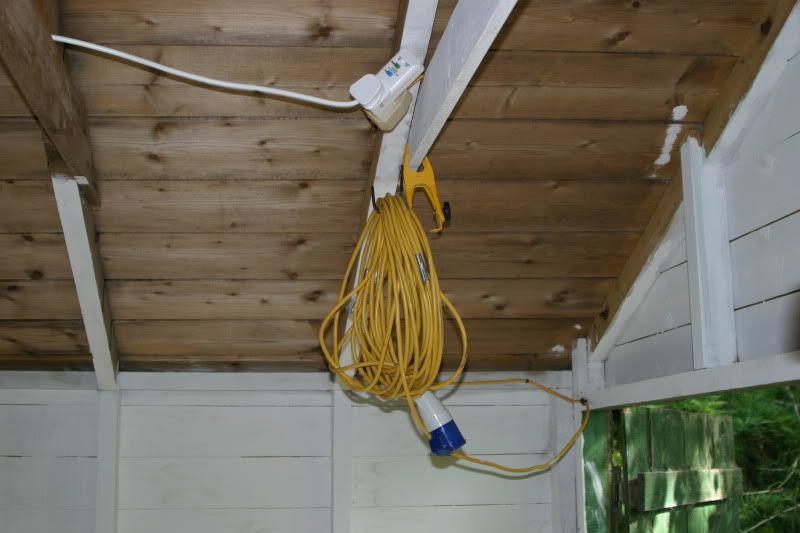
Just like this, I will have the wire clipped/secured onto the baton and I can have handy power wherever I am working on the car.
I decided NOT to paint the roof as I noticed some damp patches and thought it would look worse if I put white paint and the damp showed through.
I think now I know how I want the garage to function and one of the most basic things is having power around the car instead of trailing an extension cable, hanging power cable away from the car means you will never have to worry about the cord coming in contact with the panels :lol: which of course I have never done!!! :lol:
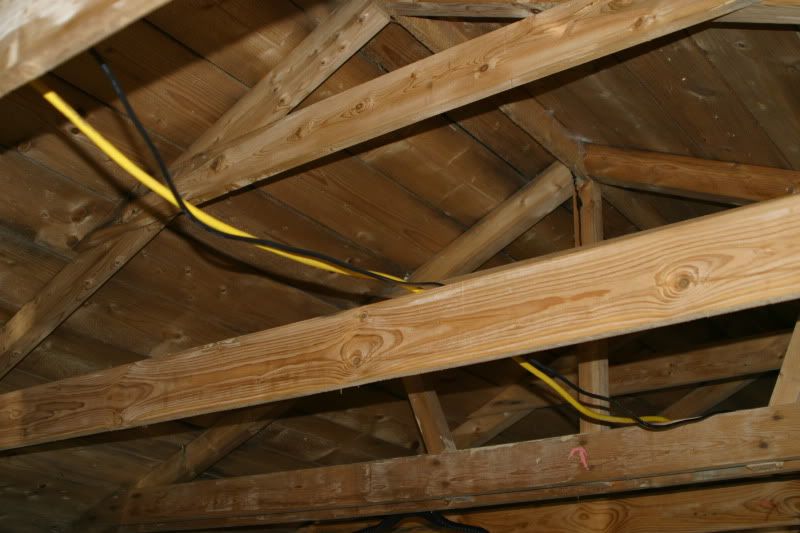
The trusses make for fantastic wiring as I can just put all my wires up there and attach plugs every few trusses, where needed.
P.S. I still have to move the clinker (anyone interested should stay tuned as I am selling her) and paint around it, once the clinker is sold then I can move my bench in as well which will be great.
My Grand total so far to get where we are is £120.00 I don't see it going more than £130 ish. Pretty good huh!
To give you all an idea of what I had been using about 3 years ago, then I had a single garage and now onto a double, unfortunately on a tighter budget lol
This then brings me to this thread. I am due to get a flat in the next few months so I was being very careful with my monies :thumb:
I then thought many other people must be in a similar boat with regard to keeping things tighter with luxuries such as having a specific detailing 'studio'
In this thread I am going to show how I managed to convert your normal wooden garage into a great place to detail. Ok so it doesn't have air lines etc etc, the last time I used my air compressor was to blow up the tyres LAST winter.
This garage probably gives an example of the basics needed to create a detailing studio - be it at the lower end :lol:
So onto the pictures YAY !! :driver:
First off the garage was built in 1963 and has not been touched internally since, it is very solid and in good condition - nice and dry :thumb:
My first stage was to buy some paint, now I understand this is wood and it should have wood paint. However, I always have used white emulsion on my previous garages (two in total) and this worked out fine.
The paint cost me about £10/15Ltr. I bought two, in hindsight I only needed one.
At the time I never had a roller etc so I bought that at £6.97 for a stanley 'kit'
So far we are up to 26.97 and we have lovely new white walls, in retrospect I should have went satin as it would reflect more like but not look as garish as gloss.
Still need to move the clinker to get in there - it weighs a ton!!
My nearest electricity point is about 75m away. Booo
So I had to improvise here. I noticed most heavy duty cable was going to cost c£100 I just didn't want or have that to spend on ONLY cable. So off to ebay. I secured two 50m ex. Guitar/Band wiring reels. When this stuff arrived at only £30.00 each including delivery I was gobsmacked the thickness of cabling and wiring is very good.
I now had 100m of wiring for only £60.00 this takes us to £86.97 in total so far. I joined the two reels by three pin industrial slip over plugs at about a cost of £3.00. This means its very safe and covered as well as waterproof.
So £89.97 later we have white walls and electricity which is safe to use.
I knew I would use the other 25m for lighting rigs and extension cabling.
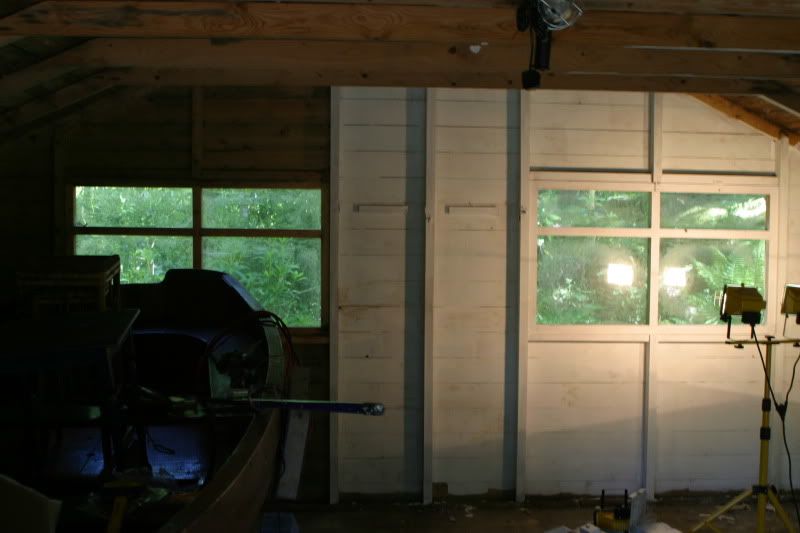
Now onto the most important part - the lighting!! For this I used the same idea as my old garage. 500w indoor floodlights. At only £4.99 each they are one of the most economical ways to light my garage and provide me with swirl spotting capabilities. The other big advantage is they also give off quite a bit of heat.
I had to buy two as I already had two from a bust set of floodlights - the tripod failed
Also with this purchase I bought a circuit breaker for the end of the extension, the beginning already has one. Just being super careful.
As well as this I had been wanting a low level floodlight for spotting defects on the bumpers and lower panels.
All in this set me back about £25.00 so upto around £115.00
At this point I thought, what if I just want a tungsten light for footering/testing, so this came in about £5.00.
Like most people I had various bits from the old garage inc. Shelving and the rolling tool store.
I still have to buy about 3 plugs both female and male.
My idea is to have one plug hanging from the roof to attach my polisher to and two on the other side again to attach my polisher to.
Just like this, I will have the wire clipped/secured onto the baton and I can have handy power wherever I am working on the car.
I decided NOT to paint the roof as I noticed some damp patches and thought it would look worse if I put white paint and the damp showed through.
I think now I know how I want the garage to function and one of the most basic things is having power around the car instead of trailing an extension cable, hanging power cable away from the car means you will never have to worry about the cord coming in contact with the panels :lol: which of course I have never done!!! :lol:
The trusses make for fantastic wiring as I can just put all my wires up there and attach plugs every few trusses, where needed.
P.S. I still have to move the clinker (anyone interested should stay tuned as I am selling her) and paint around it, once the clinker is sold then I can move my bench in as well which will be great.
My Grand total so far to get where we are is £120.00 I don't see it going more than £130 ish. Pretty good huh!
To give you all an idea of what I had been using about 3 years ago, then I had a single garage and now onto a double, unfortunately on a tighter budget lol