BMW M3 detail by KC (a full spas treatment for engine & interior)

vettefan67

New member
I've been exploring the different options of what to use on the faded black lower trim of my car. I read the old threads about it and found a lot of conflicting information:

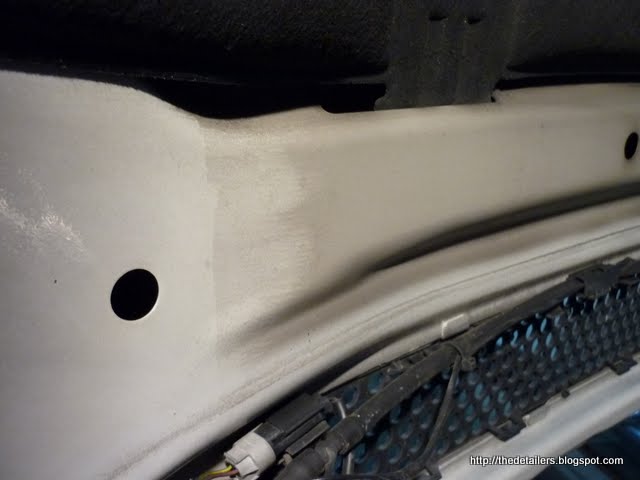
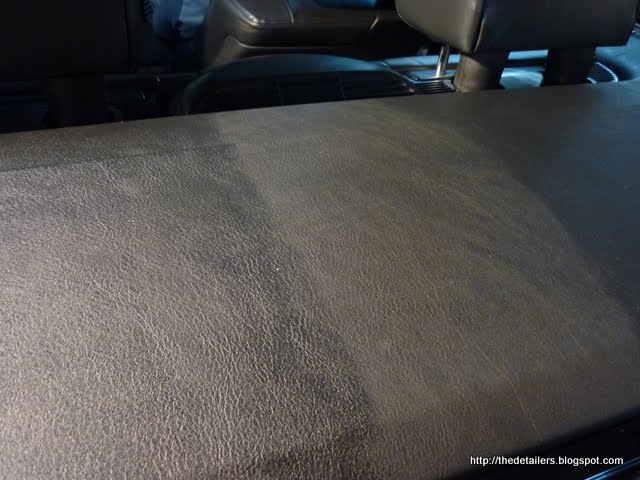
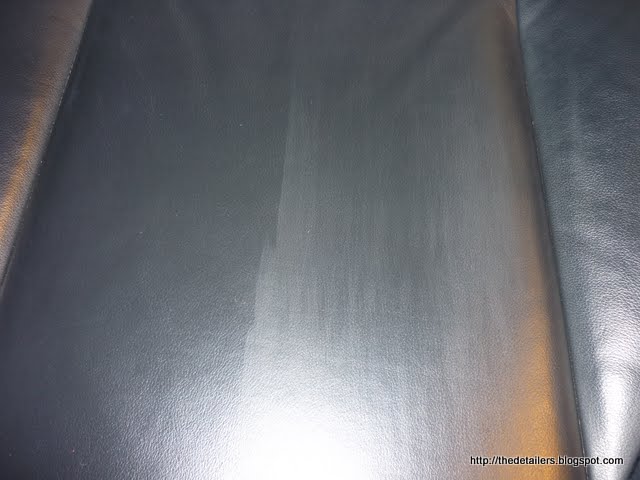
Mothers Back to Black- Some say it is a dye, the package says it is a cleaner. This is a white liquid, very low viscosity. A white product dyes trim black? I have seen a number of people say they liked this product and it worked well, a few others say it only lasted a week or degraded their plastic over time. Which is it?

Black Again Trim Restorer- For those of you who have tried the <strong class='bbc'>new[/b] formulation of this, how long does it last between applications?

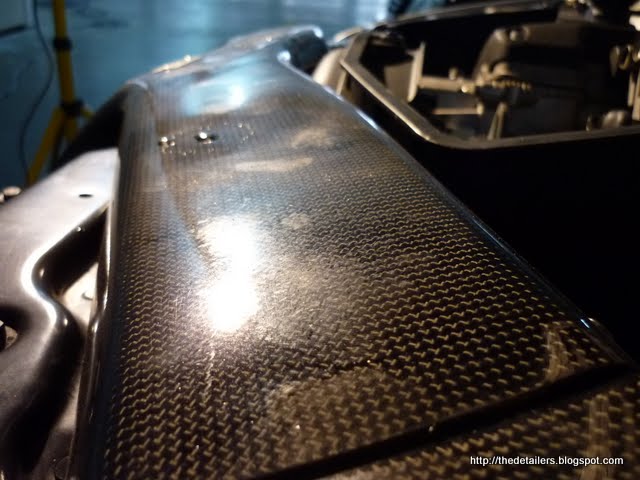
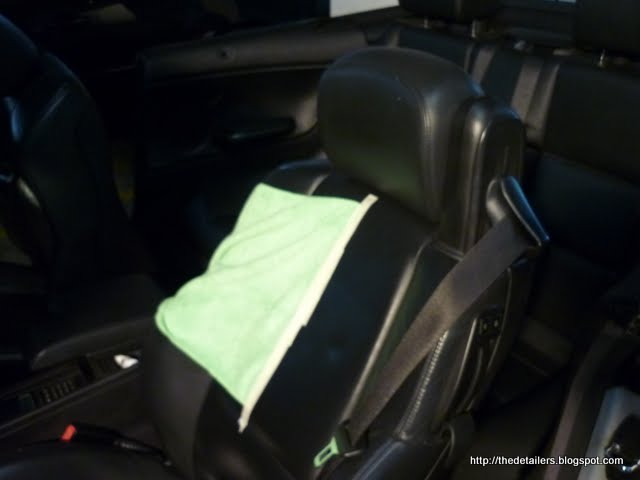
303- I've heard decent reviews of this, I'm testing it out right now. My problem is the trim is somewhat faded and hazy looking. It is unpainted black plastic.


I would really appreciate it if anyone can post about the results of long term usage of any product of this type.

I've been leaning toward using Back to Black to clean and 303 to protect, but I am wondering if Back to Black is a true cleaner/haze remover as it says. Can anyone share experience? Drawbacks or advantages to any products?

I'm hoping a bunch of people will recognize a specific product so I can be confident it is safe to use it on my baby;)

Thanks,
Justin
 
I have been pretty happy with zaino z-16 for the rubber and plastic trim on my vehicles but they are relatively new and in good condition. 303 works well too.
 
Another :up for Z-16 on trim and tires. The sun is out and after I wash my other car, I will get some pics.


H
 
My favorite product for vinyl or rubber black trim is Zaino Z-16 and 303 Aerospace Protectant. If you are using Klasse or Zaino already, you may also use Z-2 or AIO/SG on any black, smooth plastic parts. It darkens without a shine, and lasts a long time.
 
BW, finally! someone that uses Klasse on black plastic trim besides me. I thought I was the only one :D at I know it works on your car too. puterbum, maybe you should order your stuff in two waves. Get Klasse and a bunch of stuff, try it out on your bumpers, and then get the black product you need and order a second bunch of stuff to space it out. The Klasse can be time consuming anyways so don't think that ordering twice will slow you down. hth-steve
 
Thanks for the responses, guys! A couple more questions--


How glossy are the products you mentioned? How long do they last before you find yourself having to reapply them?
 
Klasse AIO and Zaino Z-2: One coat on smooth surfaces leave a like-new condition. No added shine, just darker. I tried Klasse AIO 2 months ago on the trim and Zaino 3 weeks ago on the trim and it sill beads very nicely.


303 Aerospace Protectant and Zaino Z-16 both left a shine on the trim when applied, but dried with a matte finish. They both lasted about 3 weeks, but sometimes streaked when it rained.


I preper the Klasse AIO and Zaino Z-2 over the two dressings because of its durabilty and ease of use. The two dressings were very watery and they were both hard to have an even coverage.
 
<blockquote class='ipsBlockquote' >

<em class='bbc'>Originally posted by BW [/i]
<strong class='bbc'>My favorite product for vinyl or rubber black trim is Zaino Z-16 and 303 Aerospace Protectant. If you are using Klasse or Zaino already, you may also use Z-2 or AIO/SG on any black, smooth plastic parts. It darkens without a shine, and lasts a long time. [/b]</blockquote>
When I first got my 330i I was told by my distributor to put the Z-1 and then Z-2 on all the exterior black trim and I'd never have to worry about white chalky deposits, or faded black trim in the future.

I've done so and the Z-2 works great at keeping the trim clean and looking new. I also use the Z-16 on the motor covers in the engine compartment. They look clean enough to eat off of. I have yet to use anything better in regards to getting black to look black and clean!
 
I just put on klasse for the first time this morning.It went on great and looks really nice now.The test is how it will look when i get back from my road trip to Colorado and back this week.
 
is a trim dressing. It is NOT a dye.


It has some cleaning ability to it (primarily for oxidation of the plastic/rubber, and to some extent, wax or polish residue).


It is not a one time cure-all, it's to be used on a regular basis for dressing the trim.


We're working on an update to the formula, as some manufacturers (DC, primarily) have slightly changed their trim composition, and we don't like the way it looks after applying the product.


I hope this helps.
 
I recently purchased and used Black Again on a 7 year old ill-maintained vehicle. I'm not sure of the chemical makeup or long term effects, however the product goes on and stays very oily and attracts a lot of dust. I don't like either of those properties, so I doubt I will use the product again. My .02
 
I used the Mother's Back To Black on our 96 Plymouth minivan. It has a dark green plastic (non painted) front and rear bumper plus 4" strips of this plastic down both sides. The car has never been in a garage and the plastic looked really dull again. The BTB applied quickly and smoothly with a round foam applicator and it looked great. It looked better than the Maguiar's #40 Vinyl/Leather Cleaner/Dressing that I have use in the past. Unfortunately the day after applying the BTB it rained. This made the plastic look terrible, it was really patchy looking. Some areas weathered the rain ok without much fade an other spots were completely faded out again.


I'm going to keep at it with this product while the bottle lasts because when its right it looks great. Also I think that I should have worked more at cleaning the plastic with this product the first time rather than just applying it. The results would probably last longer with a more thorough cleaning. That said though even without the cleaning the first coat looked great until it rained.
 
covered in 303 for protection....unfortunately it does come out very matte in appearance....i kinda like it that way though...both these last a really long time as you can imagine....i used the back to black on my moms lower trim...it only lasted about 3 wks...so...i dont know if thats long enough for you....BTW....i never used the 303 on top of it with my moms...so maybe...if you used it and then covered with 303 like u said u were going to...the protection would keep it balck for longer.....either way.....my moms trim was really horrible...not scraped up...just really faded...and the BTB definitely got it black again....just the endurance i didnt like...hope that helps.....:rolleyes:
 
a full interior detail on this rare & exotic E46 M3,,
P1030695.JPG

I have also chk with my Friend who is a tech adv auto bavaria, he has not seen any of this convertables that comes with BMW hand phone... truly rare indeed ...LOOK LIKE THE bOND MOVIE

with a gratitude to the onwer & his generousity....


upon arrival... great looking M powered performance

P1030435.JPG


unavoidable swirls from car wash

P1030441.JPG


I wash with ONR no rinse wash & show how quick & fast & well....to wash yr car yrself after this detailing.....otherwise my heart work will be furtile


P1030582.JPG

engine pics before
not too bad from a distance

P1030455.JPG


but.........................
some close up engine pics before pi
P1030452.JPG

pics before
P1030453.JPG


water duct ...pics before
P1030444.JPG


minor scratch on this dear gruppe M serial nos 01-0116, kelvar intake duct

P1030443.JPG


fume & smoked stains beneath the underhood has been vey sore & heart broken to her lover

P1030446.JPG

more


stains & smoke
pics before
P1030450.JPG


work began...........................
before pics


P1030461.JPG


mpc aggitating & BRUSHING OFF WITH SOFT round brushes....rubberised handle to prevemt scratching to the paint


rinsing off with Optimum No rinse wash (ONR) diluting 2 ounce per 600 ml water to wash down the MPC residue.& wipe off....conserve water ...& needn't water hosing ..wetting & trouble...as i have another state of the art steam pressure cleaning....

sound like dry wash

P1030463.JPG


50/50 comparrision pic

P1030466.JPG
]


after surface above contaimination cleaning....there is stain beneath the paint that need to be remove....Next...I applied PRC 151 ..my favourite AIO product to remove these stains


P1030474.JPG

tada
P1030456.JPG


another section near the front grill section...


MPC at work & brushoff
P1030448.JPG
shing off..to remove paint above contamintion
P1030460.JPG


contamination beneath the paint...cannot bve removed with just cleaners..
P1030458.JPG


rinsing off again with Optimum No rinse wash (ONR) diluting 2 ounce per 600 ml water to wash down the MPC residue.& wipe off....conserve water ...& needn't water hosing ..wetting & trouble...2nd cleaning & aggitating with less corossive substance.....ecological steam pressure cleaning....process


ladies & gentlemen.... steam cleaning in process
P1030557.JPG


ta da
a steamed clean bay now
P1030472.JPG


Next...I applied PRC 151 ..my favourite AIO product to remove these stains

the paint now...is clean & protected
P1030546.JPG

remember before
pics before
P1030448.JPG

now


P1030665.JPG


there is no reason to treat yr engine with abrasive cleaners...when there is a better way to clean it...Wheel brightener, degresser...super degresser...more industrial cleaners...they are not easy to applied...but to me safety cannot be compromised...me still a very conservative person...health comes 1st

No doubt the job will done fast...& look well....but is it the best available method for yr preformance engine...esp this M power 380 bhp engine....

..some manufacture company wil suggest....try the least aggressive method 1st.then progress..to me the least ...is not getting a stronger or a more corrossive substance...but getting the job done in another method...eg streamer to loose out the grim & grease that was build up...I am fortunate to live in this age of technology advancement time

P1030500.JPG
by the way this intake duct cost 8K...it was designed to draw pure cold air to this M powered engine

after detail pics
P1030657.JPG

complete the same process for the entire engine bay
pics after steaming ....before dressing

P1030477.JPG


before pics
P1030451.JPG


after steamed clean pics
P1030445.JPG


Rest of the pics
same process for the M 3 grills
P1030567.JPG


side steps cleaning


P1030560.JPG

side steps
P1030563.JPG


electronic seats button
P1030561.JPG

by now u might be wondering the pool of water residue ..there is only a minimal amount of water drops as the steam get evaporated...faster than u see...buff off with Microfibers

pics after
P1030636.JPG

u can even aggitate & loose caked brake dust...by steaming it

P1030568.JPG

interior detailing & steaming process

P1030486.JPG


only exotics have no spare tyre & a dc powered air pump...that suppose to last u another 20-30 km to the nearest repair shop similiary the last ferrari i detail
P1030483.JPG


inbuild GPS....it was the state of art machine when i build 7 years ago

P1030484.JPG


P1030517.JPG


as i was talking with one of my fellow detailer...who happend to applied the interior car fumigation...& it is a sprayed chemical..suppose to kill all bacteria & insects...it will aggitated under hot sun...
Hmmmmmmmmmmm..now i have a better solutions...steam it away...why do we risk breathing the chemical inside...i dont need more toxic world, which i dont need more from any one....do u resolve one but threathing another??????


cd changer
P1030518.JPG


i open a can of worms....spilled oil & dirt tha was swept beneath the carpet
P1030487.JPG


P1030488.JPG


oil stain was wipe away ,,,onr ....rinseless wash & steam away for good
P1030516.JPG


P1030523.JPG


P1030515.JPG


P1030519.JPG


tools was also detail & steamed
P1030514.JPG


the entire boot was steamed & detail
P1030524.JPG


even this
P1030512.JPG

P1030511.JPG
 
part 2

:sleep::sleep::sleep: sorry to make u sleepy....as I always intend to bring u to where I was ...leading you thru step by step...my encounters...as leaving a trails & a charted course for you to do better

making this rare
P1030537.JPG


i wonder any technician here are trained to service this....BMW mobile
P1030539.JPG


it was also detail & steamed


removing the hard top prior interior detailig

P1030496.JPG


few facts u need to know...& take note of

u cant remove it alone - too heavy & large to handle

very dear - u can buy a viva

once remove the car look very sexy & sleek
P1030550.JPG

ta da
P1030549.JPG

50/50 plastic before & after detail
P1030628.JPG

rear seats before

P1030479.JPG


instead of cleaning it with abbrassive substances or chemical ....steamed it away
P1030509.JPG


P1030510.JPG


the moment i place that.... the owner says...i know what u r gonna to do ...50/50 comparrision pics...certainly yes...otherwise how would u gauge it...


P1030526.JPG

talk is cheap ...now walking it out
P1030527.JPG


can u see the detail side look dulled...comparring to the right side not steam...reason being the dirt , grim & oil that was on these NAPA leathers was remove...


the steam open the pore & the dirt surface out...nothing wrong with cleaners...but do u used it on exotics napa's?... the least aggressive makes to last longer & there is no residues of cleaners left behind

P1030531.JPG


the napa now feel more supple..after steamed

later was conditioned by ALoe conditioner
P1030530.JPG


another head rest 50/50 comparrsion pics
right side not detail & left oil & stains being removed

P1030536.JPG


a 50/50 comparrision pics recondition leather cream was applied

P1030587.JPG

more 50/50 shots
P1030592.JPG


ta da pics after details...steamed, cleaned & reconditions

P1030585.JPG

rear
P1030595.JPG

more
P1030599.JPG

more
P1030605.JPG


feeling like pebble beach
P1030603.JPG


P1030622.JPG

view from the top
P1030607.JPG


more after detail pics
P1030593.JPG


hey babe wanna a ride
P1030613.JPG


even another coupe is envying of her new looks

show u a pics....i got of her
P1030579.JPG


look at the safety beams behind of the head rest for this coupe...certainly it was engineered for performance, style & safety

P1030633.JPG


P1030600.JPG


side beams head rest...electronics controlled
P1030618.JPG

you make me feel brand new....
P1030627.JPG

P1030637.JPG

P1030646.JPG

side door
P1030648.JPG


elegantly yours
P1030644.JPG


P1030650.JPG

SMG...shift controller...giving u the F1 feelings
inbuild GPS
P1030653.JPG

interior carpet pic before
P1030724.JPG

interior carpet before
P1030481.JPG

vaccum off the dirt & dust prior steaming'
P1030482.JPG

after detail
P1030728.JPG


well detail Hartge paddle
P1030727.JPG

remember
engine pics before
not too bad from a distance

P1030455.JPG


now

P1030658.JPG


P1030658.JPG


P1030659.JPG


P1030660.JPG


rear LED light detail
P1030689.JPG


STEAMED & sealed

P1030690.JPG


gave her a quick protection.mean time while..i need to schedule for another full exterior correction soon
P1030676.JPG


when applying wax on circular motion method is always evenly applied

P1030678.JPG
as the front or back strokes..is too inconsistent
 
part 3

P1030671.JPG


P1030679.JPG


yours truly

P1030680.JPG


P1030681.JPG


P1030687.JPG


pics after roof installed back
P1030720.JPG


now u can drive a new car without paying a new instalment

P1030714.JPG


P1030733.JPG


thanks for viwing my art again....
 
Back
Top