imported_Dave KG
New member
Then most recent detail from Bryan and myself (Stu was working during this one, alas) was a 21 years old Zinnobar Red BMW M535i belonging to a good friend of Bryan. A car from my youth this one as my neighbour had one when I was young, I've been lookiong forard to this detail - a car that, for me personally, is a proper BMW. ") (I love the E21, E28, E30 and the E34!
(I love the E21, E28, E30 and the E34!  )
)
The night before, Bryan prepped the car ready for machining by washing and claying...
The ar was ready in the morning when I arrived for machining... This car was going to be a challenge... not from the point of severe defects, although they existed, they were quite isolated. This car's challenge was hugely varying paint thicknesses from panel to panel: readings as low as the 60s (um), and as high as 120-130um. Well - the car is 21 years old, some paint variation can be expected but this doesn mean treading crefully and changing required polishes as we go along: this car saw everytying from Menzerna PO85RD Final Finish on a finishing pad to Menzerna S34A Power Gloss on a cutting pad!
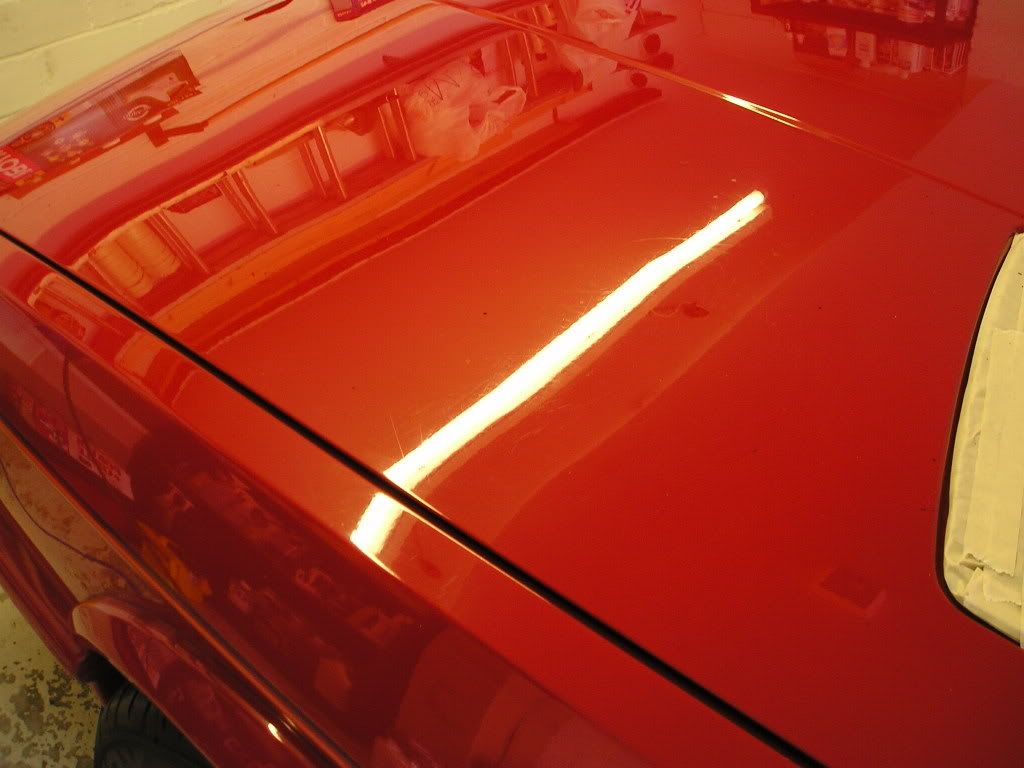
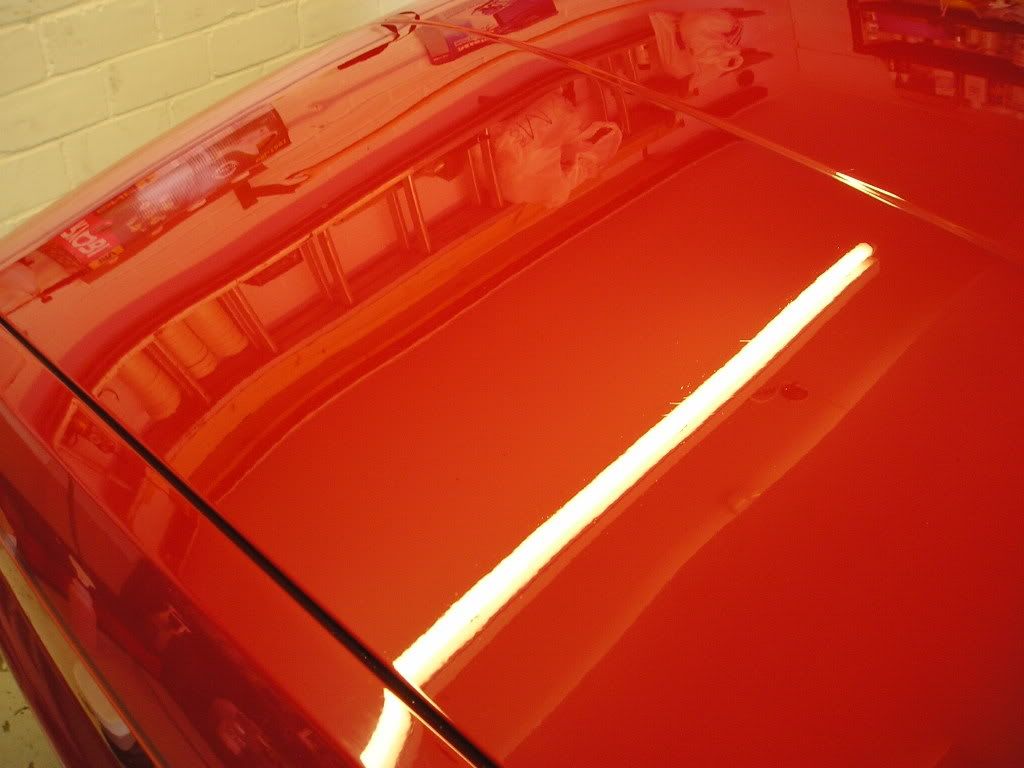
Down to business, I started on the bonnet while Bryan fnished taping up. Defects here were medium swirls, some RDS - in all fairness, pretty damn good nick for a car of its age:
Testing here revealed the best combo on the 90 - 100um thick paint was Menzerna PO85RDE3.02 Intensive Polish applied on a Meguiars W8006 polishing pad as follows...
This process delivered the following correction and finish results:
Being solid red, real care must be taken when finishing as the colour will punish the slightest hologram or lack of clarity. A finishing polish was kept on hand, but I found that it was not necessary on this paint providing the abrasives of the Intensive Polish were correctly worked.
A finishing polish was required on the wing however... Similar defects:
However, much thinner paint! 60um in places. The IP on the rotary had shifted around 5um: you could see it on the paint gauge. So, this was out for the wing! Out with the Porter Cable 7424 and Menzerna PO106FF Final Finish on a 4" SFX-2 polishing pad. Gently gently was required here, the polish was worked as follows:
The results from this were as follows:
Good correction I felt, RDS remained but softened, but with the paint thickness as it was, they just had to be left. Finish was also good, and this is a key point with the PC on paint like this. A solid dark colour will show every little mark, including very fine micromarring which some metallic flakes can hide. If a polish is not thoroughly worked by PC, very fine micrmarring will be left, looking like little half moon shaped scratches all over the finish, completely ruining its quality. So great care was taken (and should always be taken on any finish) to ensure the polish was thoroughly worked to avoid any induced micromarring.
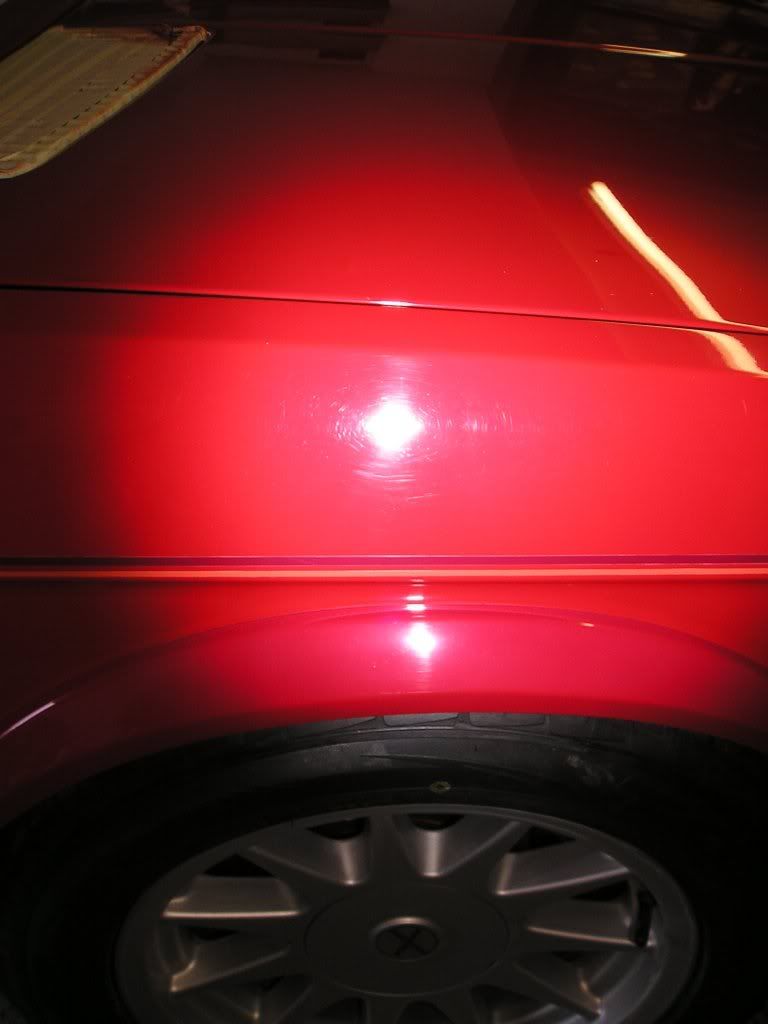
By contrast, the passenger side of the bonnet had severe RDS marks, and a healthy 120um of paint:
So to the other end of the scale of machine correction: Out with Menzerna S34A Power Gloss, and a Meguiars W7006 cutting pad. Applied as follows:
Higher speeds uses here, but I find I get a little extra from the PG at the higher speeds. This was followed with Menzerna PO85RD Final Finish on a finishing pad to refine the finish, appled as follows:
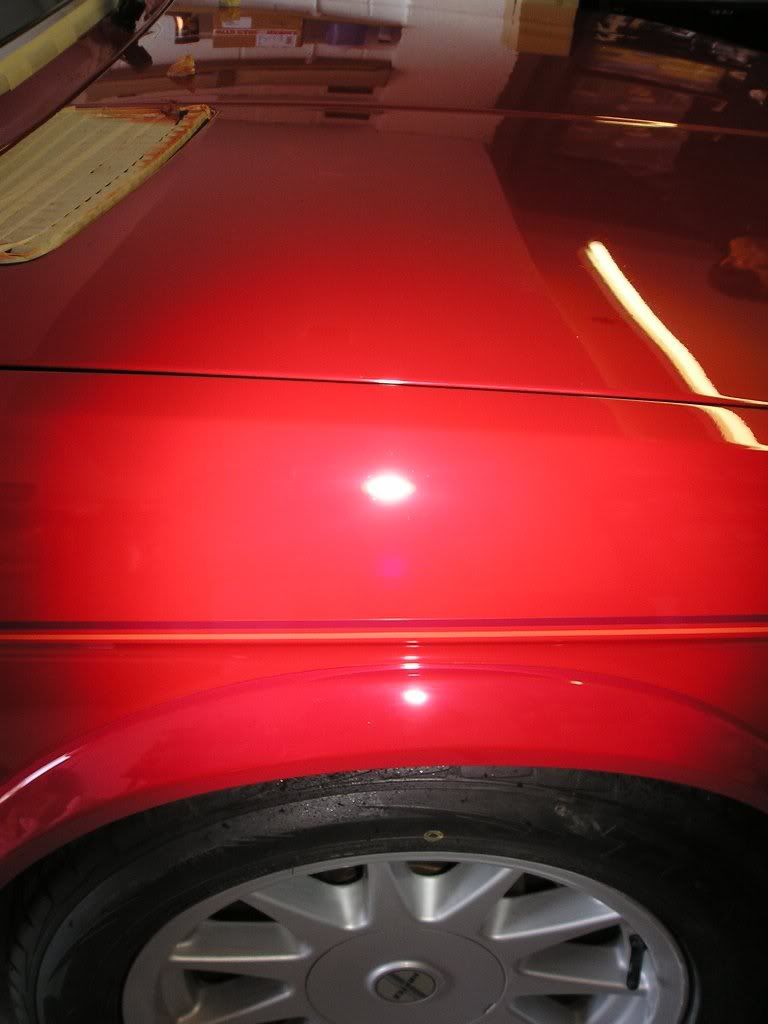
The results of this: RDS still there, but far less severe and a good gloss returned to the red paint:
The car's owner has ***** Ital, so this was the LSP that was chosen by him. The paint was pre-cleansed using Victoria Lite Cleanse (seems to me to be just as effective as HD Cleanse, yet much easier to use), and the Ital applied. Meant for Italian paint apparently...... pah, rubbish! Its good on any paint type, and added a nice wettness to the red - a very small nice wettness, but nice none the less
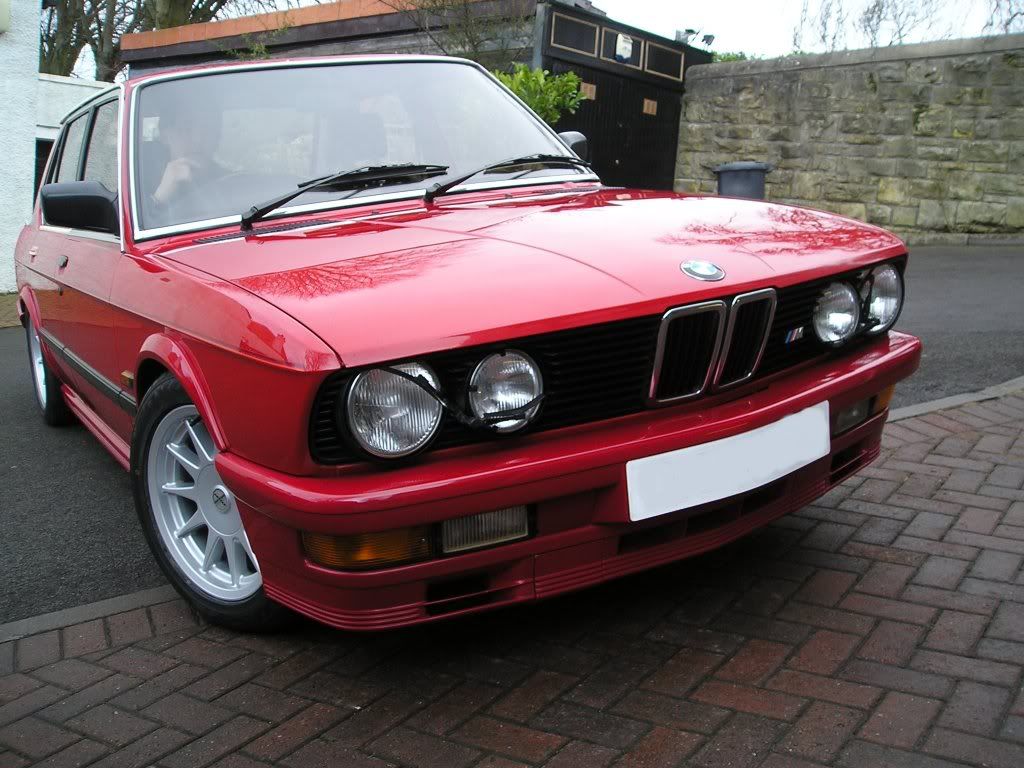
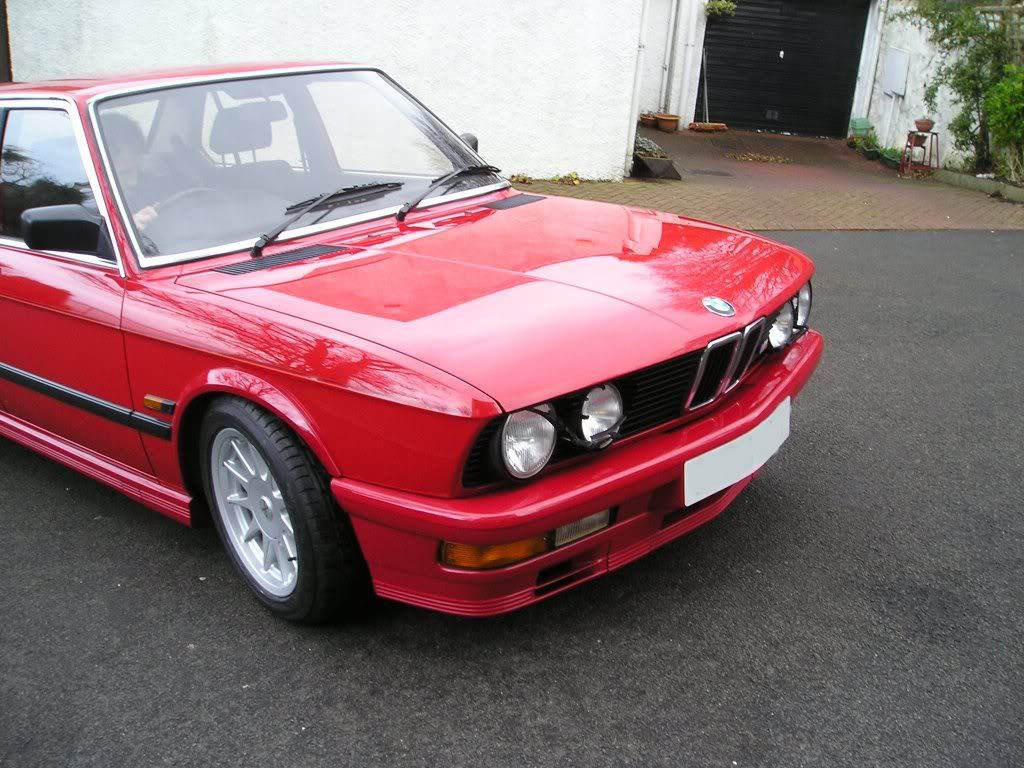
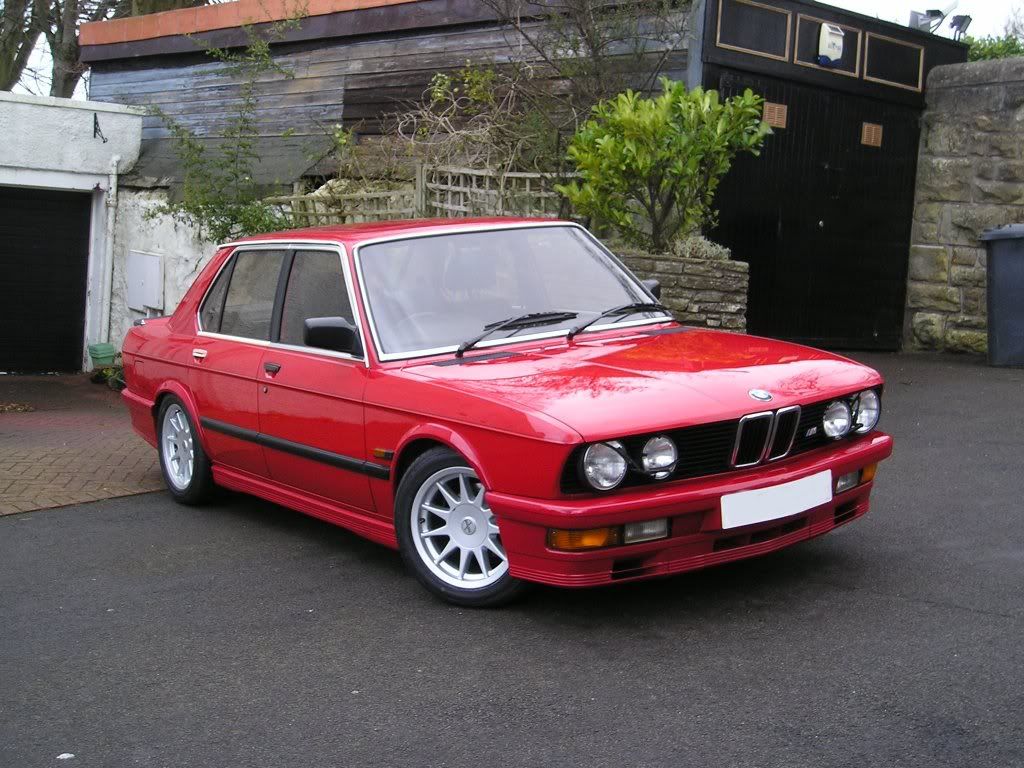
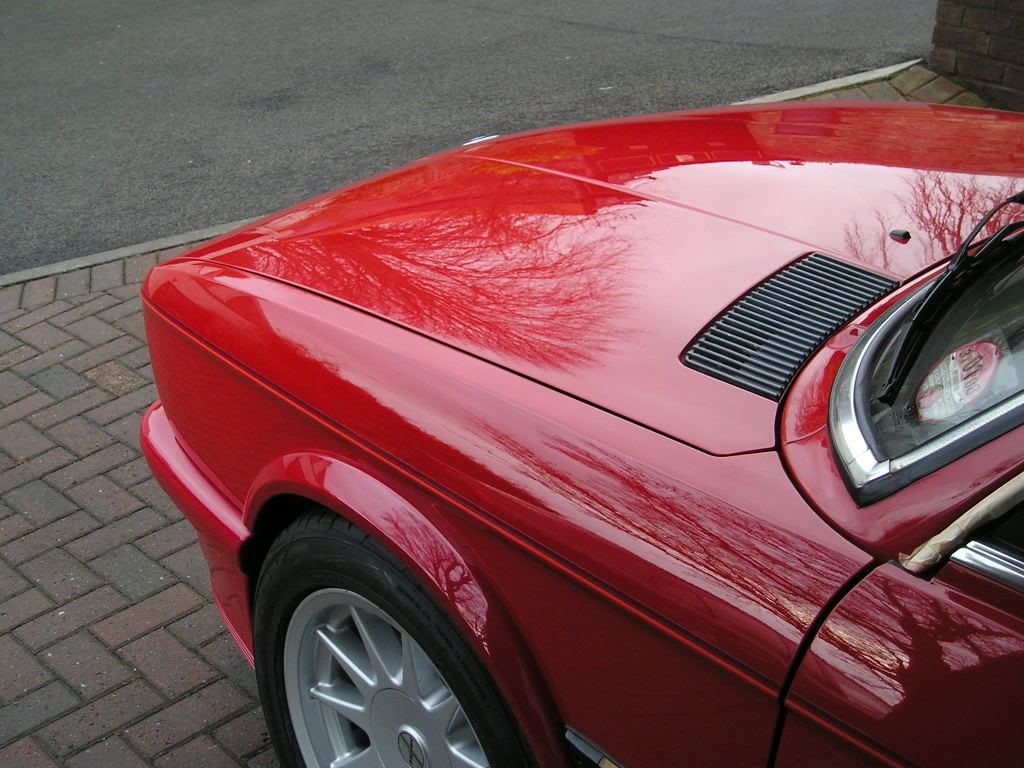
Owing to the short winters days but the desire to see the car outside and completed, the front half of this car was done to a finish so daylight photos could be taken to see the finish before the car was rolled back in to be completed... So, the after shots: the car is done to a finish from the front to the end of the front doors (machined beyond this)...
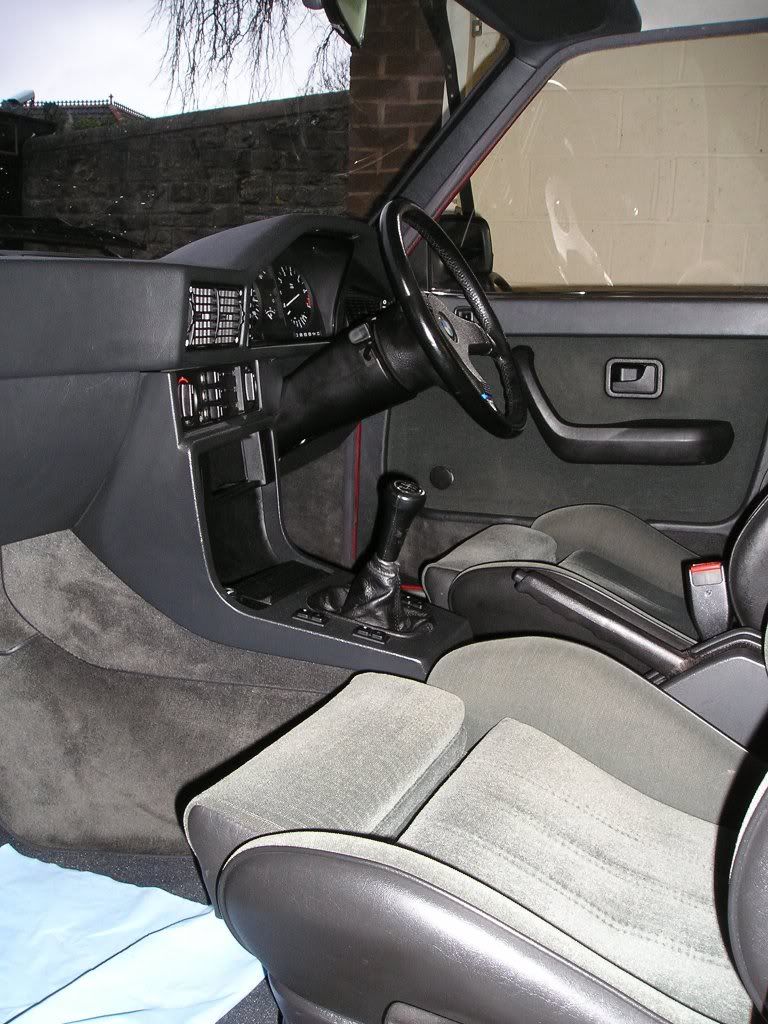
The interior was also given a quick once over: hoovered, plastics dressed, glass cleaned - no extractor was brought out for carpets...
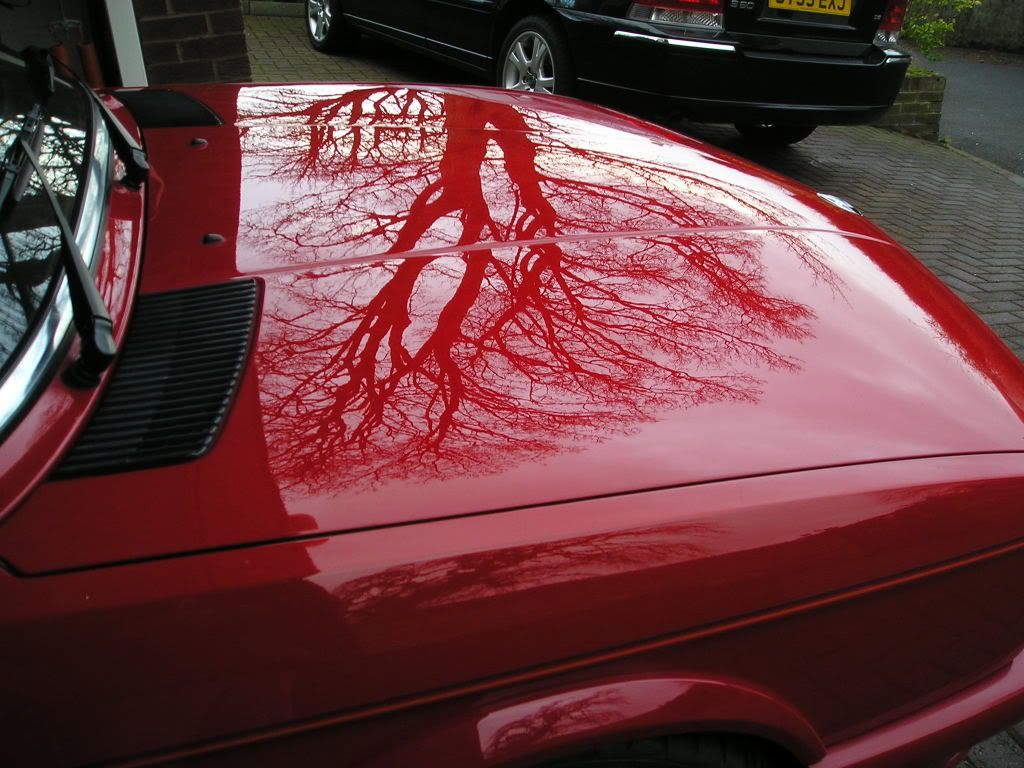
And one last "artistic pic" back in the garage once completed:
(I love the E21, E28, E30 and the E34! )The night before, Bryan prepped the car ready for machining by washing and claying...
The ar was ready in the morning when I arrived for machining... This car was going to be a challenge... not from the point of severe defects, although they existed, they were quite isolated. This car's challenge was hugely varying paint thicknesses from panel to panel: readings as low as the 60s (um), and as high as 120-130um. Well - the car is 21 years old, some paint variation can be expected but this doesn mean treading crefully and changing required polishes as we go along: this car saw everytying from Menzerna PO85RD Final Finish on a finishing pad to Menzerna S34A Power Gloss on a cutting pad!
Down to business, I started on the bonnet while Bryan fnished taping up. Defects here were medium swirls, some RDS - in all fairness, pretty damn good nick for a car of its age:
Testing here revealed the best combo on the 90 - 100um thick paint was Menzerna PO85RDE3.02 Intensive Polish applied on a Meguiars W8006 polishing pad as follows...
- 600rpm, light pressure, 1 pass: Spread the polish
- 1200rpm, light pressure, 4 - 5 passes: Beginning to work
- 1500 - 1800rpm, light - medium pressure, 8 - 12 passes: Working the polish
- 900rpm, light pressure, 2 - 3 passes: Refining the finish
This process delivered the following correction and finish results:
Being solid red, real care must be taken when finishing as the colour will punish the slightest hologram or lack of clarity. A finishing polish was kept on hand, but I found that it was not necessary on this paint providing the abrasives of the Intensive Polish were correctly worked.
A finishing polish was required on the wing however... Similar defects:
However, much thinner paint! 60um in places. The IP on the rotary had shifted around 5um: you could see it on the paint gauge. So, this was out for the wing! Out with the Porter Cable 7424 and Menzerna PO106FF Final Finish on a 4" SFX-2 polishing pad. Gently gently was required here, the polish was worked as follows:
- Speed 2, light pressure, 1 pass: Spread
- Speed 5, 4 - 5 passes, medium pressure: Beginning to work
- Speed 6, 10 - 15 passes, medium pressure: Working the polish thoroughly
The results from this were as follows:
Good correction I felt, RDS remained but softened, but with the paint thickness as it was, they just had to be left. Finish was also good, and this is a key point with the PC on paint like this. A solid dark colour will show every little mark, including very fine micromarring which some metallic flakes can hide. If a polish is not thoroughly worked by PC, very fine micrmarring will be left, looking like little half moon shaped scratches all over the finish, completely ruining its quality. So great care was taken (and should always be taken on any finish) to ensure the polish was thoroughly worked to avoid any induced micromarring.
By contrast, the passenger side of the bonnet had severe RDS marks, and a healthy 120um of paint:
So to the other end of the scale of machine correction: Out with Menzerna S34A Power Gloss, and a Meguiars W7006 cutting pad. Applied as follows:
- 600rpm, 1 pass, light pressure: Spread
- 1200rpm, 2 - 3 passes, light pressure: Begin to work in
- 2000rpm, 10 - 12 passes, light to medium pressure: Fully work
- 1200rpm, 2 - 3 passes, medium pressure: Refine
Higher speeds uses here, but I find I get a little extra from the PG at the higher speeds. This was followed with Menzerna PO85RD Final Finish on a finishing pad to refine the finish, appled as follows:
- 600rpm, 1 pass, light pressure: Spread
- 1200rpm, 4 - 5 passes, light pressure: Begin to work
- 1500rpm, 8 - 12 passes, light pressure: Working
- 1200rpm, 1 - 2 passes, light pressure: Refining
- 900rpm, 1 - 2 passes, light pressure: Refining
The results of this: RDS still there, but far less severe and a good gloss returned to the red paint:
The car's owner has ***** Ital, so this was the LSP that was chosen by him. The paint was pre-cleansed using Victoria Lite Cleanse (seems to me to be just as effective as HD Cleanse, yet much easier to use), and the Ital applied. Meant for Italian paint apparently...... pah, rubbish! Its good on any paint type, and added a nice wettness to the red - a very small nice wettness, but nice none the less
Owing to the short winters days but the desire to see the car outside and completed, the front half of this car was done to a finish so daylight photos could be taken to see the finish before the car was rolled back in to be completed... So, the after shots: the car is done to a finish from the front to the end of the front doors (machined beyond this)...
The interior was also given a quick once over: hoovered, plastics dressed, glass cleaned - no extractor was brought out for carpets...
And one last "artistic pic" back in the garage once completed: