KenAllwine
New member
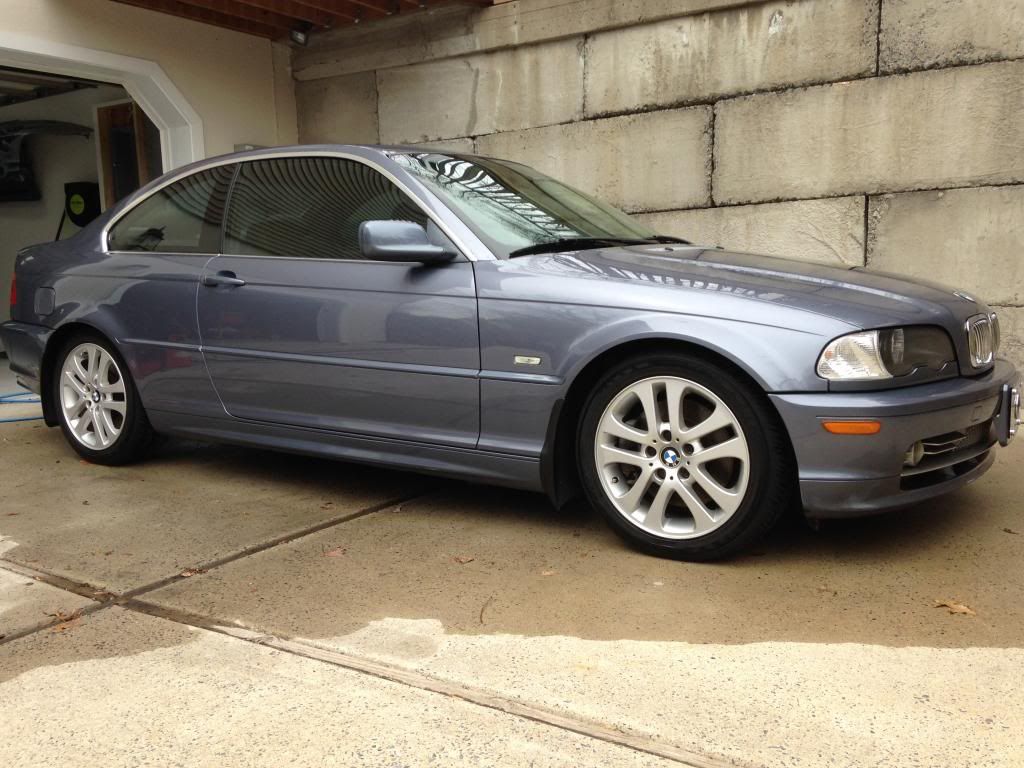
For the past four months I have been communication with the owner of this BMW 330ci. She loves her car dearly and wanted a break in the weather to bring it to me to clean the interior and make the exterior look the best it can. She loves her car so much that she named it Valentina. She (the car) was to first come in the week after Christmas however, for those of you who live in the North East, ever since Christmas the weather has been… well, let’s say less than favorable this year. She was apologetic about rescheduling 4 times to the point that she offered to pay a deposit to show that she really did plan to bring the car to me (awesome customer!). Finally we scheduled for this past weekend (March 22<sup>nd</sup>). It turned out to be a beautiful weekend.
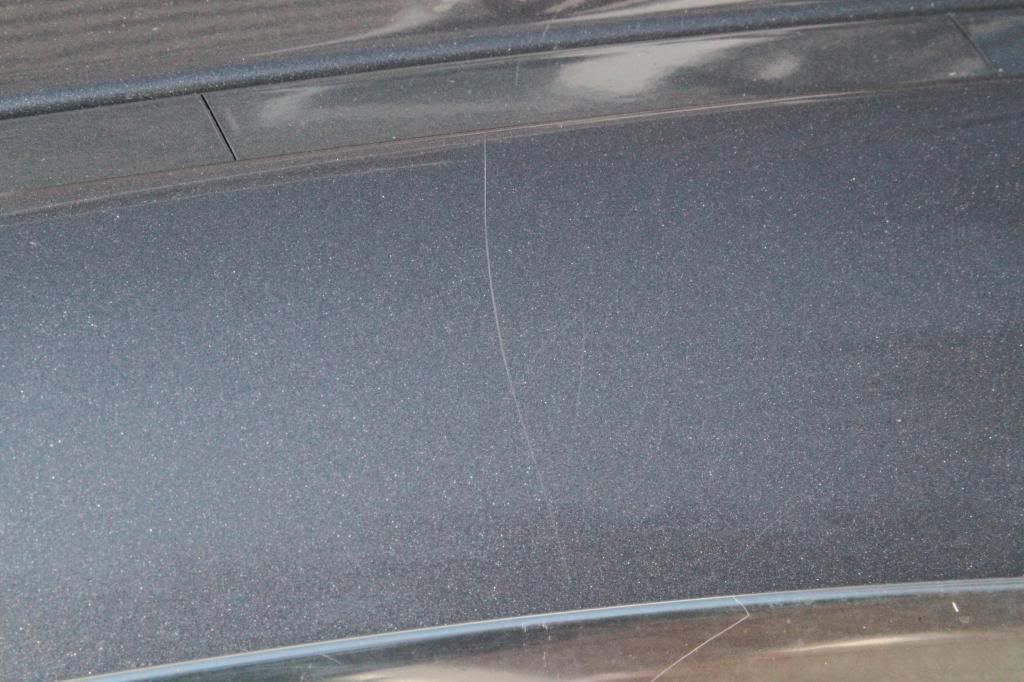
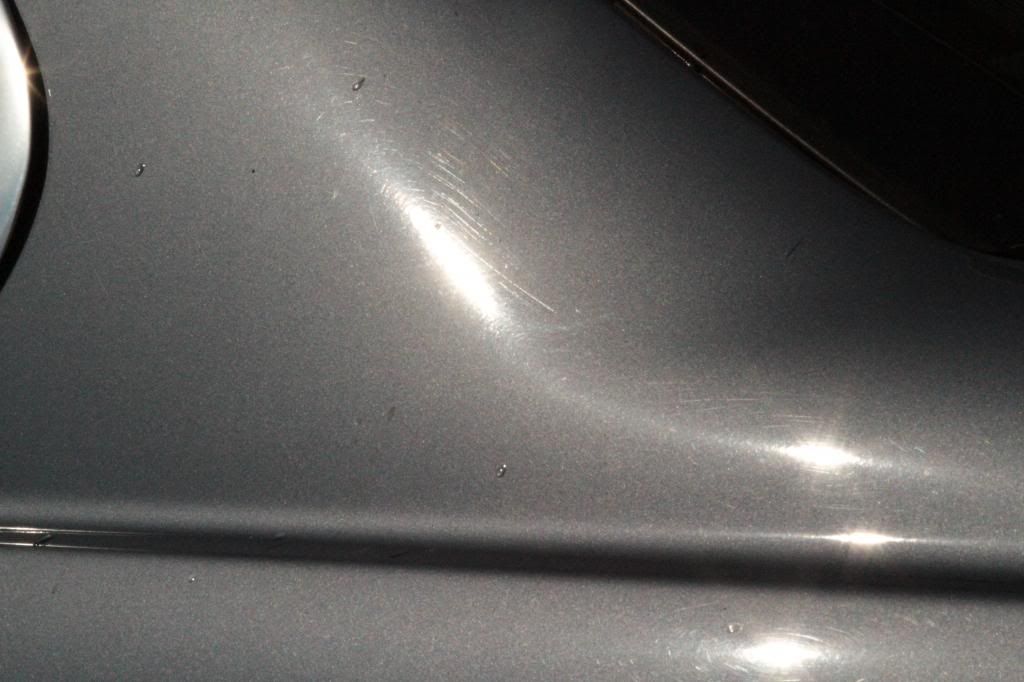
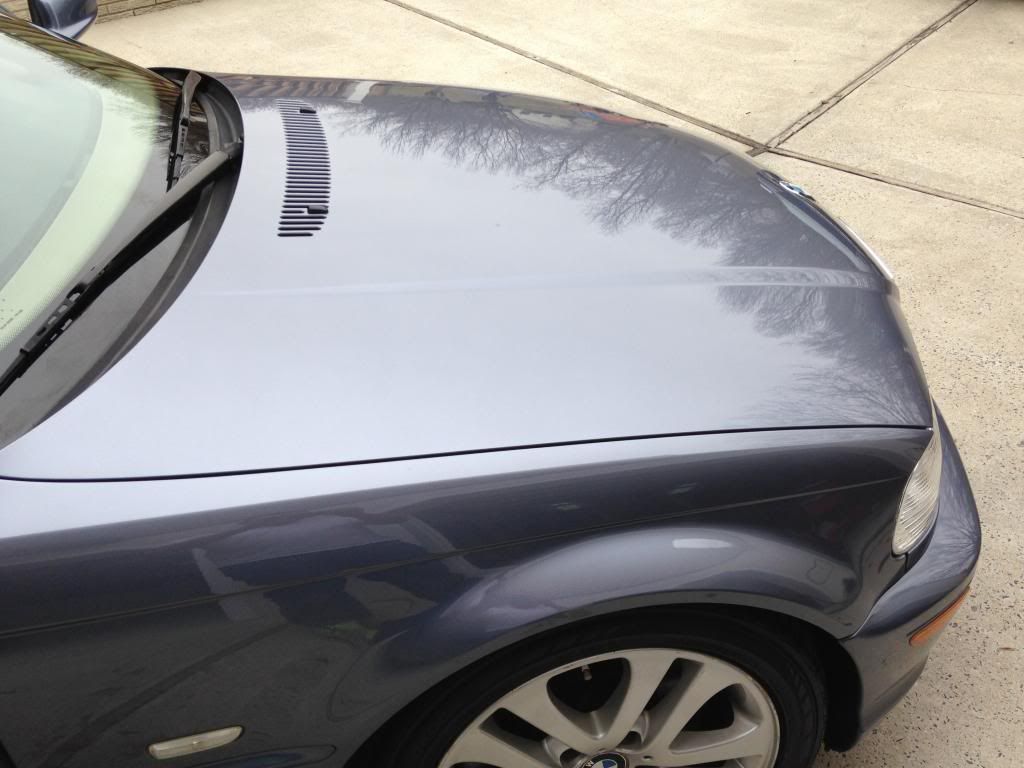
My client dropped the car off early Saturday morning and as usually I looked over the car with her and decided what would be done and the results she could most likely be able to expect.
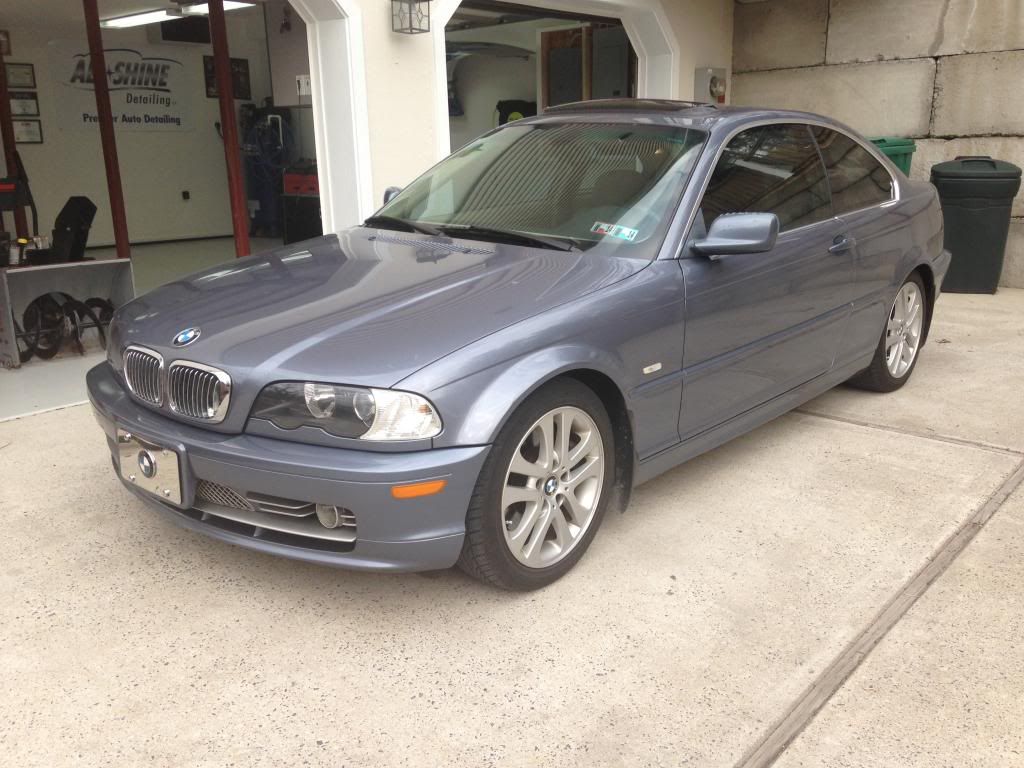
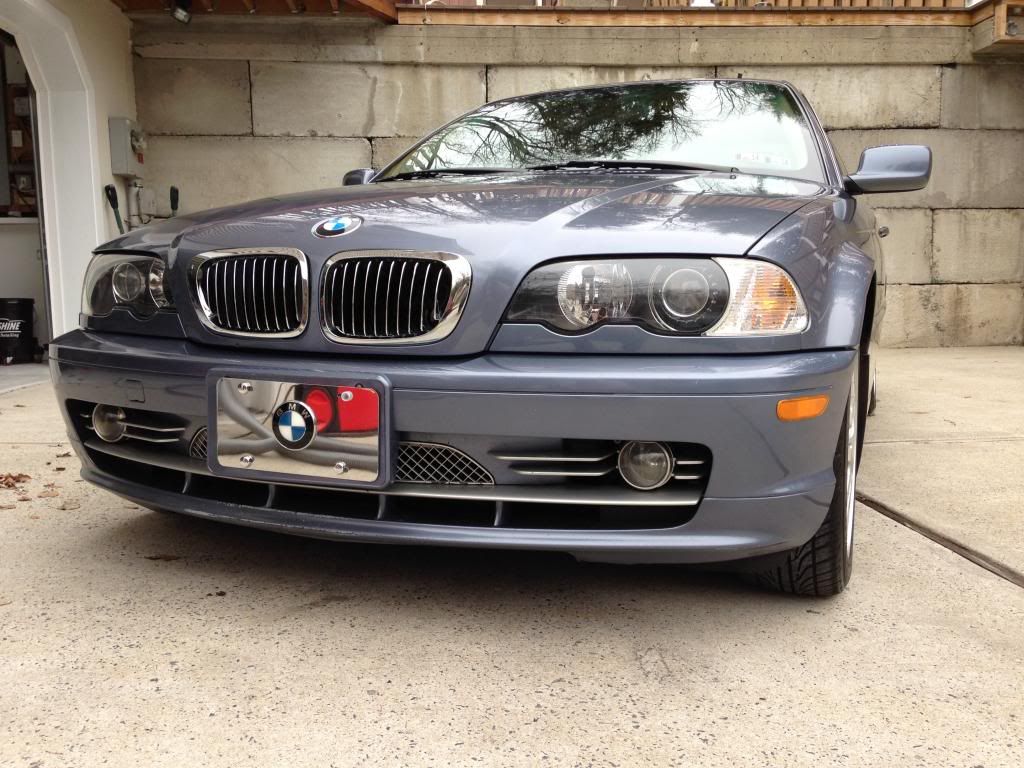
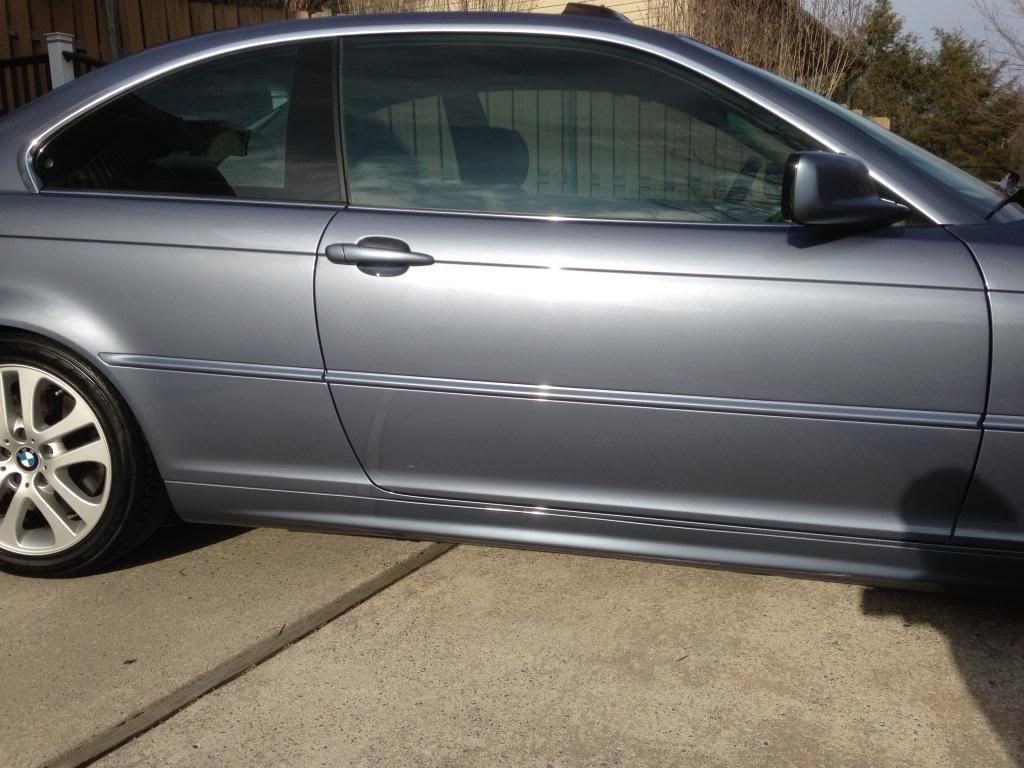
I started out by taking a few pictures of the car and its present condition which you can find below.
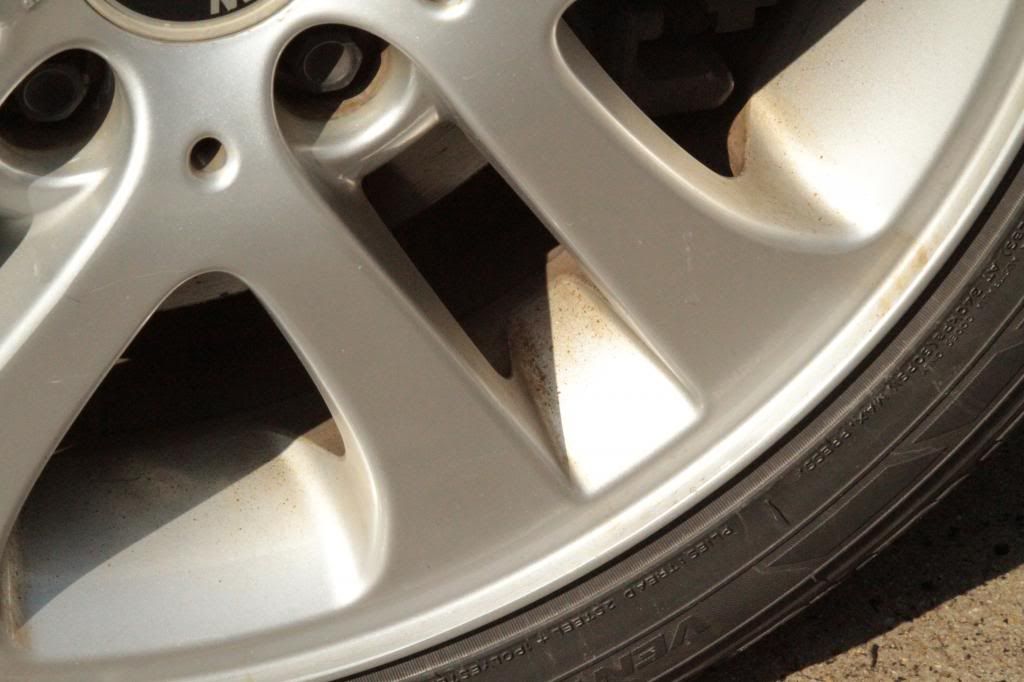
Starting off things with the engine and wheels cool, I began with cleaning the engine and the wheels. Armed with a new all-purpose cleaner product that Barry Theal let me try out from Americana Car Care, I easily removed thousands of miles from grime and gunk.
To dress the engine (after the car was corrected and coated) I used a combination of Meguiar’s Trim dressing and Chemical Guys Black on Black dressing.
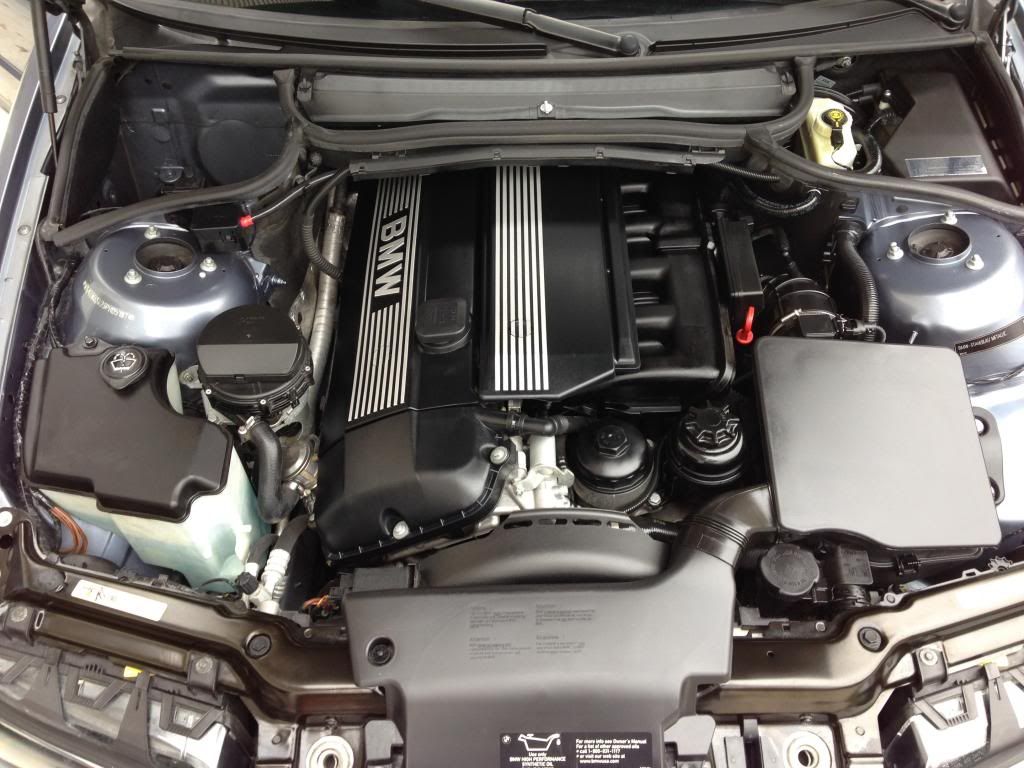
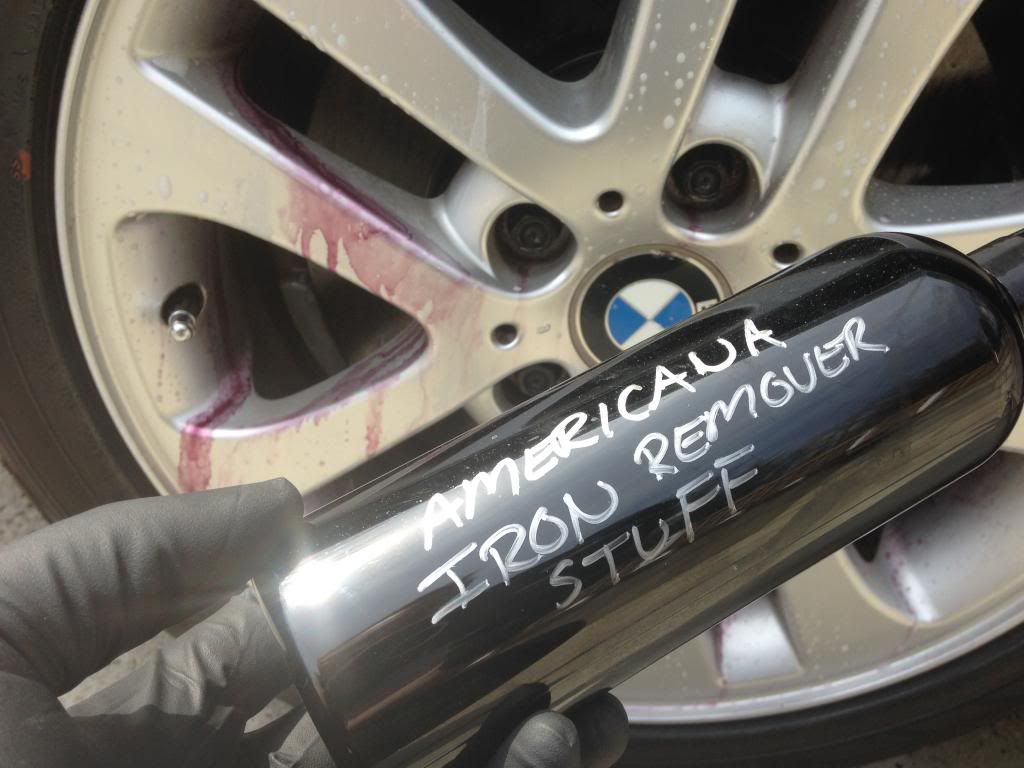
On the wheels, I started with Sonax Full Effect however, with the thousands of miles of german brake dirt caked on the wheels it didn’t get all the dirt off. I switched to a sample of an Iron-x style of product from Americana Car Care (product not named yet). It ended being stronger than Iron-x and allowed it to dwell. It pulled the remaining caked on brake dirt without too much effort. The tires were also cleaned with a 1:1 ration of the Americana Car Care APC product.
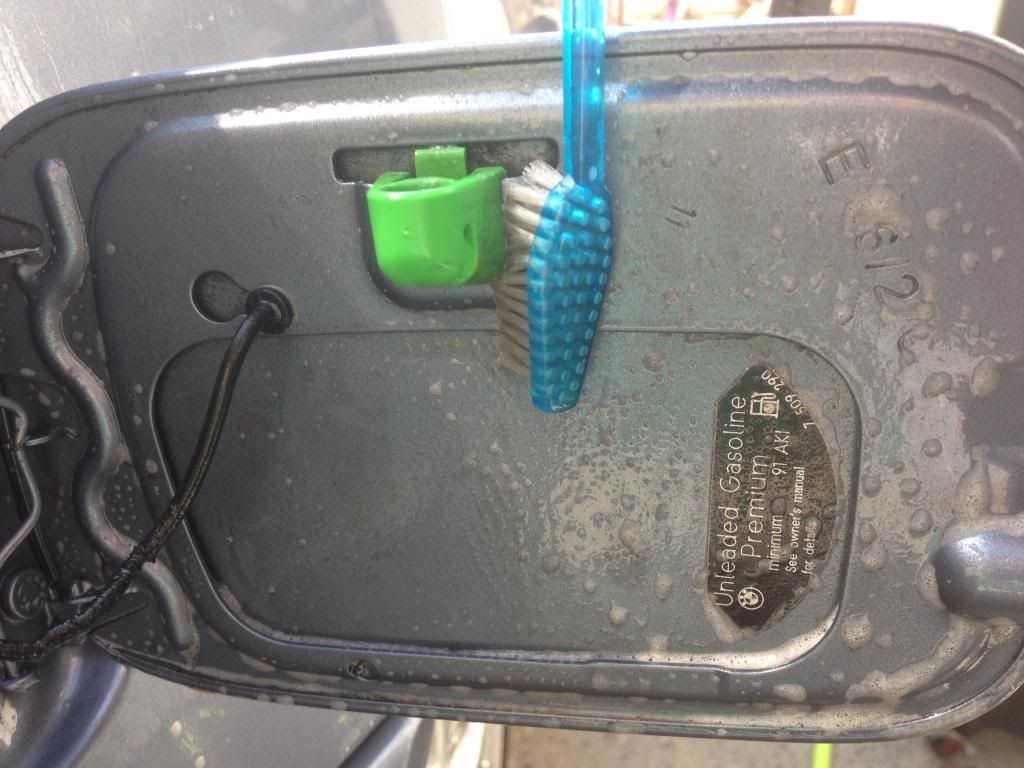
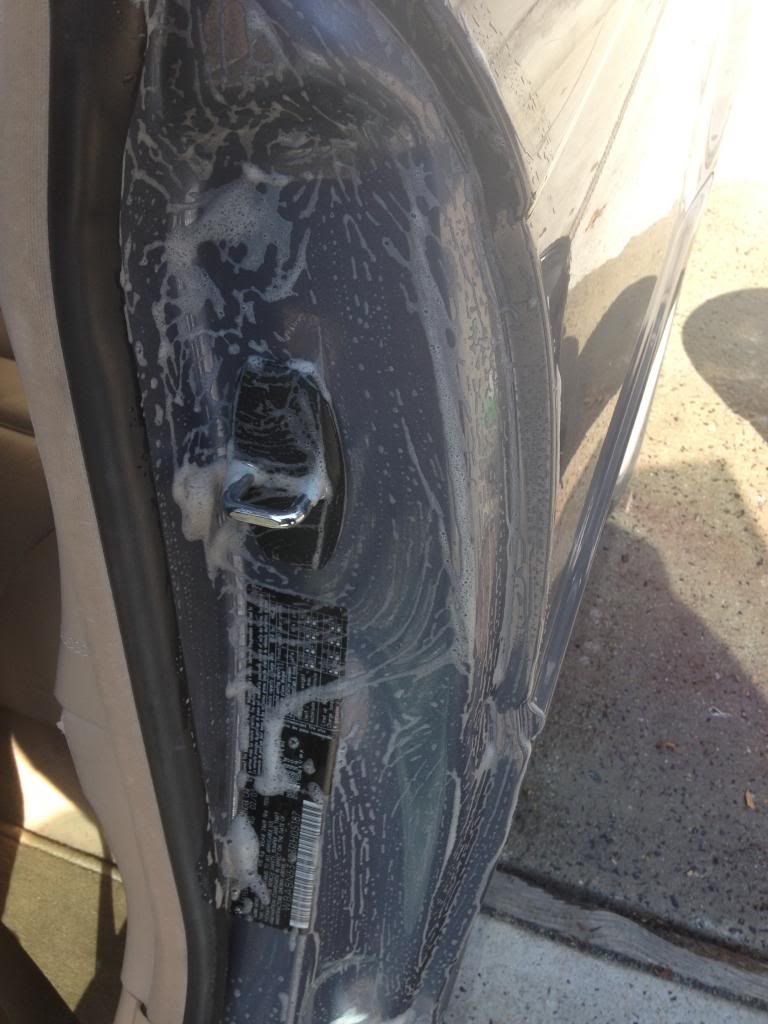
Moving onto the body of the vehicle, cleaning it was not difficult since the owner recently took it through the automatic car wash. I used Optimum’s car wash and the all so common 2-bucket method for this. For all the nooks and crannies, I used various brushed to remove the buildup of months of pollen, dirt and gunk from around window moldings, gas cap, door jambs and creases. After a full rinse, I sprayed the entire car down with the new Americana Car Care iron remover product.
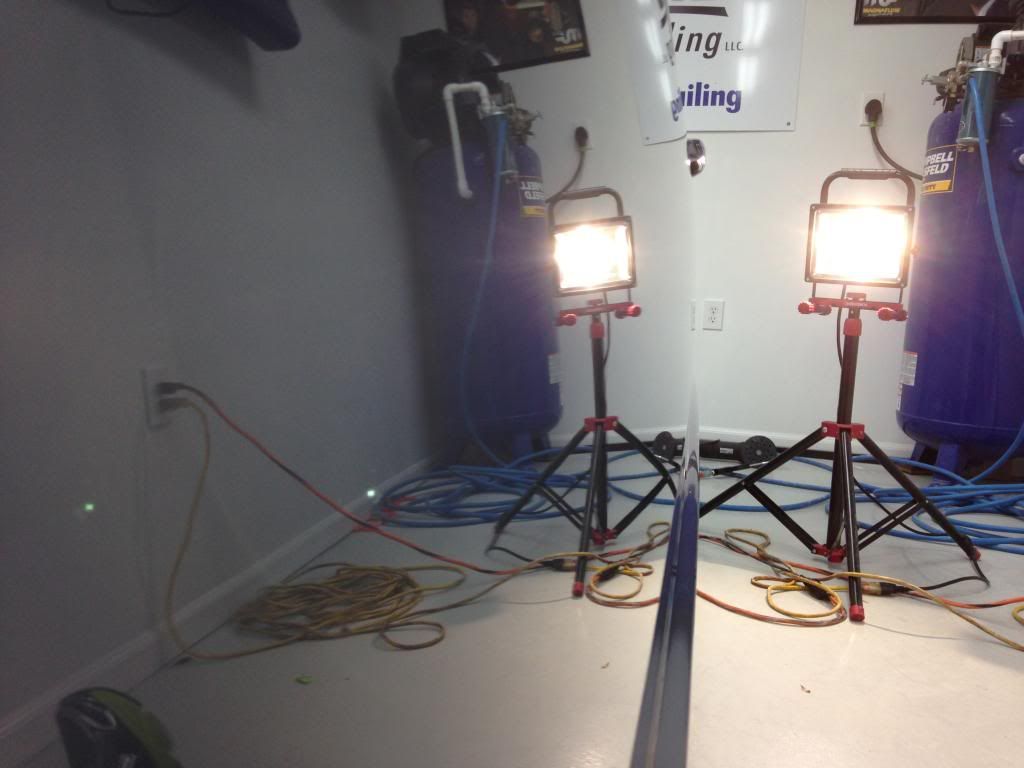
Now that the vehicle is fully cleaned it was brought inside to get started with decontamination. I always use my favorite product for this; the Nanoskin pad and Glide as a lubricant.
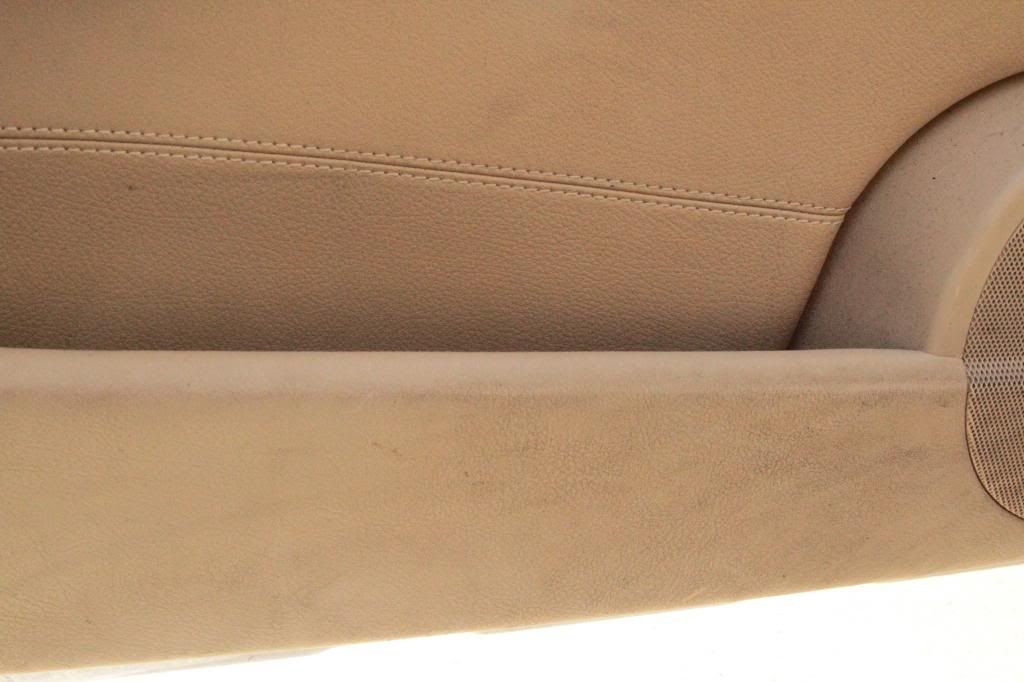
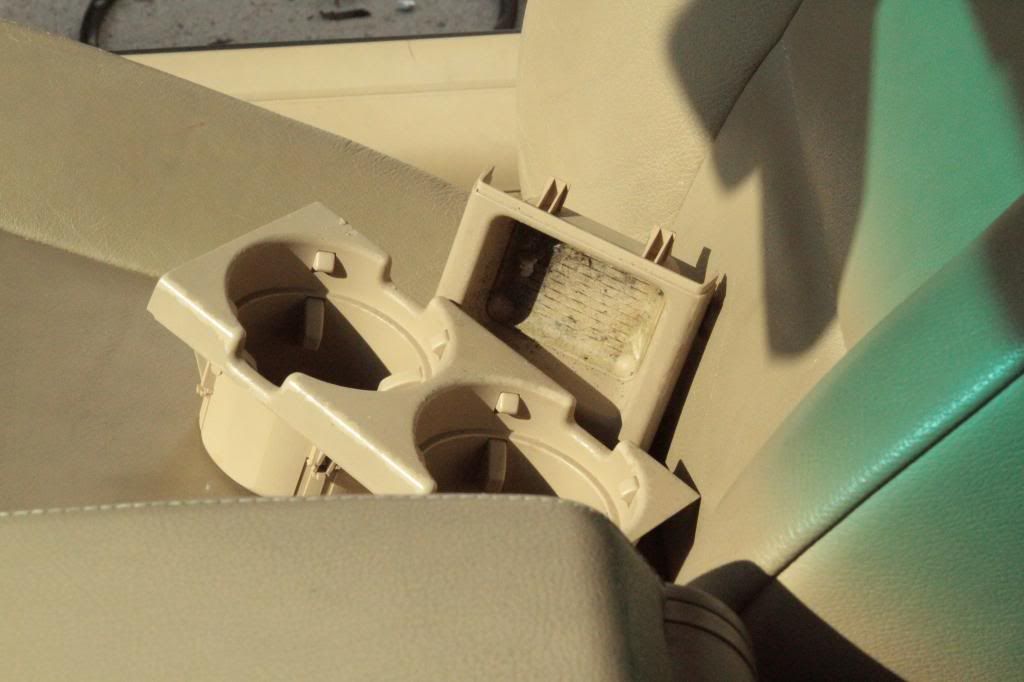
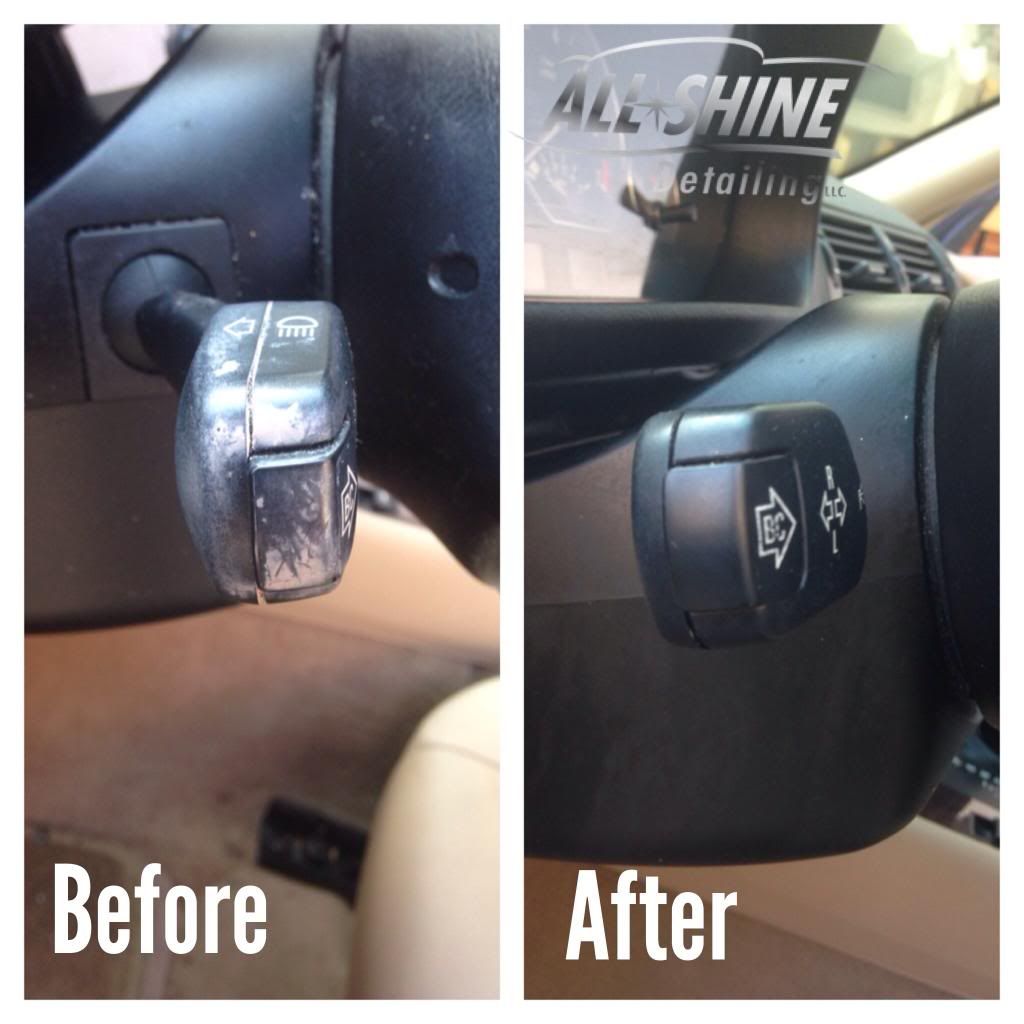
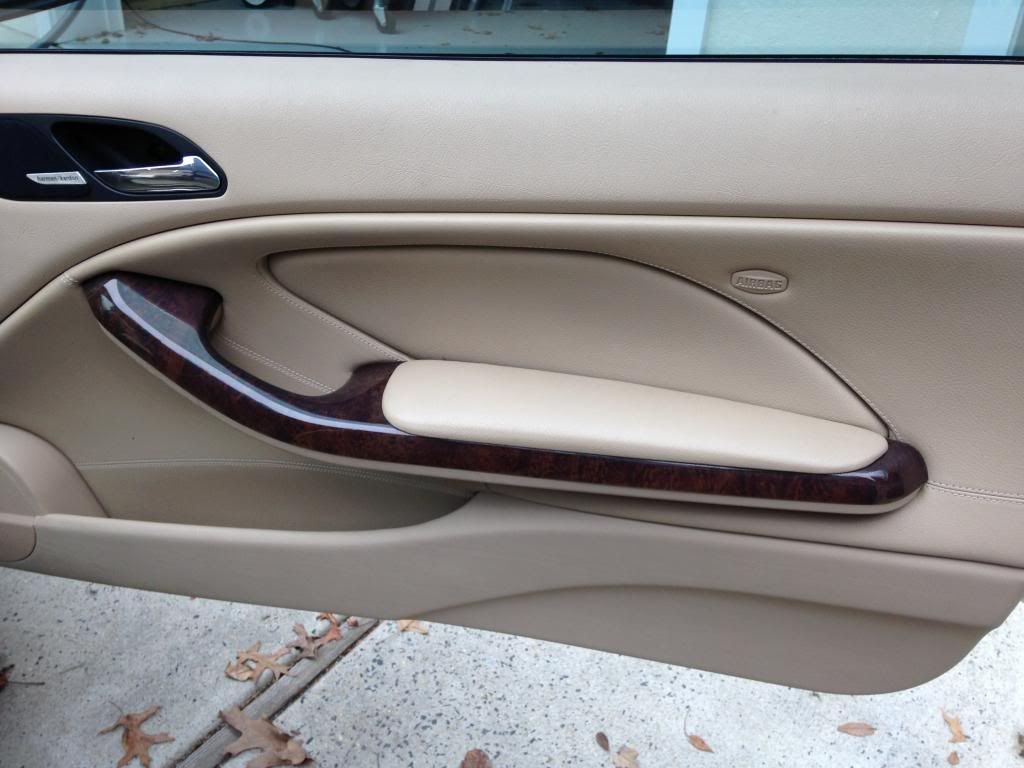
Before I start correcting the exterior of a vehicle, I tend to clean out the interior. Being a female’s vehicle there tends to be more film build up on knobs and switches. Below is a before-and-after picture of the multi-purpose switch. You can see the amount of hand cream/moisturized that has built up over the years.
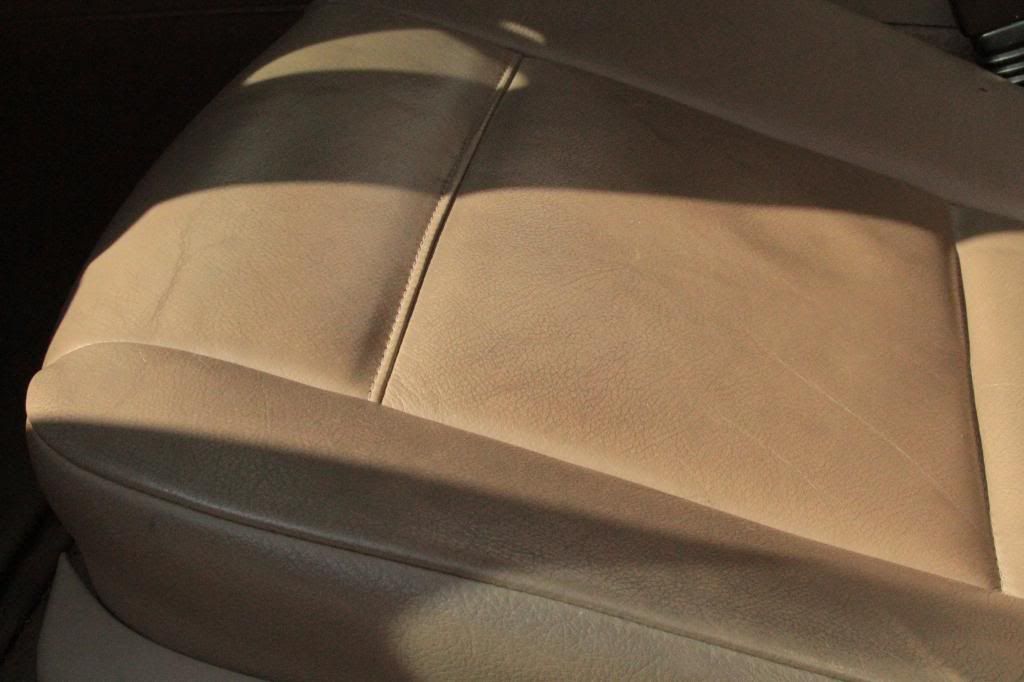
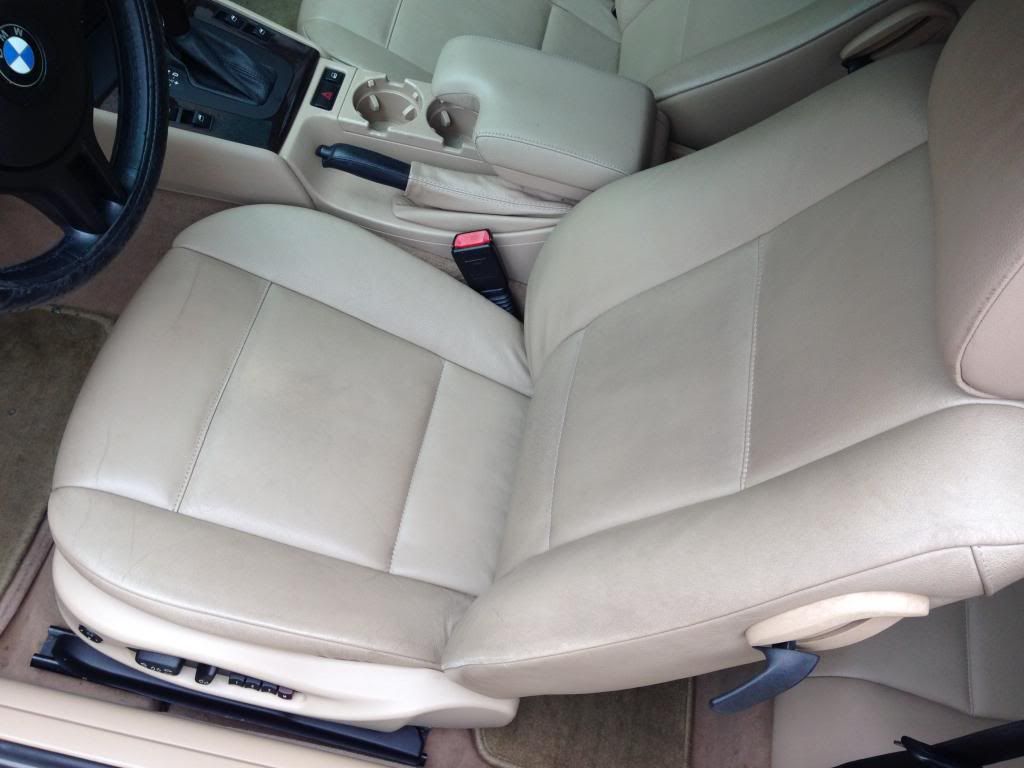
This same scenario played out for the radio buttons and HVAC controls. I also spend a great deal of time scrubbing the seats with the Americana APC at a dilution for 4.5:1 to clean off all the blue jean transfer and old dirt. Although most of the dirt came out, the seats could have used a good dose of Leatherique Rejuvenator (maybe anther time).
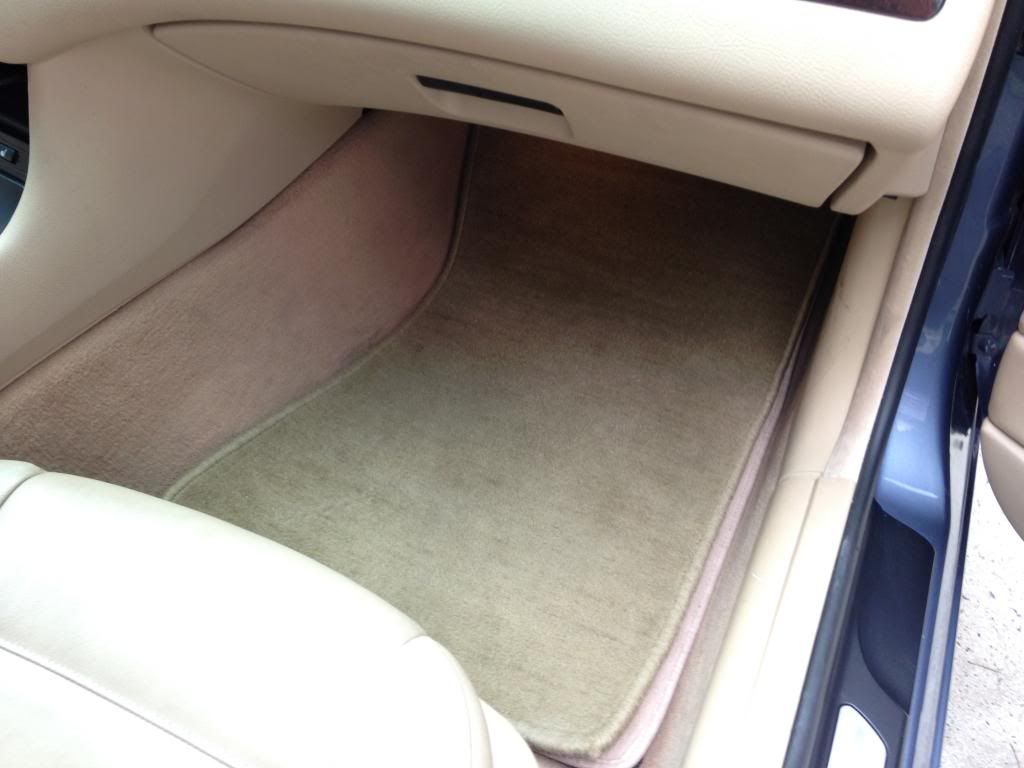
The carpets were given a quick cleaning as well as the floor mats to finish out the interior.
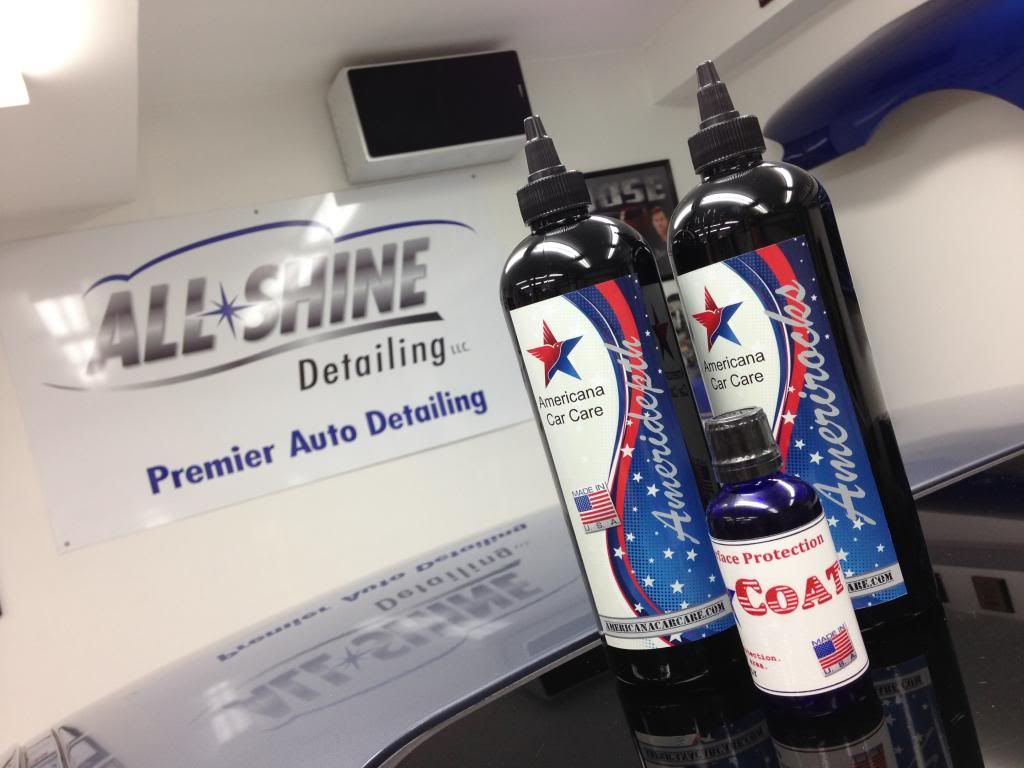
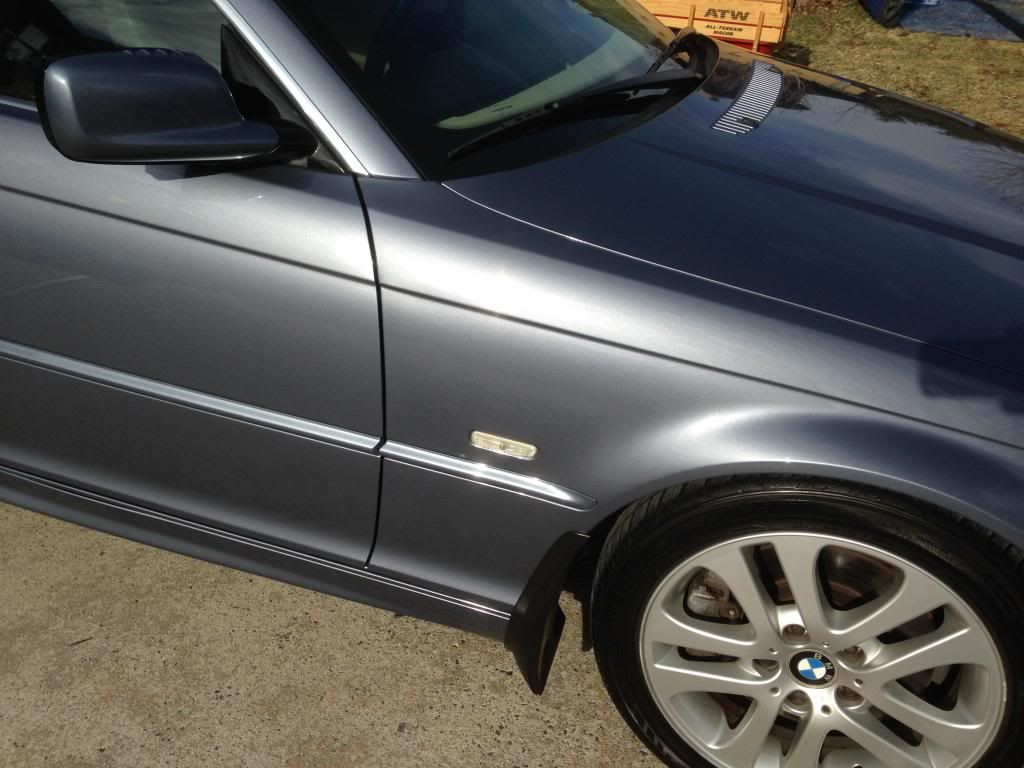
Now that the interior was finally done, it was time to turn my attention to the exterior for heavy correction and polishing. This car got a full treatment of cutting polishing and coating with Americana Car Care products.
After the car was taped off for protection, Amerirocks compound was up first. It took a little bit to understand how this product worked. The rate of initial cut is very high. This means that it has exceptional cutting and then breaks down and finishes very smooth through the compounding cycle. I learned the hard way on how to use the product. It was dusting pretty bad on me. It turns out that I wasn’t using enough product on the pad and was breaking down too fast. Once Barry clued me in on this, it was smooth sailing. Amerirocks cut through the defects and finished down to almost an LSP read finish. It worked really well using my Rupes 21 with the Rupes microfiber cutting pad.
For polishing I also turned to the new Ameridepth polish to refine this bimmer’s finish. Now, when I say this is an easy product to use, I’m not kidding. Again using my Rupes 21 with a Chemical Guy’s Black hexlogic pad, this polish went down incredibly smooth with not sticking. Removal was very easy using my plush microfiber towels from Towel Pros. After I finished this step, I called it a night at 3am.
The next morning, I prepped the vehicle for the coating of Americoat. I pulled the car out and and rinsed it down from the initial dusting I was getting from using the compound incorrectly. I also used this time outside to double check my work. Happy with the way it was turning out, I dried it all off and used compressed air to get rid of any water behind lights, in cracks or around trim and windows.
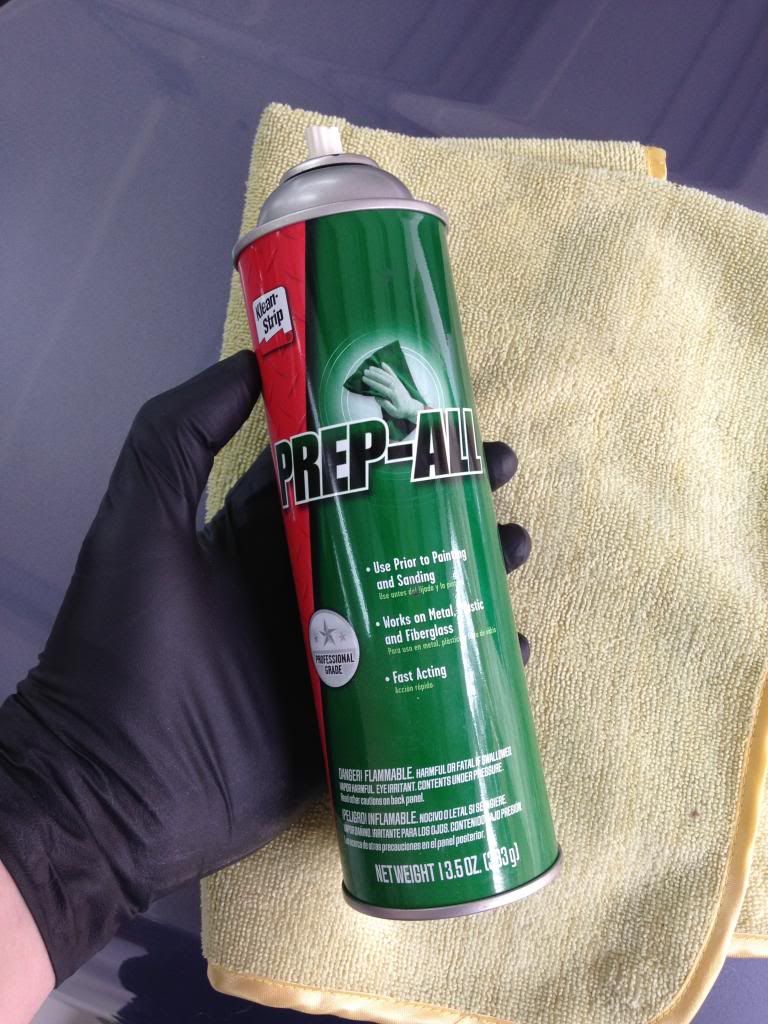
Back in the garage, I make sure the surface is free of anything that may interfere with the application of the coating. To do this, I use a soft microfiber towel and use Klean Strip Prep-all. I have found this is the best at removing anything that would be left behind from any polishing product.
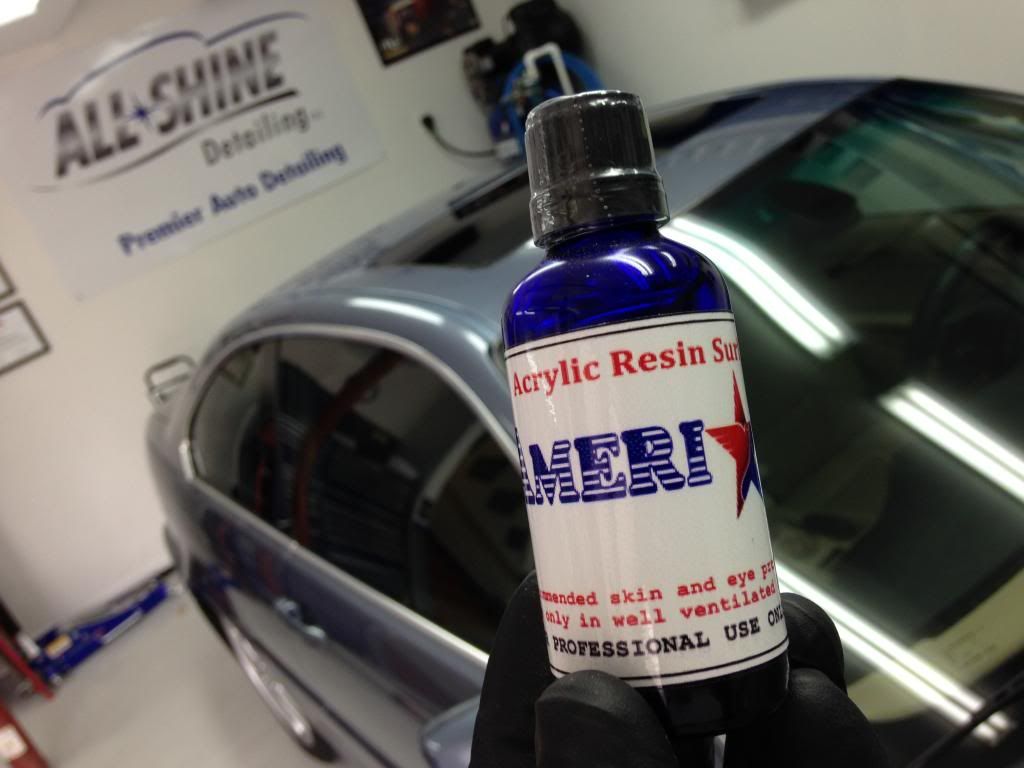
The coating process was exceptionally easy with Americoat. It isn’t a traditional “glass� coating as it is actually an acrylic resin. Instead of beading water, it sheets the water off and is good for 2 years or better. Using the associated red foam applicator I got started on the coating process. With whatever coating that I used I “hopscotch� around the car making sure that I am always working against a wet edge. So, as I finish application of one panel, I go back and wipe off the previous panel. Working in this way, I was done coating the car in about 30 minutes. It is an air cure product so no IR light are needed.
After the coating was done, the only thing left was to apply tire dressing (GTechniq T1) and clean the windows (Chemical Guys Signature Series Glass Cleaner).
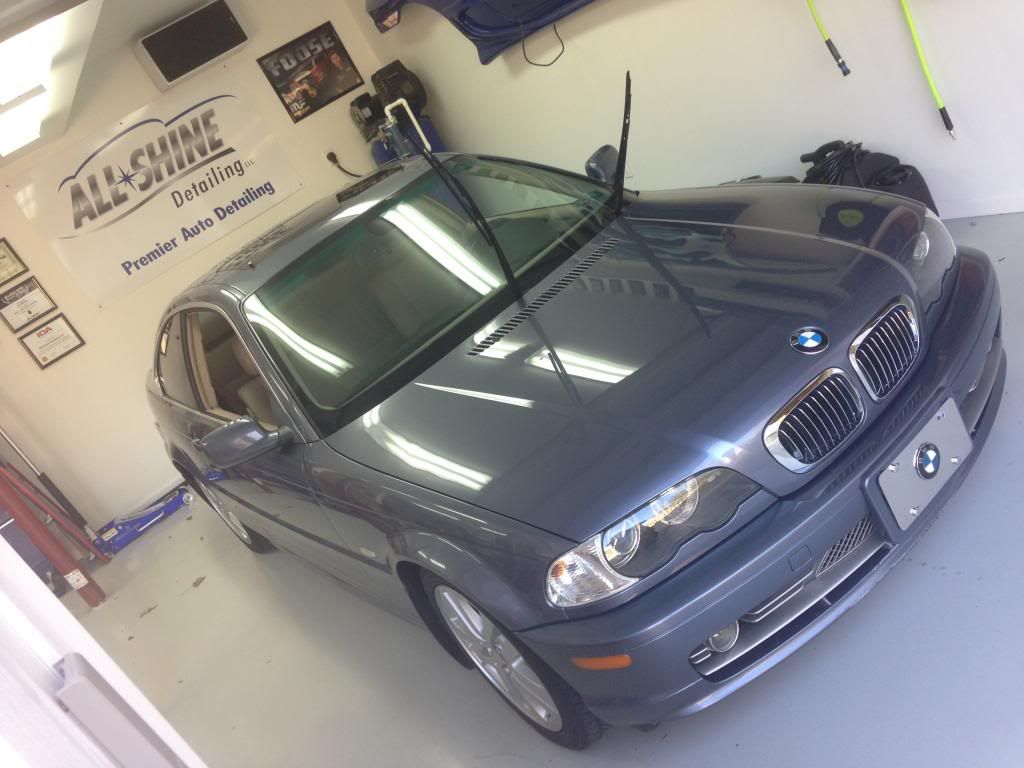
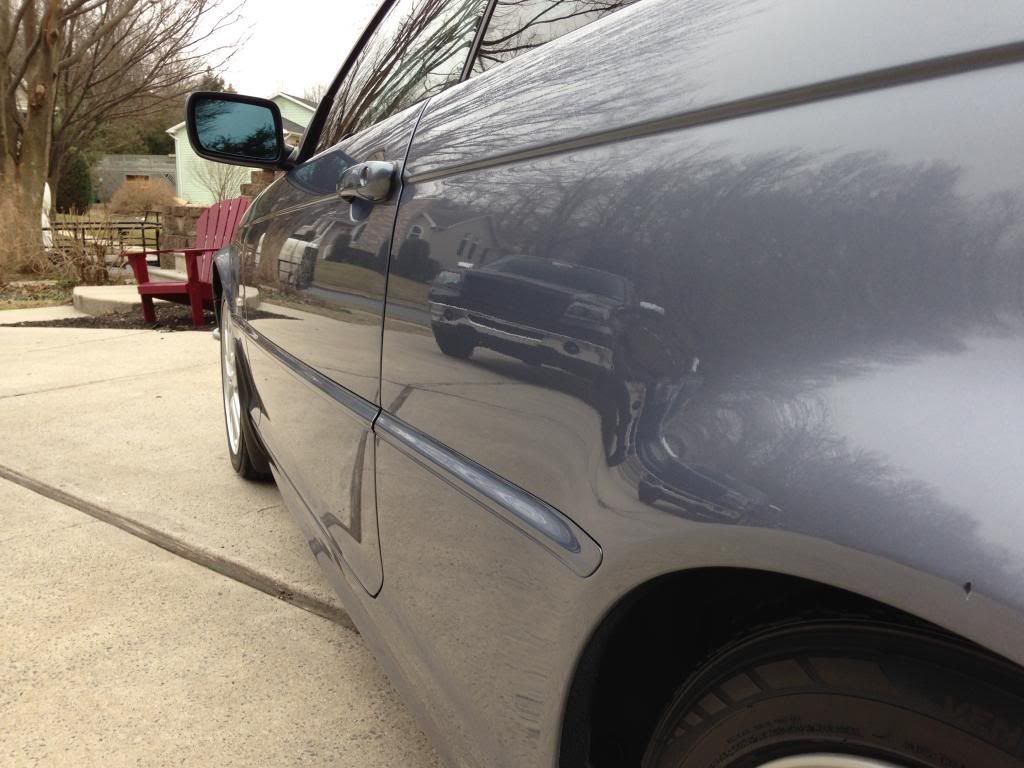
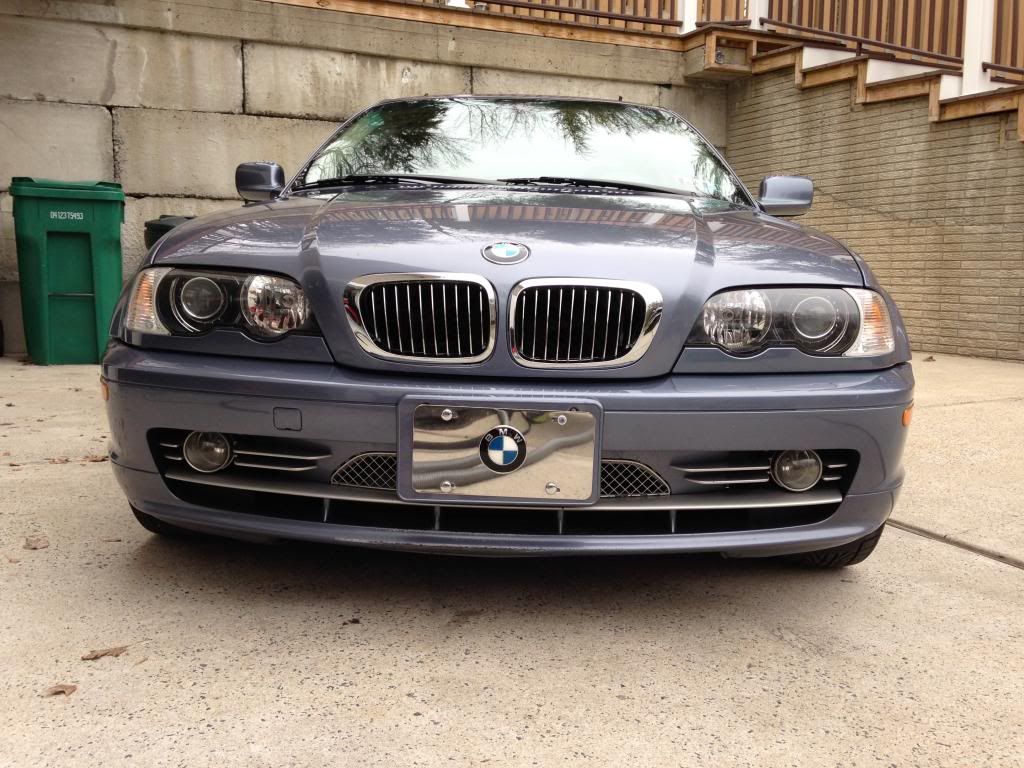
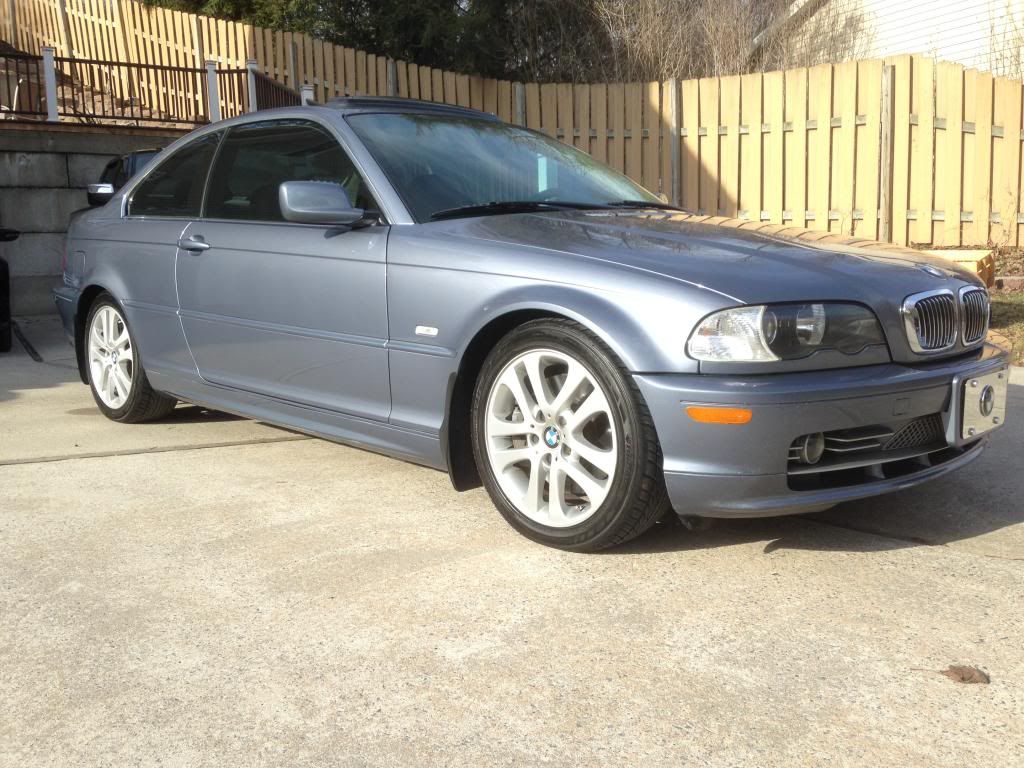
All that was left was to pull it out and take a few pictures. My client was ecstatic about the results and couldn’t believe how it turned out. Enjoy the rest of the pictures!


My client dropped the car off early Saturday morning and as usually I looked over the car with her and decided what would be done and the results she could most likely be able to expect.
I started out by taking a few pictures of the car and its present condition which you can find below.
Starting off things with the engine and wheels cool, I began with cleaning the engine and the wheels. Armed with a new all-purpose cleaner product that Barry Theal let me try out from Americana Car Care, I easily removed thousands of miles from grime and gunk.
To dress the engine (after the car was corrected and coated) I used a combination of Meguiar’s Trim dressing and Chemical Guys Black on Black dressing.
On the wheels, I started with Sonax Full Effect however, with the thousands of miles of german brake dirt caked on the wheels it didn’t get all the dirt off. I switched to a sample of an Iron-x style of product from Americana Car Care (product not named yet). It ended being stronger than Iron-x and allowed it to dwell. It pulled the remaining caked on brake dirt without too much effort. The tires were also cleaned with a 1:1 ration of the Americana Car Care APC product.
Moving onto the body of the vehicle, cleaning it was not difficult since the owner recently took it through the automatic car wash. I used Optimum’s car wash and the all so common 2-bucket method for this. For all the nooks and crannies, I used various brushed to remove the buildup of months of pollen, dirt and gunk from around window moldings, gas cap, door jambs and creases. After a full rinse, I sprayed the entire car down with the new Americana Car Care iron remover product.
Now that the vehicle is fully cleaned it was brought inside to get started with decontamination. I always use my favorite product for this; the Nanoskin pad and Glide as a lubricant.
Before I start correcting the exterior of a vehicle, I tend to clean out the interior. Being a female’s vehicle there tends to be more film build up on knobs and switches. Below is a before-and-after picture of the multi-purpose switch. You can see the amount of hand cream/moisturized that has built up over the years.
This same scenario played out for the radio buttons and HVAC controls. I also spend a great deal of time scrubbing the seats with the Americana APC at a dilution for 4.5:1 to clean off all the blue jean transfer and old dirt. Although most of the dirt came out, the seats could have used a good dose of Leatherique Rejuvenator (maybe anther time).
The carpets were given a quick cleaning as well as the floor mats to finish out the interior.
Now that the interior was finally done, it was time to turn my attention to the exterior for heavy correction and polishing. This car got a full treatment of cutting polishing and coating with Americana Car Care products.
After the car was taped off for protection, Amerirocks compound was up first. It took a little bit to understand how this product worked. The rate of initial cut is very high. This means that it has exceptional cutting and then breaks down and finishes very smooth through the compounding cycle. I learned the hard way on how to use the product. It was dusting pretty bad on me. It turns out that I wasn’t using enough product on the pad and was breaking down too fast. Once Barry clued me in on this, it was smooth sailing. Amerirocks cut through the defects and finished down to almost an LSP read finish. It worked really well using my Rupes 21 with the Rupes microfiber cutting pad.
For polishing I also turned to the new Ameridepth polish to refine this bimmer’s finish. Now, when I say this is an easy product to use, I’m not kidding. Again using my Rupes 21 with a Chemical Guy’s Black hexlogic pad, this polish went down incredibly smooth with not sticking. Removal was very easy using my plush microfiber towels from Towel Pros. After I finished this step, I called it a night at 3am.
The next morning, I prepped the vehicle for the coating of Americoat. I pulled the car out and and rinsed it down from the initial dusting I was getting from using the compound incorrectly. I also used this time outside to double check my work. Happy with the way it was turning out, I dried it all off and used compressed air to get rid of any water behind lights, in cracks or around trim and windows.
Back in the garage, I make sure the surface is free of anything that may interfere with the application of the coating. To do this, I use a soft microfiber towel and use Klean Strip Prep-all. I have found this is the best at removing anything that would be left behind from any polishing product.
The coating process was exceptionally easy with Americoat. It isn’t a traditional “glass� coating as it is actually an acrylic resin. Instead of beading water, it sheets the water off and is good for 2 years or better. Using the associated red foam applicator I got started on the coating process. With whatever coating that I used I “hopscotch� around the car making sure that I am always working against a wet edge. So, as I finish application of one panel, I go back and wipe off the previous panel. Working in this way, I was done coating the car in about 30 minutes. It is an air cure product so no IR light are needed.
After the coating was done, the only thing left was to apply tire dressing (GTechniq T1) and clean the windows (Chemical Guys Signature Series Glass Cleaner).
All that was left was to pull it out and take a few pictures. My client was ecstatic about the results and couldn’t believe how it turned out. Enjoy the rest of the pictures!