imported_fishbonezken
New member
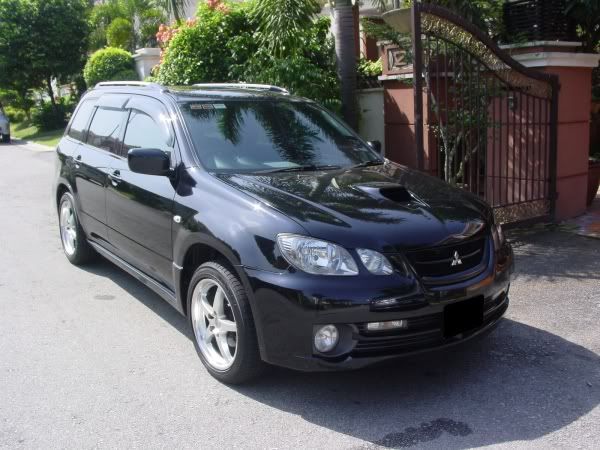
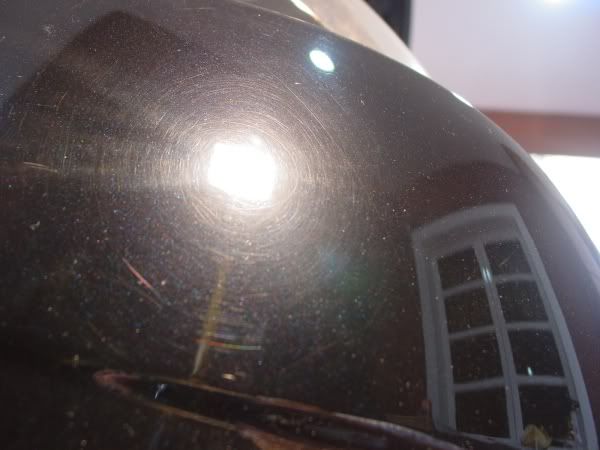
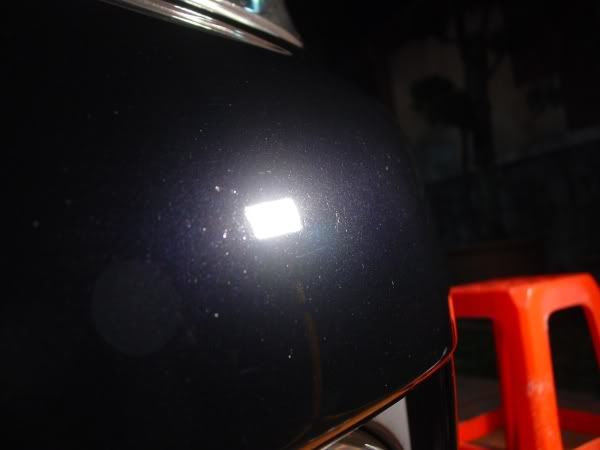
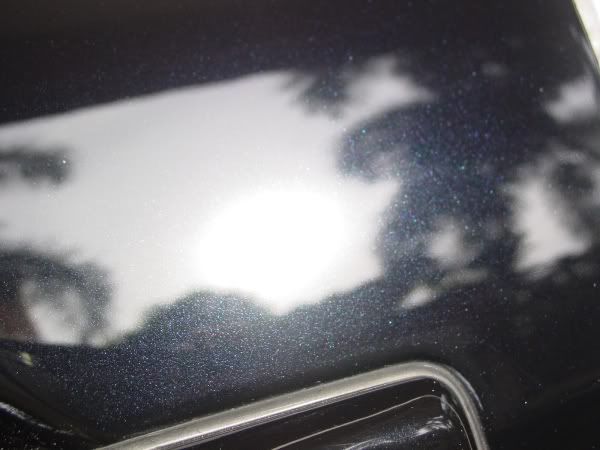
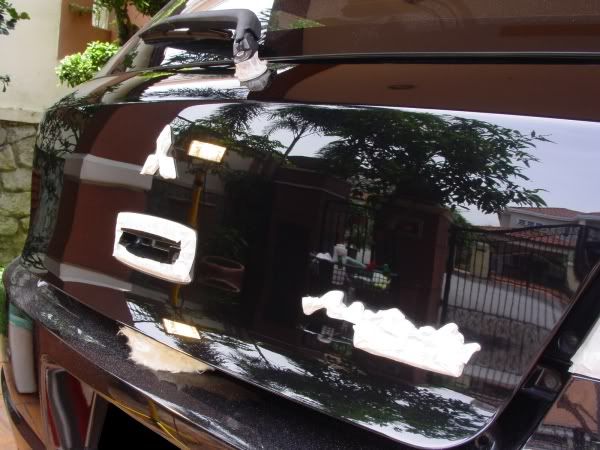
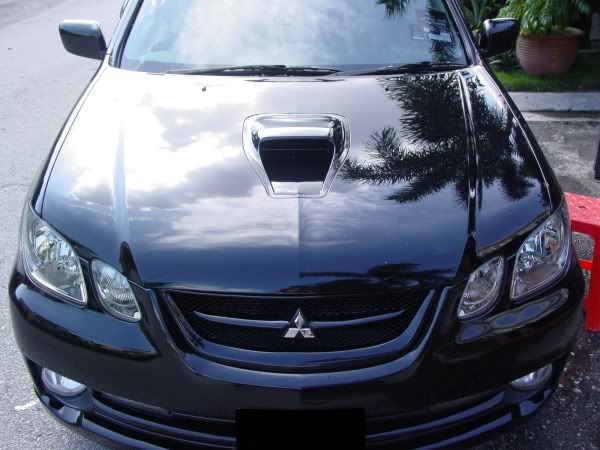
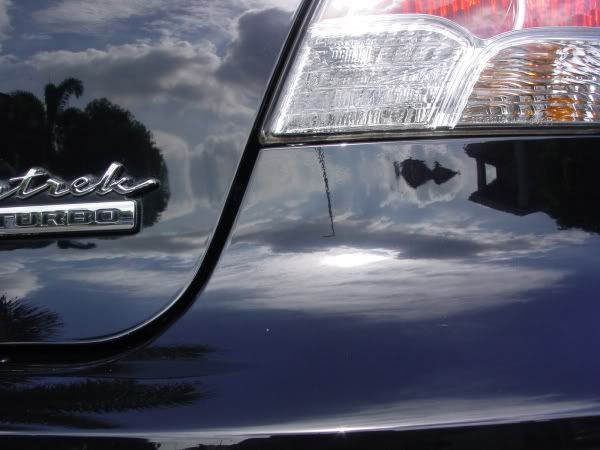
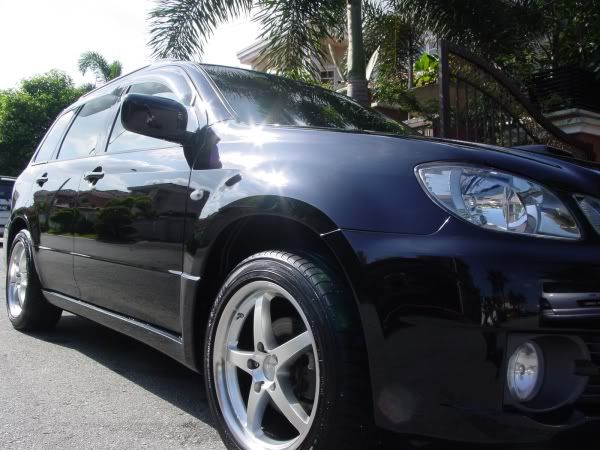
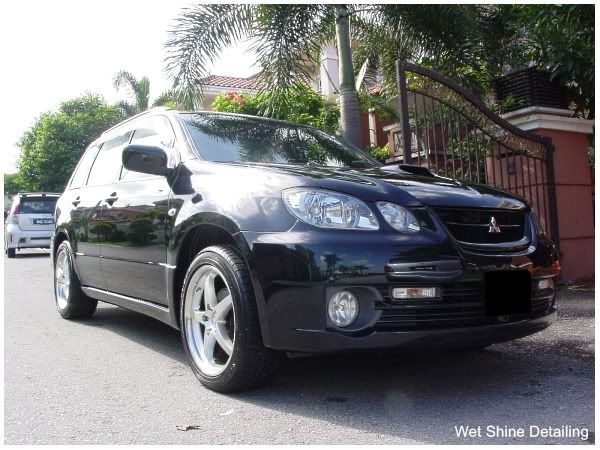
Hello everyone, the car today is a Mitsubishi Airtrek Turbo in metallic black, with the colour of the flakes similar to Honda’s Nighthawk black.
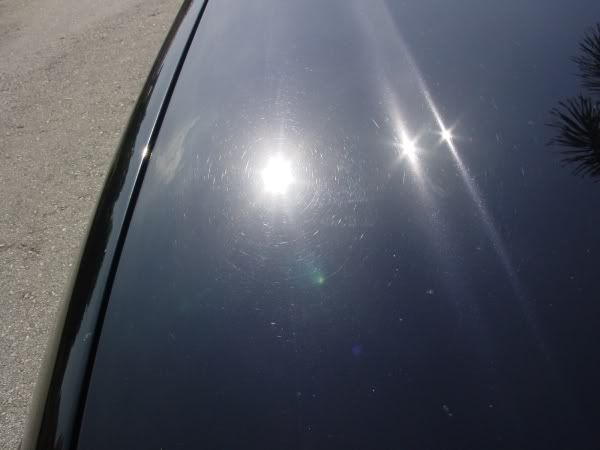
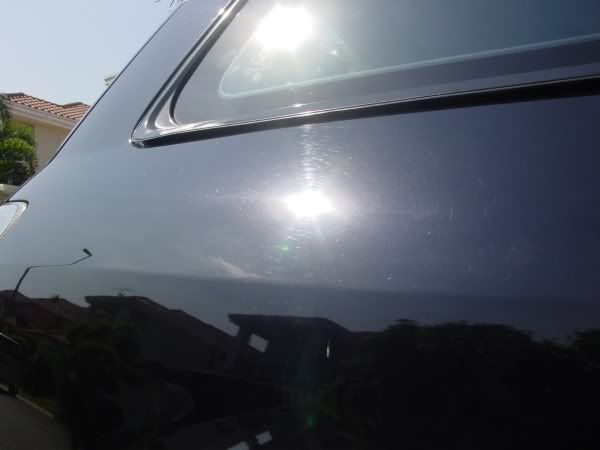
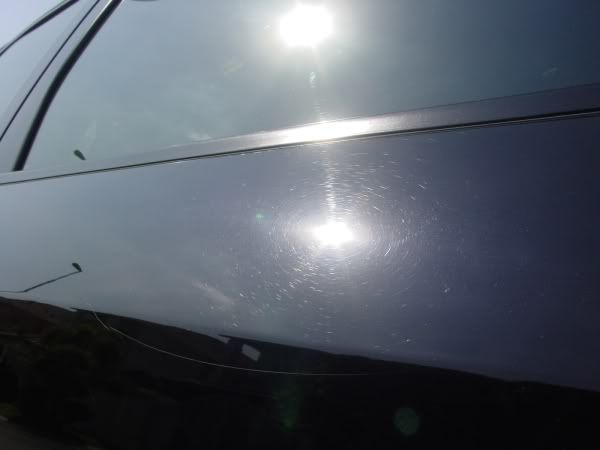
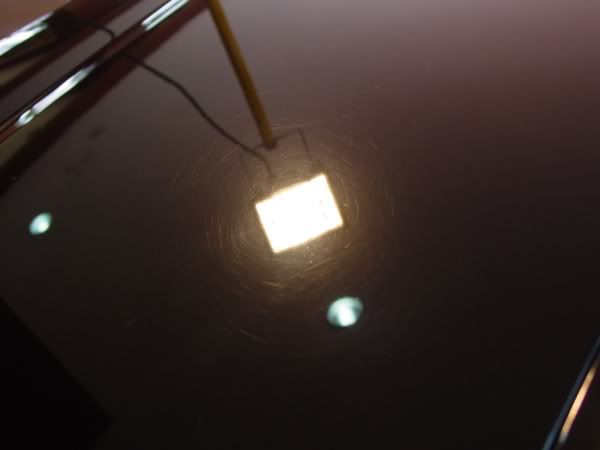
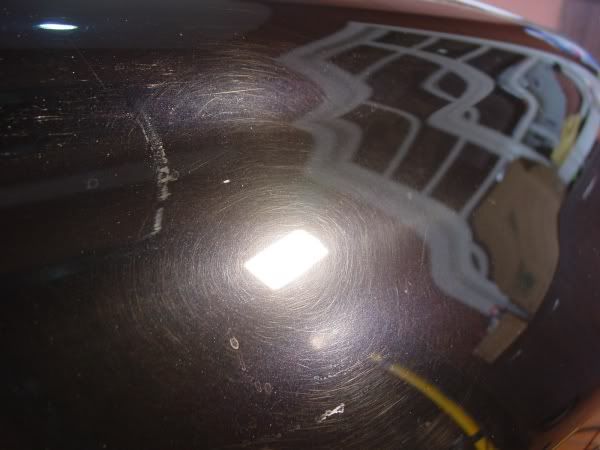
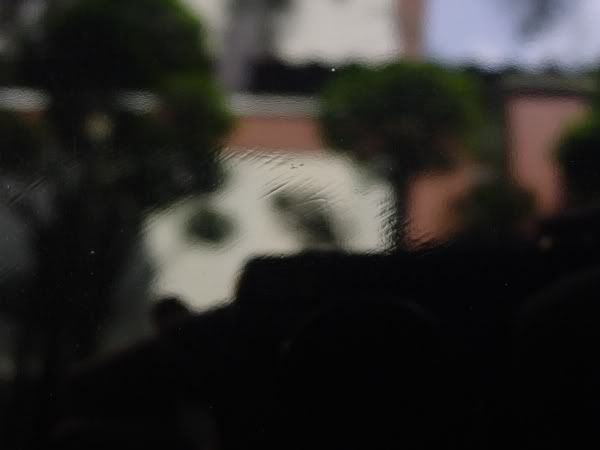
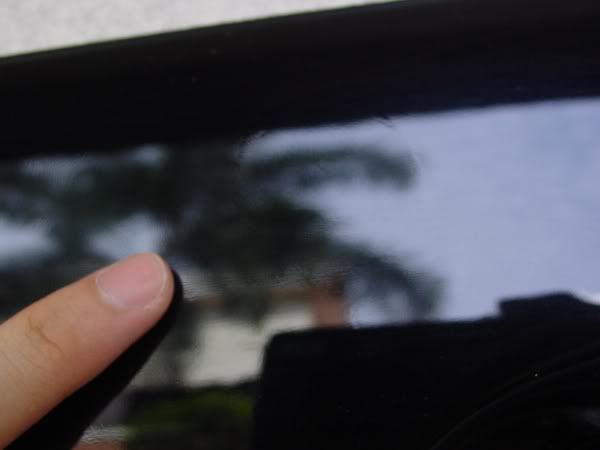
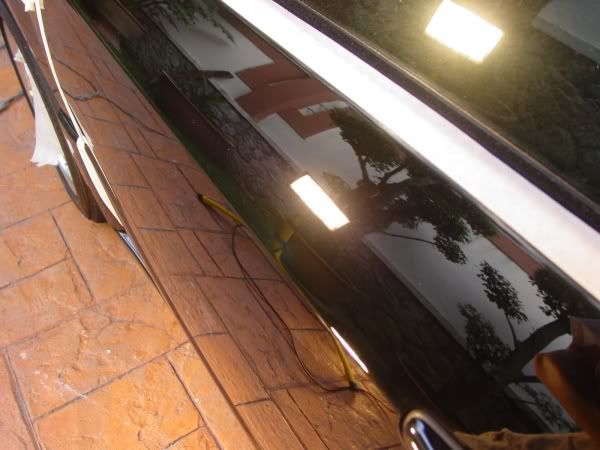
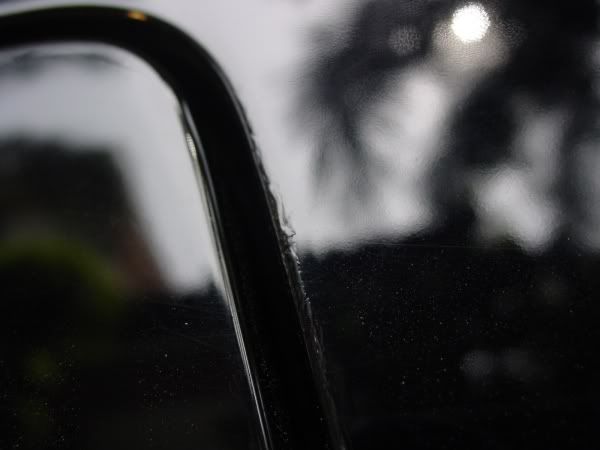
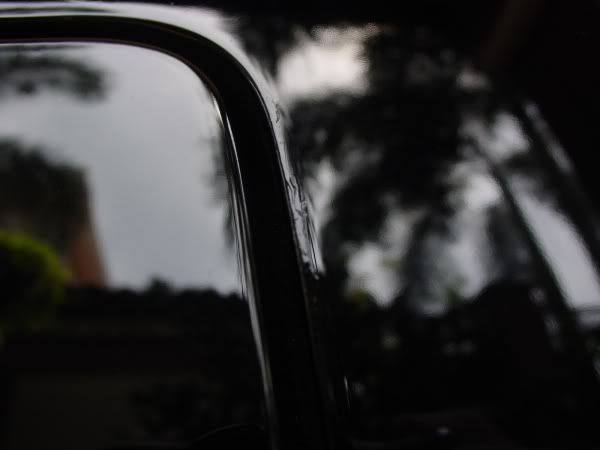
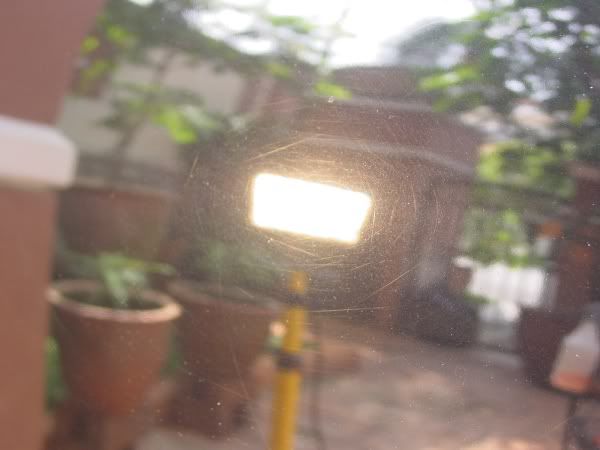
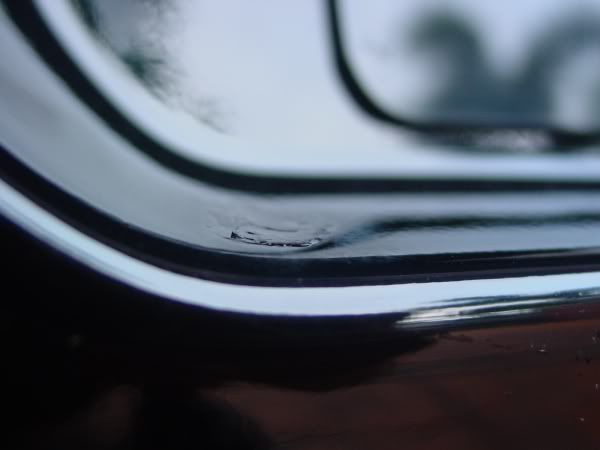
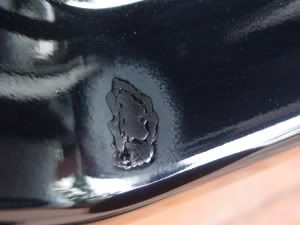
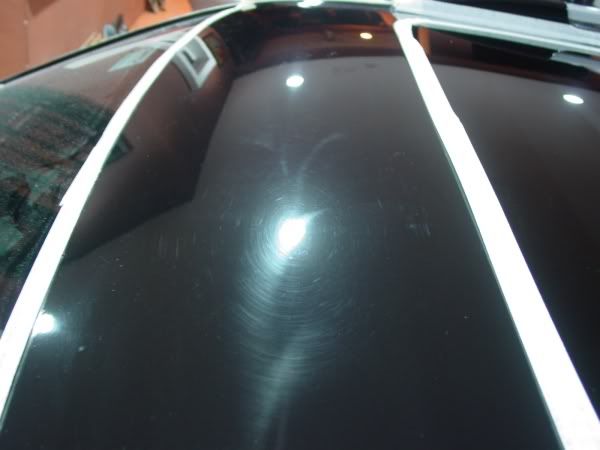
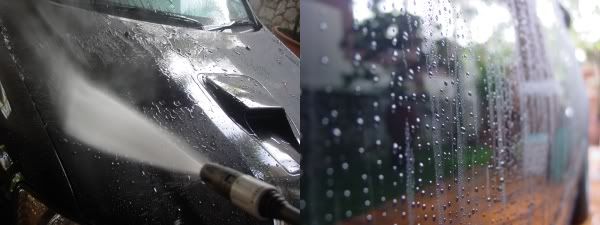
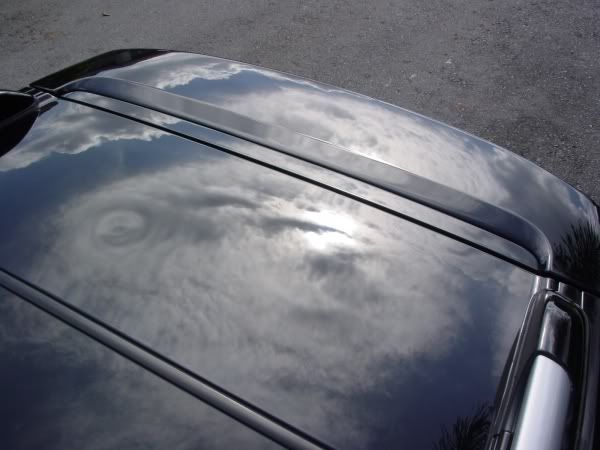
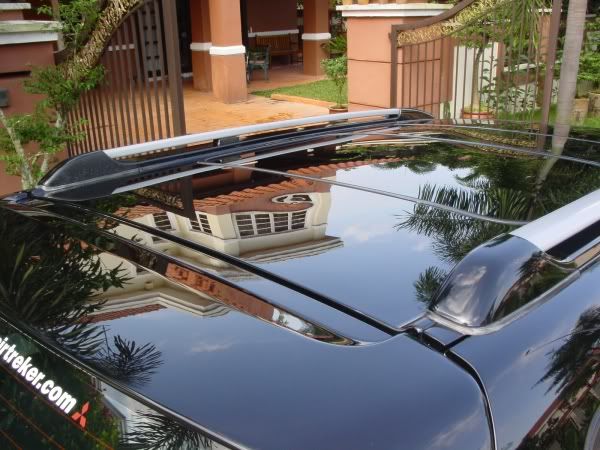
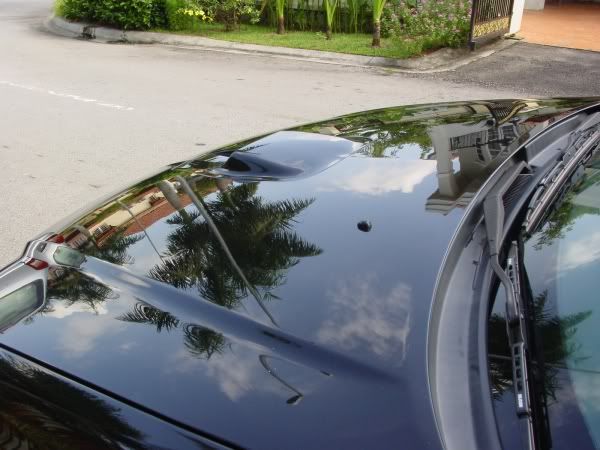
Here is the car upon arrival. The swirls were more evident after a wash and clay.
Wheel wells and tires scrubbed with Meguiar’s Super Degreaser (4:1).
Wheels cleaned with Meguiar’s Wheel Brightener (4:1)
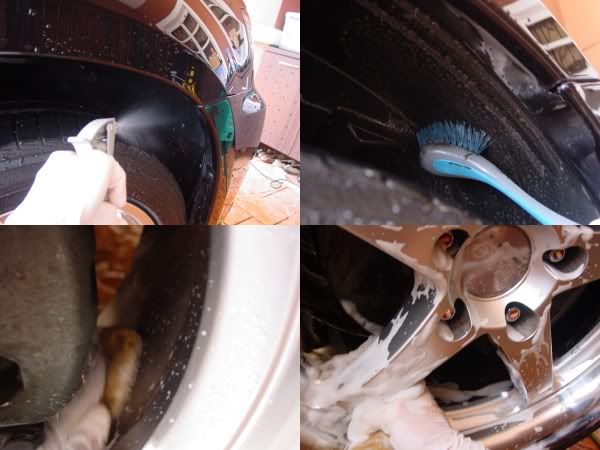
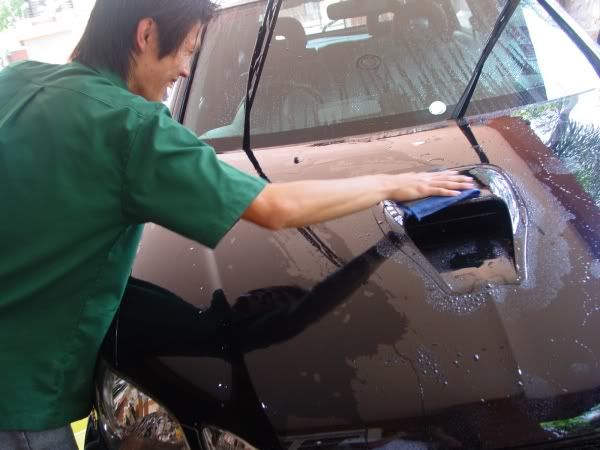
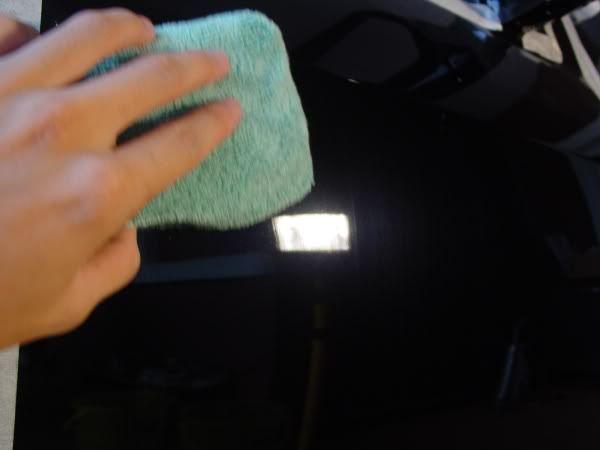
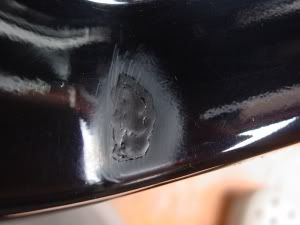
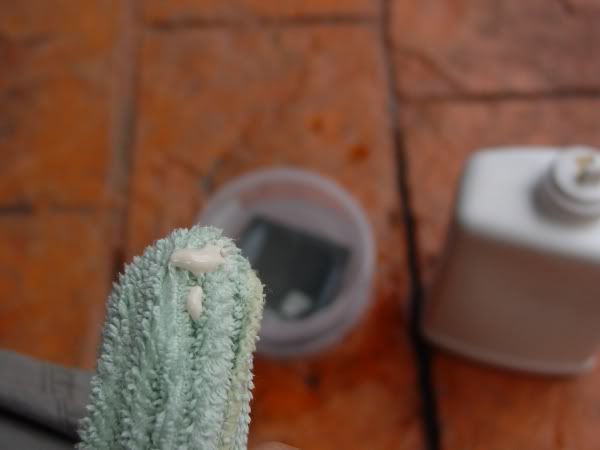
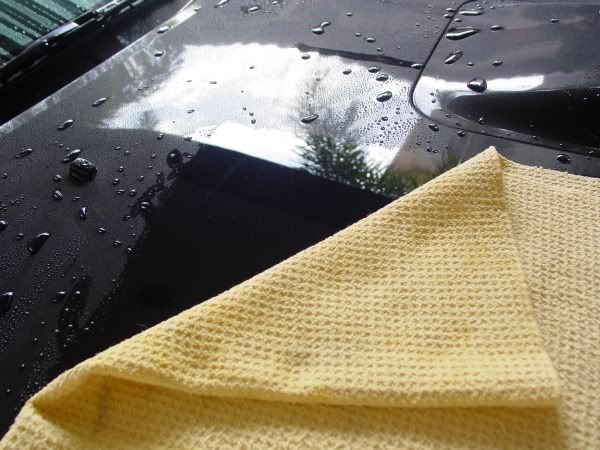
Then K.Y from Osren (A local detailing supply brand) came to deliver me some products and at the same time demonstrated a new-ish product they have. One that I haven’t seen or heard of before, a clay cloth! It is really easy to use, the downside is it’s rather large and you have to fold it to get into tight areas but it removes contaminants very quickly and covers a large area, so claying was a breeze on a big car like this. =)
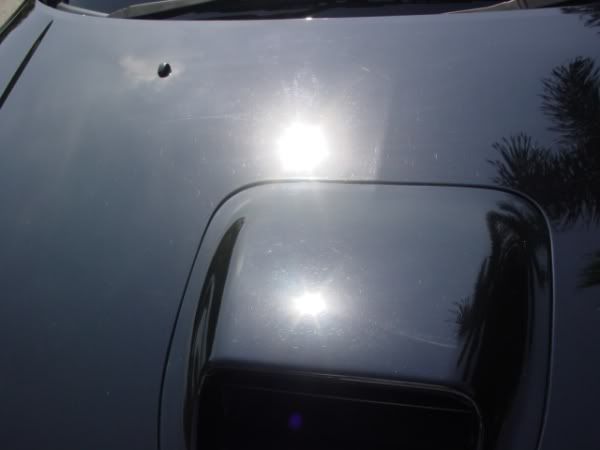
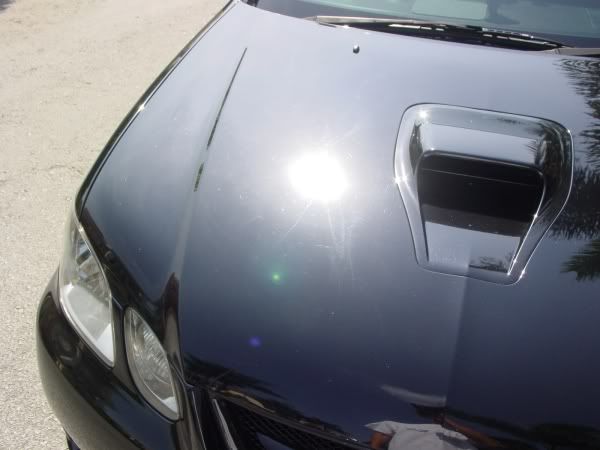
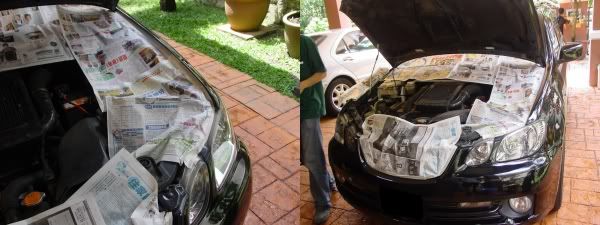
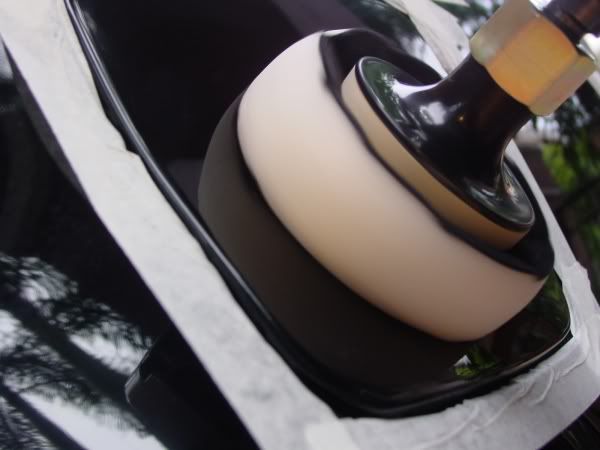
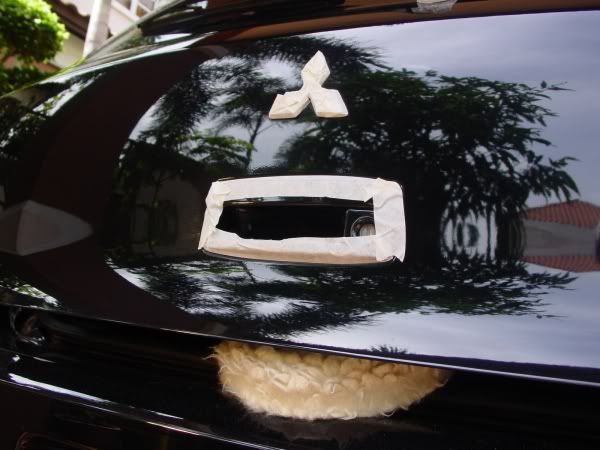
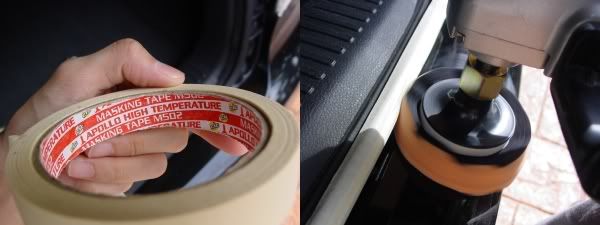
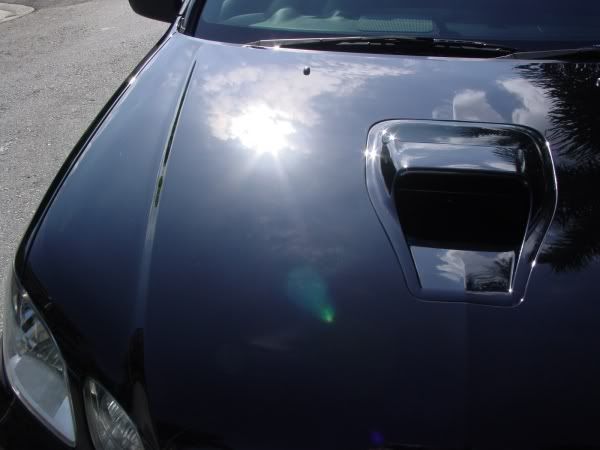
He helped me mask off the engine bay for demonstrating on the hood.
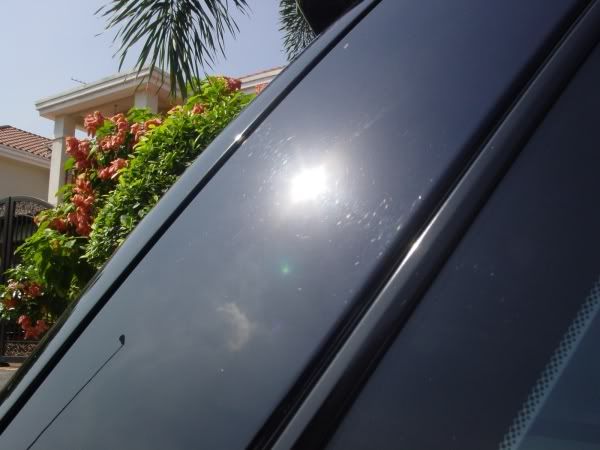
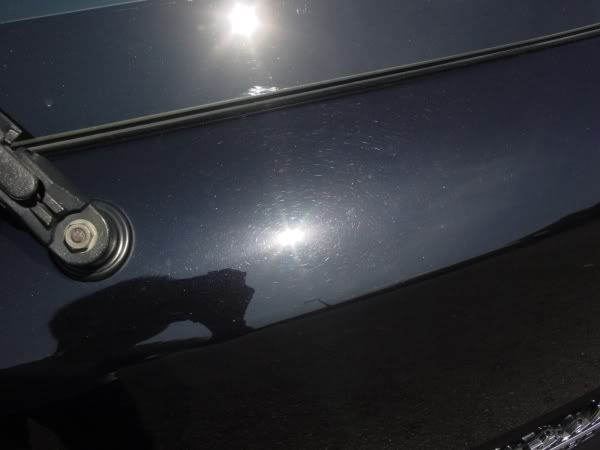
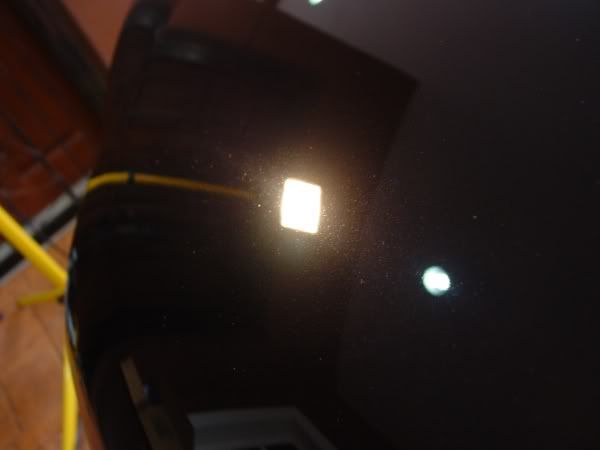
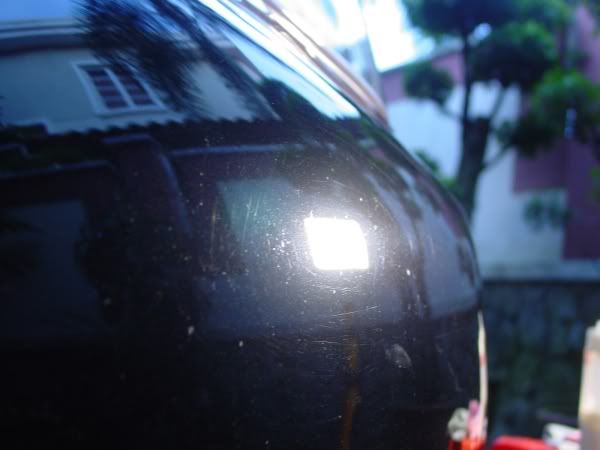
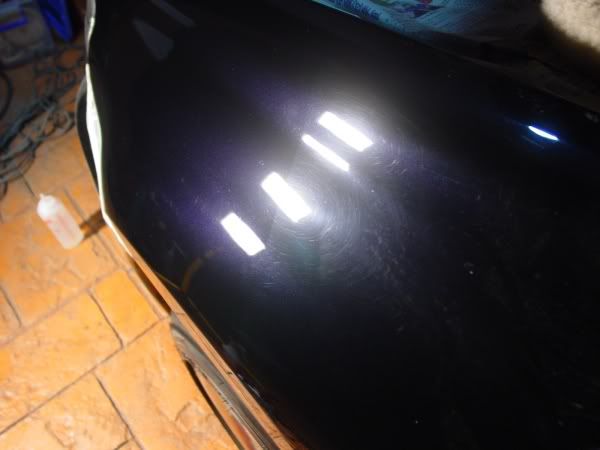
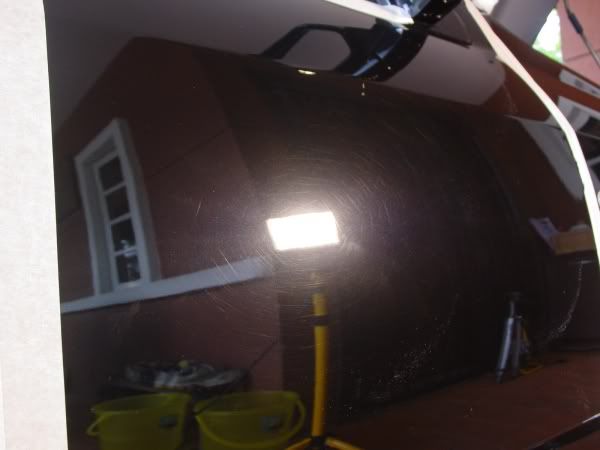
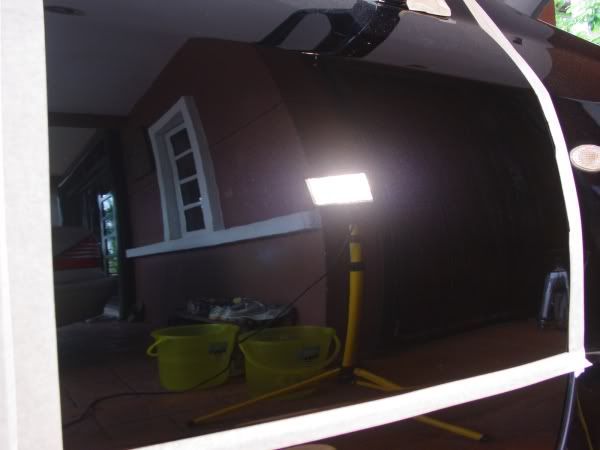
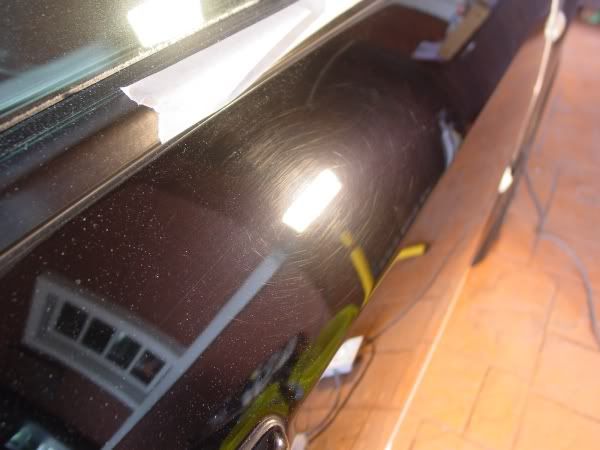
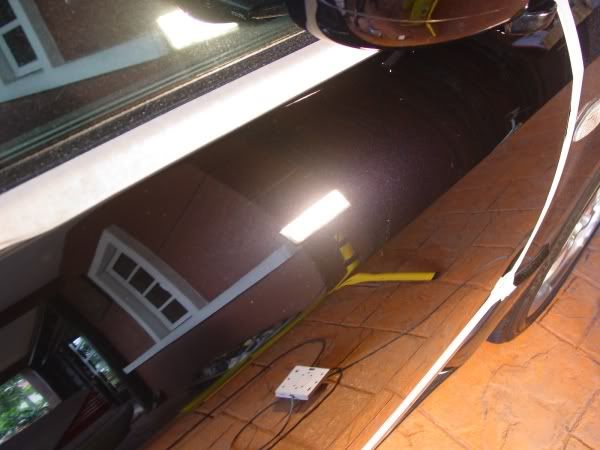
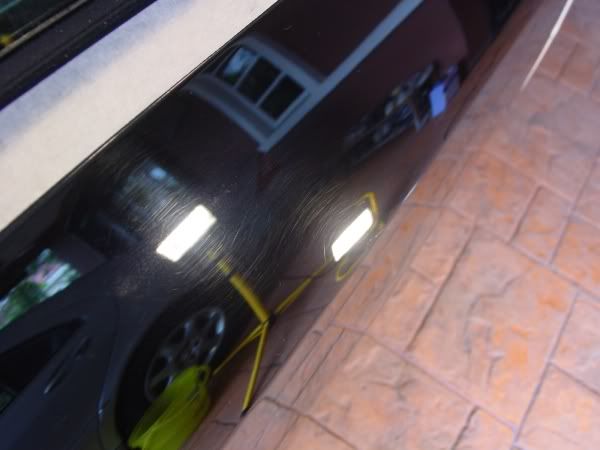
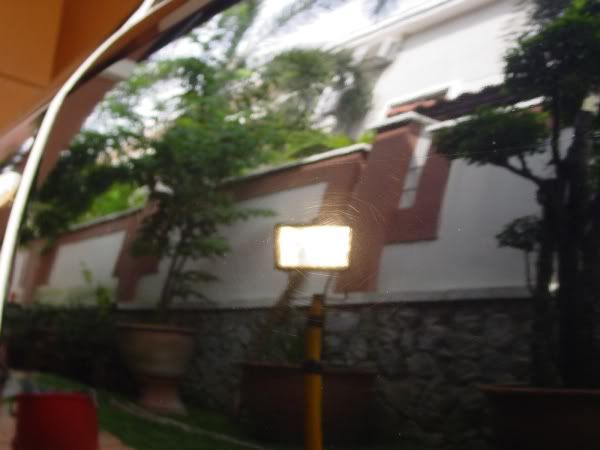
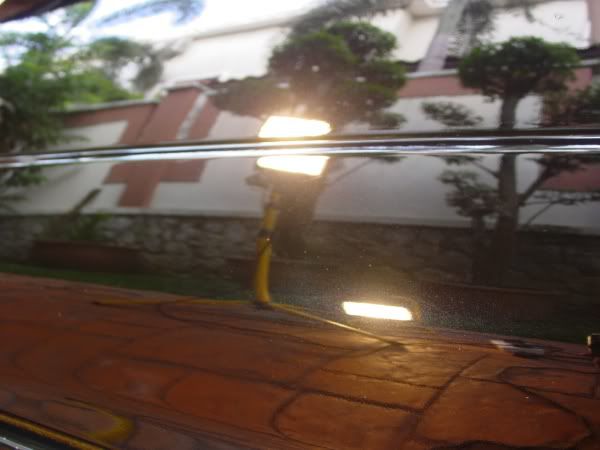
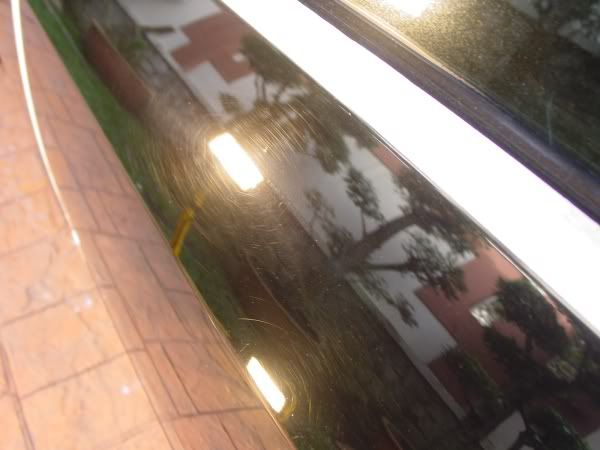
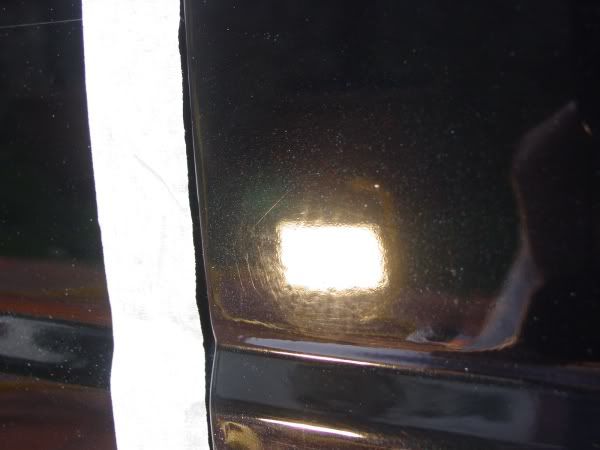
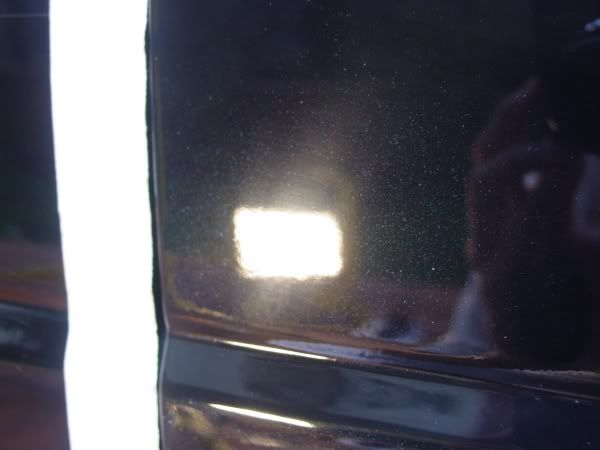
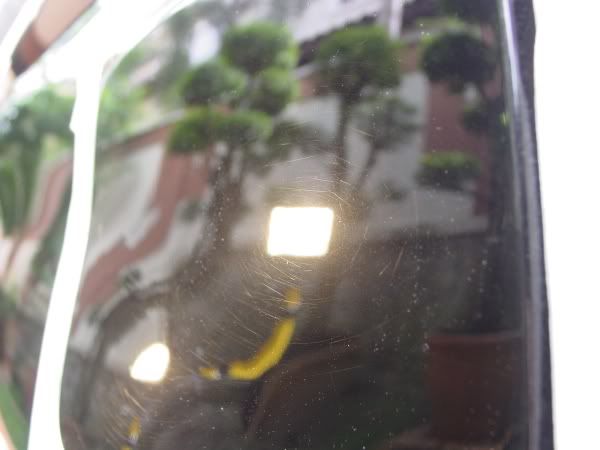
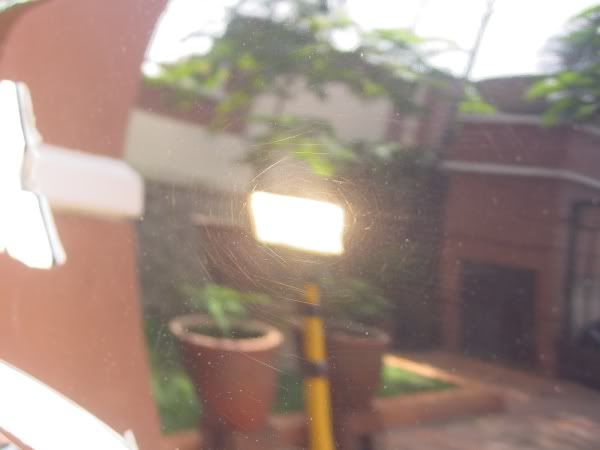
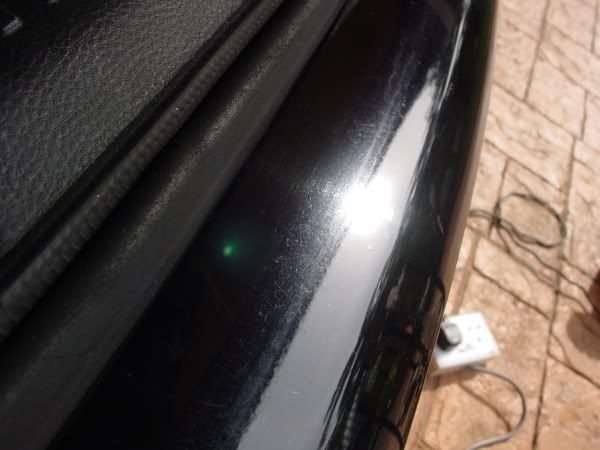
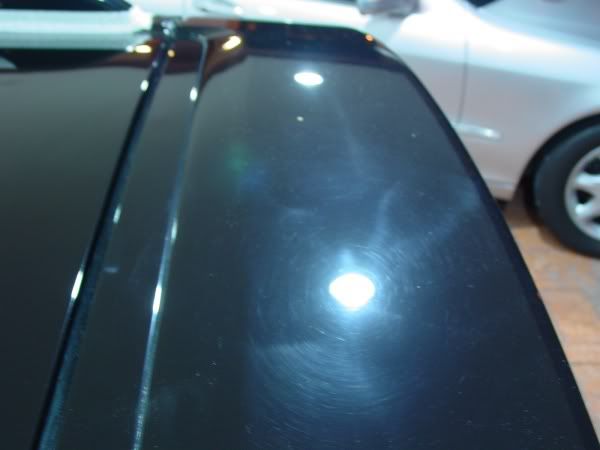
Before
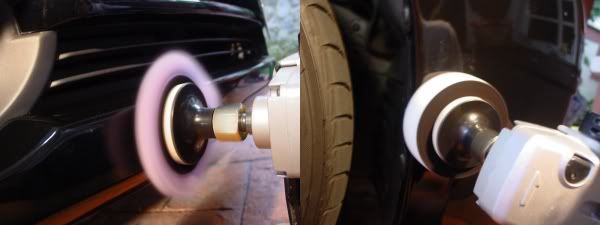
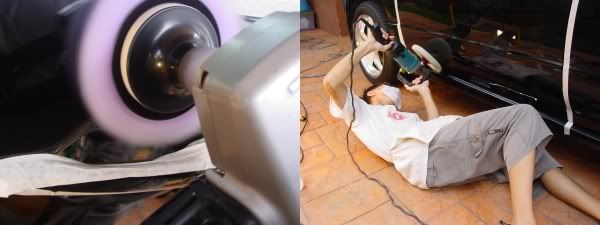
Spurring his wool pad and compounding with Osren Perfect Cut 2.2 and a Lake Country 4ply twisted wool pad attached to a Lake Country Easy Grip flexible backing plate.
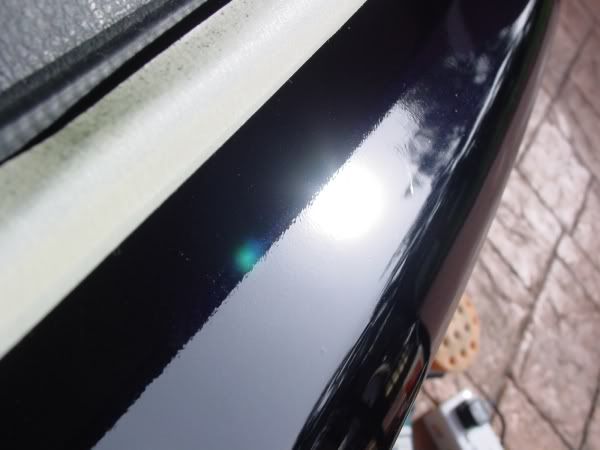
This is then followed by another Osren polish (forgot it’s name) on a white Lake Country polishing pad.
It didn’t needed anymore after this but we gave it another hit with Menzerna 106FF with a Meguiar’s Finishing pad and finally followed by Osren’s Radiant Polish with a black Lake Country finishing pad.

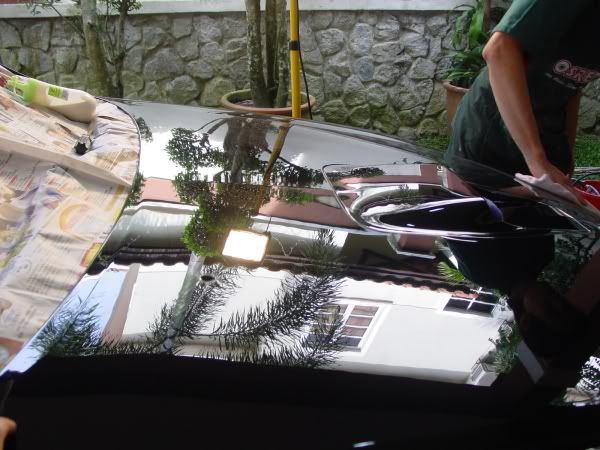
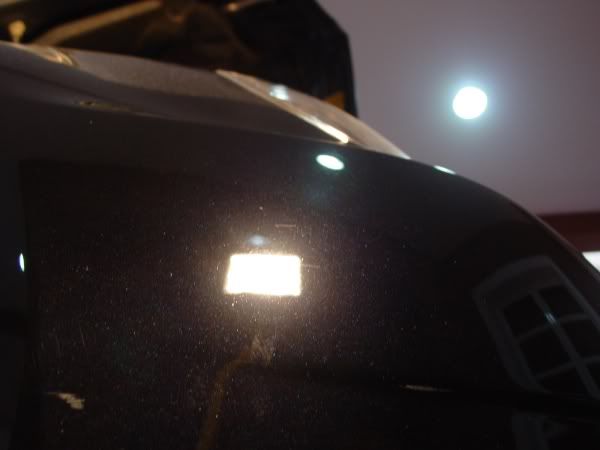
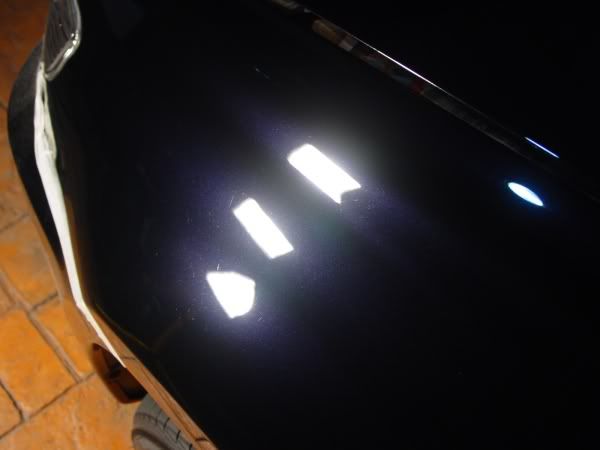
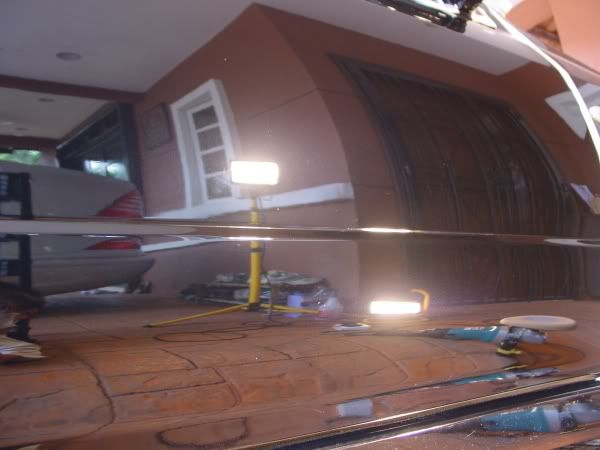
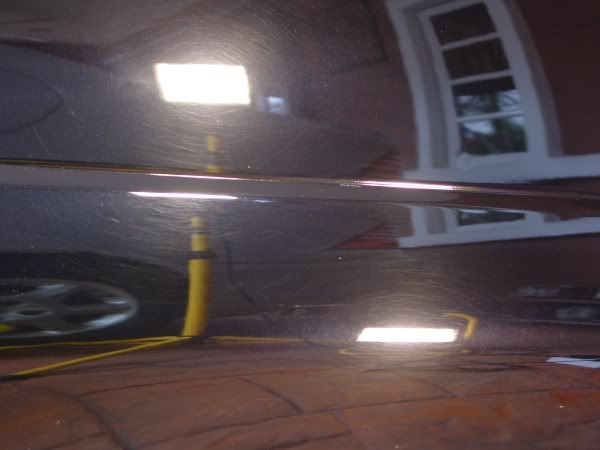
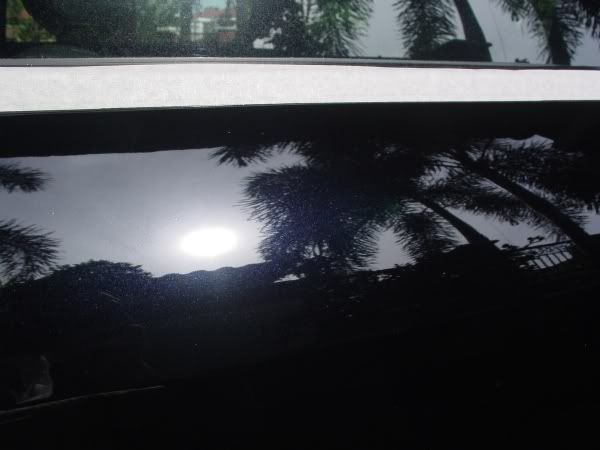
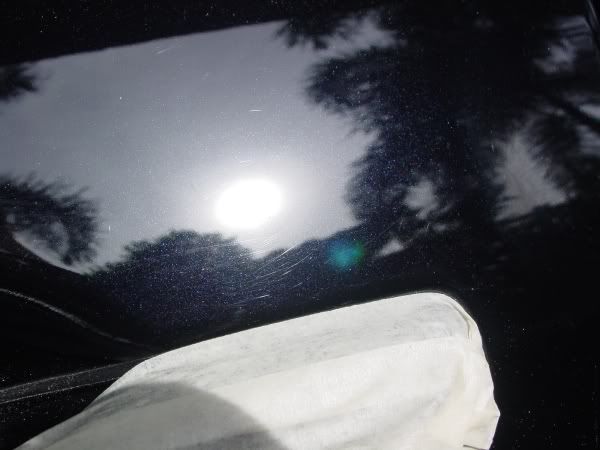
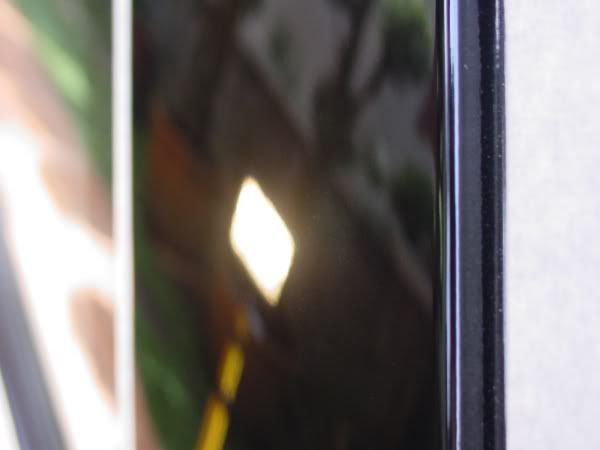
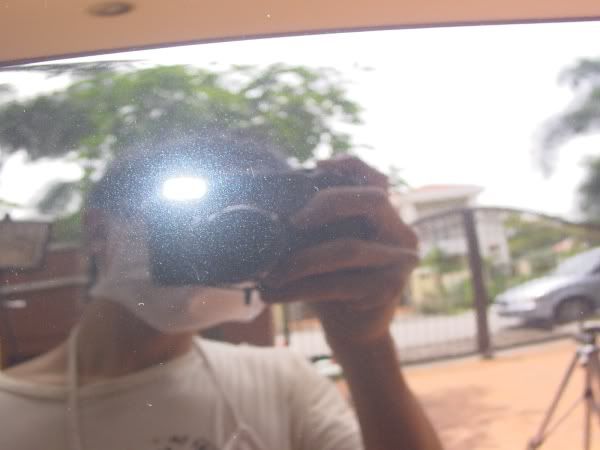
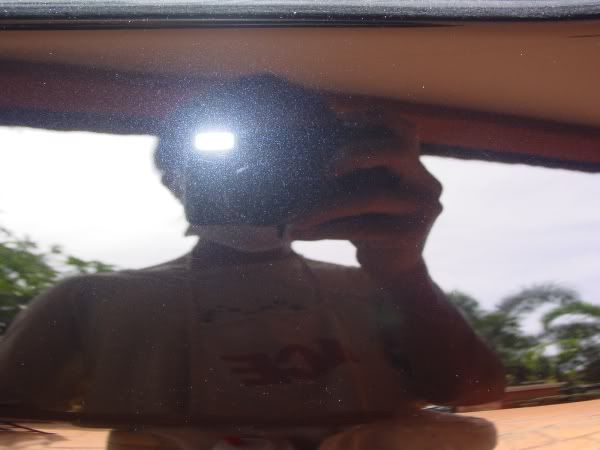
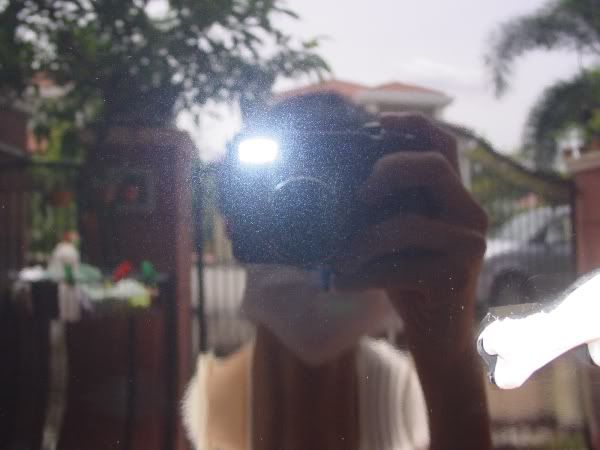
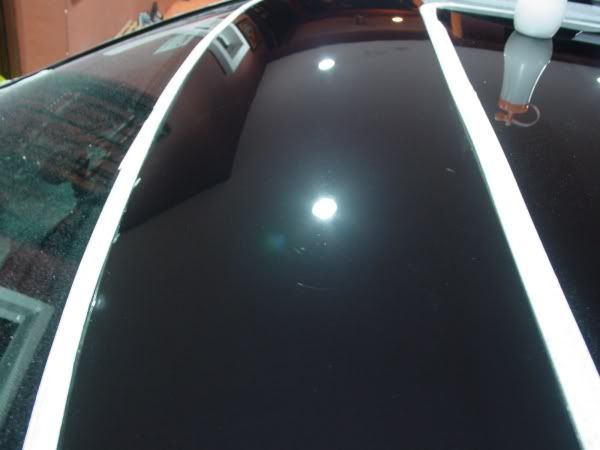
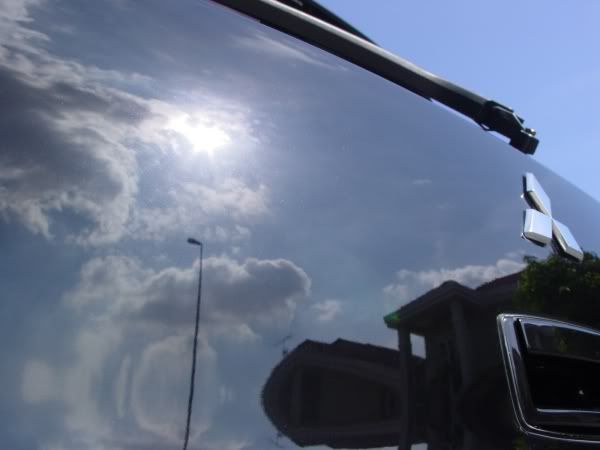
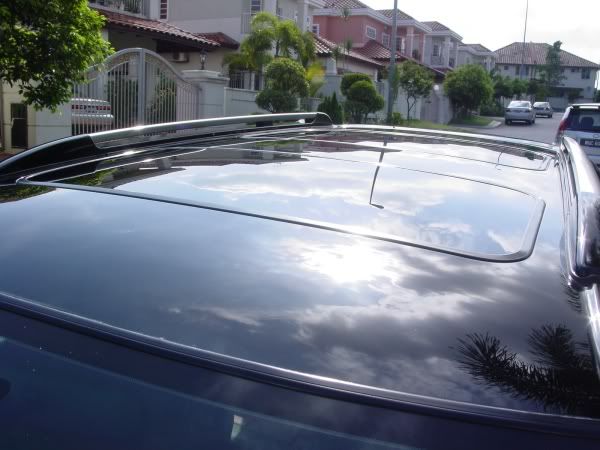
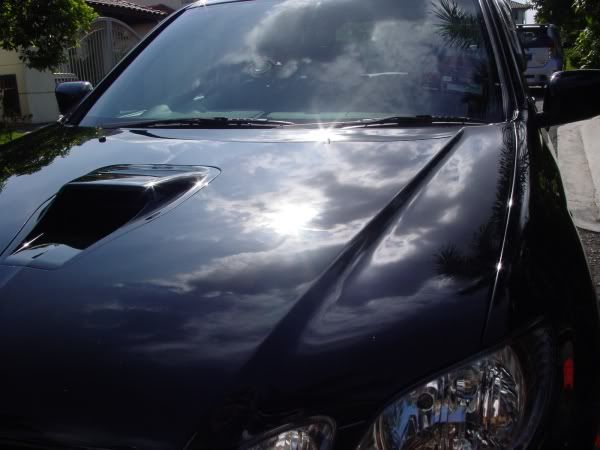
After a few hours on the big hood,
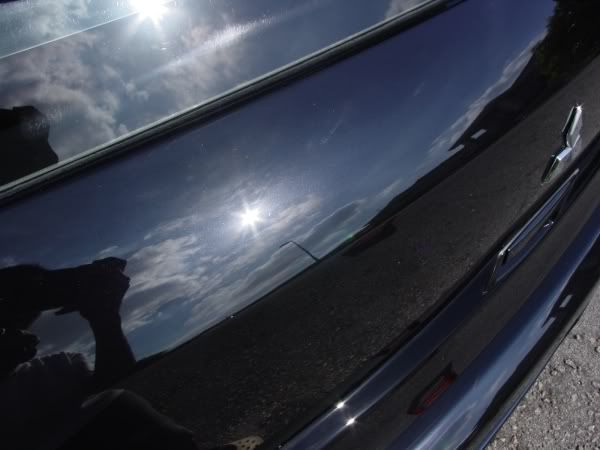
The rest of the paintwork got compounded with Meguiar’s #85 Diamond Cut 2.0 on a Lake Country 4 ply twisted wool, followed by Menzerna 106FF on a Meguiar’s Polishing pad.
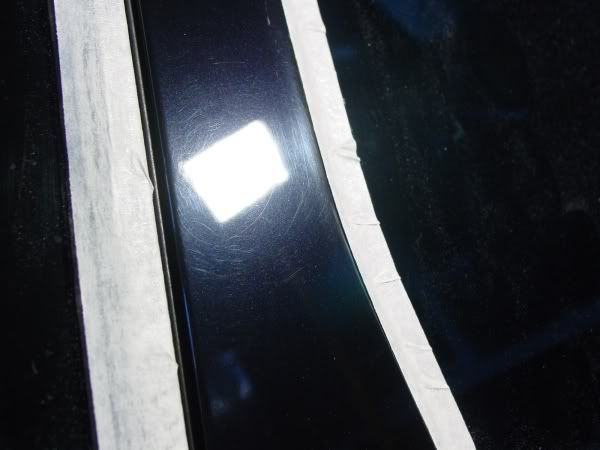
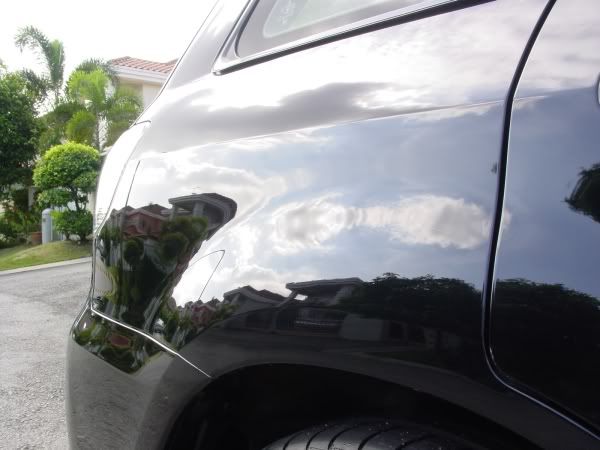
Front fender before,
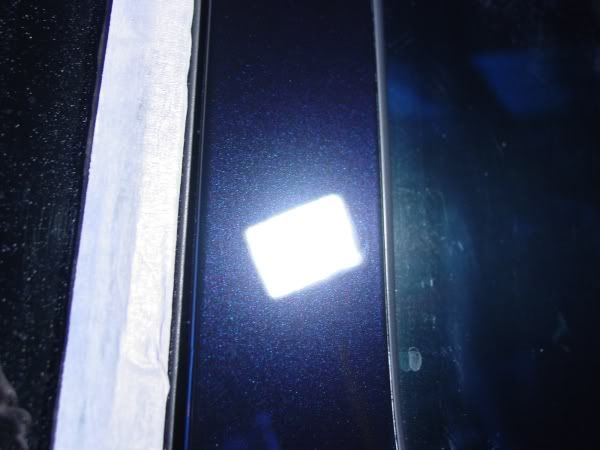
Front fender after,
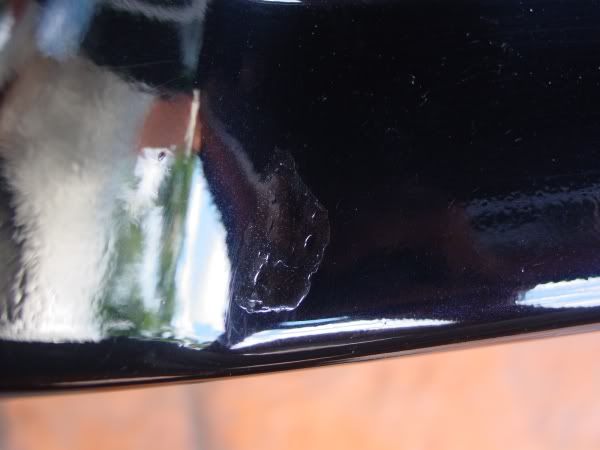
Front bumper before,
This area got compounded with a Lake Country 3.5� Purple Foamed Wool pad and M85 and followed by Menzerna 106FF on a Lake Country 4� White CCS pad.
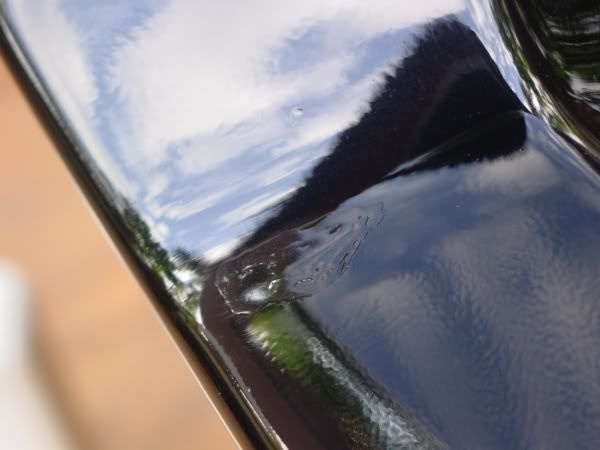
Front bumper after,
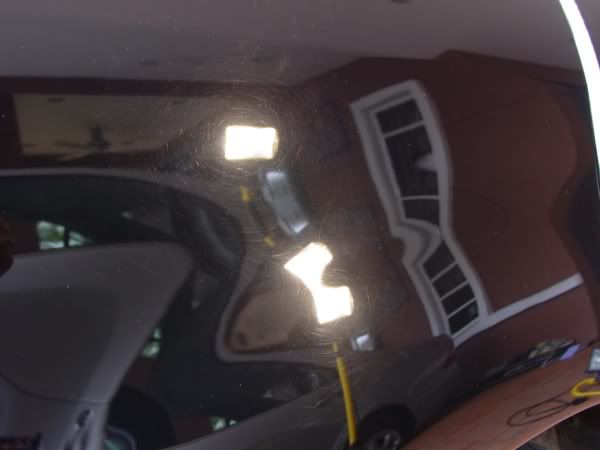
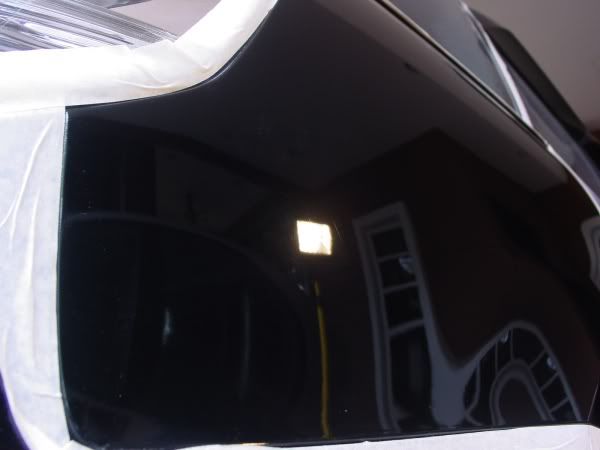
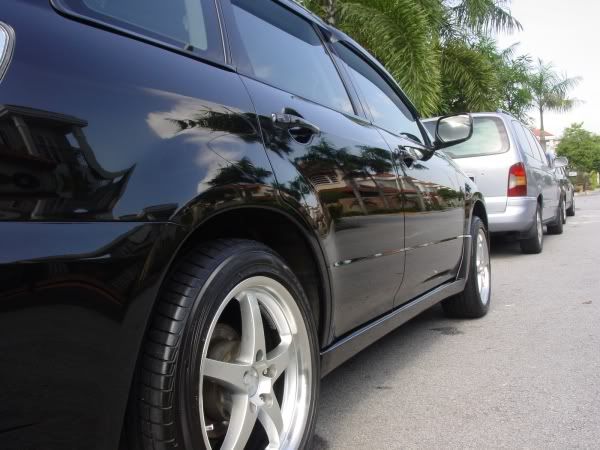
Before,
After,
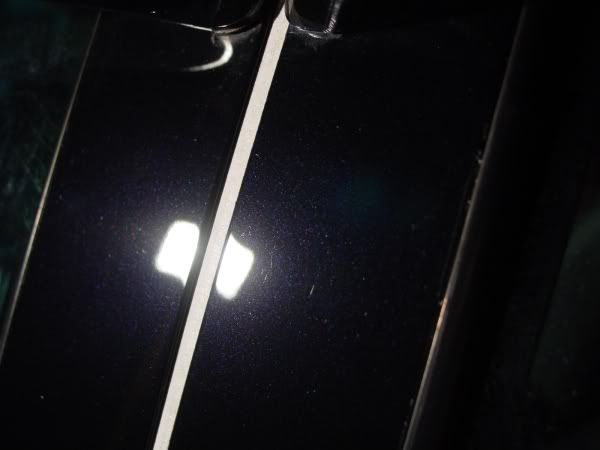
Front fender 50/50

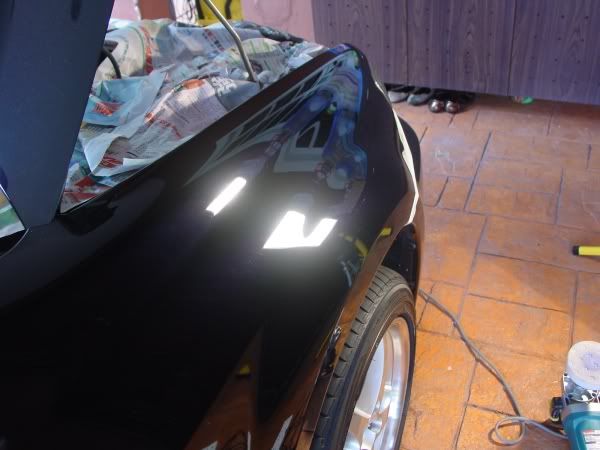
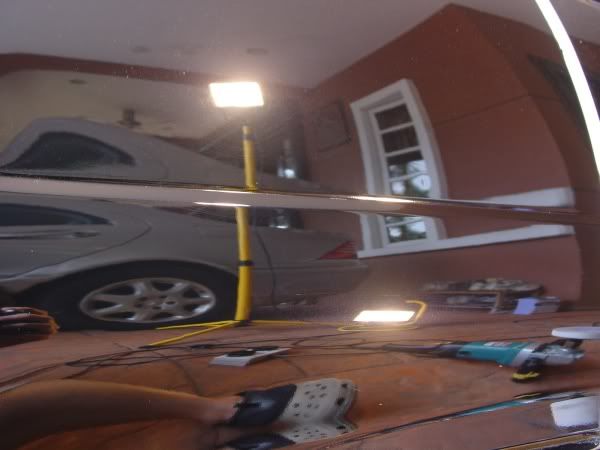
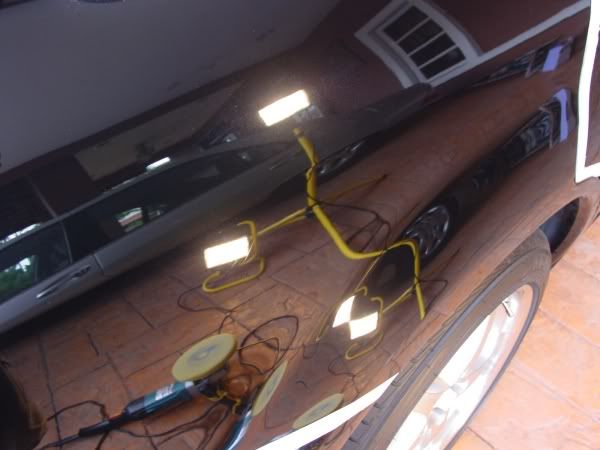
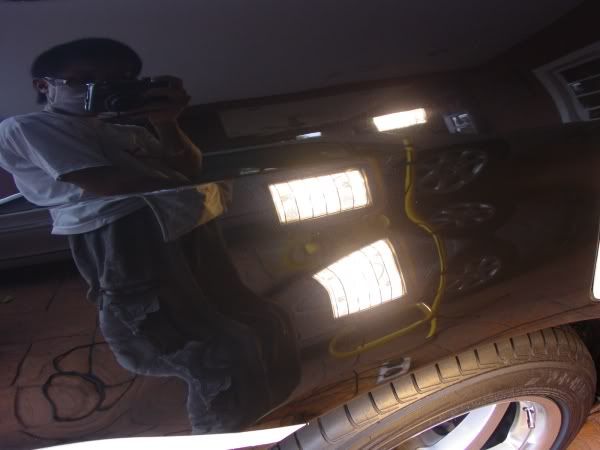
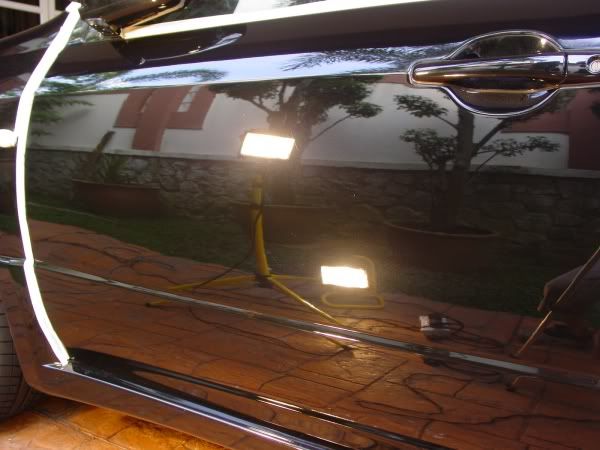
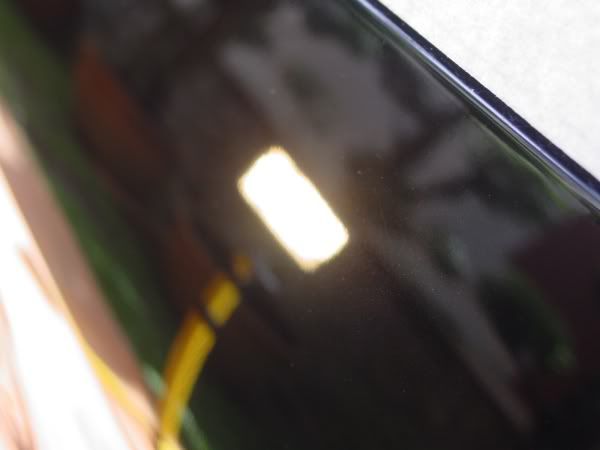
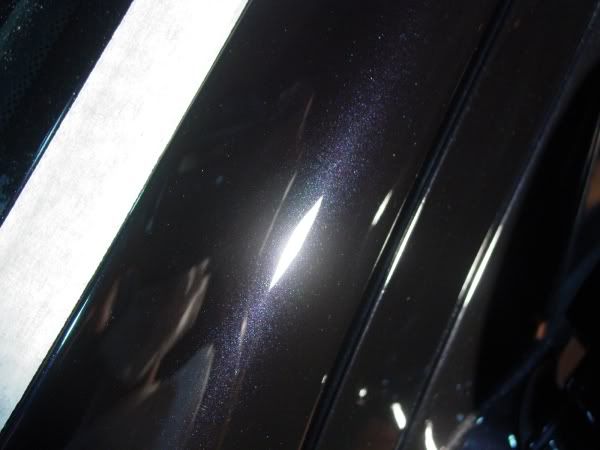
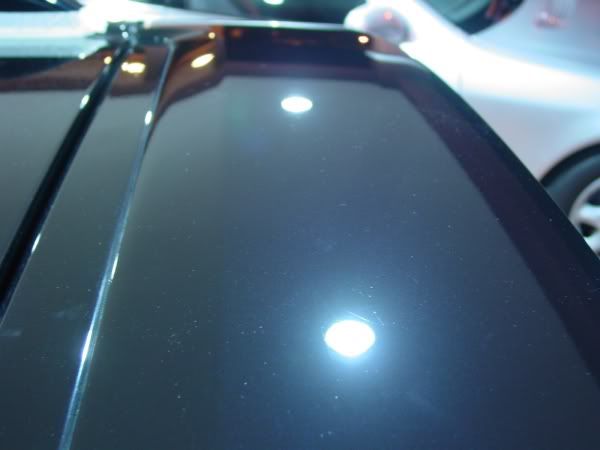
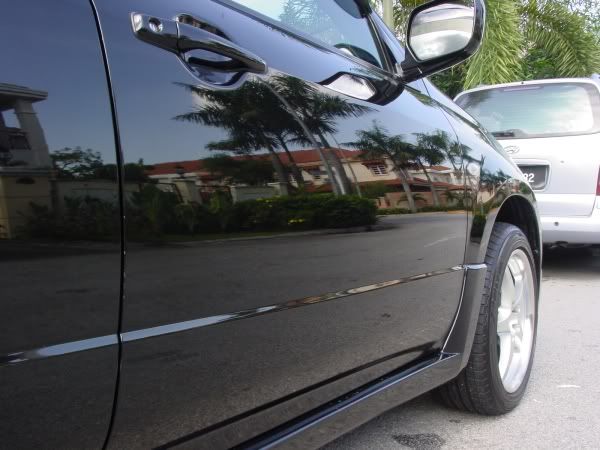
Fully polished,
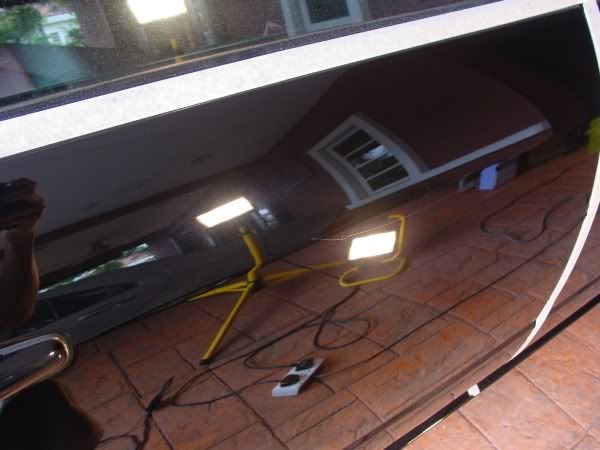
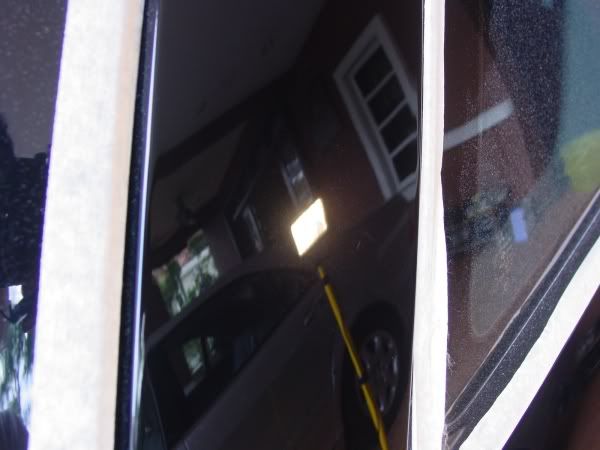
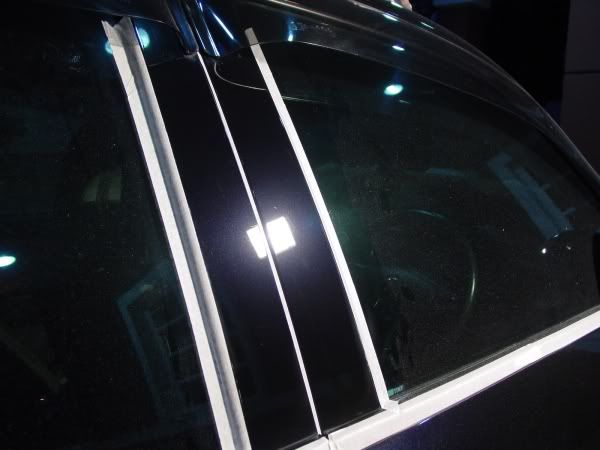
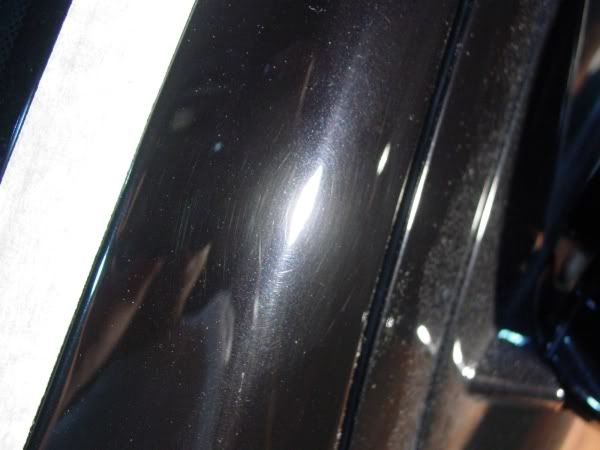
Front door before,
Here is the car upon arrival. The swirls were more evident after a wash and clay.
Wheel wells and tires scrubbed with Meguiar’s Super Degreaser (4:1).
Wheels cleaned with Meguiar’s Wheel Brightener (4:1)
Then K.Y from Osren (A local detailing supply brand) came to deliver me some products and at the same time demonstrated a new-ish product they have. One that I haven’t seen or heard of before, a clay cloth! It is really easy to use, the downside is it’s rather large and you have to fold it to get into tight areas but it removes contaminants very quickly and covers a large area, so claying was a breeze on a big car like this. =)
He helped me mask off the engine bay for demonstrating on the hood.
Before
Spurring his wool pad and compounding with Osren Perfect Cut 2.2 and a Lake Country 4ply twisted wool pad attached to a Lake Country Easy Grip flexible backing plate.
This is then followed by another Osren polish (forgot it’s name) on a white Lake Country polishing pad.
It didn’t needed anymore after this but we gave it another hit with Menzerna 106FF with a Meguiar’s Finishing pad and finally followed by Osren’s Radiant Polish with a black Lake Country finishing pad.
After a few hours on the big hood,
The rest of the paintwork got compounded with Meguiar’s #85 Diamond Cut 2.0 on a Lake Country 4 ply twisted wool, followed by Menzerna 106FF on a Meguiar’s Polishing pad.
Front fender before,
Front fender after,
Front bumper before,
This area got compounded with a Lake Country 3.5� Purple Foamed Wool pad and M85 and followed by Menzerna 106FF on a Lake Country 4� White CCS pad.
Front bumper after,
Before,
After,
Front fender 50/50
Fully polished,
Front door before,


")


")