Navigation
Install the app
How to install the app on iOS
Follow along with the video below to see how to install our site as a web app on your home screen.
Note: This feature may not be available in some browsers.
More options
Style variation
You are using an out of date browser. It may not display this or other websites correctly.
You should upgrade or use an alternative browser.
You should upgrade or use an alternative browser.
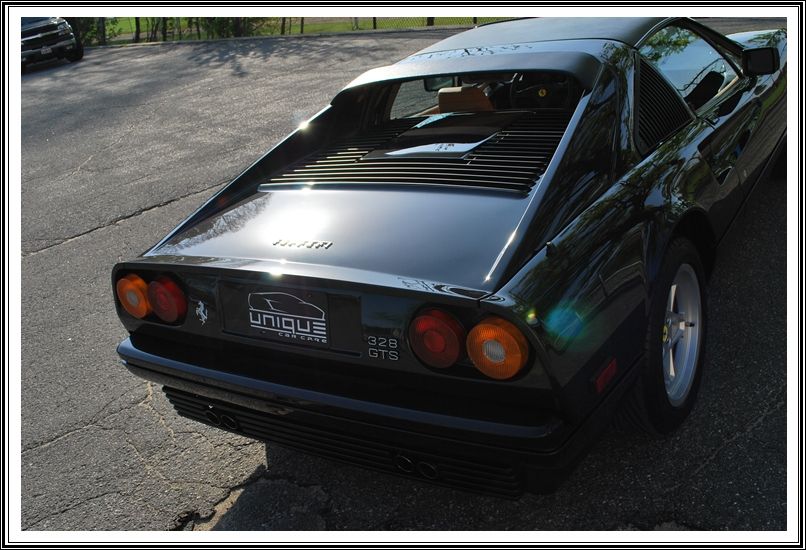
Black Ferrari 328 GTS Perfected by Unique Car Care !!
- Thread starter ww50th
- Start date
Sorry, No.
I know, I know....y'all can send me to autopia time out! I had the perfect chance for a before and after comparison but I blew it! Sorry!
The Blackfire was super easy, no problems. So easy I told my wife I would do her 99 Grand Caravan!! It's white so I certainly don't expect dramatic results.....
I know, I know....y'all can send me to autopia time out! I had the perfect chance for a before and after comparison but I blew it! Sorry!
The Blackfire was super easy, no problems. So easy I told my wife I would do her 99 Grand Caravan!! It's white so I certainly don't expect dramatic results.....
imported_RickRack
New member
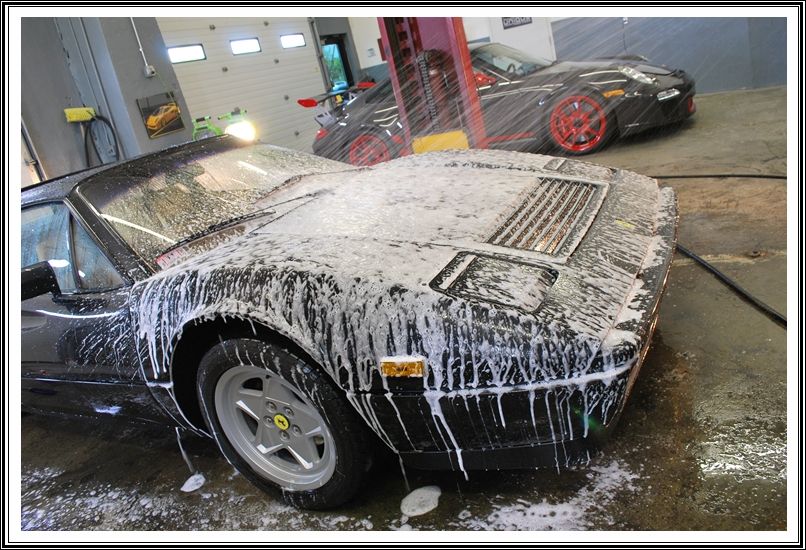
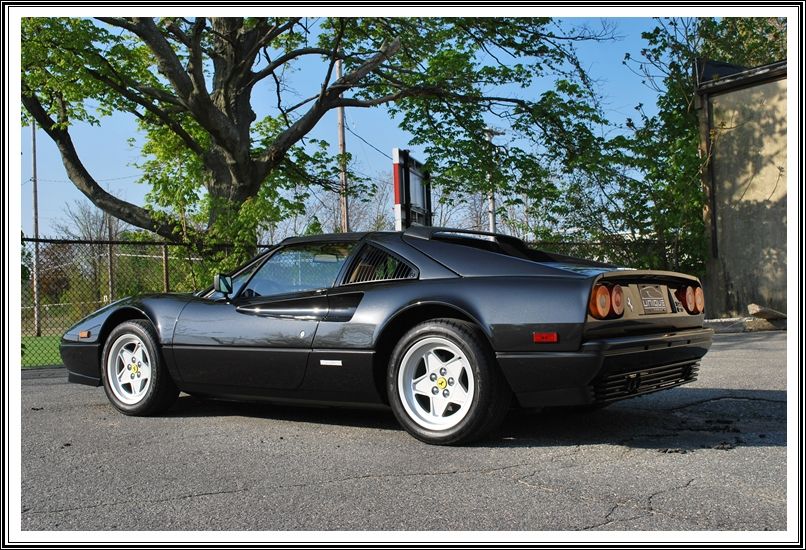
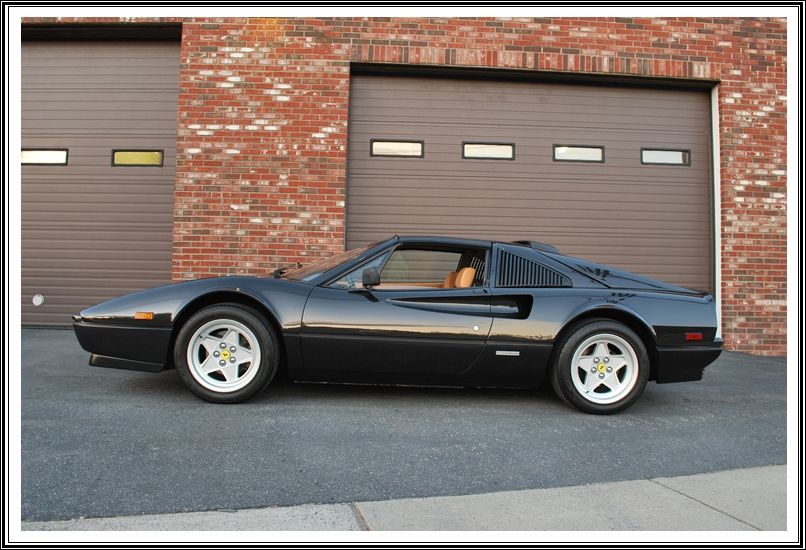
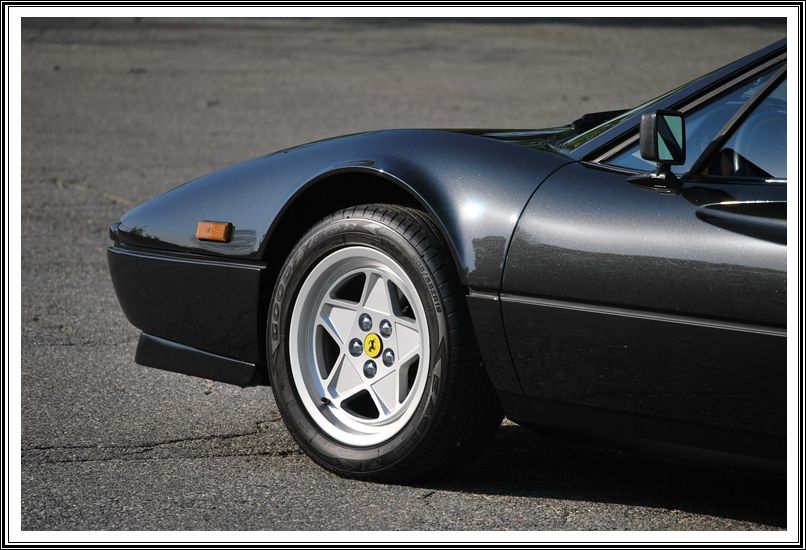
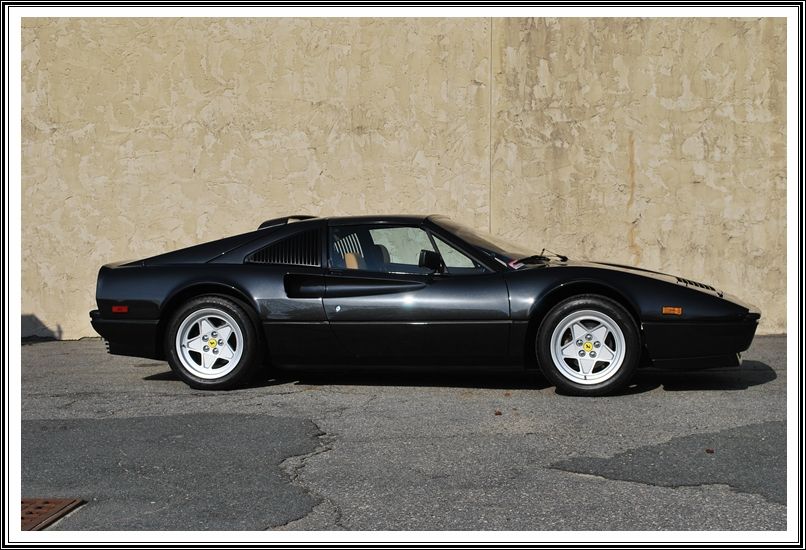
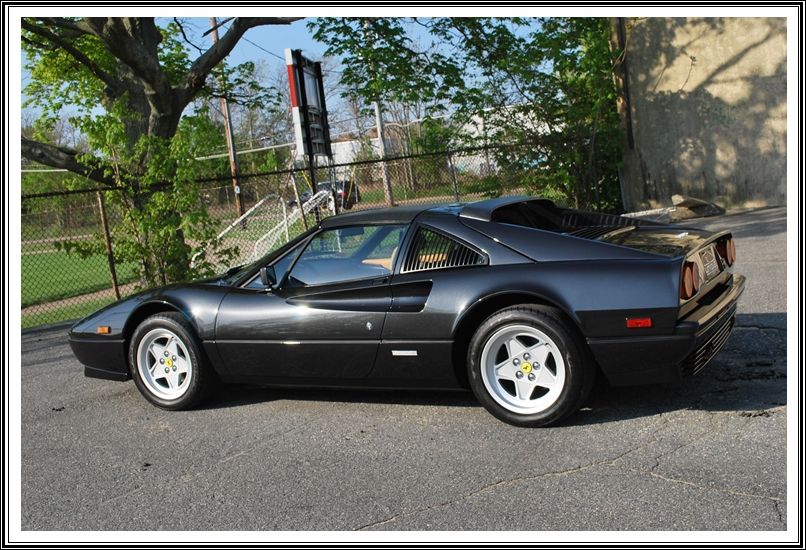
This gorgeous Ferrari 328 GTS was recently purchased by one of my clients who brought the car in for a complete detail and paint correction. Although the car was in excellent condition, he felt that the paint could be improved upon. This metallic black paint is very rare and all original, so the utmost care was taken while polishing.
The car had some hard water spots and a pretty thick layer of dirt coating the exterior when it arrived as you can see below?
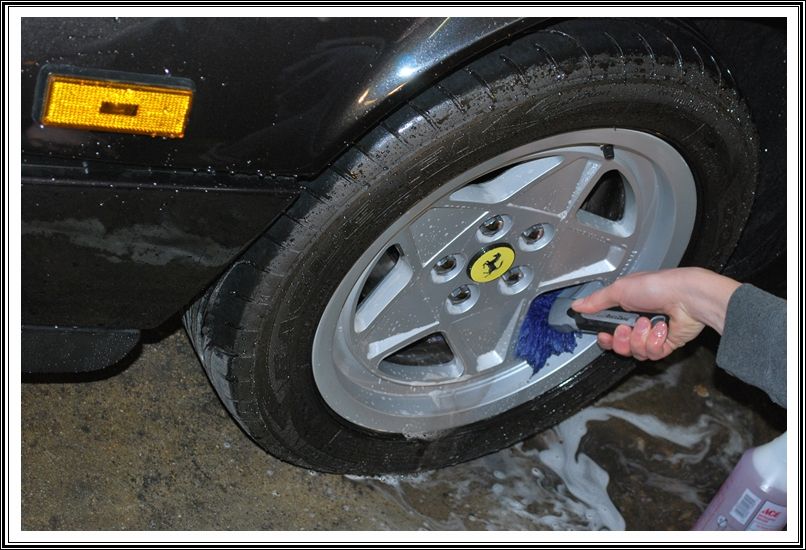
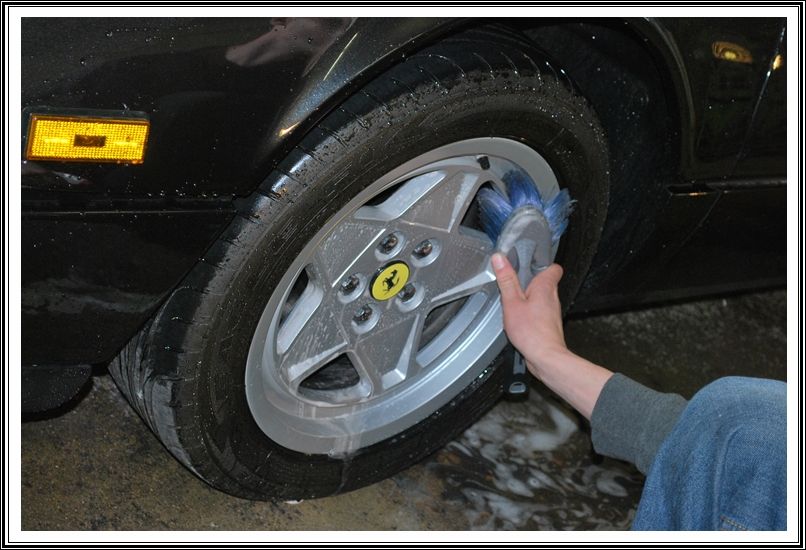
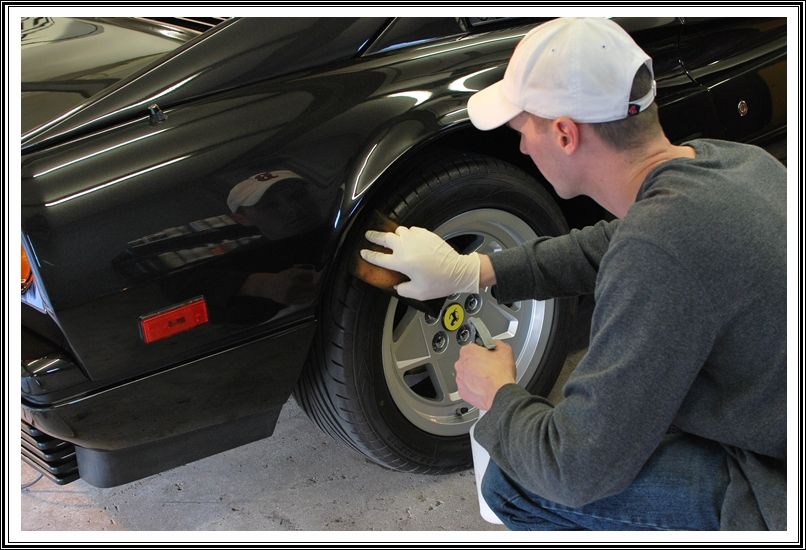
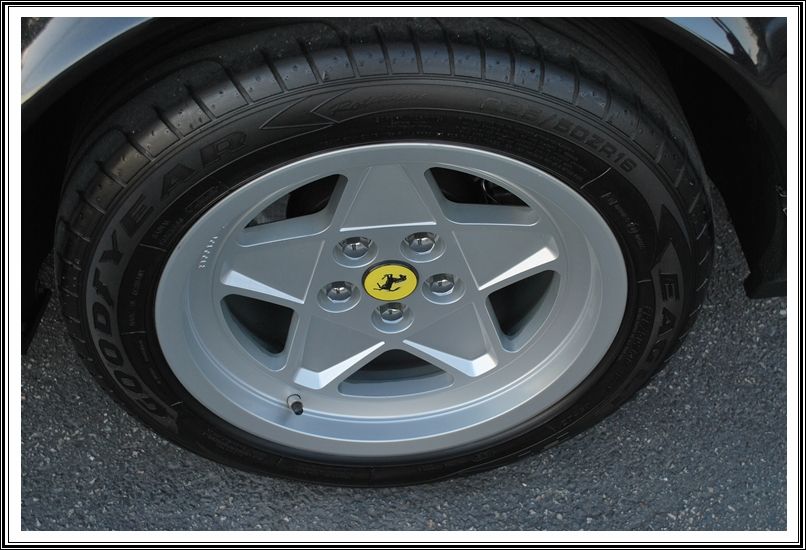
The wheels were in phenomenal condition, but need a good cleaning to reveal their true beauty?
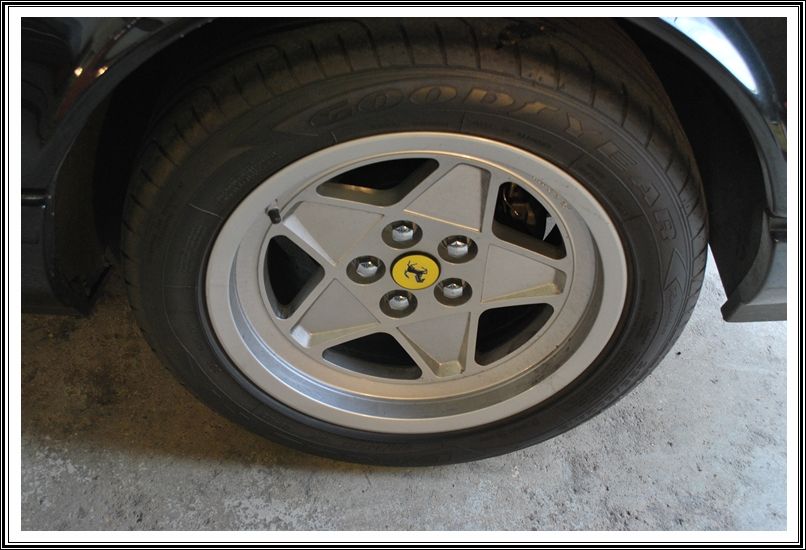
The first step was to perform an extensive cleaning of all the wheels, tires and wheel wells using a variety of different brushes. I chose to use a mild citrus degreaser, which really worked great and is totally safe for clearcoated and non-clearcoated wheels.
Once I completed the steps above, I gave the exterior a thorough rinse, paying special attention to all of the cracks & crevices where sand and dirt usually accumulate?
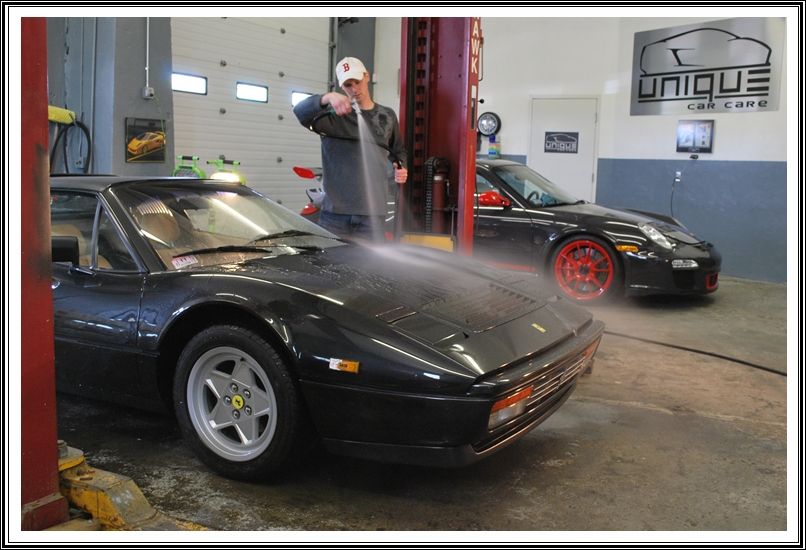
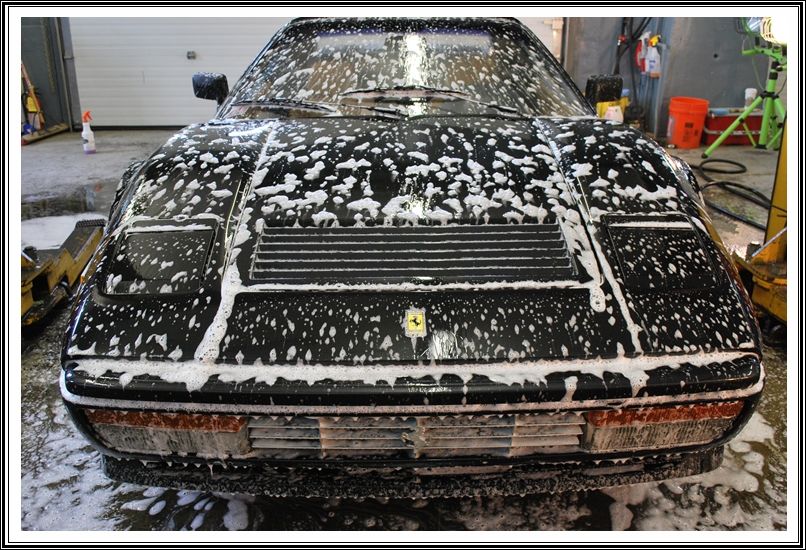
Once the vehicle was rinsed free of all loose dirt and contaminants, I soaked the car in foam using a Gilmour Foammaster II foam gun. I mixed a bit of degreaser in with the soap to help strip away any protection that may have been present. By allowing the foam to dwell on the surface for several minutes, it helps loosen any grime that is on the surface and reduce the chance of marring the paint when performing the wash.
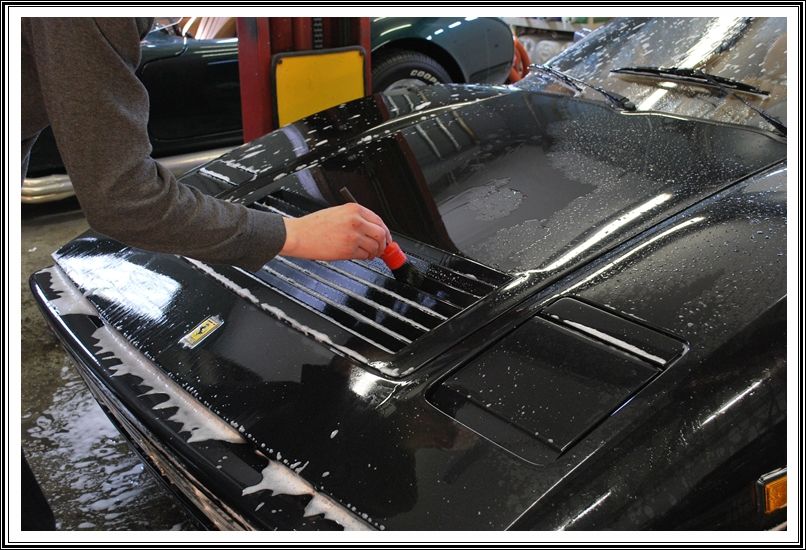
All cracks, crevices and hard-to-reach areas were cleaned using a Swissvax brush?
The exterior was rinsed for a second time with lots of pressure to remove as much contamination as possible and washed by hand.
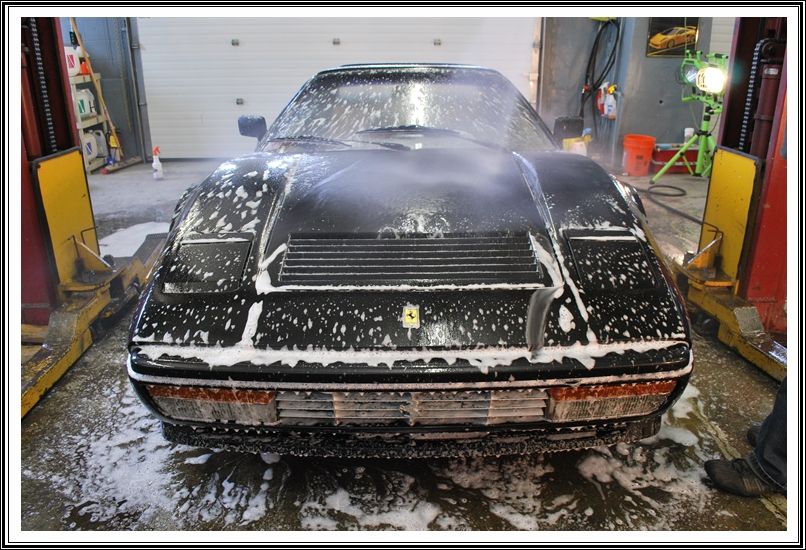
After washing the exterior, I gave it a thorough rinse, dried it with a microfiber drying towel and blew out all cracks & crevices with purged air to remove any excess water.

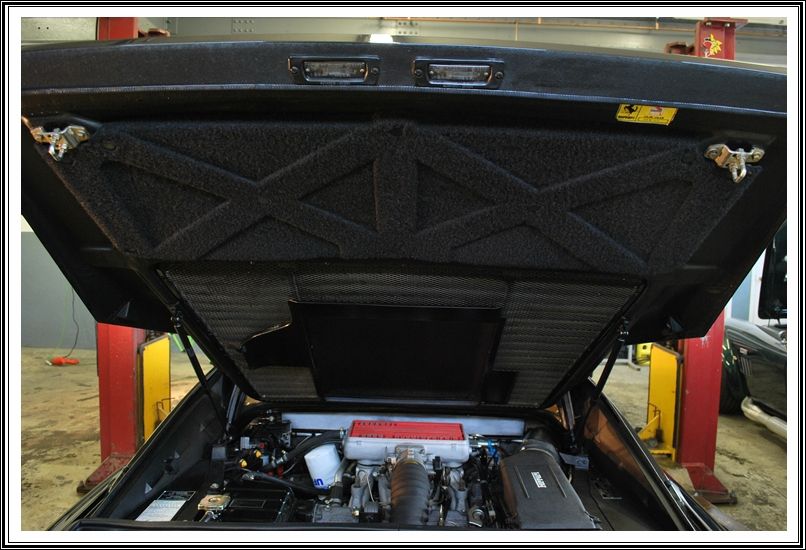
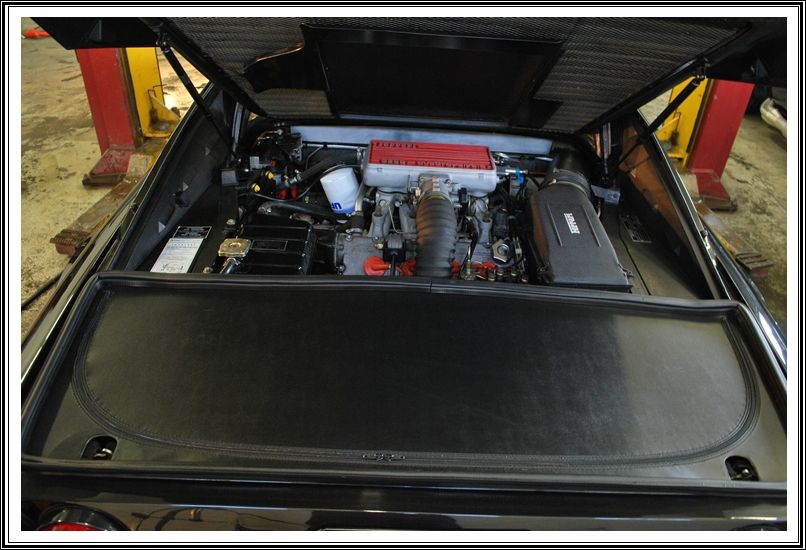
All door, hood and trunk jambs were wiped clean with a microfiber towel. A damp microfiber towel was used to wipe down the engine compartment because I did not want to risk getting the engine bay wet by hosing it down. Who knows what could go wrong on a car like this if it ever got wet, but I wasn?t willing to find out!
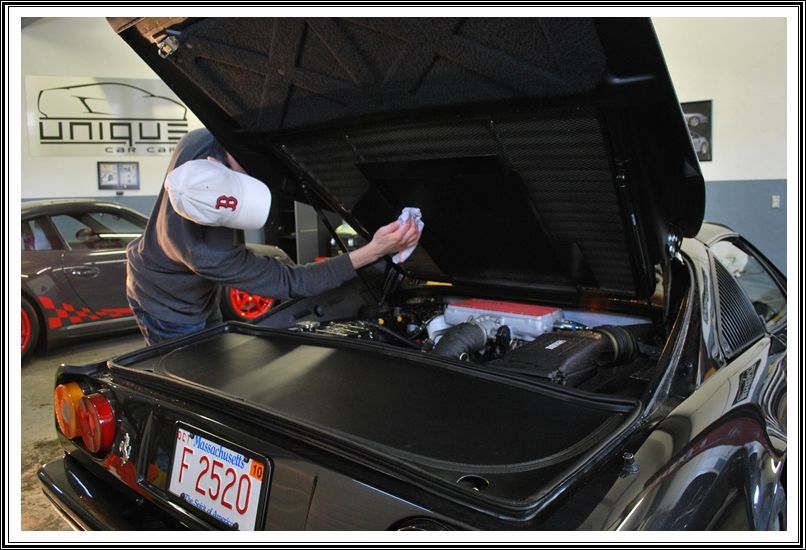

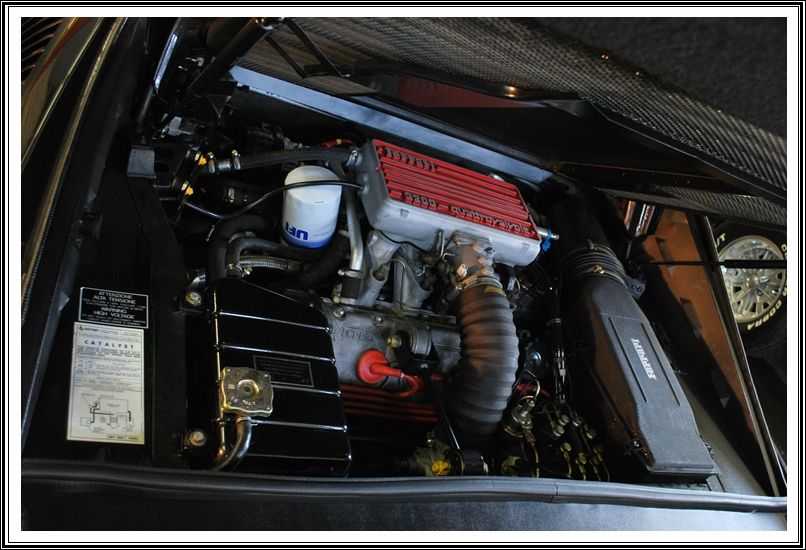
The engine compartment cleaned up nicely and looked like the day it left the factory!
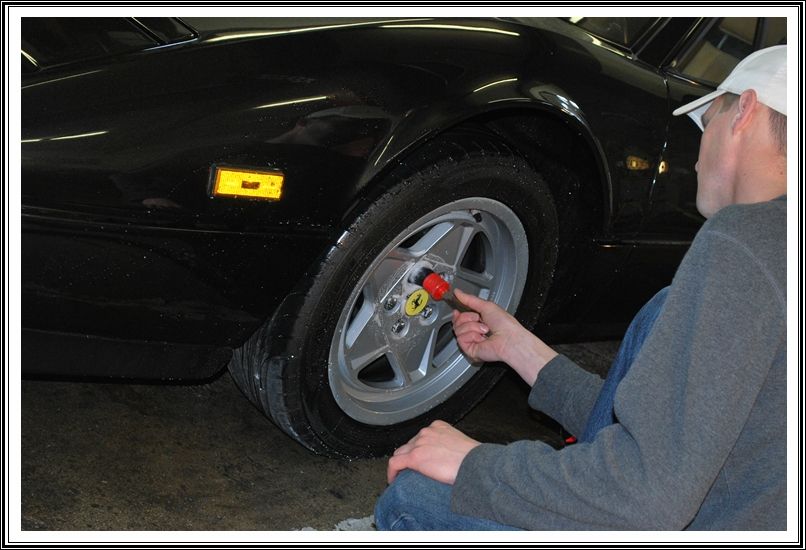
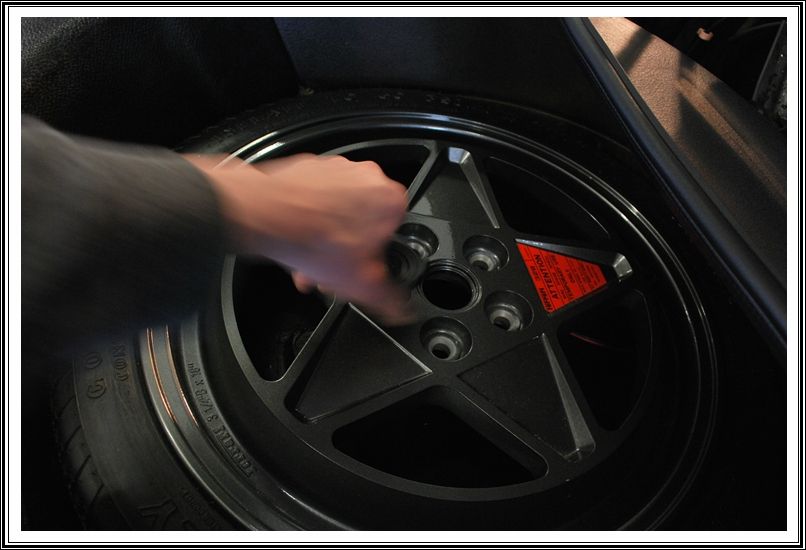
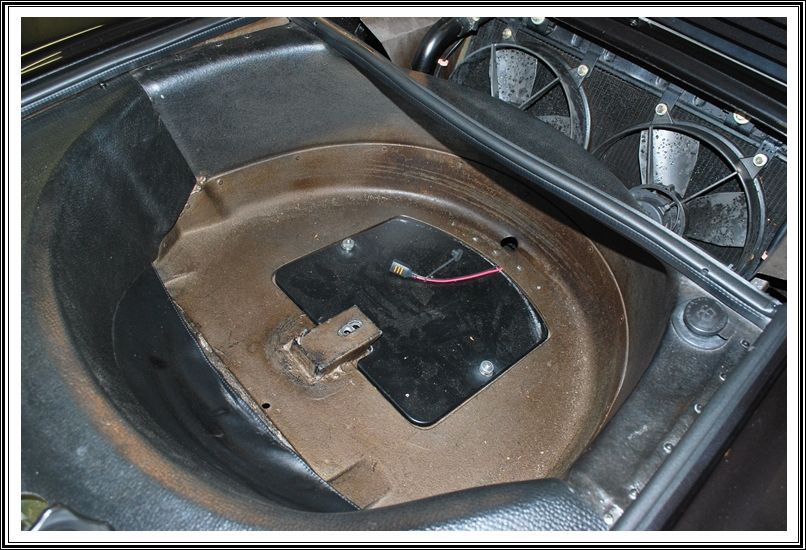
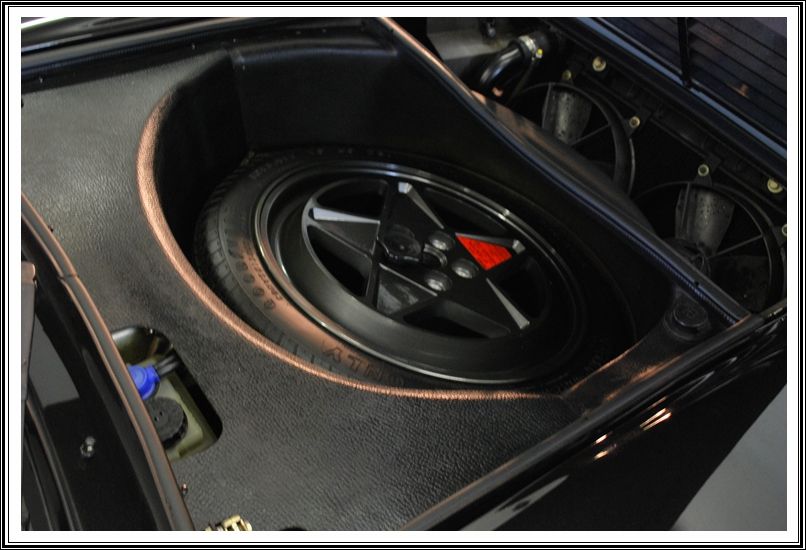
Before moving on to any polishing, I decided to pay some special attention to the front cargo area where the spare tire is located. I removed the tire, cleaned up the area and wiped the wheel and tire clean with some quick detailer. I decided to apply some Opti-Seal to the wheel for kicks.
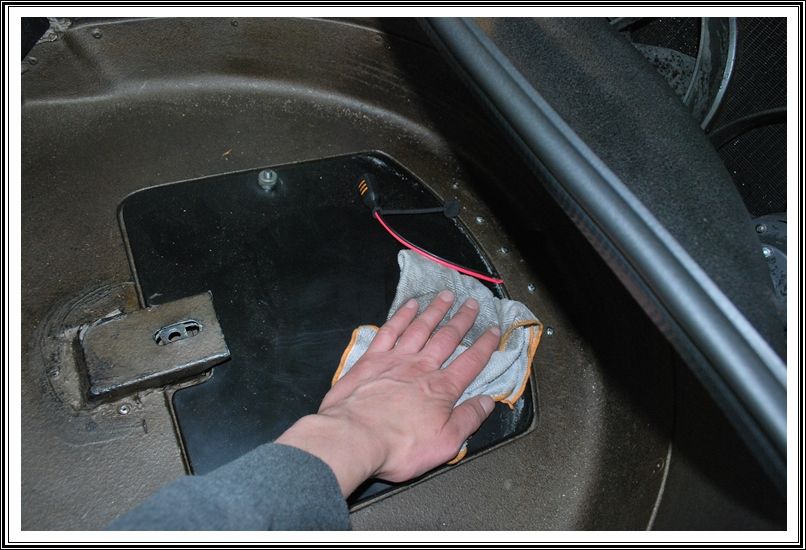
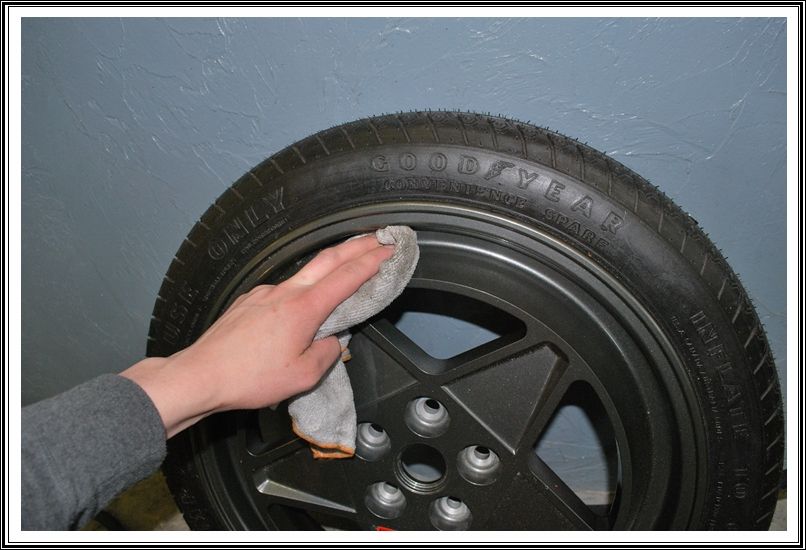

Much better!
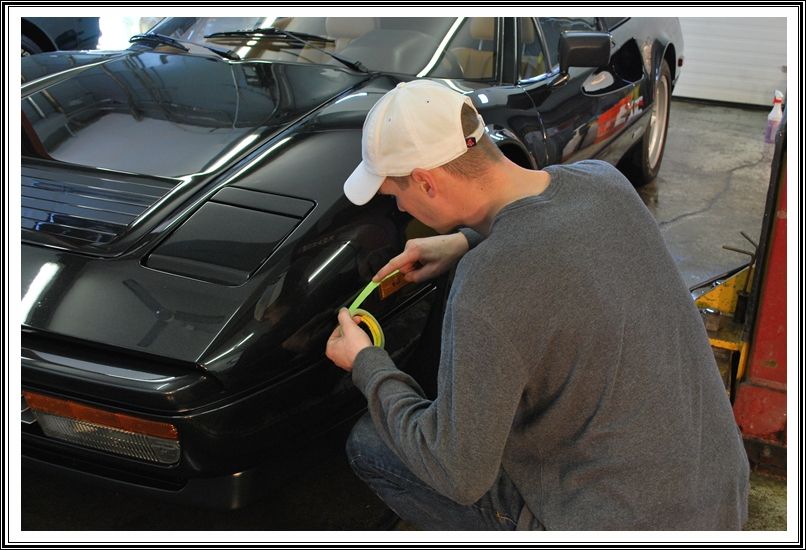
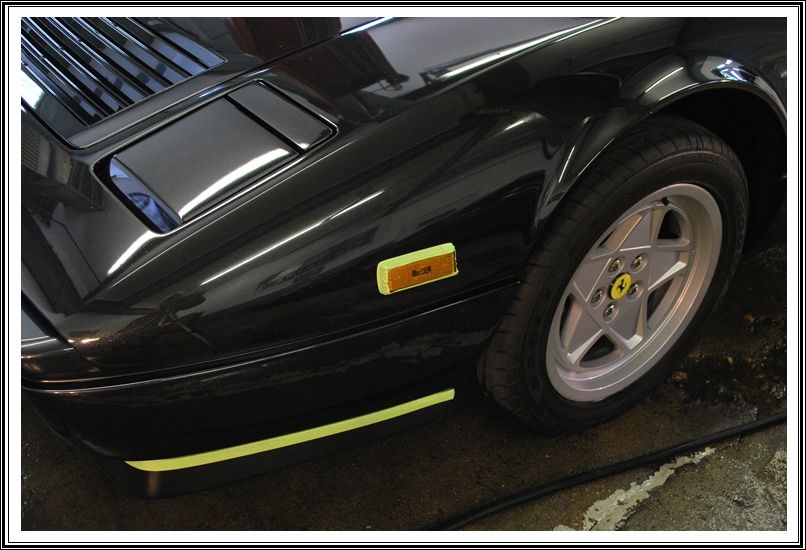
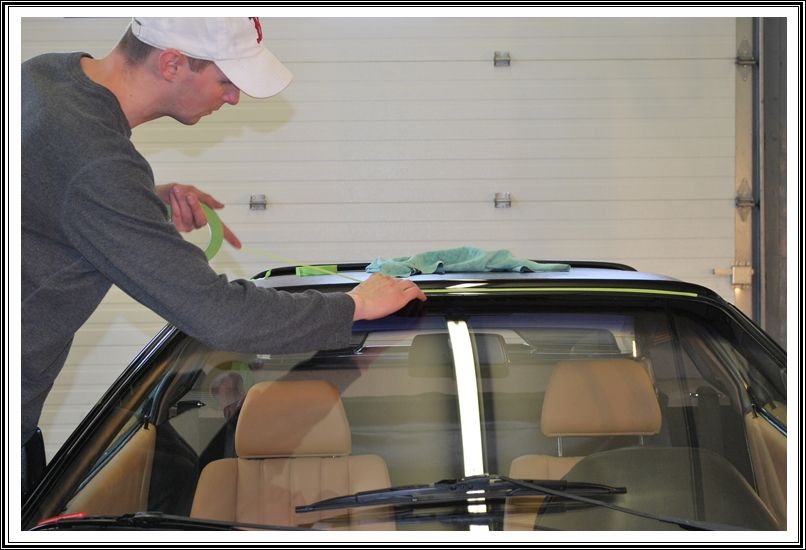
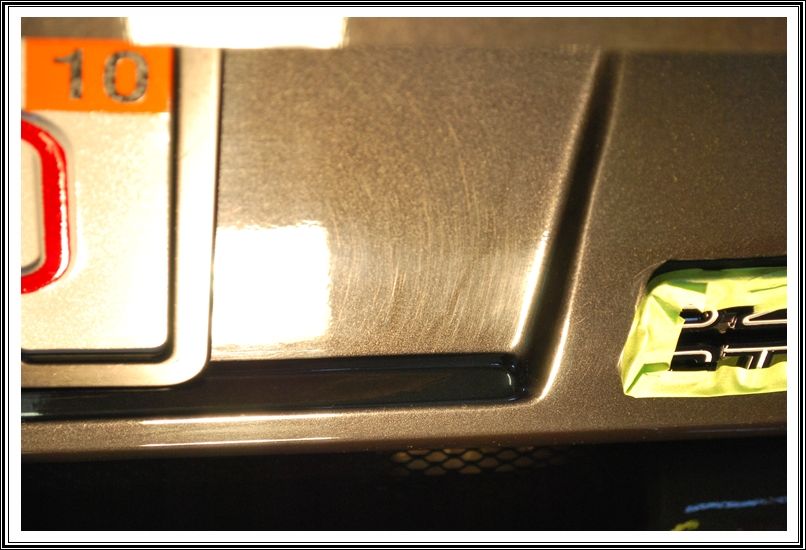
Alright, now that all the little odds & end were done, it was time to get working on the most important thing, the paint! Prior to any polishing, I masked off all badges, trim, moldings and any other areas that could possibly be stained by whatever product I was using or harmed by the buffer.
imported_RickRack
New member
Although the paint was already in great condition, it was my goal to remove as many imperfections as possible, while using the least aggressive approach to ensure that paint thickness wasn?t compromised. After testing out a few different product/pad combinations to see what worked the best, I decided to go with a 3-stage polishing treatment to get the results I was aiming for.
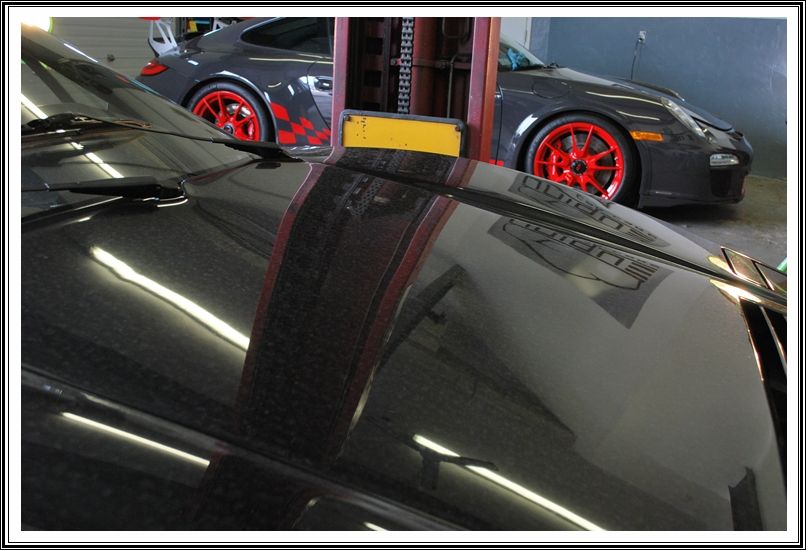
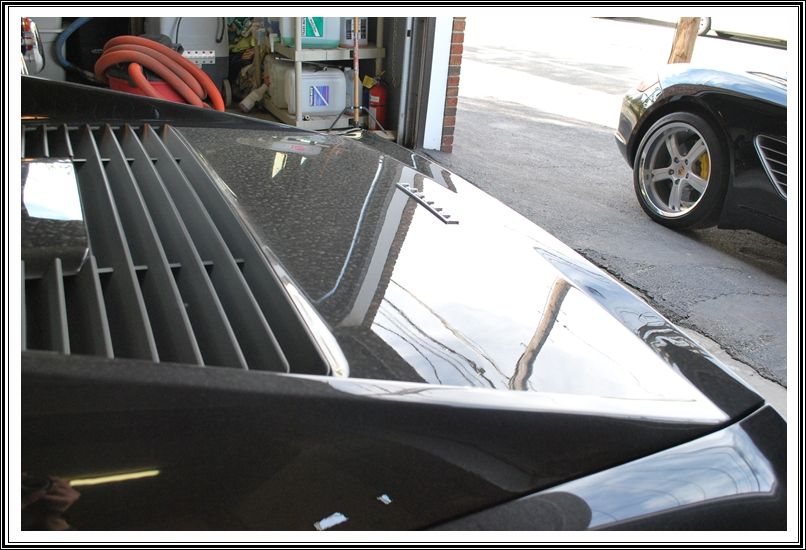
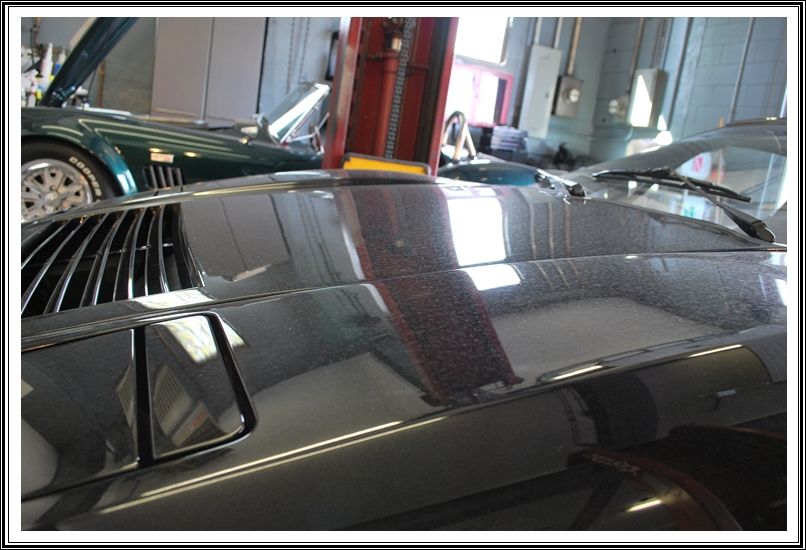
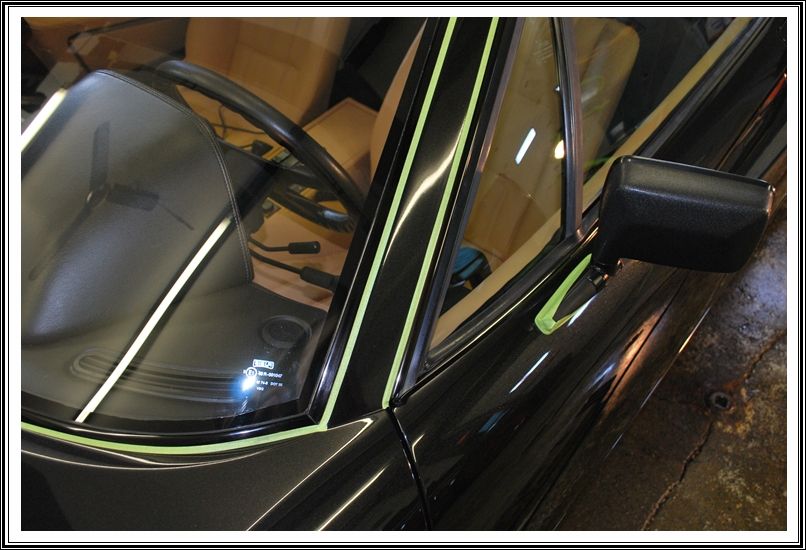
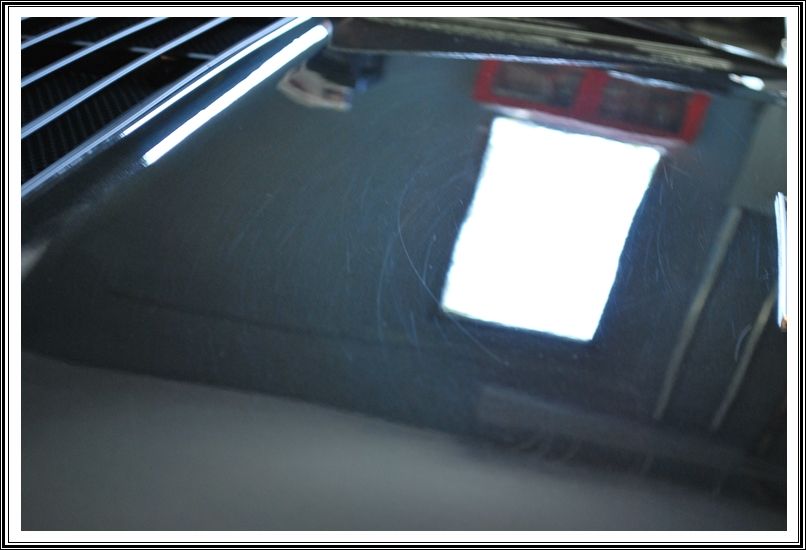
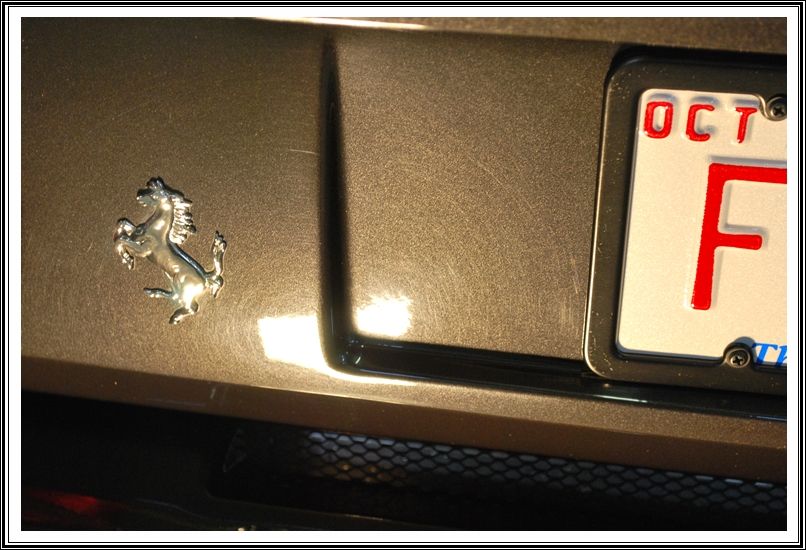
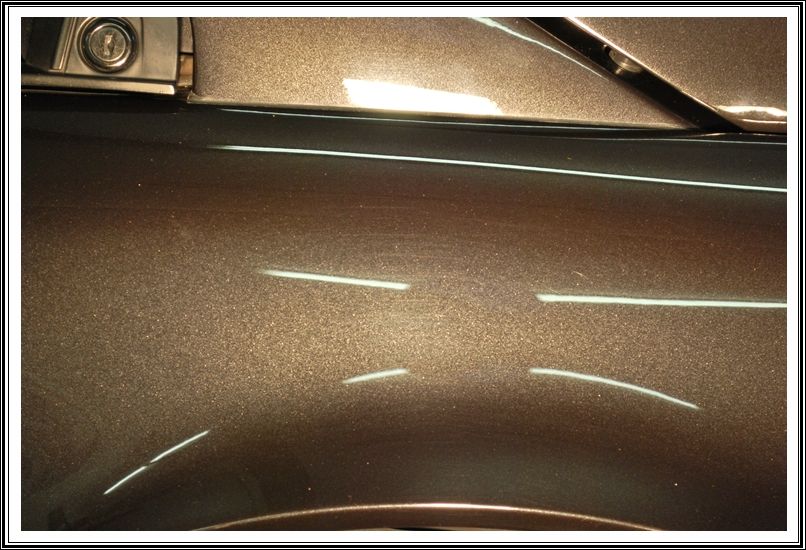
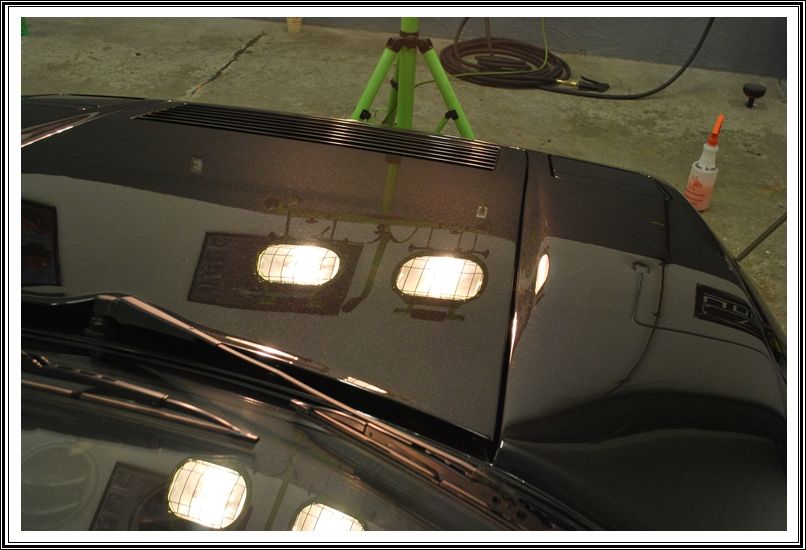
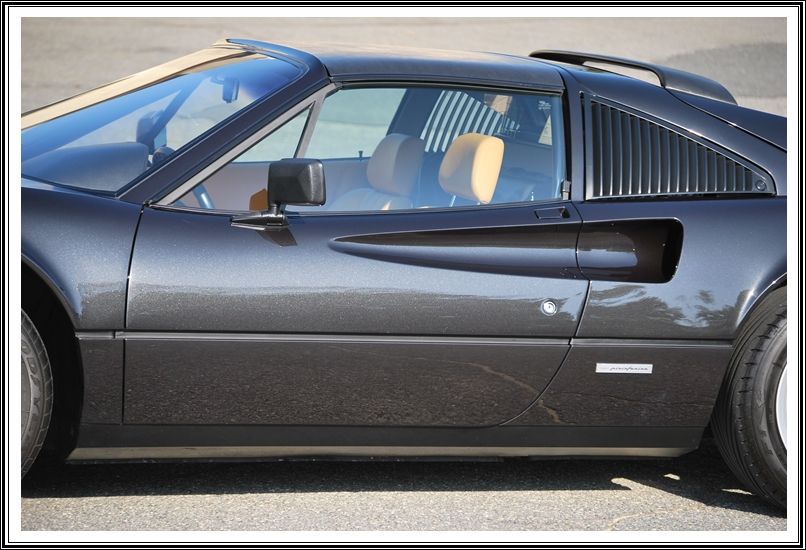
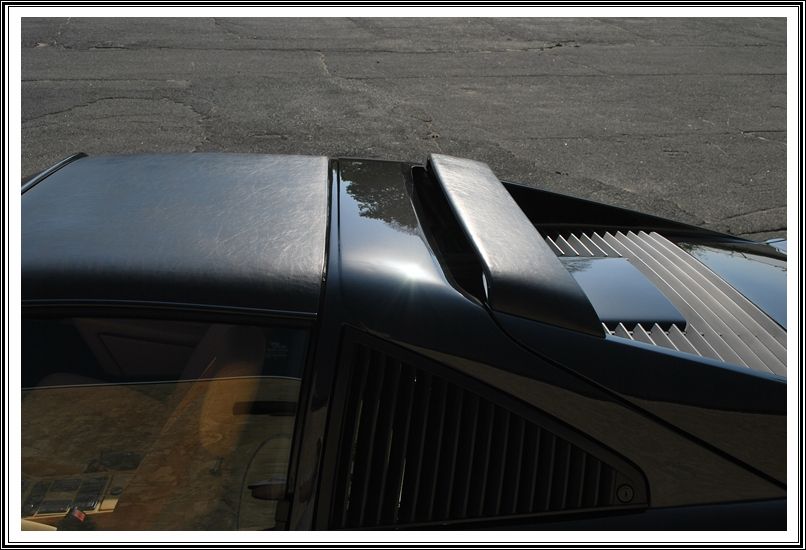
The pictures below show the condition of the paint after all of the prep work has been completed, prior to any polishing?
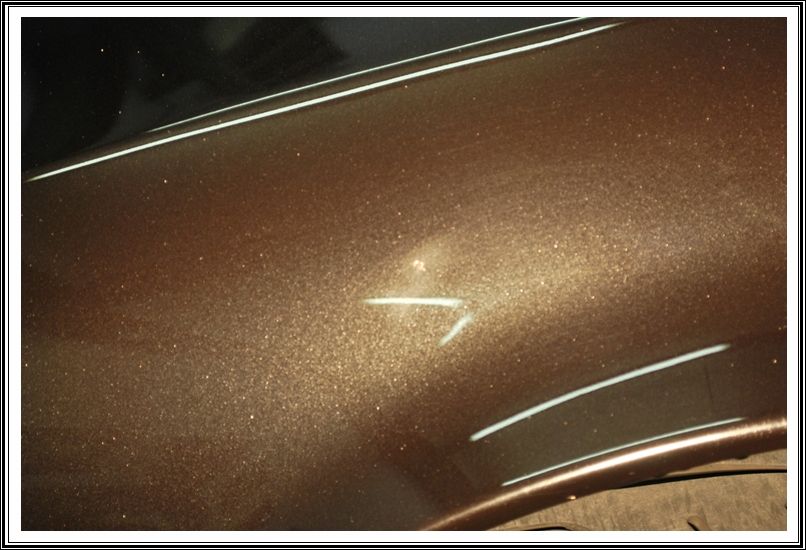
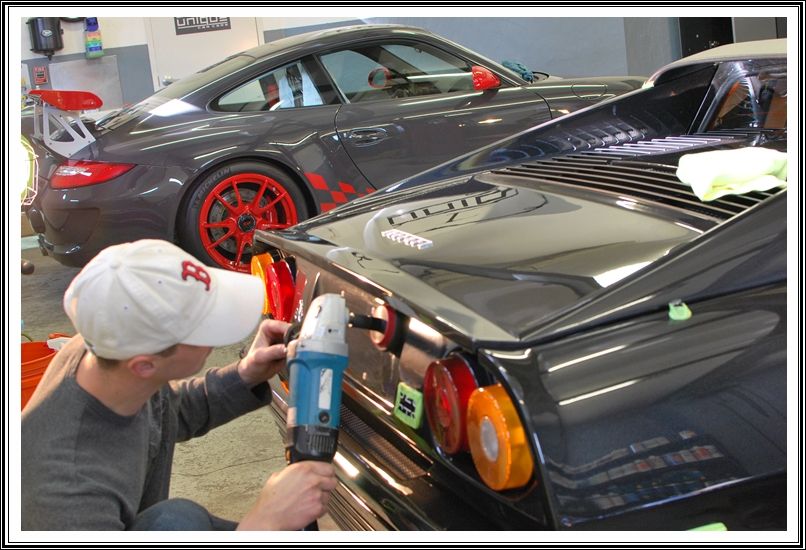
To remove the more serious defects, I chose Menzerna Super Intensive Polish paired with an orange foam pad via rotary polisher, really working the product until the abrasives were fully broken down. This greatly improved the overall appearance of the paint, but left a slight haze, which was to be expected. After this step was complete, the entire exterior was wiped clean using a damp microfiber towel to remove of any dust and polish residue that was on the surface and hiding in the cracks & crevices. Once the surface was clean, I wiped down the paint with 91% alcohol to remove any carrier oils left behind from the polish and all panels were carefully inspected under various light sources (halogen, xenon & fluorescent) to check for any defects I might have missed.
For a medium polish, I chose to use Menzerna Power Finish on an orange foam pad via Porter Cable PC7424XP. The Power Finish did a great job at removing the slight haze left behind from the Super Intensive Polish and made a noticeable difference in both gloss and reflectivity.
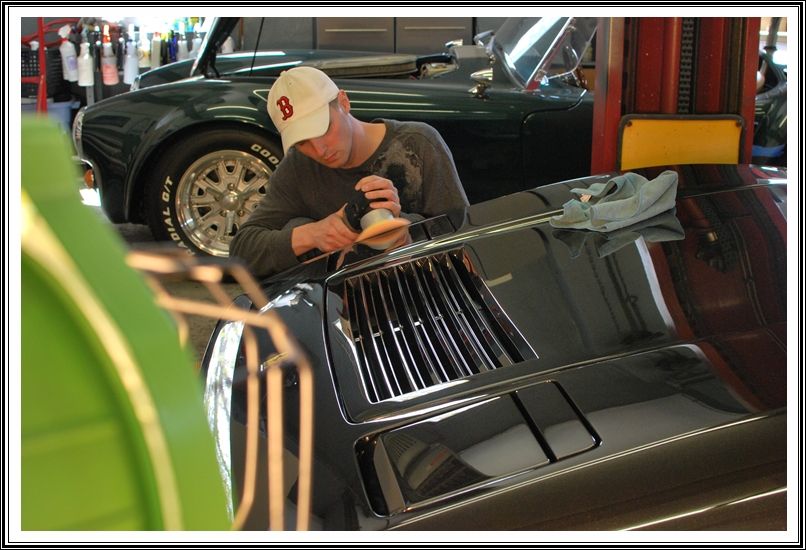
Yours truly polishing with Power Finish...
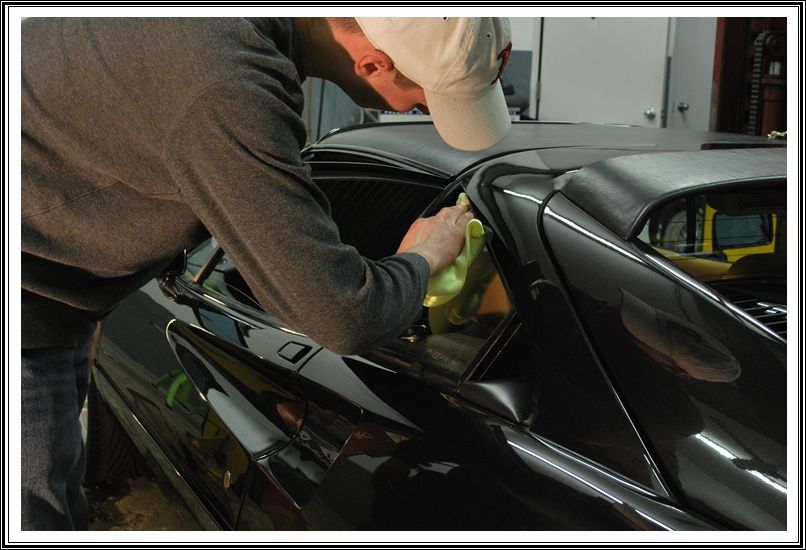
Before moving on to the final polishing stage, I gave it an exterior hand wash to remove any polishing residue that was present. For the final polishing step, I used Menzerna 85rd using a black LC pad, which really amped up the glow and darkened up the paint quite a bit. After the majority of polishing was complete, I went back and polished all of the hard-to-reach areas using 3 inch pad with and extension by rotary as seen below.
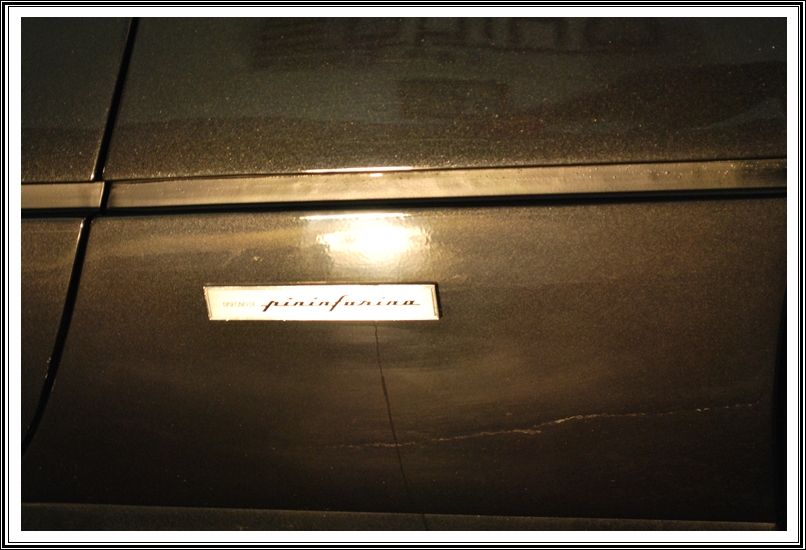
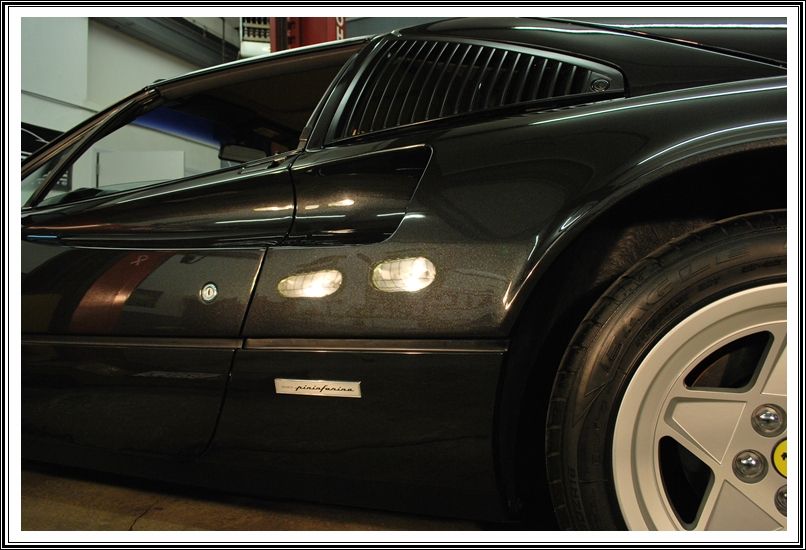
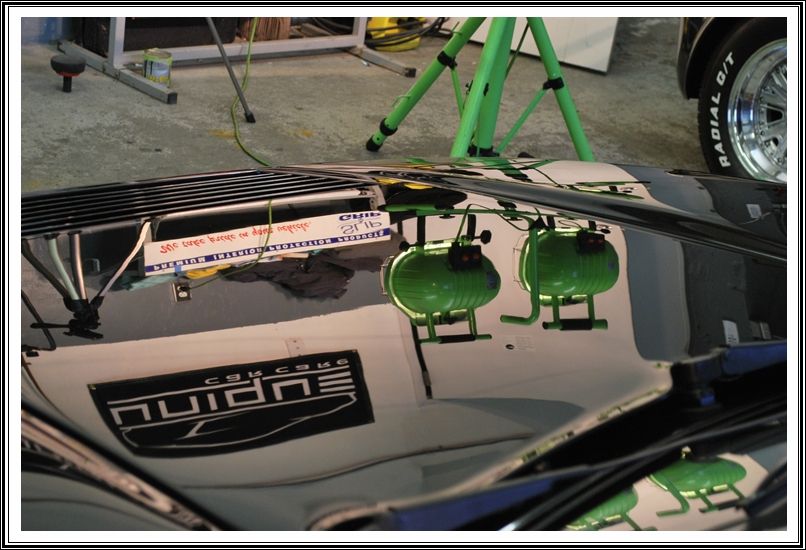
Now that all of the polishing was complete, it was time to choose an LSP (last step product). I decided to go with Blackfire Wet Diamond paint sealant because if its ease of use, outstanding looks and great durability. I applied the Wet Diamond very thin using a gold concours foam pad by machine and waited for it to haze before removing with a fresh microfiber towel. The Blackfire really enhanced the beauty of the paint and made the metallic flake ?pop?. Next up was to pay attention to some of the little things, which can really make a difference in the overall appearance.
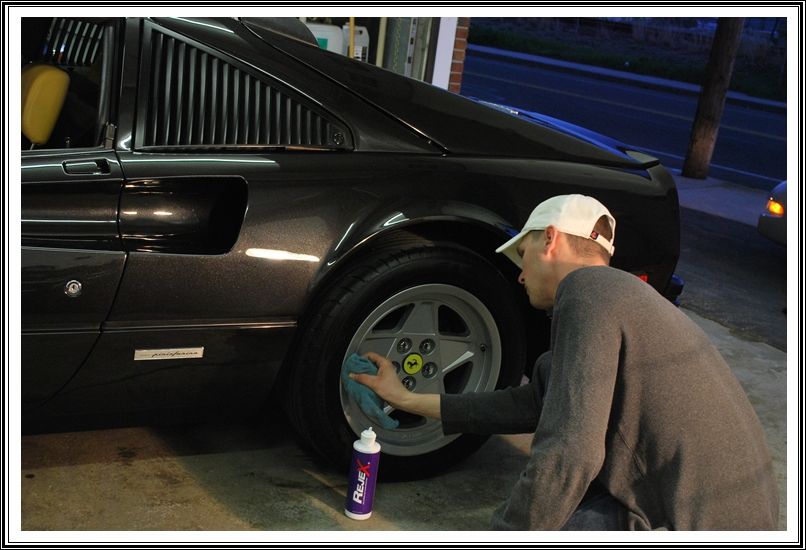
All tires were dressed with Optimum Opti-Bond tire dressing for a nice matte sheen.
The wheels received 2 coats of Rejex to protect against future brake dust and keep them looking great.
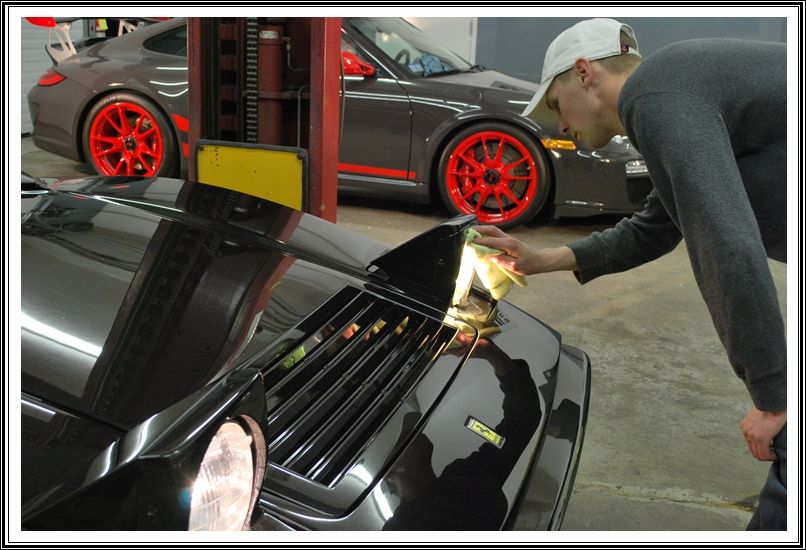
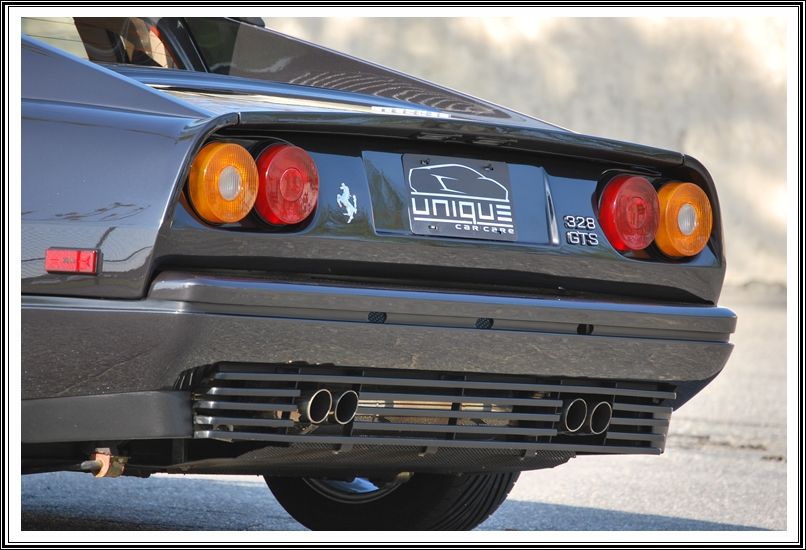
All rear window grills were cleaned and sealed with Optimum Opti-Seal.
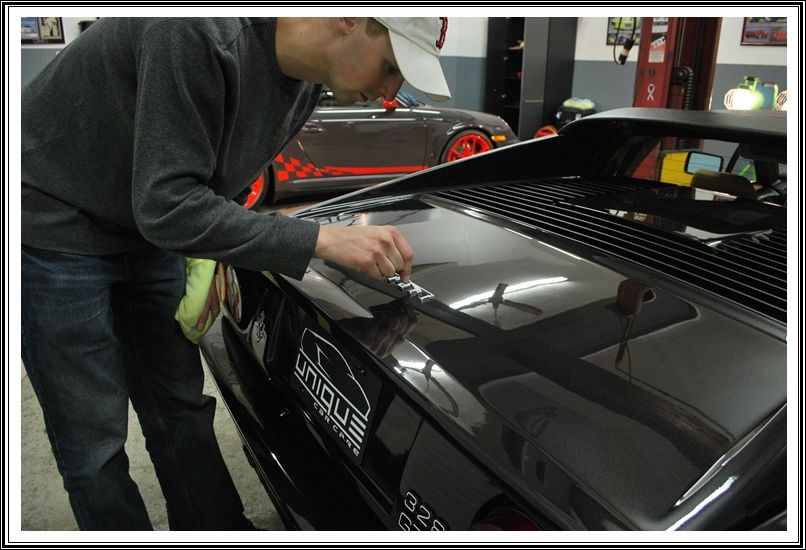
All emblems and badges were cleaned with Q-tips and a horse-hair brush to remove any residual polishing residue which had accumulated in these areas.
I flipped on the headlights, cleaned the outer bezels with a damp microfiber and polished them with Zaino All-In-One

Now it?s time for some eye candy!
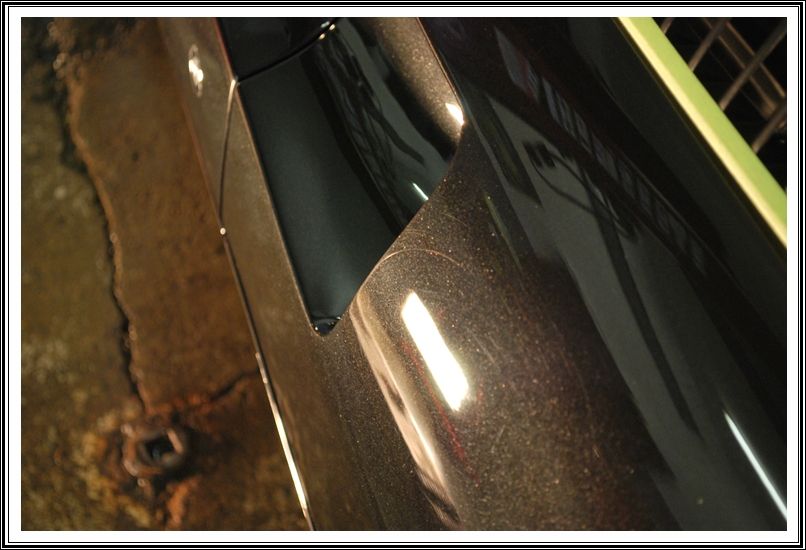
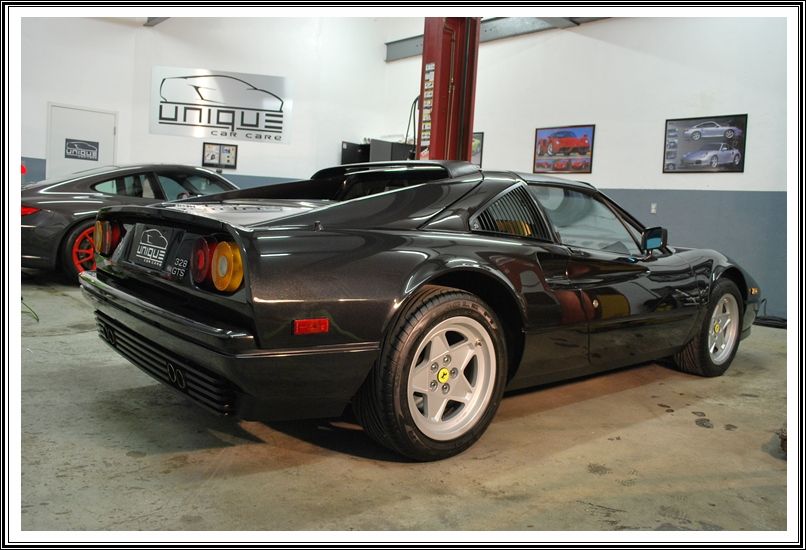
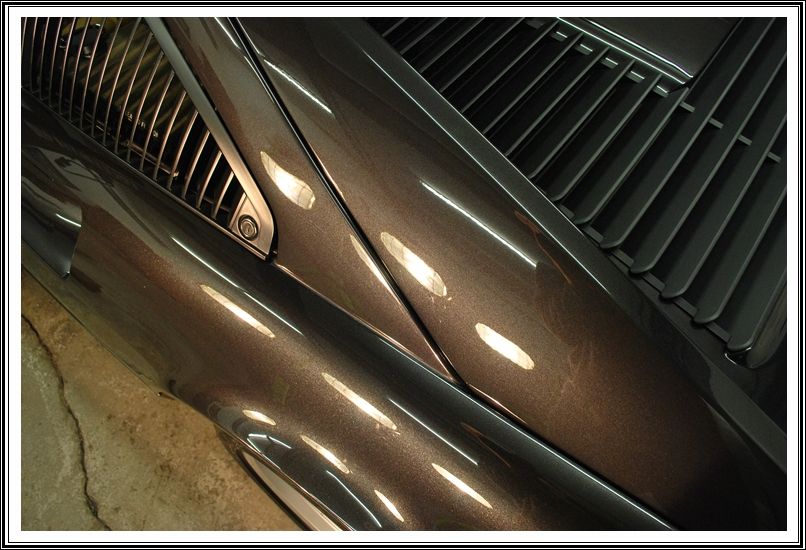
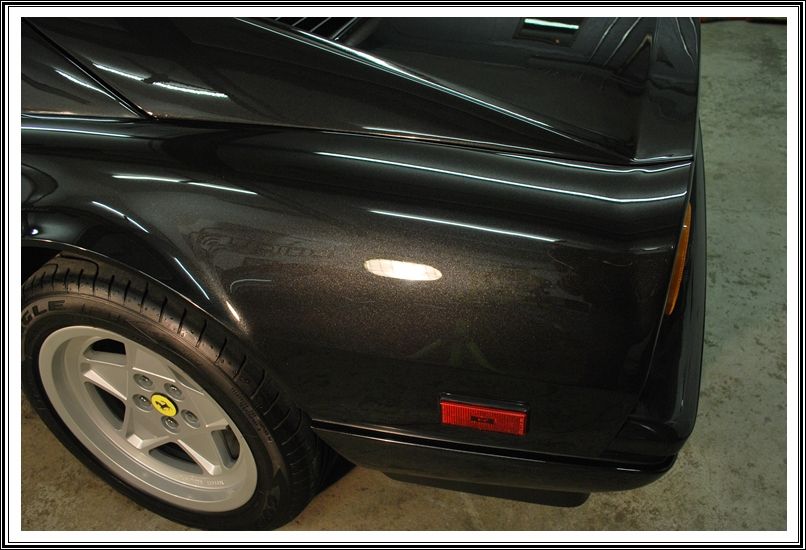
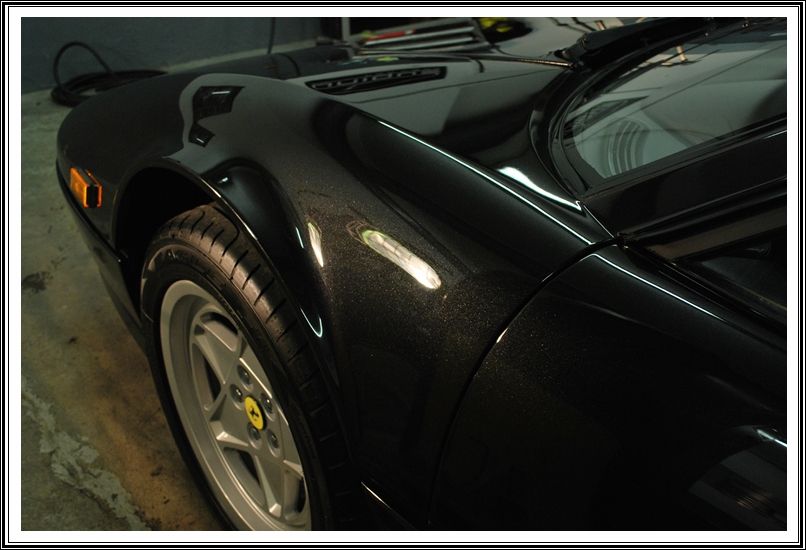
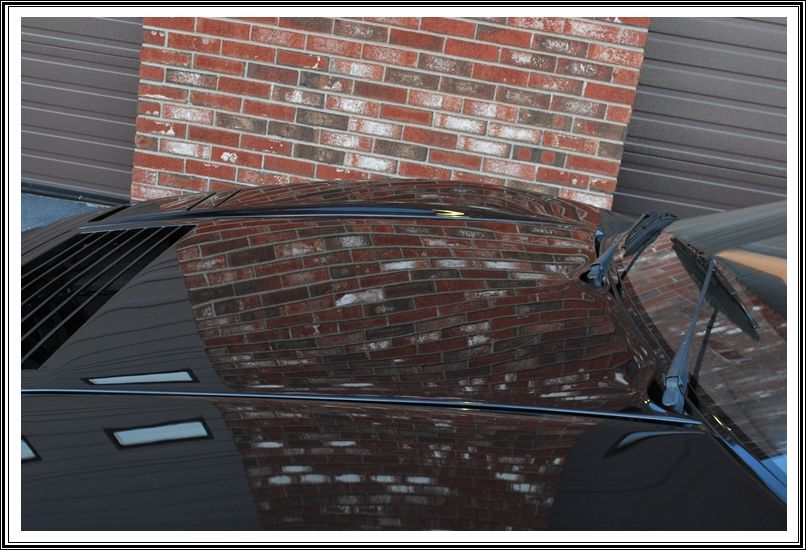
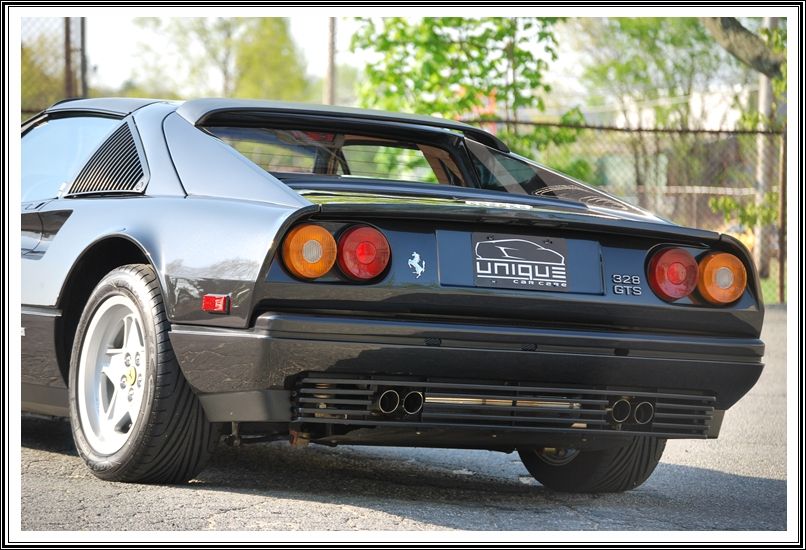
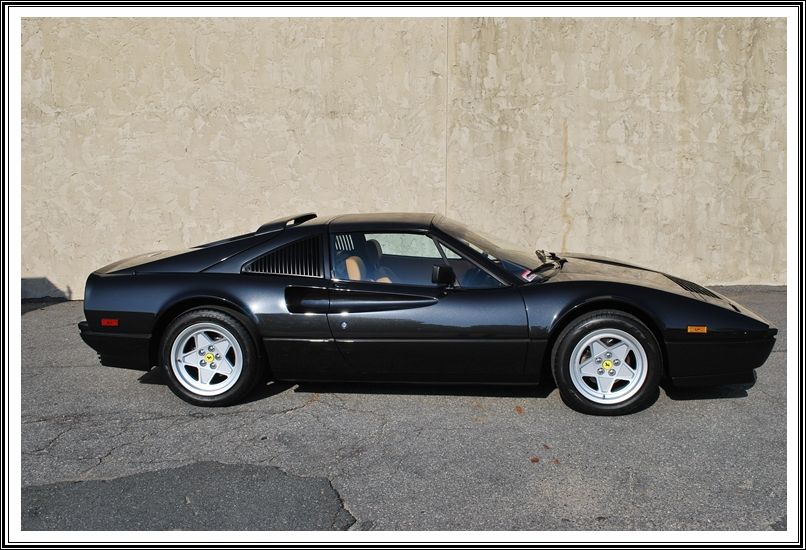
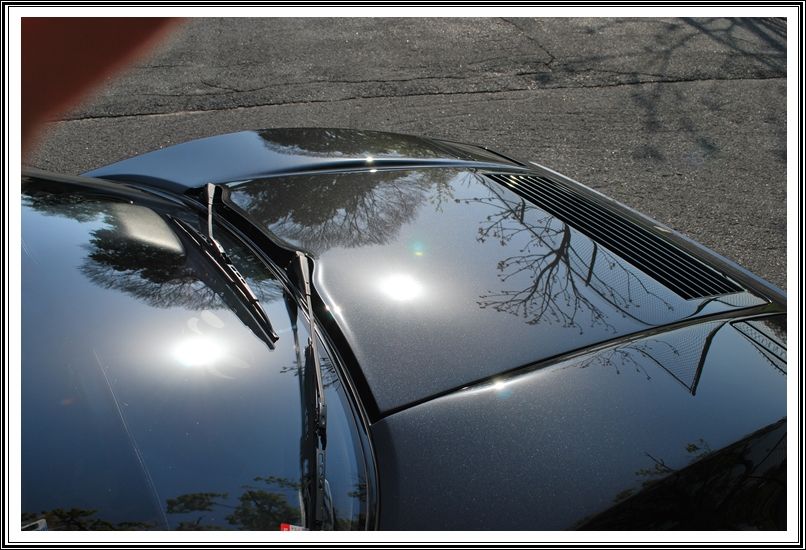
Final results under halogen lighting? Look at that metallic flake pop!
imported_RickRack
New member
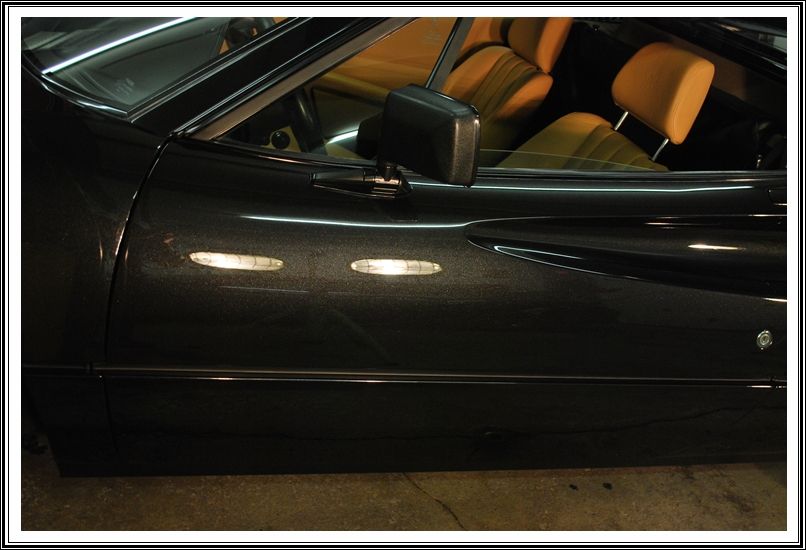
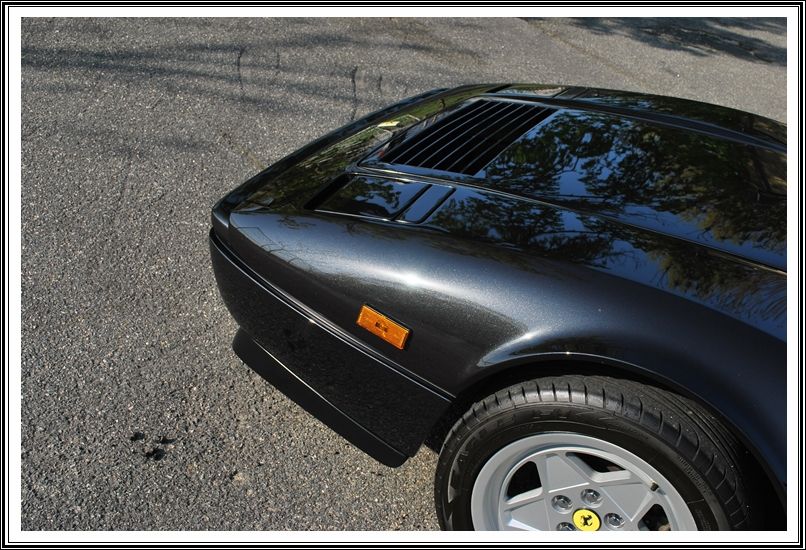
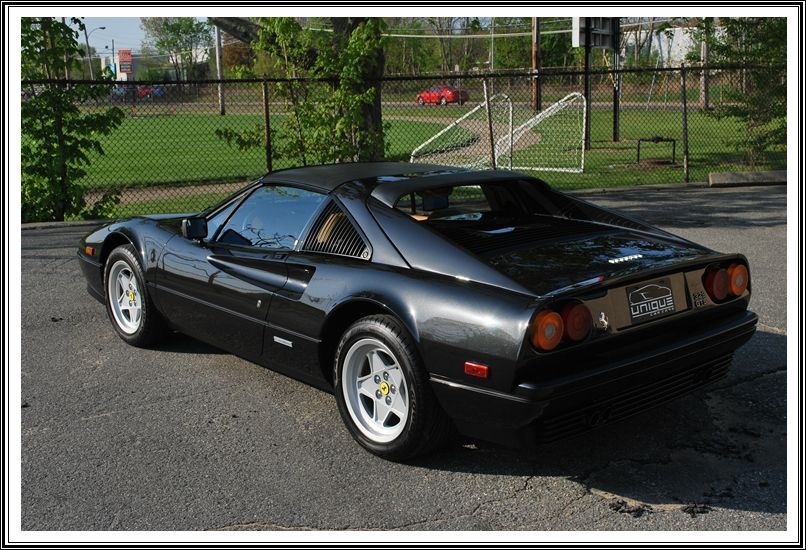
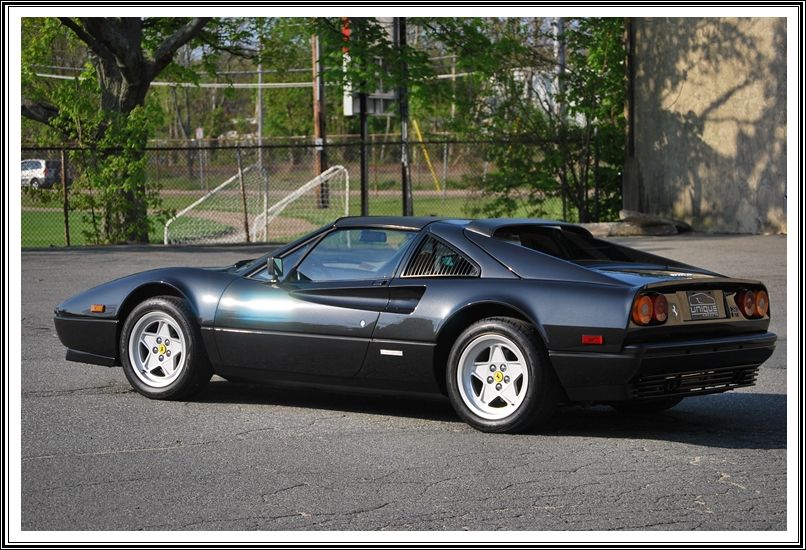
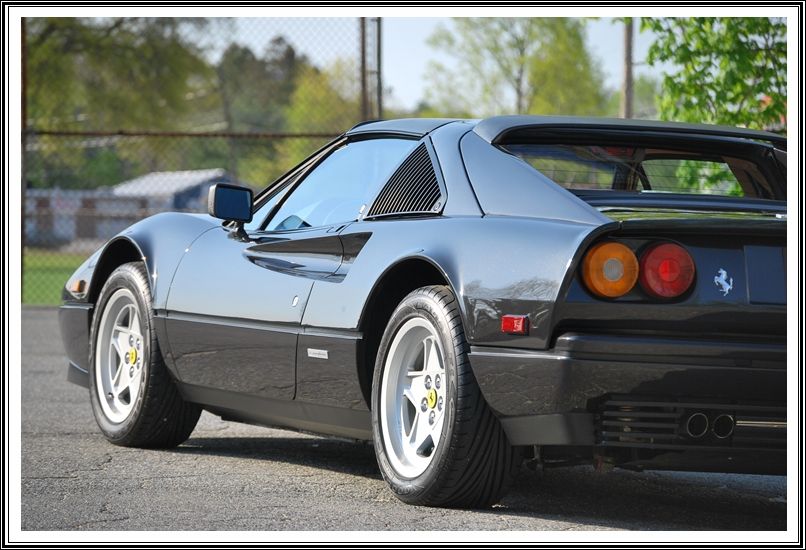
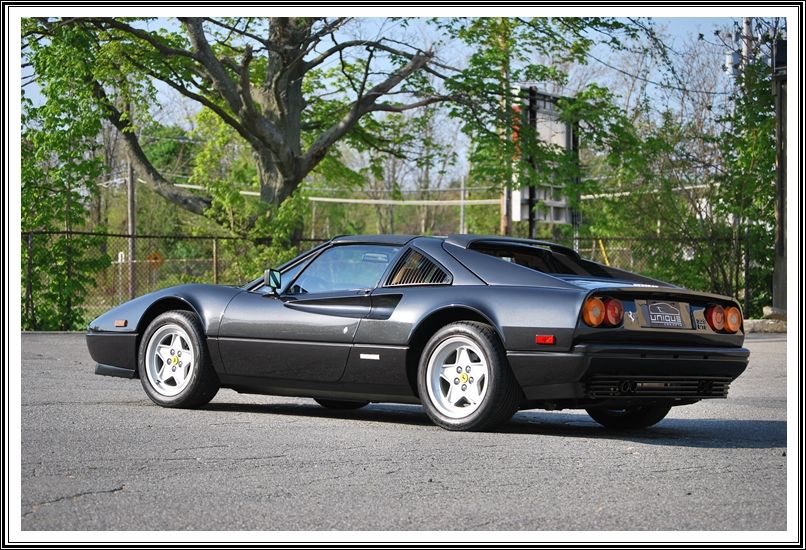
Final results under natural sunlight?

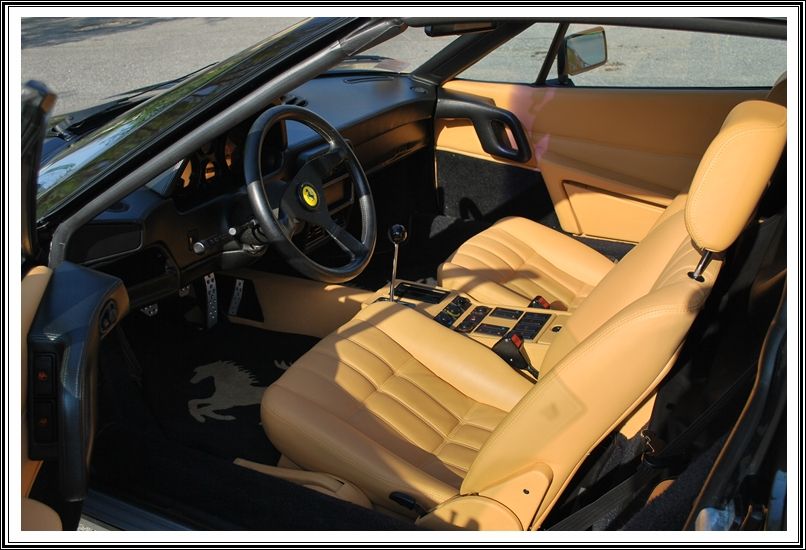
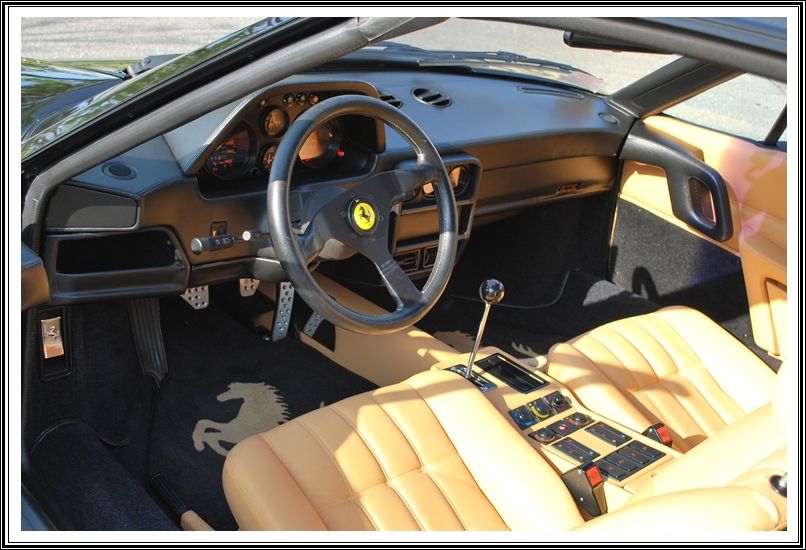
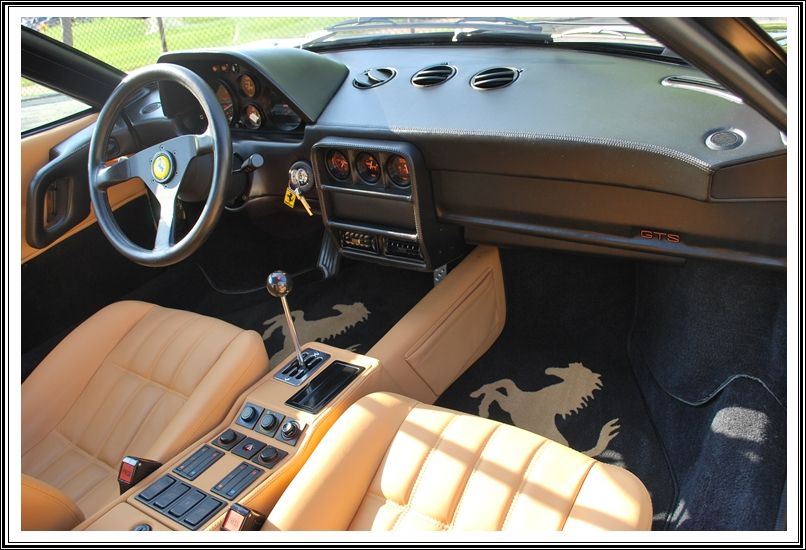
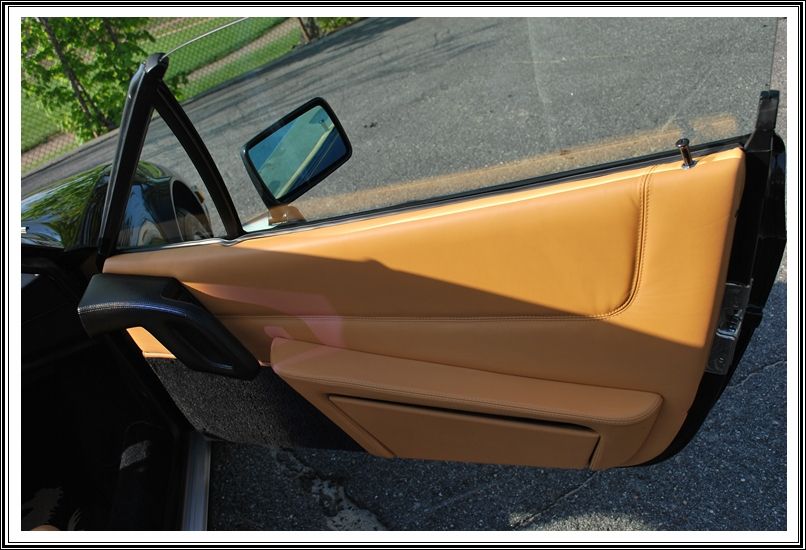
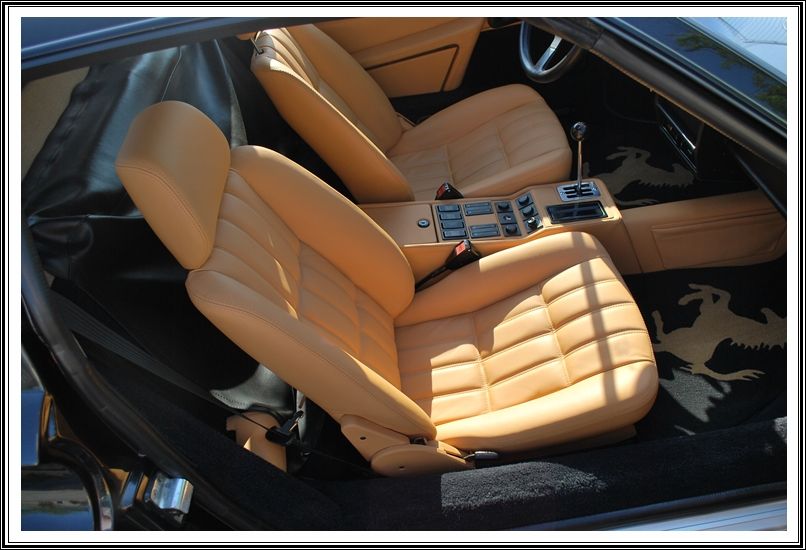
Gotta love this gorgeous interior!

*********************************************************
*** The owner also informed me that he entered the car in the Hartford Concorso and it won a Platinum!!!!! ***
 ancing Dot:ancing Dot:ancing Dot:ancing Dot:ancing Dot:ancing Dot:ancing Dot:ancing Dot:ancing Dot:
*********************************************************
Some other nice rides in the shop...
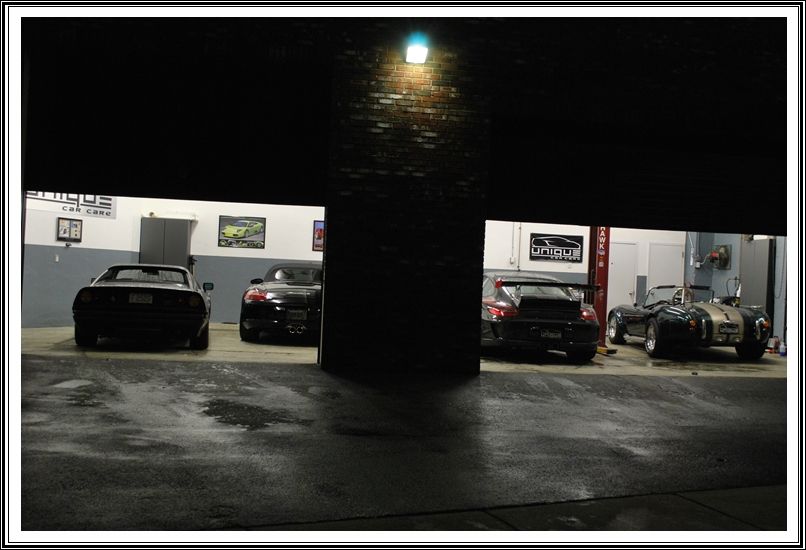
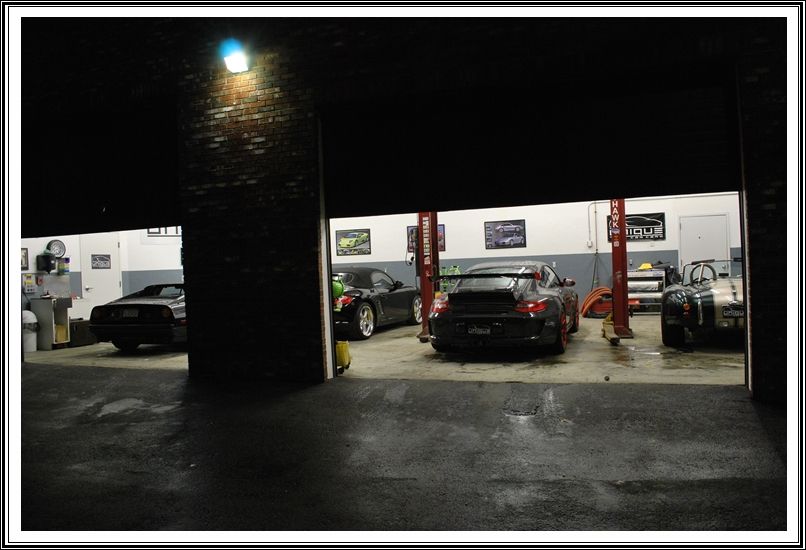
Thanks for looking!
Old Pirate
AMG Classic Car Detailing
Awesome work as always Rick, love the way it came out! Thank you for sharing it here with us.:notworthy:
imported_RickRack
New member
Thanks Angelo!
How's everything down there in sunny Florida? Hot?
How's everything down there in sunny Florida? Hot?
bmw5541
New member
Beautiful job Rick. Your attention to detail is second to none.
Keep 'em comming!ancing Dot:
Keep 'em comming!
ancing Dot:95formulalt1
New member
great work!! and good write up.! +1 for being a MA guy:driving:
GoFast908Z
New member
What an amazing transformation Rick! That looks absolutely top notch. I've never seen that color on an older ferrari. You made it look better than new. Exceptional work and attention to detail and very good writeup as well. Congrats!
imported_CH.Detailing
New member
Awesome color, I like that a lot more than the typical Ferrari red. Great work!
imported_juliom2
New member
Well taken care of. Very detail write up.
No doubt, results are very impressive.
Nice job!
:wizard:
No doubt, results are very impressive.
Nice job!
:wizard: