Black Cadillac

MichaelM

New member
This is my first time taking pics of my work so bear with me if they aren't the best. This was an exterior detail only and the shots using the Xenon Flashlight are all the same spot on the car. You'll notice the pics of the later polishing steps getting closer to the vehicle as I wanted to show what marring/blemishes that were left after each step. The pics don't really capture the gloss or depth of the paint close-up but that wasn't my main concern.


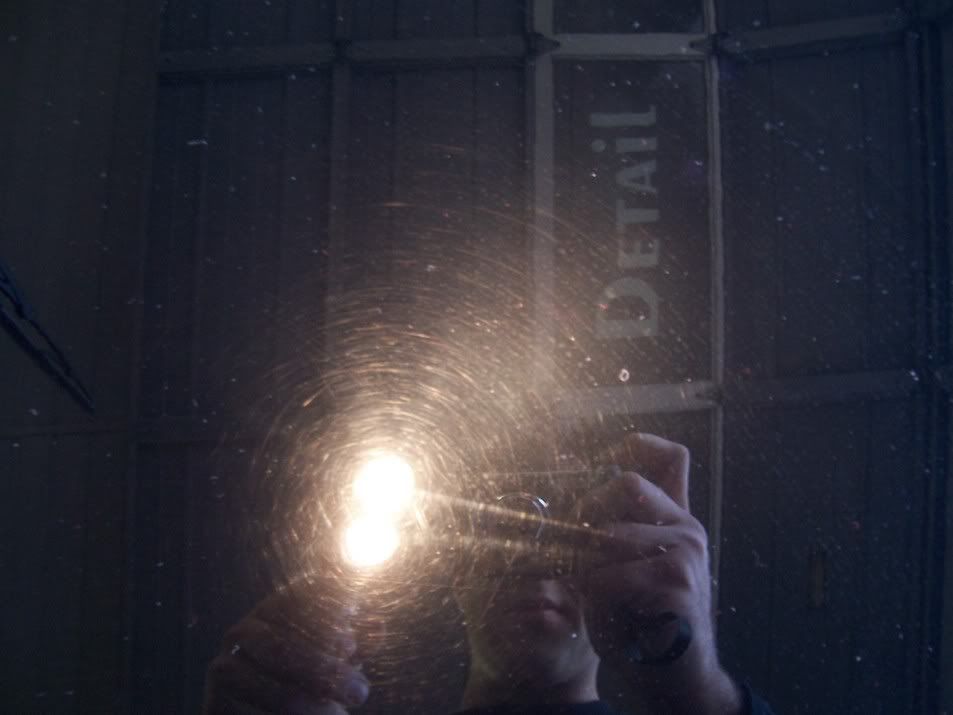
Before pic, washed and clayed:


100_0012.jpg


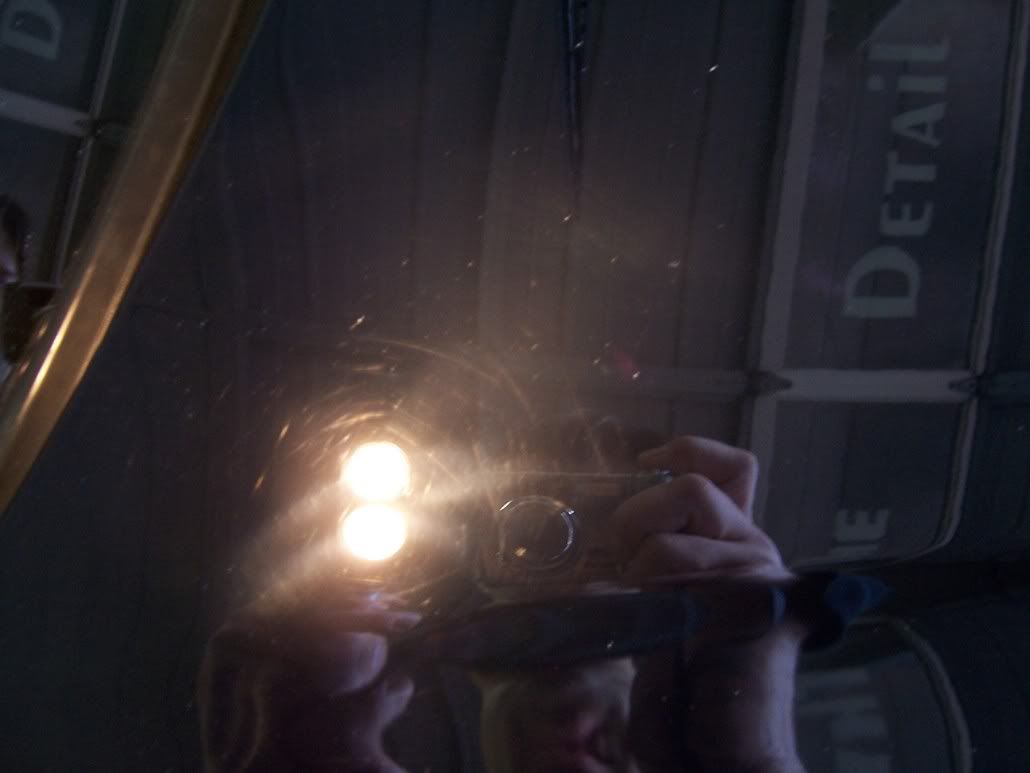
After Meg's #83 & white LC polishing pad on a rotary, speed 1500rpm:


100_0017.jpg


In this pic I was trying to show side-by-side what the paint looked like bare and after #83, 83 on the left, bare on the right:


100_0018.jpg


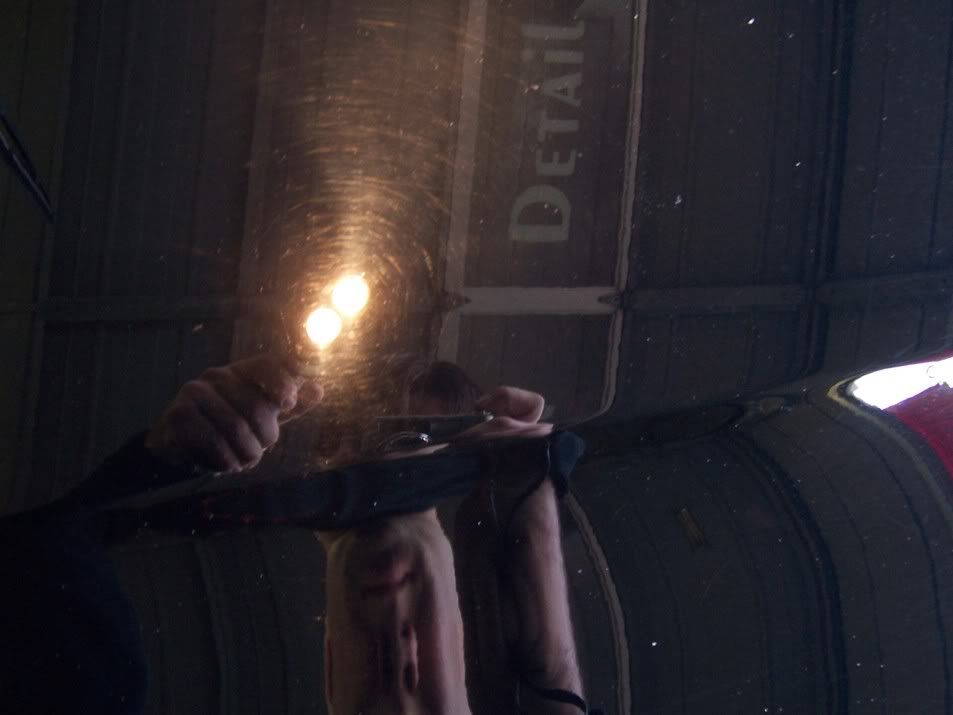
This is after using the PC on speed 5 with a green "german" polishing pad sold by properautocare.com and Menzerna FPII:


100_0020.jpg


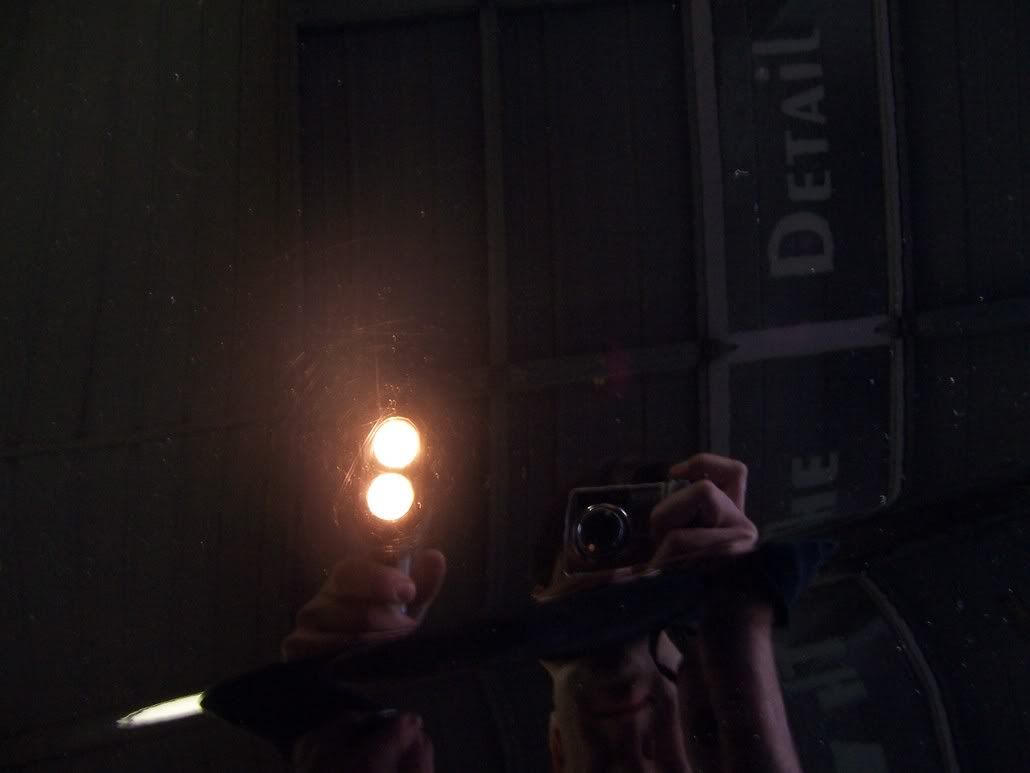
After a coat of Meg's #21:
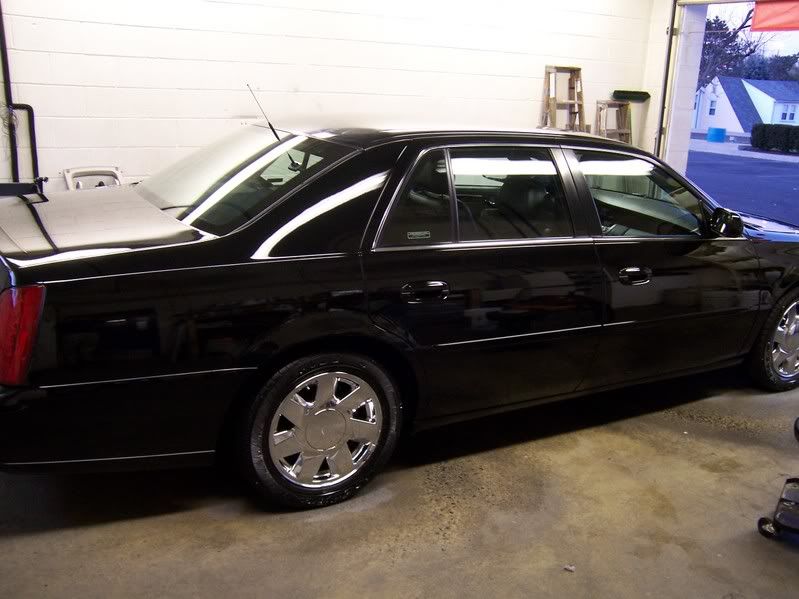


100_0027.jpg


Whole car:


100_0029.jpg
 
nice.. i'm surprised the #83 at 1500rpm cut so little.. when I usually work at those speeds, its all done in big swoosh right to the LSP stage..
 
Pictures are deceiving, the 83 actually did just fine. From the before picture to the after 83 pic I moved in closer to the paint to be able to pick up the webbing that remained, you can tell by the size of my hand in the reflections. If I was at the same height it would look glossier.


Thanks for the kind words.
 
While GM paint can be a PITA to correct, at least you *know* going in how it will react. If nothing else, the paint is consistent, or has been for me. IMO, that's about all that you can ask.


It's no surprise that #83 didn't remove *all* of that marring. IME, the deeper, halo type scratches that are left in the pics will need at least #84 (or similar) and a cutting pad. Personally with GM paint, I typically go straight to #84 with a knitted wool pad, then work my way up in terms of aggressiveness (pad/product/speed) if that doesn't "cut" it.


At any rate, the paint looks fantastic!! Great job!!
 
Glad to see I am not the only one who finds that GM paint can be a real bear to correct. Sometimes it is easy but the majority of time it isn't.


Very big improvement on the Caddy. Really looks wet in that whole car shot. :)
 
ebpcivicsi said:
It's no surprise that #83 didn't remove *all* of that marring. IME, the deeper, halo type scratches that are left in the pics will need at least #84 (or similar) and a cutting pad.


I agree. This type of marring takes a good bit of work to completely remove.


This wasn't a "show car" shine type of job but rather a "standard" exterior detail, which in my shop means spot buff the heavy marks then do the best you can in 2 steps (as far as correction goes).
 
MichaelM said:
I agree. This type of marring takes a good bit of work to completely remove.


This wasn't a "show car" shine type of job but rather a "standard" exterior detail, which in my shop means spot buff the heavy marks then do the best you can in 2 steps (as far as correction goes).


*Believe me* I know *exactly* what you mean!!! It looks great!!
 
Back
Top