imported_Dave KG
New member
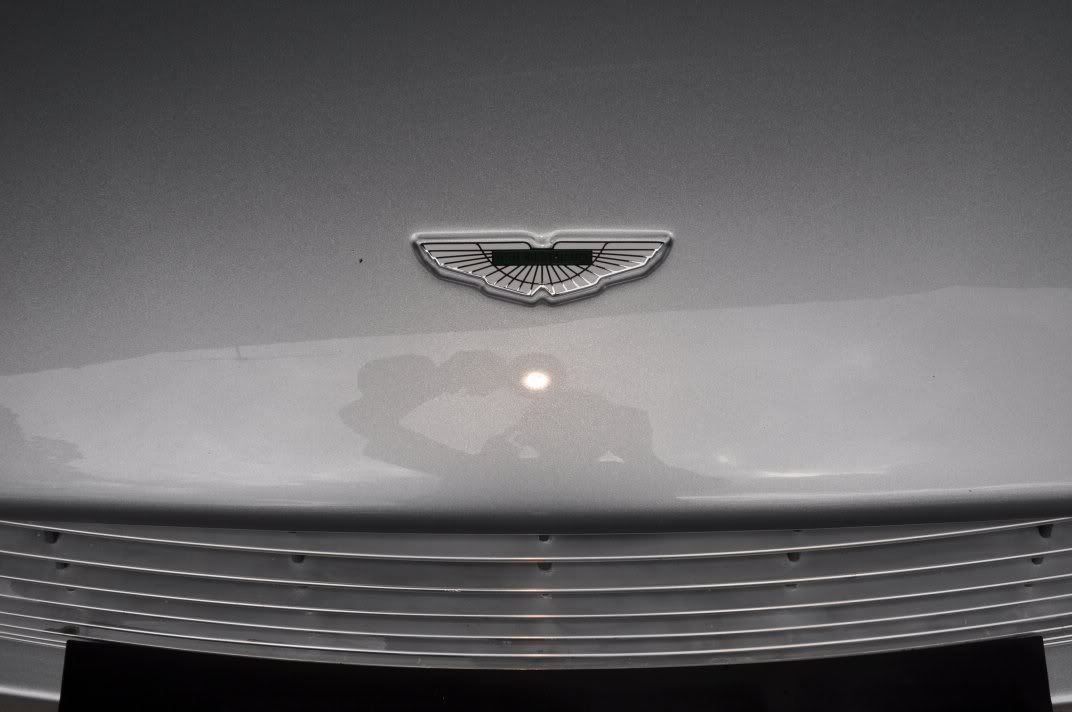
This Sunday past was the first Aston Martin that I have detailed, and I have been looking forward to it for quite some time 
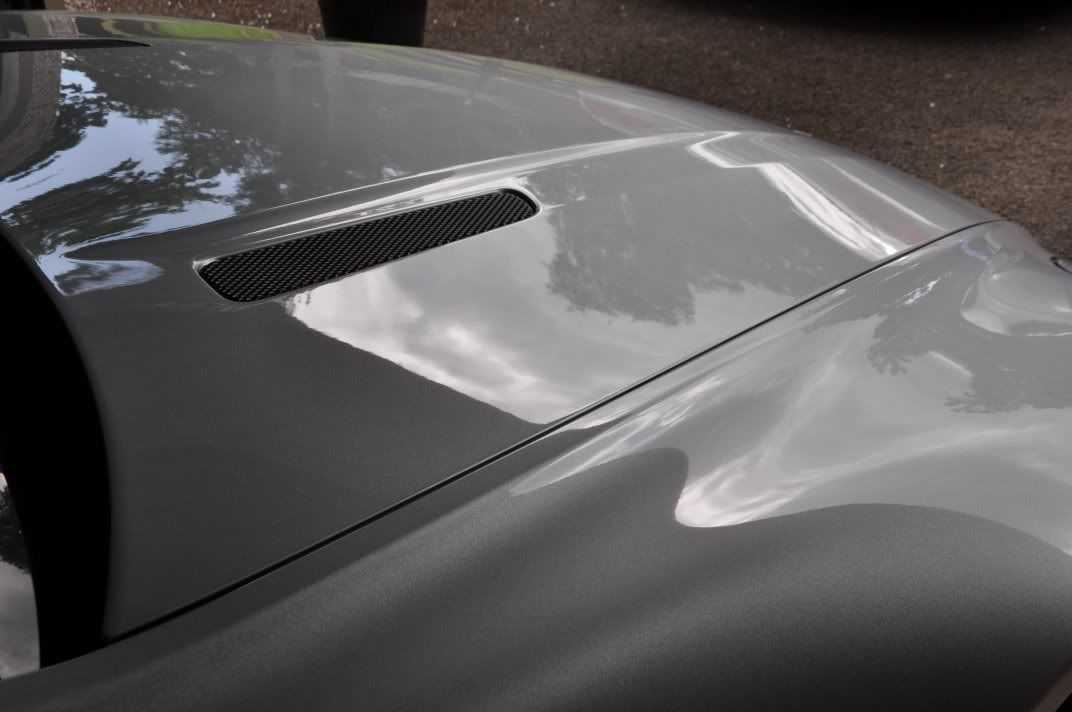
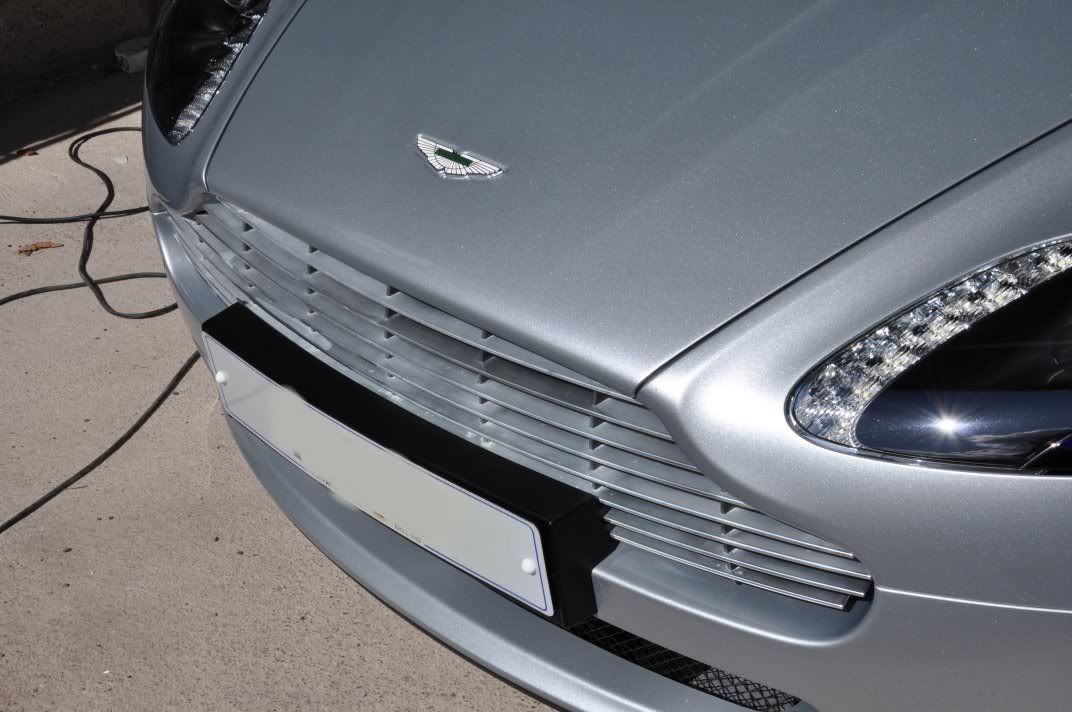
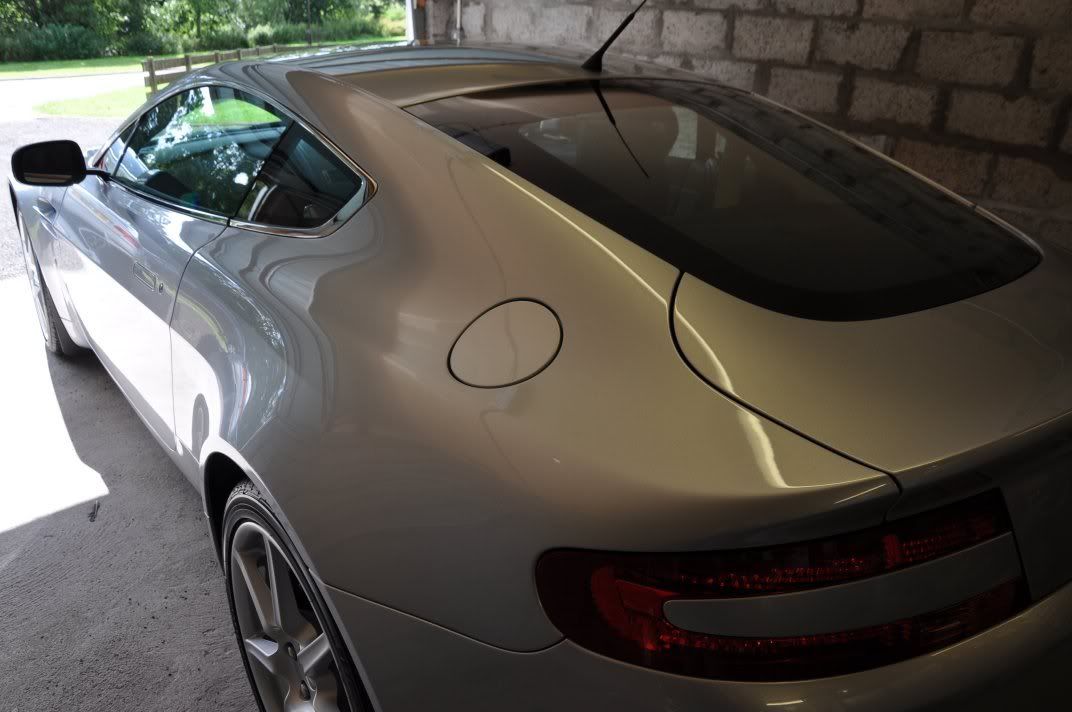
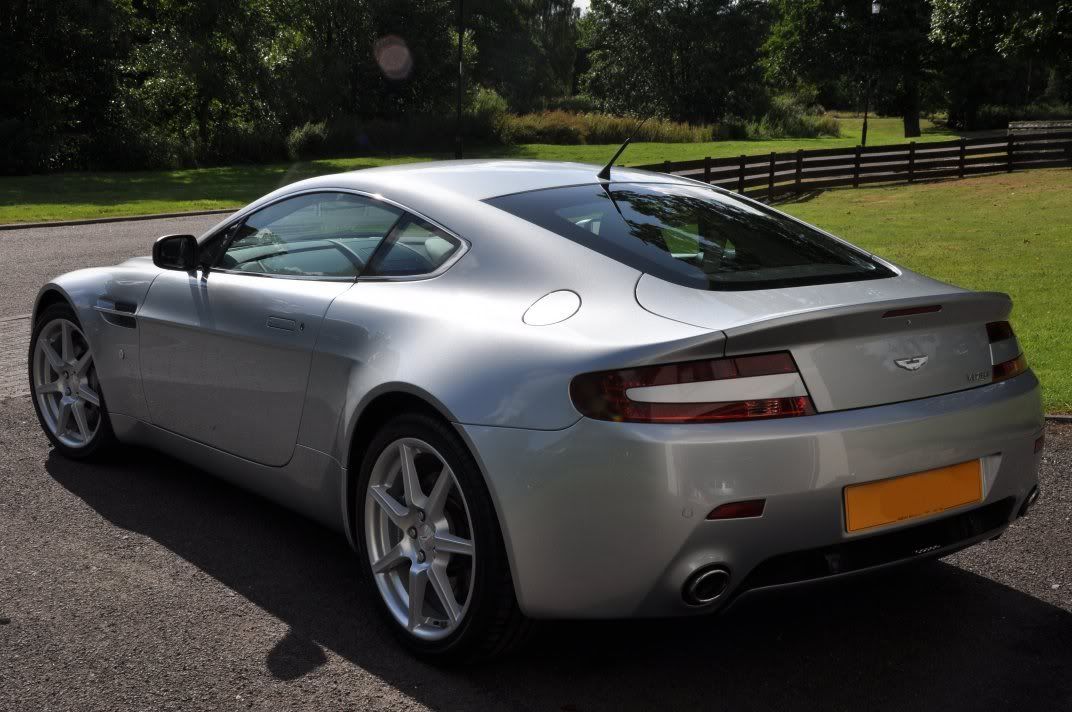
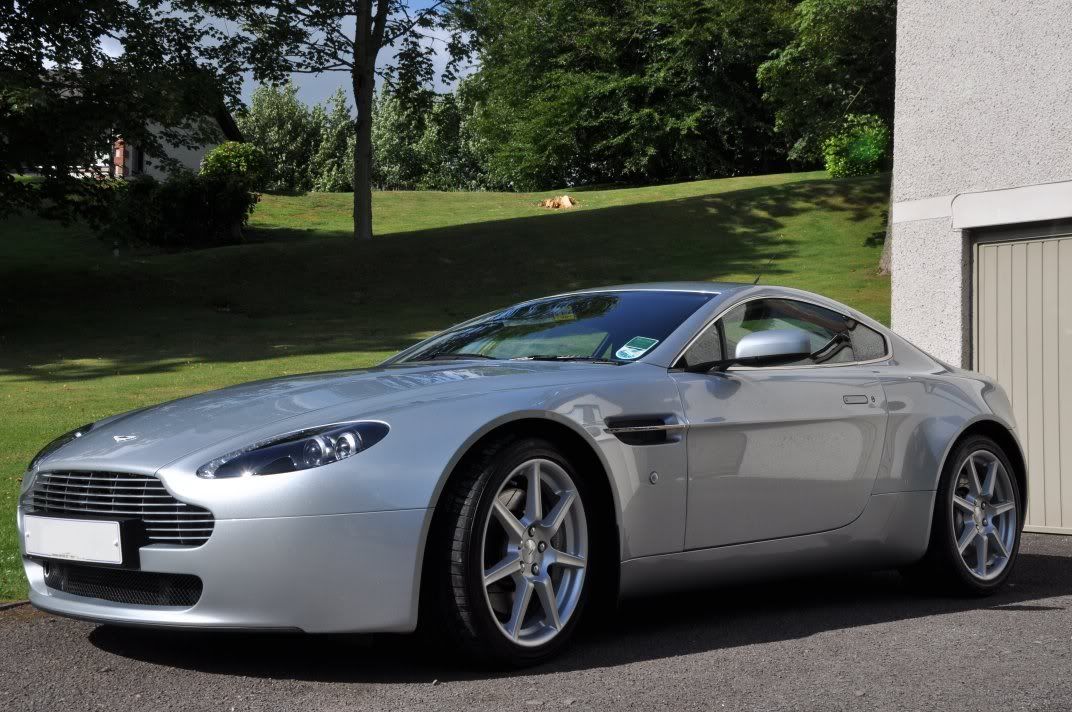
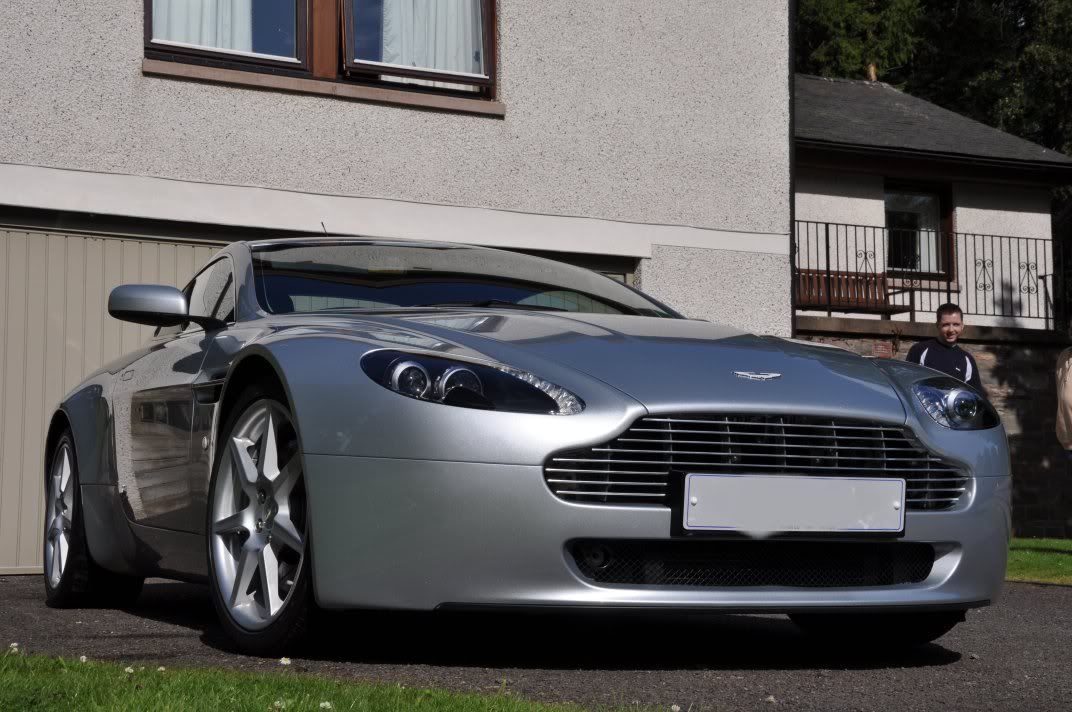
On arrival, the car was already in superb condition - a credit to its keeper, the paintwork was in excellent condition with little or no swirls, and the whole car was generally very clean and well presented as the before shots show:
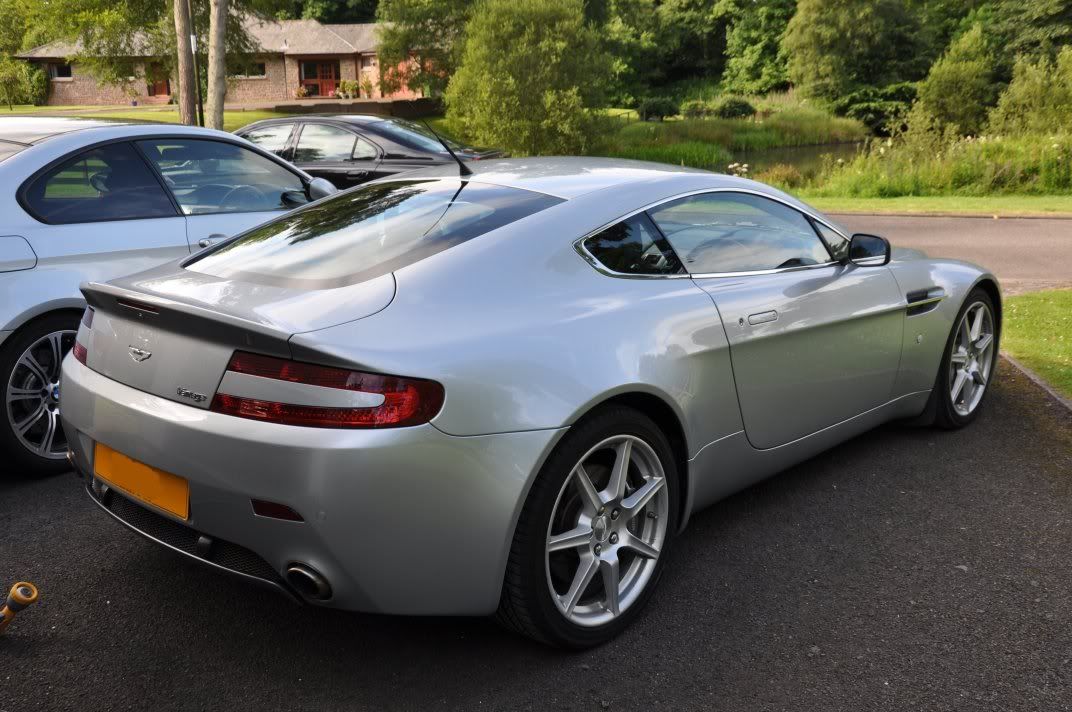

The wheels simply needed a good clean with Bilberry Wheel Cleaner, arches with Meguiars All Purpose Cleaner. The car was then washed, rinsed and dried ready for claying. The owner had already washed the car for us, so it was simply a case of making sure everthing was spotless and no dust or dirt was present on the car before the claying stage which could have inflicted deep scratches and marring.
The car was clayed with Meguiars Mirror Glaze Mild Blue clay, using Last Touch as a lubricant. Light pressure only, the clay was gently sweeped from side to side until it felt like it was running smoothly. The face of the clay showed the amount of grime being pulled out of the paintwork, especially on the lower regions where road grime and the odd remaining tar spot resided...

Whenever the face of the clay begins to look like the above, fold the clay in on itself to reveal a clean side and continue claying")
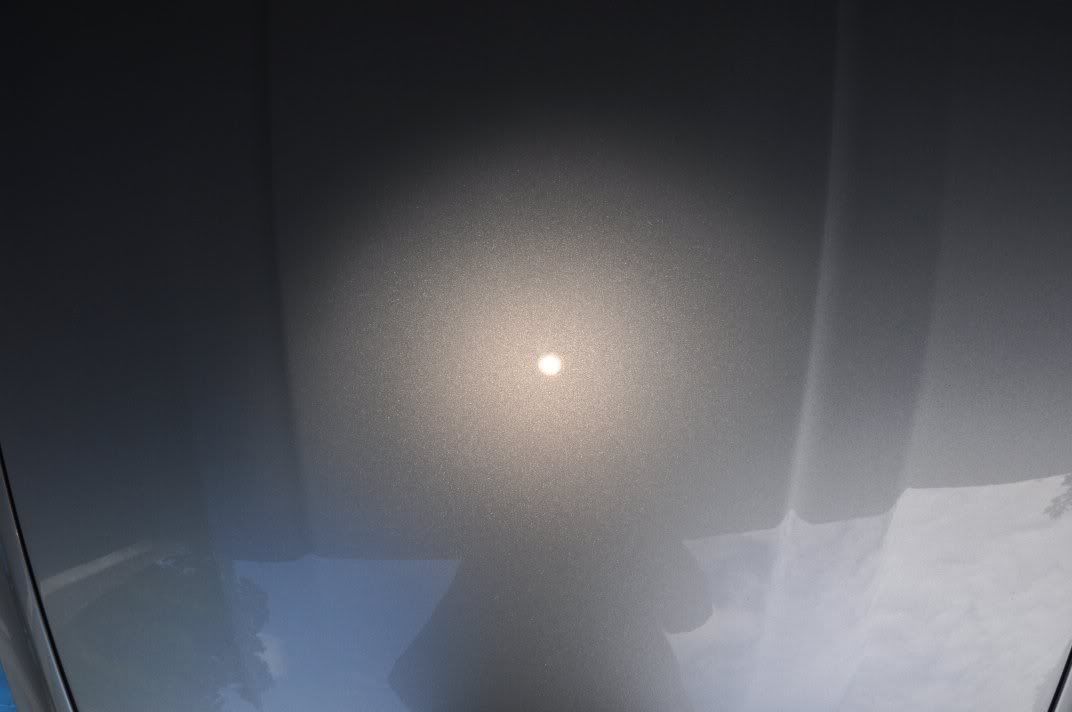
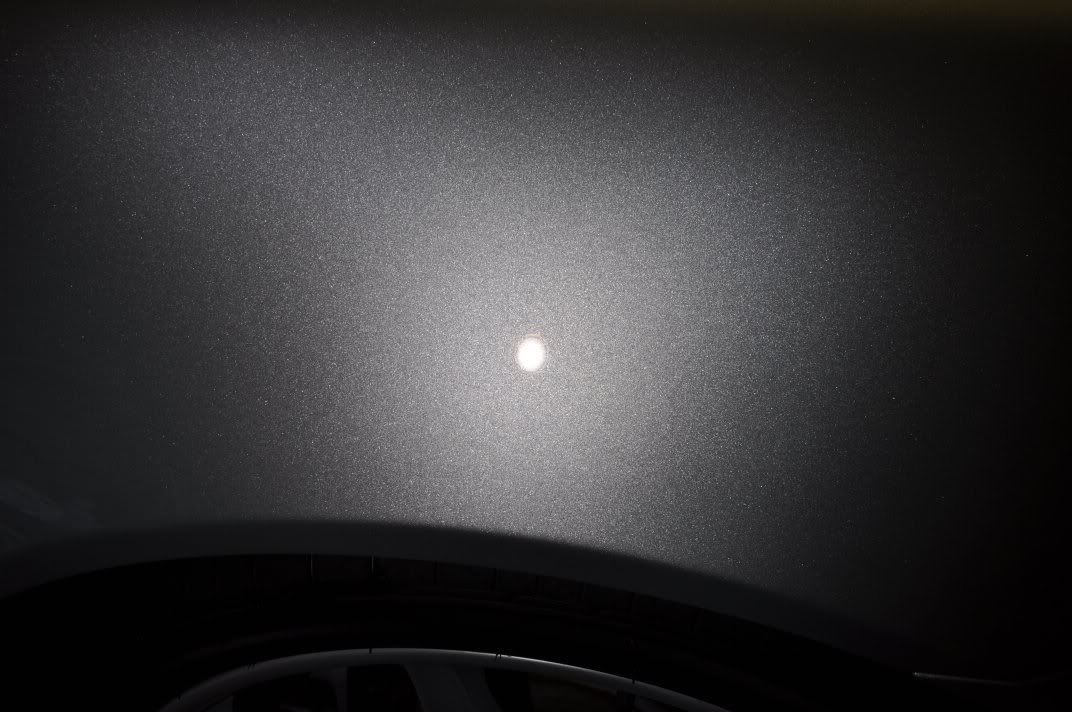
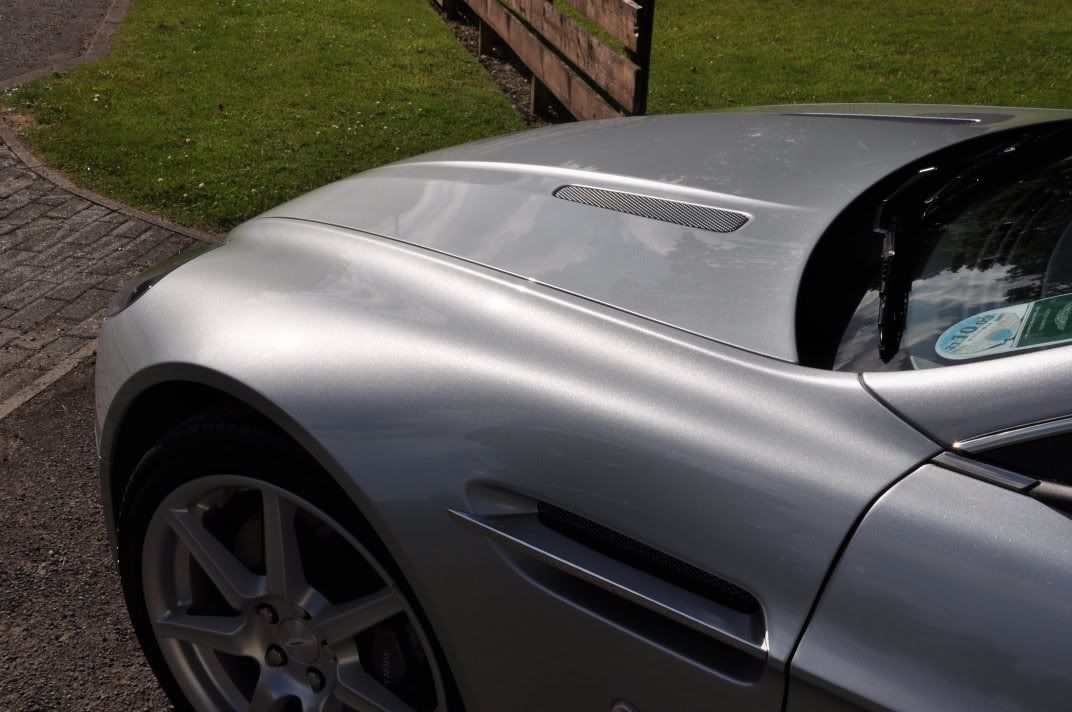
Once clayed, the car was rinsed, and dried and rolled into the garage rto examine the paint condition... as you can see from the before shots, the paintwork was already in superb condition - little or no swirls, and already a good gloss and level of clarity allowing the flake to ping:

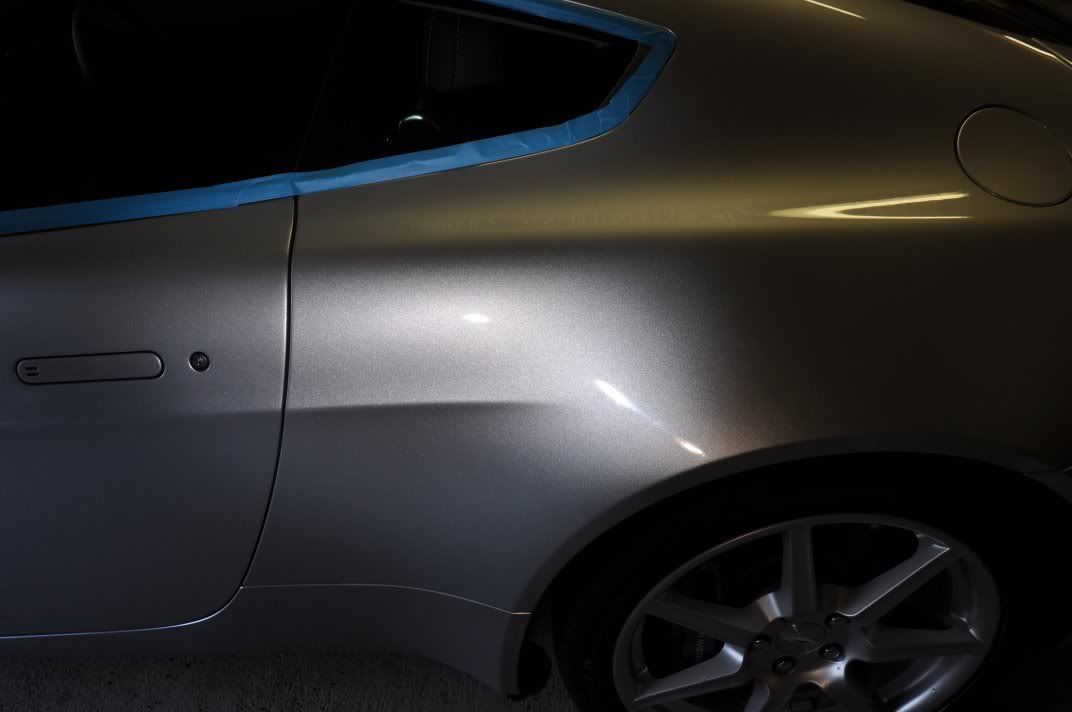

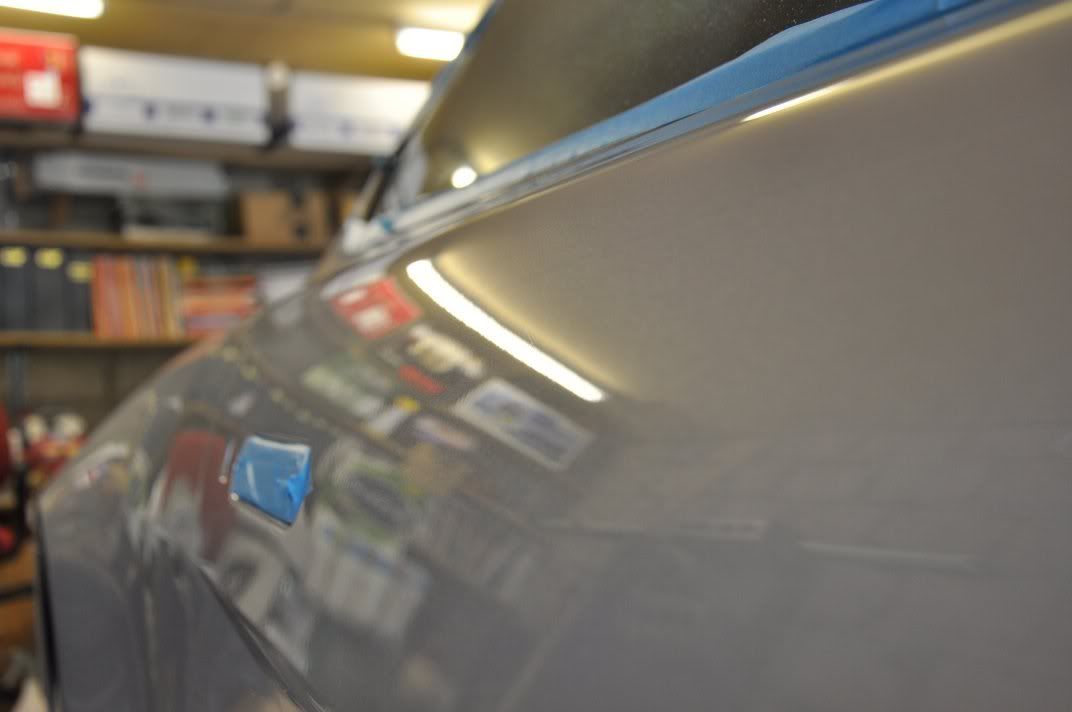
Silver can hide a multitude of sins though! Careful inspection of the paintwork using the strip lighting of the garage highlighted the odd region of deeper marks in the paintwork, like these just above the door handle region (likely nails from opening the door)...

These regions were corrected using Menzerna Intensive Polish on a Meguiars W8006 polishing pad as follows:
The corrected the marks...
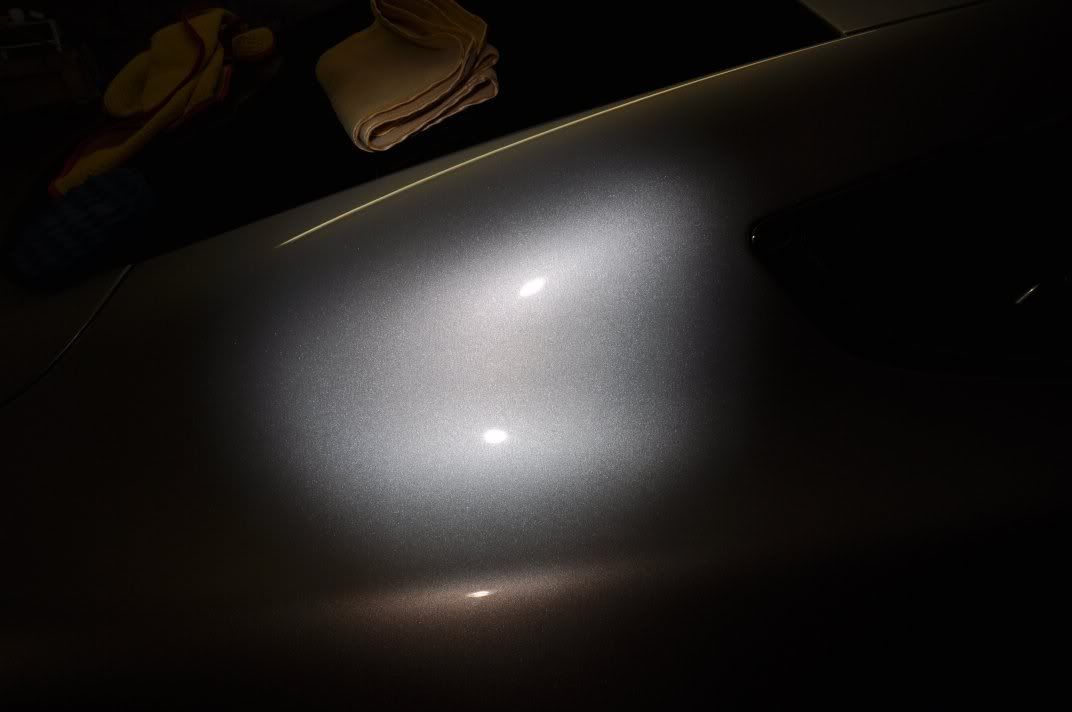
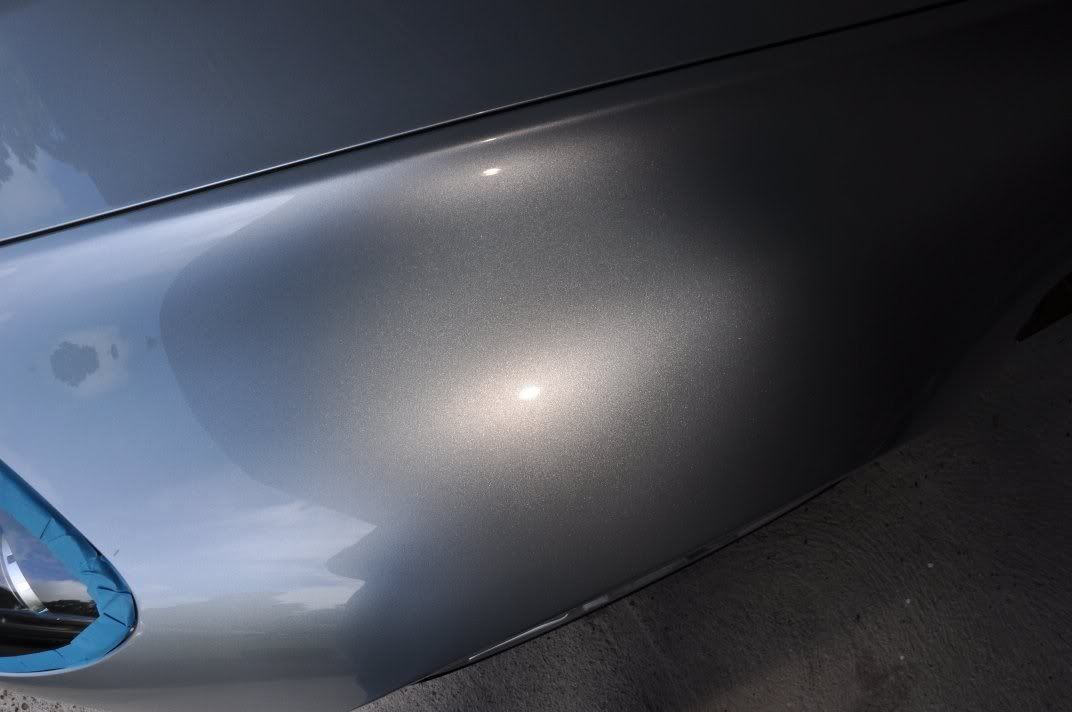
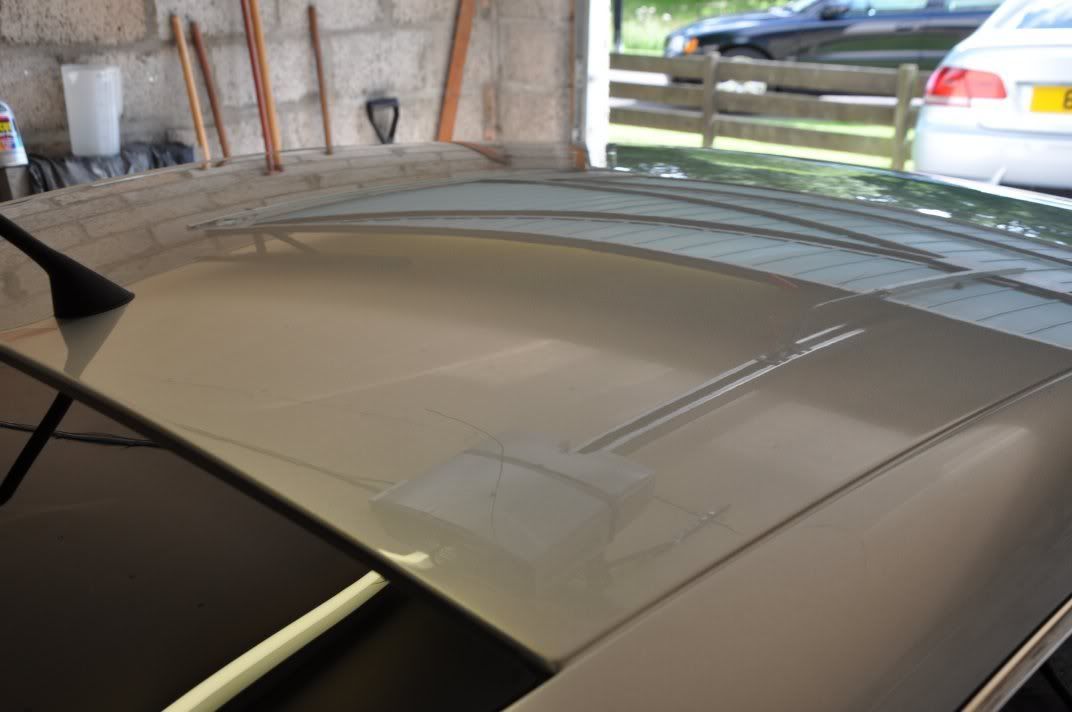
No refining was carried out at this stage, this was left for the next stage which was applied to all of the paintwork to enhance the gloss and sharpen the finish a little to allow the large flake present in the paint to ping through at its best. Meguiars #205 Ultra Finishing Polish was chosen for this stage, applied using a 3M Blue Finishing Pad with a Double Zenith technique:
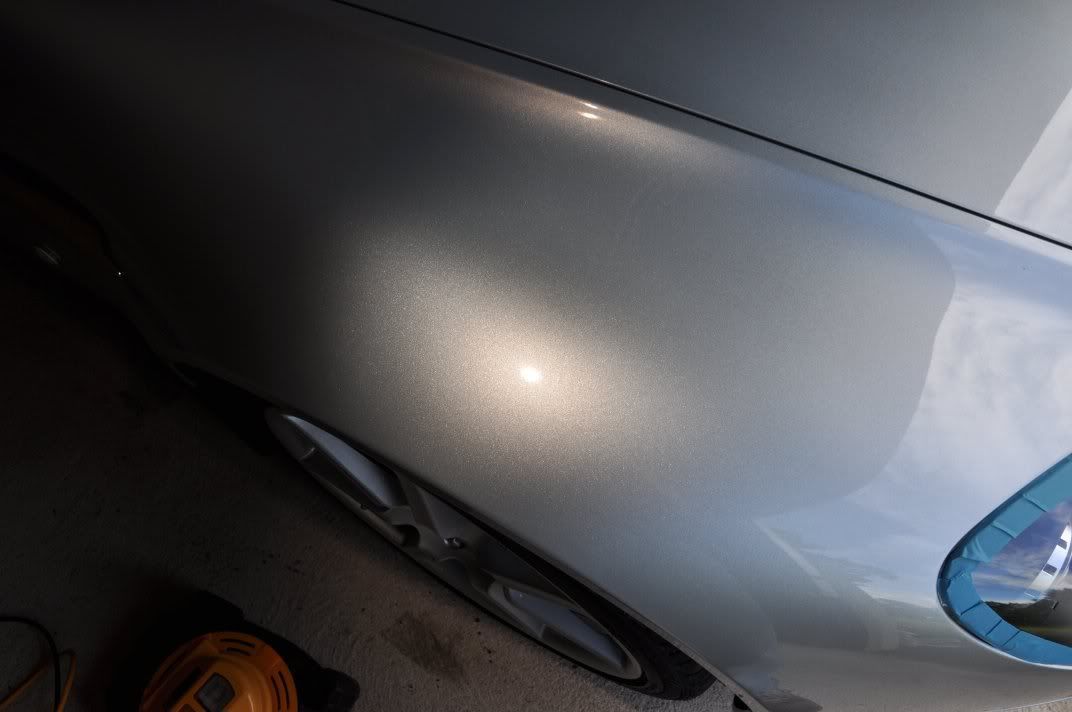
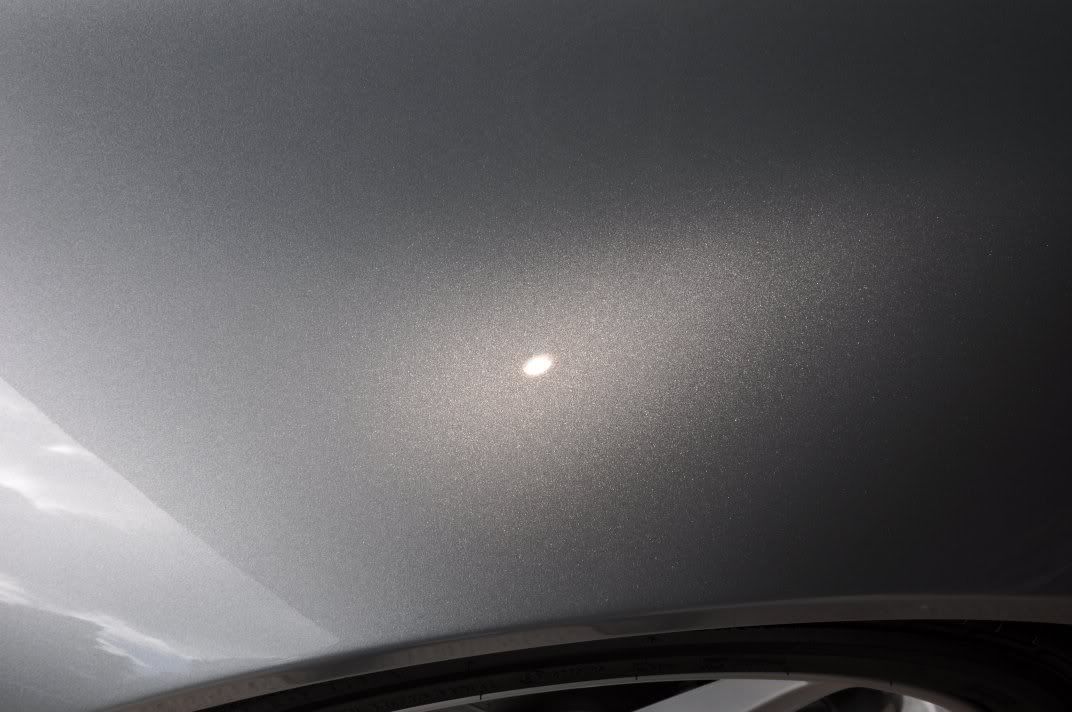
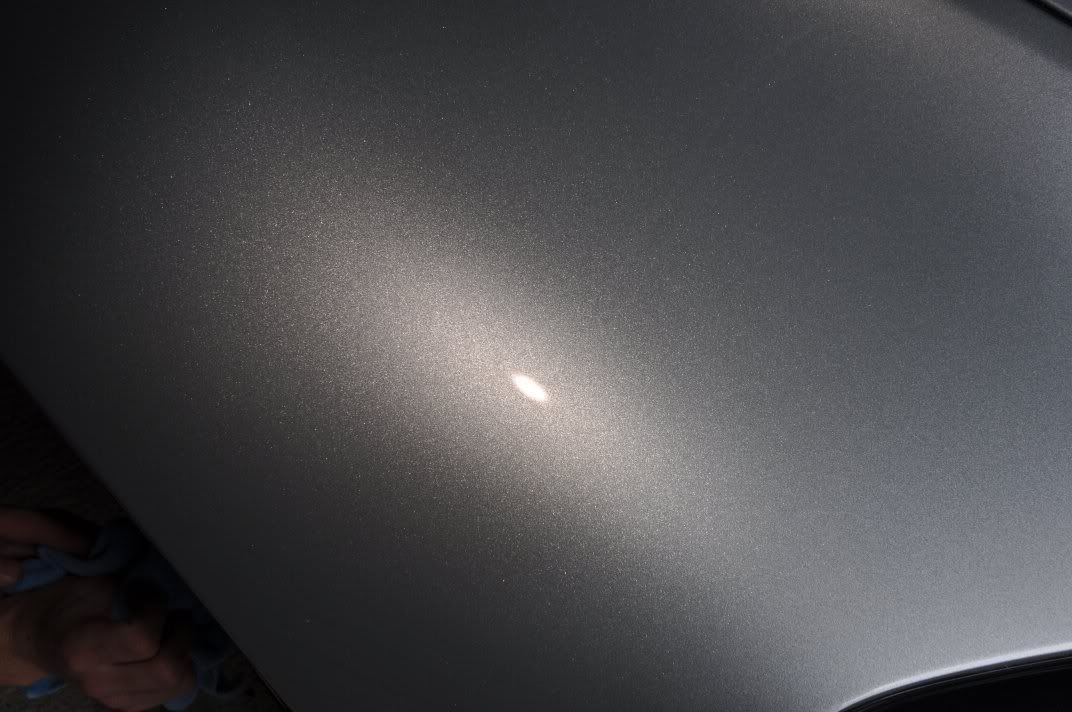
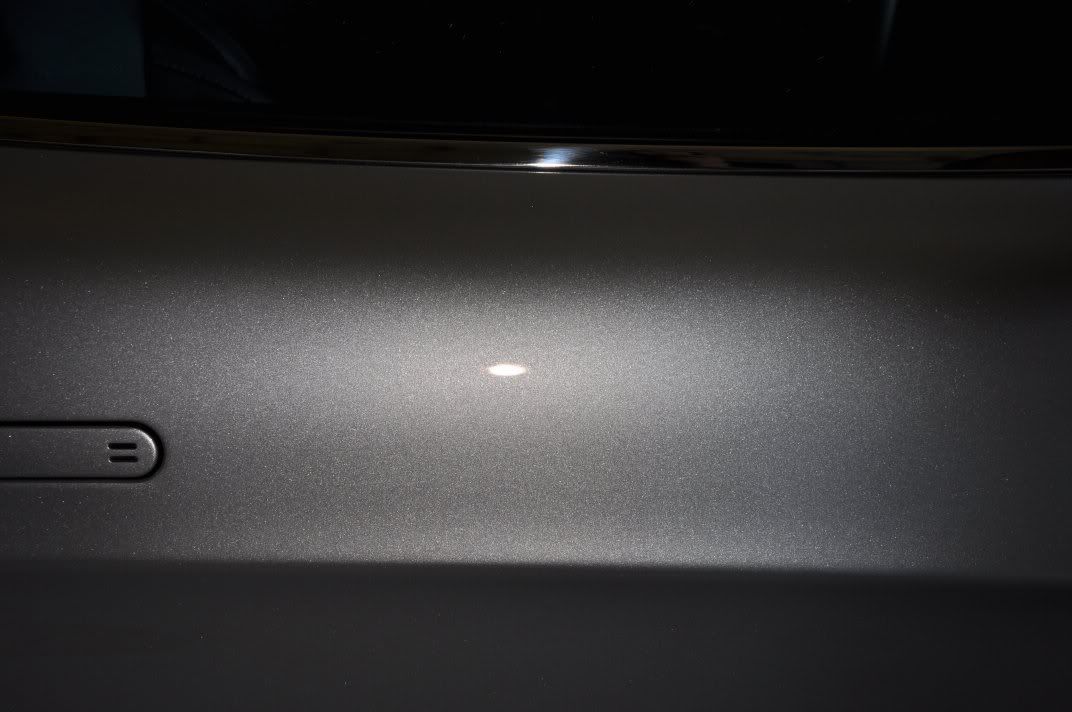
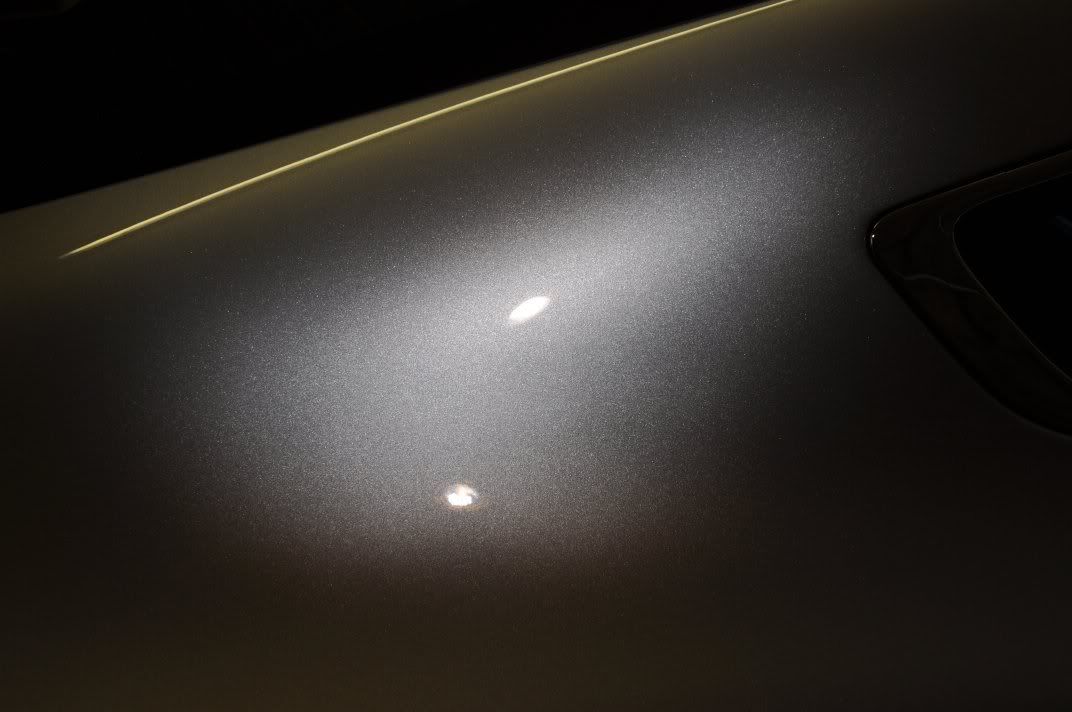
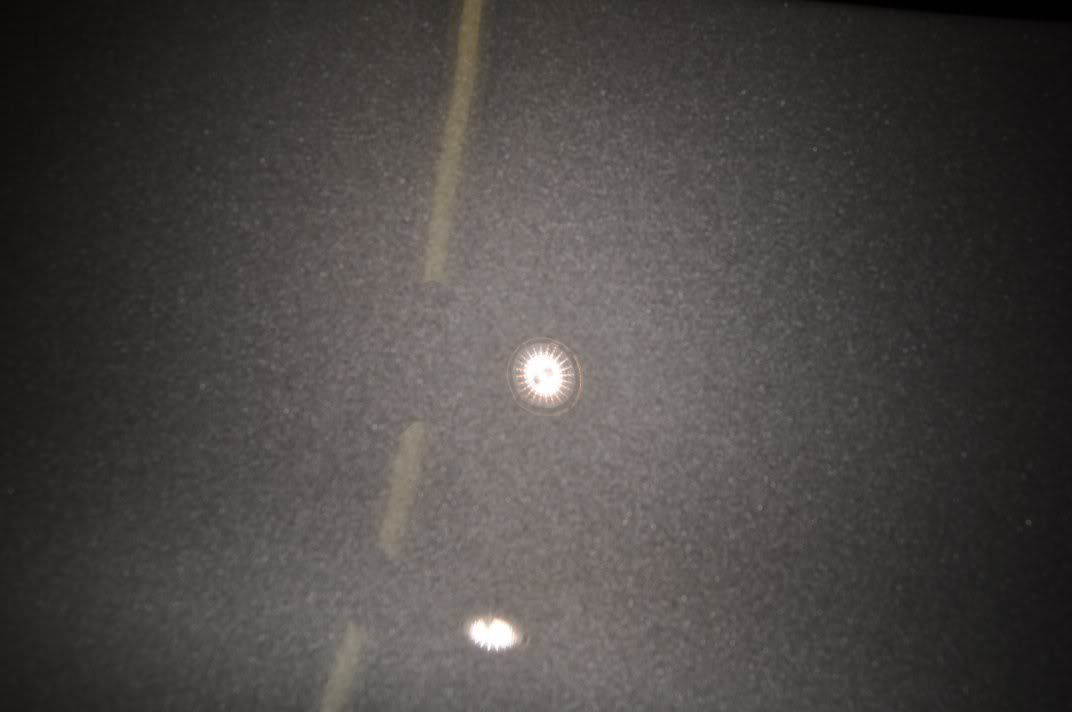
The end results of this stage of machine polishing, which in the case of this car was simply to enhance the already very good finish are shown below. The camera, set to autofocus, has focussed on the flake in the paintwork to show the clarity of the finish by the amount of flake ping present...


On arrival, the car was already in superb condition - a credit to its keeper, the paintwork was in excellent condition with little or no swirls, and the whole car was generally very clean and well presented as the before shots show:
The wheels simply needed a good clean with Bilberry Wheel Cleaner, arches with Meguiars All Purpose Cleaner. The car was then washed, rinsed and dried ready for claying. The owner had already washed the car for us, so it was simply a case of making sure everthing was spotless and no dust or dirt was present on the car before the claying stage which could have inflicted deep scratches and marring.
The car was clayed with Meguiars Mirror Glaze Mild Blue clay, using Last Touch as a lubricant. Light pressure only, the clay was gently sweeped from side to side until it felt like it was running smoothly. The face of the clay showed the amount of grime being pulled out of the paintwork, especially on the lower regions where road grime and the odd remaining tar spot resided...
Whenever the face of the clay begins to look like the above, fold the clay in on itself to reveal a clean side and continue claying
Once clayed, the car was rinsed, and dried and rolled into the garage rto examine the paint condition... as you can see from the before shots, the paintwork was already in superb condition - little or no swirls, and already a good gloss and level of clarity allowing the flake to ping:
Silver can hide a multitude of sins though! Careful inspection of the paintwork using the strip lighting of the garage highlighted the odd region of deeper marks in the paintwork, like these just above the door handle region (likely nails from opening the door)...
These regions were corrected using Menzerna Intensive Polish on a Meguiars W8006 polishing pad as follows:
- Spread at 600rpm
- Begin working at 1200rpm until residue well spread
- Work at 1800rpm with medium pressure until the residue turns clear
The corrected the marks...
No refining was carried out at this stage, this was left for the next stage which was applied to all of the paintwork to enhance the gloss and sharpen the finish a little to allow the large flake present in the paint to ping through at its best. Meguiars #205 Ultra Finishing Polish was chosen for this stage, applied using a 3M Blue Finishing Pad with a Double Zenith technique:
- Spread at 600rpm
- Begin working at 1200rpm with light pressure
- Work at 1500rpm for a couple of minutes with firm pressure
- Reduce pressure, maintaining 1500rpm, slowing machine movement speed down
- Refine at 1200rpm, supporting the weight of the rotary, slow machine movements
The end results of this stage of machine polishing, which in the case of this car was simply to enhance the already very good finish are shown below. The camera, set to autofocus, has focussed on the flake in the paintwork to show the clarity of the finish by the amount of flake ping present...


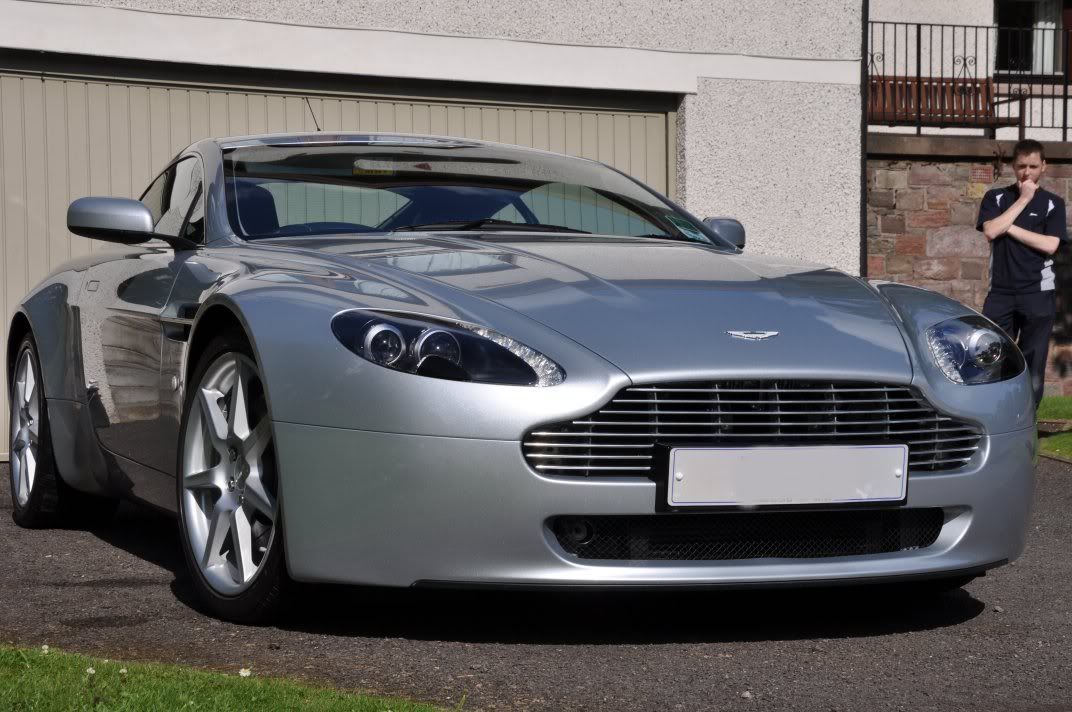

") ) on a beautiful car.
) on a beautiful car.