Hi all, I need some advise. Whats the minimum temperature that I can apply Klasse AIO followed by a Souveran topper?( I live in the cold N.E.) . Also, how long in between the AIO and the topper coats. Can the layers of Souveran be applied on the same day over each other.Thanks for the advise, as I am very new to this . deserttoy:nixweiss
Navigation
Install the app
How to install the app on iOS
Follow along with the video below to see how to install our site as a web app on your home screen.
Note: This feature may not be available in some browsers.
More options
Style variation
You are using an out of date browser. It may not display this or other websites correctly.
You should upgrade or use an alternative browser.
You should upgrade or use an alternative browser.
another impposible? Possible?
- Thread starter deserttoy
- Start date
G
Guest
Guest
I like waxing my car when it is decent out so it dry's faster but my favorite is when it gets cold at night I swear the wax job hardens to make it even better. I do not see anything wrong with applying in cold except it might take longer to dry? I love when it gets cold and the wax hardens. Just a feeling.
:bounce
:bounce
I have applied Klasse in the low 40's with no problems.
As for wax the ideal temp is around 65 degrees, but it can be done lower. But I would probably not do it if the temp is below 50. Depending on the temp I would wait a couple days between each layer of wax so that it has proper time to harden. :up
Good Luck!!
As for wax the ideal temp is around 65 degrees, but it can be done lower. But I would probably not do it if the temp is below 50. Depending on the temp I would wait a couple days between each layer of wax so that it has proper time to harden. :up
Good Luck!!
I successfully applied Meguiars Gold Class to my daily driver truck back in January when the ambient temp was about 40.
There was plenty of snow on the ground, but the sun was shining brightly. I worked IN the sun and the surface of the truck was warmer than 40.
Application and removal went smoothly and I paint-cleanered the surface before sealing.
Some of the experts might not recommend working in the sun, but I did "what I had to do." The car had lost it's bead from the last Zymol waxing in October and I had to do something.
It came out beautiful.
Super easy to see any wax residue in the sun as well.
imported_Intel486
New member
I applied Meguiars #26 on my highlander in the mid 40s with no problems. I let it dry for about two hours before buffing it off. I then waited two days before applying another coat because of time constraints. If I plan on doing multiple coats, then I wait atleast 24 hours though.
Preachers Sheets
New member
I live in Boston, MA myself and I layered on some Klasse Glaze last week (Saturday to be exact) and it was fine. I did give it an extra half hour to dry but it came off as easily as it normally does...
The important thing is the temp where you're applying the wax. The air temp is significantly different from the temp on your paint. Hence the reason a lot of waxes say not to apply in the sun - your paint will be too hot. In the winter you can use that to your advantage and warm up the paint surface and move to the shade or partial sun area to do the job.
kc's
New member
It has been quite a while since I posted....the last time I did was last year
Been too busy travelling around & we just celebrated our Grand ma 90th birthday...had a great time catching up with all my uncle & aunt...
came back from all over the world.
the moment i reach home - I did another detailing marathon 2 days 26 hours of detailing over 2 cars
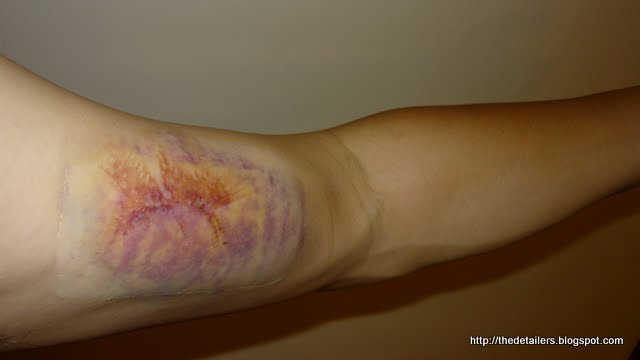
Still recovering from a fall, slipped & fell wearing a worn out crocs during washing my car. Right elbow hurts & worse i didnt let it recover
We have to take pretty much percaution, when working with a power tools or during detailing.
couple of months ago i nearly lost my right biceps...as i was caught by the pad on the spindle on my sleeves, burn a chunk of my left arm
what happen was I conducted a hands on detailing clinic for BMW car club & while having late lunch at 4pm, my buddy who got his E 90 asked me to help him to detail his ride
without considering much , I says 'yes' as Seech was coming along - and later the day i got so tired...& restless
I forgot to turn off the spindle caught, while resting on my left arm & trying to buff of the polish residues, just a few seconds - Seech was helpless
Thank God! Miracle came & after many tries the rotary went off
So this is a reminder to all of us :- be careful when working with a power tools, as this is not a toy

after a long 5 months waiting, finally i managed to slot in for my buddy to get his ride finish
Not too bad - no signs of water marks baked resurface
1st time it came in...some pictures recovered from a faulty Memory card...evidently enough t show u the stains

many has similiar experience but resorted to be repainted...
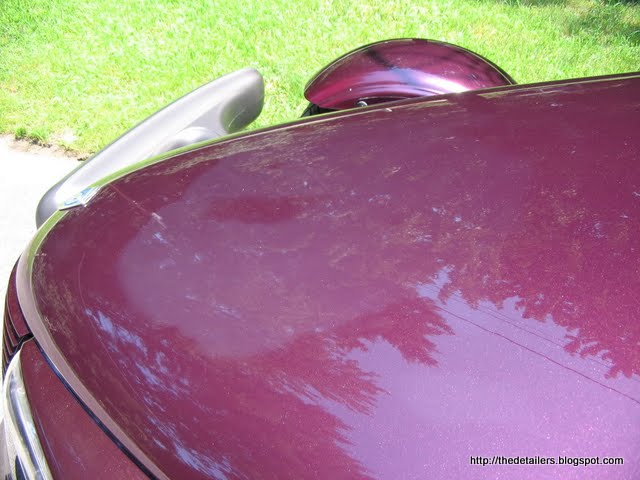
to read more at http://www.autopia.org/forum/car-covers/74895-water-damage-car-cover.html
But 'Do u still remember the story "for it takes a deaf frogs to succeed"
resulting this
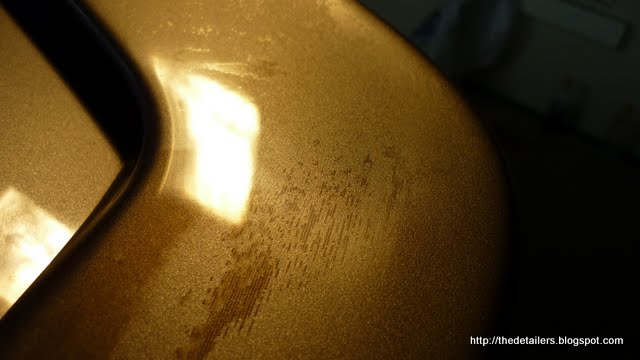
close up
more stains on the left 1/4 area
-------------------------------------------------------------------------------------------------------
the last time i was only given 4 hours to restore & this time round I was given 3 hours....
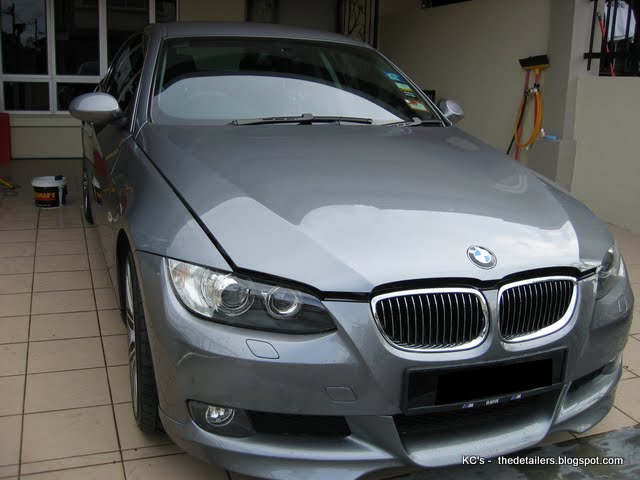
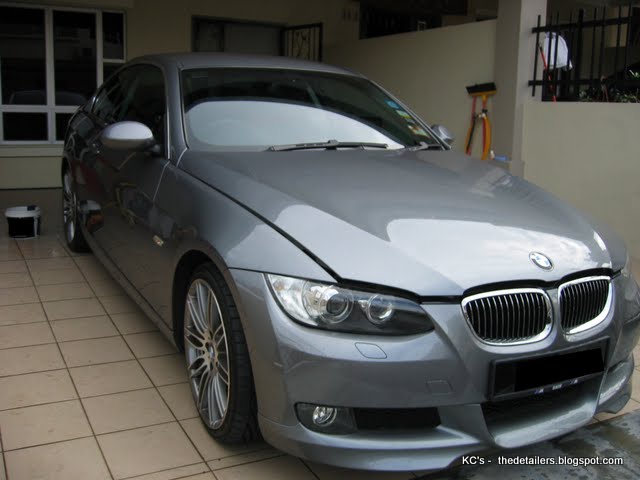
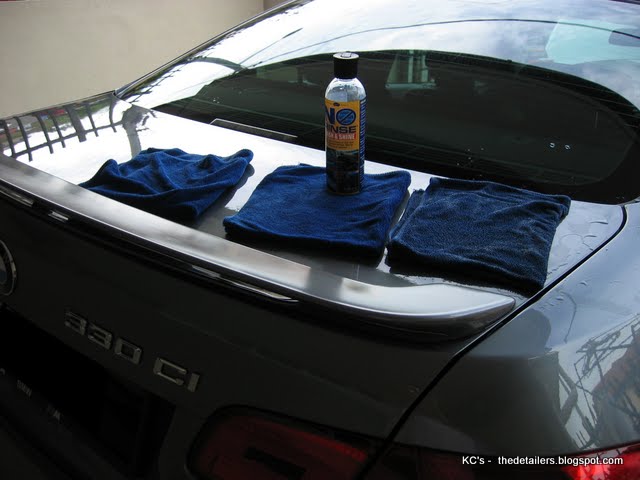
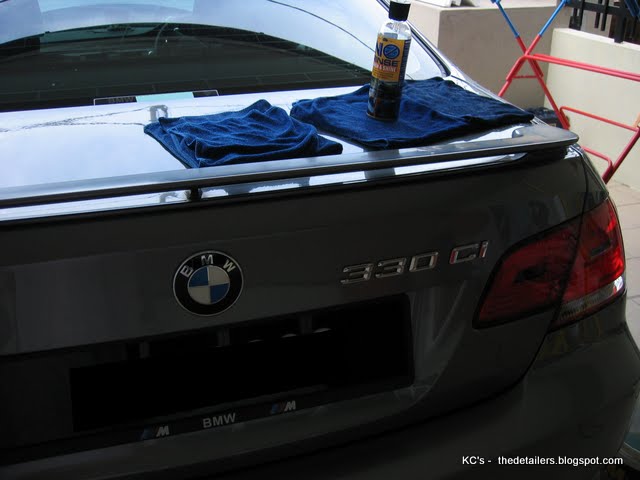
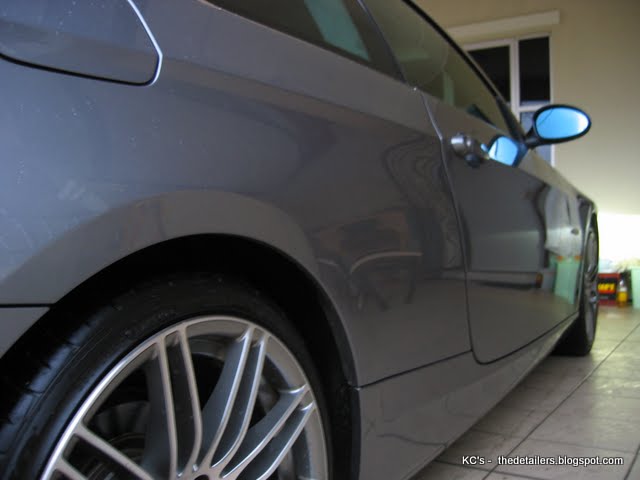
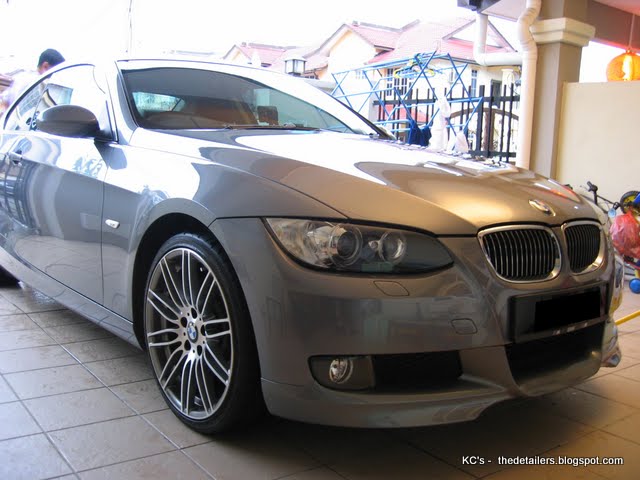
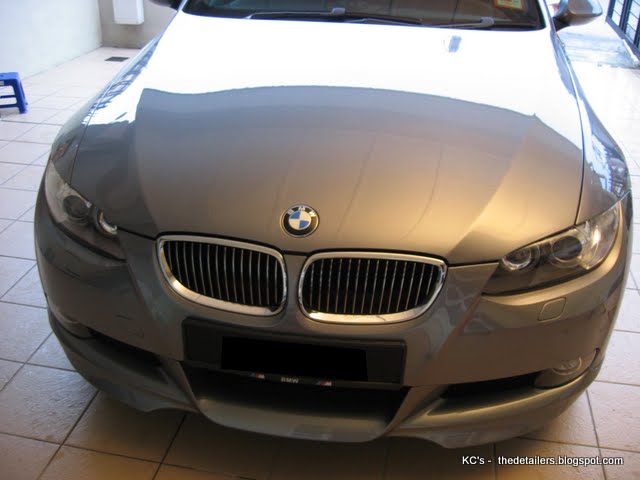
good looking coupe

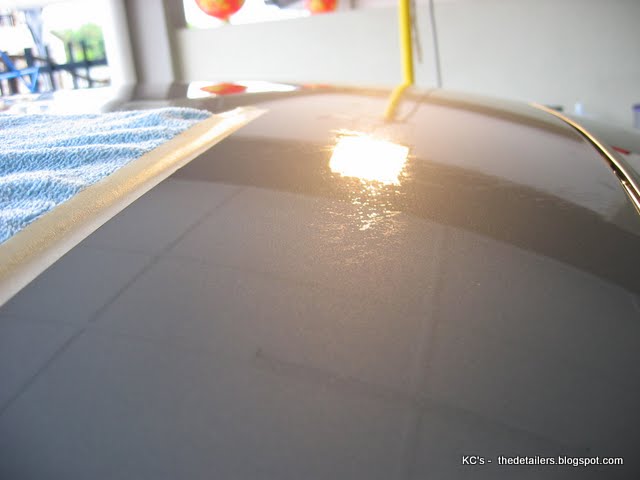
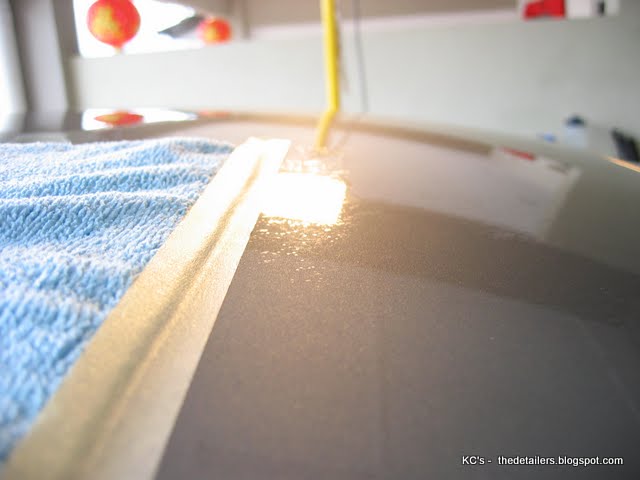
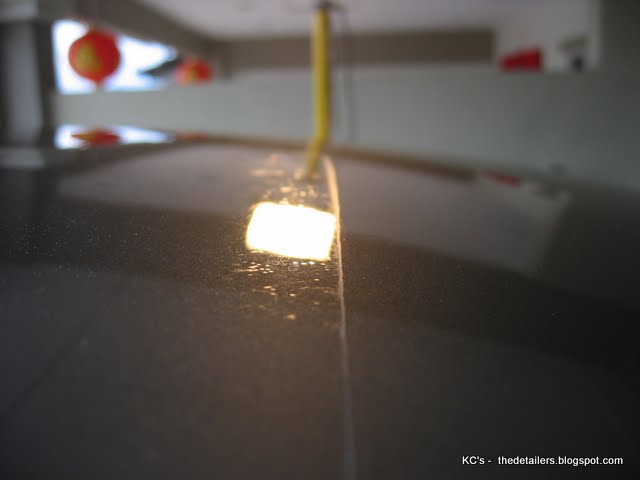
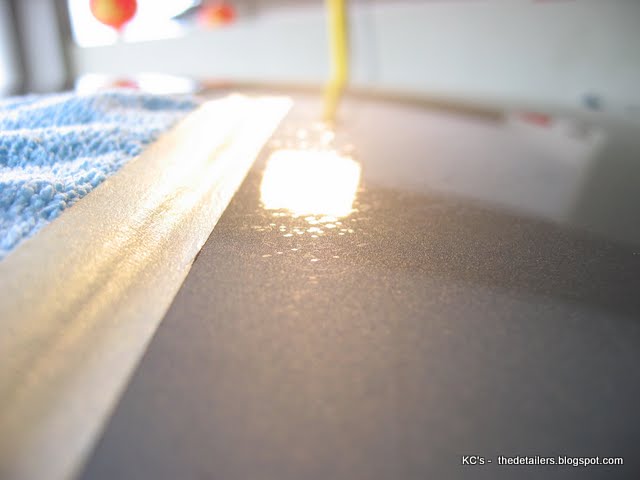
Begin to wash with ONR
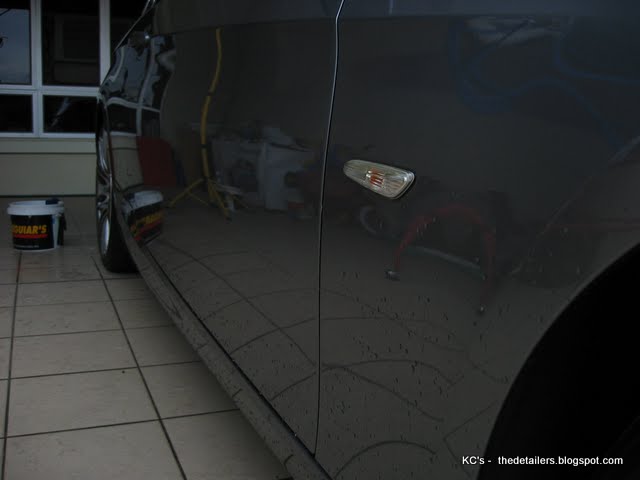
3 microfibers & 8 litres of water
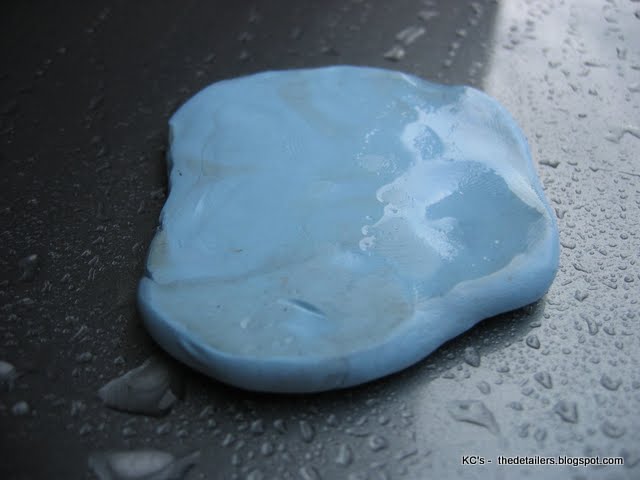
moving to clay . onr as lube (2 ounces 500 ml)
clay before
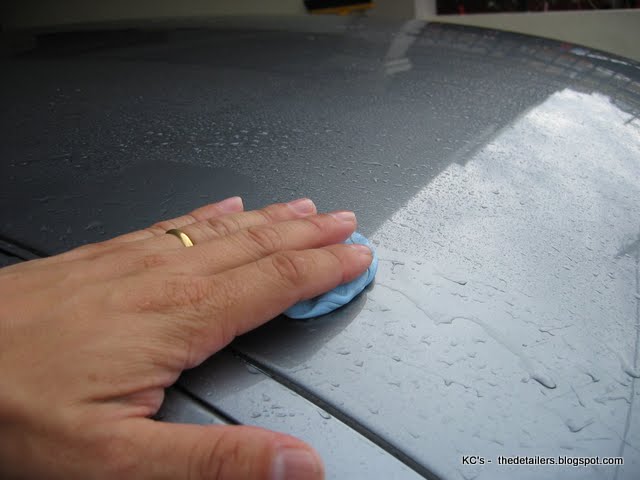
you should glide left too right, top to bottom & not forcing by pressure & circulating - to avoide swirls
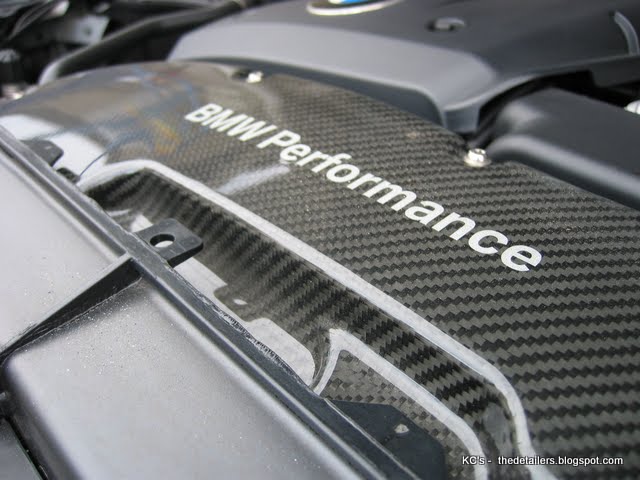
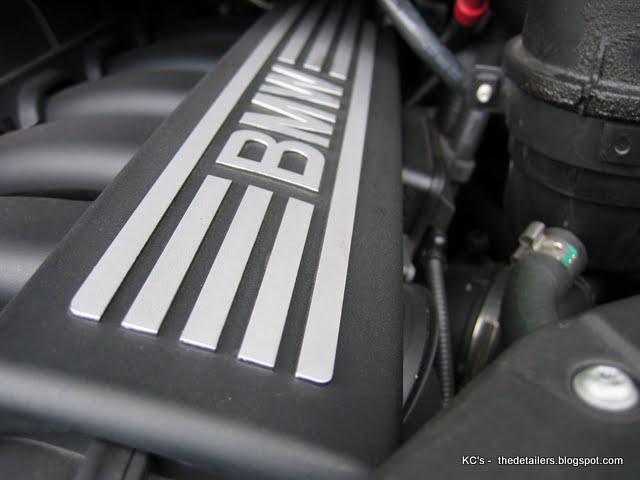
washing the engine is make possible
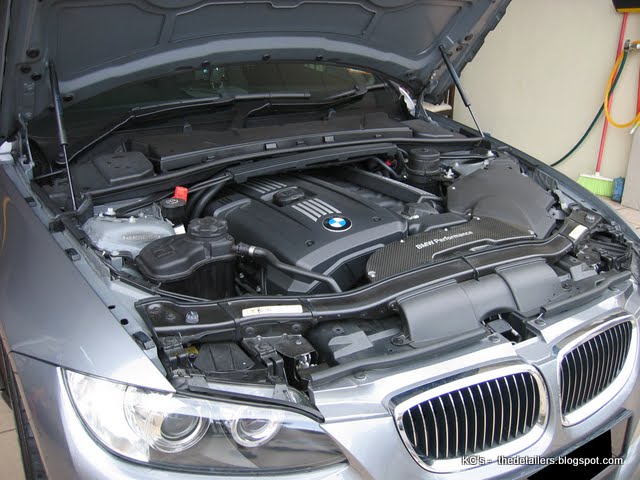
OPC to remove this grease
with ONR
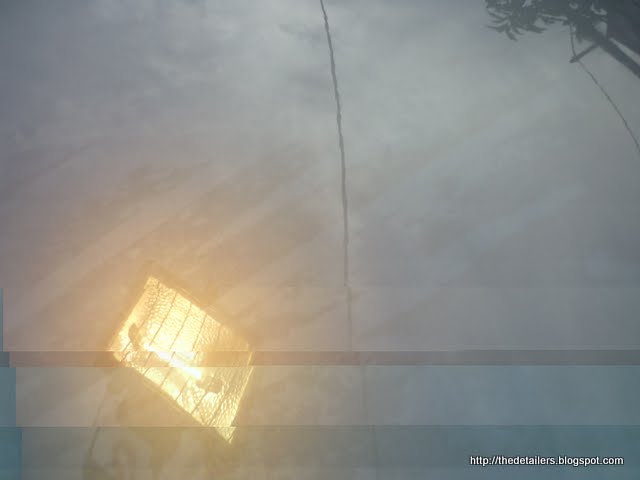
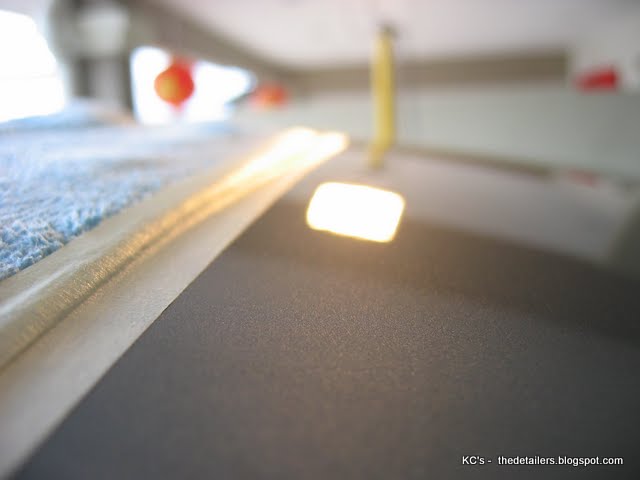
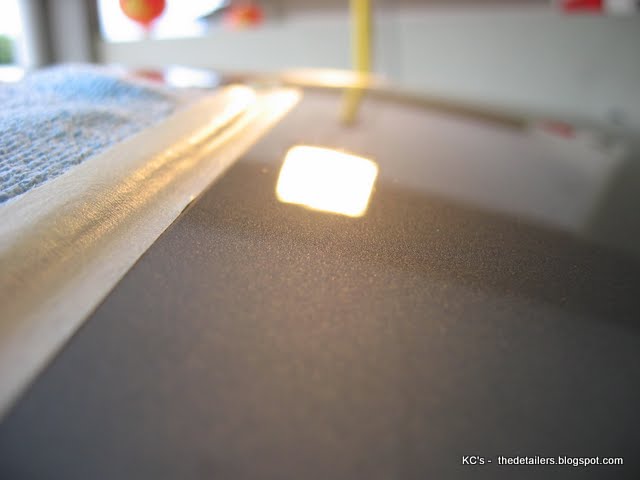
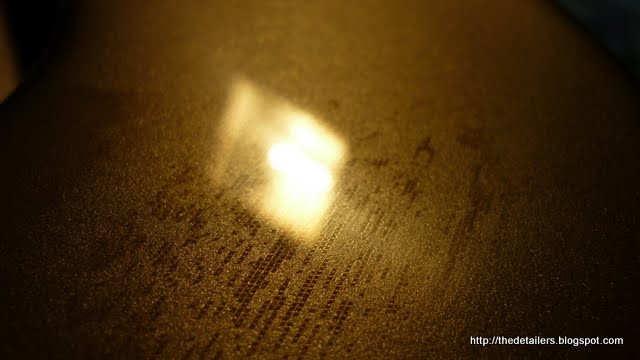
paint defect - visible

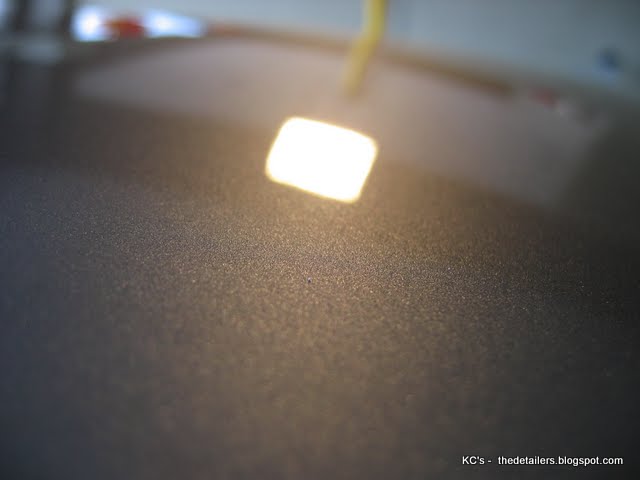
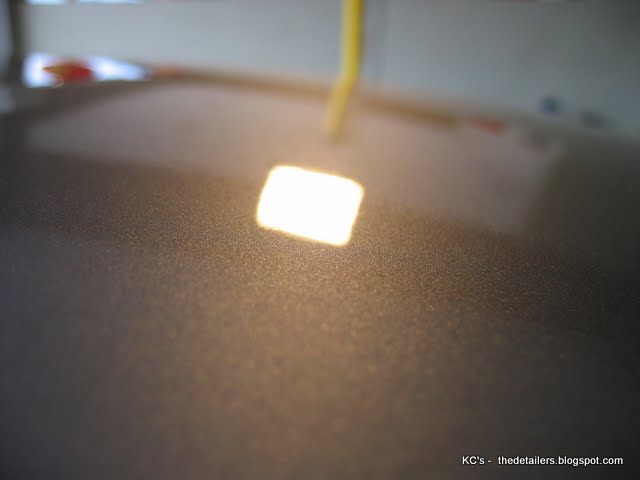
under proper light

more visible
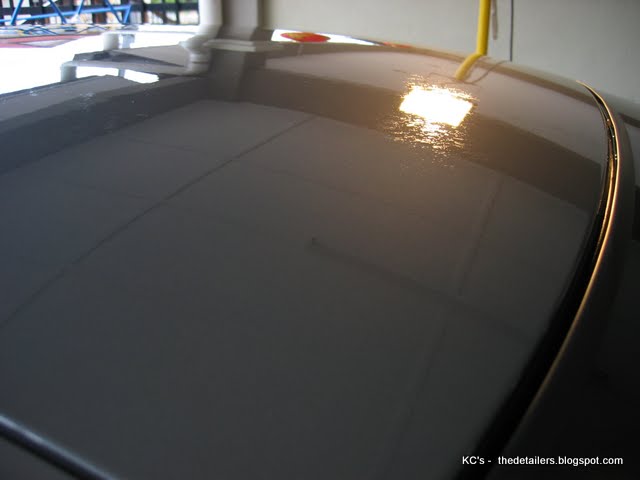
more visible
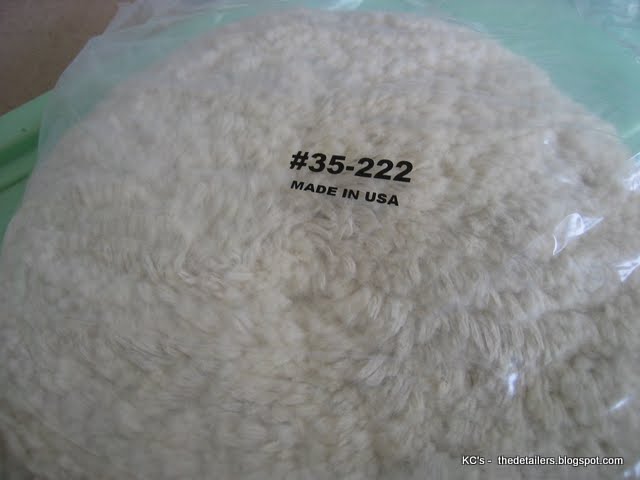
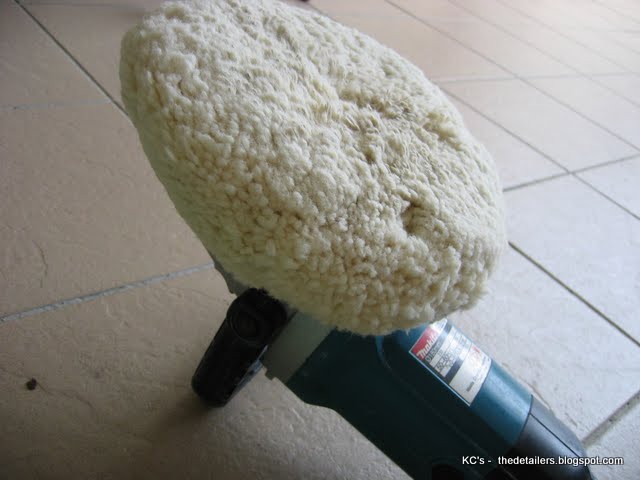
new double side - wool pad - my choice of tool - as i needed aggressive cutting o correct this severe damage
Been too busy travelling around & we just celebrated our Grand ma 90th birthday...had a great time catching up with all my uncle & aunt...
came back from all over the world.
the moment i reach home - I did another detailing marathon 2 days 26 hours of detailing over 2 cars
Still recovering from a fall, slipped & fell wearing a worn out crocs during washing my car. Right elbow hurts & worse i didnt let it recover
We have to take pretty much percaution, when working with a power tools or during detailing.
couple of months ago i nearly lost my right biceps...as i was caught by the pad on the spindle on my sleeves, burn a chunk of my left arm
what happen was I conducted a hands on detailing clinic for BMW car club & while having late lunch at 4pm, my buddy who got his E 90 asked me to help him to detail his ride
without considering much , I says 'yes' as Seech was coming along - and later the day i got so tired...& restless
I forgot to turn off the spindle caught, while resting on my left arm & trying to buff of the polish residues, just a few seconds - Seech was helpless
Thank God! Miracle came & after many tries the rotary went off
So this is a reminder to all of us :- be careful when working with a power tools, as this is not a toy
after a long 5 months waiting, finally i managed to slot in for my buddy to get his ride finish
Not too bad - no signs of water marks baked resurface
1st time it came in...some pictures recovered from a faulty Memory card...evidently enough t show u the stains
many has similiar experience but resorted to be repainted...
to read more at http://www.autopia.org/forum/car-covers/74895-water-damage-car-cover.html
But 'Do u still remember the story "for it takes a deaf frogs to succeed"
resulting this
close up
more stains on the left 1/4 area
-------------------------------------------------------------------------------------------------------
the last time i was only given 4 hours to restore & this time round I was given 3 hours....
good looking coupe
Begin to wash with ONR
3 microfibers & 8 litres of water
moving to clay . onr as lube (2 ounces 500 ml)
clay before
you should glide left too right, top to bottom & not forcing by pressure & circulating - to avoide swirls
washing the engine is make possible
OPC to remove this grease
with ONR
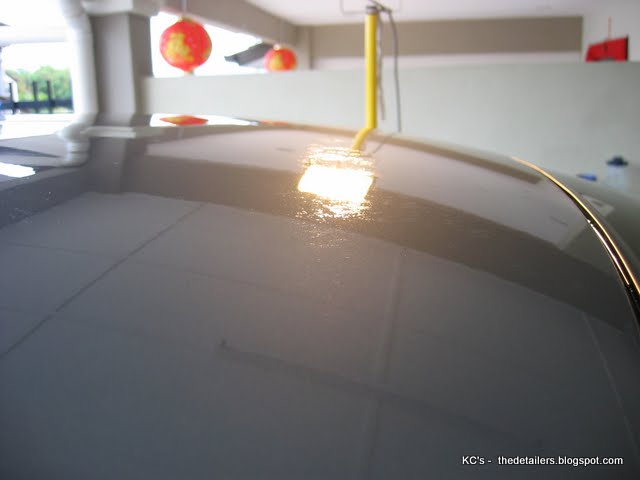
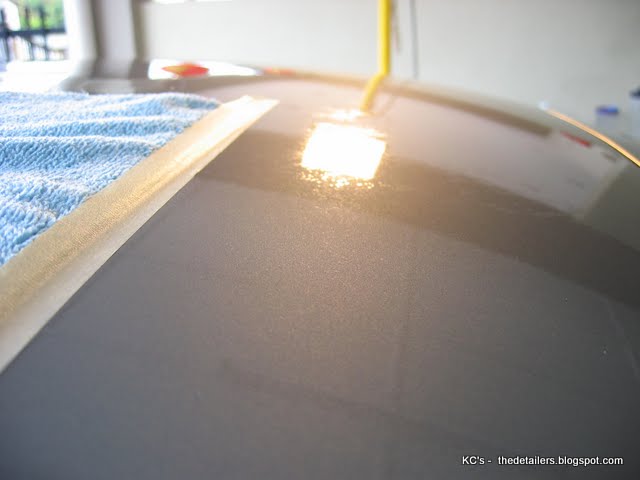
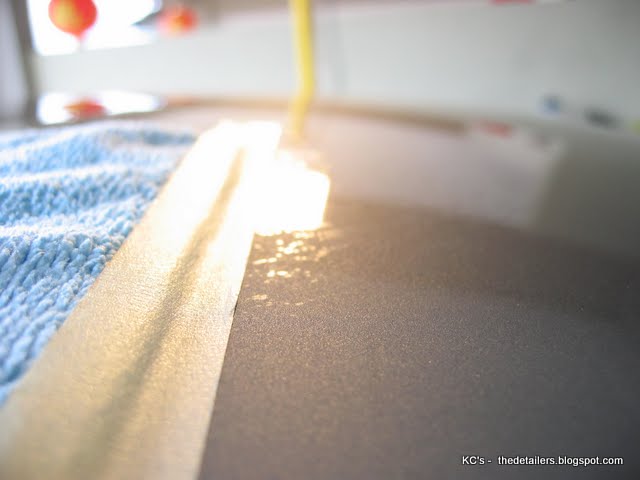
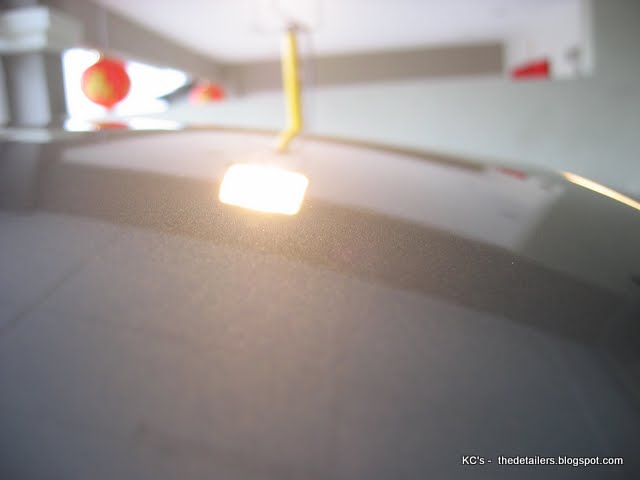
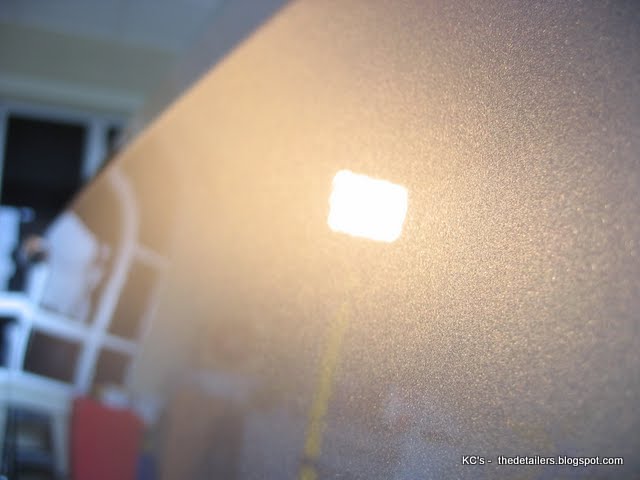
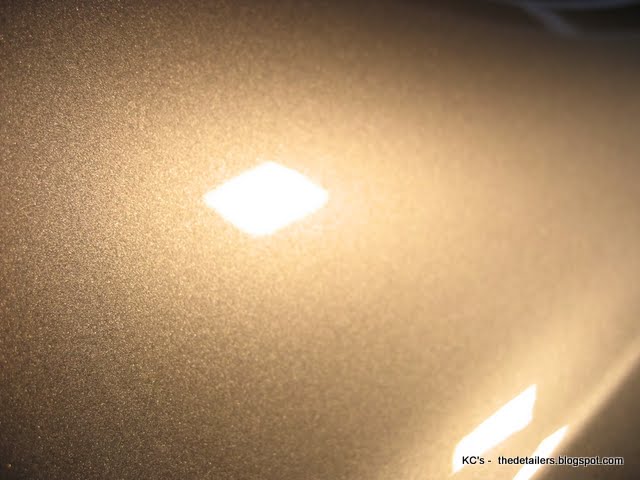
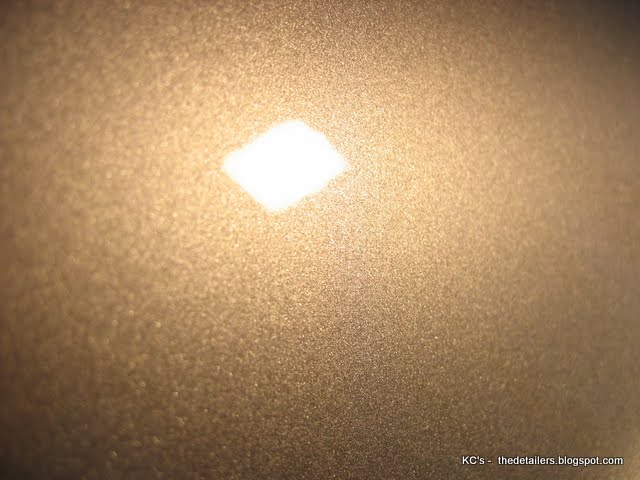
paint defect - visible
under proper light
more visible
more visible
new double side - wool pad - my choice of tool - as i needed aggressive cutting o correct this severe damage
kc's
New member
good thing about this - u can flip side
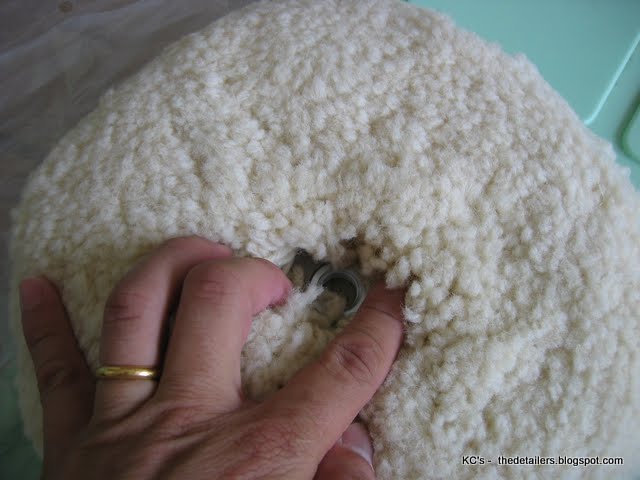
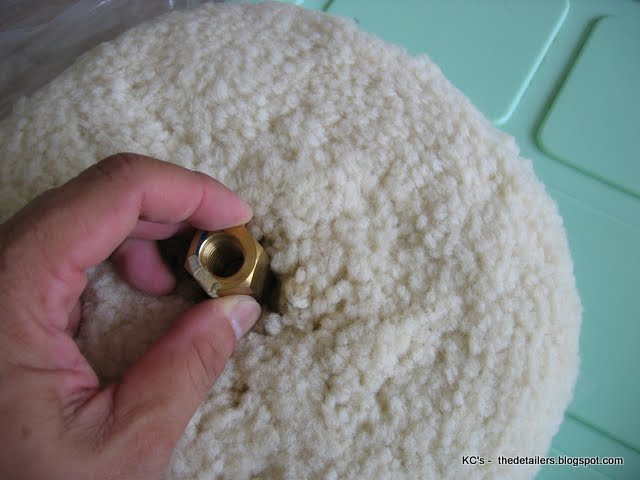
inserting the thread adapter / extension
Menu to rescue this ride
ONR wash
Clay with ONR as lube
Wash again with ONR
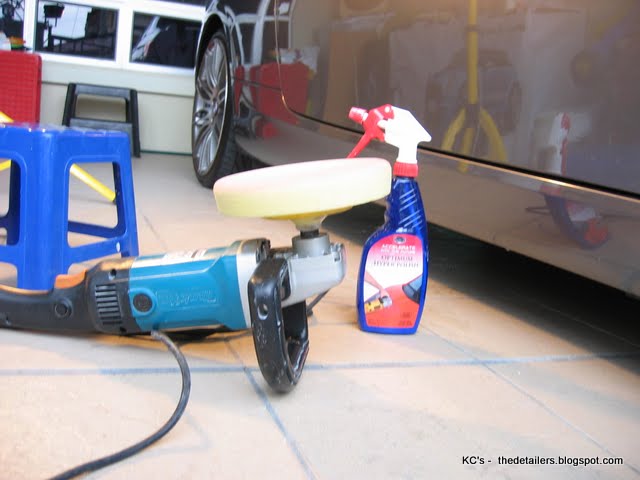
Paint correction by Meguiars M #105 as it is aggressive with LC double side wool - One machine finish - Makita 9227
with Rotary spread at speed 1 - work at speed 3 , mover on to another section before continue the last section -
cool of period
step down with Optimum Hyper spray polish with megs - soft buff
ONR wash
last 15 minutes- protection
Opti seal - sealed
Optimum car wax - to protect
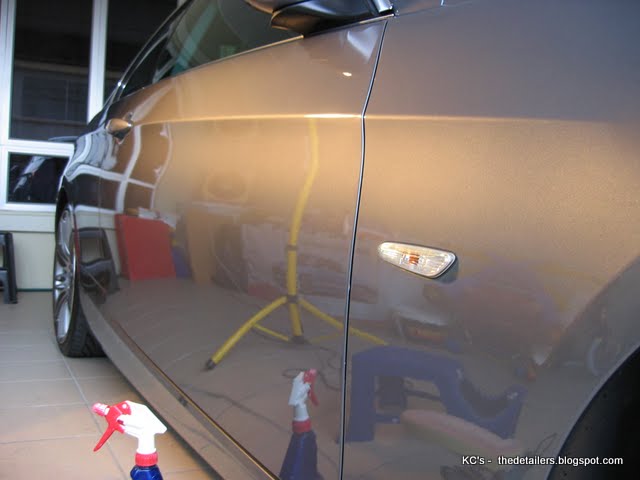
ta da - off we go
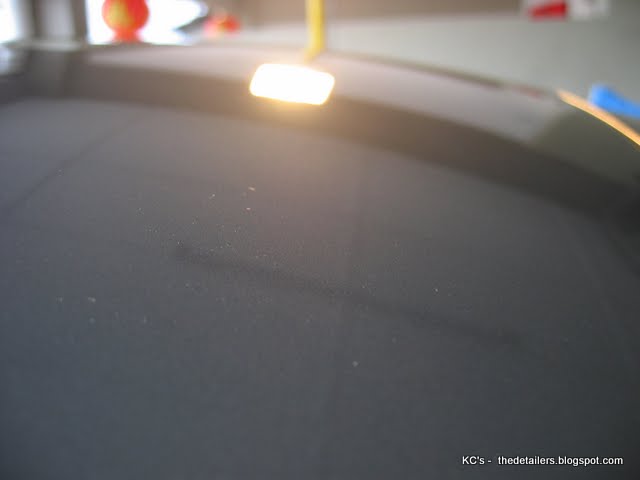
area mark - 50/50%
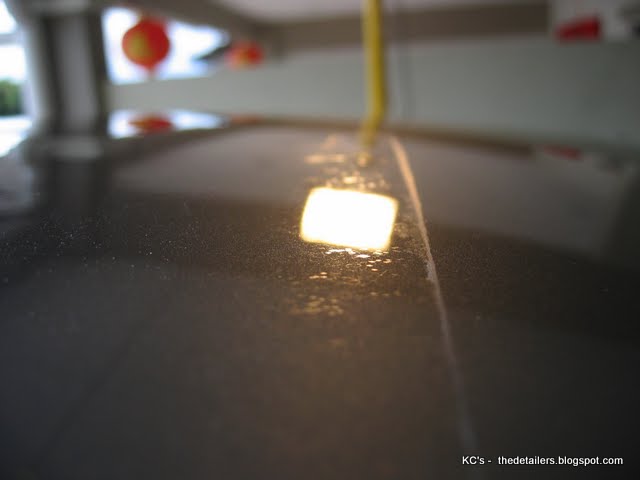
just to show u ...as the whole hood is cover with the damage, under proper lighting - it surfaced
" i remembered clearly - When Matt Davis 'Megs' in one of his training, he says "chances if u cant see it, you wouldnt be able to correct it"
the second thing he mention "If i am not passionate of today lesson, i will go partying yesterday night, for it takes PASSION & commitment"
different angle but same issue
after multipler of tries.....passes....as i was fighting against time & rushing might endanger the clear coat failure
ta da

before
ta da

Ladies & gentleman
---------------------------------------------------------------------------------
Before

mark 50/50 area
after
before
after

rear fender
before

after
__________________________________________________________________________________
ta da
remember before
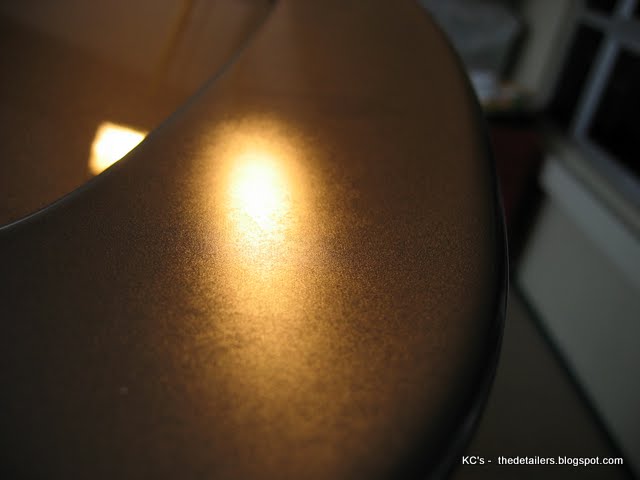
visible under proper lightings
ta da
ta da
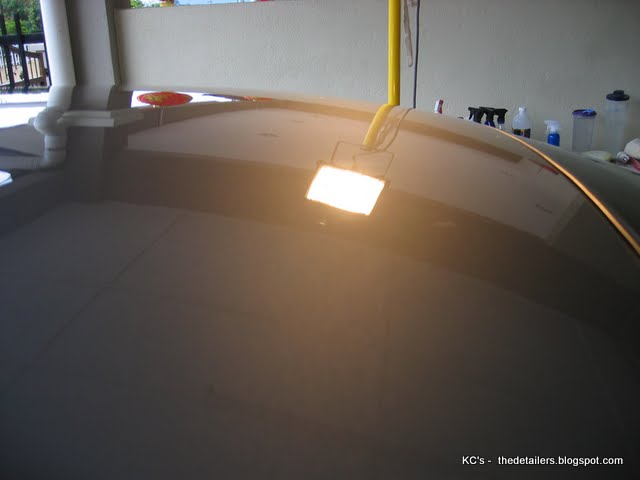
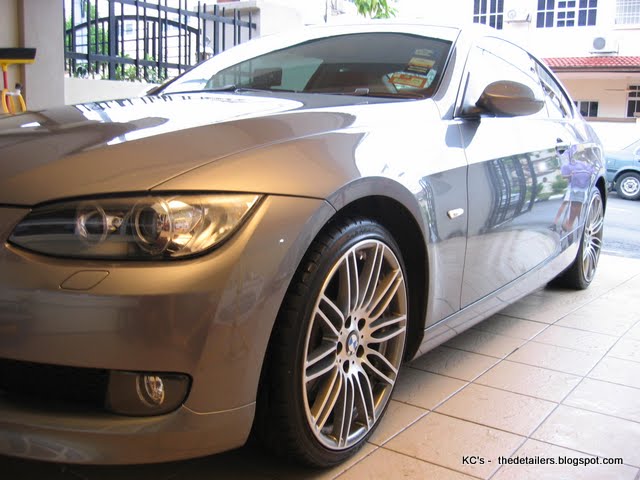
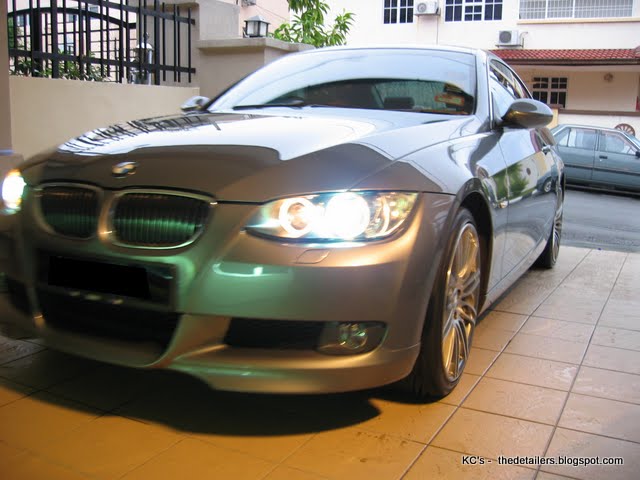
finishing pics
before
after

to finish off with OHSP & Megs soft buff
admiring the details & reflection
close up
______________________________________
inserting the thread adapter / extension
Menu to rescue this ride
ONR wash
Clay with ONR as lube
Wash again with ONR
Paint correction by Meguiars M #105 as it is aggressive with LC double side wool - One machine finish - Makita 9227
with Rotary spread at speed 1 - work at speed 3 , mover on to another section before continue the last section -
cool of period
step down with Optimum Hyper spray polish with megs - soft buff
ONR wash
last 15 minutes- protection
Opti seal - sealed
Optimum car wax - to protect
ta da - off we go
area mark - 50/50%
just to show u ...as the whole hood is cover with the damage, under proper lighting - it surfaced
" i remembered clearly - When Matt Davis 'Megs' in one of his training, he says "chances if u cant see it, you wouldnt be able to correct it"
the second thing he mention "If i am not passionate of today lesson, i will go partying yesterday night, for it takes PASSION & commitment"
different angle but same issue
after multipler of tries.....passes....as i was fighting against time & rushing might endanger the clear coat failure
ta da
before
ta da
Ladies & gentleman
---------------------------------------------------------------------------------
Before
mark 50/50 area
after
before
after
rear fender
before
after
__________________________________________________________________________________
ta da
remember before
visible under proper lightings
ta da
ta da
finishing pics
before
after
to finish off with OHSP & Megs soft buff
admiring the details & reflection
close up
______________________________________
kc's
New member
moving on the rear left 1/4 quater
before
after

close up
extreme close up
about time to go
some finishing pics

marco looking babe


more

a few more
ta ta pics


rememeber before
now
for once it was lost & hurt
but now is found
t a t a
thanks for viewing yet another of my detailing adventure

its time to say Bye

before
after
close up
extreme close up
about time to go
some finishing pics
marco looking babe
more
a few more
ta ta pics
rememeber before
now
for once it was lost & hurt
but now is found
t a t a
thanks for viewing yet another of my detailing adventure
its time to say Bye
bmw5541
New member
Great work as always KC.
Please be careful. Your arm looks nasty. I hope you are on the road to recovery!
Please be careful. Your arm looks nasty. I hope you are on the road to recovery!
imported_scrubs147
New member
It is so easy to get hurt on the job, and it's usually because we need to slow down and pace ourselves when things get crazy.
Nice job on the cars... this detailing stuff is just plain hard work!!
Nice job on the cars... this detailing stuff is just plain hard work!!
kc's
New member
Great work as always KC.
Please be careful. Your arm looks nasty. I hope you are on the road to recovery!
Thanks buddy
for your care & concern....Now i have learn my lesson...it was 4 months ago
It is so easy to get hurt on the job, and it's usually because we need to slow down and pace ourselves when things get crazy.
Nice job on the cars... this detailing stuff is just plain hard work!!
Thanks Scrubs147 for your kind words
yupp
truly agree.....HARD WORK
SoonerFan
New member
Wow...I am just happy that you were not seriously hurt. It looks pretty bad though...Man, I am glad that you are alright and hope that your recovery goes well.
Leadfootluke
New member
Glad to see you are doing well!
The car came out great!
The car came out great!
kc's
New member
Glad to see you are doing well!
The car came out great!
Thanks buddy..yupp i am recovered..a lesson learnt
Wow...I am just happy that you were not seriously hurt. It looks pretty bad though...Man, I am glad that you are alright and hope that your recovery goes well.
Thanks Soonerfan for yr kind words & encouragement
I am glad to know u
cheers
imported_Auto Concierge
New member
Wow.......glad you are okay, how did this happen?, did you have the tab depressed on your buffer as I would think if you let go of the trigger the buffer would stop or if the trigger was depressed with the tab on I would have run away from the outlet to pull the plug out of the socket in the wall even if you were using a extension cord.
You have some bad bruising but that will heal and you wil be back detailing in a month or so, now if you pull the bicep tendon off like I did in 1998....that will not heal in a month or so(lol).
You have some bad bruising but that will heal and you wil be back detailing in a month or so, now if you pull the bicep tendon off like I did in 1998....that will not heal in a month or so(lol).