LawrenceSA
New member
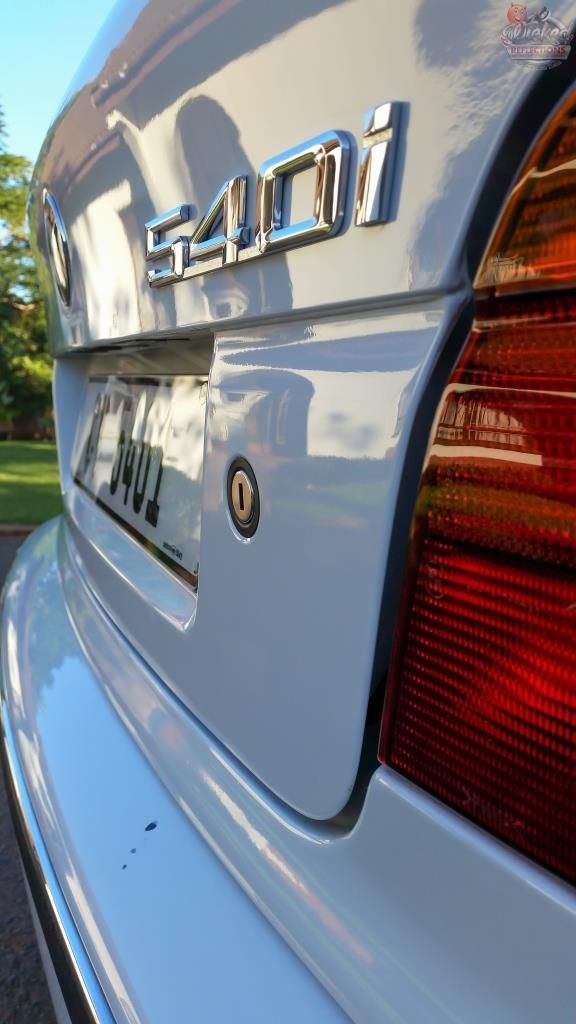
One of my clients recently purchased this beautiful 540i and whilst it was in really good condition, 18 years of improper washing and drying showed and so over a weekend in April I set about getting the old girl back into decent shape...
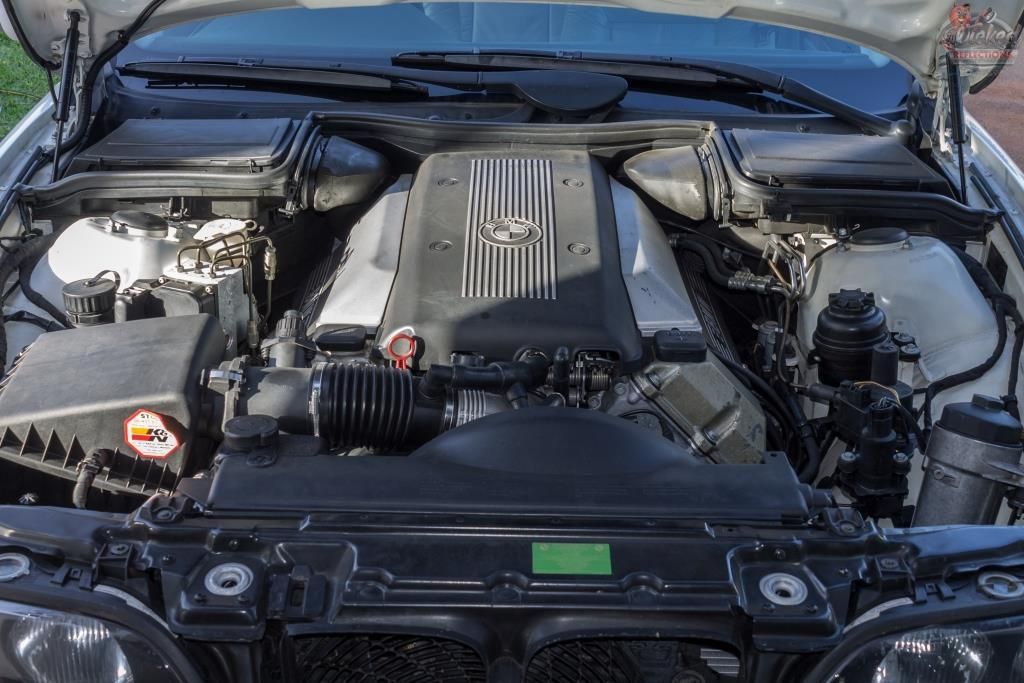
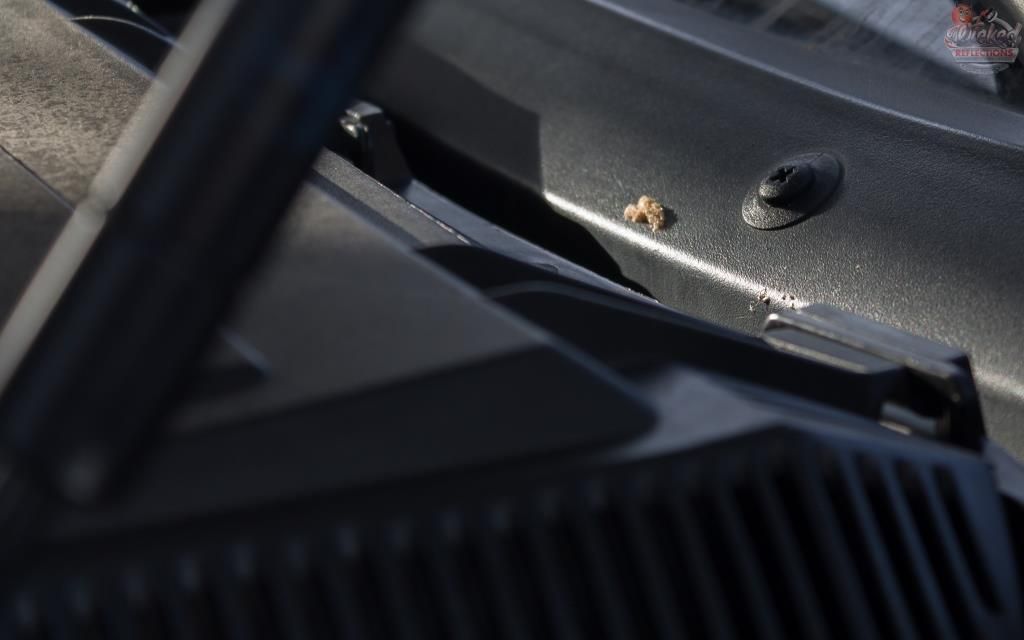
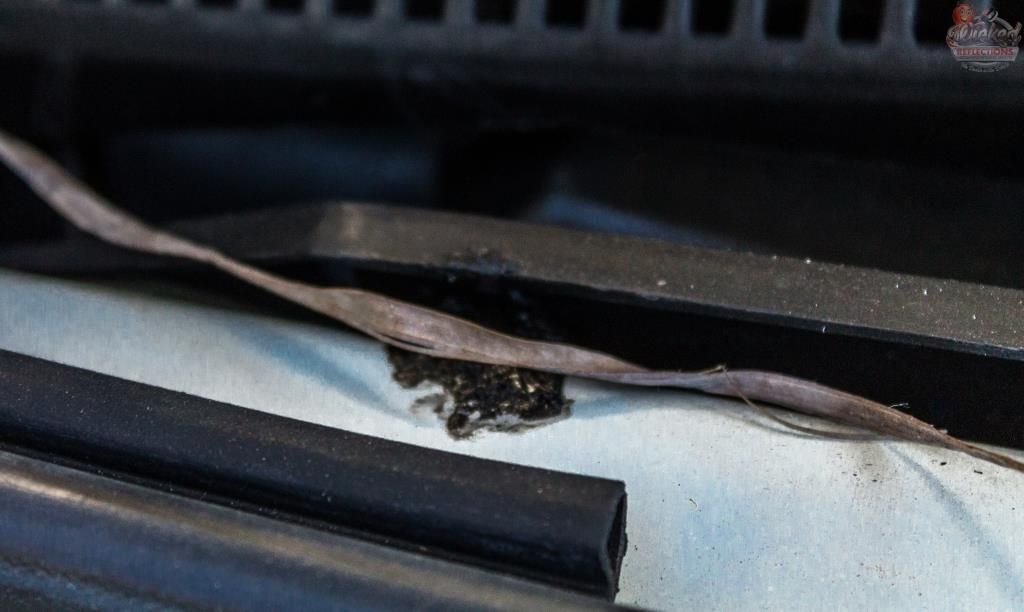
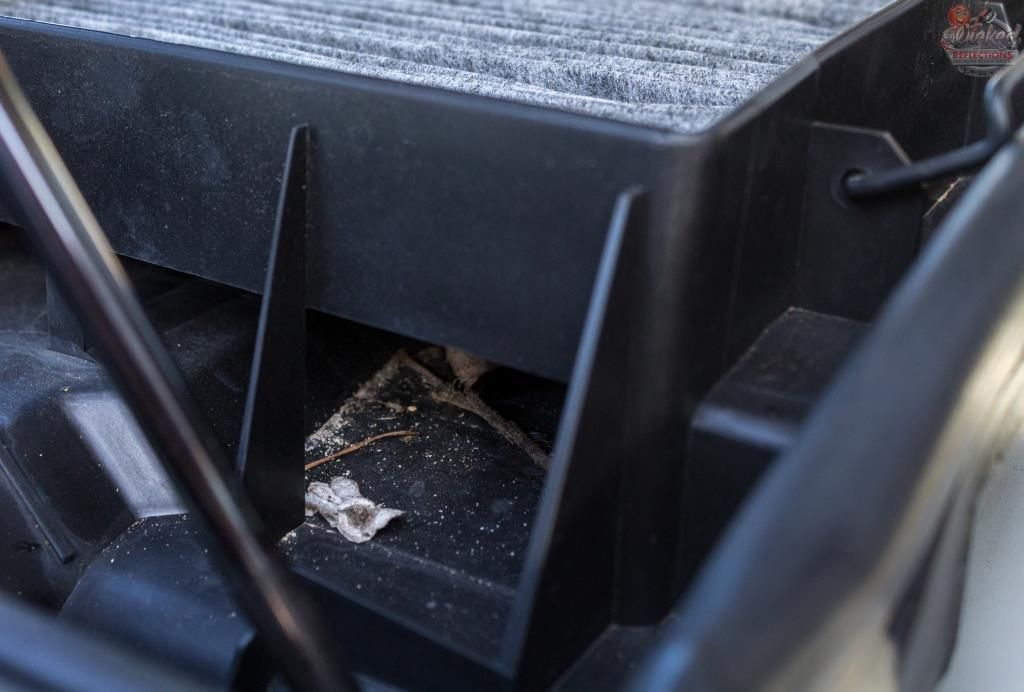
Engine bay
First I used a blower to remove as much of the loose dust, leaves and other debris out of the engine. Carchem APC @1:5 was then used in combination with various boars hair brushes, microfibre towels, q-tips and the blower to clean - no water was used to spray or rinse anywhere. This obviously is more labor intensive and in my opinion, not quite as effective as using a pressure washer, but is obviously a much safer option.
Once everything was clean the plastics were dressed with Autofinesse Dressle and the painted areas hand polished/protected using Autofinesse Tripple.

Fender wells, tyres and wheels
Before
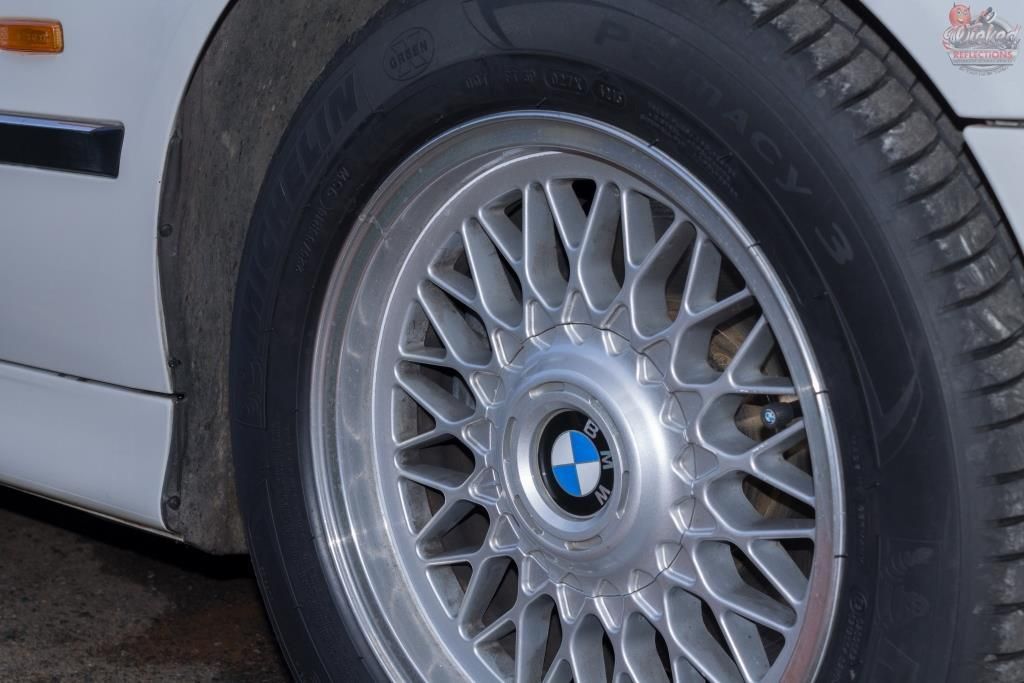
Fender wells pressure rinsed, sprayed with Carchem APC @ 1:5 via a foaming sprayer, left to dwell, agitated with various brushes, pressure rinsed, dressed with Autofinesse Dressel
Tyrespressure rinsed, sprayed with Carchem APC @ 1:5 via a foaming sprayer, left to dwell, agitated with Mothers tyre brush, pressure rinsed, dressed with 1 coat of Carpro Perl uncut
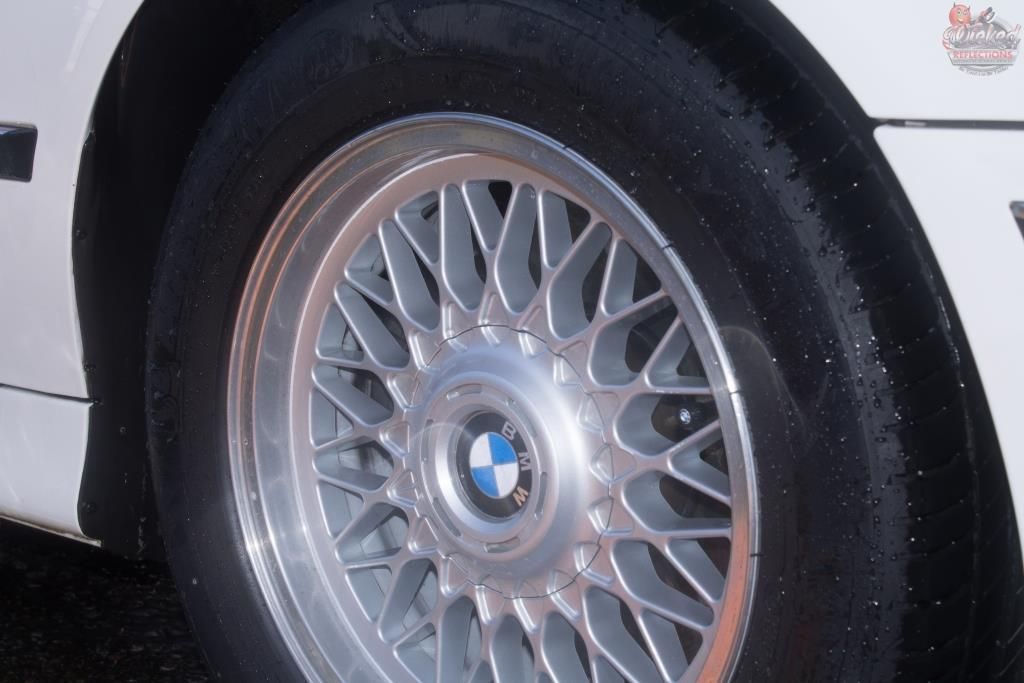
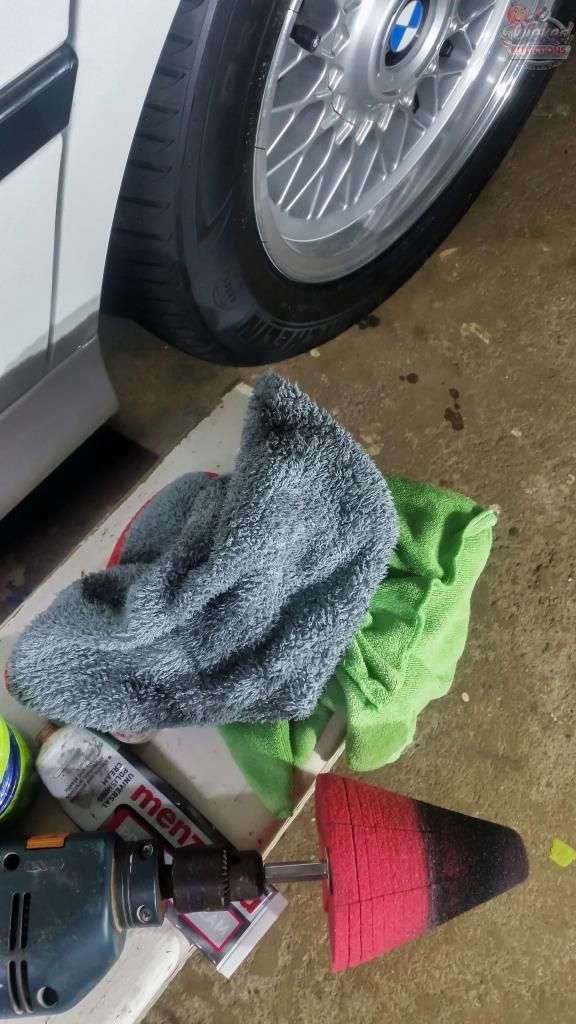
Wheels pressure rinsed, sprayed with Angelwax Billberry Wheel Cleaner via a foaming sprayer, left to dwell, agitated with Wheel Woolies, pressure rinsed, tar deposits removed with Carpro Tar-x, Iron deposits removed with Carpro Iron-x LS, lips polished with Menzerna Polishing Cream followed by Meguiars NXT All Metal Polish using a Mothers Polishing Cone, Wheels protected using Menzerna Powerlock
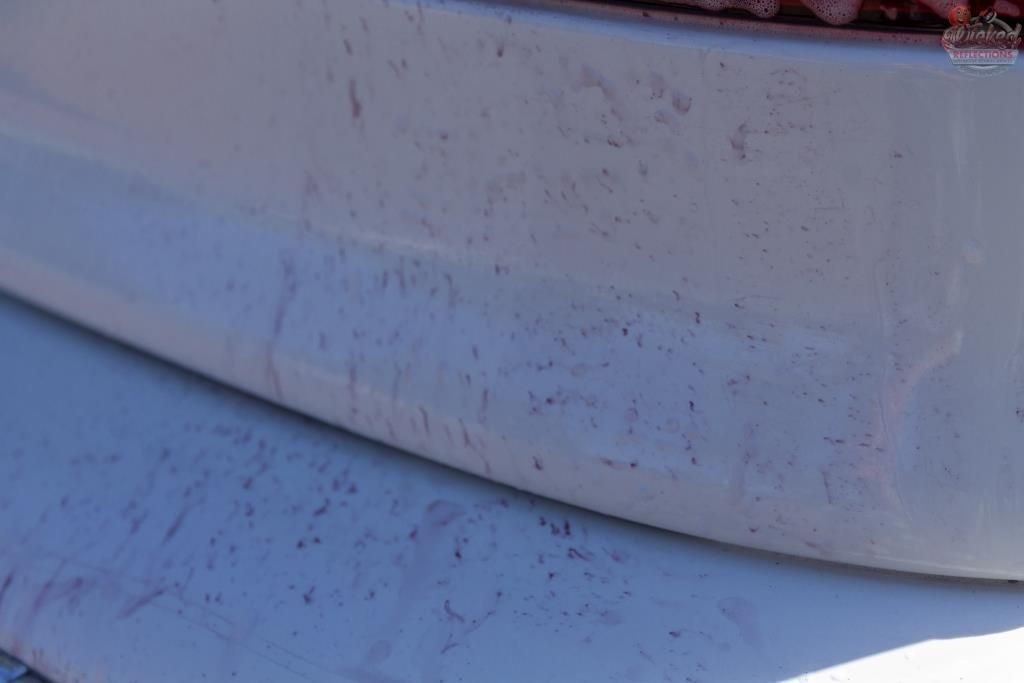
During iron removal

After washing and decon
During polishing
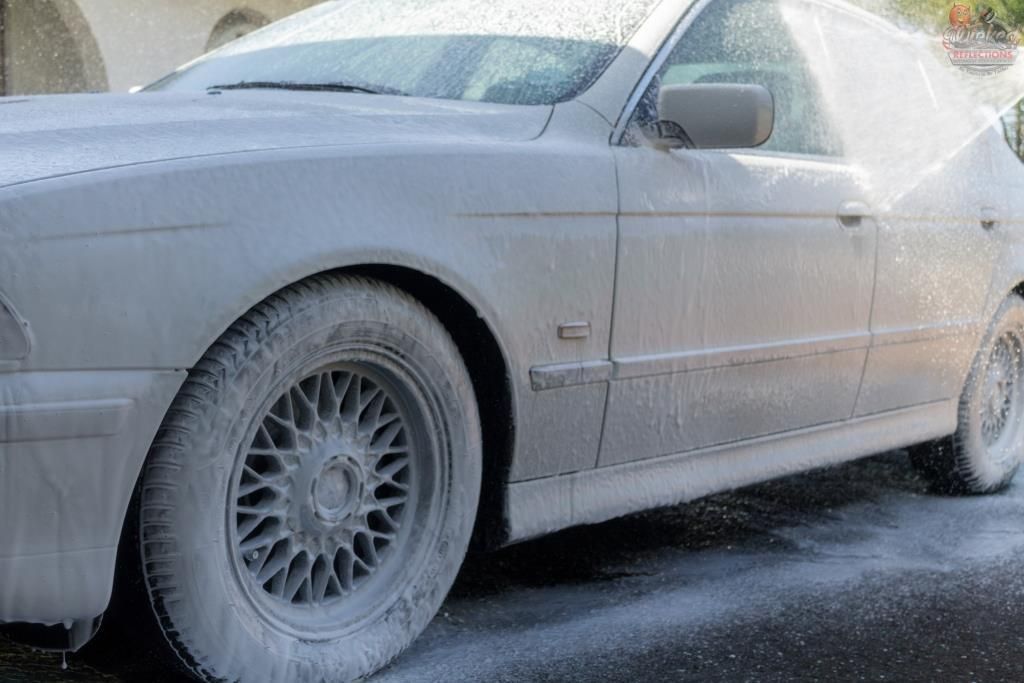
Wash and Decon
A pressure washer was used to remove as much of the loose dirt as possible before making contact. The entire vehicle was then foamed using Carchem Snowfoam which was left to dwell before being pressure rinsed off
This was followed with a 2 bucket wash using Carpro Reset and a few lambswool wash mitts. Any tar deposits were removed using Carpro Tar-x and the entire car then sprayed with Carpro Iron-x LS to remove any iron deposits.
This was followed with another foaming and pressure rinse to ensure no iron remover was left behind. Shield Heavy Duty clay was used with ONR as clay lube to remove the remaining contamination.
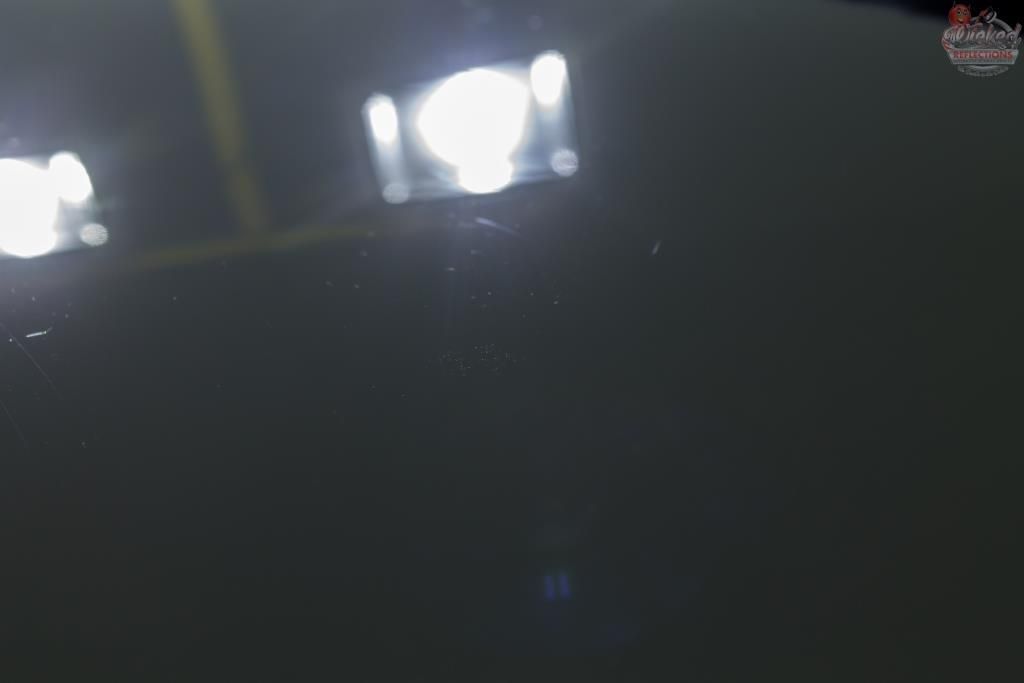
Paint correction
Paint readings
OEM paint: min 92, max 109
Repaint: min 160, max 223
Process
Paint : Flex 3401, Blue Hybrid Wool Lake Country Hybrid pads, Menzerna FG400, White Foam Lake Country Hybrid pads, Menzerna SF4000
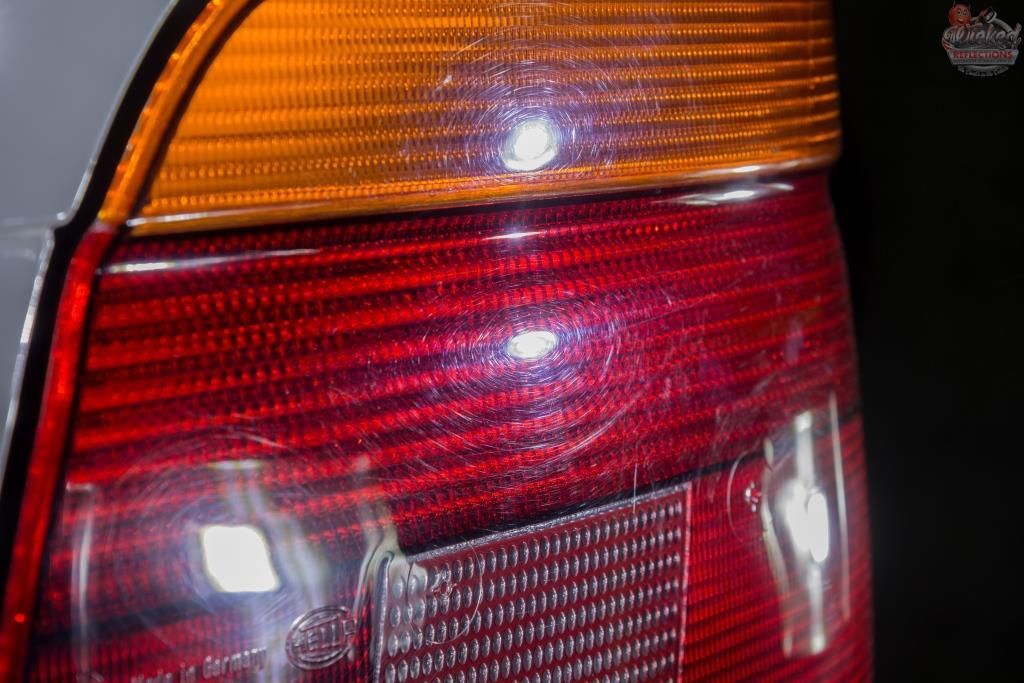
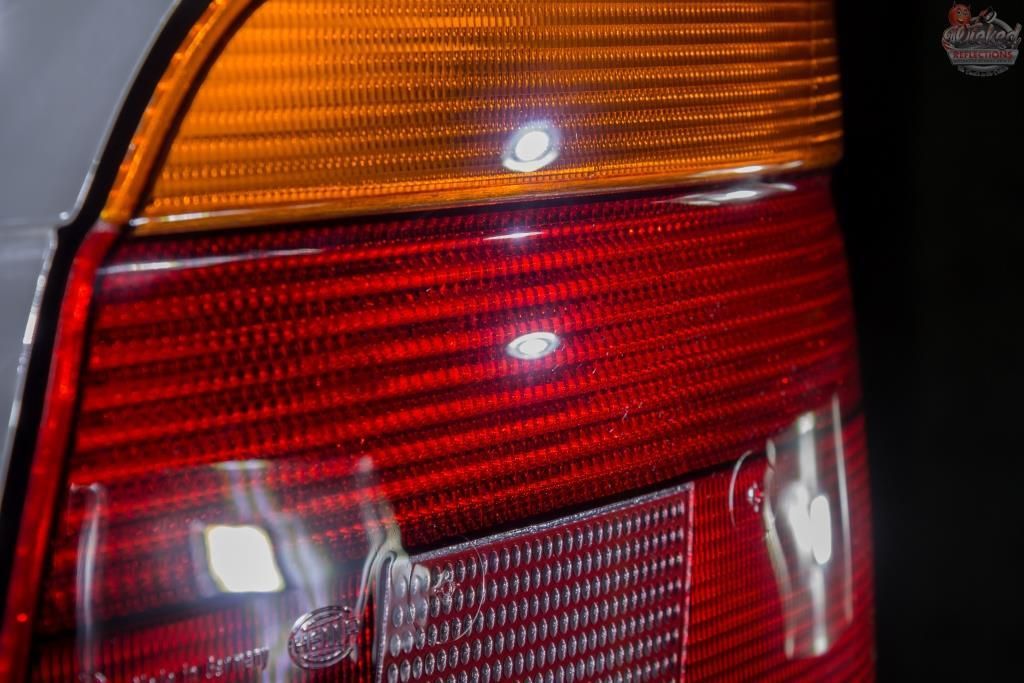
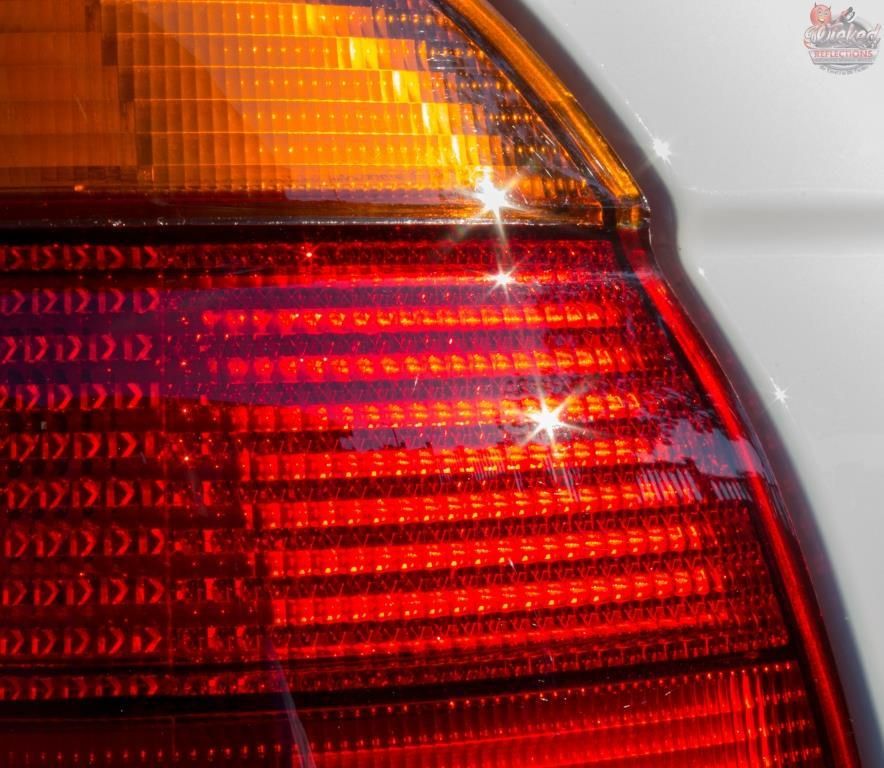
Taillights: Flex 3401, Orange Foam Lake Country Hybrid pads, Menzerna FG400, Black Lake Country Hybrid pads, Menzerna SF4000
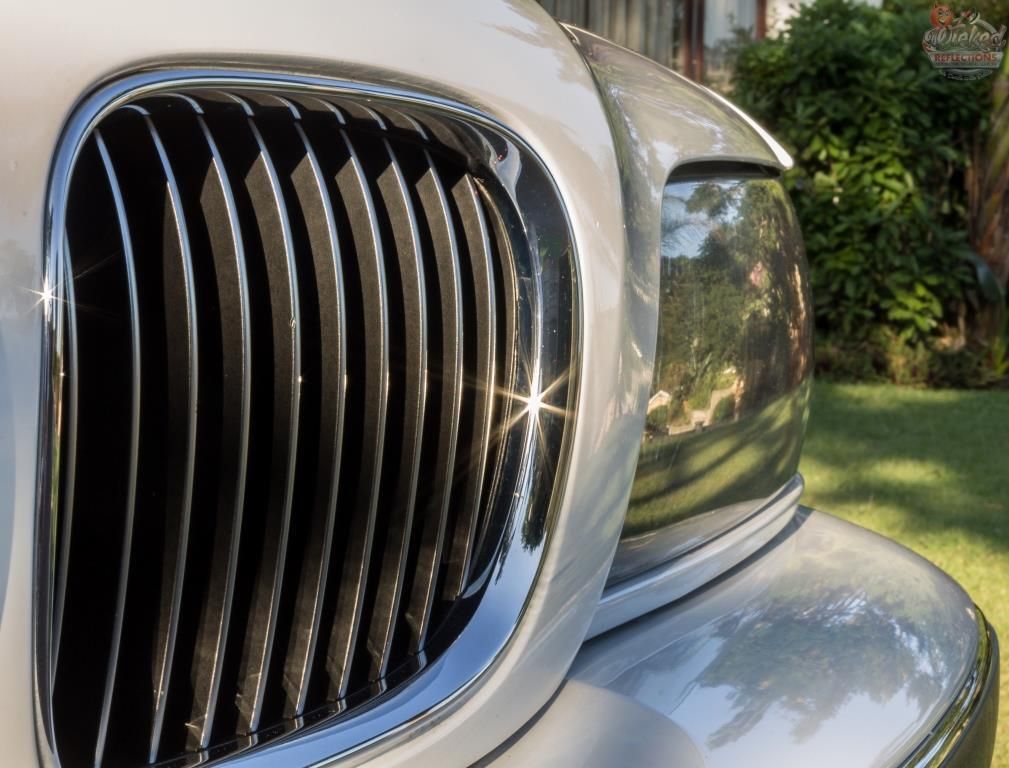
Headlights: Flex 3401, Menzerna SF4000
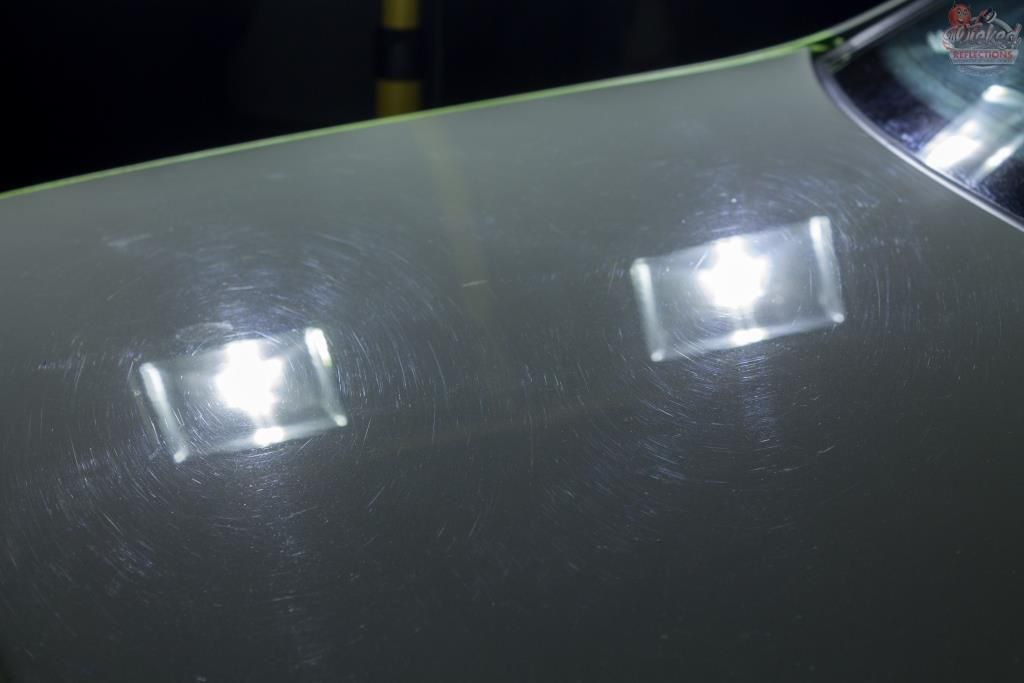
Before
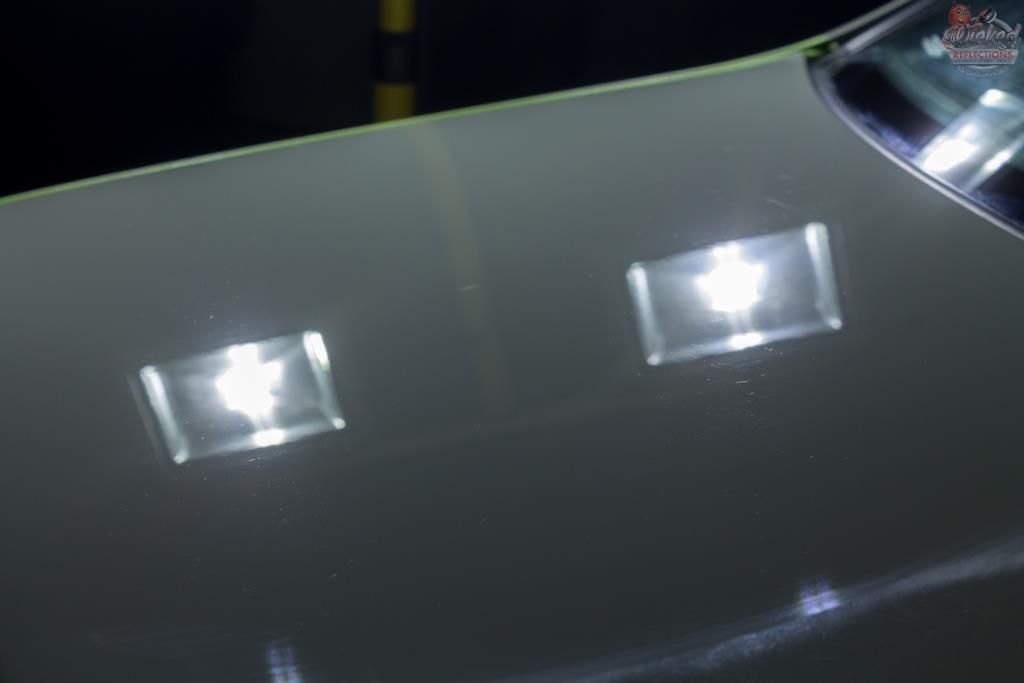
After
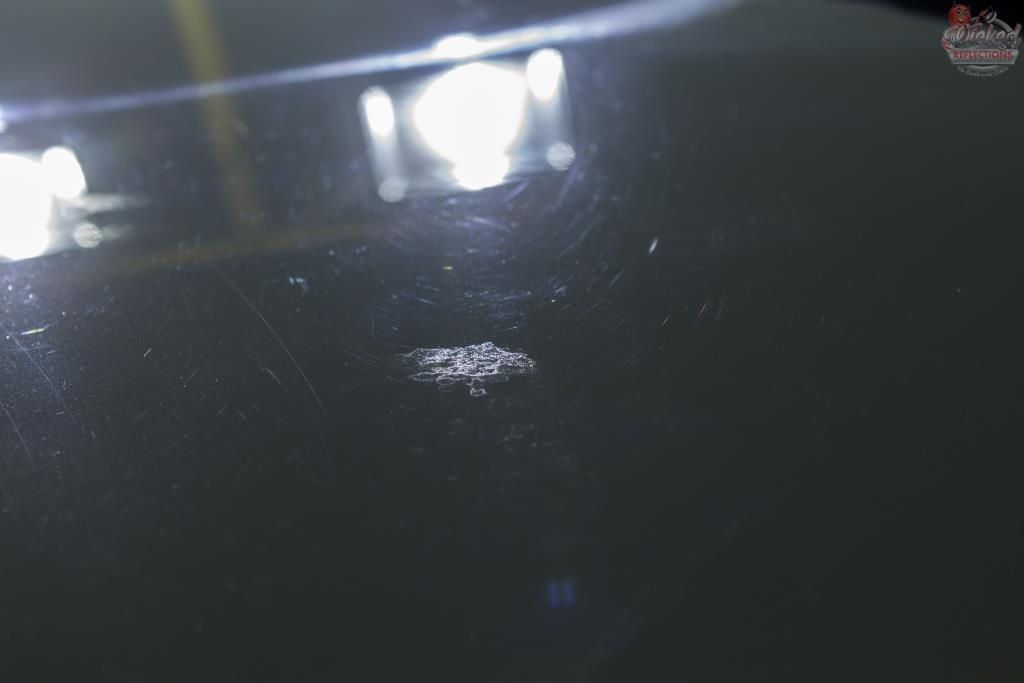
Before
After
Before
After
Protection
Paint : Collinite 845
Wheels : Menzerna Powerlock
Leather : Collinite 855
Plastics + rubbers : Aerospace 303
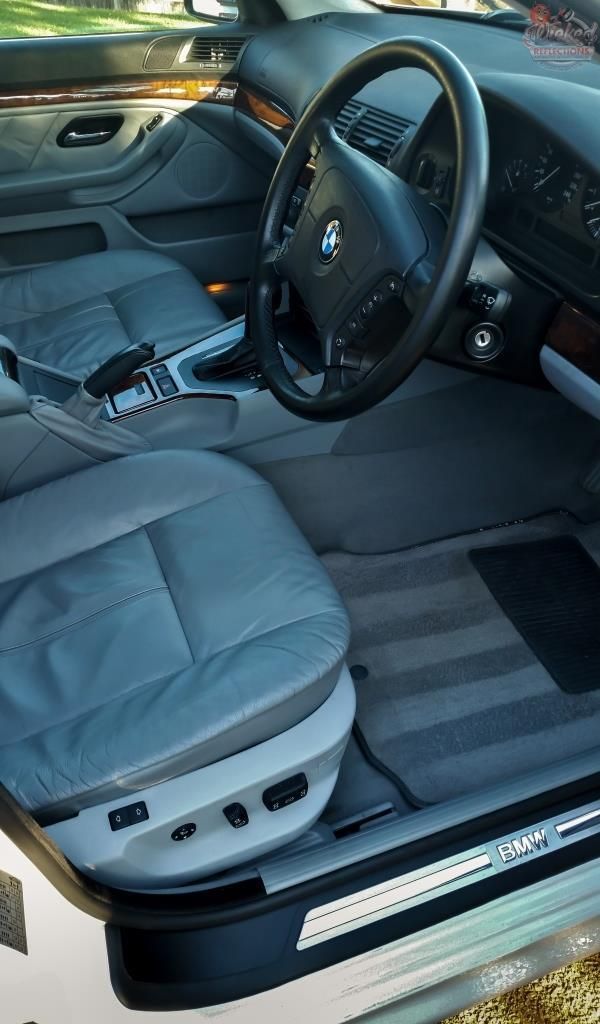
Interior
Mats were removed, pressure rinsed, sprayed with Carchem APC @ 1:20, agitated with a brush, pressure rinsed again and hung out to dry, then vacuumed and returned to the interior once done.
The seats and carpets were vacuumed and the seats then cleaned with Carchem APC @ 1:20 and protected with Collinite #855.
The plastics were also cleaned using Carchem APC @ 1:20 and protected using Aerospace 303. The glass was cleaned using Autoglym Fast Glass.
Before

After
Other
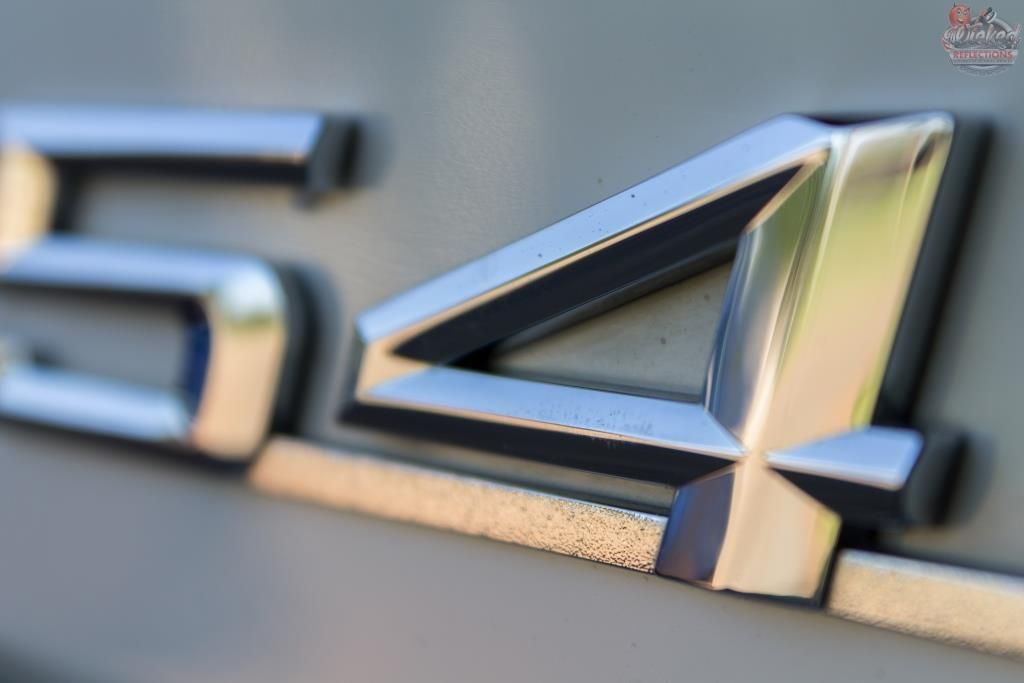
The exterior plastics and rubbers were cleaned using Shield Heavy Duty Vinyl and Rubber Cleaner. The plastics were dressed using Carpro Perl and then Rubbers with Aerospace 303. Exterior glass was clayed during the initial decon, then cleaned using Gyeon Prep and Wynn`s C-Thru applied. The badges and emblems were cleaned using Autofinesse Tripple and Q-tips

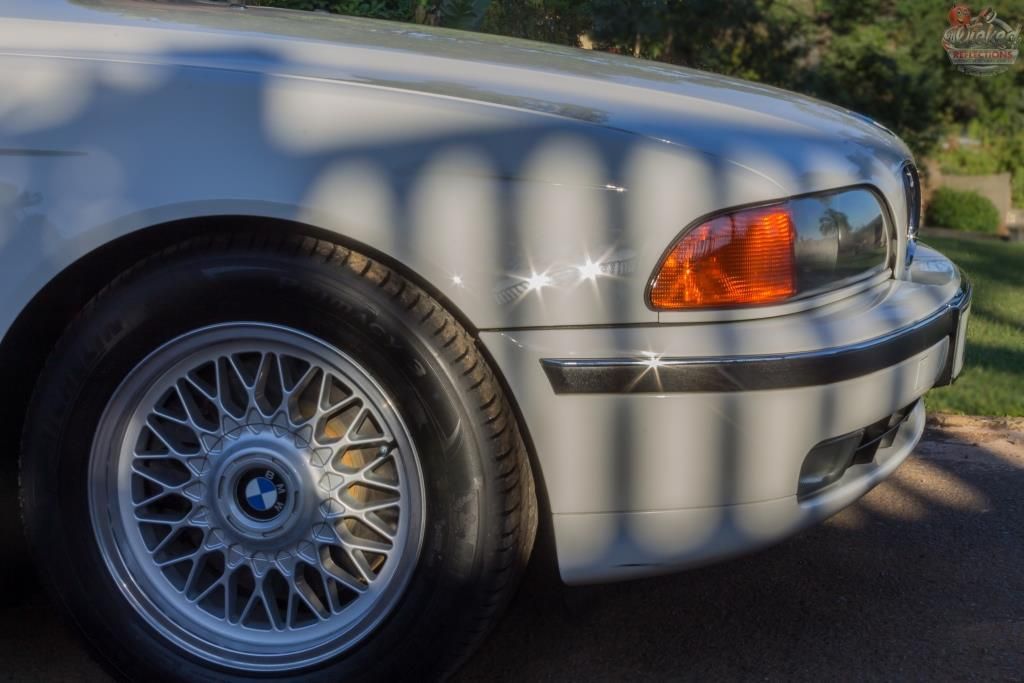
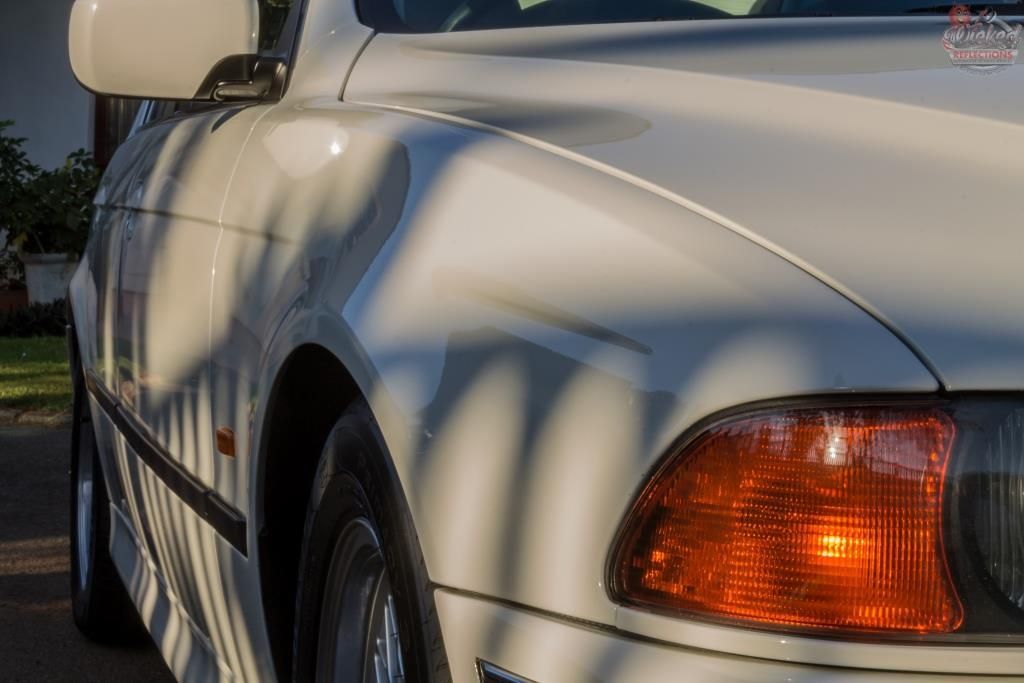
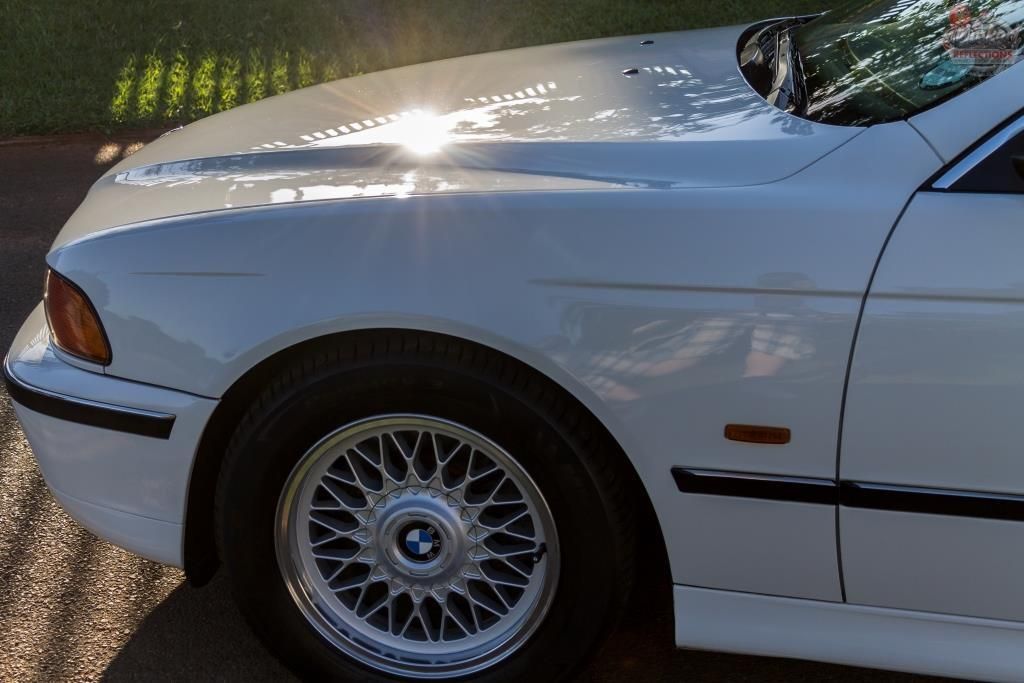
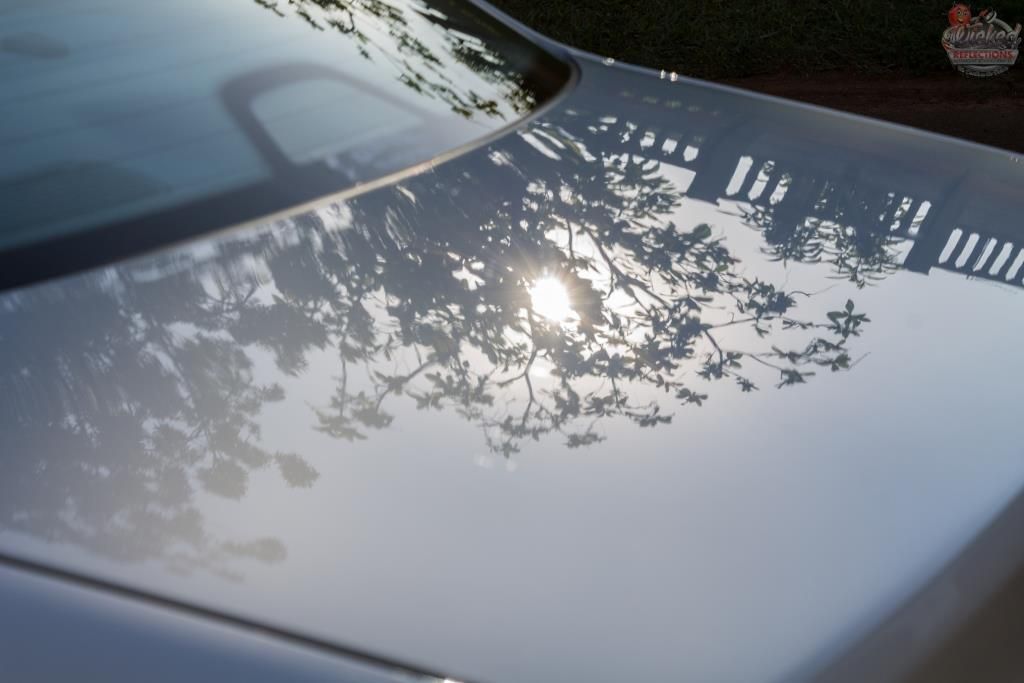
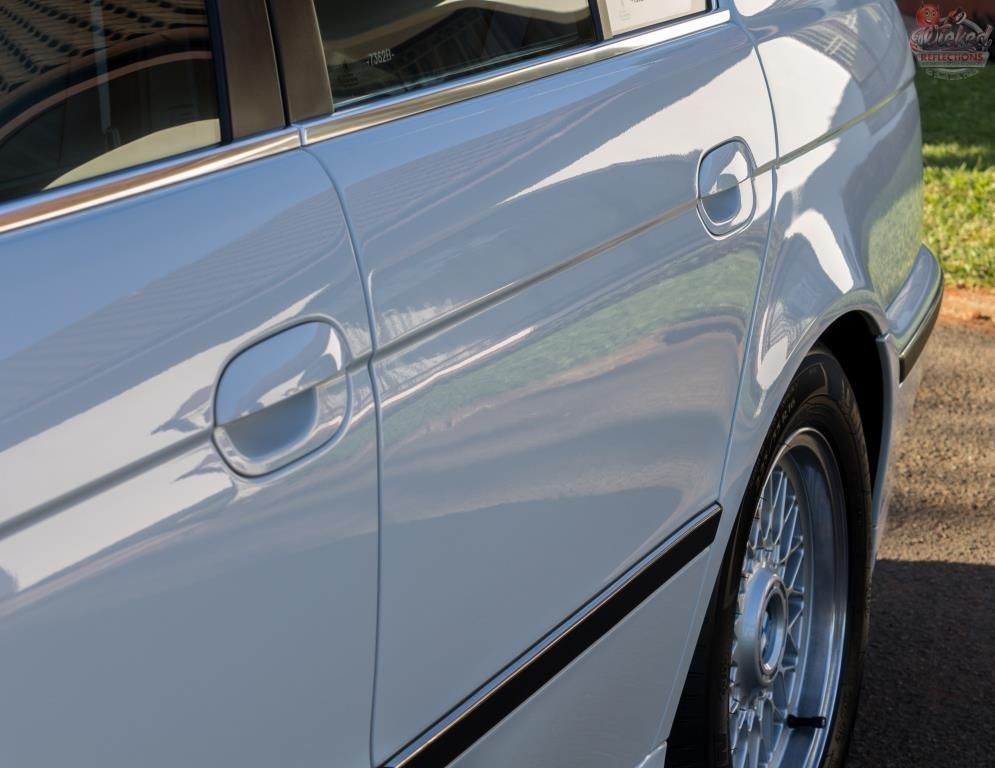
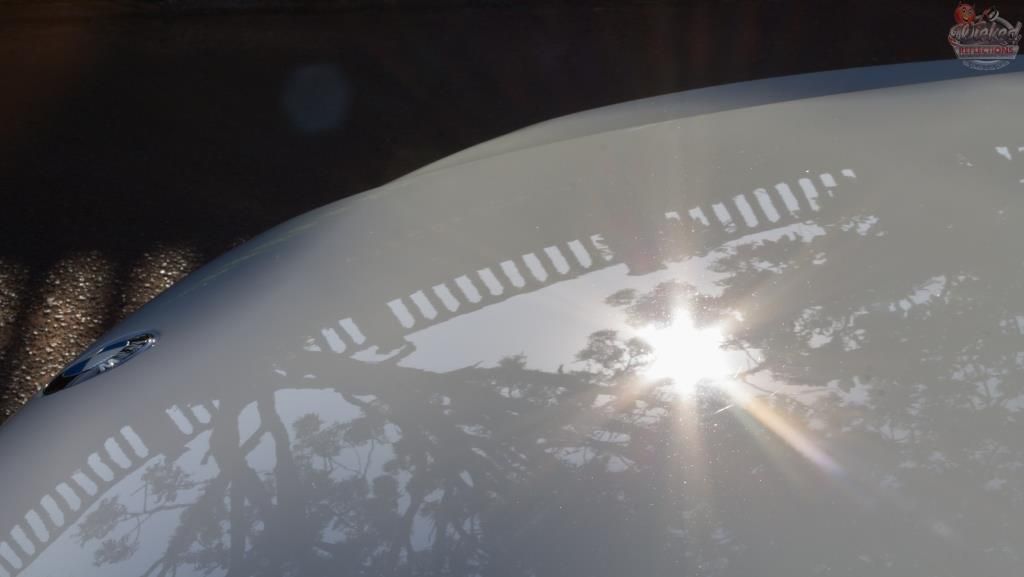
Completed pictures


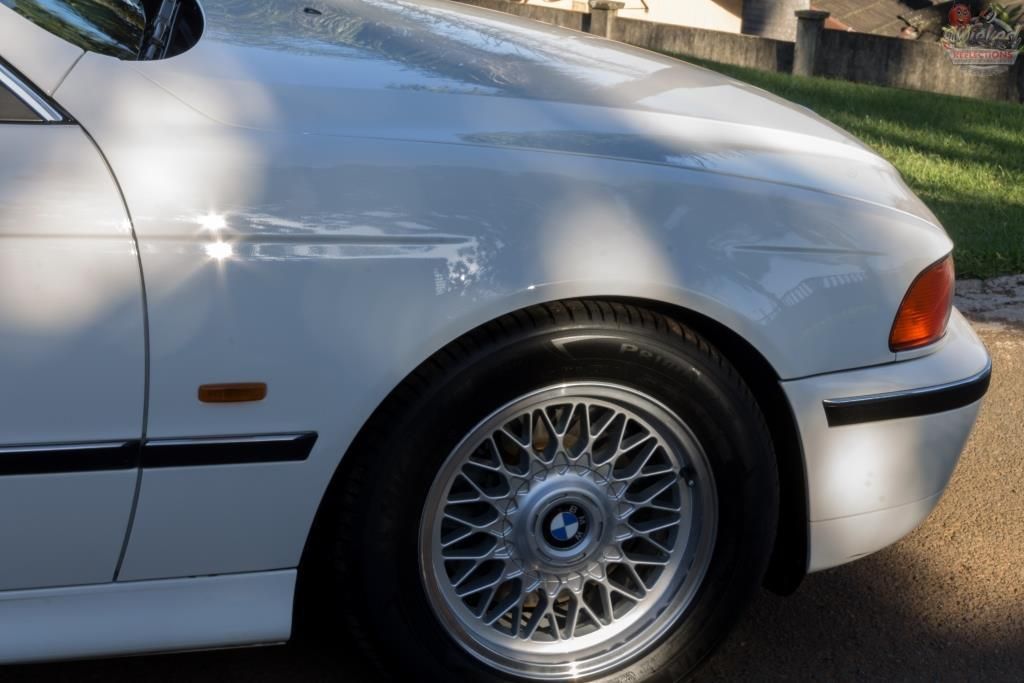
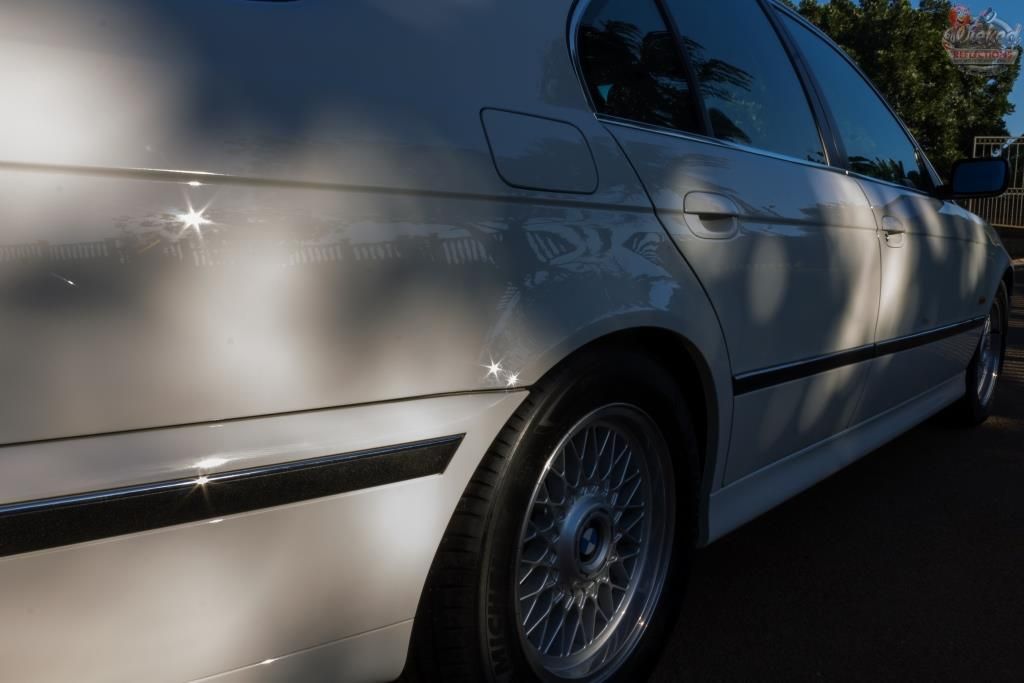
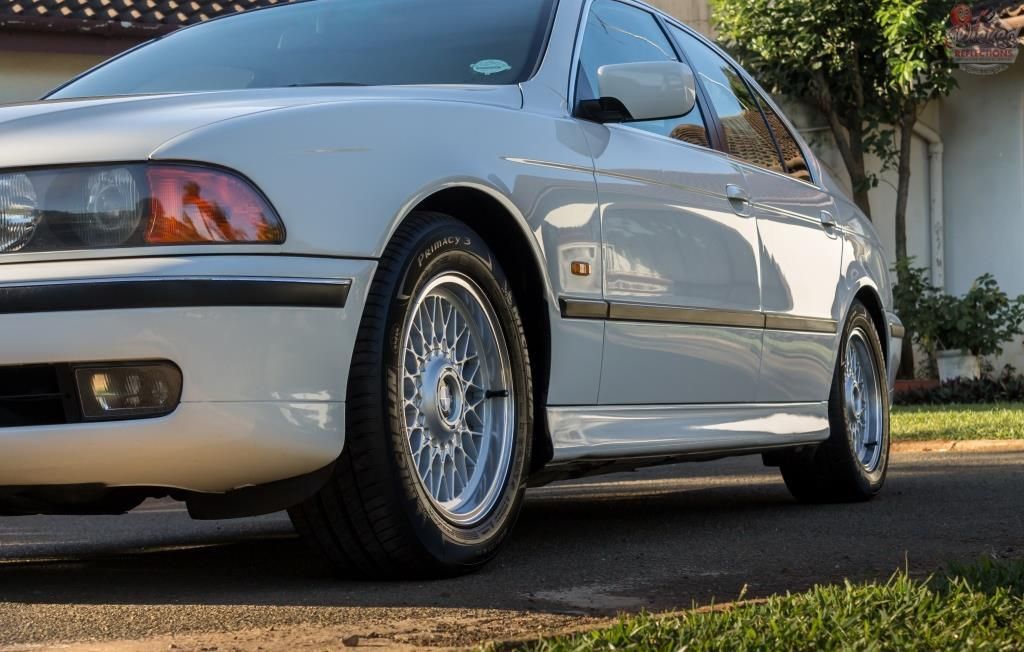
Total time spent = 34 hours
Thanks for looking, and as always any questions or comments and are welcome.
:hi:
Engine bay
First I used a blower to remove as much of the loose dust, leaves and other debris out of the engine. Carchem APC @1:5 was then used in combination with various boars hair brushes, microfibre towels, q-tips and the blower to clean - no water was used to spray or rinse anywhere. This obviously is more labor intensive and in my opinion, not quite as effective as using a pressure washer, but is obviously a much safer option.
Once everything was clean the plastics were dressed with Autofinesse Dressle and the painted areas hand polished/protected using Autofinesse Tripple.
Fender wells, tyres and wheels
Before
Fender wells pressure rinsed, sprayed with Carchem APC @ 1:5 via a foaming sprayer, left to dwell, agitated with various brushes, pressure rinsed, dressed with Autofinesse Dressel
Tyrespressure rinsed, sprayed with Carchem APC @ 1:5 via a foaming sprayer, left to dwell, agitated with Mothers tyre brush, pressure rinsed, dressed with 1 coat of Carpro Perl uncut
Wheels pressure rinsed, sprayed with Angelwax Billberry Wheel Cleaner via a foaming sprayer, left to dwell, agitated with Wheel Woolies, pressure rinsed, tar deposits removed with Carpro Tar-x, Iron deposits removed with Carpro Iron-x LS, lips polished with Menzerna Polishing Cream followed by Meguiars NXT All Metal Polish using a Mothers Polishing Cone, Wheels protected using Menzerna Powerlock
During iron removal
After washing and decon
During polishing
Wash and Decon
A pressure washer was used to remove as much of the loose dirt as possible before making contact. The entire vehicle was then foamed using Carchem Snowfoam which was left to dwell before being pressure rinsed off
This was followed with a 2 bucket wash using Carpro Reset and a few lambswool wash mitts. Any tar deposits were removed using Carpro Tar-x and the entire car then sprayed with Carpro Iron-x LS to remove any iron deposits.

This was followed with another foaming and pressure rinse to ensure no iron remover was left behind. Shield Heavy Duty clay was used with ONR as clay lube to remove the remaining contamination.
Paint correction
Paint readings
OEM paint: min 92, max 109
Repaint: min 160, max 223
Process
Paint : Flex 3401, Blue Hybrid Wool Lake Country Hybrid pads, Menzerna FG400, White Foam Lake Country Hybrid pads, Menzerna SF4000
Taillights: Flex 3401, Orange Foam Lake Country Hybrid pads, Menzerna FG400, Black Lake Country Hybrid pads, Menzerna SF4000
Headlights: Flex 3401, Menzerna SF4000
Before
After
Before
After
Before
After
Protection
Paint : Collinite 845
Wheels : Menzerna Powerlock
Leather : Collinite 855
Plastics + rubbers : Aerospace 303
Interior
Mats were removed, pressure rinsed, sprayed with Carchem APC @ 1:20, agitated with a brush, pressure rinsed again and hung out to dry, then vacuumed and returned to the interior once done.
The seats and carpets were vacuumed and the seats then cleaned with Carchem APC @ 1:20 and protected with Collinite #855.
The plastics were also cleaned using Carchem APC @ 1:20 and protected using Aerospace 303. The glass was cleaned using Autoglym Fast Glass.
Before
After
Other
The exterior plastics and rubbers were cleaned using Shield Heavy Duty Vinyl and Rubber Cleaner. The plastics were dressed using Carpro Perl and then Rubbers with Aerospace 303. Exterior glass was clayed during the initial decon, then cleaned using Gyeon Prep and Wynn`s C-Thru applied. The badges and emblems were cleaned using Autofinesse Tripple and Q-tips
Completed pictures
Total time spent = 34 hours
Thanks for looking, and as always any questions or comments and are welcome.
:hi:
 ].
]. .
.