I stumbled upon this write up from almost two years ago and figured I'd post it up here. Lot's of great 50/50 shots on this bike I did for a friend when I was first getting into detailing. Check it out!
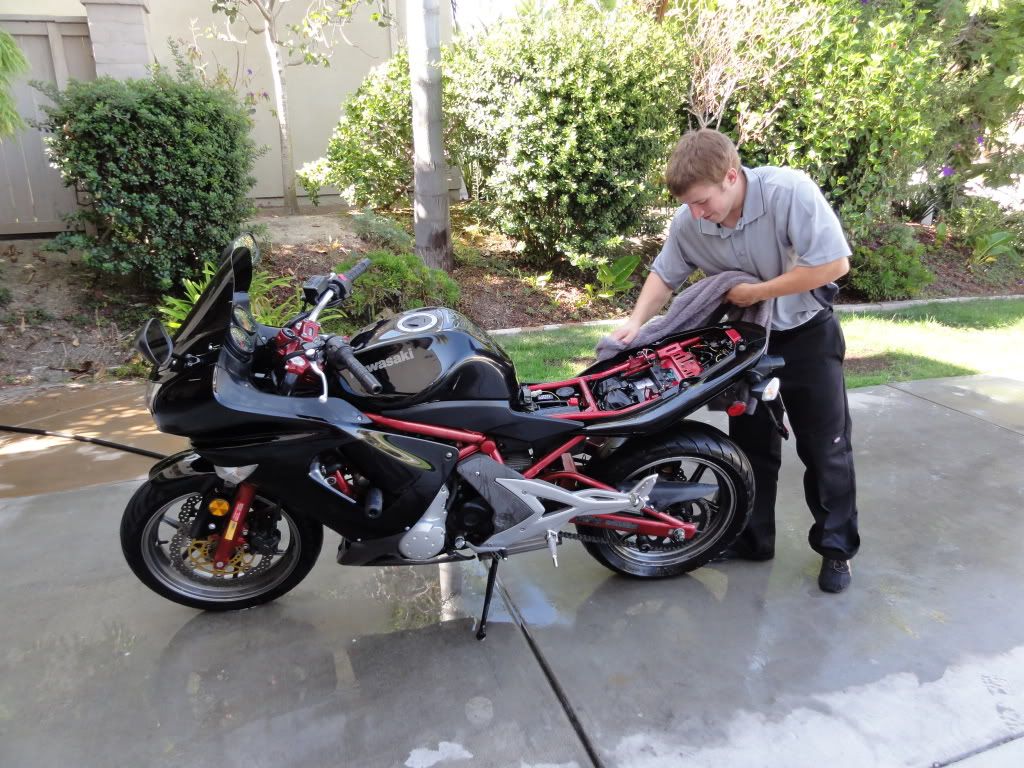
Upon arrival of the bike i realized the original two hours i quoted him for a detail would be a little optimistic. Him being a good friend, he said i could take as long as i wanted to bring the bike back to a good condition. I think i did just that and then some based on the expression on his face throughout the process. He even got his hands on the polisher for a few section passes!
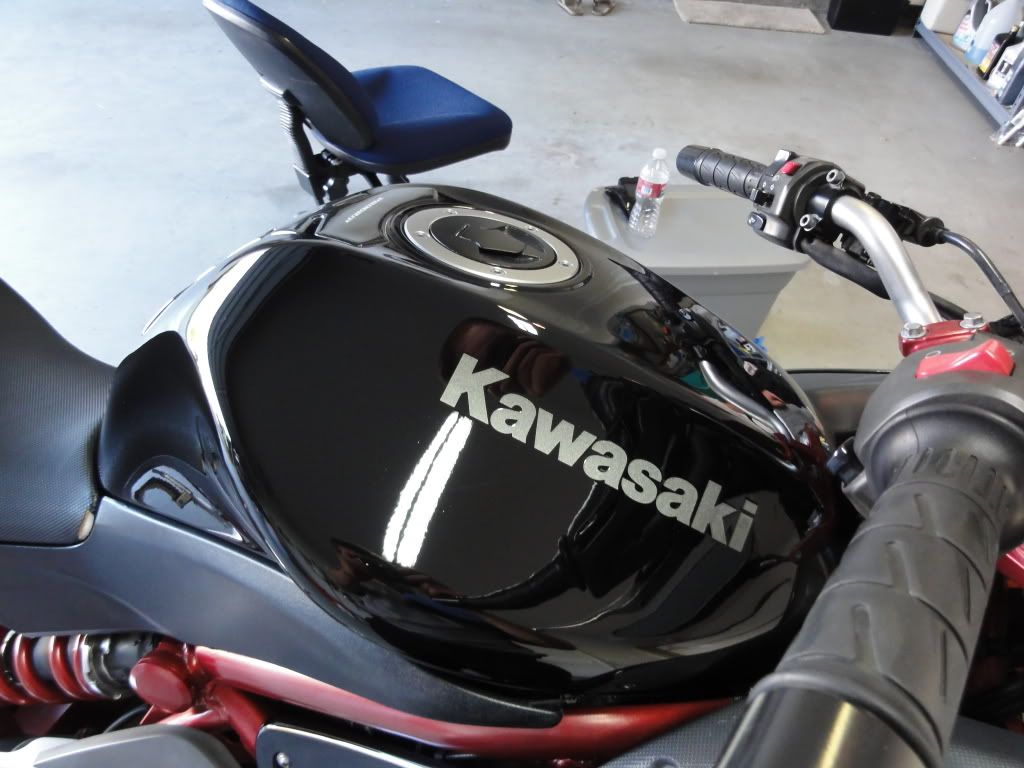
We'll start with some before pictures to show the level of dirt, grime and rare bug guts it has accumulated sitting outside and from the ride down from school.
Warning: Picture Happy :headbang:

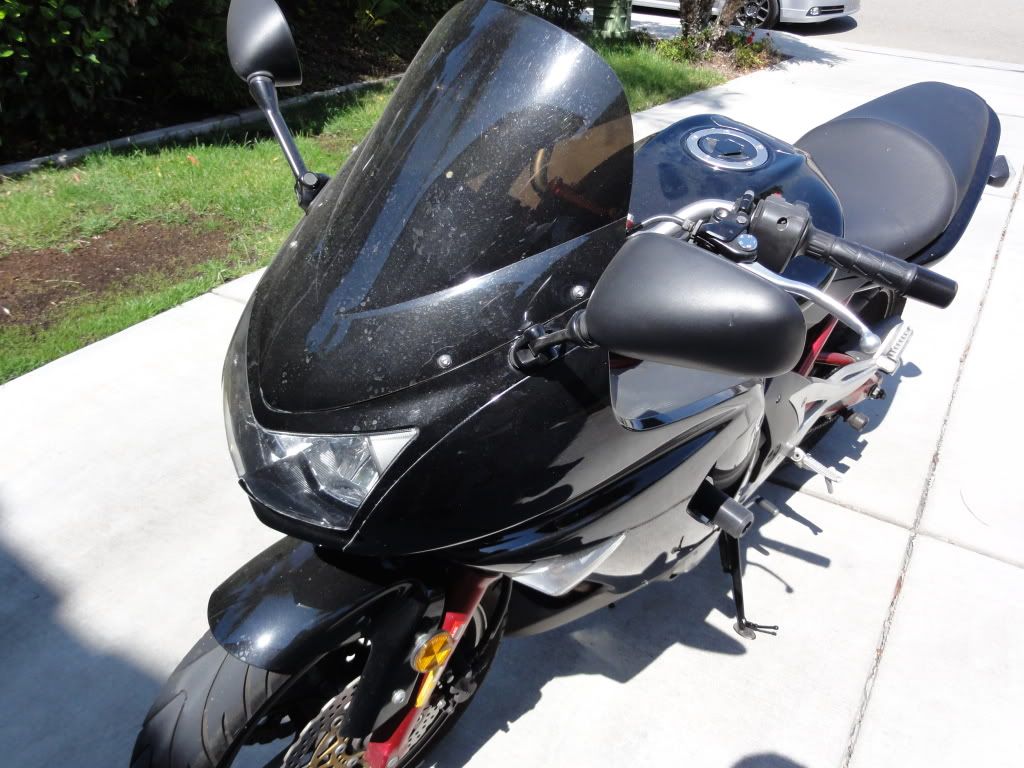
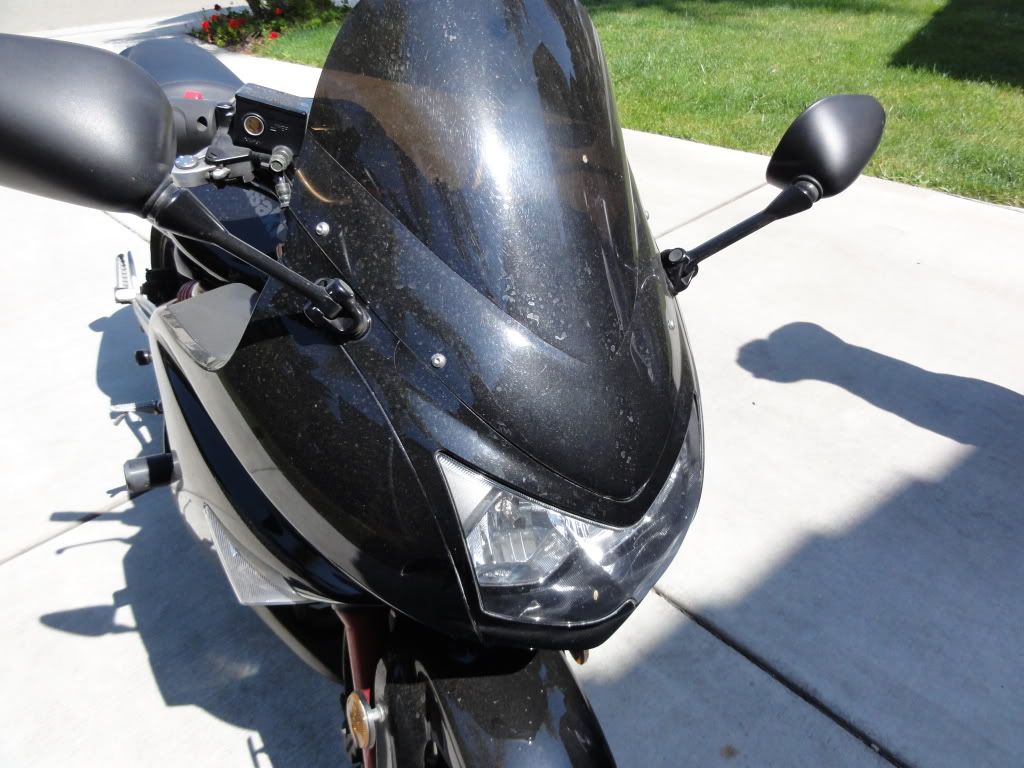
Front windscreen and bumper area was caked on with dirt. Bumper area? I guess in car terms it is a bumper..
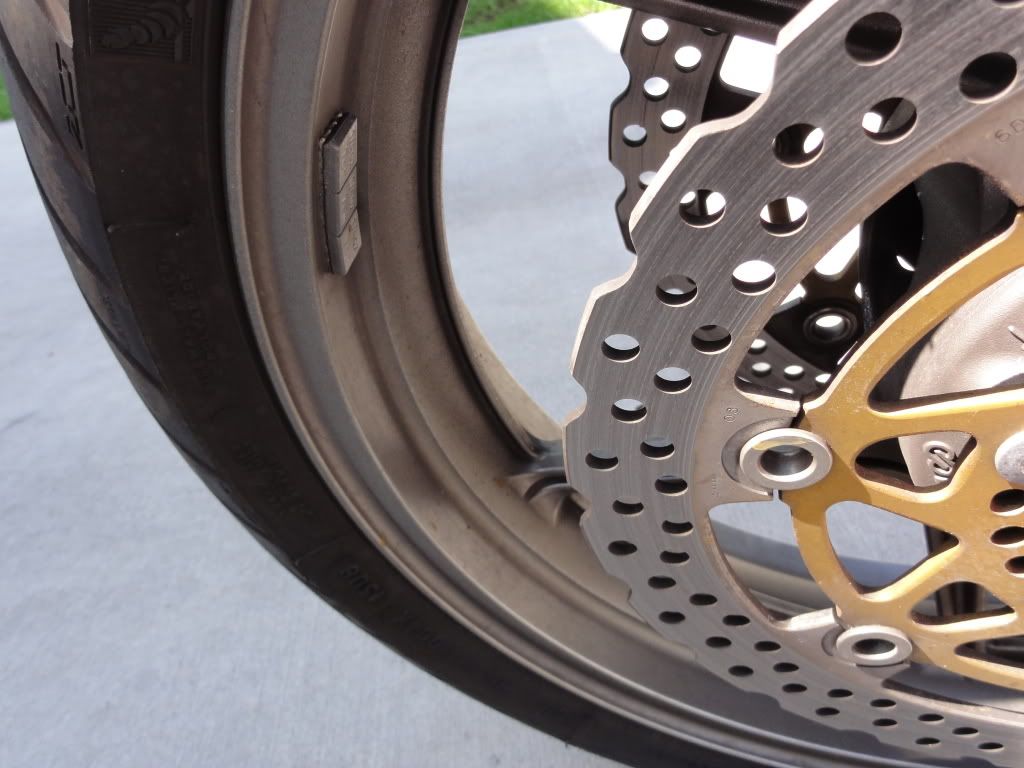
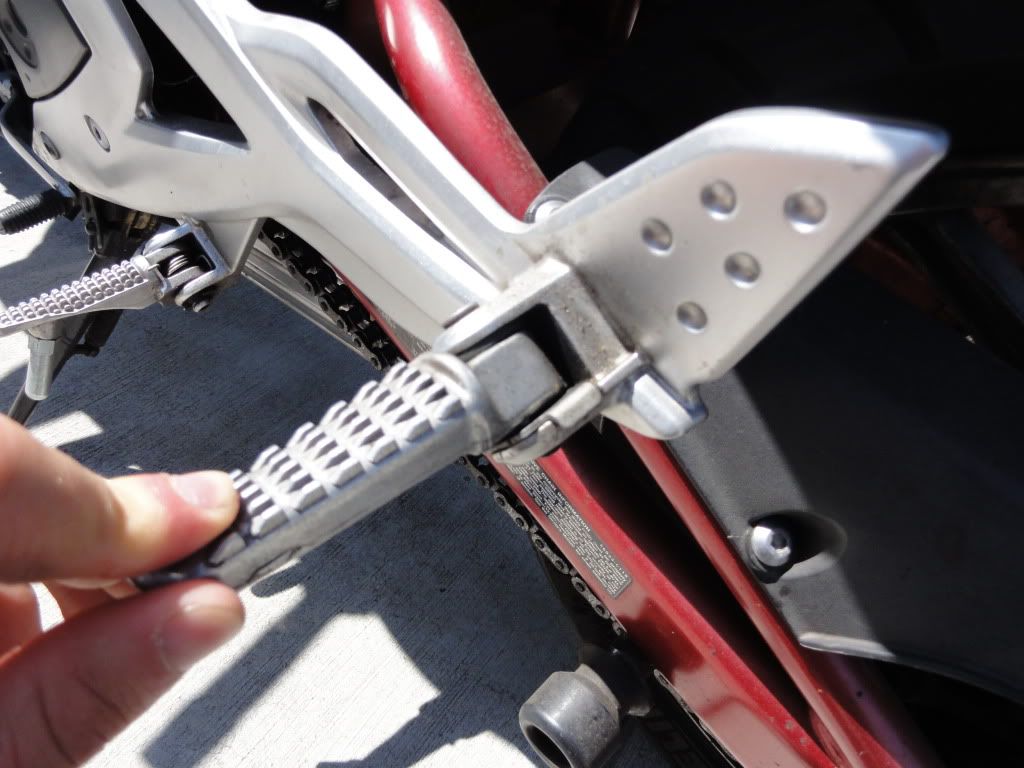
Rims and tires had a good amount of grease, road grime and brake dust. These required several cleanings to show true metal once again.
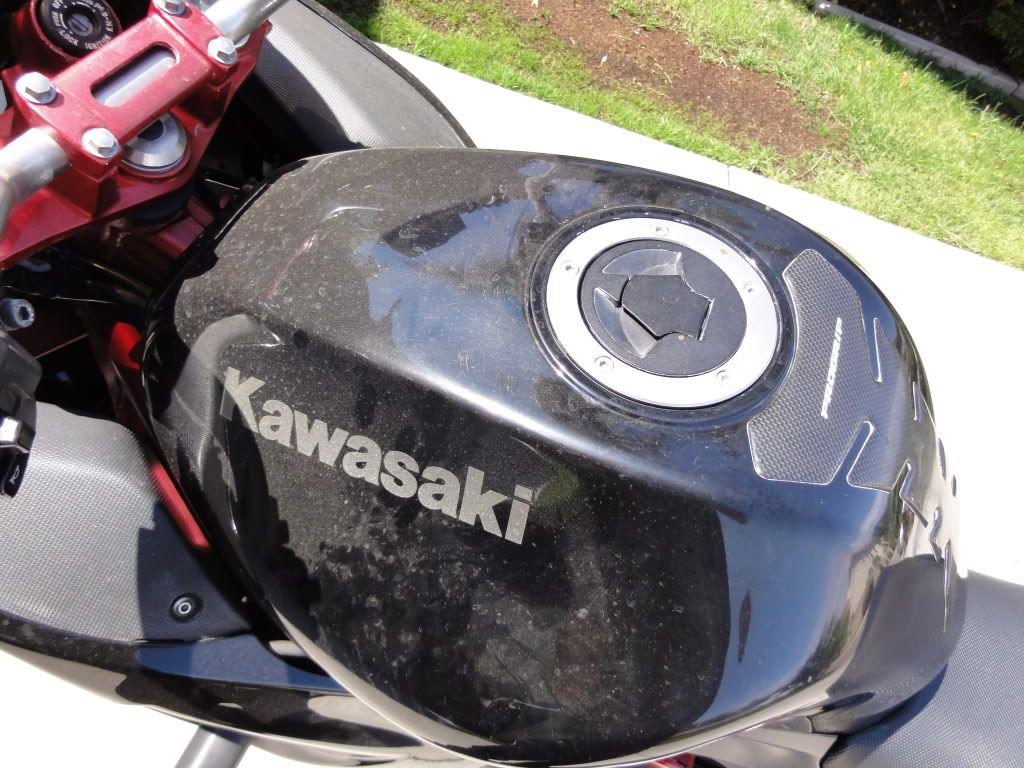
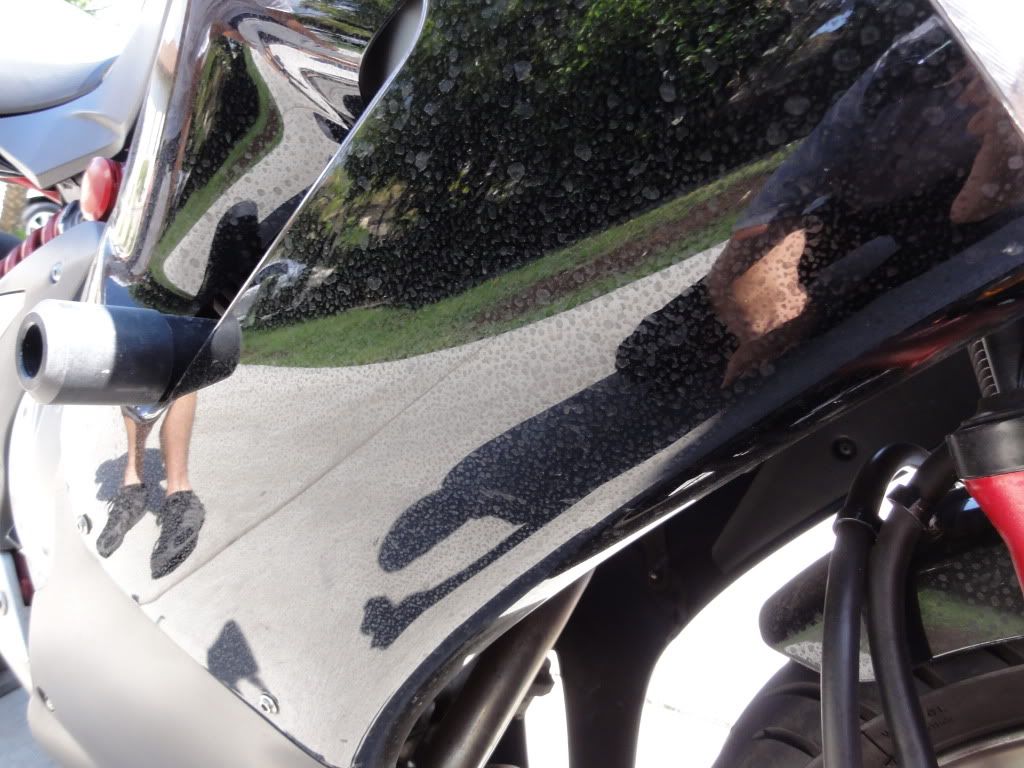
Water spots were consistent throughout the bike but primarily noticeable on all the plastic fairings.
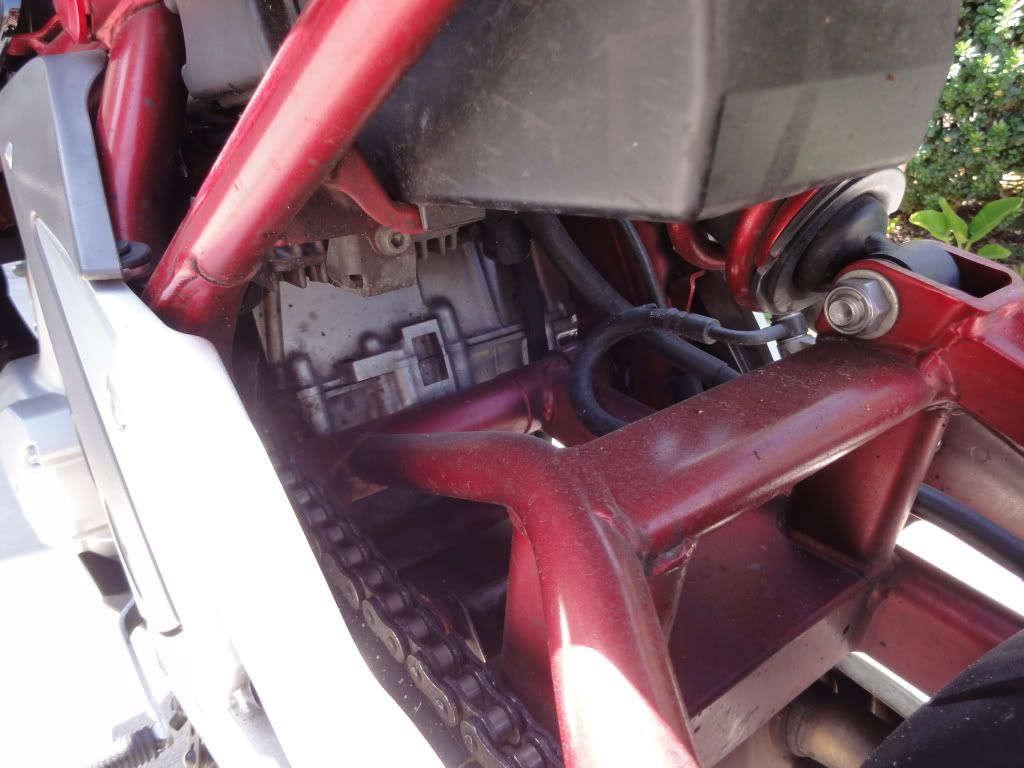
Grease and caked on dirt needed some attention as well...

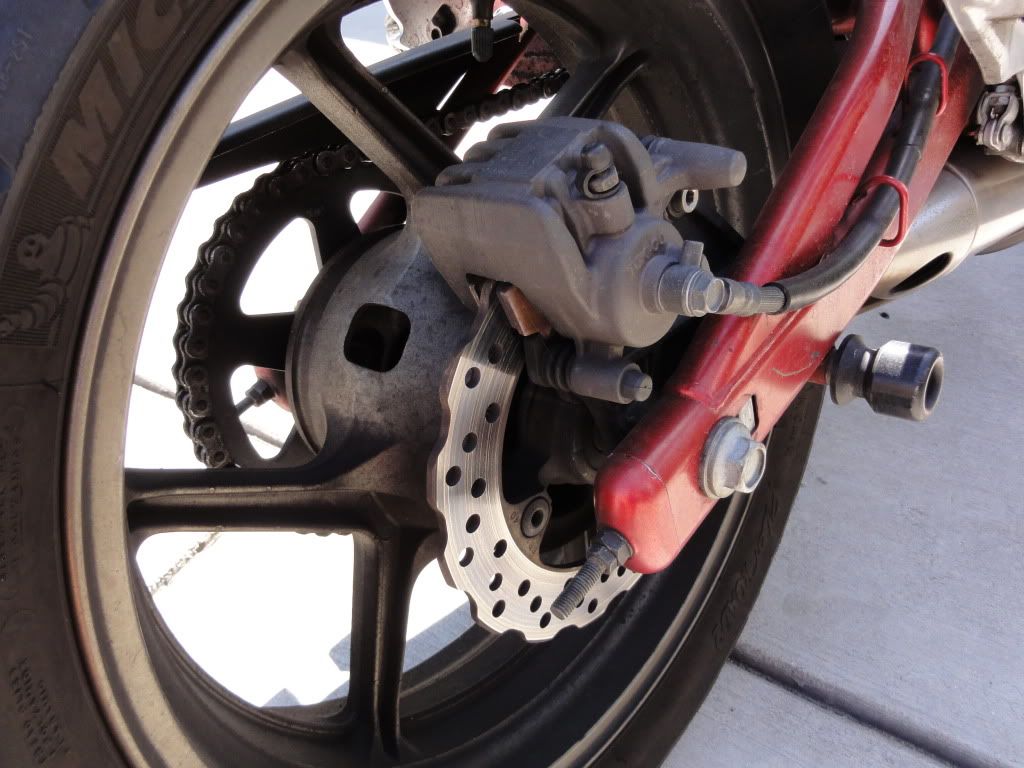
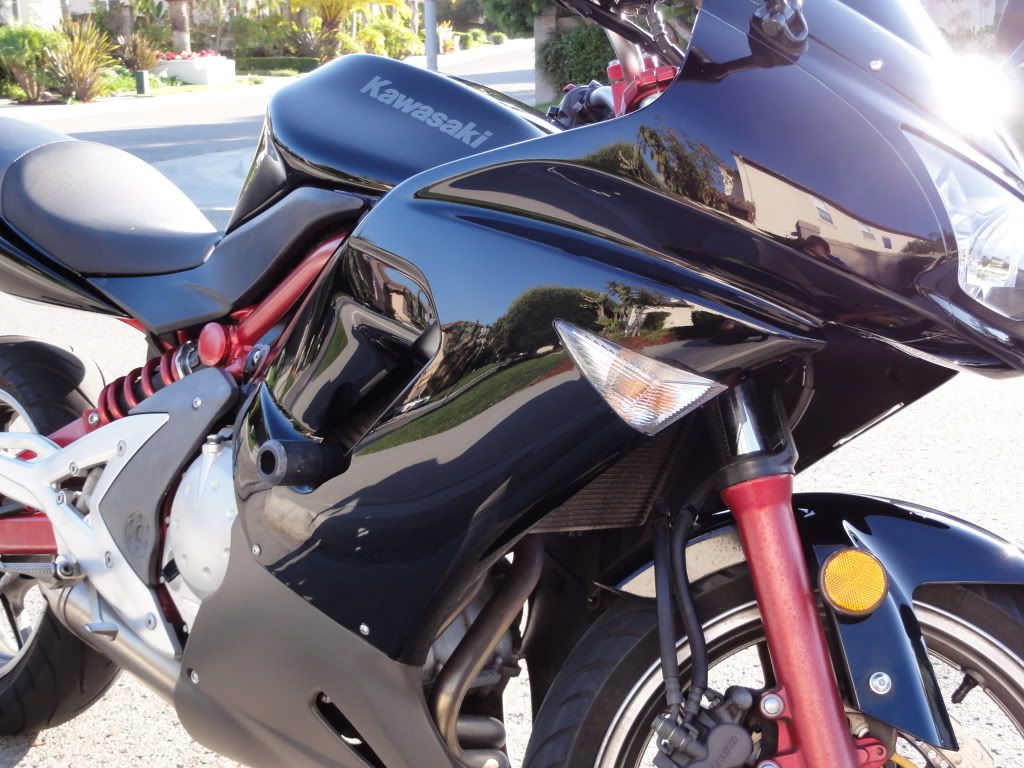
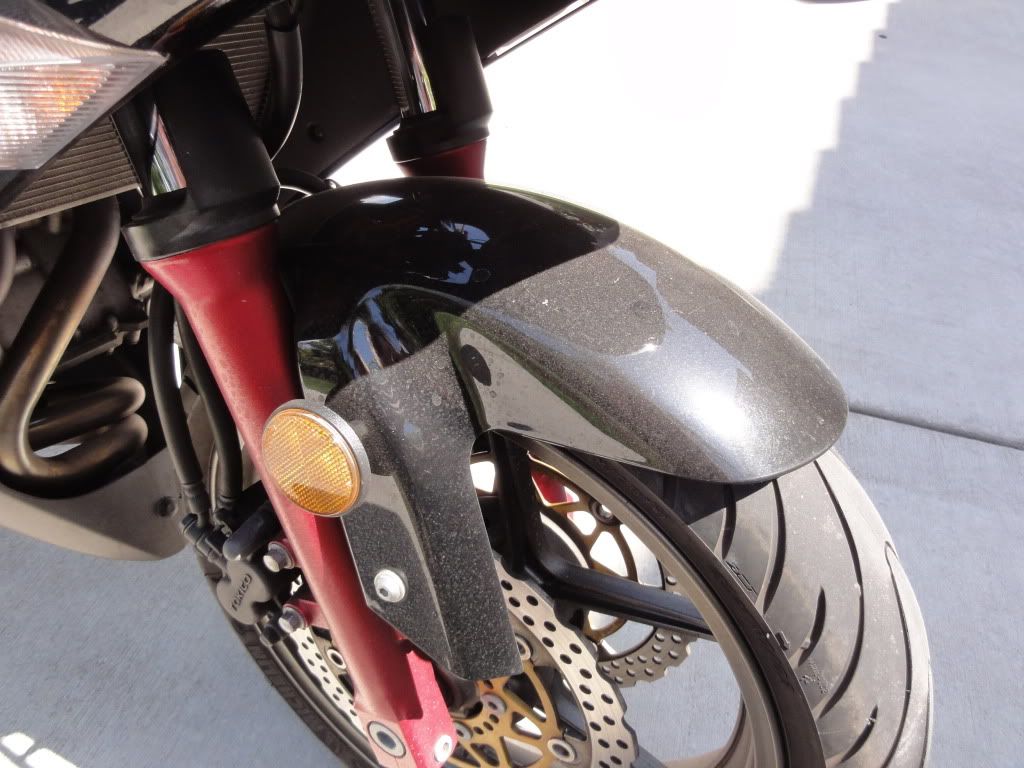
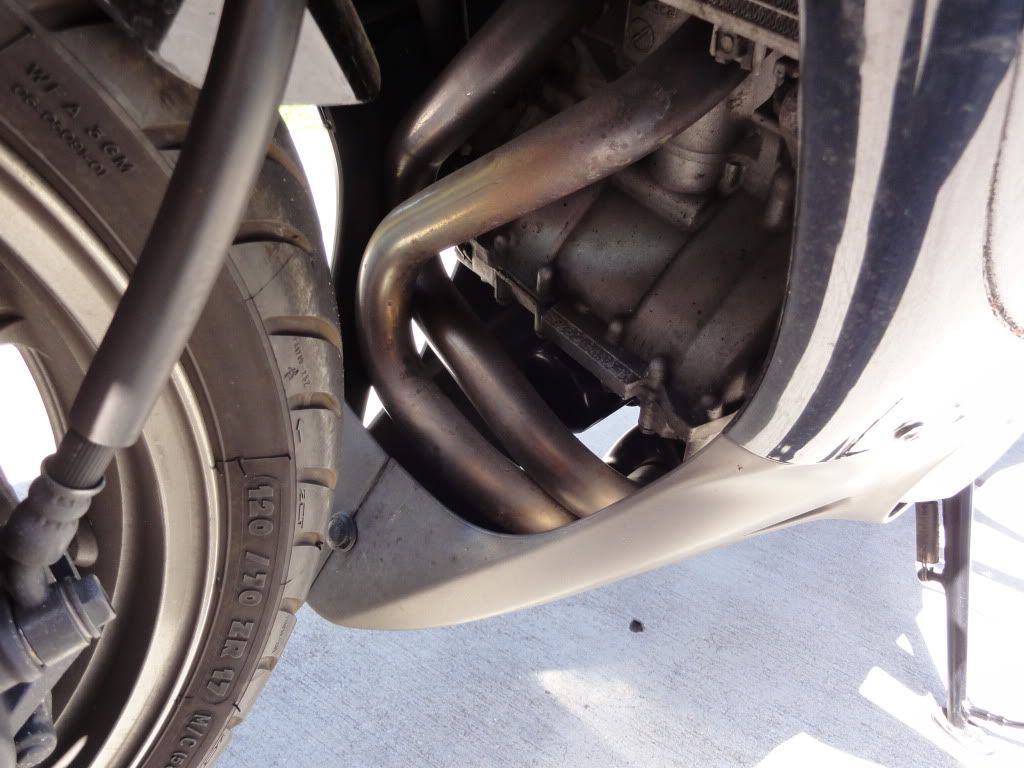
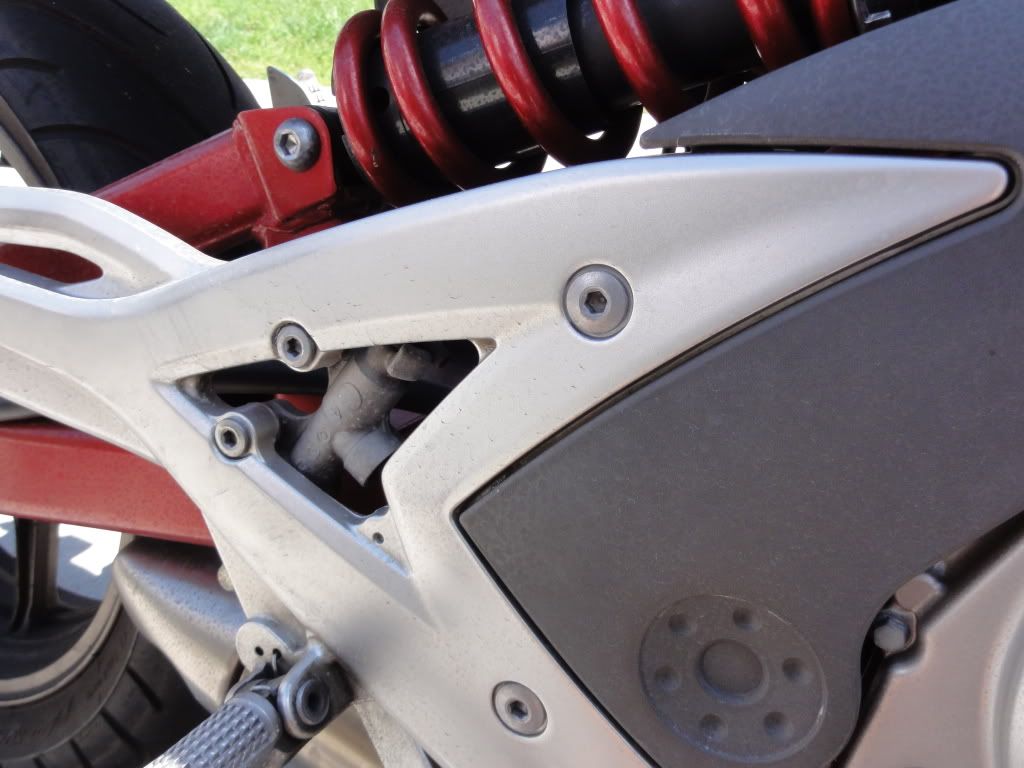
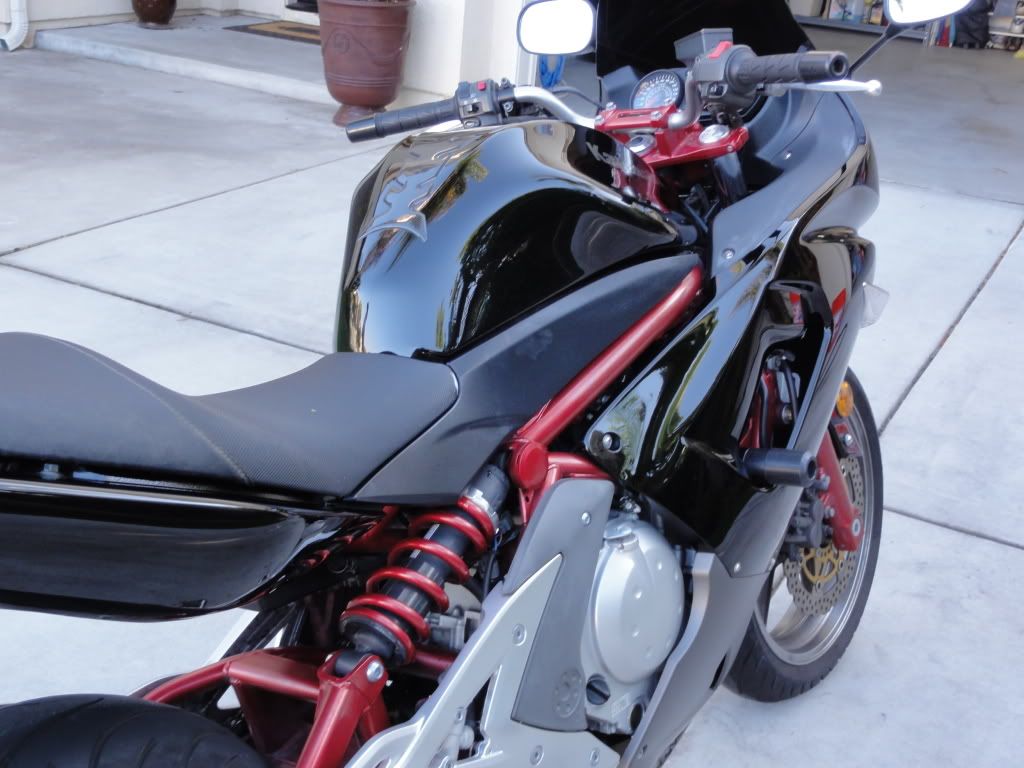
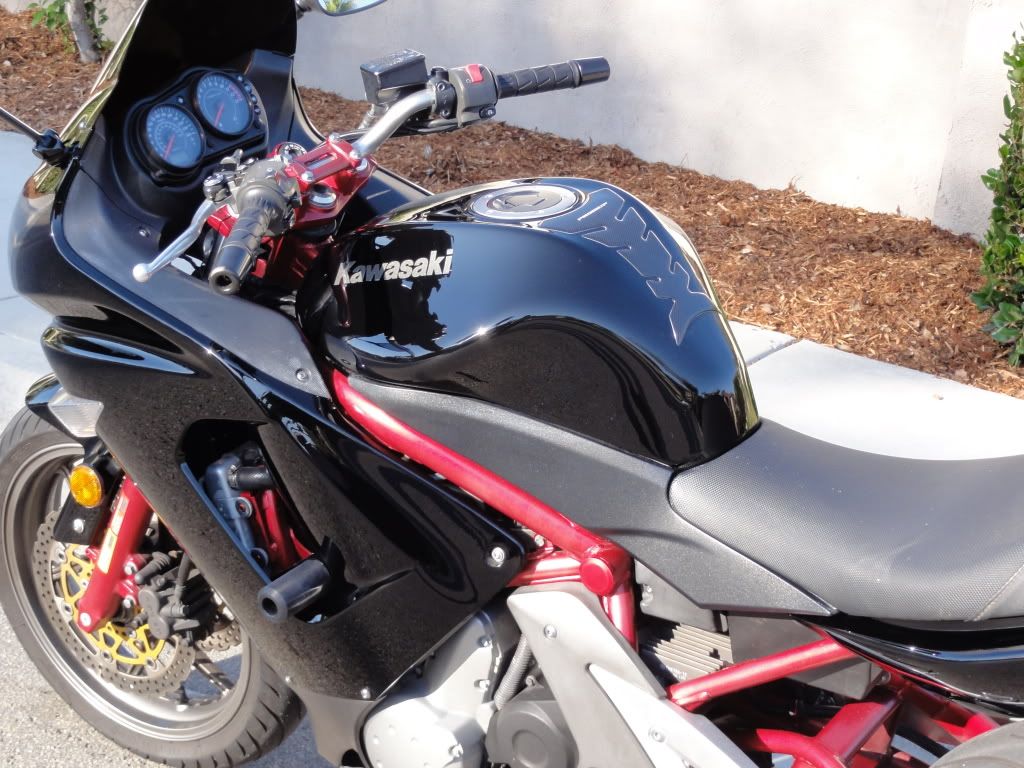
I thought this part of the suspension was a very cool. Very Ferrari Enzo like

After we took 1,205 before pictures, we decided it was time to start detailing. I always have to remind myself that i am NOT a photographer but a detailer. It's so easy to get carried away!
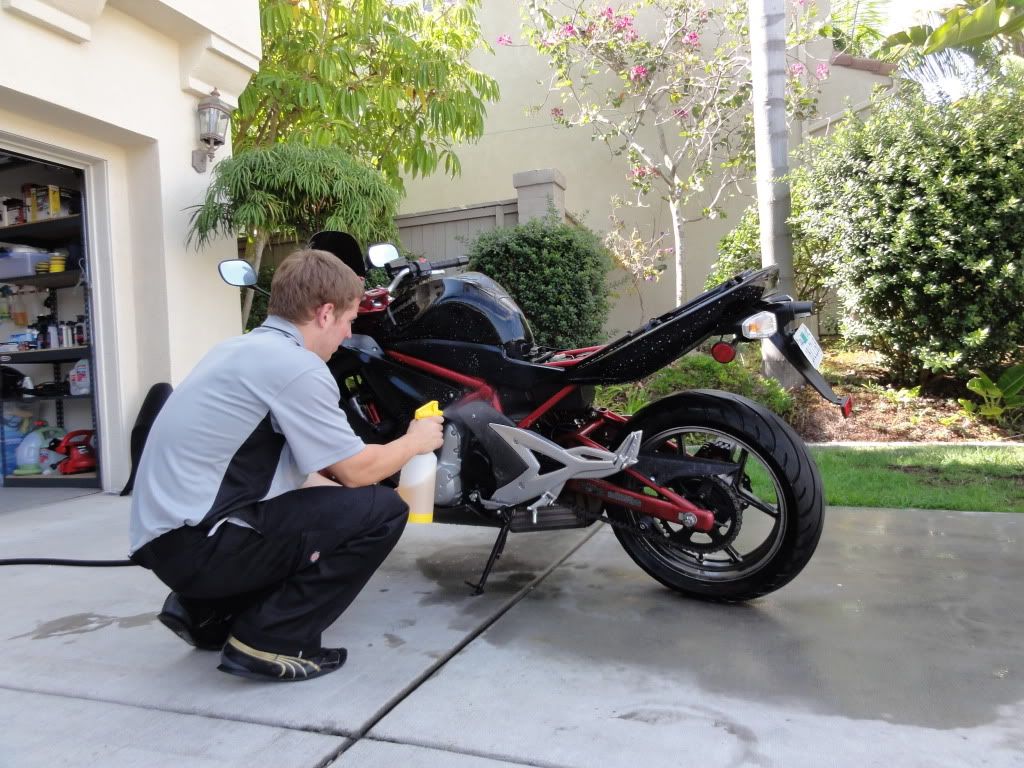
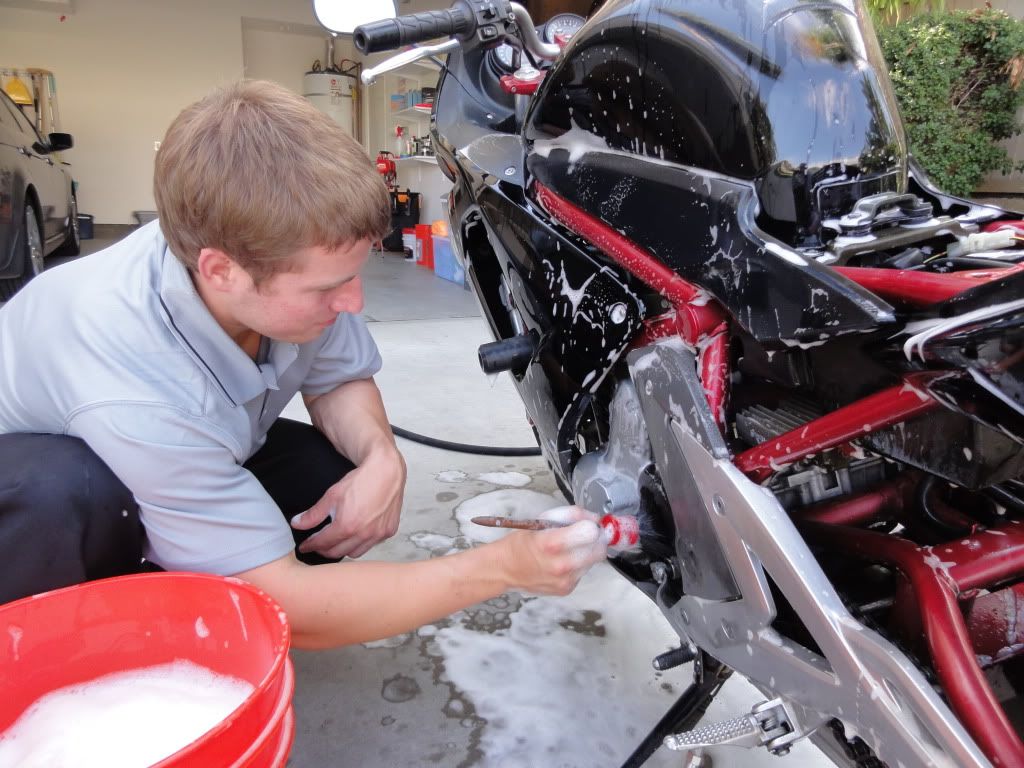
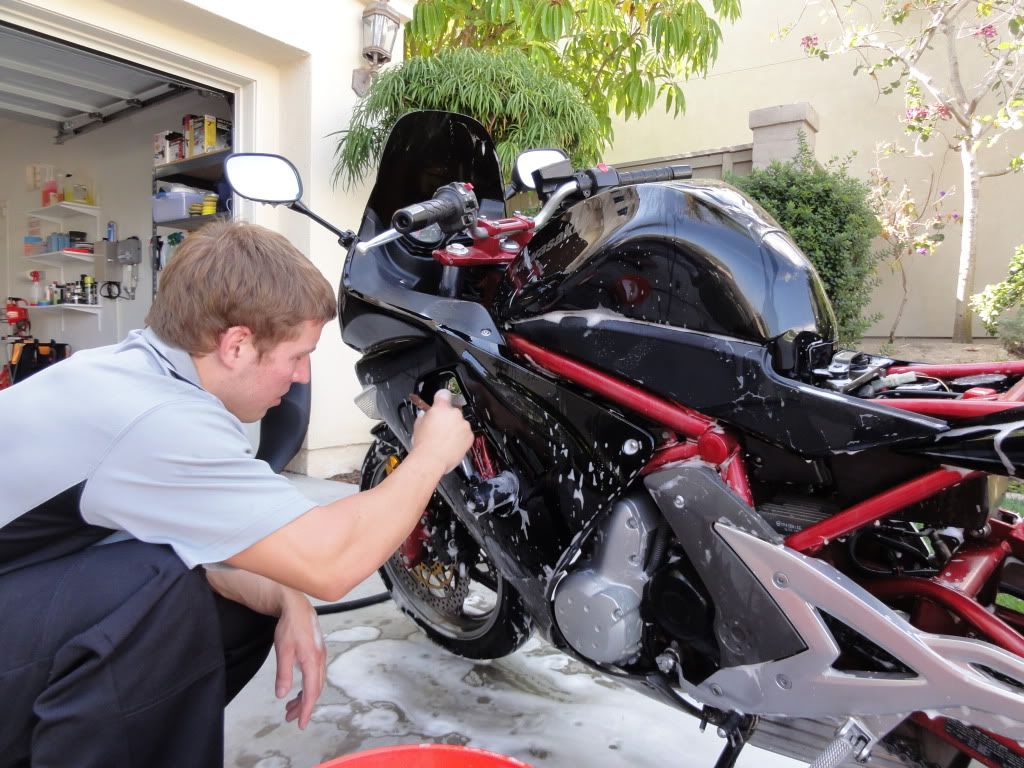
Bike was presoaked with APC 5:1 to help loosen up the grime.
The bike was then washed thoroughly SEVERAL times until all the dirt was off the bike and running down the driveway.

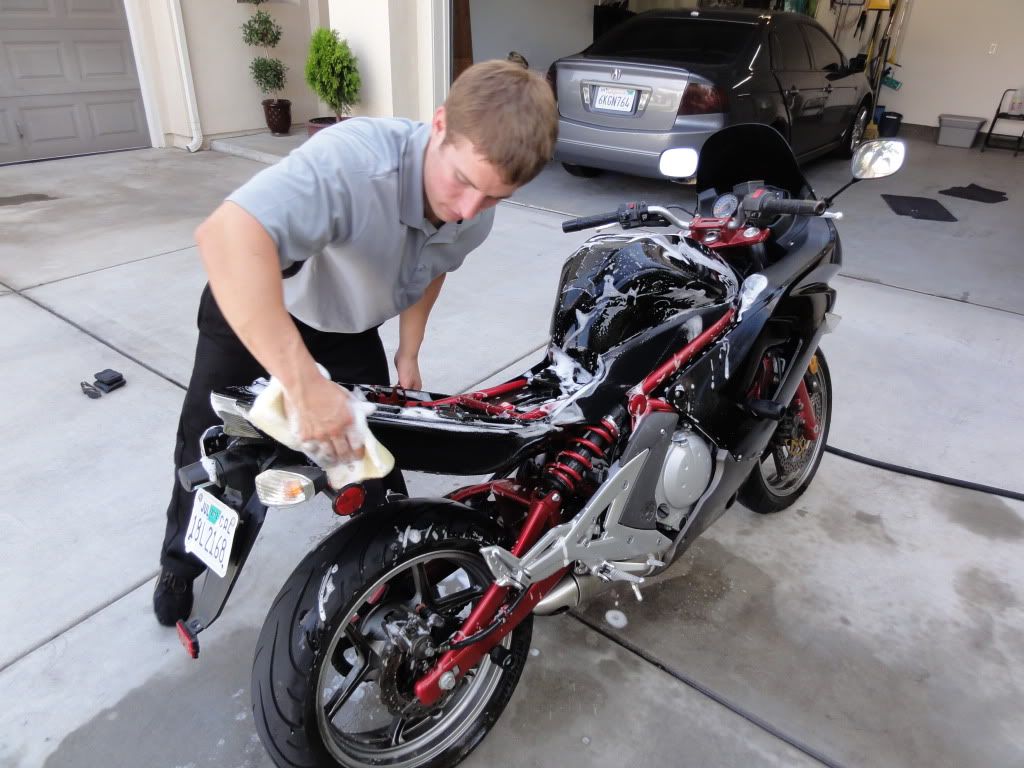
The small, tight crevices were agitated with a brush.
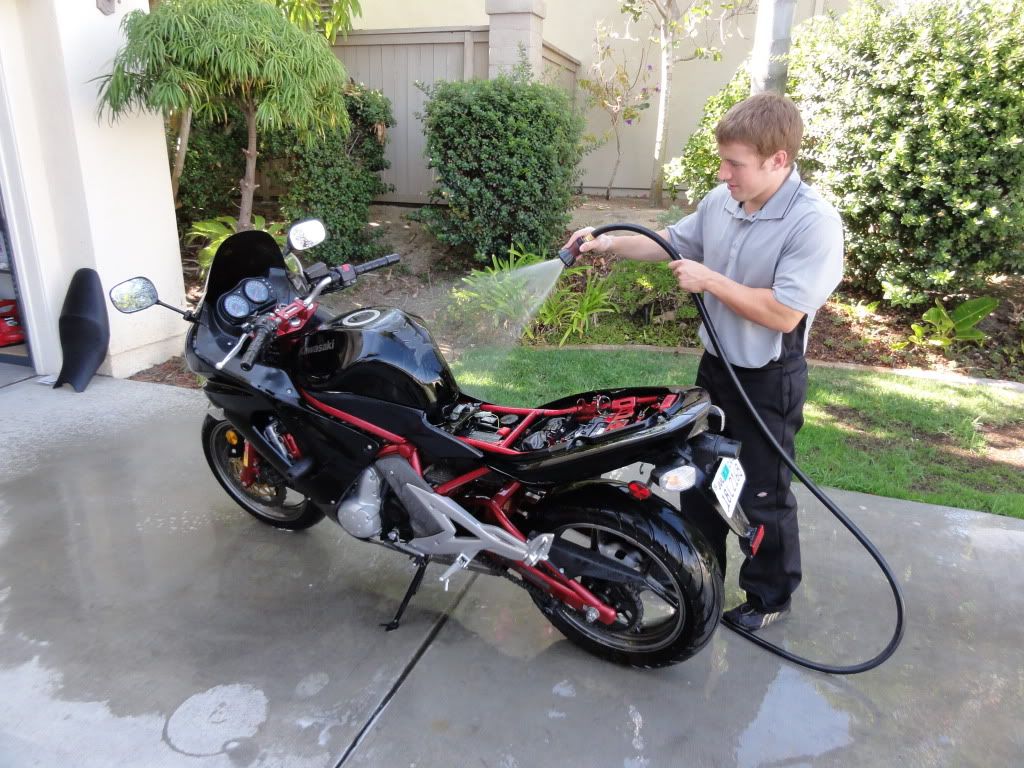
Bike was then Rinsed...
Then Dried...
After being fully dried we assessed the paint. After showing the paint in different light conditions i determined the best way to get the bike to 'POP' would be for a full paint correction. He kindly obliged :crasy:
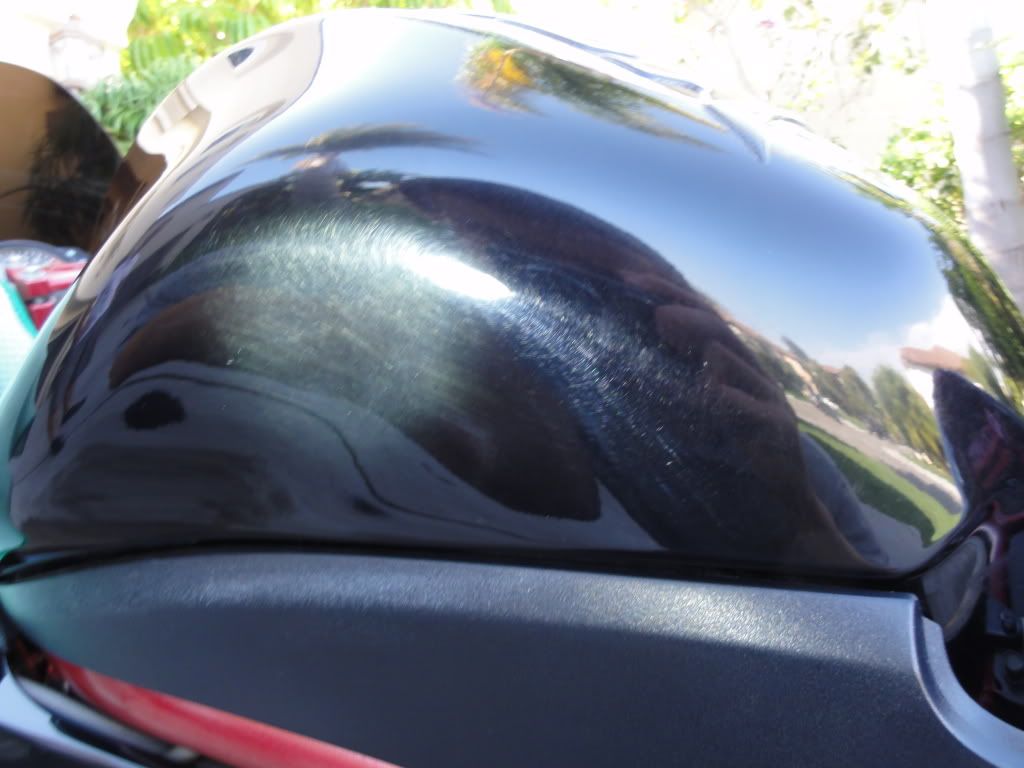
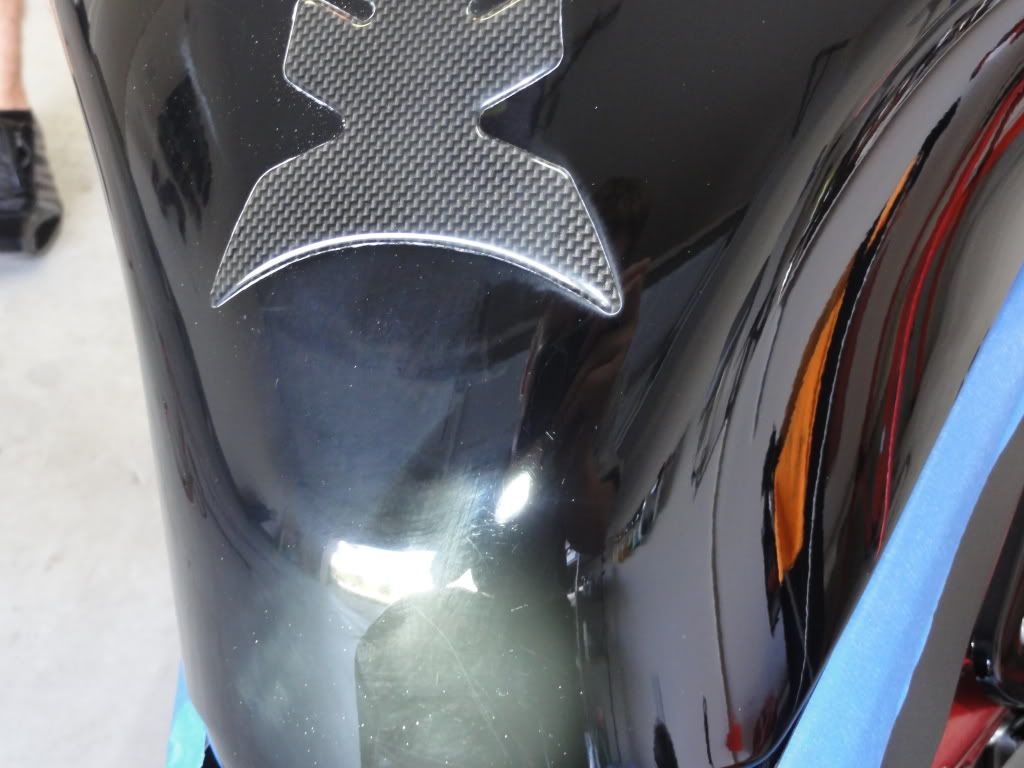
This was the condition of the paint after two IPA wipedowns. Plenty of swirls, water spots and marring from his tank protector.

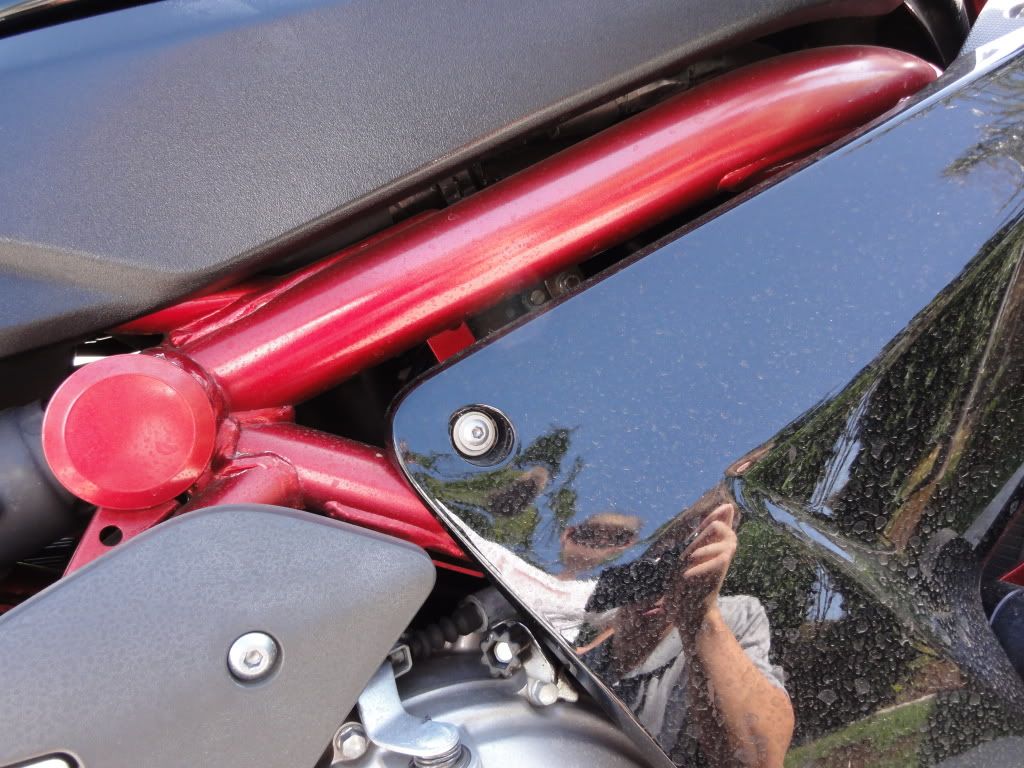
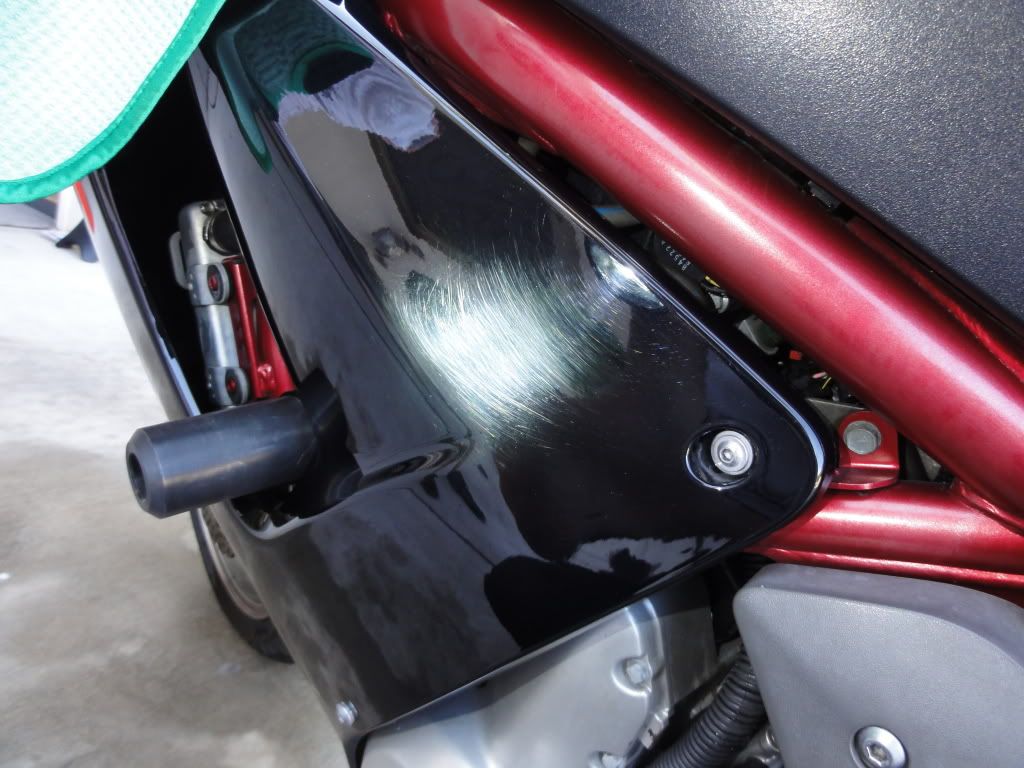
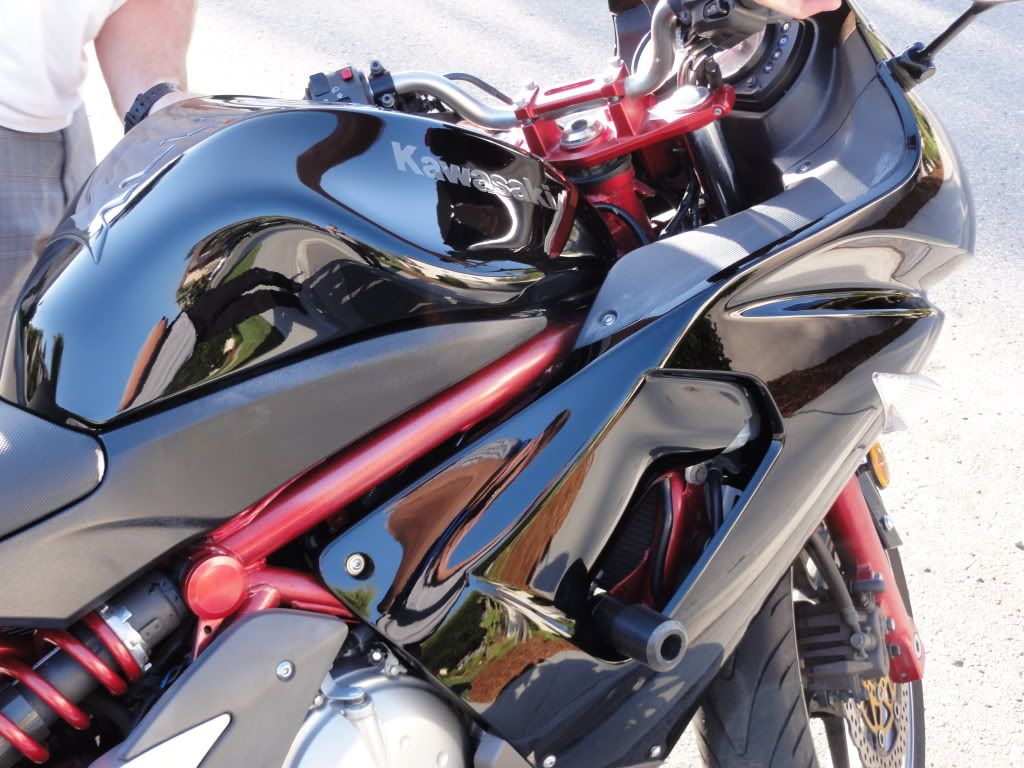
Side ferrings needed some love as well..
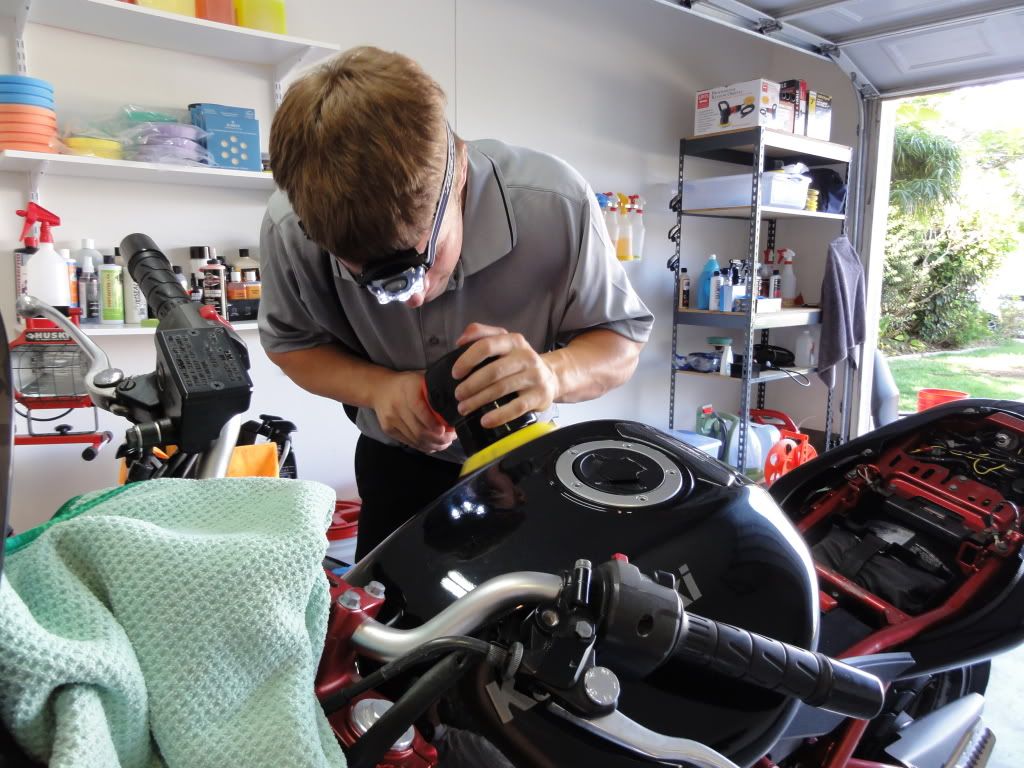
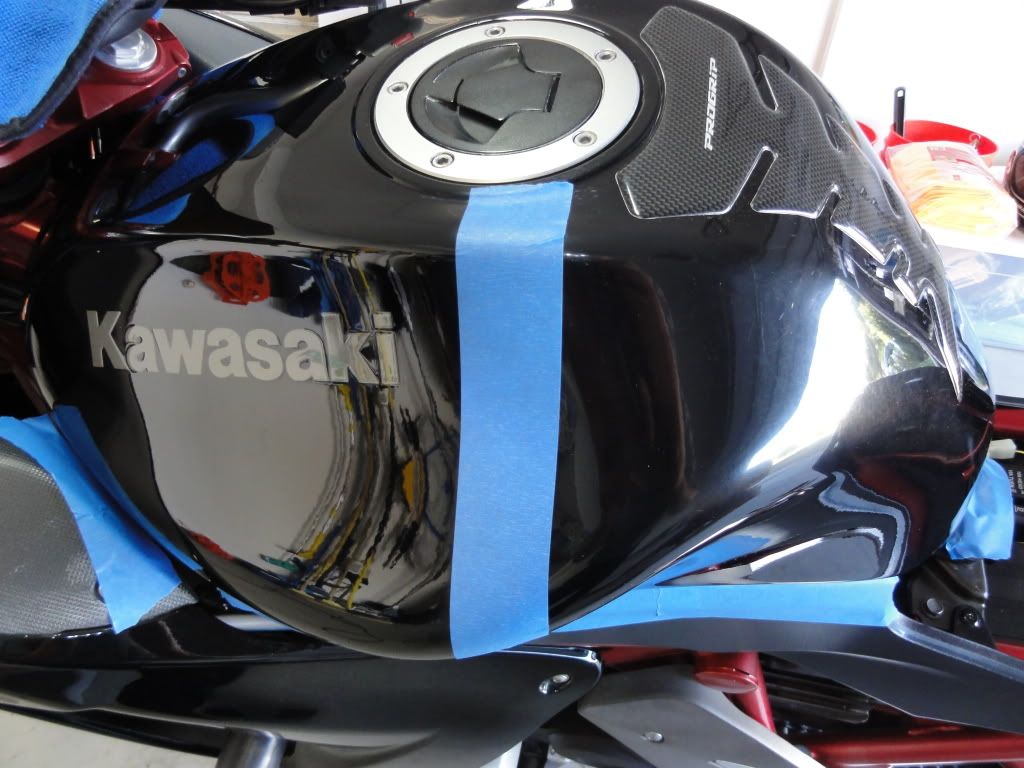
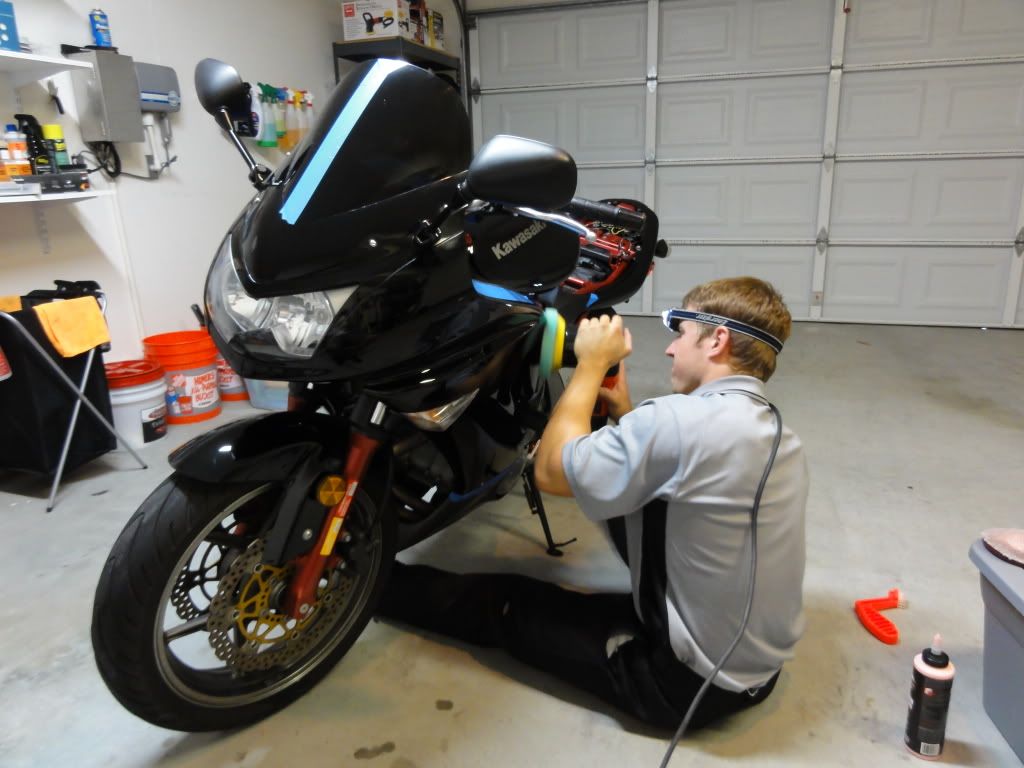
After documenting the paint condition thoroughly, the bike was pulled inside and taped off.
I nailed the combination down first try on my test spot which really never happens. So i then worked my way around the bike pretty effortlessly as everything corrected out perfectly! Thank you Japanese painters

Checking the results after the test spot.
You could say it was a winner.
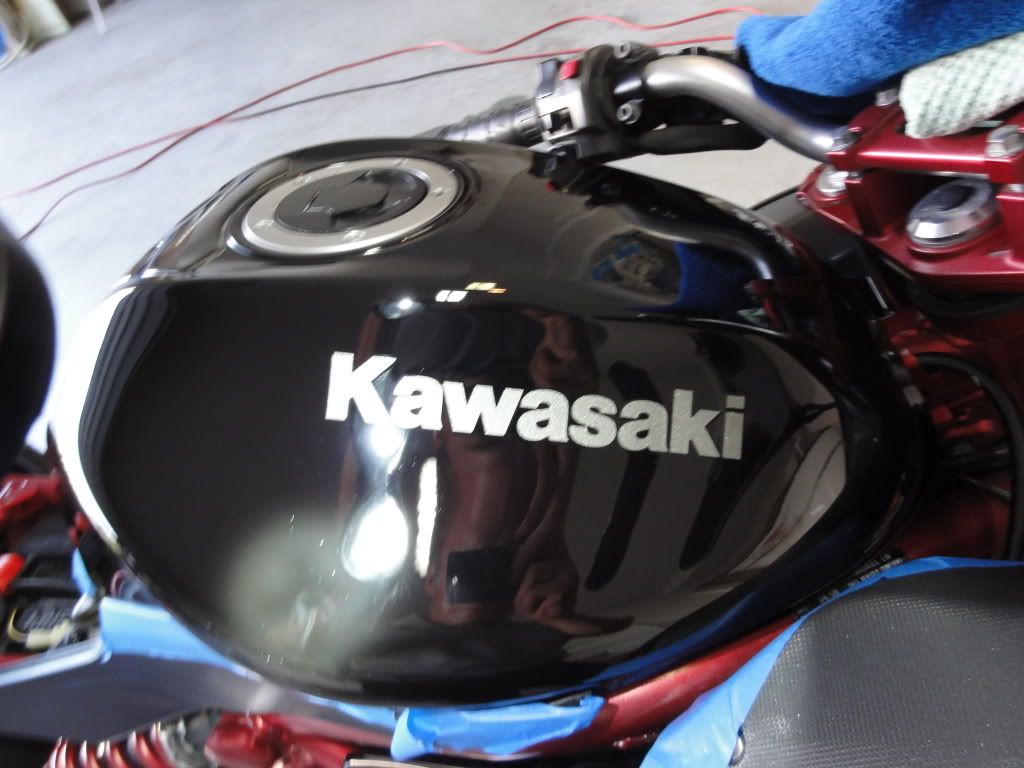
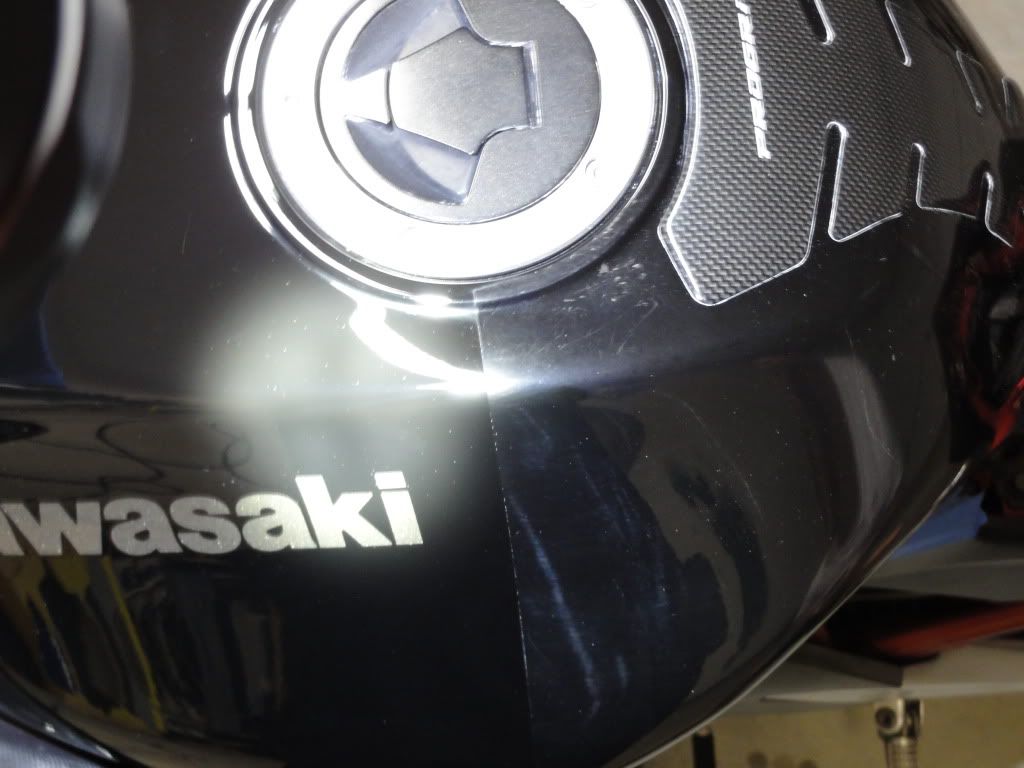
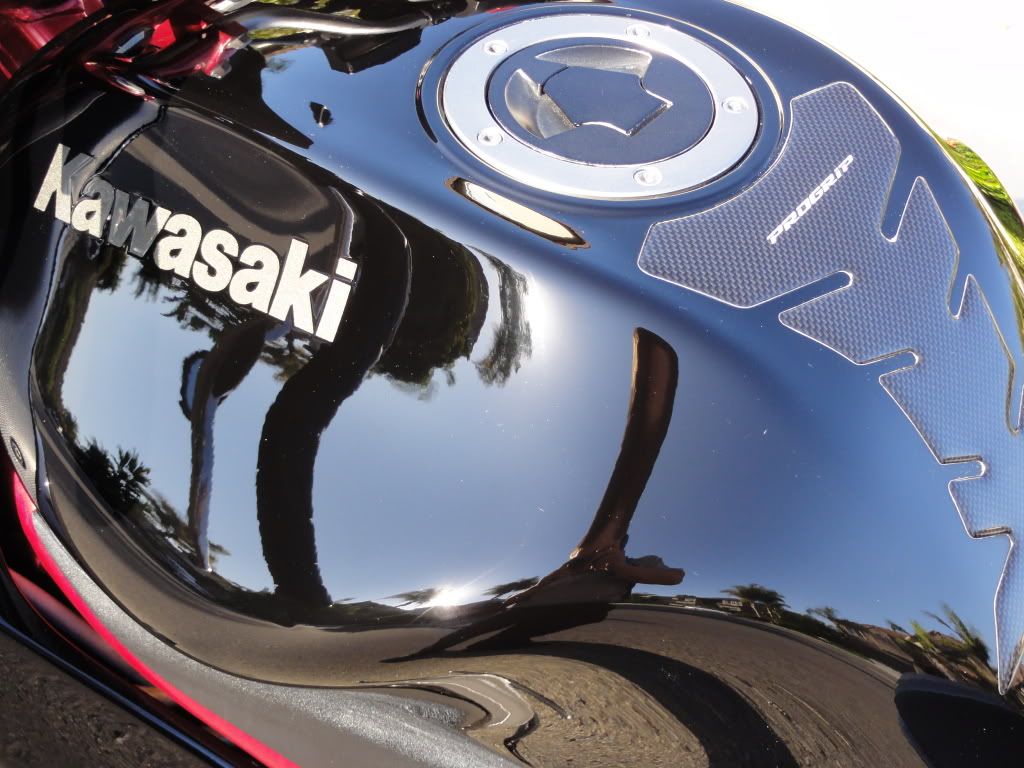
Opposite of the tank for comparison purposes
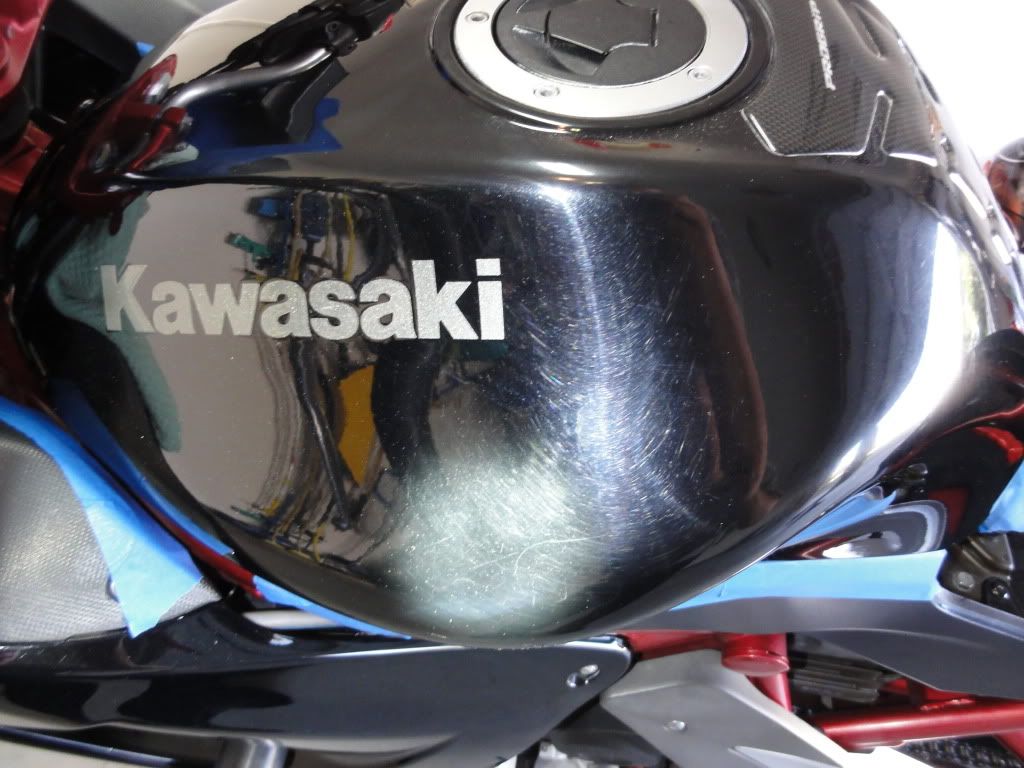
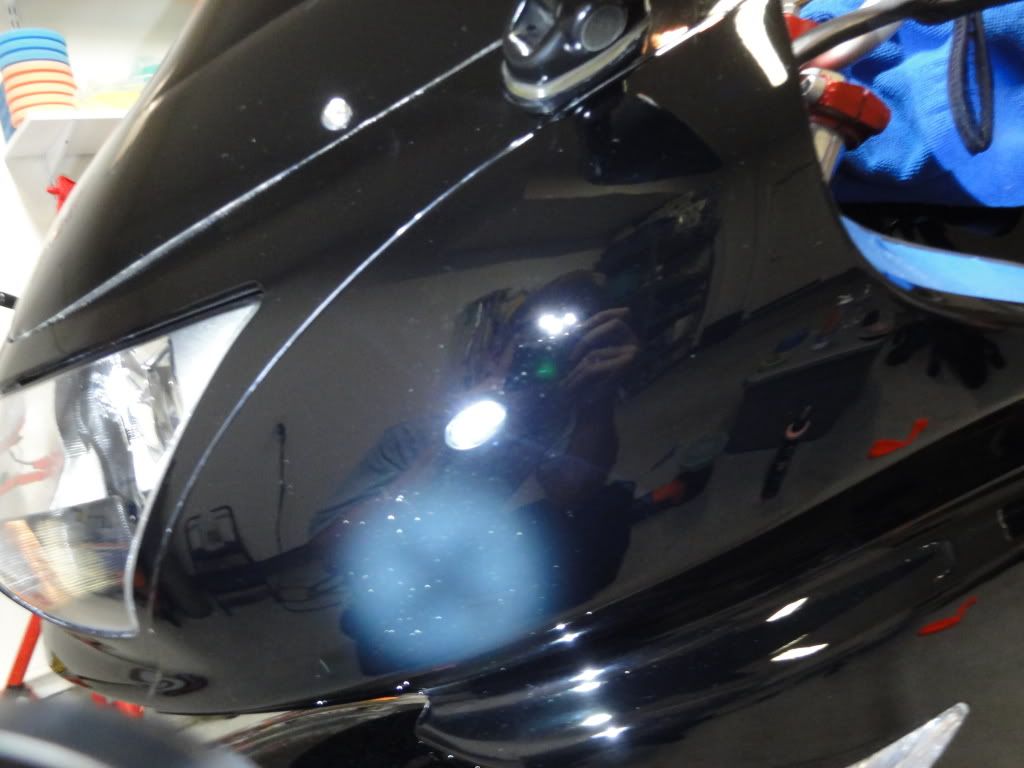
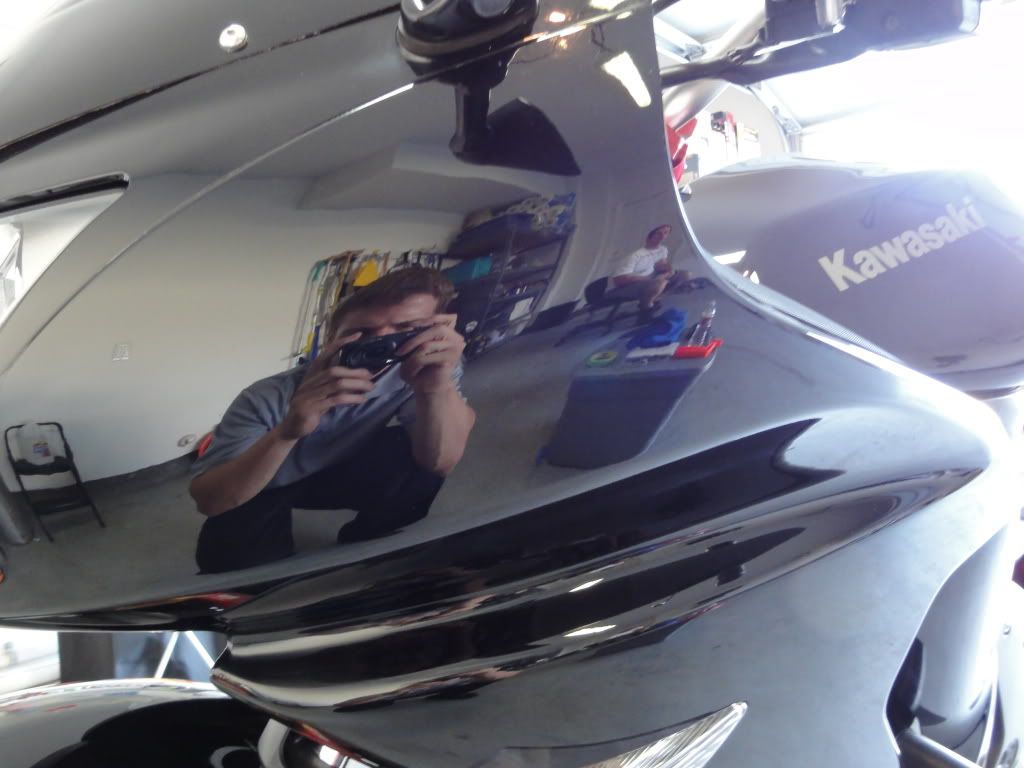
Reflection shot showing the difference in clarity from a properly corrected panel to one that is left un touched. Notice the reflection and gloss on the right side compared to the dull paint on the left.
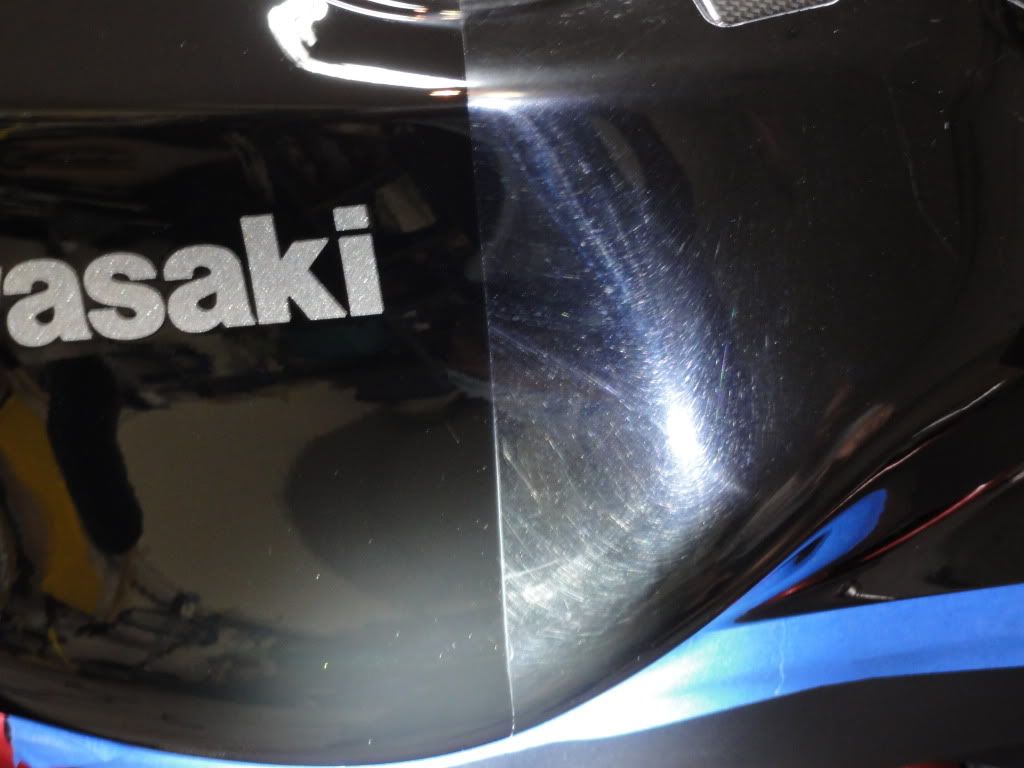
Taped up for a 50/50. You can even see the difference under natural light!
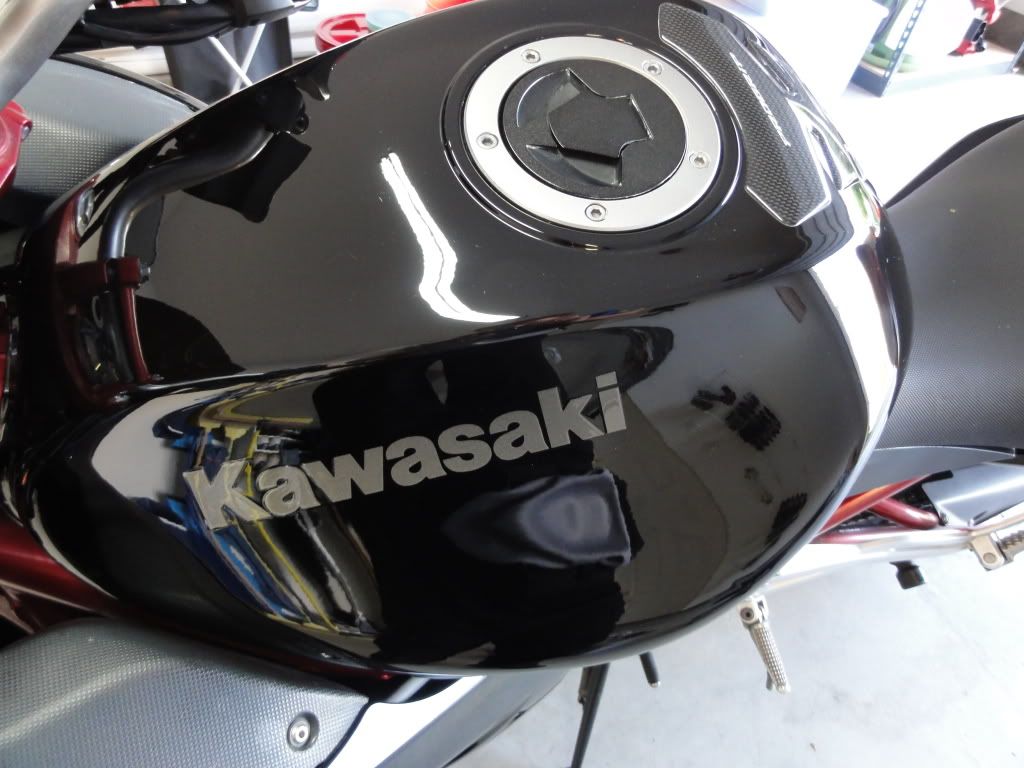
Correction shots. Remember, these are with no LSP what so ever. Just the pure gloss and shine of the paint is showing.
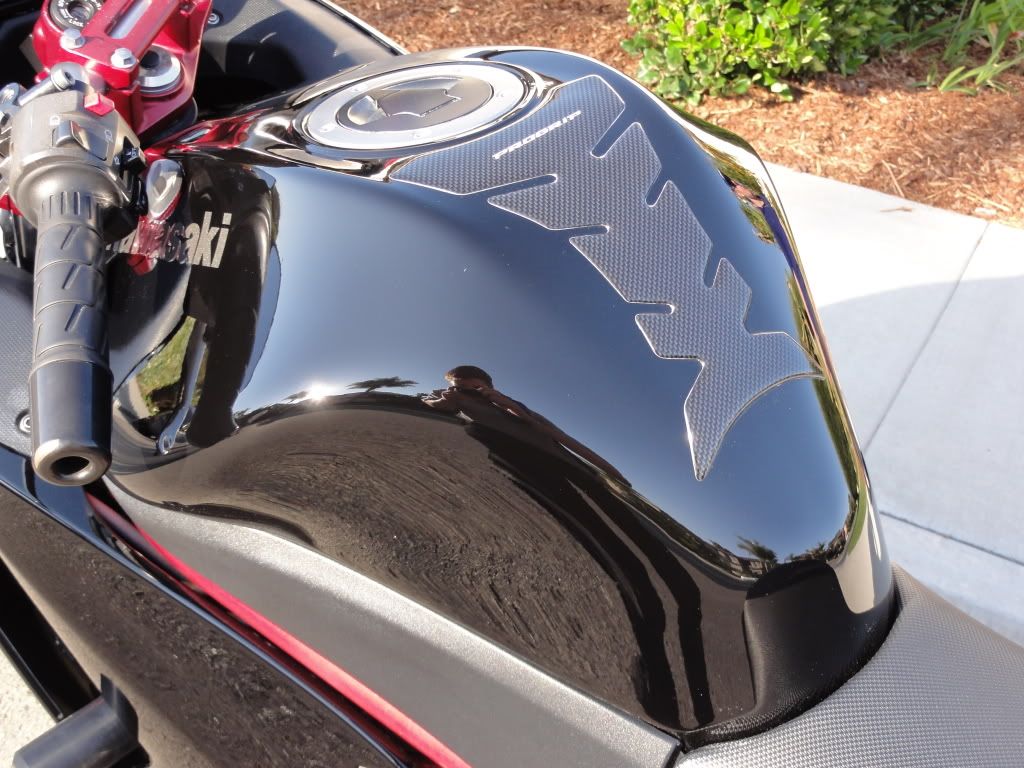
50/50 of the tank

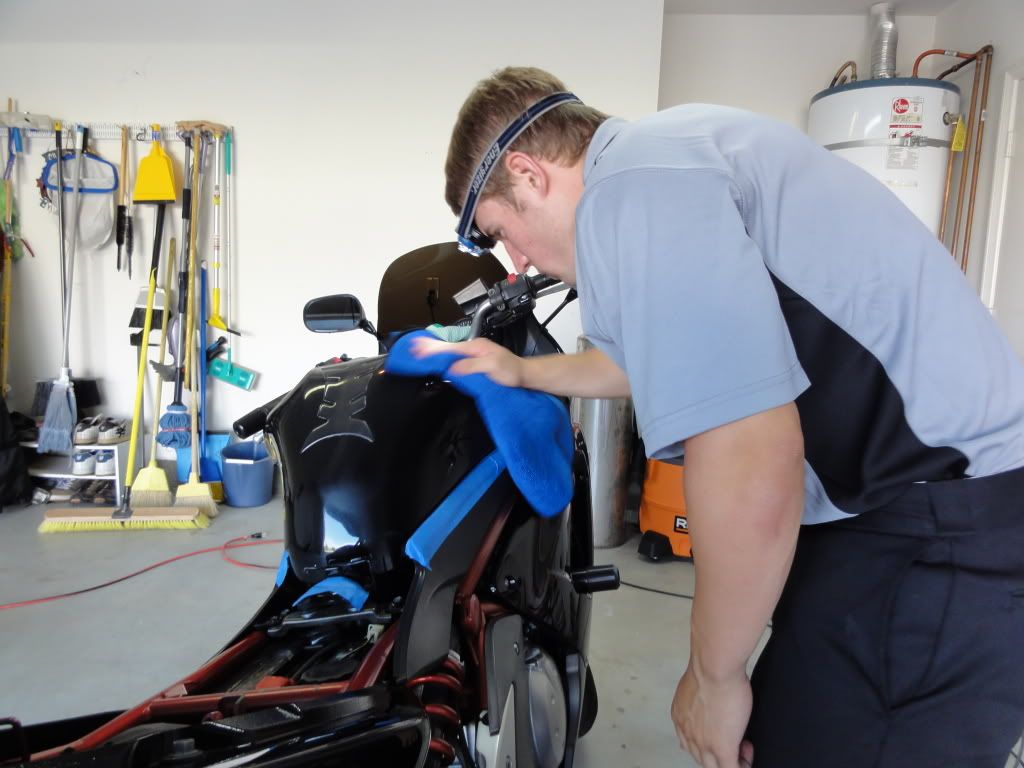
And the rest of the polishing photos...
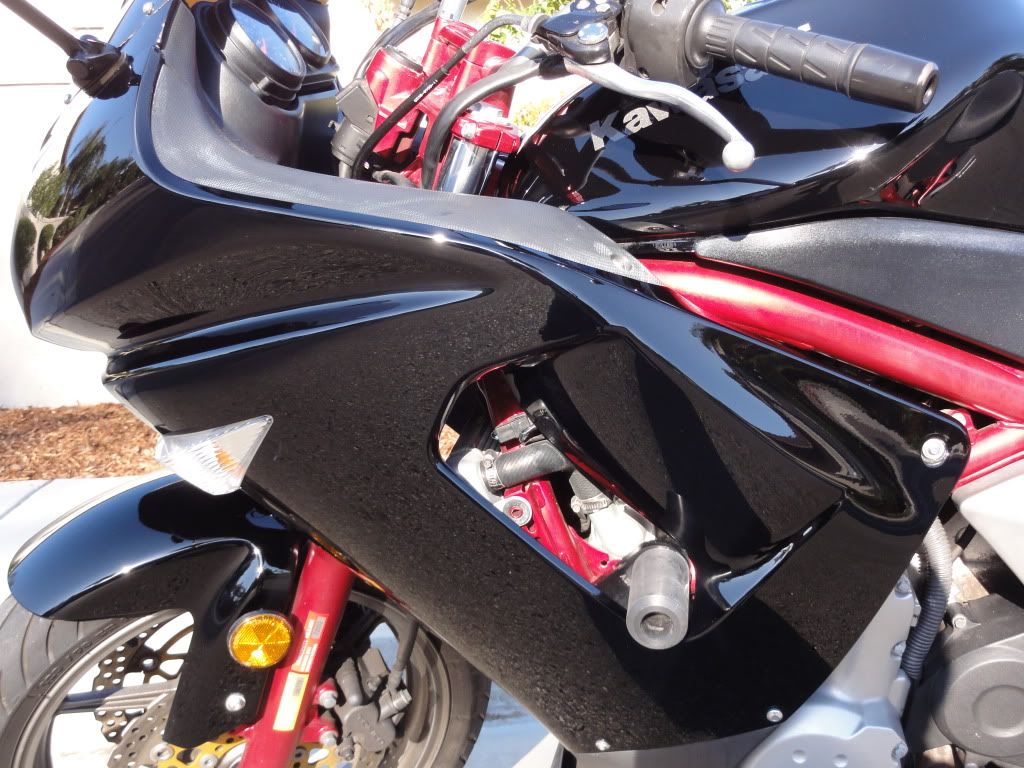
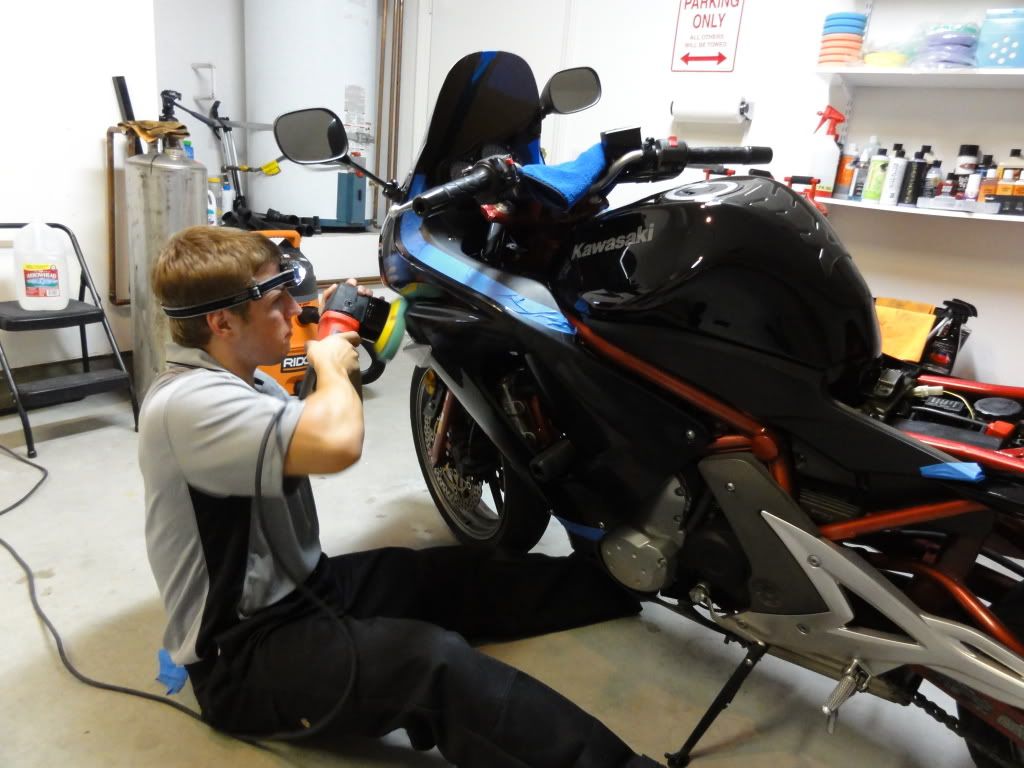
Ferrings were fun to correct out with all their unique angles and tight contours. :yikes:
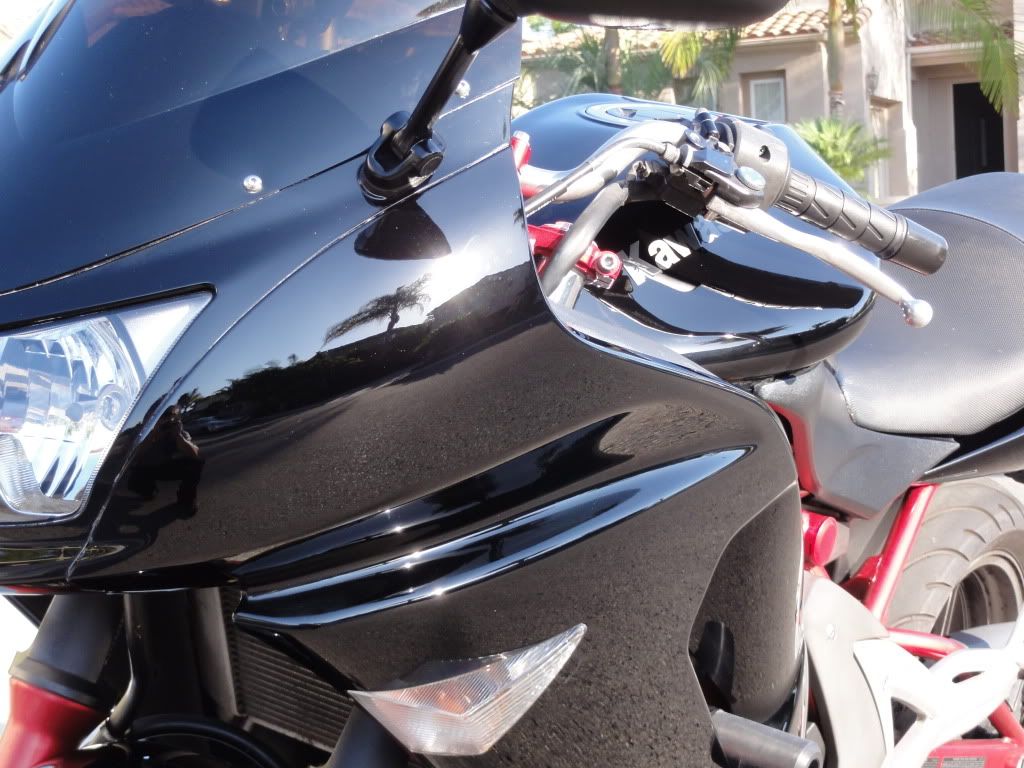
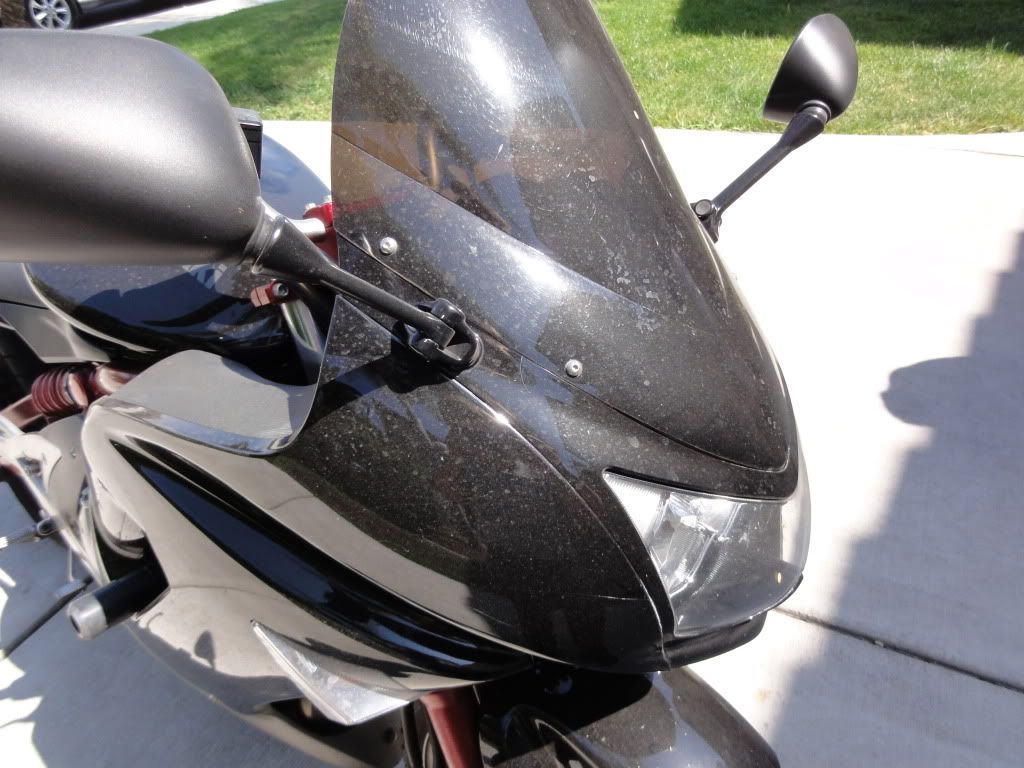
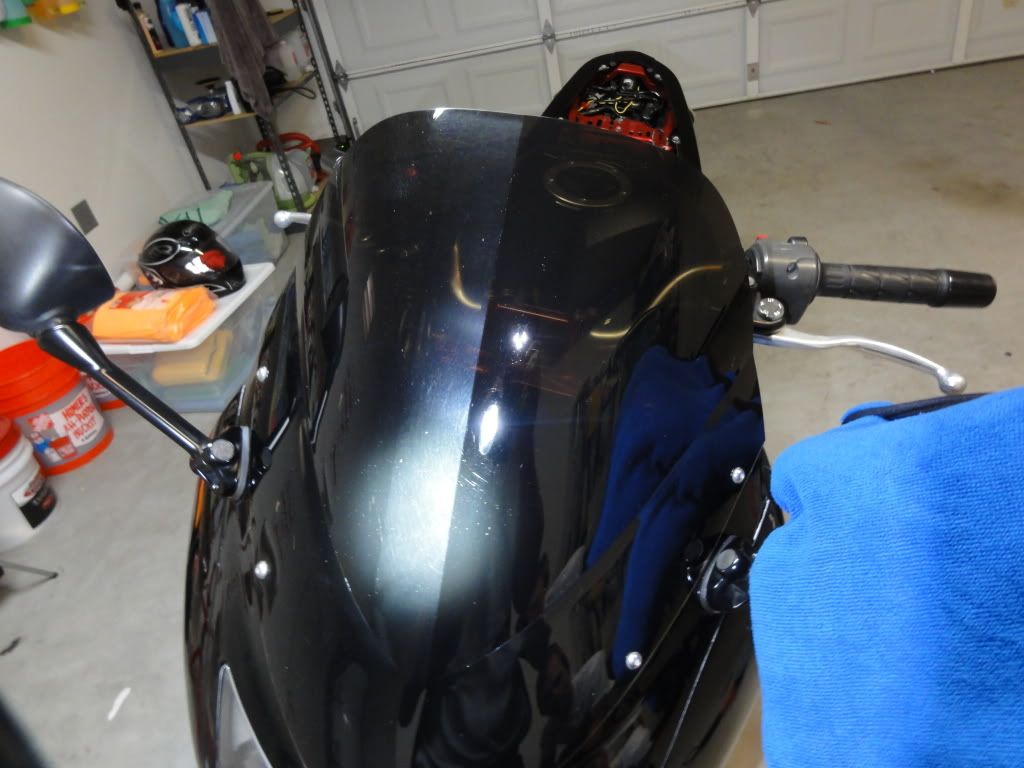
Huge improvements were made on the plastic windscreen. Can you say drastic change?
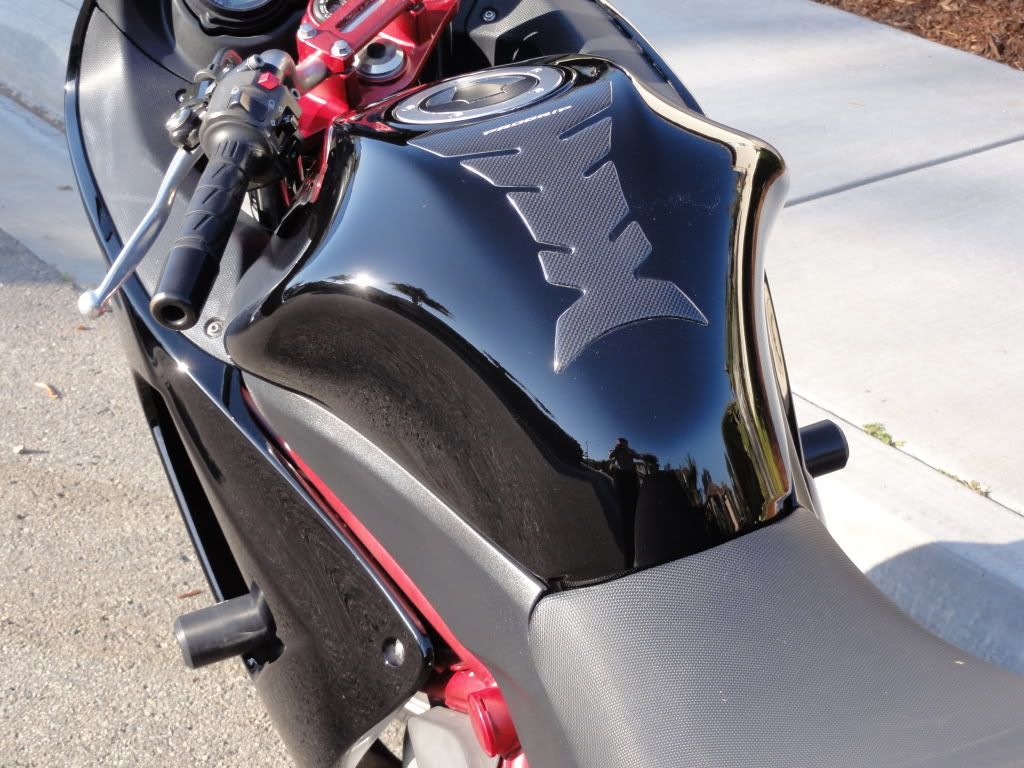
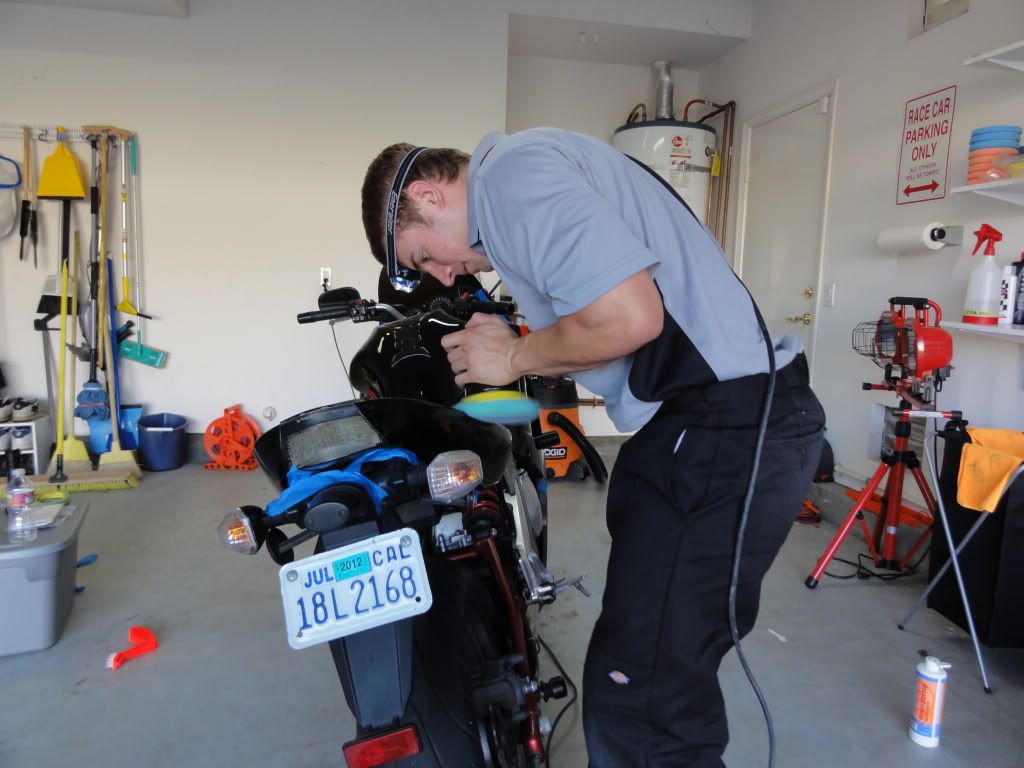
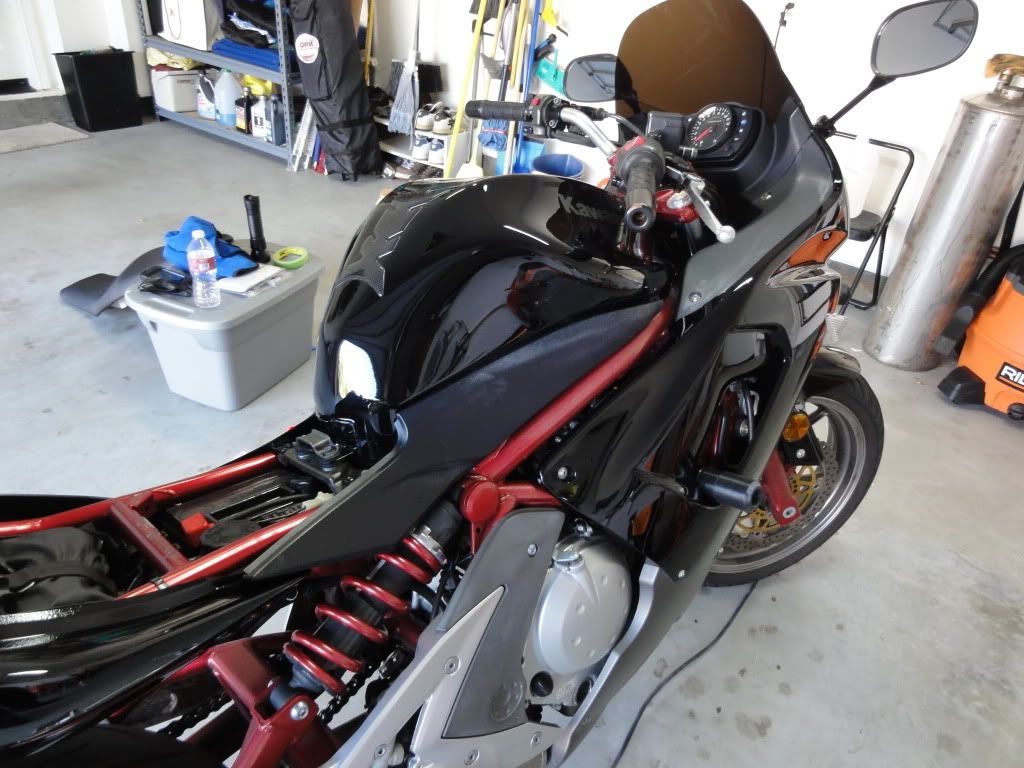
Rest of the panels were then polished out to perfection.

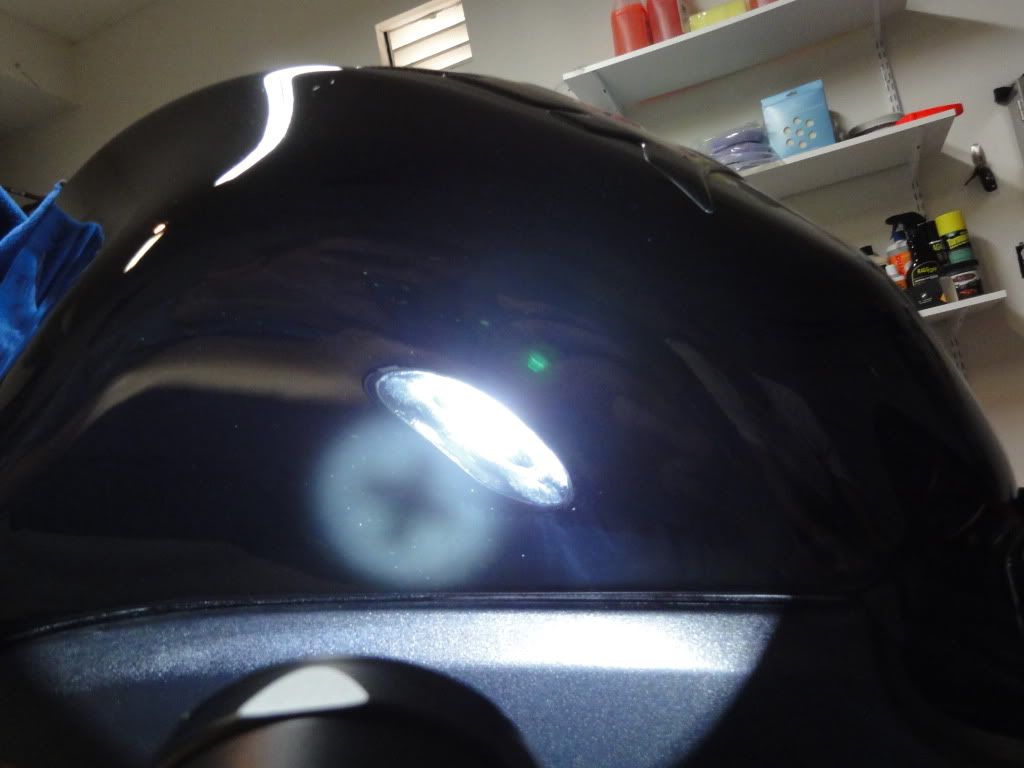
Reflection shots before LSP


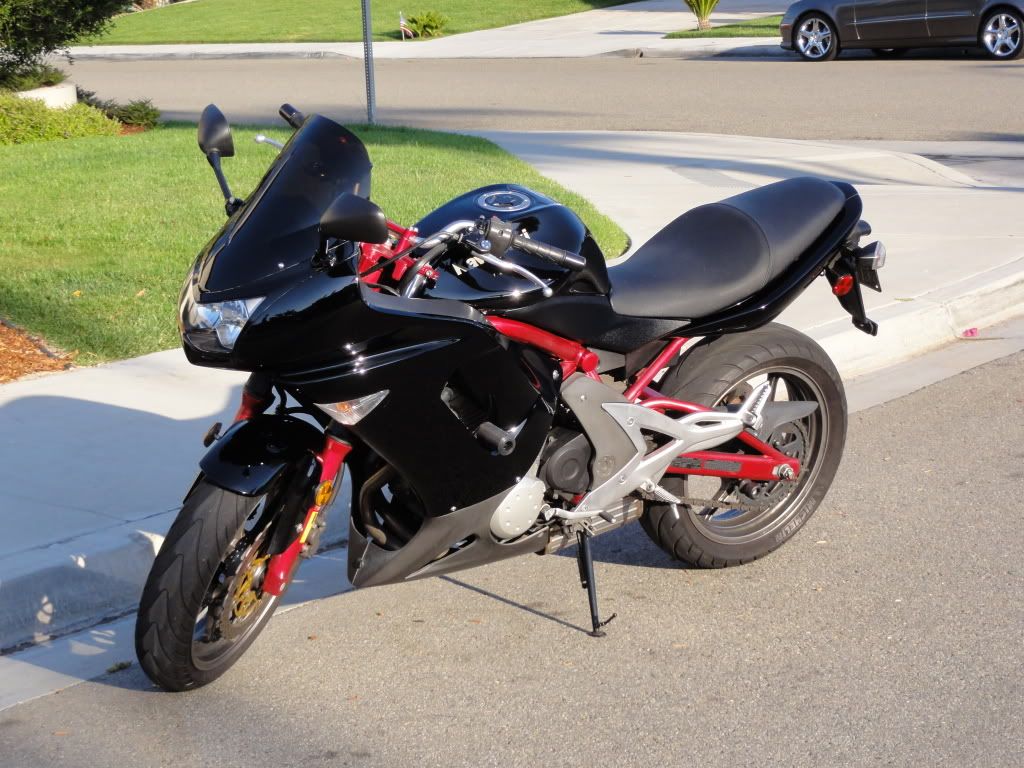
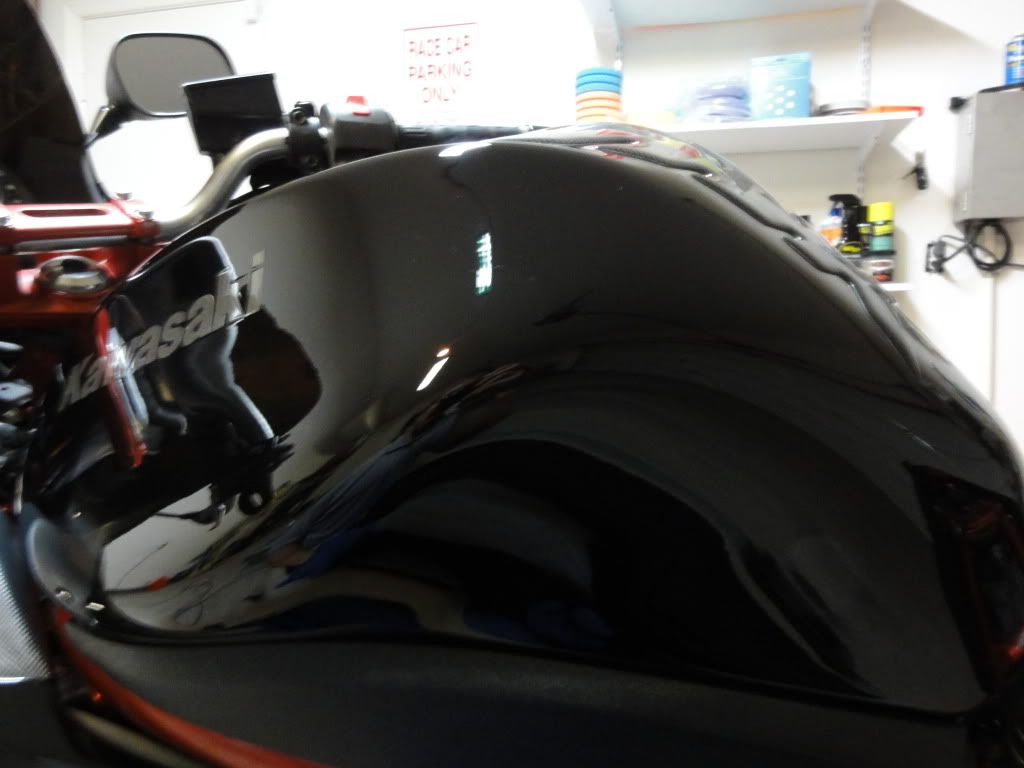
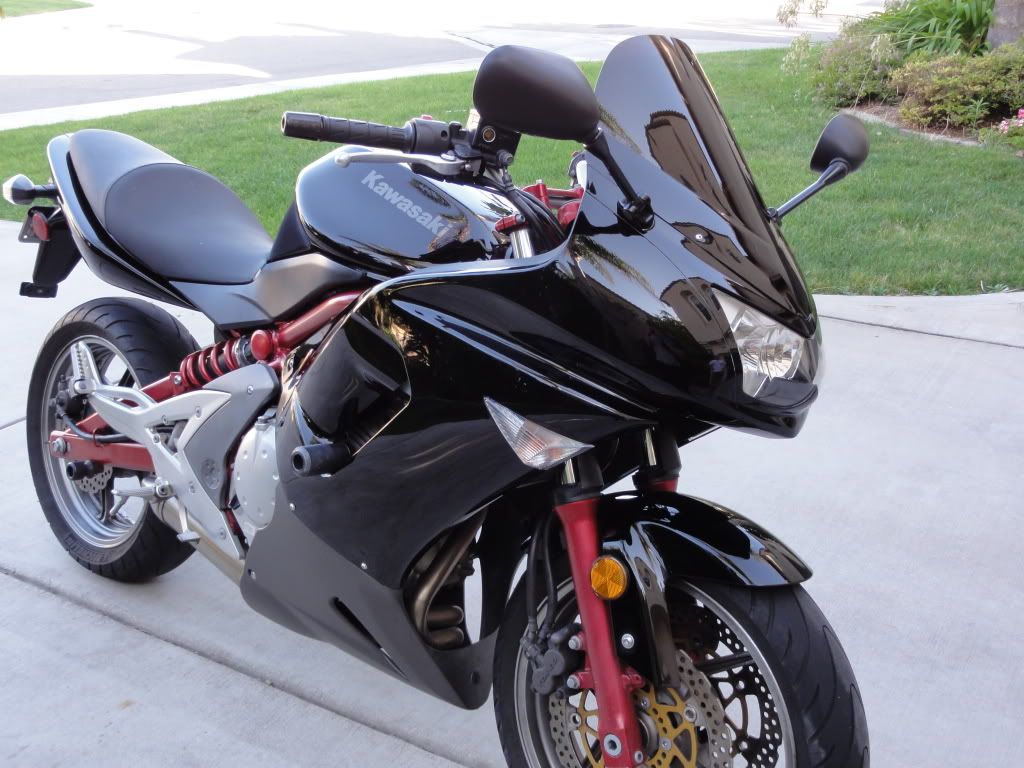
And finally onto the FINAL finished shots. I know it's been alot of pictures to look through but the finished product was well worth the wait.
Enjoy!
Big difference from the beginning?
Upon arrival of the bike i realized the original two hours i quoted him for a detail would be a little optimistic. Him being a good friend, he said i could take as long as i wanted to bring the bike back to a good condition. I think i did just that and then some based on the expression on his face throughout the process. He even got his hands on the polisher for a few section passes!
We'll start with some before pictures to show the level of dirt, grime and rare bug guts it has accumulated sitting outside and from the ride down from school.
Warning: Picture Happy :headbang:
Front windscreen and bumper area was caked on with dirt. Bumper area? I guess in car terms it is a bumper..
Rims and tires had a good amount of grease, road grime and brake dust. These required several cleanings to show true metal once again.
Water spots were consistent throughout the bike but primarily noticeable on all the plastic fairings.
Grease and caked on dirt needed some attention as well...
I thought this part of the suspension was a very cool. Very Ferrari Enzo like
After we took 1,205 before pictures, we decided it was time to start detailing. I always have to remind myself that i am NOT a photographer but a detailer. It's so easy to get carried away!
Bike was presoaked with APC 5:1 to help loosen up the grime.
The bike was then washed thoroughly SEVERAL times until all the dirt was off the bike and running down the driveway.
The small, tight crevices were agitated with a brush.
Bike was then Rinsed...
Then Dried...
After being fully dried we assessed the paint. After showing the paint in different light conditions i determined the best way to get the bike to 'POP' would be for a full paint correction. He kindly obliged :crasy:
This was the condition of the paint after two IPA wipedowns. Plenty of swirls, water spots and marring from his tank protector.
Side ferrings needed some love as well..
After documenting the paint condition thoroughly, the bike was pulled inside and taped off.
I nailed the combination down first try on my test spot which really never happens. So i then worked my way around the bike pretty effortlessly as everything corrected out perfectly! Thank you Japanese painters
Checking the results after the test spot.
You could say it was a winner.
Opposite of the tank for comparison purposes
Reflection shot showing the difference in clarity from a properly corrected panel to one that is left un touched. Notice the reflection and gloss on the right side compared to the dull paint on the left.
Taped up for a 50/50. You can even see the difference under natural light!
Correction shots. Remember, these are with no LSP what so ever. Just the pure gloss and shine of the paint is showing.
50/50 of the tank
And the rest of the polishing photos...
Ferrings were fun to correct out with all their unique angles and tight contours. :yikes:
Huge improvements were made on the plastic windscreen. Can you say drastic change?
Rest of the panels were then polished out to perfection.
Reflection shots before LSP
And finally onto the FINAL finished shots. I know it's been alot of pictures to look through but the finished product was well worth the wait.
Enjoy!
Big difference from the beginning?