Acura TL in Nighthawk Black Pearl Revived!

Rickrack

New member
.


I detailed this Acura TL on Easter weekend for a fellow Autopian. He had me detail his black Acura RSX last year, but unfortunately it was involved in an accident and the car was totaled. This TL was bought to replace it and was in need of some TLC.


MarchDetails095.jpg


MarchDetails097.jpg


MarchDetails101.jpg


MarchDetails102.jpg


MarchDetails105.jpg


BlackAcuraTL002.jpg


BlackAcuraTL004.jpg


BlackAcuraTL006-1.jpg


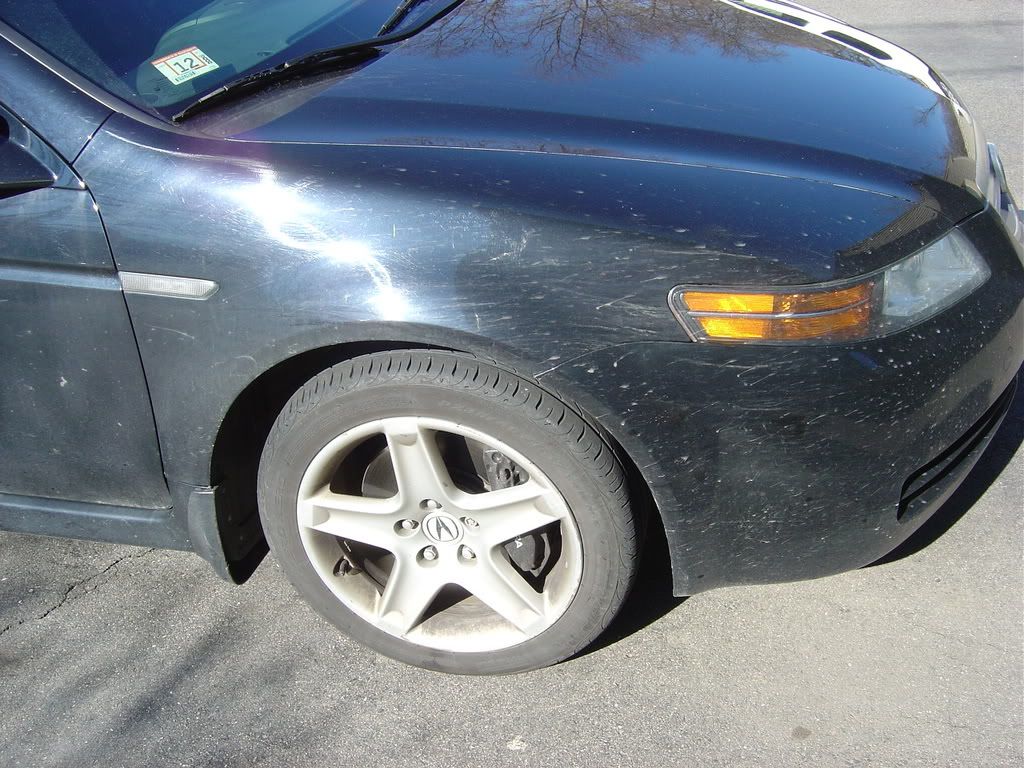
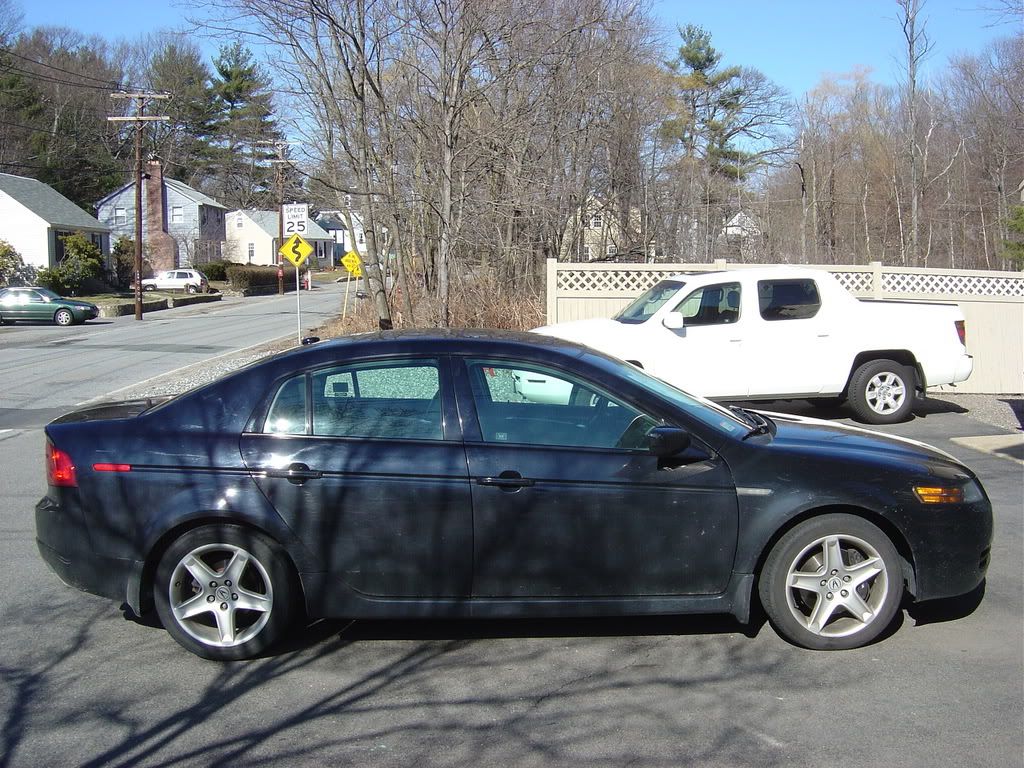
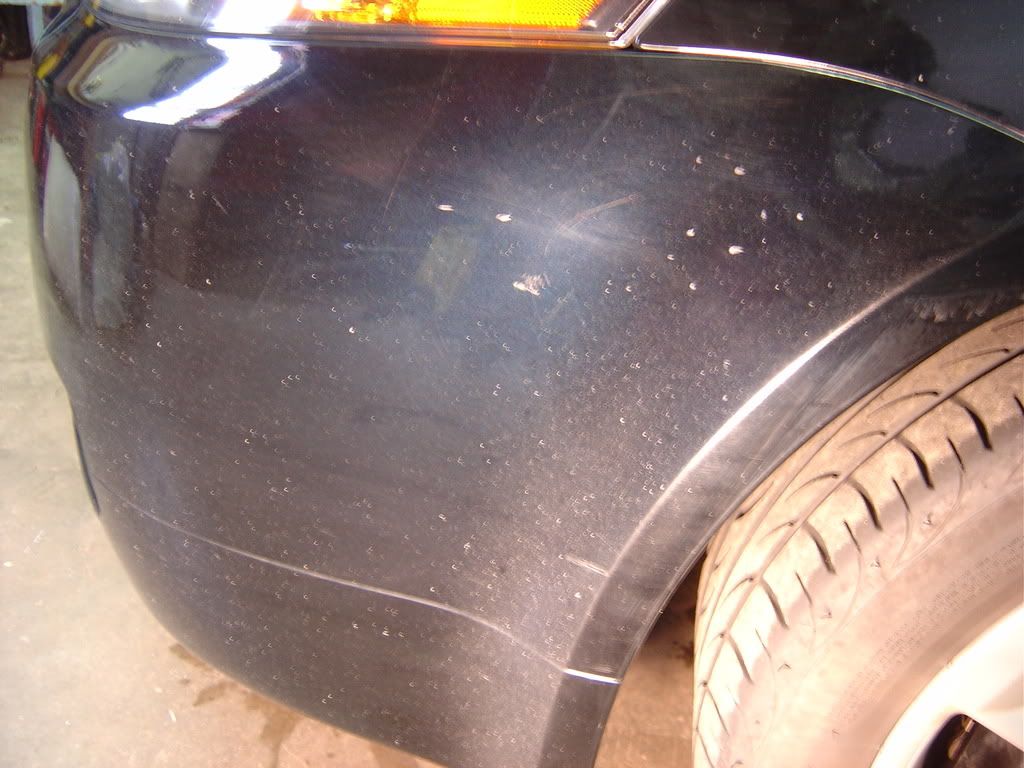
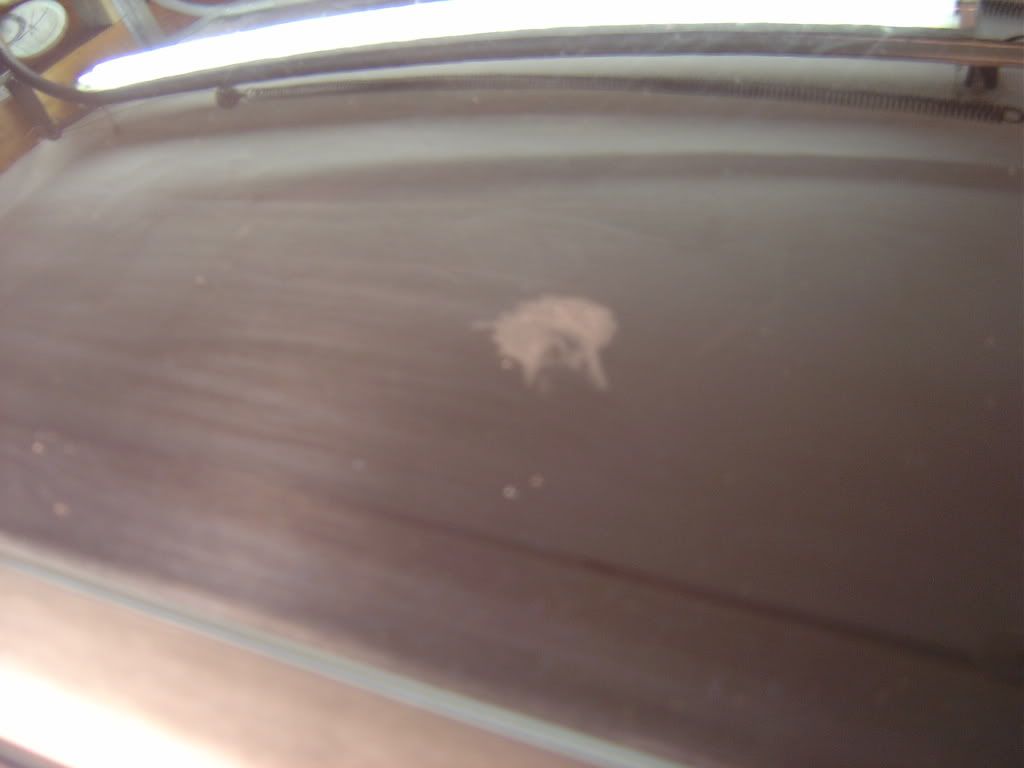
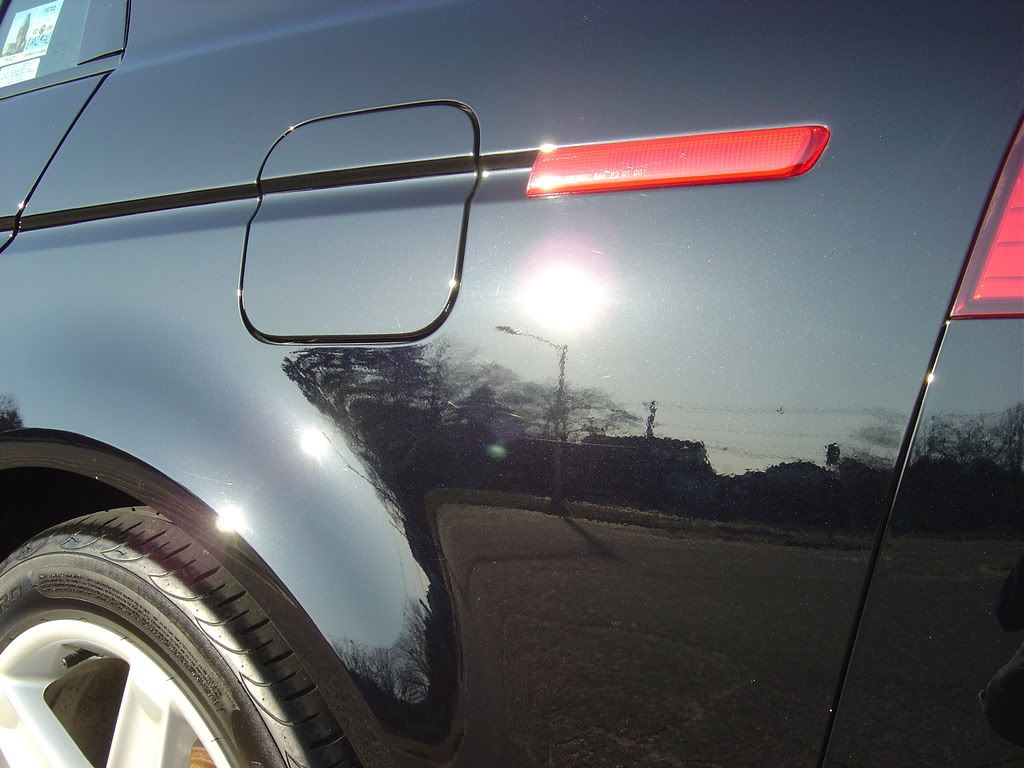
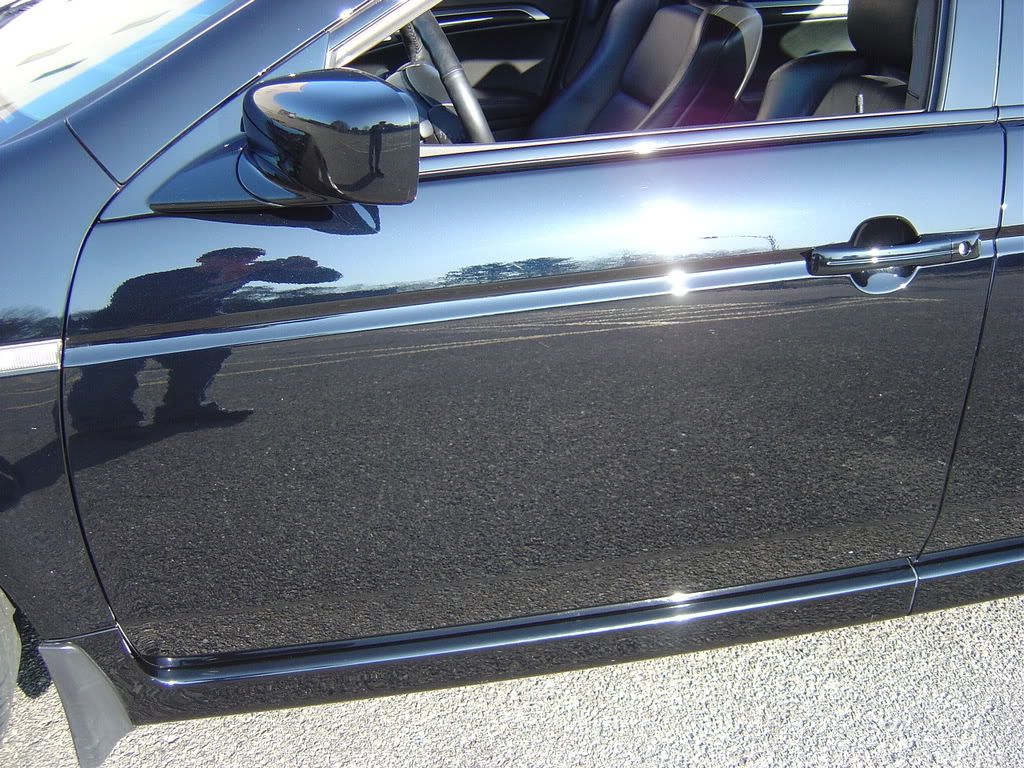
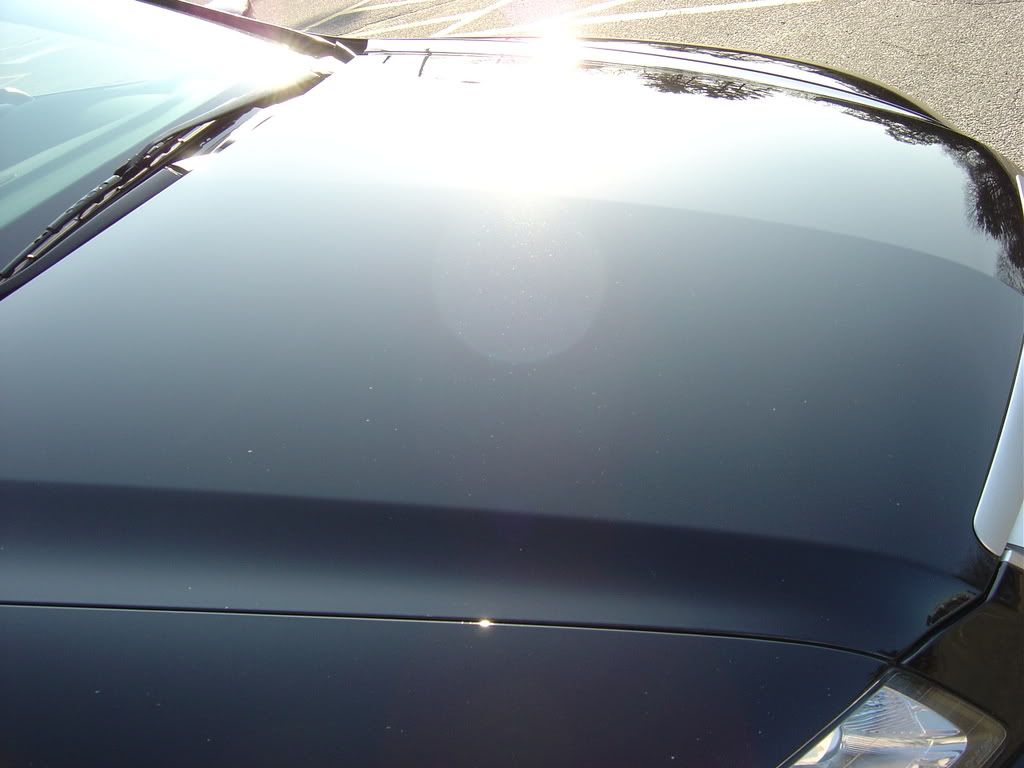
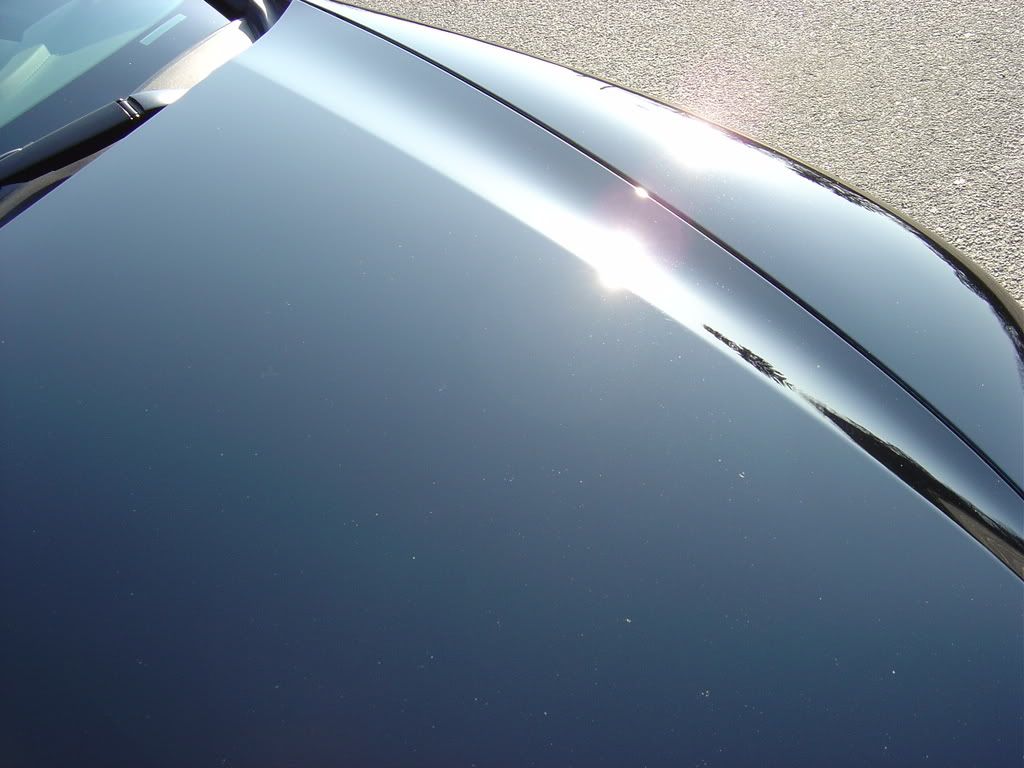
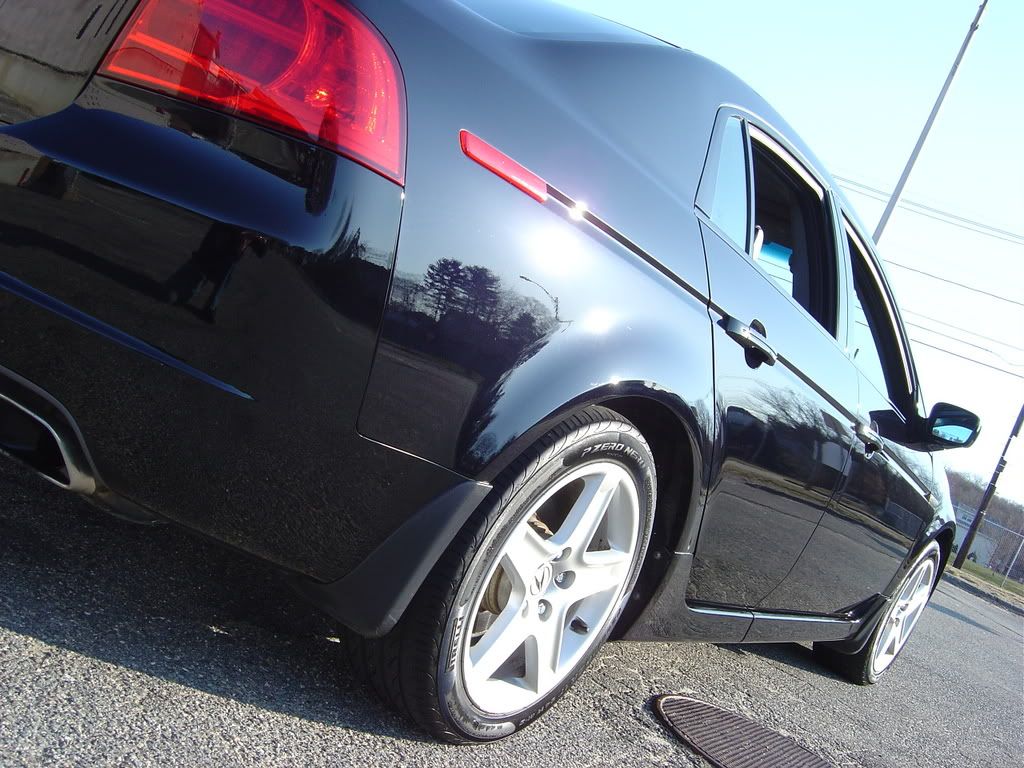
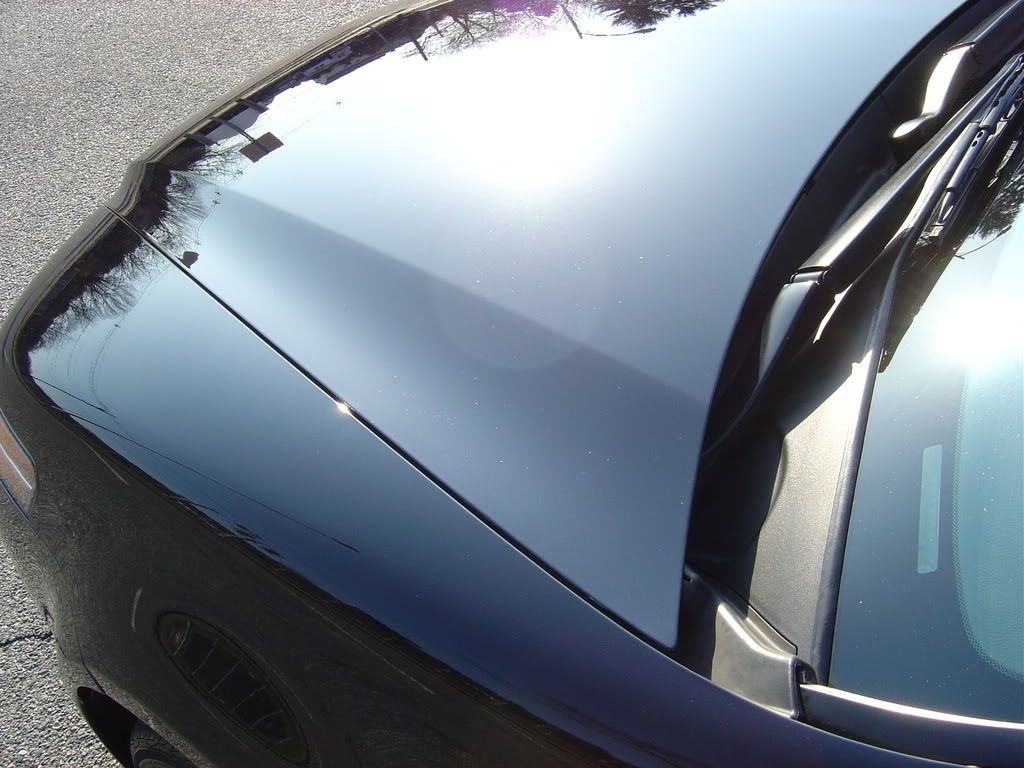
When I first looked at the car, it had a pretty thick layer of dirt on it, so it actually didn’t look that bad. Above is what the car looked like when it arrived at my house. ^^


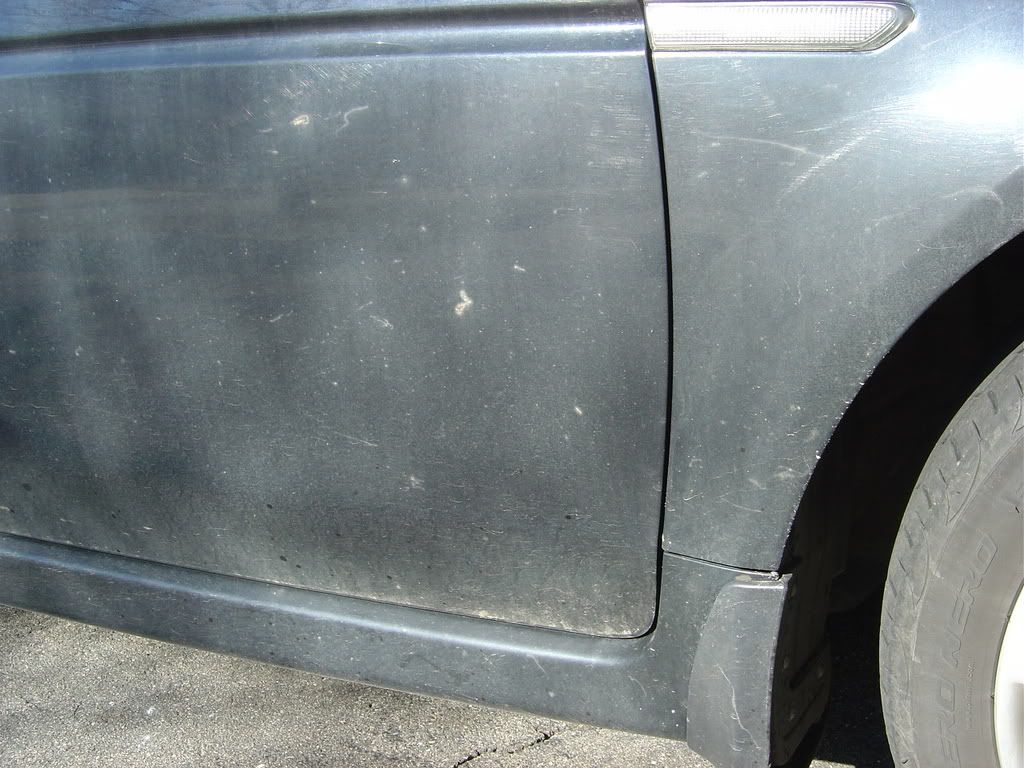
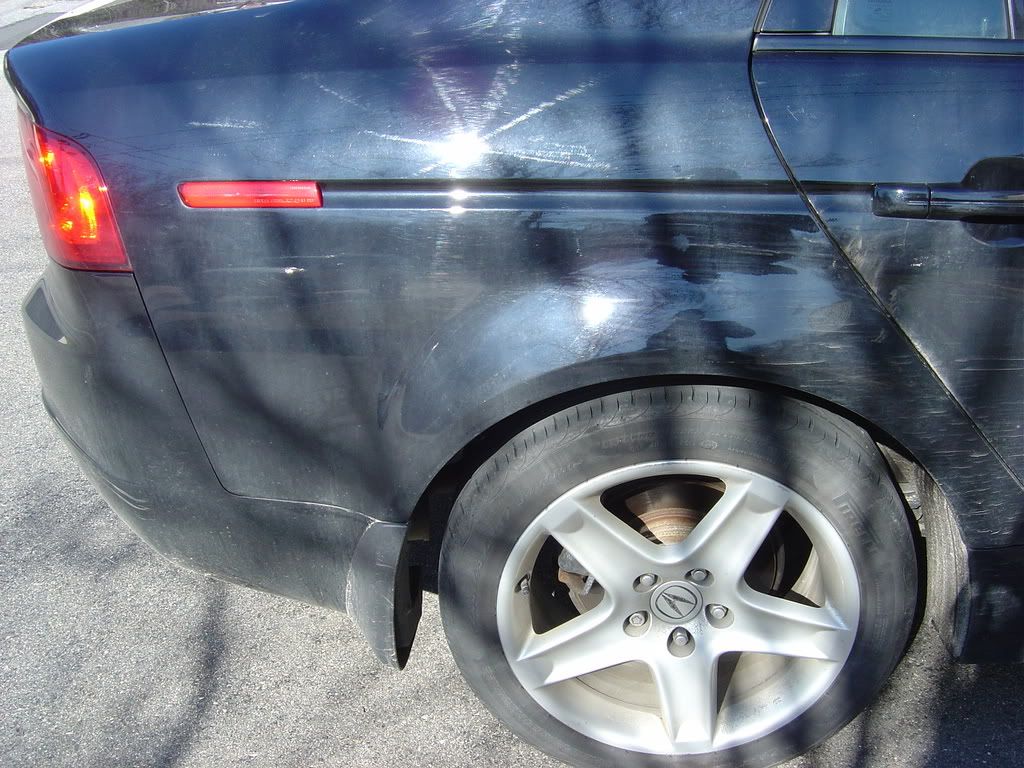
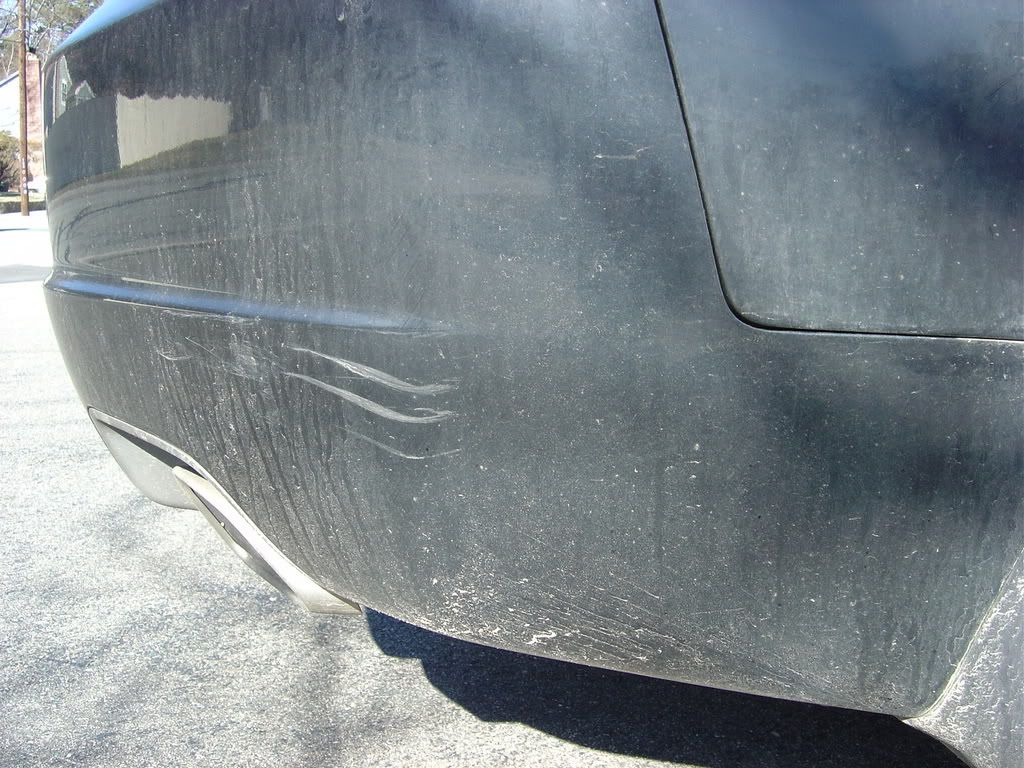
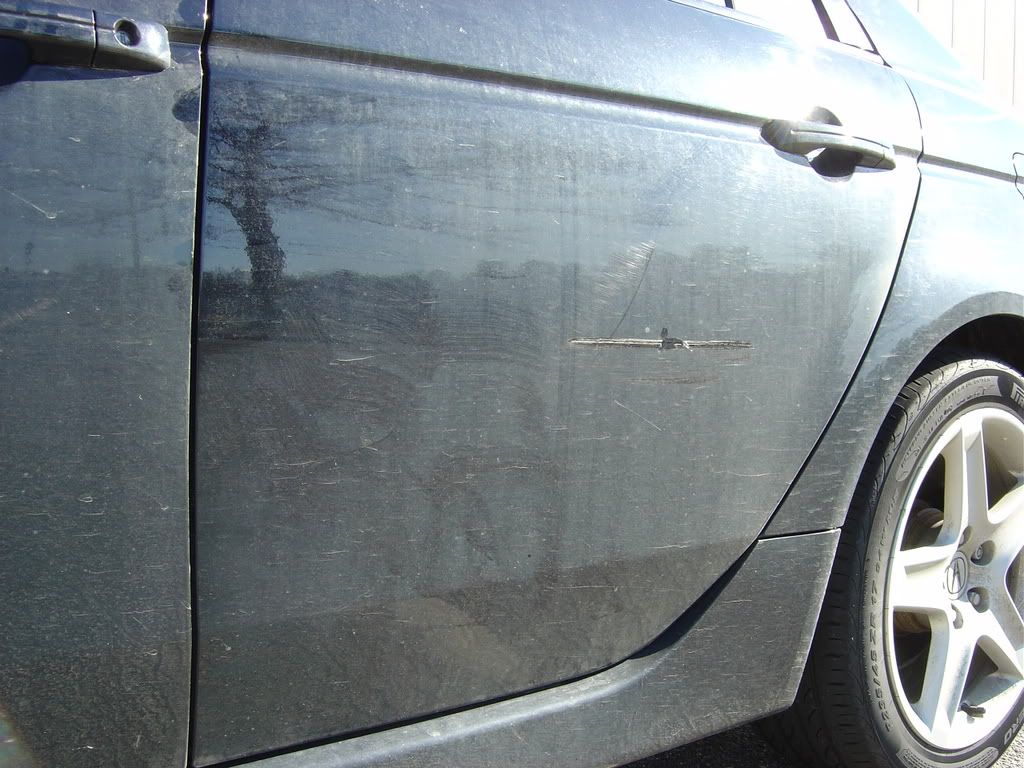
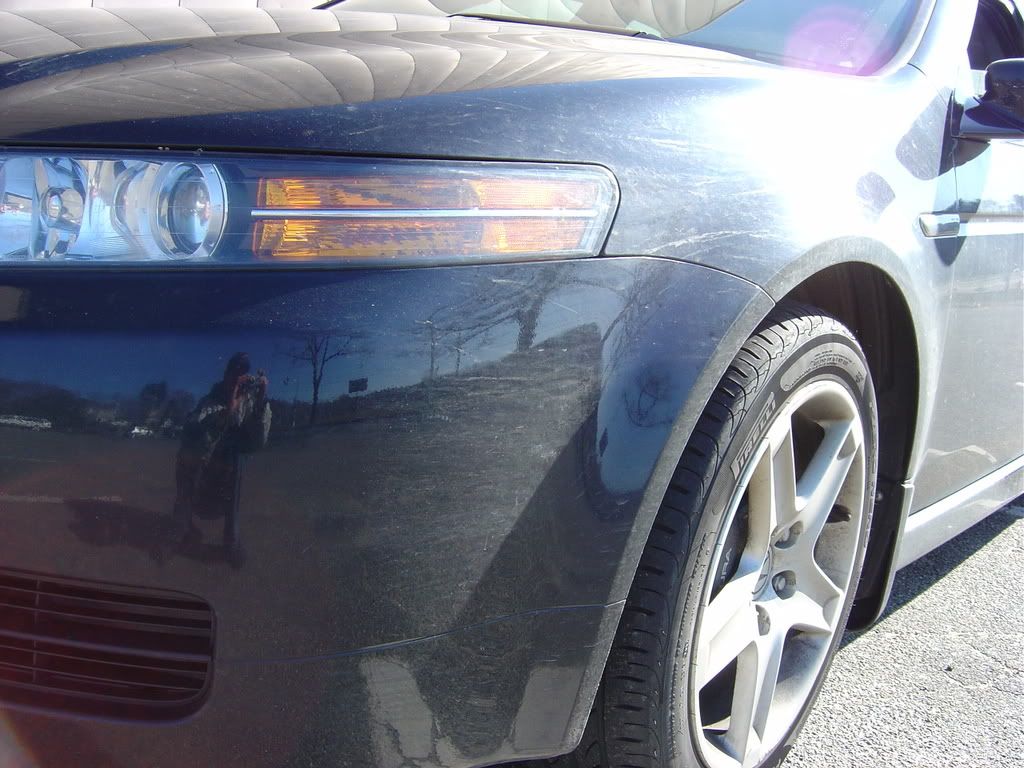
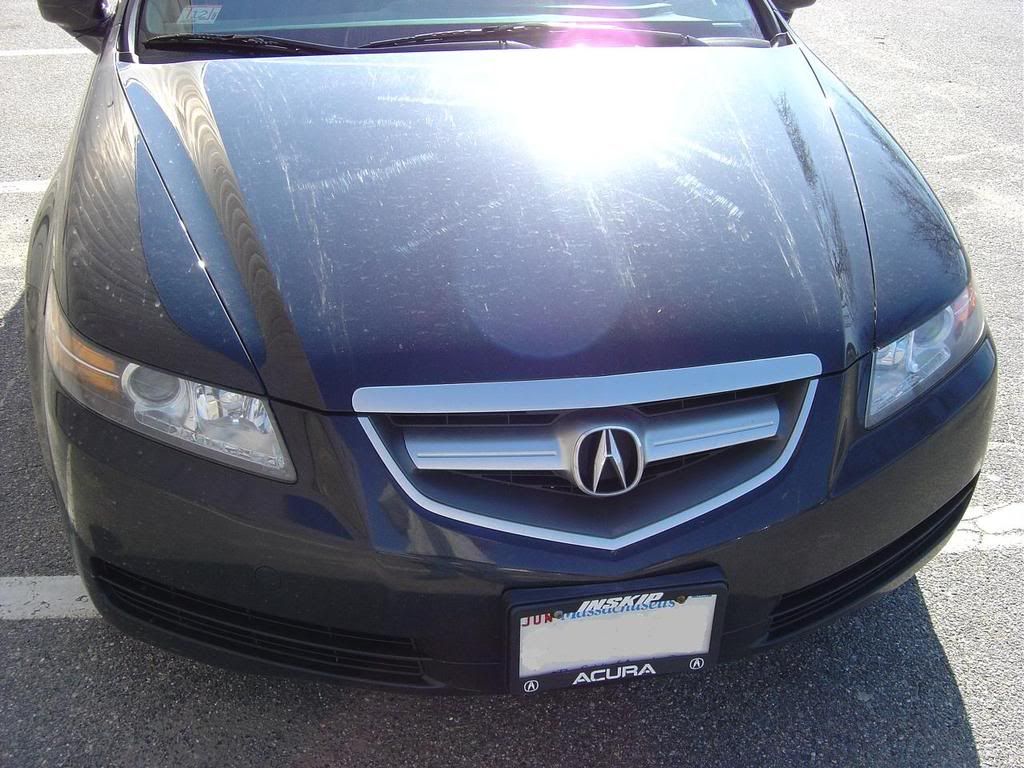
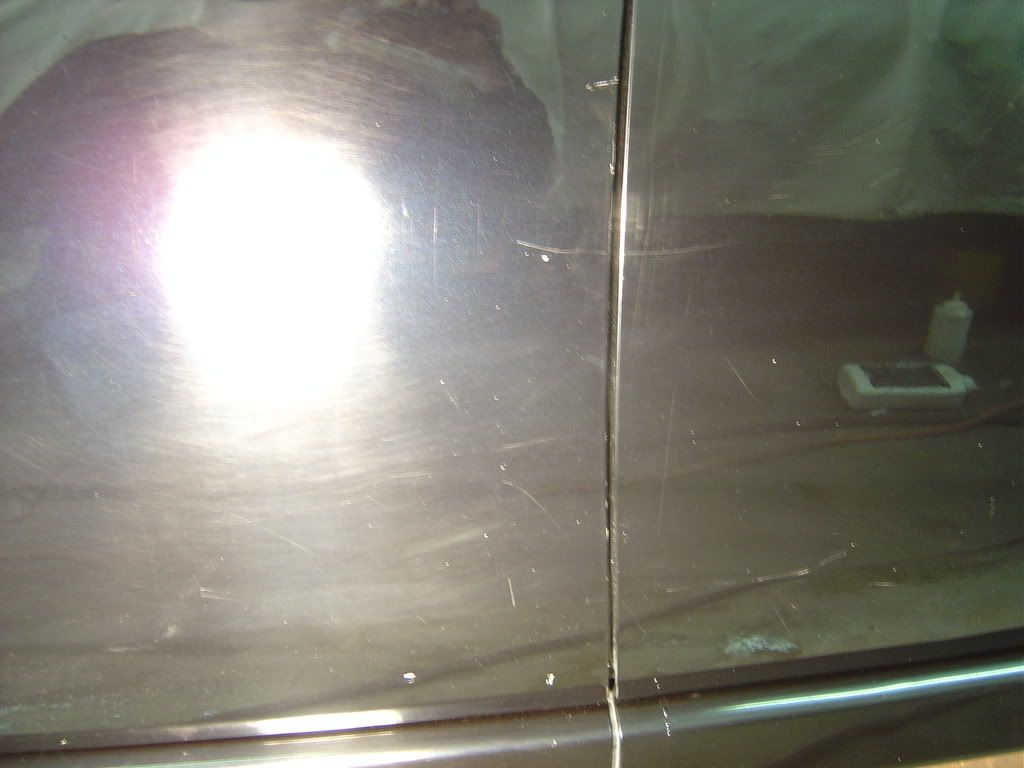
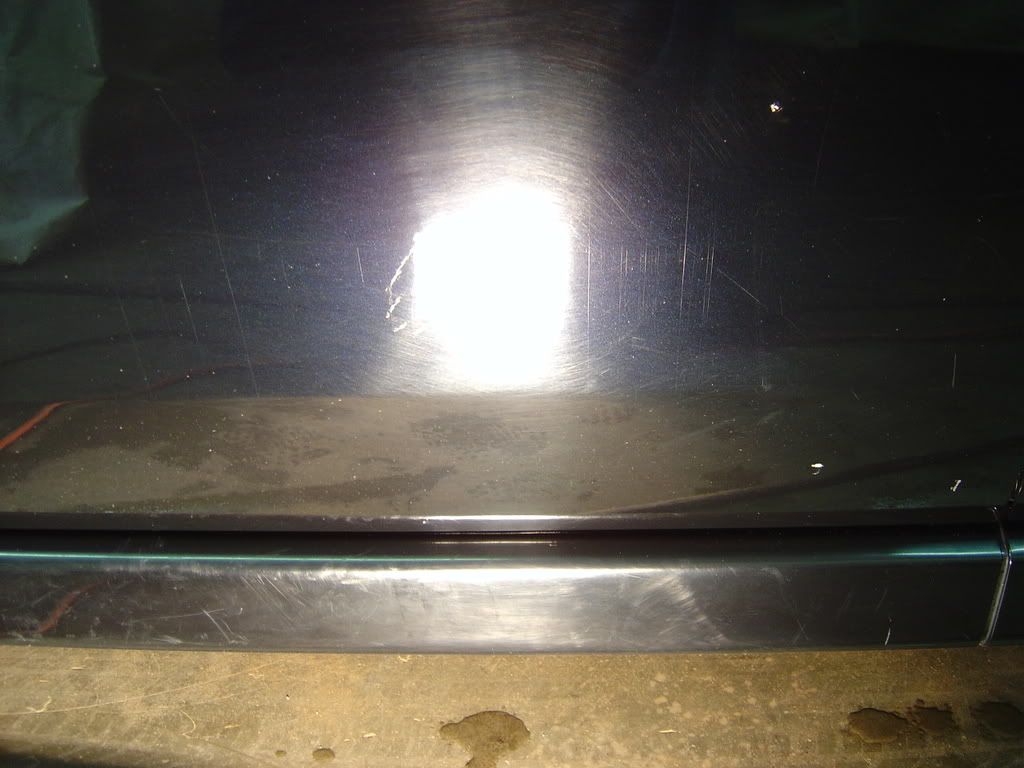
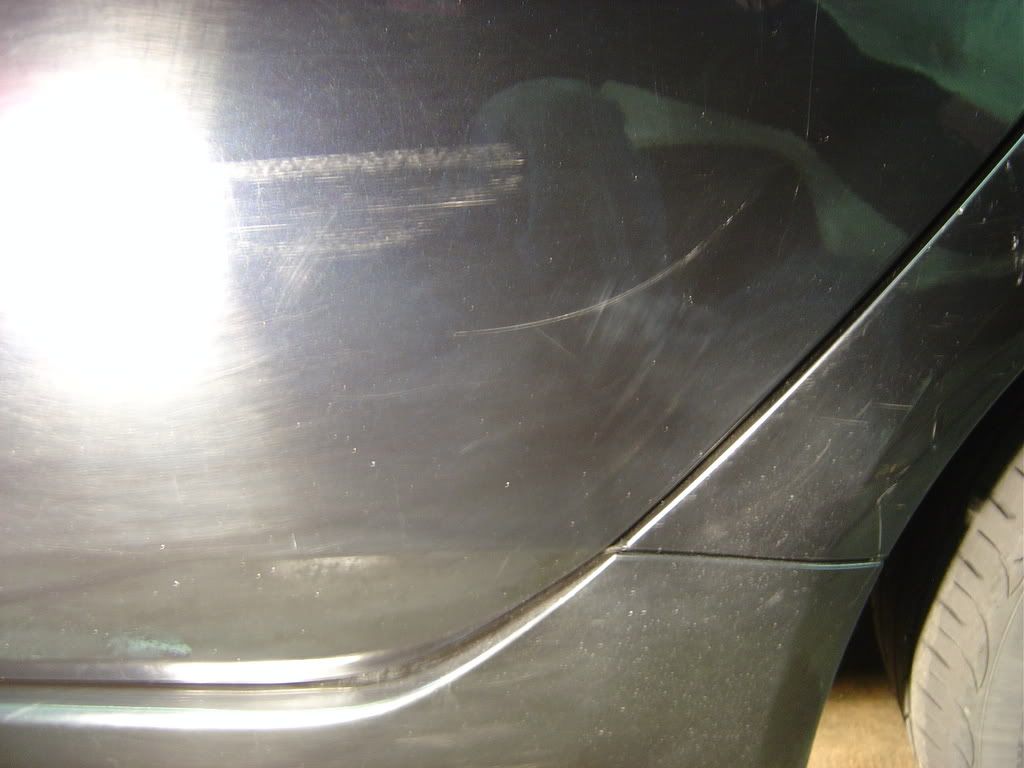
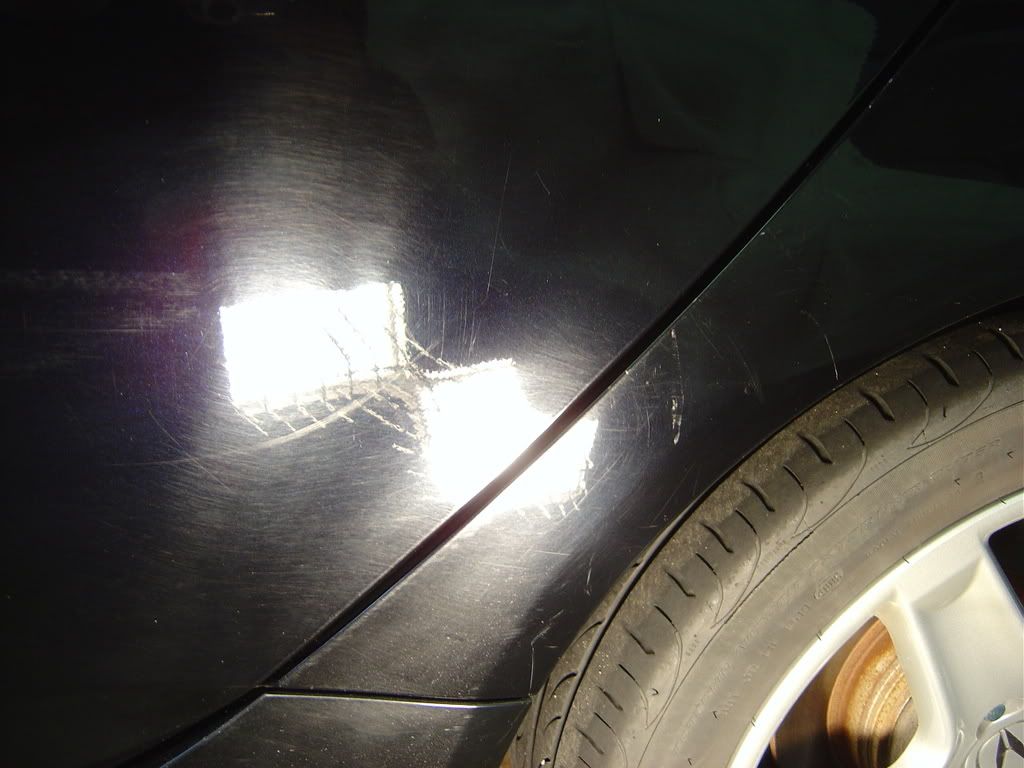
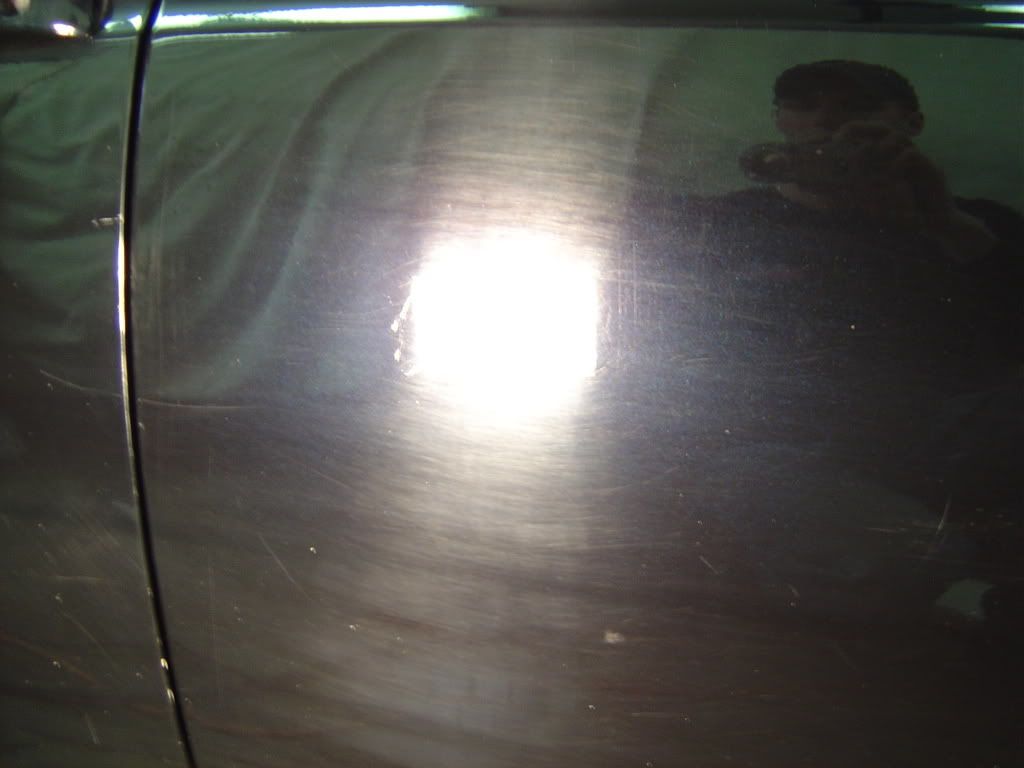
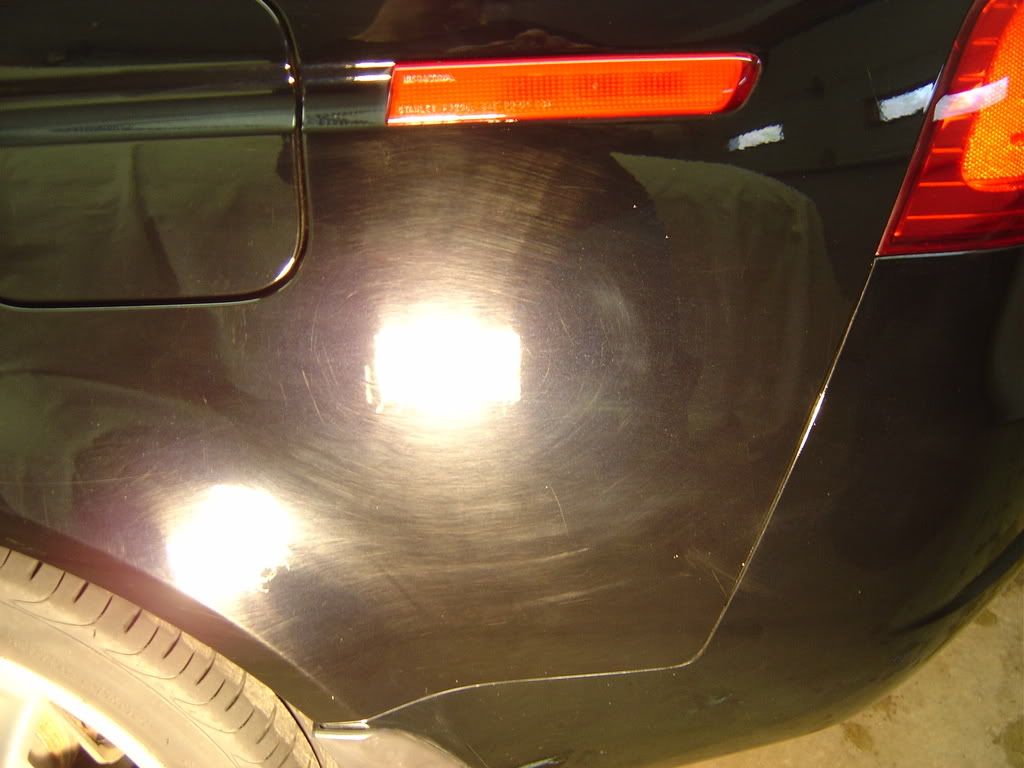
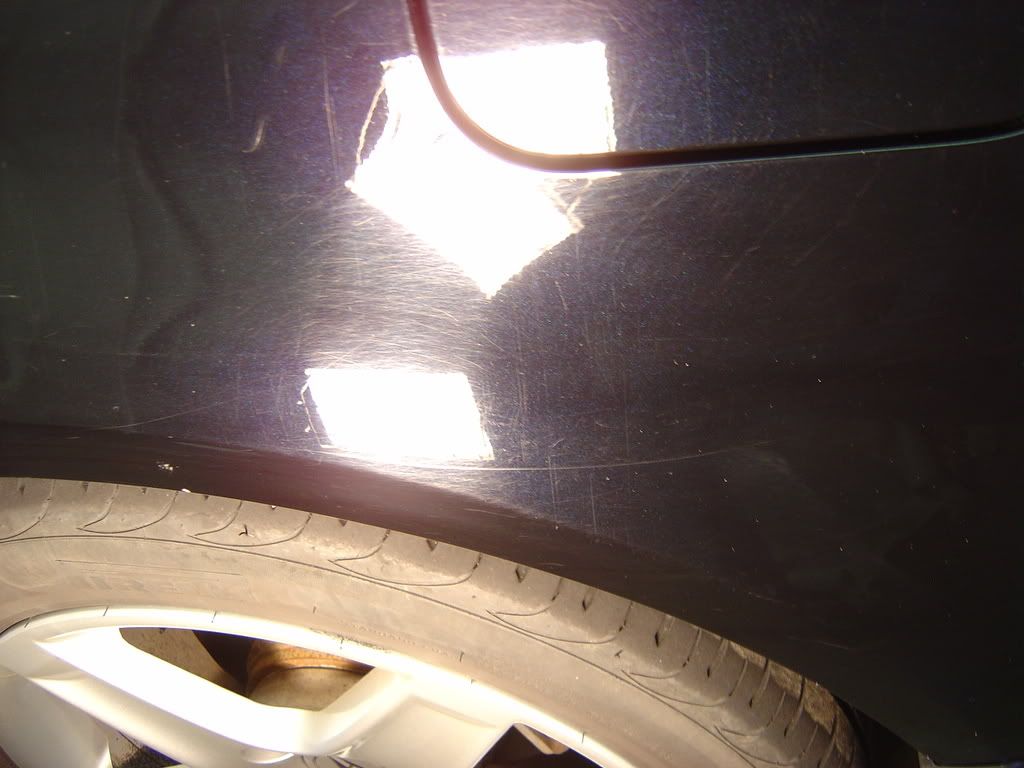
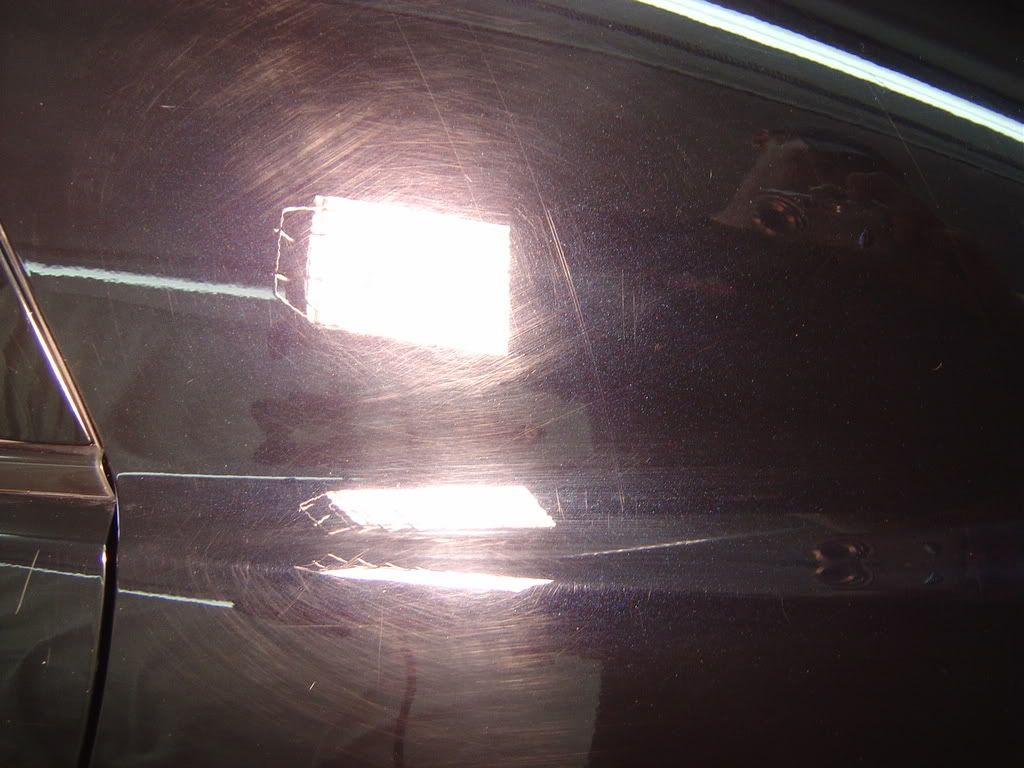
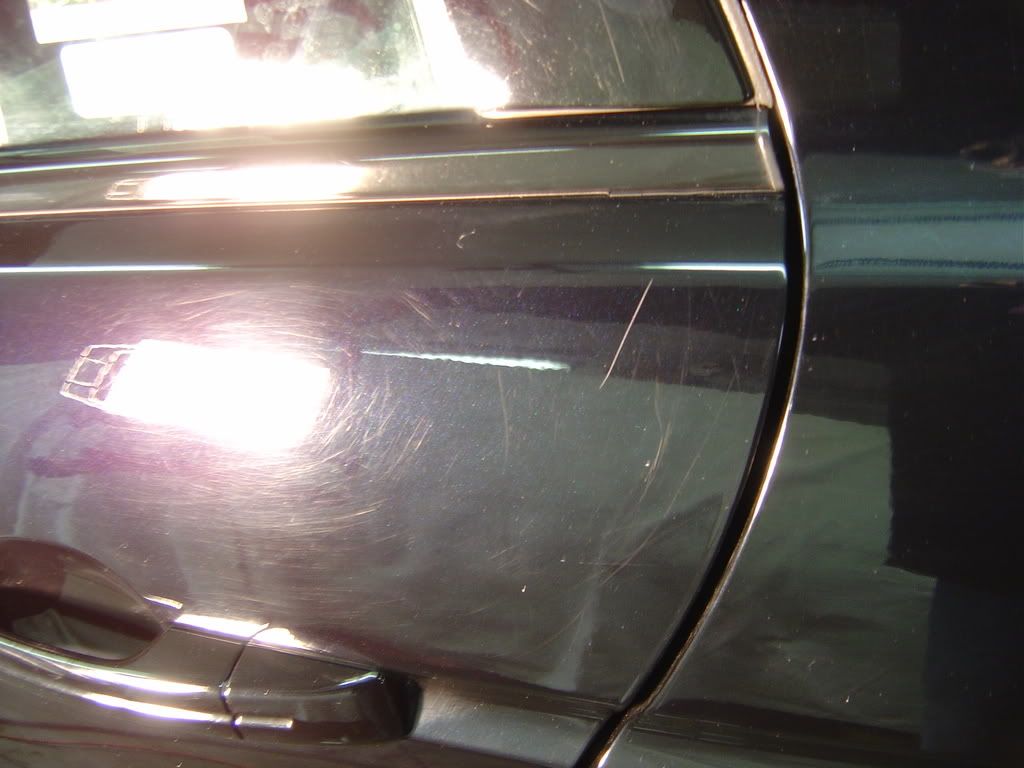
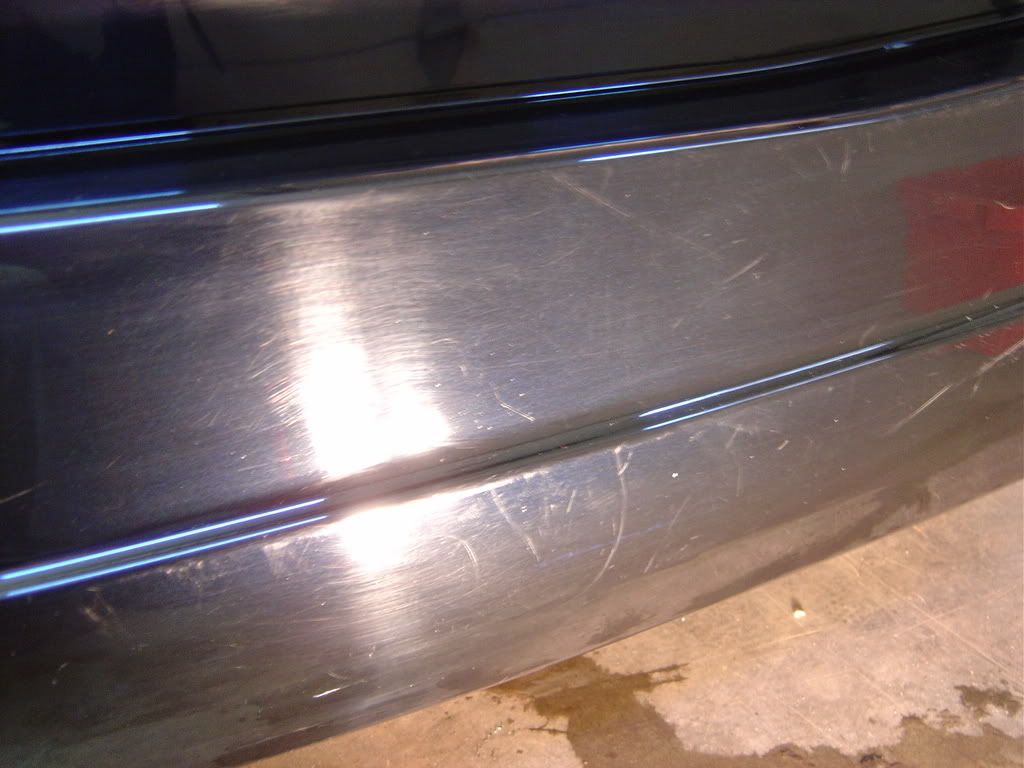
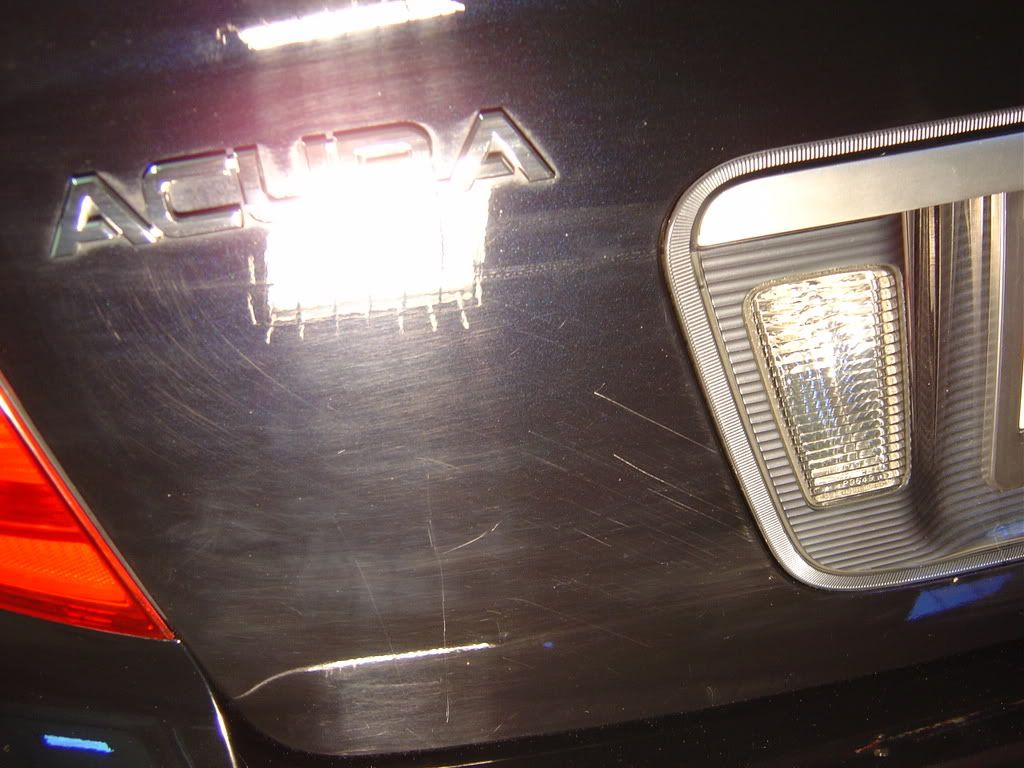
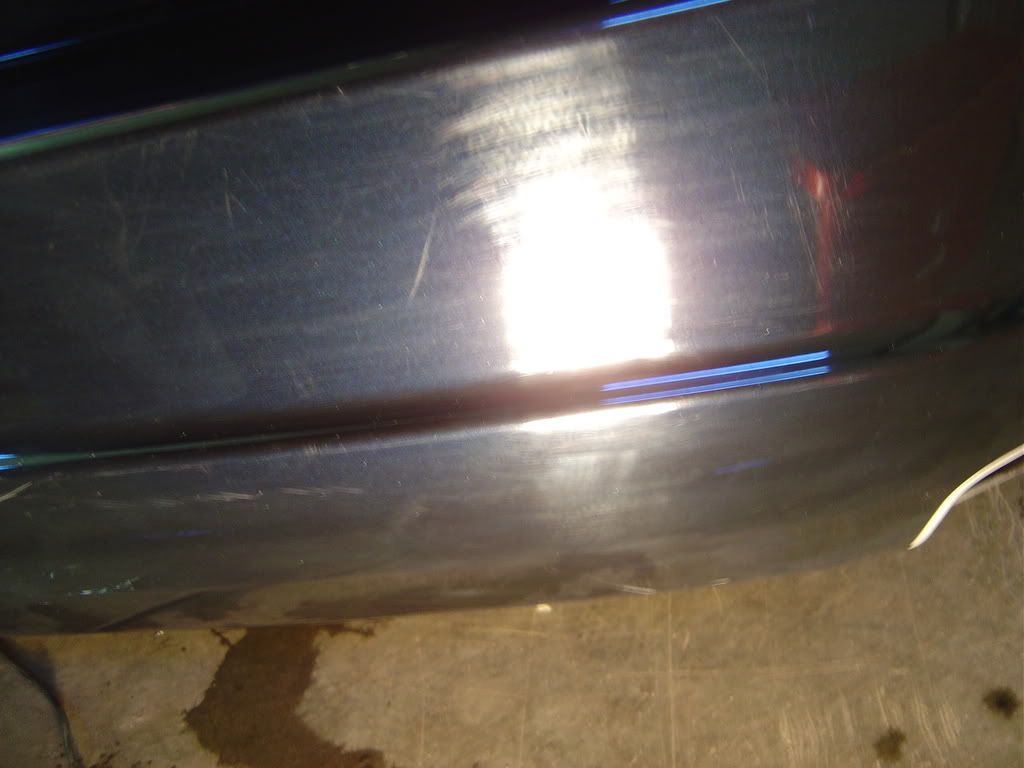
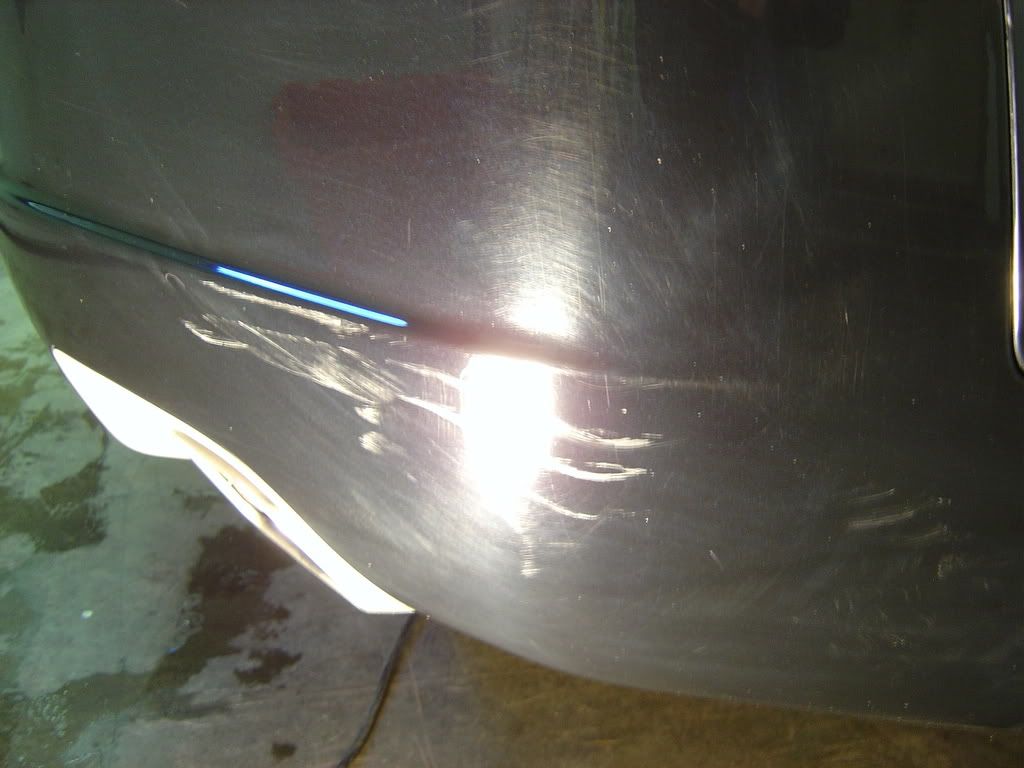
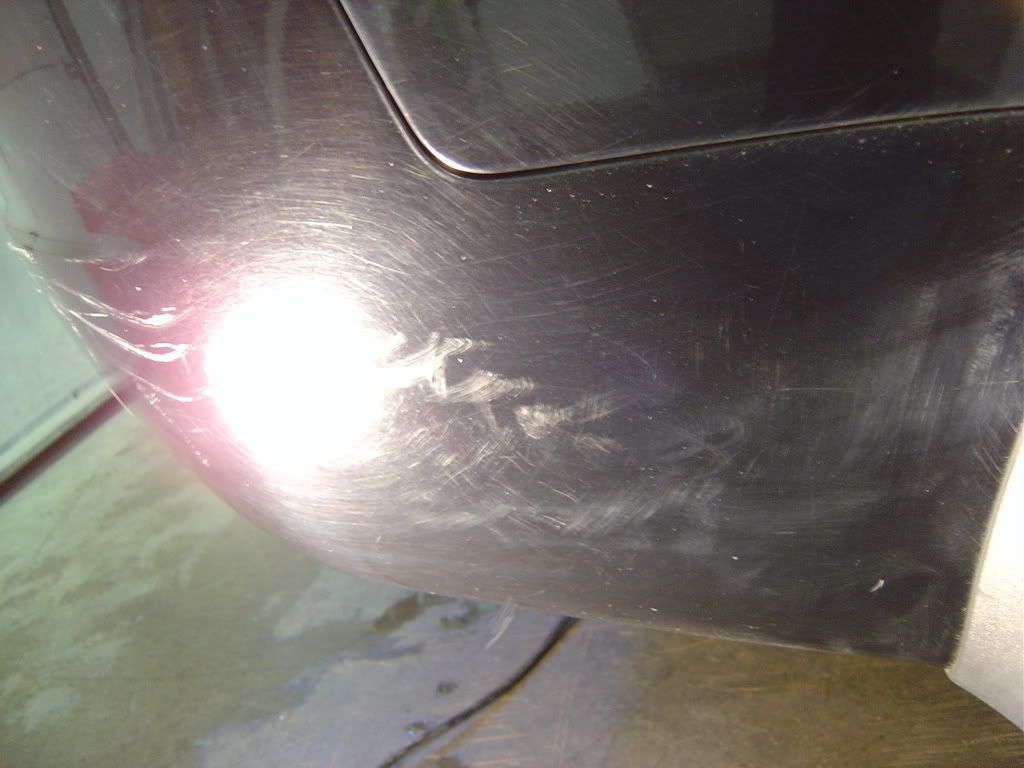
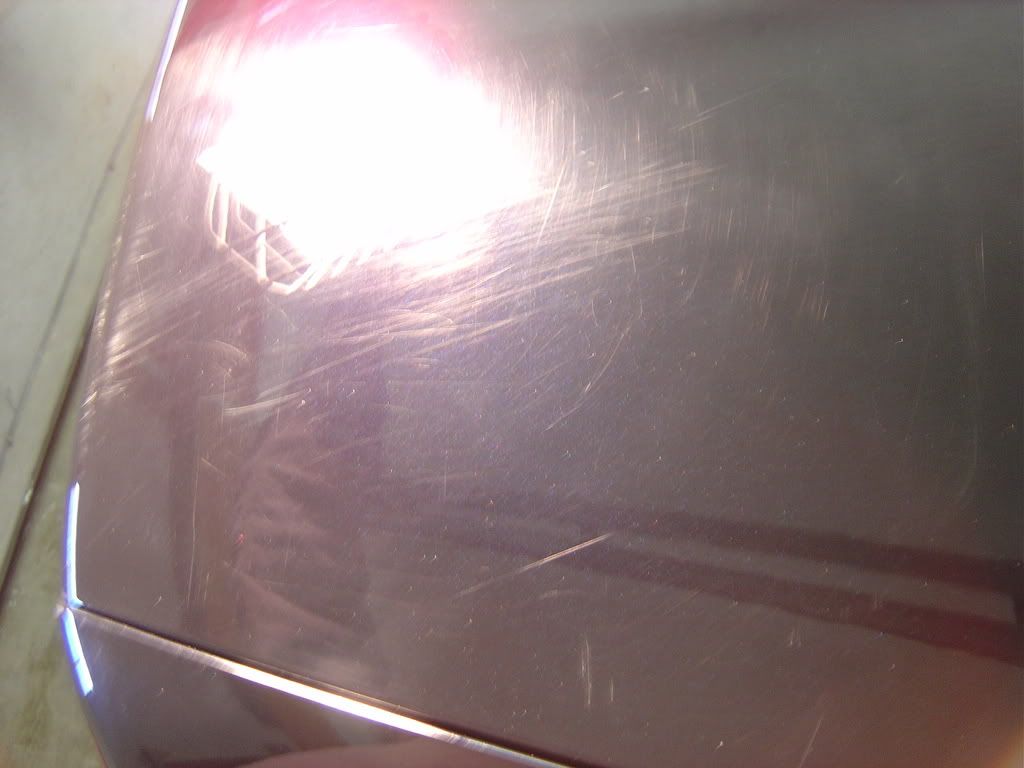
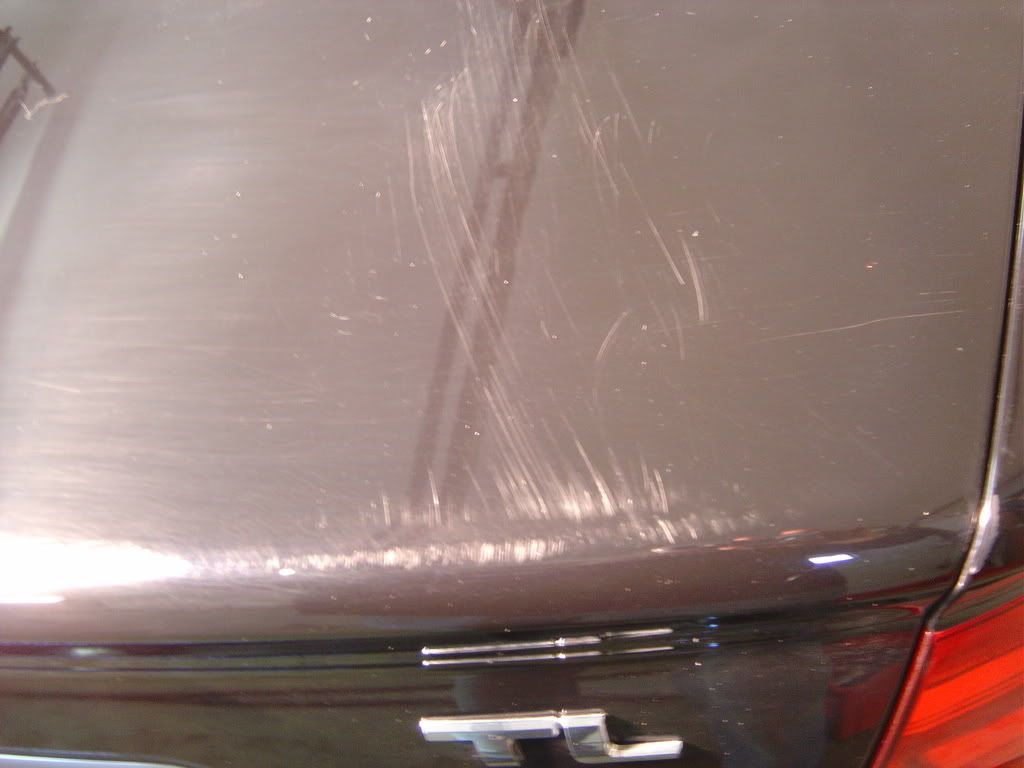
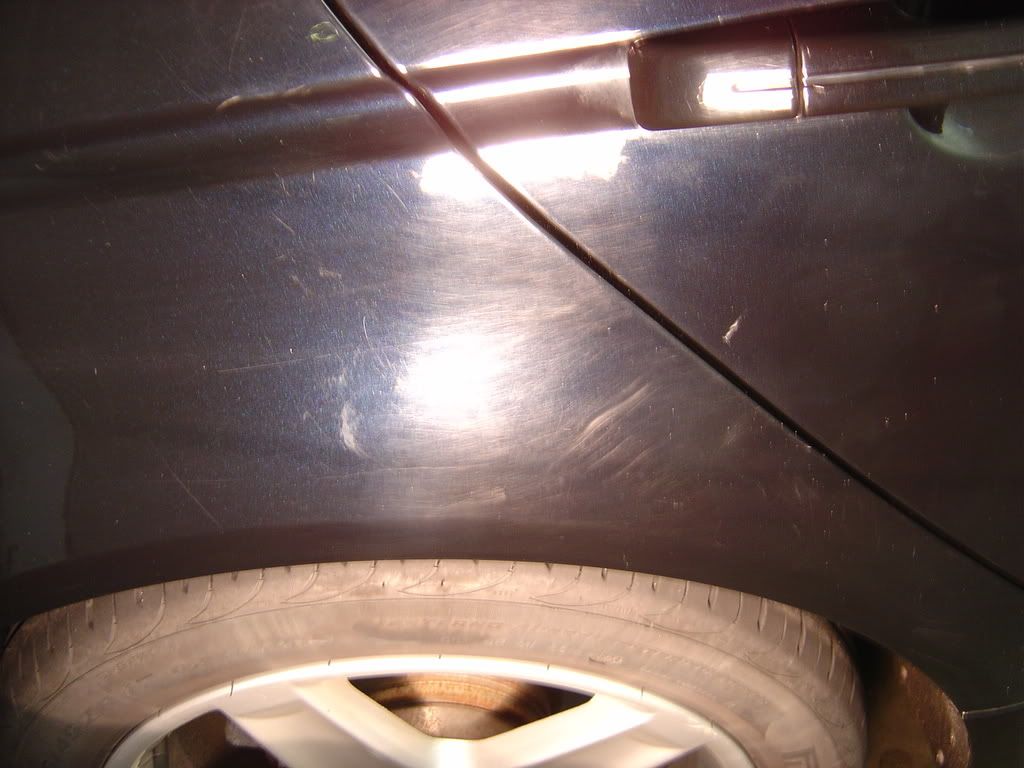
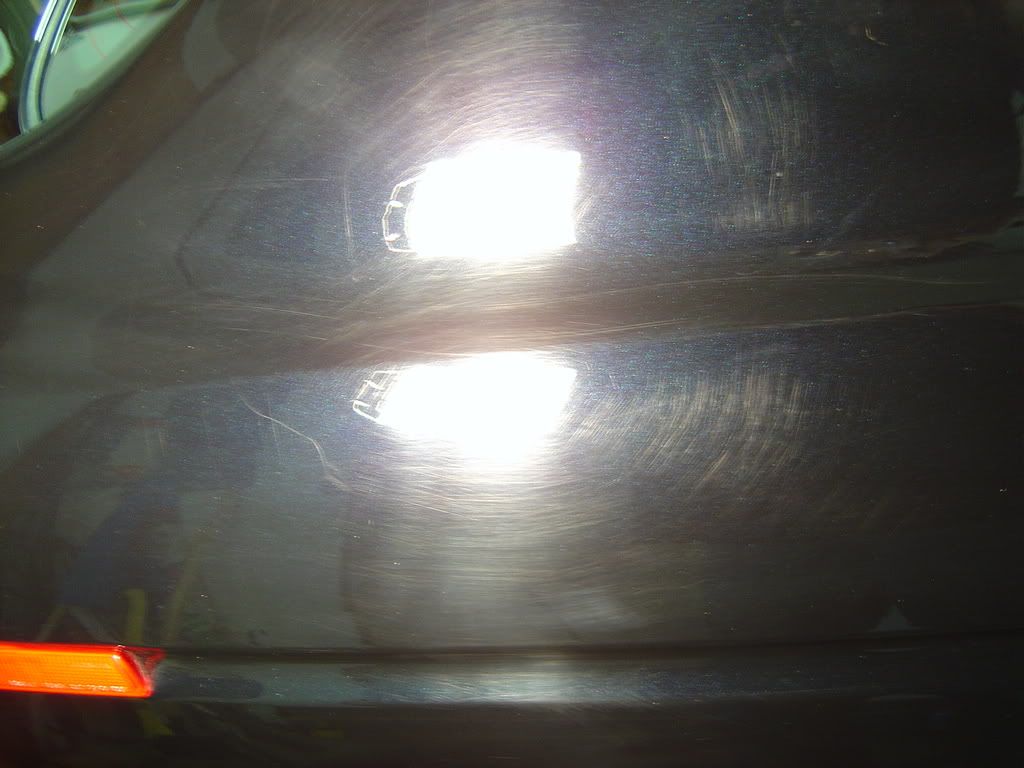
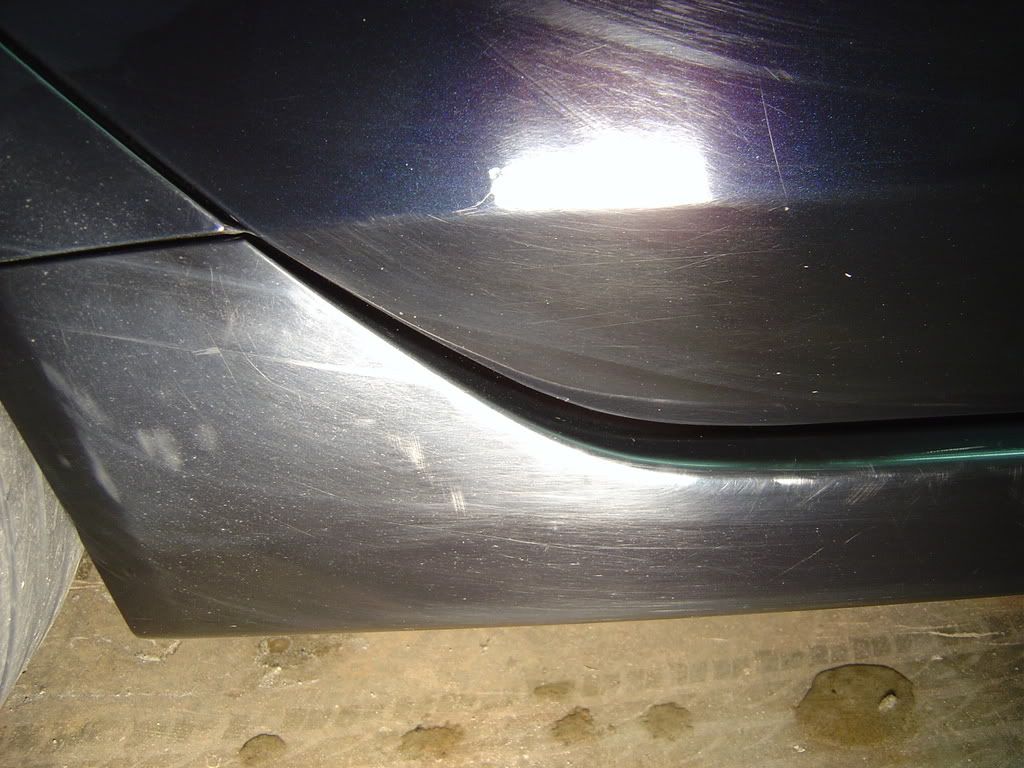
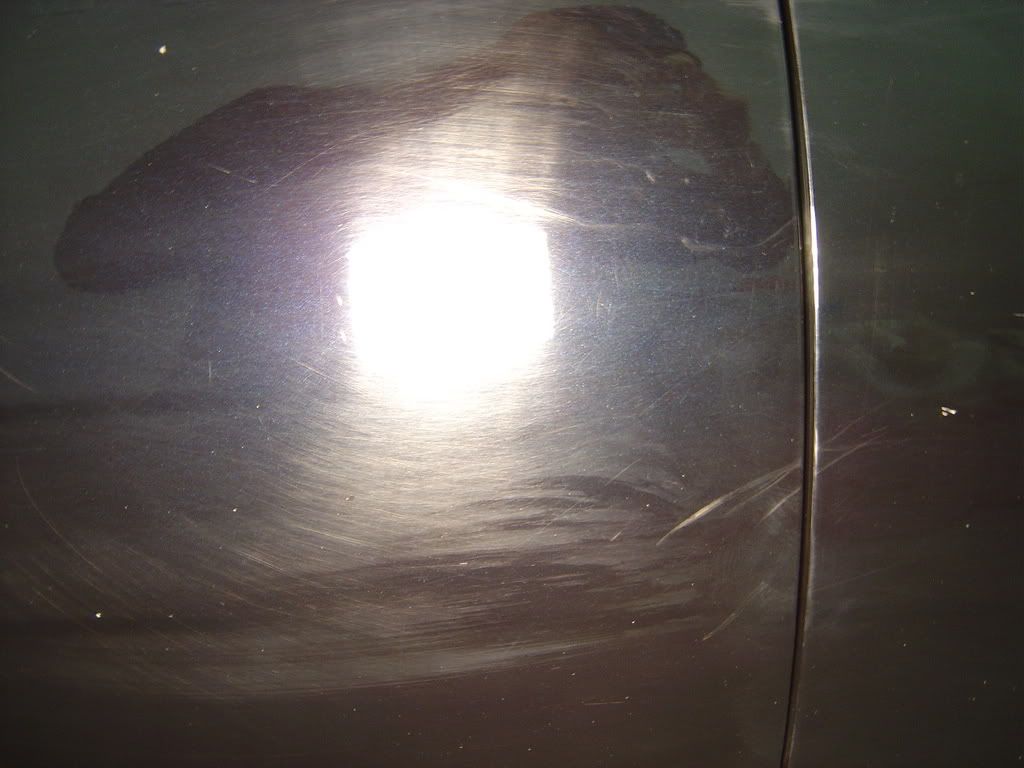
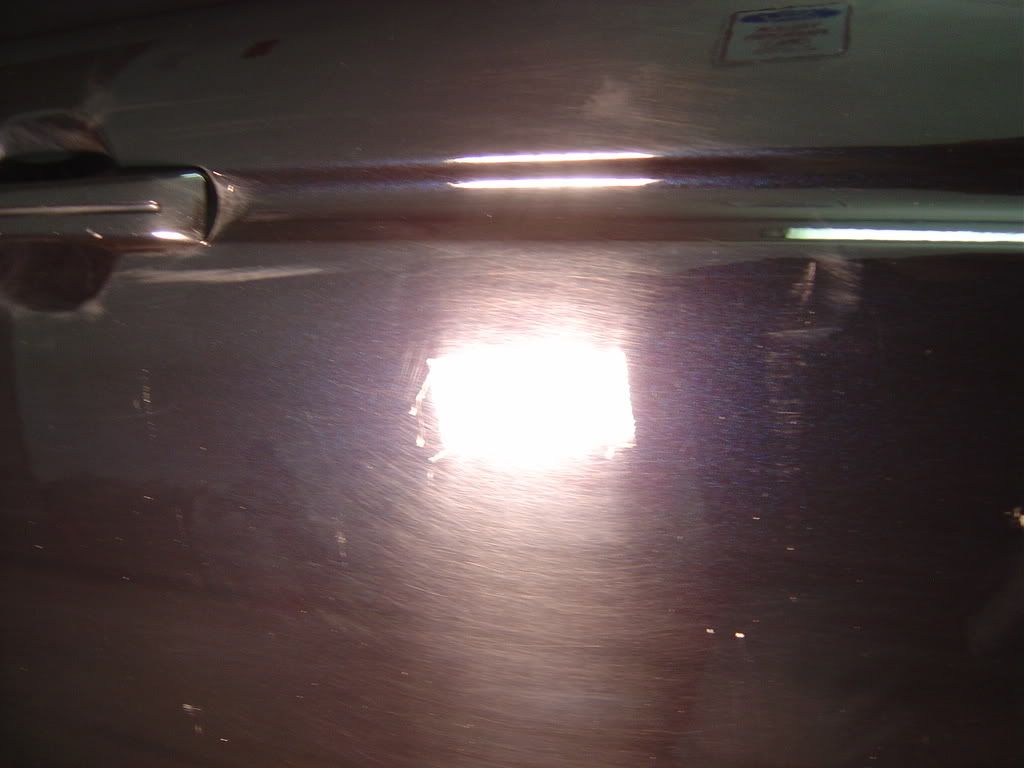
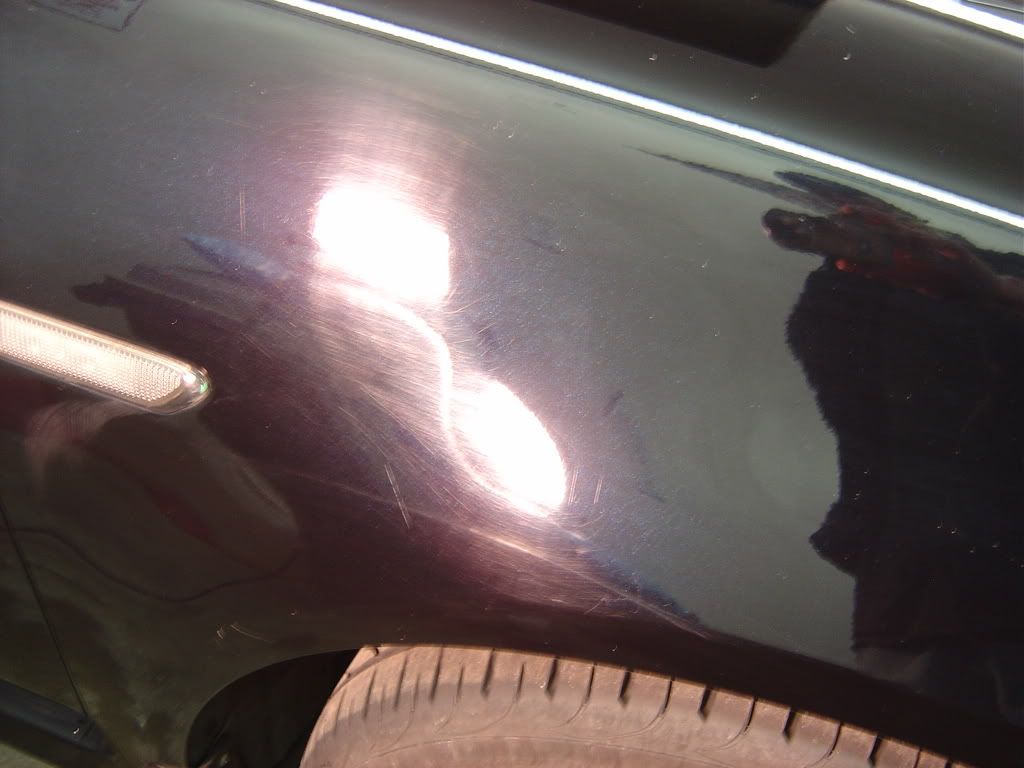
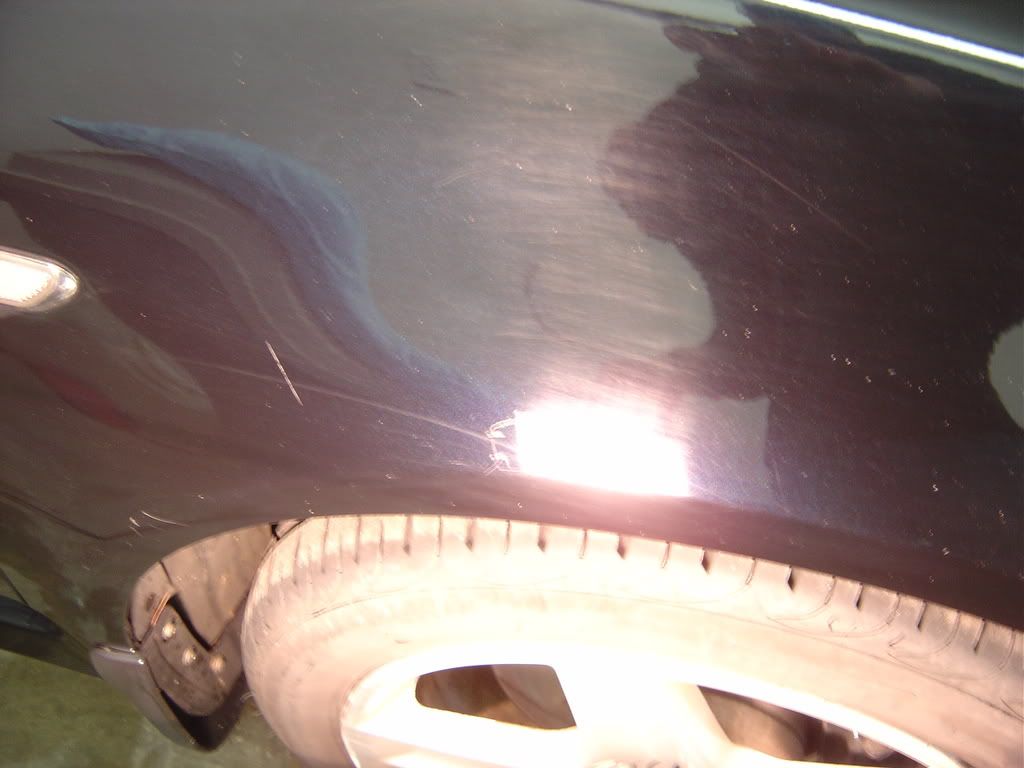
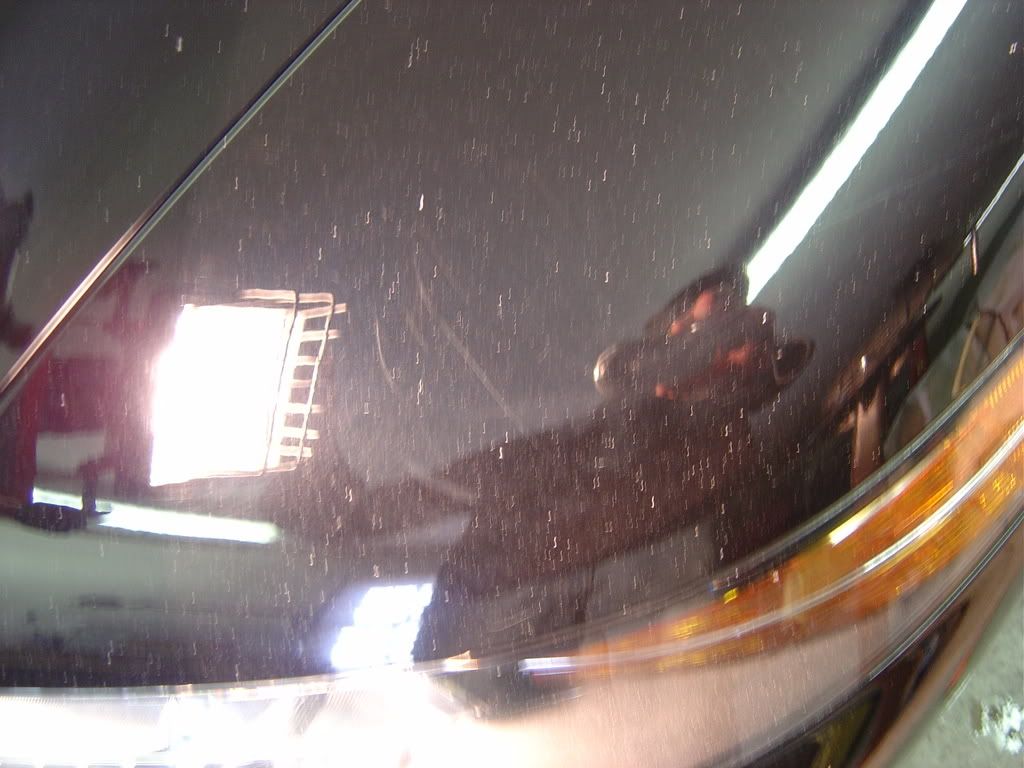
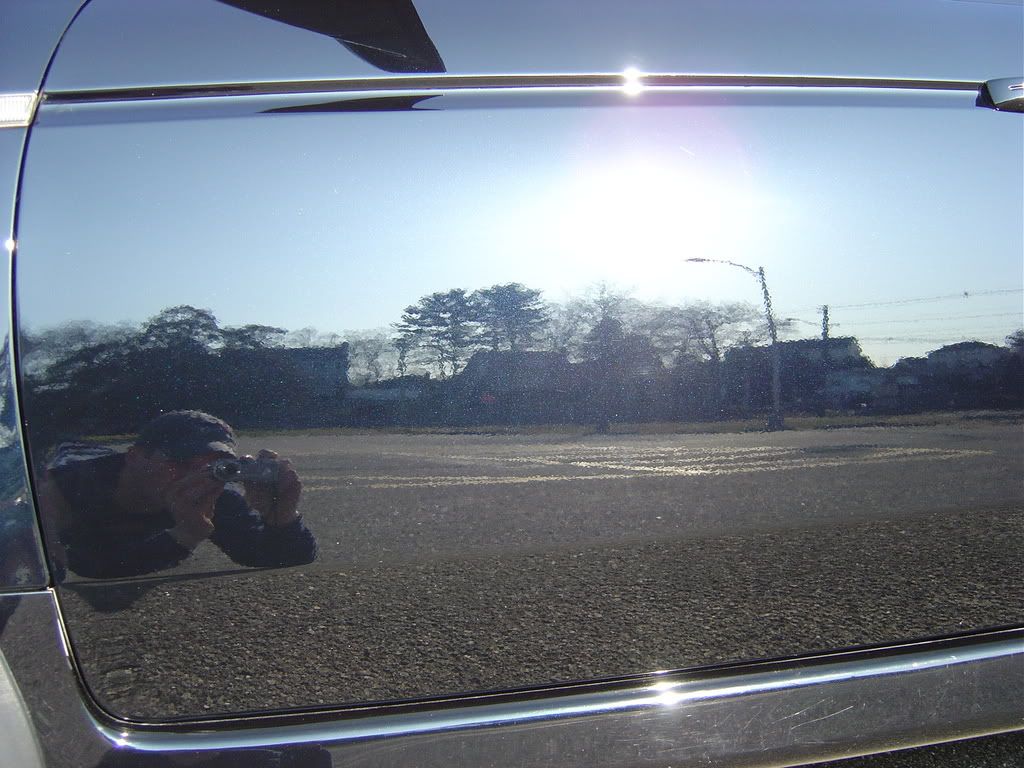
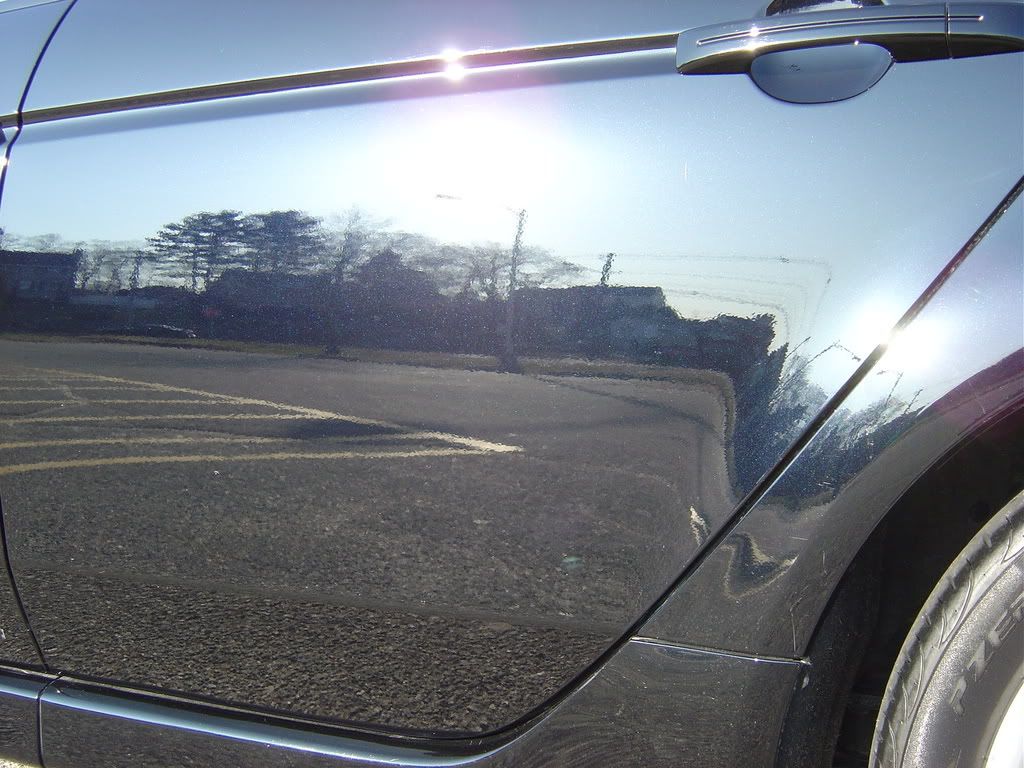
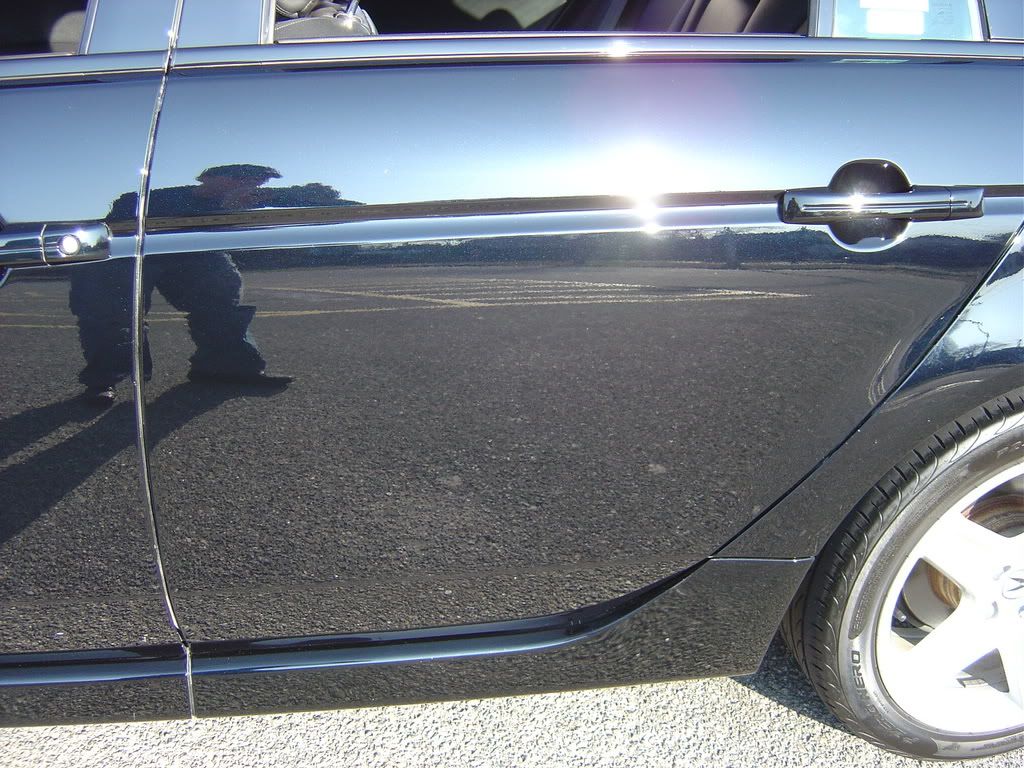
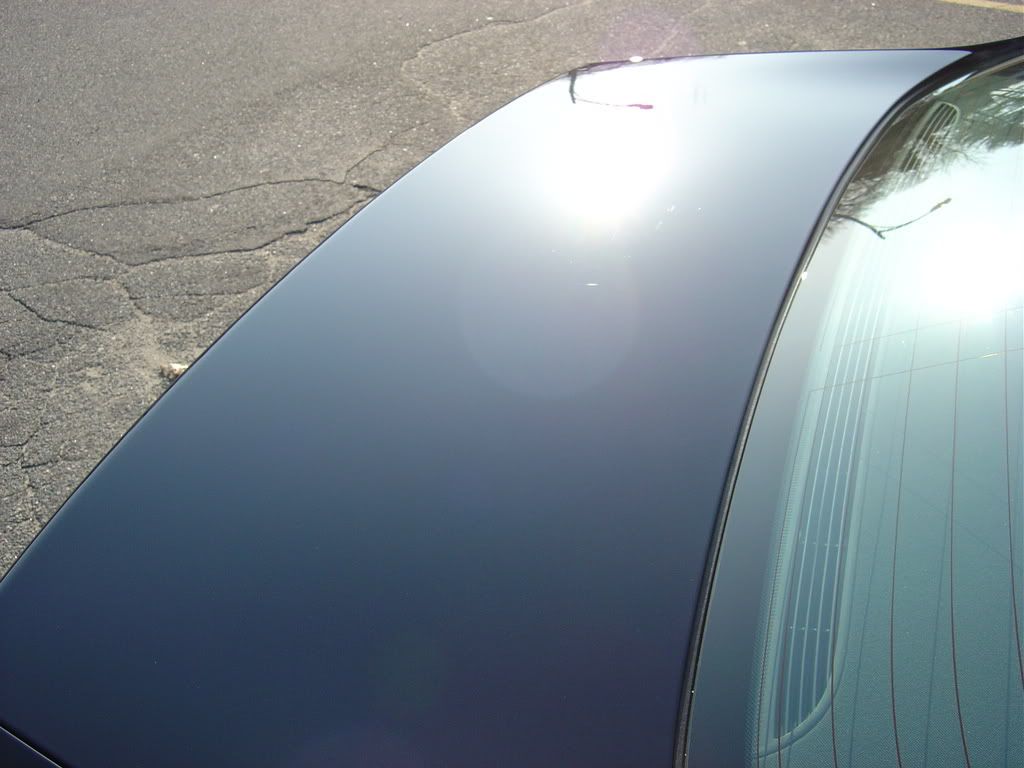
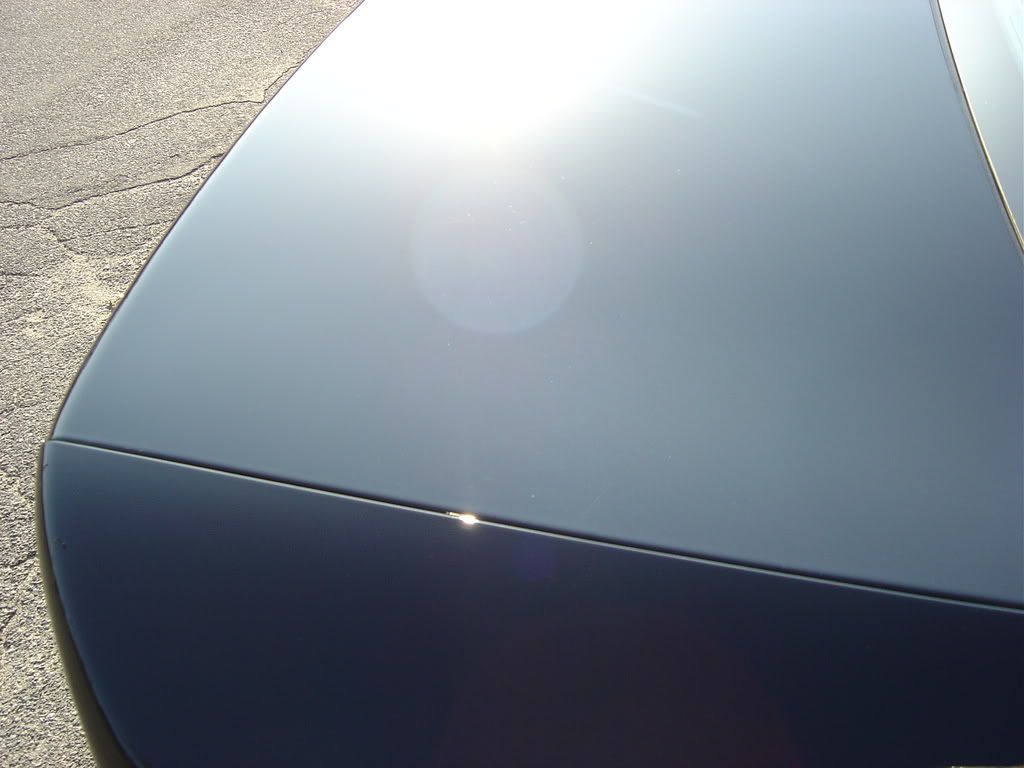
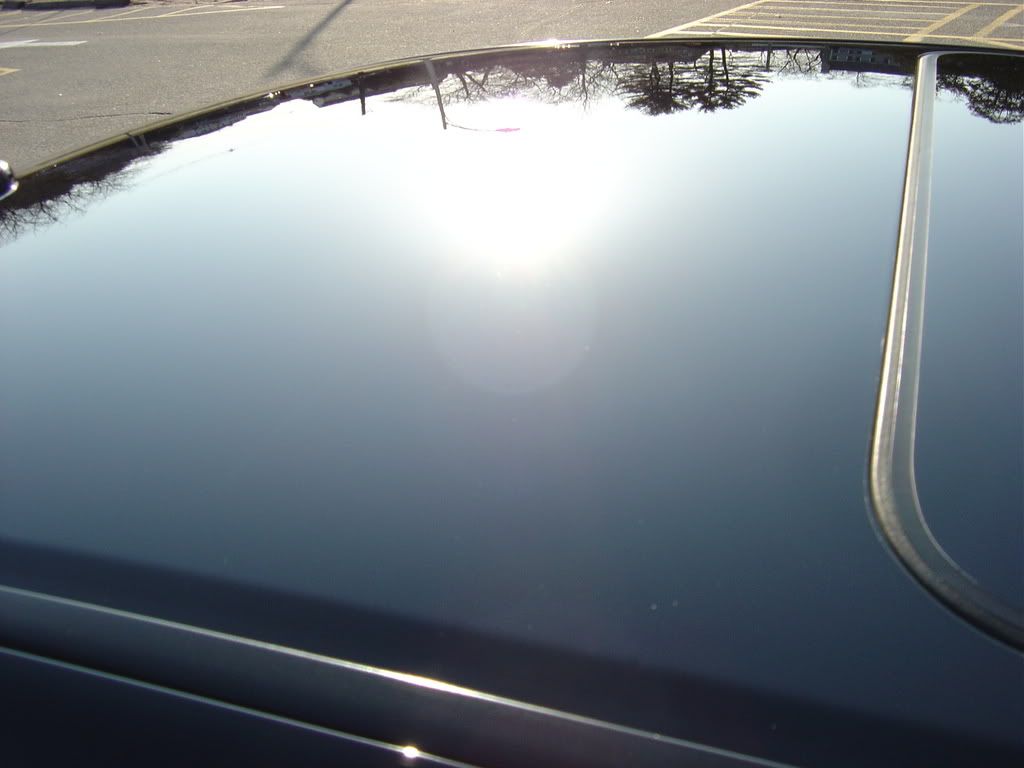
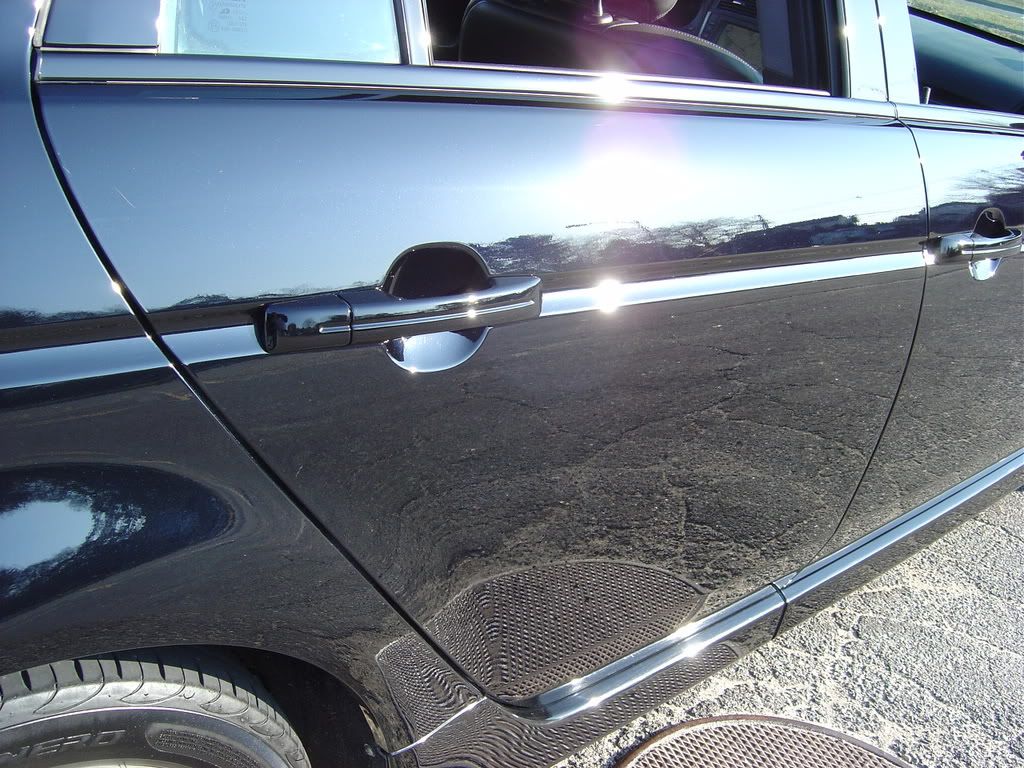
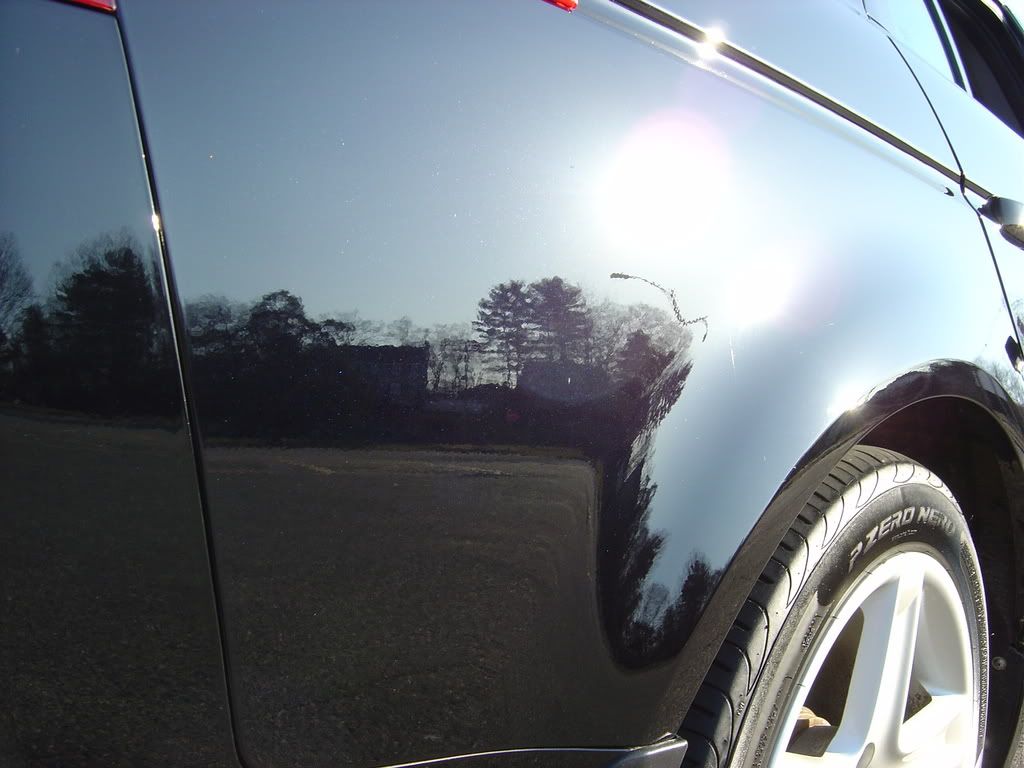
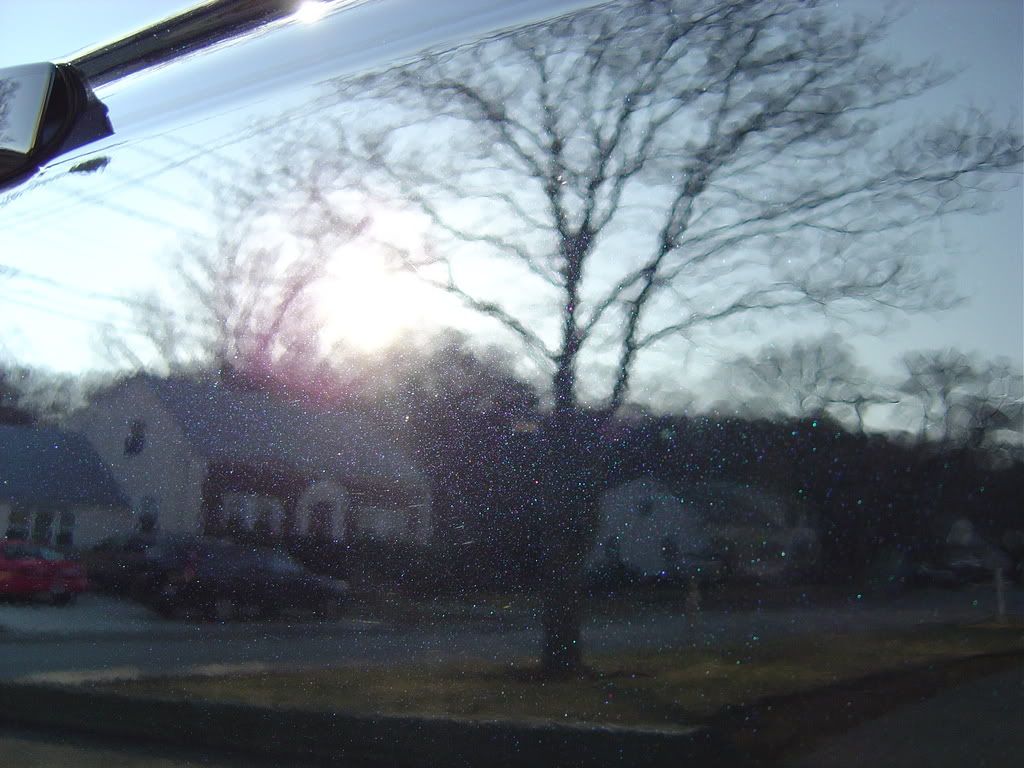
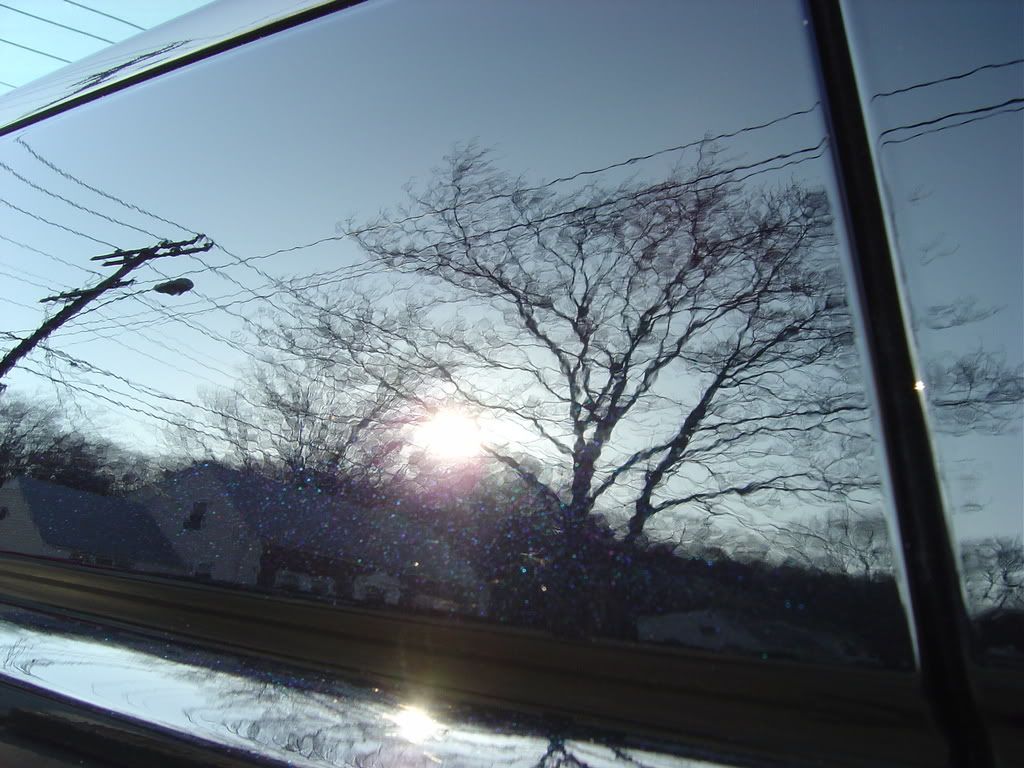
Everything changed pretty quickly after I washed the car! All of the imperfections magically appeared and I knew I was in for a time consuming detail. After the wash, I could see and feel that the paint was highly contaminated. It required almost 2 hours of claying to remove all of the embedded particles. The car was washed again, dried and wiped down with a body solvent to remove any silicone, oils or previous waxes that may interfere with the polishing process.


.
 
.


Below is what I saw when I turned on the halogens for the first time! Just about everything a detailer could wish for. Swirls, holograms, paint transfer, bird bomb etchings, rock chips, scratches, etc..


BlackAcuraTL009.jpg


BlackAcuraTL013.jpg


BlackAcuraTL014.jpg


BlackAcuraTL016.jpg


BlackAcuraTL017.jpg


BlackAcuraTL018.jpg


BlackAcuraTL020.jpg


BlackAcuraTL021.jpg


BlackAcuraTL022.jpg


BlackAcuraTL023.jpg
 
I carefully inspected the paintwork and noted any imperfections and areas of concern. The paint thickness was measured on every body panel using a paint thickness gauge to see what the total coating thickness was before any aggressive polishing was performed.


BlackAcuraTL117.jpg


BlackAcuraTL118.jpg


^^ As you can see, the paint was EXTREMELY thin. I got readings that ranged from 5.6 mils to as low as 3.9 mils in a few areas.


My goal was to make the paint as perfect as possible without sacrificing an unsafe amount of the vehicles clearcoat. I started by using the least aggressive approach to meet the desired results and slowly moved up to a more aggressive product that worked well enough at removing the imperfections and would not harm the clearcoat. Wetsanding was not an option, so I did the best I could with what I had to work with.


Paint thickness was measured periodically throughout the polishing process and on completion to monitor how much clear was removed. Most of the panels did not show any loss in paint thickness, besides a small area on one of the panels that required a wool pad to remove some more serious defects. This particular area was reading 5.2 mils before any polishing and read 5.1 mils after, so a total of .1 mil was removed. The paint meter does vary slightly, so it is impossible to measure exactly how much was removed. I use it more as a guide than anything, so I always use extreme caution when doing heavy correction work.


I was able to remove a considerable amount of the defects and was quite pleased with the results after pulling it outside in the sun. Not 100% perfect, but definitely a huge improvement from how it looked when it arrived.


I decided to take some pictures of the car before the sun went down. I was not quite finished, but the pics below give you an idea of how well it came out considering the circumstances.


BlackAcuraTL074.jpg


BlackAcuraTL075.jpg


BlackAcuraTL078.jpg


BlackAcuraTL055.jpg


BlackAcuraTL057.jpg


BlackAcuraTL058.jpg


BlackAcuraTL076.jpg


BlackAcuraTL060.jpg
 
BlackAcuraTL089.jpg


BlackAcuraTL090.jpg


BlackAcuraTL091.jpg


BlackAcuraTL094.jpg


BlackAcuraTL096.jpg


BlackAcuraTL101.jpg


BlackAcuraTL113.jpg


BlackAcuraTL115.jpg


After taking the pics, I pulled it back in the garage for the finishing touches (exhaust tips, windows, removed compound/polish from all the crevices, etc.).


The paint gave me a considerable amount of trouble due to excessive outgasing. I tried a variety of different products and pads which were all acting very finicky. My guess is that some sort of silicone product was deeply embedded in the paint which was causing these issues.


~My total process ended up being:


Hand wash exterior


All tires, wheels and wheel wells cleaned


Clay bar treatment to complete exterior


Rewashed exterior


Solvent wipedown


Measure paint thickness


Masked all vinyl/rubber moldings, gaskets, etc. with tape


Spot-buffed a small area (heavily scratched) with M105 using a yellow Edge 6-inch wool pad


Buffed complete exterior with M105/Ultrafina mix at low rpm’s using a yellow Meguiars Solo foam pad for several sets of passes until I removed a satisfactory amount of heavy defects.


Buffed complete exterior with Ultrafina using a gray CCS pad at 1800 rpm for the first set of passes and a blue CCS pad at 1400 rpm for the second set of passes.


Wiped down paint surfaces with solvent to remove any oils, silicone, wax, etc. that may have been left behind from the compounds/polishes


Viewed the paint under full sunlight and artificial xenon light to ensure that there were as little paint imperfections as possible


A base coat of Finish Kare’s 1000P was applied by hand


A top coat of Pinnacle Souveran was applied by hand


Tires and wheel wells dressed with Super Blue dressing


Detailed logos & trim and removed excess wax/residue from cracks, crevices and jambs


Final wipedown using Optimum Instant Detailer and Gloss Enhancer
 
Afinn4 said:
when you clayed the entire car how did you keep the clay bar clean of all the dirt that was picked up??


Thanks!


I actually used up two bars for the car


I used a purple (agressive) Kar Kraft clay far for the heavies

and went over the car a second time with green (medium) Kar Kraft clay
 
WOW! That thing was quite past it's point of correction, you really must have worked hard on this one.


Amazing job at bringing it back and giving a new glossy look. Looks like a different car.
 
I've got one question I can't seem to figure out. You state...


"The paint thickness was measured on every body panel using a paint thickness gauge to ensure that a significant amount of clear was present before any aggressive polishing was performed."


I assume that a paint thickness gauge measures the total amount of "paint" on a body panel, which would include primer, color, and clear coats.


So if you get a reading of 5.1 mills, how do you know how much of that is clear coat? The primer and color coats could be 5 mills thick and the clear coat only 0.1 mills thick.


Explain how you "ensure a significant amount of CLEAR is present" with a PTG.
 
mattgg11 said:
I've got one question I can't seem to figure out. You state...


"The paint thickness was measured on every body panel using a paint thickness gauge to ensure that a significant amount of clear was present before any aggressive polishing was performed."


I assume that a paint thickness gauge measures the total amount of "paint" on a body panel, which would include primer, color, and clear coats.


So if you get a reading of 5.1 mills, how do you know how much of that is clear coat? The primer and color coats could be 5 mills thick and the clear coat only 0.1 mills thick.


Explain how you "ensure a significant amount of CLEAR is present" with a PTG.


Well, I guess I should have worded it "to see what the total thickness was". (I will go back and edit that)


You are correct at assuming that a paint thickness gauge measures the total amount of "paint" on a body panel, which includes primer, color, and clear coats.


They do make a gauge that will show you the thickness of each layer (primer, color and clear), but it is very expensive.


I just use the gauge as a guide. It varies quite a bit, even on the same panel, but it lets me know about how thick the total coating is.


It helped me in knowing that the total coating thickness was pretty thin, therefore I used less than agressive products and techniques as I normally would.
 
rydawg said:
WOW! That thing was quite past it's point of correction, you really must have worked hard on this one.


Amazing job at bringing it back and giving a new glossy look. Looks like a different car.


Thanks Ryan!


This is the car that I was detailing when I talked to you the other day. Too bad you weren't around to help! I could have used you.
 
Excellent work Rick, very impressive. Good thing Acura paint is so soft huh? how long did it take you total?


Also, did you remeasure the thickness afterwards to see how much was leveled??
 
pampos- Thanks!


CleanGSR- Thanks, I agree. It is new to the owner, so it will be taken care of from now on


Josh- Most Acuras I have worked on in the past have had really soft paint, but for some reason this wasn't the case on this one. I'd say it was somewhere in the middle.


It took me about 18 hours total to detail the exterior. I ran out of time to get to the interior.


Most of the panels did not show any loss in paint thickness, besides a small area on one of the panels that required a wool pad to remove some more serious defects. This particular area was reading 5.2 mils before any polishing and read 5.1 mils after, so a total of .1 mil was removed. The paint meter does vary slightly, so it is impossible to measure exactly how much was removed. I use it more as a guide than anything, so I always use extreme caution when doing heavy correction work.
 
Macruz19 said:
Great work. It's great to see a TL that looks almost as good as mine :)


Thanks, I absolutely love the color of your car.


I had an 03' Acura CL-S that I wish I still had.


They are great cars
 
Back
Top