C. Charles Hahn
CCH Auto Appearance, LLC
Continued from Part 1
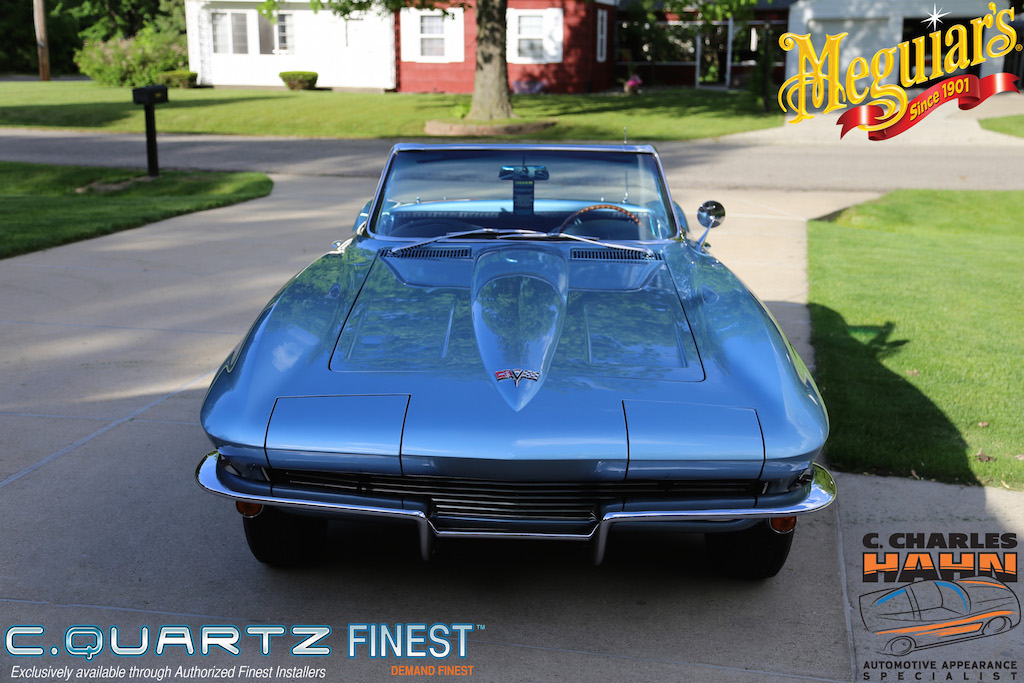
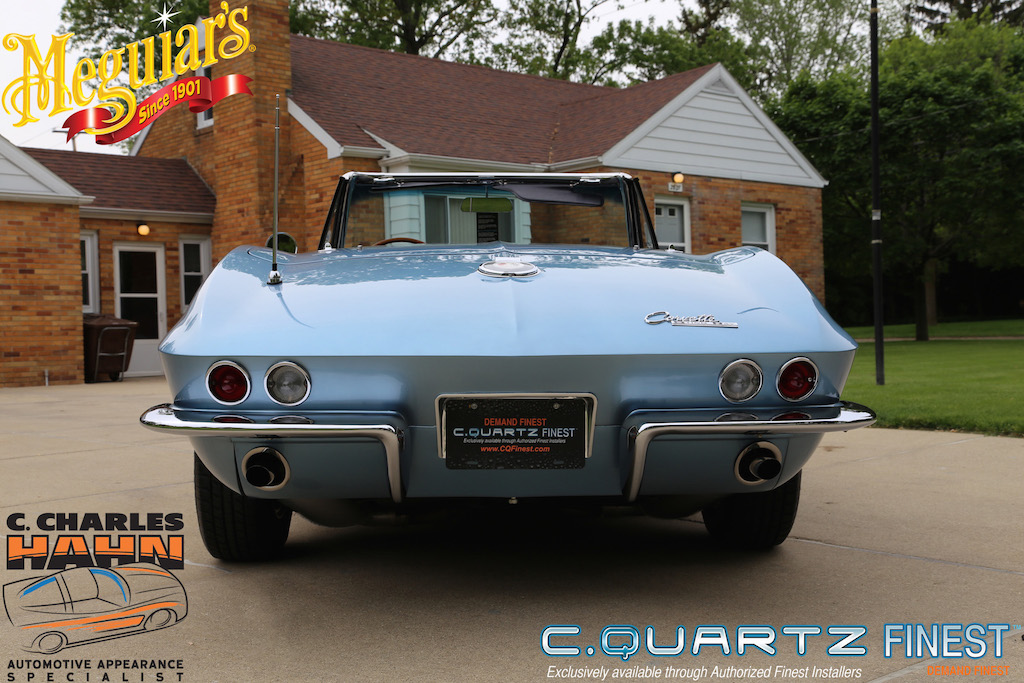
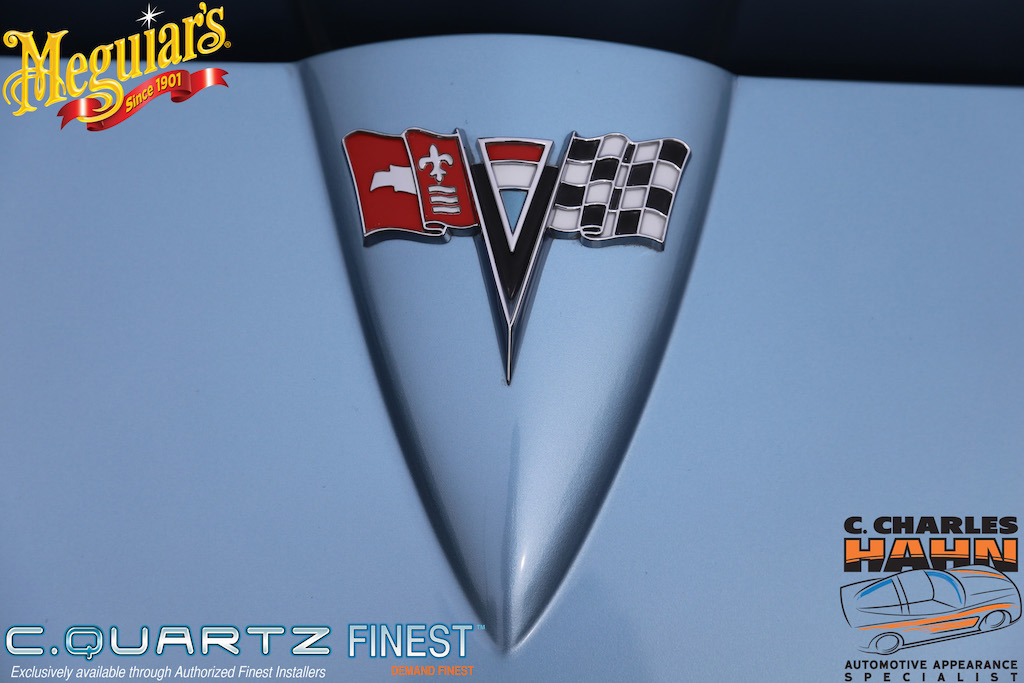
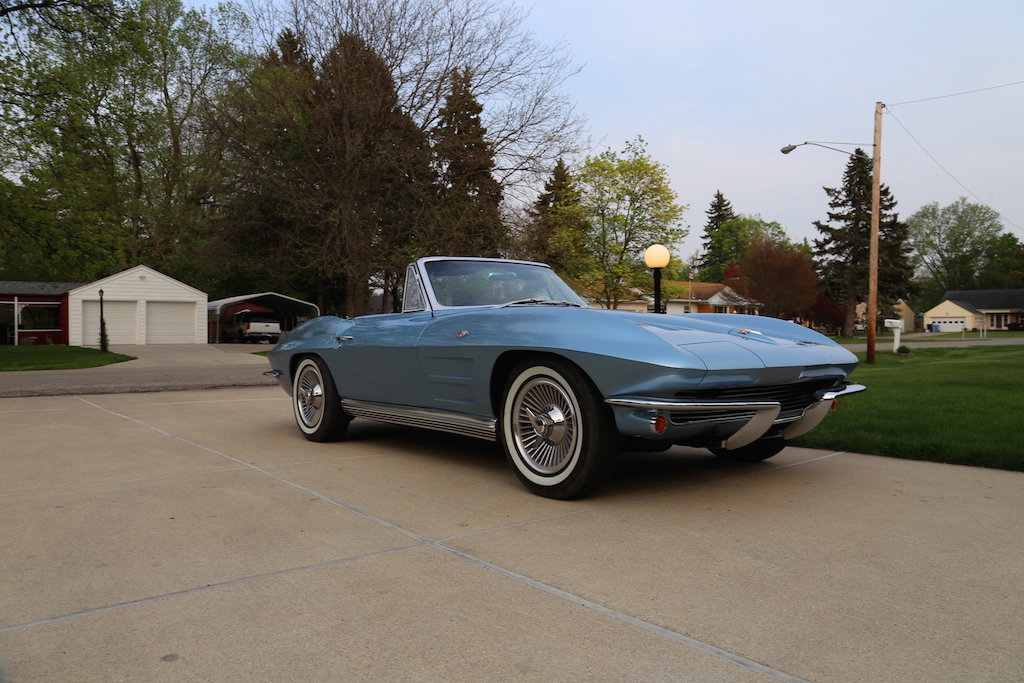
February 26, 1964; a significant date in history. In London, The Beatles were recording the soundtrack for their first feature film, "A Hard Day's Night," at Abbey Road studio. Recently crowned world heavyweight boxer Cassius Clay publicly adopted the name Muhammad Ali. More importantly on this Wednesday, the 6,921st Corvette Convertible rolled off the assembly line in St. Louis, MO wearing stately satin silver paint wrapped around a blue vinyl interior. The car was destined for New York, where it would spend its first four decades.
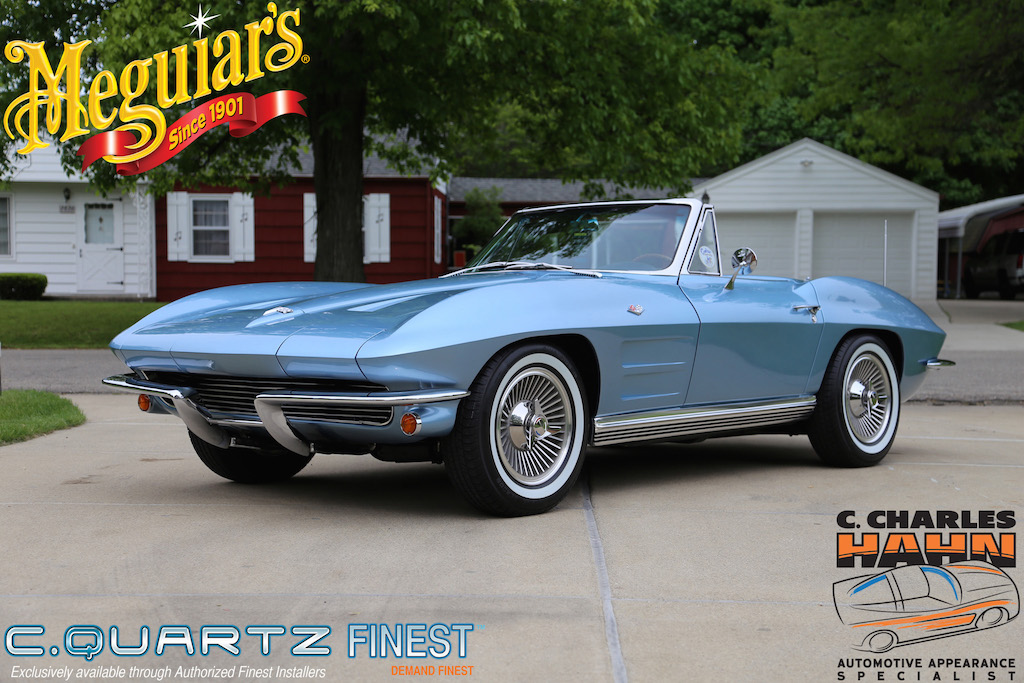
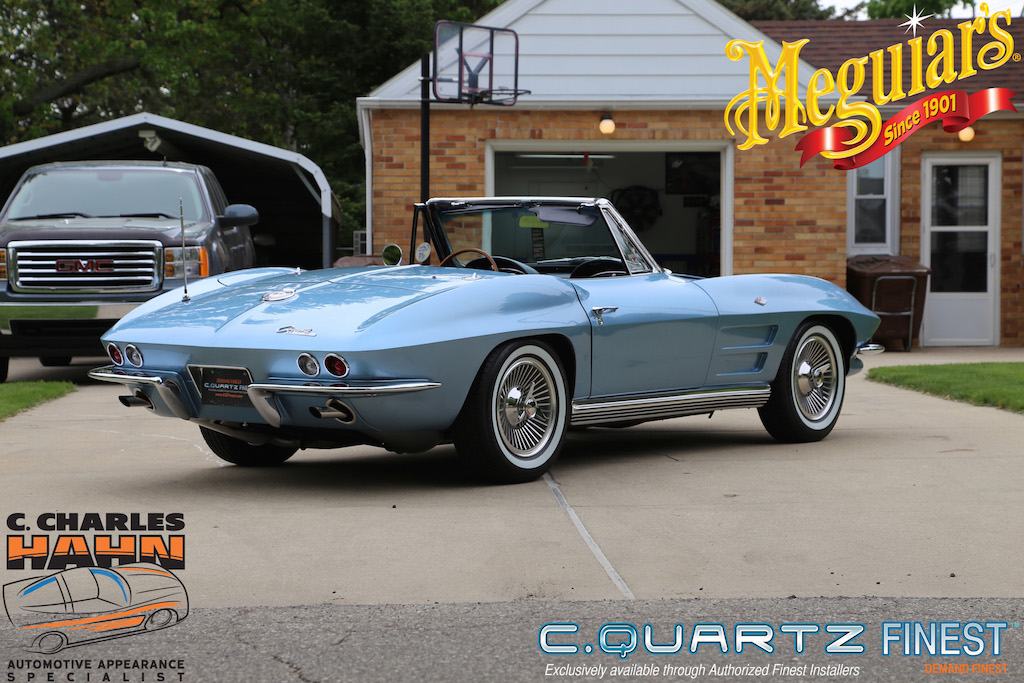
Fast forward to the late 1990s, when the car (by now in rough condition due to age and lack of care) was obtained by the current owner and transported to Michigan. Upon arrival, it underwent an extensive frame-off, nut-and-bolt restoration. During this time, the car was refinished in silver-blue, another factory available color during the 1964 model year. Since that time, it has been enjoyed at many cruise-ins and car shows; and that is where our story begins.
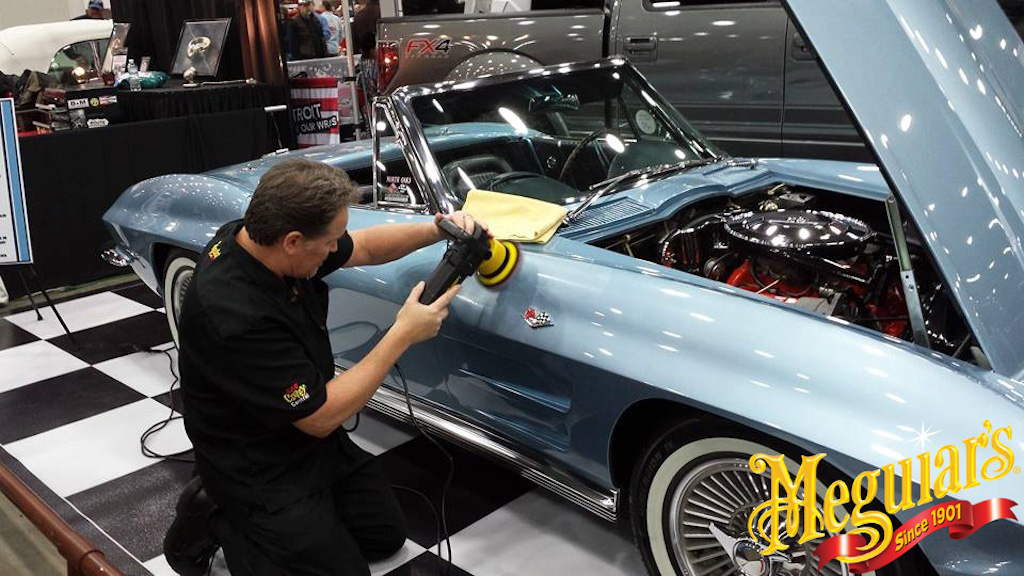
In March of 2014, this 'Sting Ray' along with its 50 year newer counterpart (featured in part one of this saga) were on display at the Detroit Autorama. By that point, age had started to take its toll on the restoration, and some areas of the paint were left looking a bit dull. The car's owner approached a representative working in the Meguiar's booth to inquire as to how the paint could be improved upon; this turned out to be none other than Michael Stoops, Internet Technical Manager, Meguiar's Online forum administrator, and highly skilled Car Crazy detailer. Mike offered to see what he could do on the worst areas of the finish on the spot, so the car could make a good showing.
Knowing that the car would need more extensive attention at a later date to truly bring the finish back to its full potential, Mike also agreed to refer the owner to a local professional to complete the remaining work. I was in attendance at the show that year (also having the opportunity to work with Mike on another special project, an emergency makeover on a highly customized Mustang II: Emergency Makeover: Detroit Autorama Edition with Michael Stoops), and Mike showed this car to me while I was there.
A few months after the show, I received a call asking for my opinion about what these cars would need. The owner indicated that he would be taking the '64 back to his painter to have a few areas refinished as there were several rock chips in need of attention first. This spring I received word that the cars were finally ready to be completed.
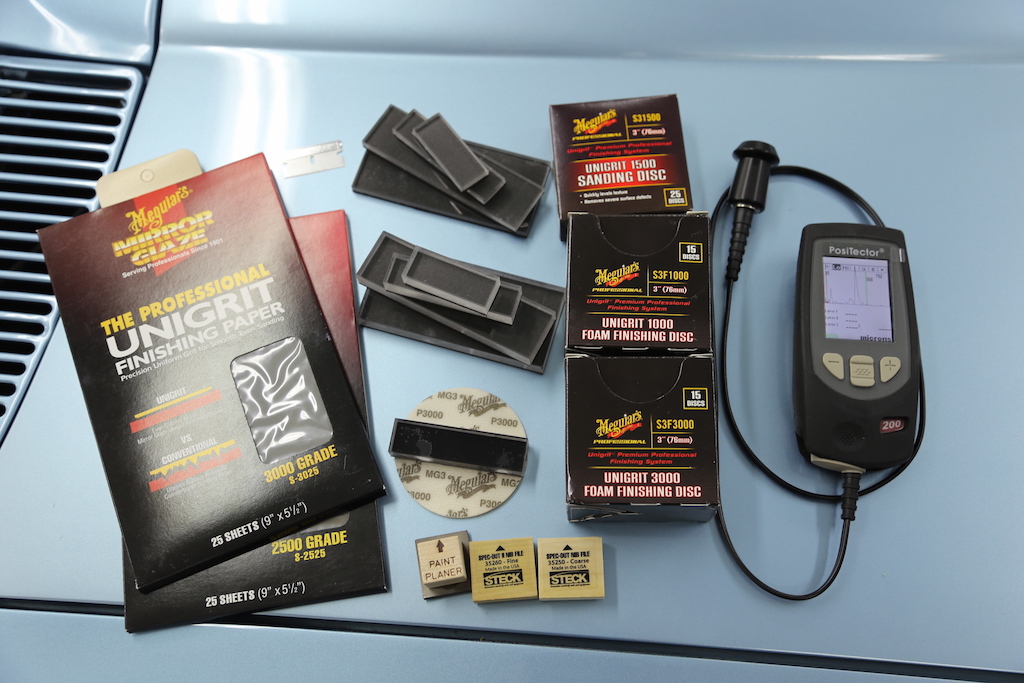
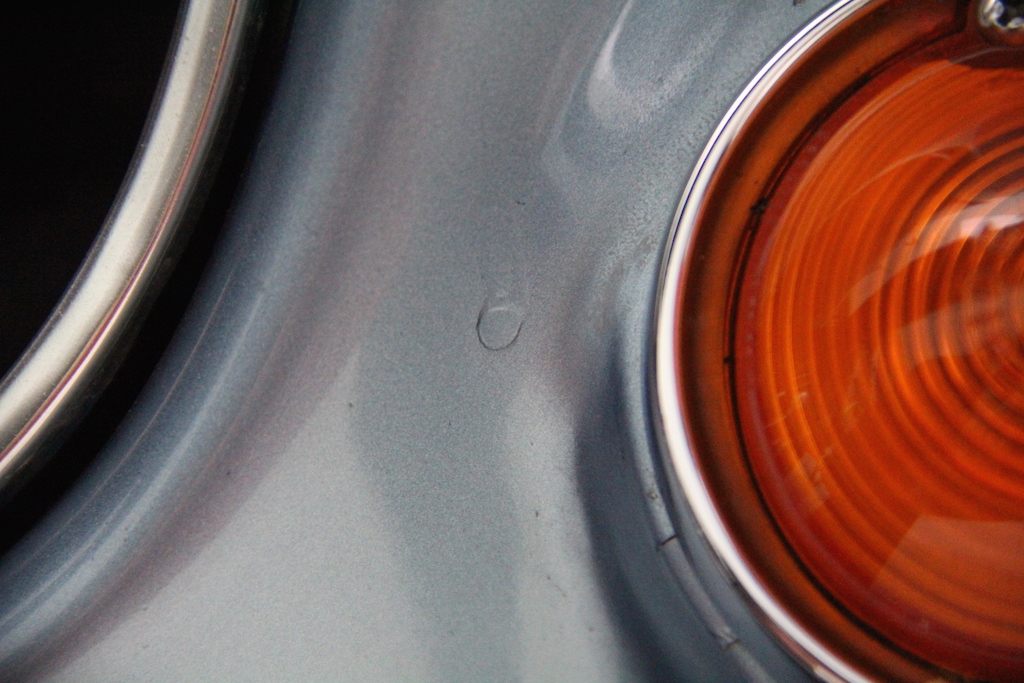
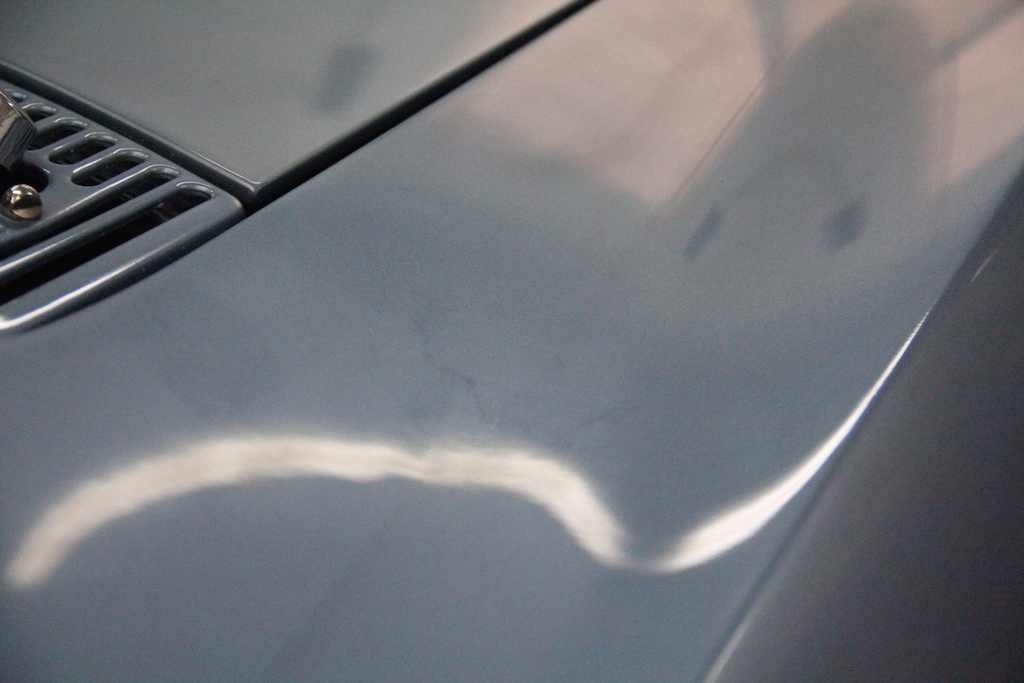
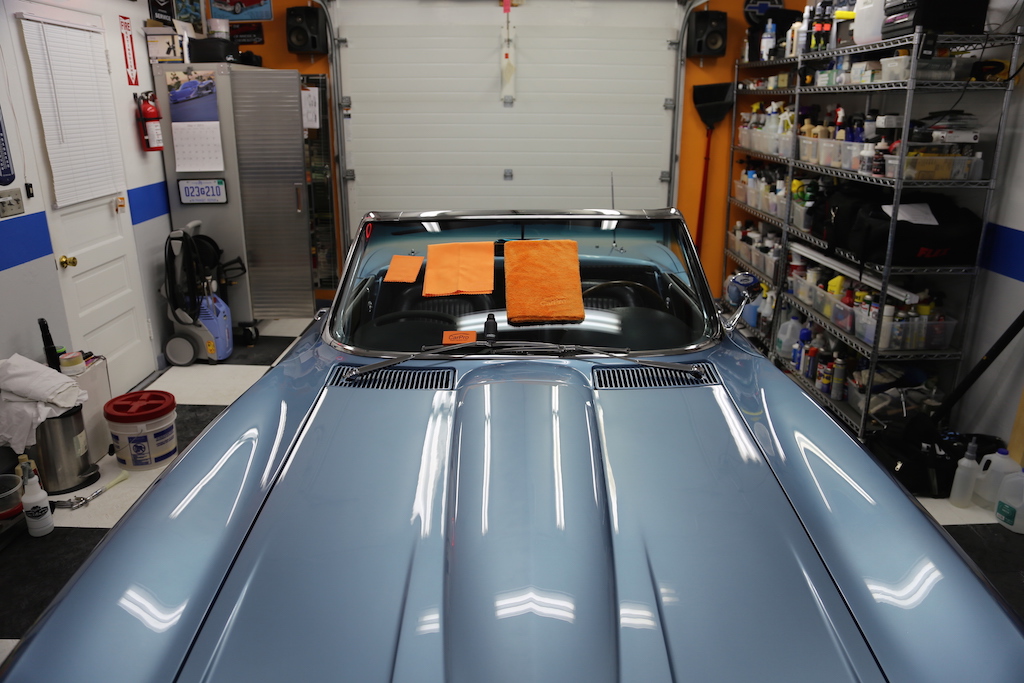
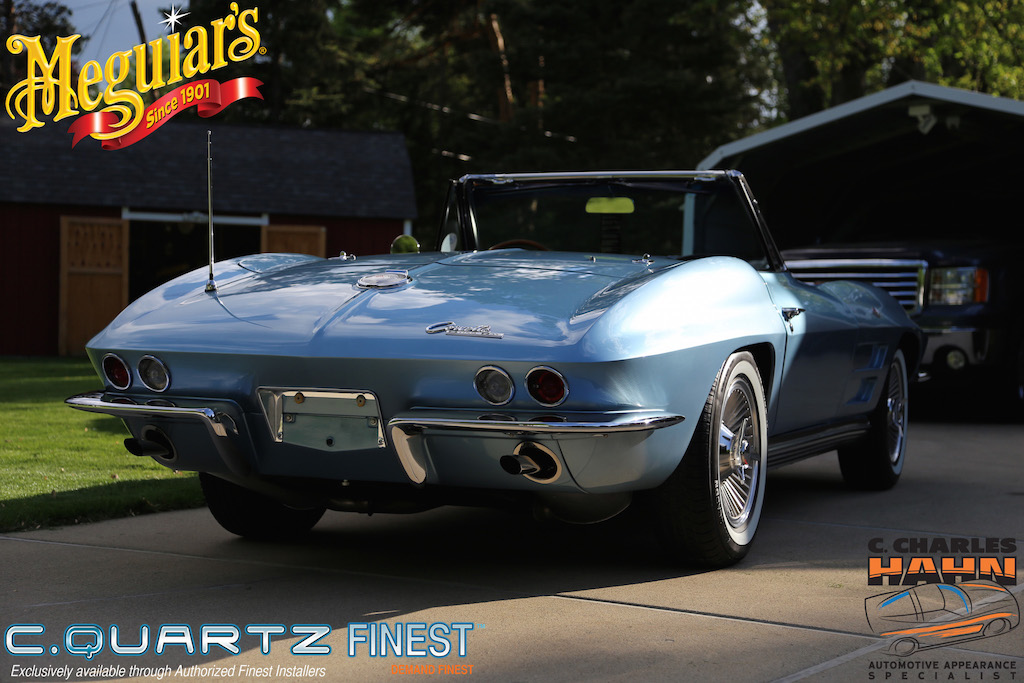
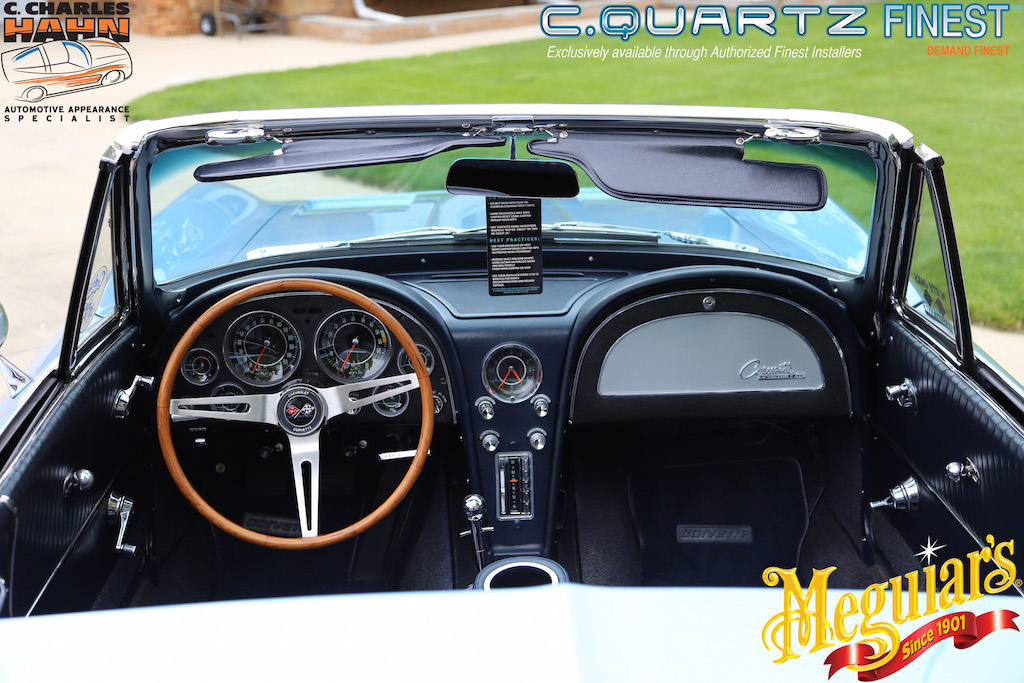
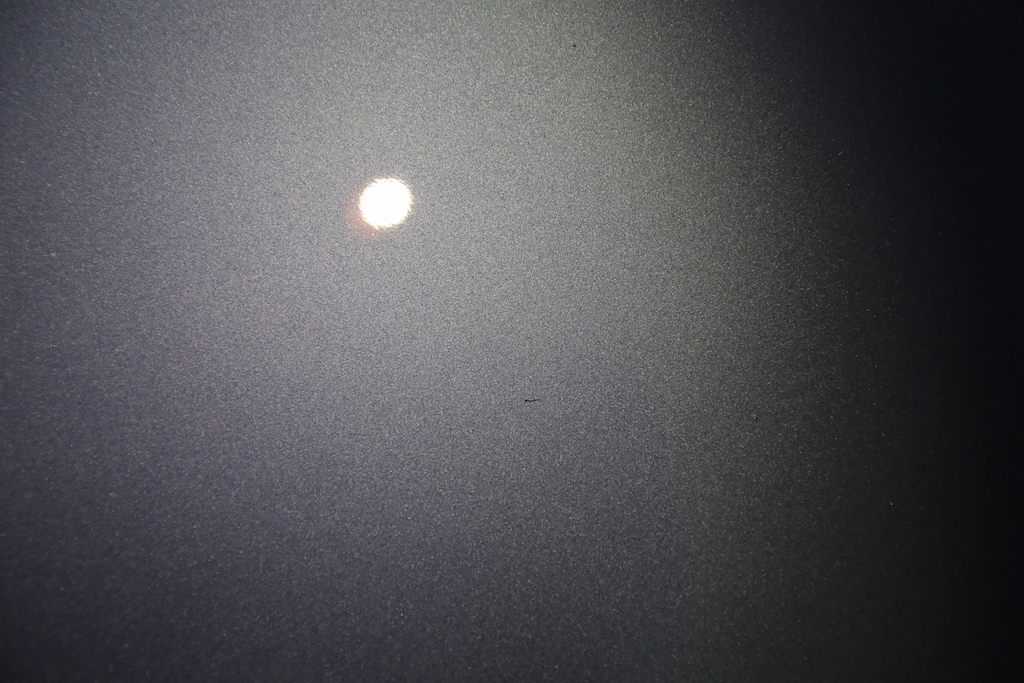
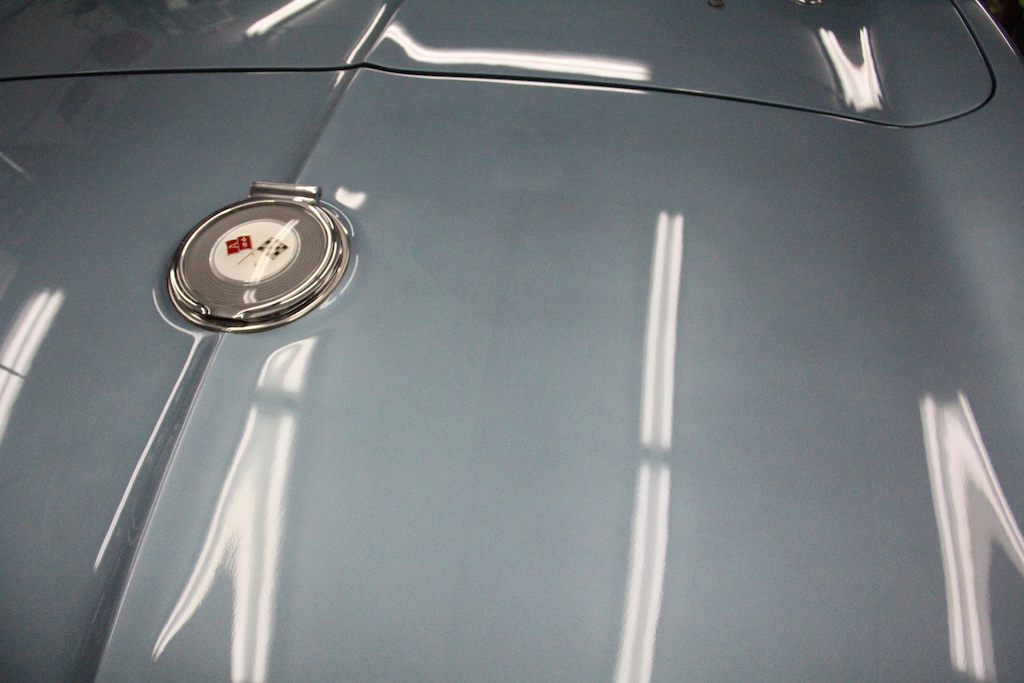
As was the case with the C7, I initially inspected this car in the client's garage to fully gauge its condition. The inspection revealed a number of issues ranging from cracks in the paint and fiberglass bodywork, to "mapped through" defects, to paintwork shrinkage due to age:
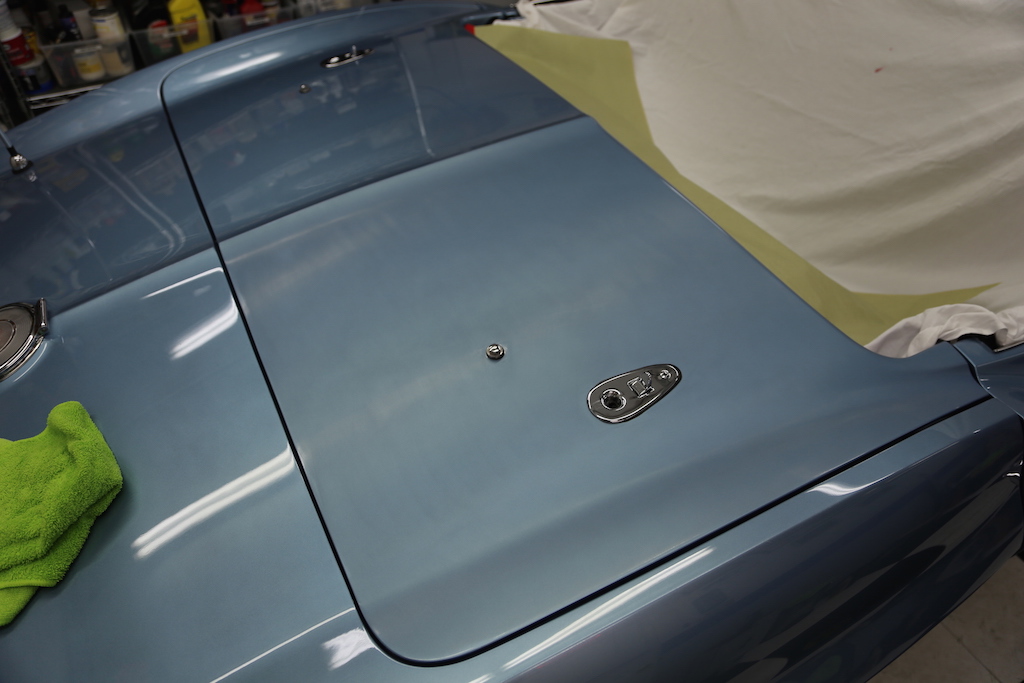
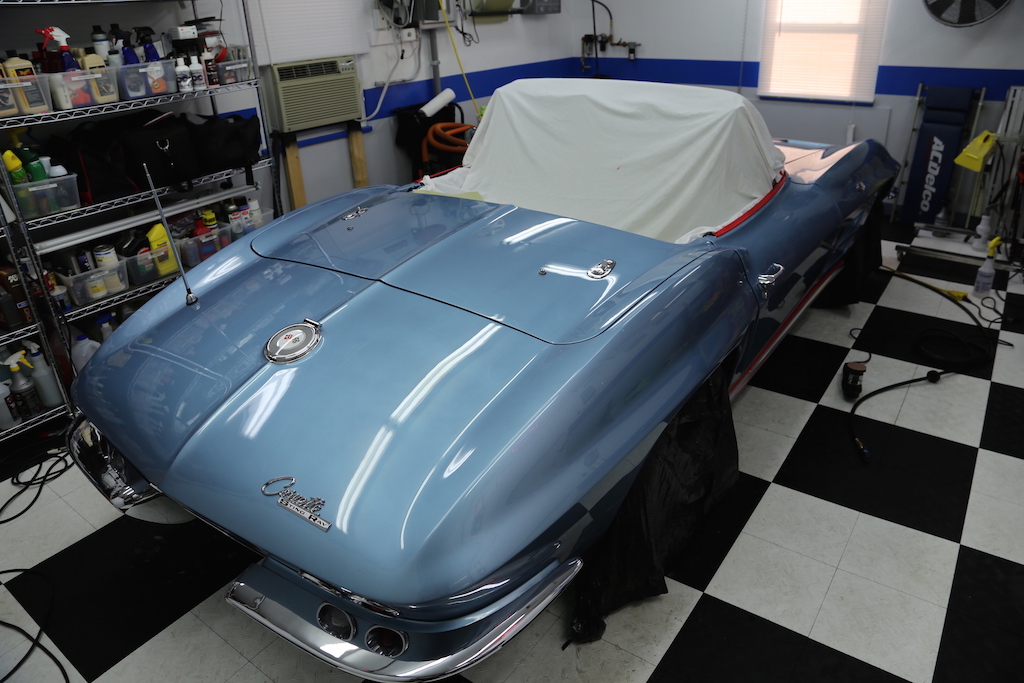
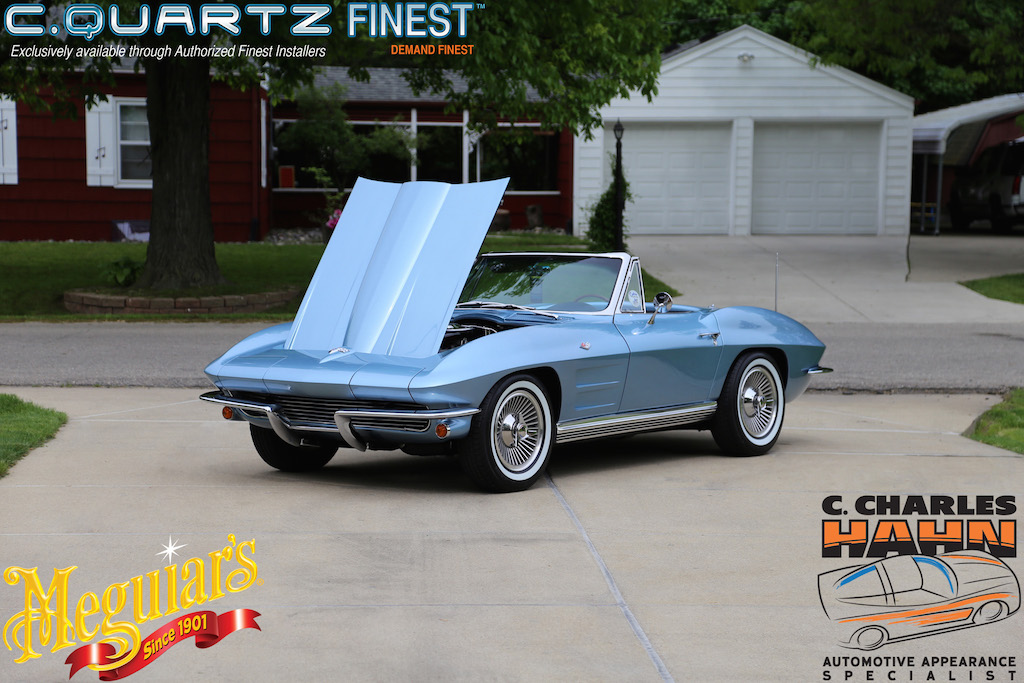
A few weeks later, the car arrived at my shop following completion of the C7 from part 1:
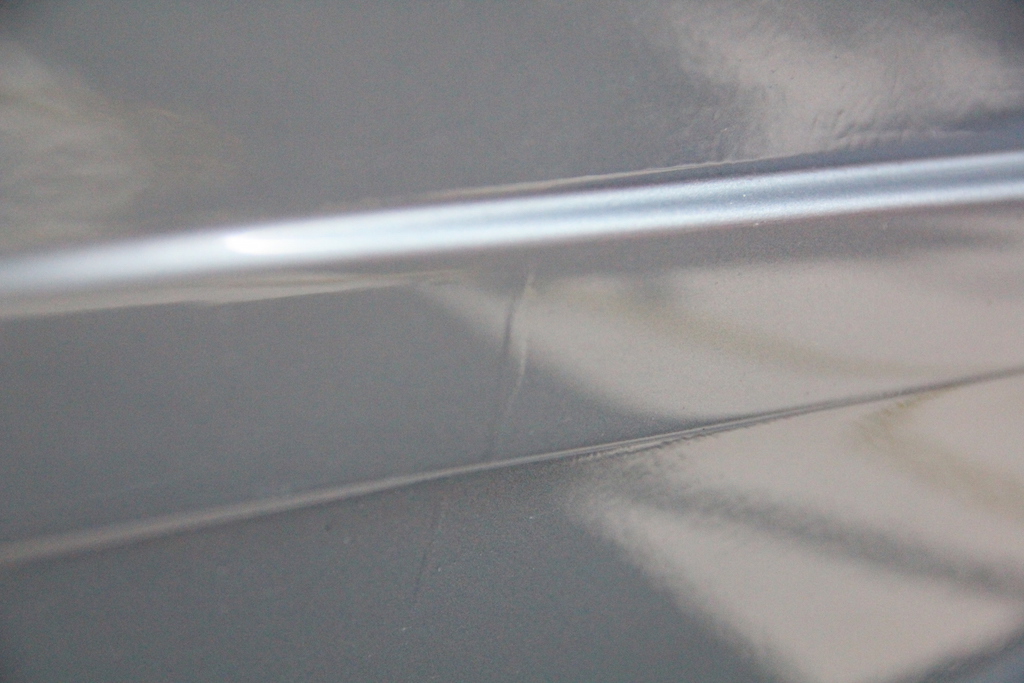
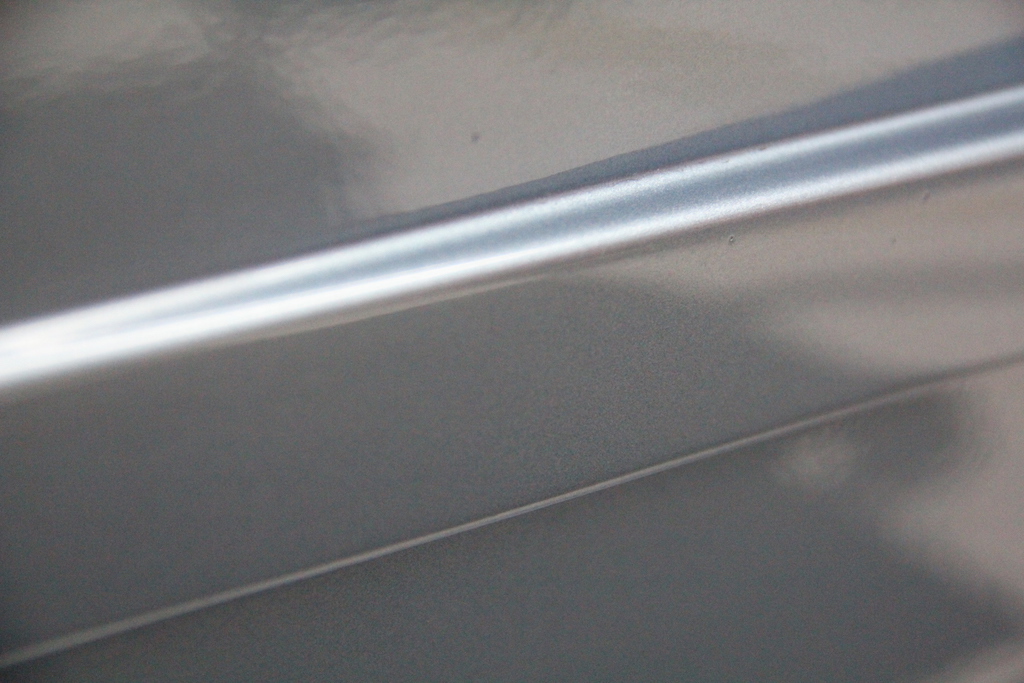
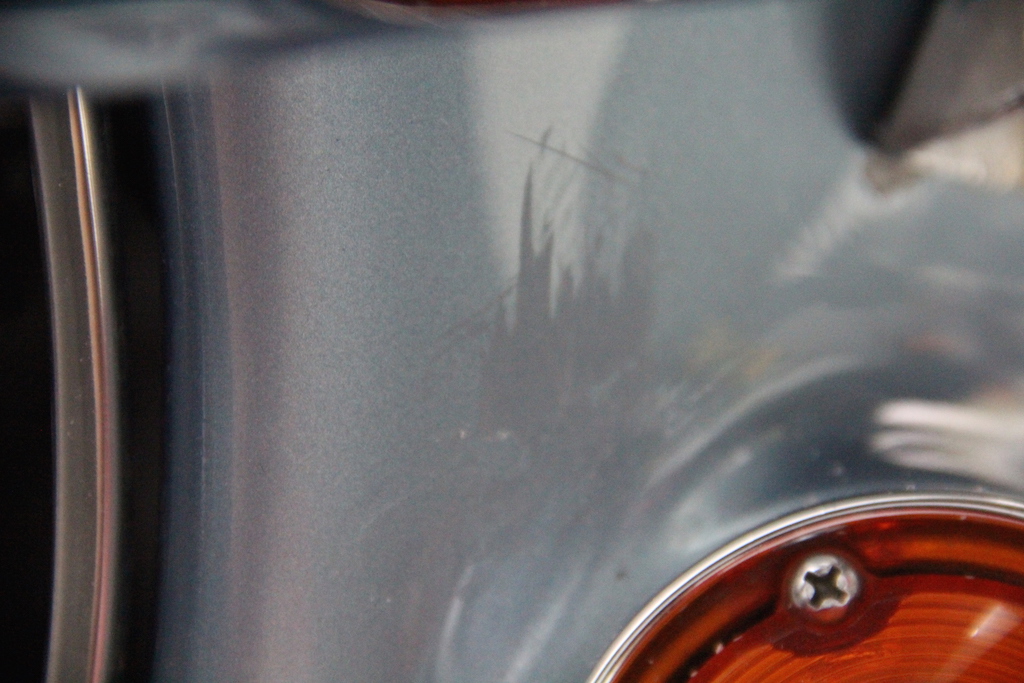
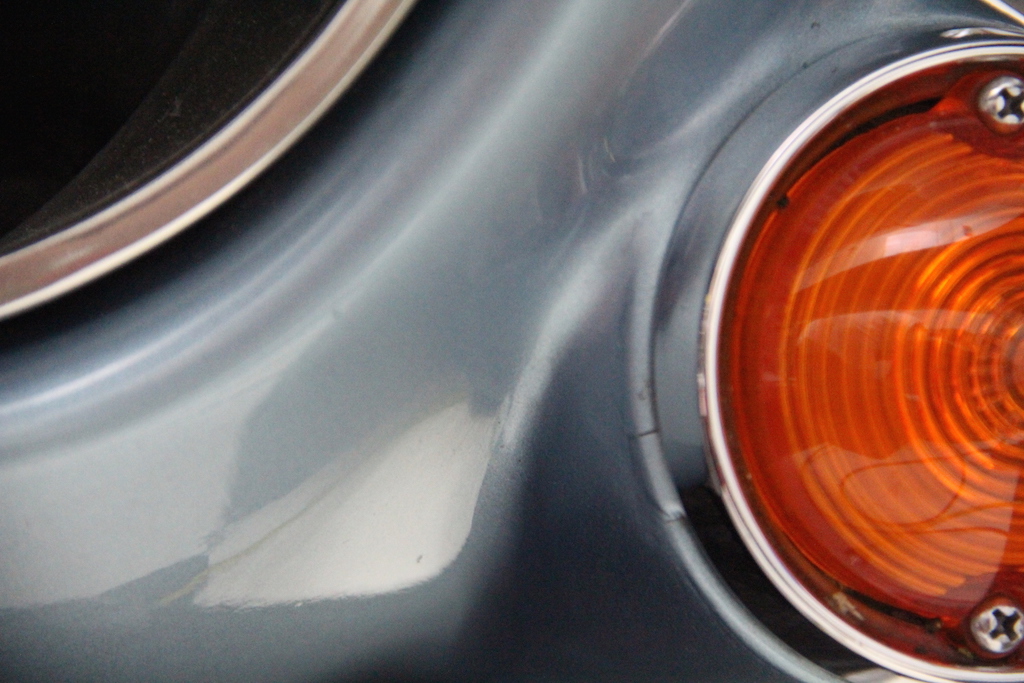
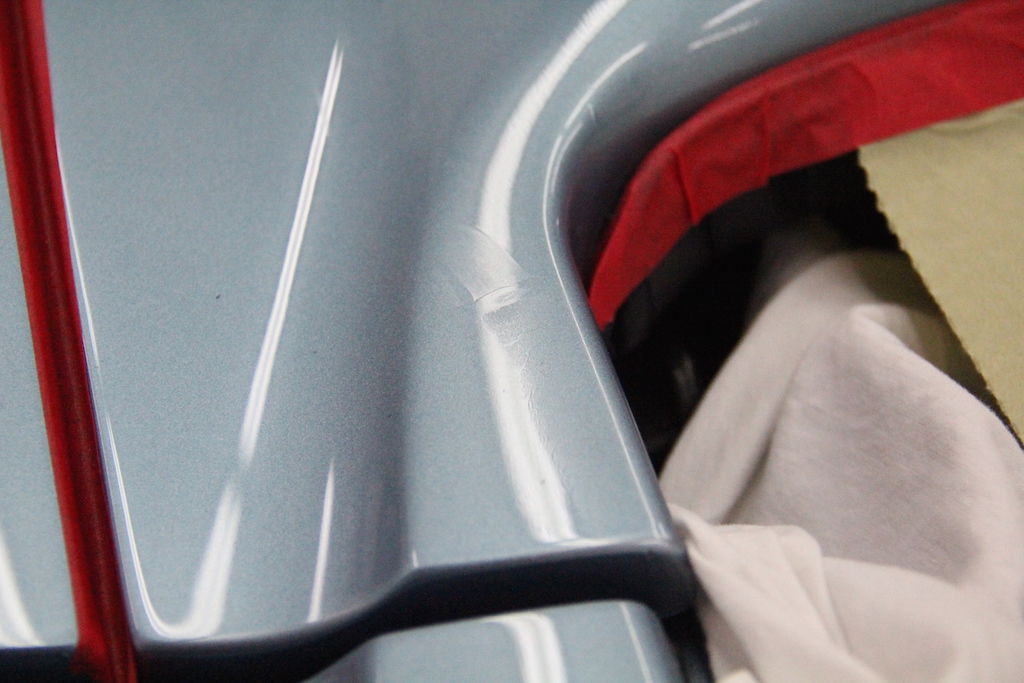
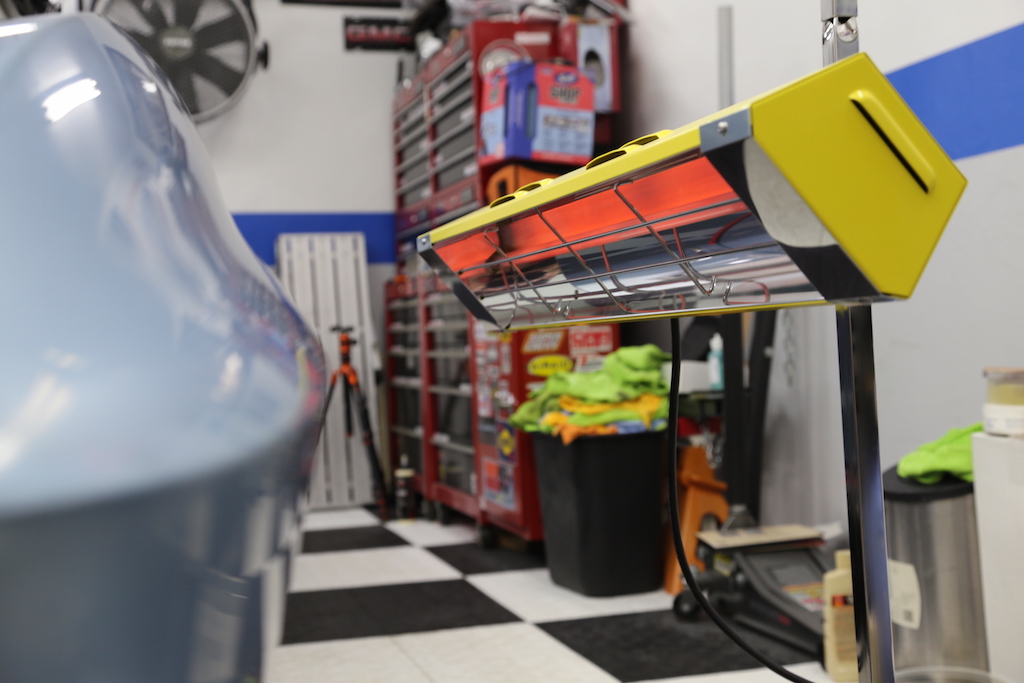
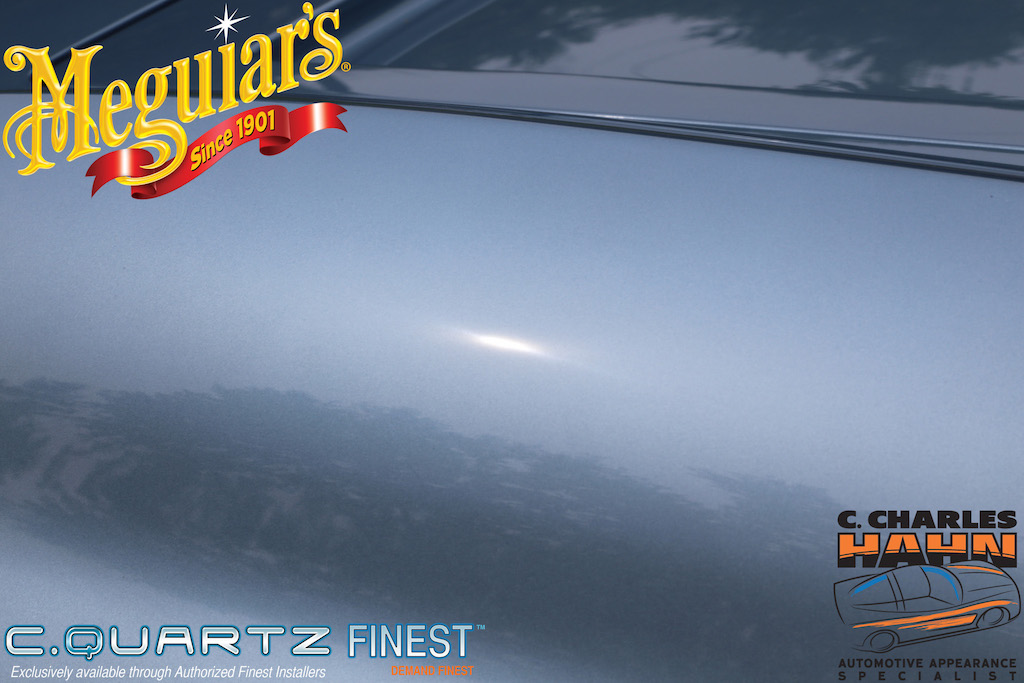
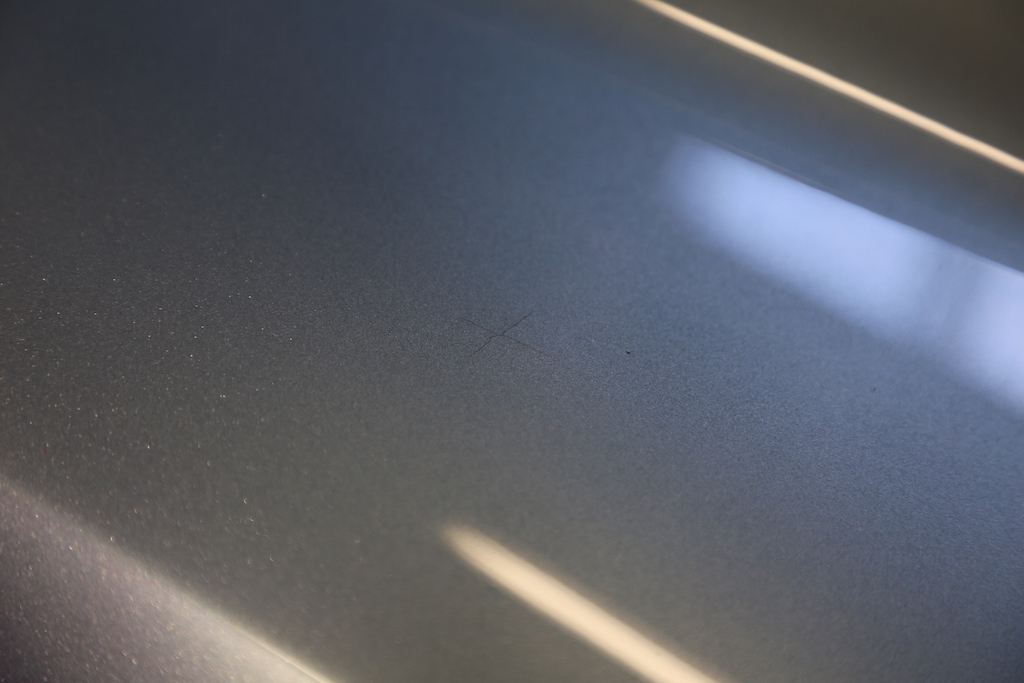
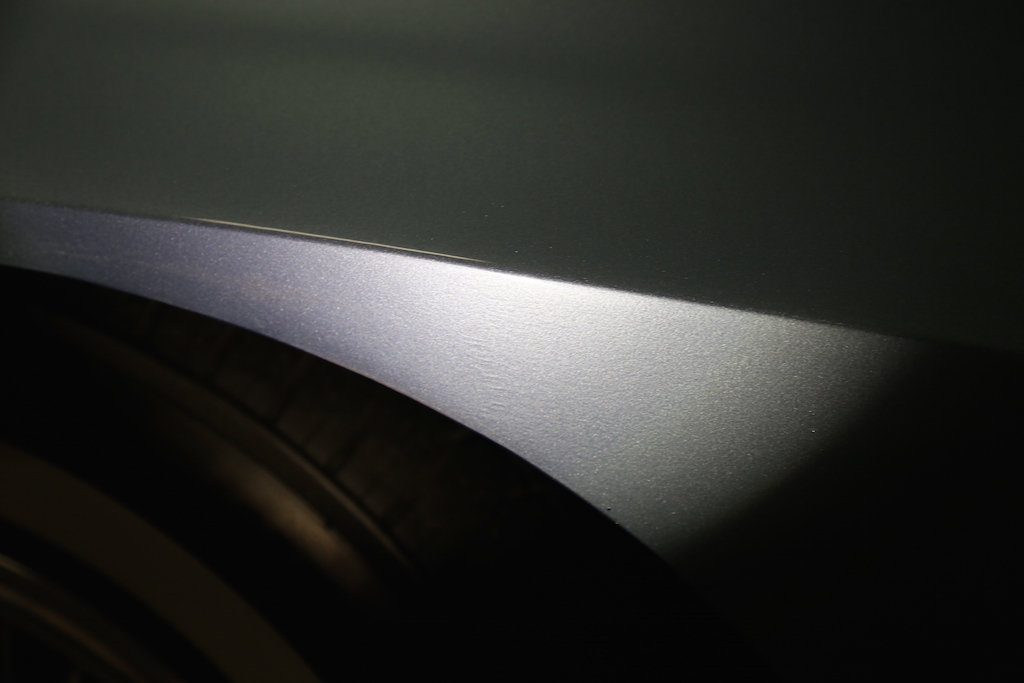
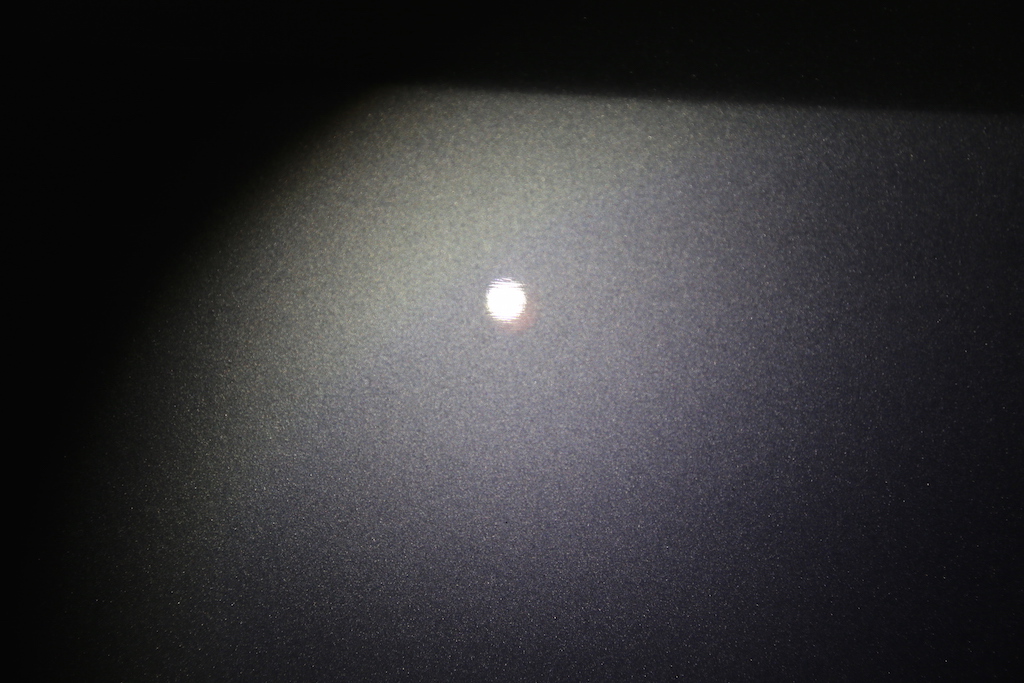
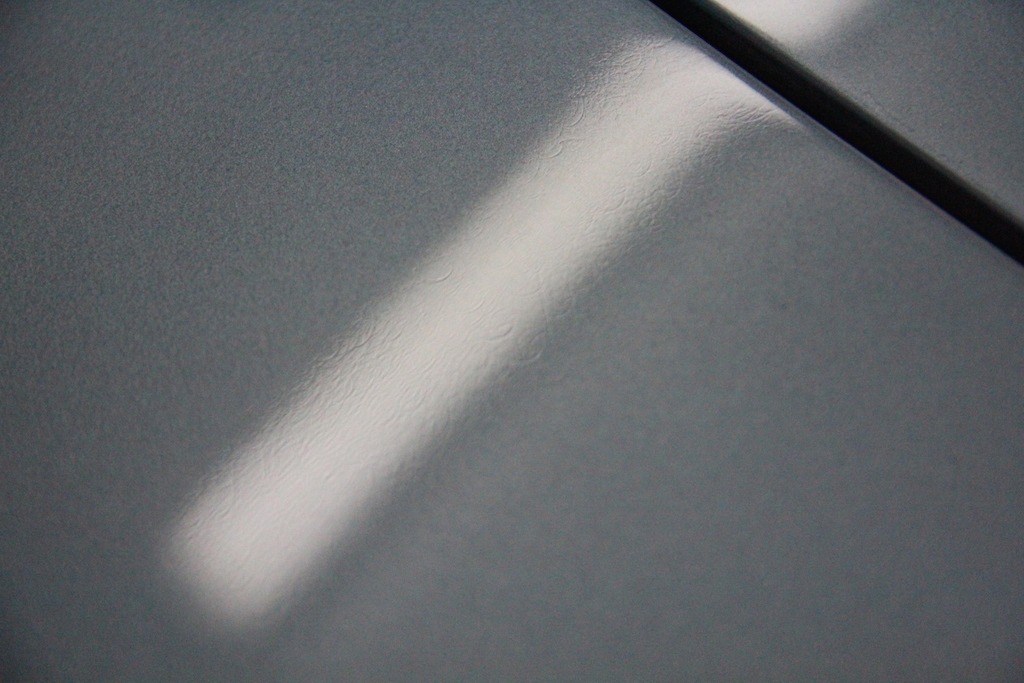
A closer look under my controlled lighting reveals a clearer look at our starting point, from DA pigtails in the body work to shrinkage and haze in the topcoats:
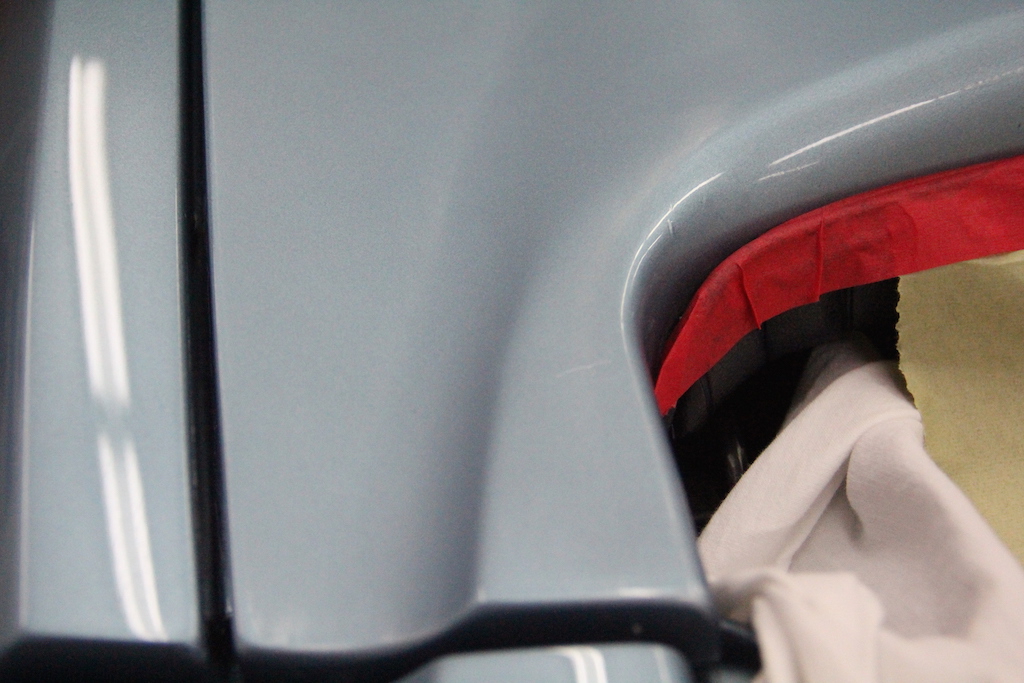
Before beginning the paint correction duties, attention was turned to cleaning and conditioning of other components. First, all of the gaskets and weather seals around the doors and windows were cleaned and protected with Meguiar's Natural Shine. It is vital, especially on an older car such as this one, to maintain these rubber parts with a water-based dressing to keep them moist and supple in order to prevent degradation over time.


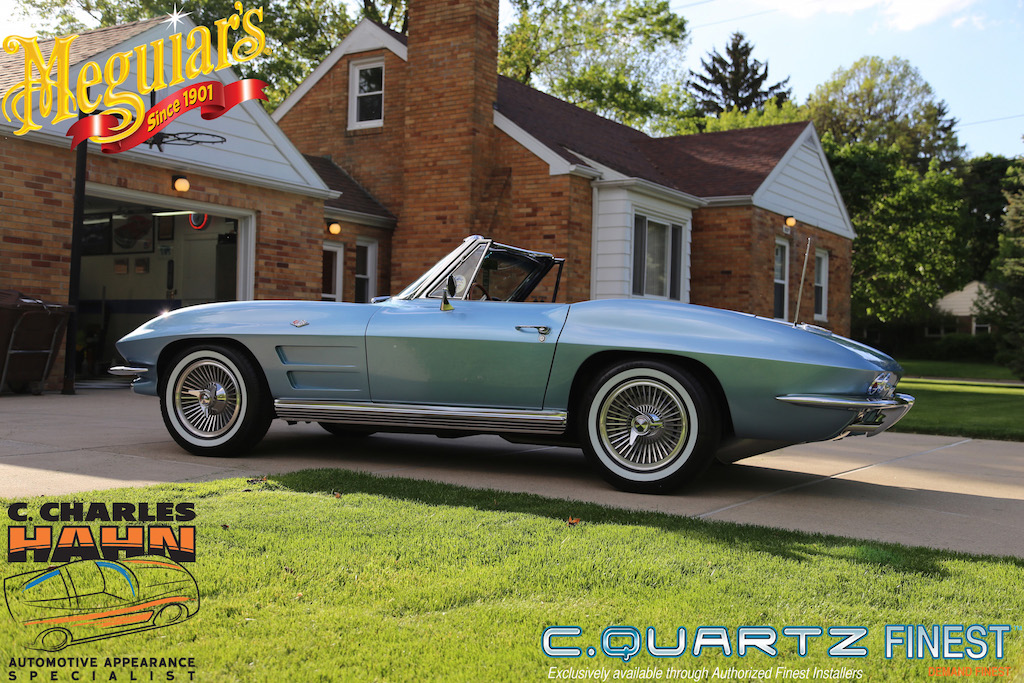
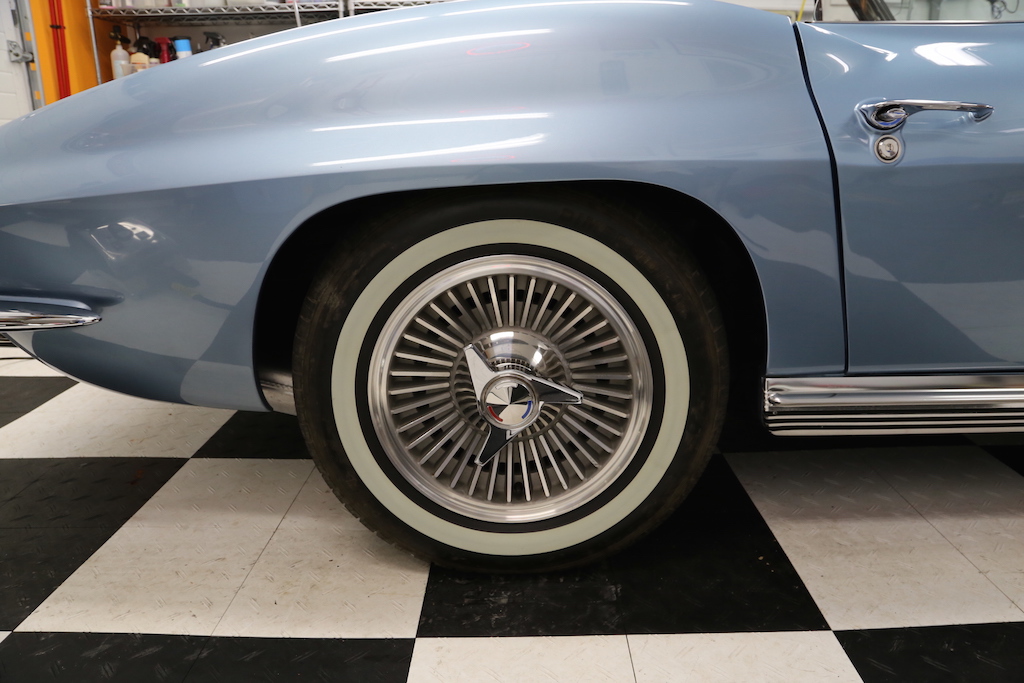
Next, attention would turn to the wide white-wall tires. These were also beginning to show their age, with brown, oxidized rubber on the sidewalls and yellowing of the white stripe:
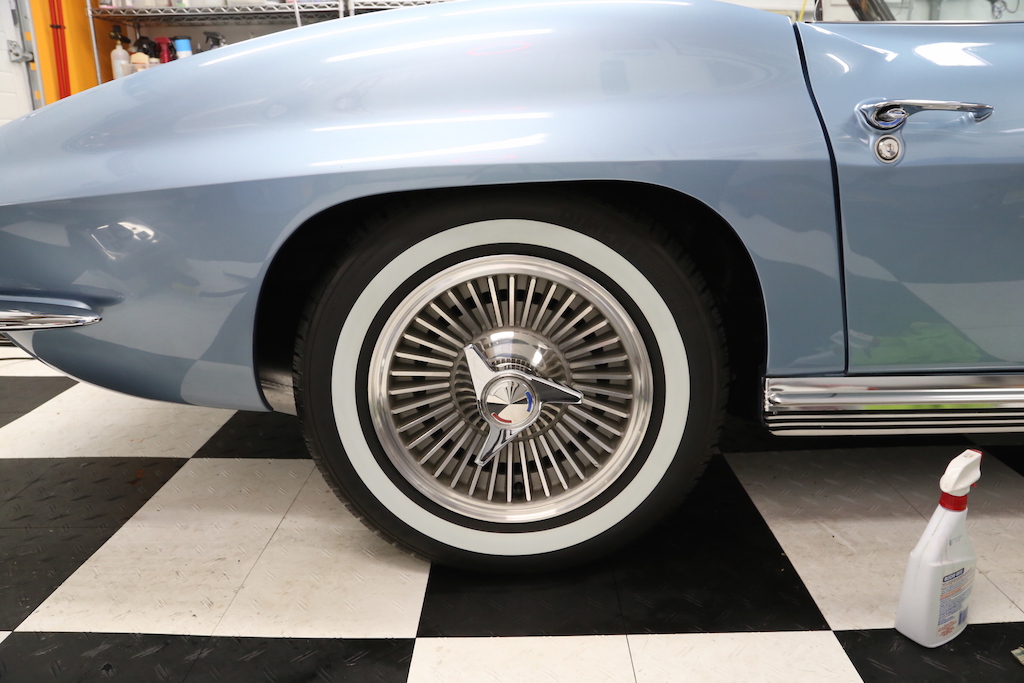
Using old-stock Westley's Bleache-White cleaner and a toothbrush, the tires were carefully cleaned and rinsed with steam:
February 26, 1964; a significant date in history. In London, The Beatles were recording the soundtrack for their first feature film, "A Hard Day's Night," at Abbey Road studio. Recently crowned world heavyweight boxer Cassius Clay publicly adopted the name Muhammad Ali. More importantly on this Wednesday, the 6,921st Corvette Convertible rolled off the assembly line in St. Louis, MO wearing stately satin silver paint wrapped around a blue vinyl interior. The car was destined for New York, where it would spend its first four decades.
Fast forward to the late 1990s, when the car (by now in rough condition due to age and lack of care) was obtained by the current owner and transported to Michigan. Upon arrival, it underwent an extensive frame-off, nut-and-bolt restoration. During this time, the car was refinished in silver-blue, another factory available color during the 1964 model year. Since that time, it has been enjoyed at many cruise-ins and car shows; and that is where our story begins.
In March of 2014, this 'Sting Ray' along with its 50 year newer counterpart (featured in part one of this saga) were on display at the Detroit Autorama. By that point, age had started to take its toll on the restoration, and some areas of the paint were left looking a bit dull. The car's owner approached a representative working in the Meguiar's booth to inquire as to how the paint could be improved upon; this turned out to be none other than Michael Stoops, Internet Technical Manager, Meguiar's Online forum administrator, and highly skilled Car Crazy detailer. Mike offered to see what he could do on the worst areas of the finish on the spot, so the car could make a good showing.
Knowing that the car would need more extensive attention at a later date to truly bring the finish back to its full potential, Mike also agreed to refer the owner to a local professional to complete the remaining work. I was in attendance at the show that year (also having the opportunity to work with Mike on another special project, an emergency makeover on a highly customized Mustang II: Emergency Makeover: Detroit Autorama Edition with Michael Stoops), and Mike showed this car to me while I was there.
A few months after the show, I received a call asking for my opinion about what these cars would need. The owner indicated that he would be taking the '64 back to his painter to have a few areas refinished as there were several rock chips in need of attention first. This spring I received word that the cars were finally ready to be completed.
As was the case with the C7, I initially inspected this car in the client's garage to fully gauge its condition. The inspection revealed a number of issues ranging from cracks in the paint and fiberglass bodywork, to "mapped through" defects, to paintwork shrinkage due to age:
A few weeks later, the car arrived at my shop following completion of the C7 from part 1:
A closer look under my controlled lighting reveals a clearer look at our starting point, from DA pigtails in the body work to shrinkage and haze in the topcoats:
Before beginning the paint correction duties, attention was turned to cleaning and conditioning of other components. First, all of the gaskets and weather seals around the doors and windows were cleaned and protected with Meguiar's Natural Shine. It is vital, especially on an older car such as this one, to maintain these rubber parts with a water-based dressing to keep them moist and supple in order to prevent degradation over time.
Next, attention would turn to the wide white-wall tires. These were also beginning to show their age, with brown, oxidized rubber on the sidewalls and yellowing of the white stripe:
Using old-stock Westley's Bleache-White cleaner and a toothbrush, the tires were carefully cleaned and rinsed with steam: