C. Charles Hahn
CCH Auto Appearance, LLC
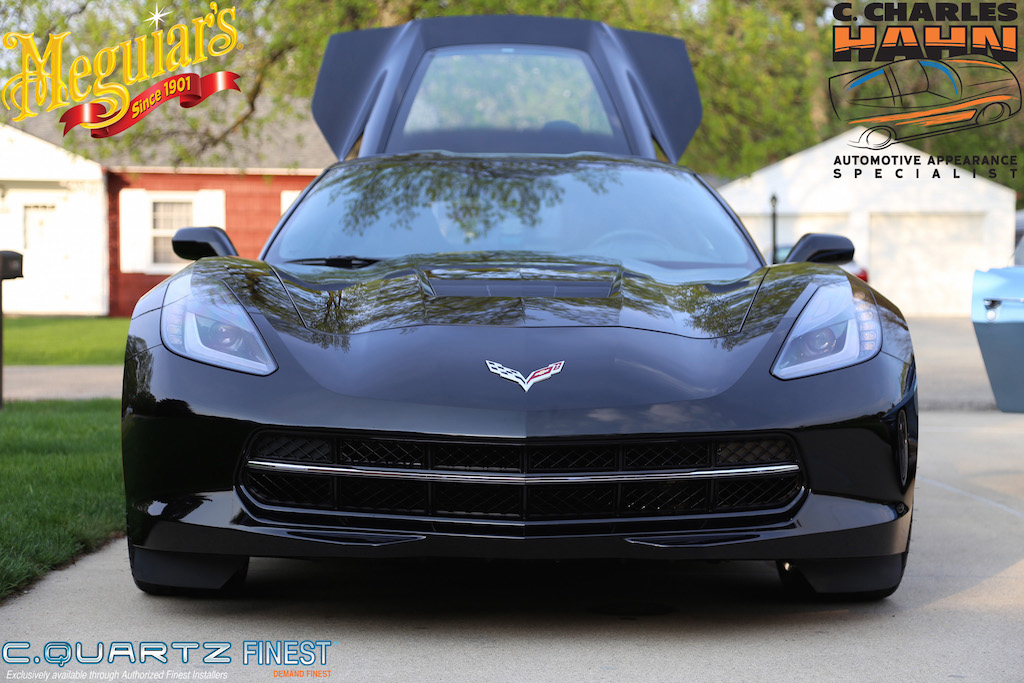
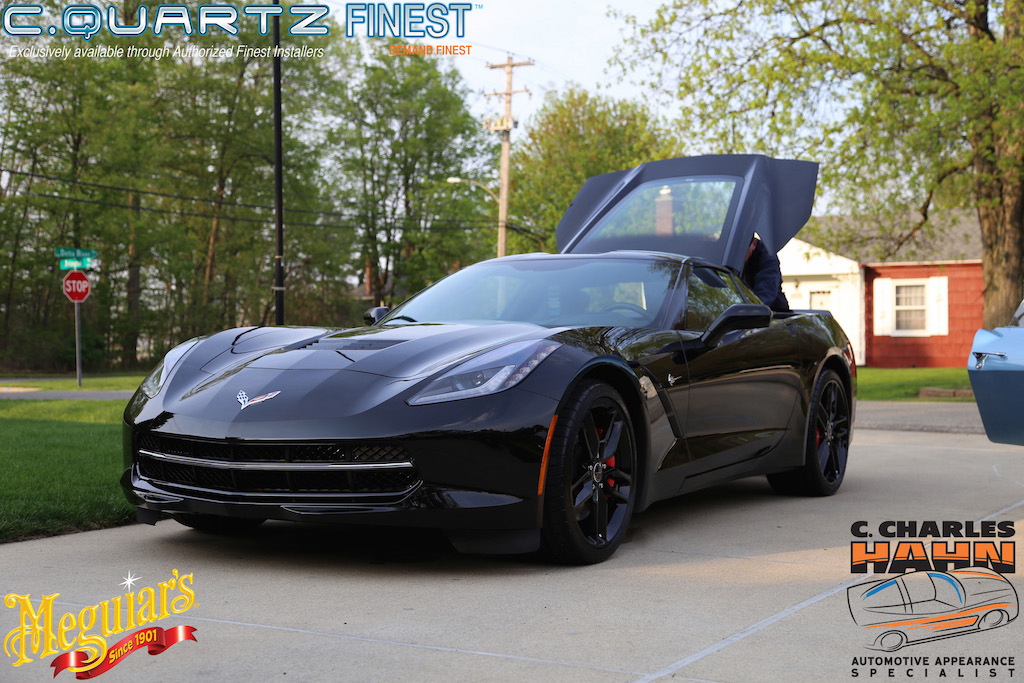
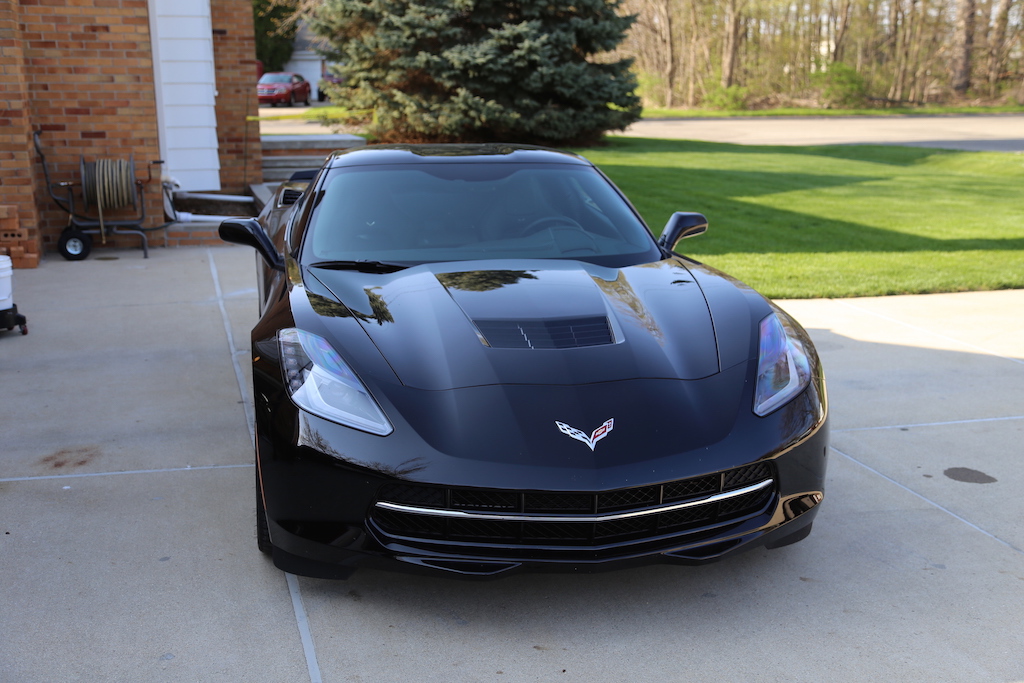
The introduction of Chevrolet's seventh generation Corvette marked the return of the legendary "Stingray" moniker; something that caused significant buzz among enthusiasts and collectors eager to see if the new car would live up to the brand's storied past. Although opinions varied at the initial reveal, many faithful long-time owners lined up to be the first to get their hands on the latest technical and design marvel to emerge from Bowling Green Assembly.
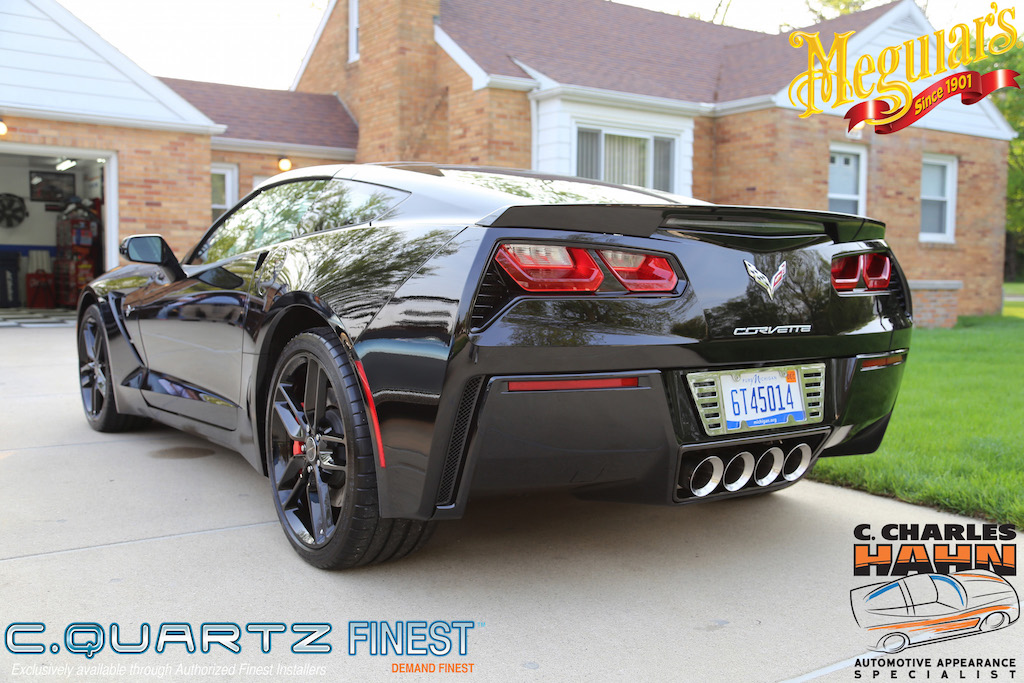
Early C7s began shipping to dealerships on September 18, 2013. Among the cars in those first few shipments was a triple-black coupe equipped with the Z51 performance package and 3LT trim, destined for a hardcore enthusiast's Metro Detroit based collection. Like many of the vehicles in the initial batch, this one came with a number of paint-related issues which were unfortunately made even worse by the delivering dealership. My task was to identify and correct these issues as much as possible.
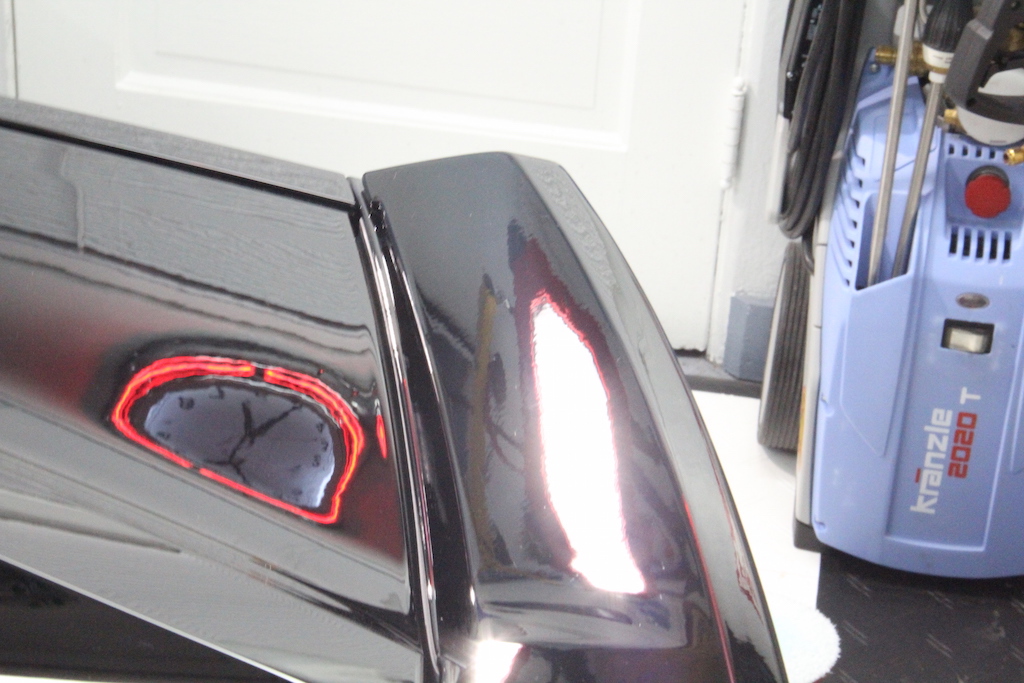
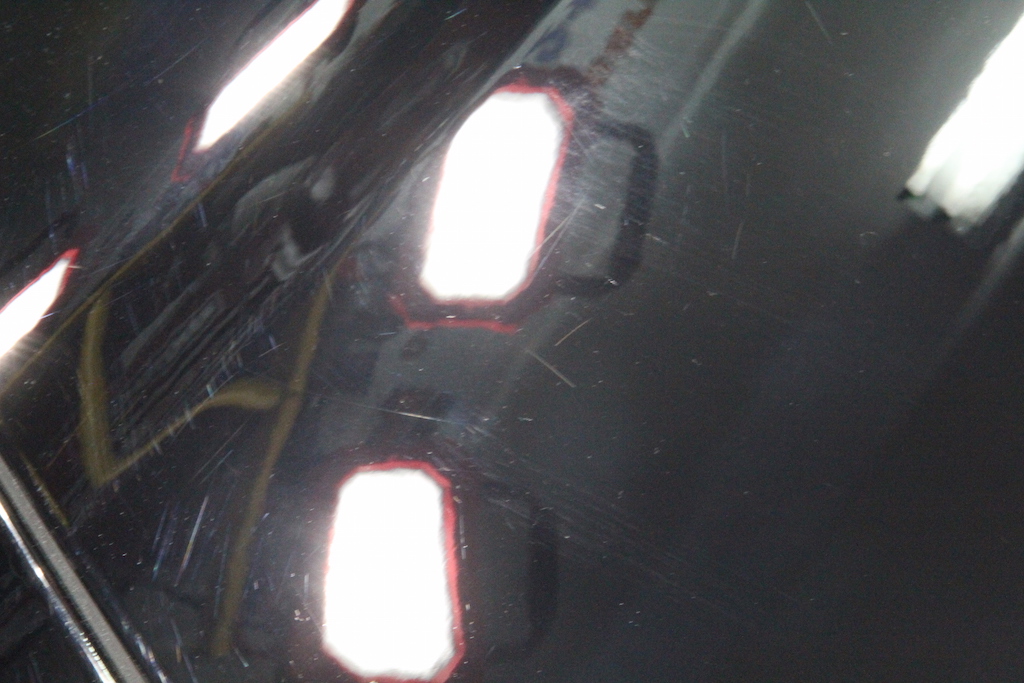
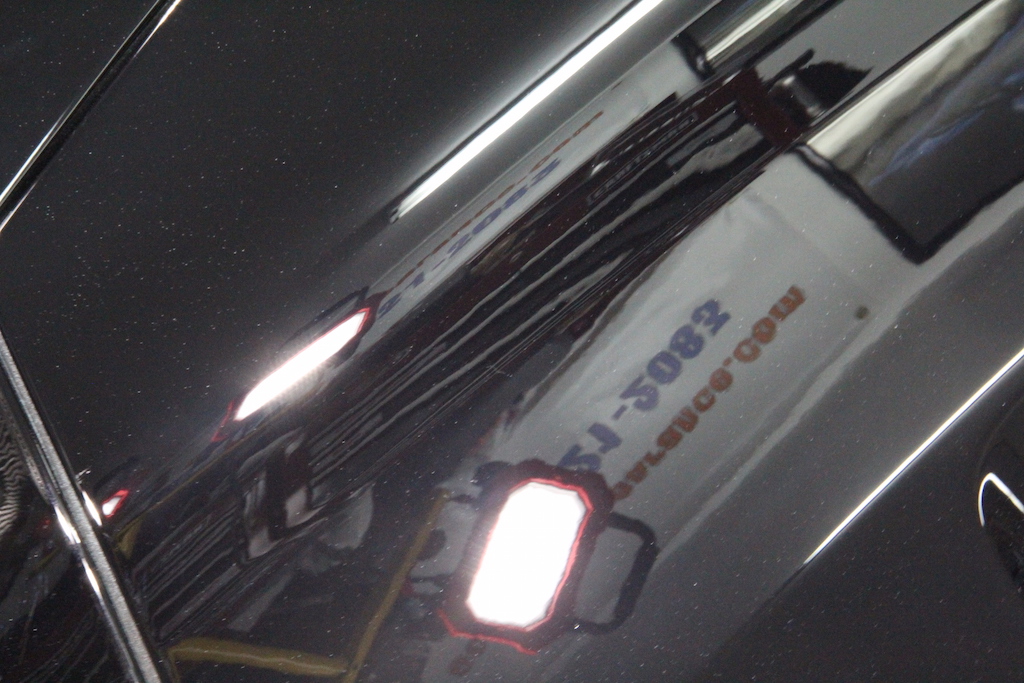
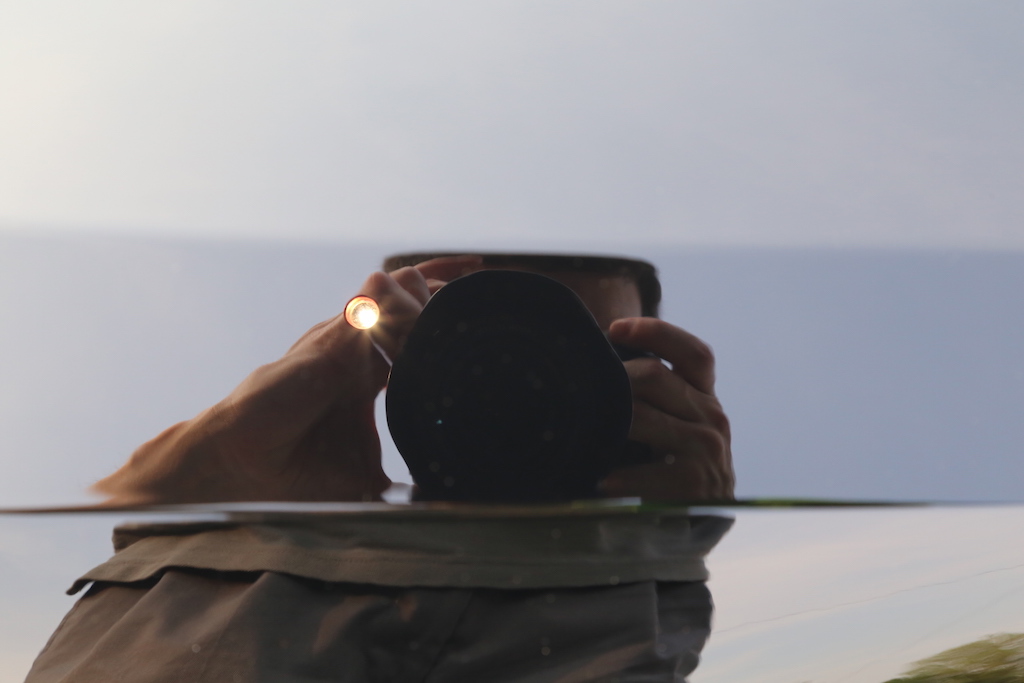
Before work could begin, I took the opportunity to inspect the car at the client's home and formulate a game plan. A few issues stood out immediately, and it became obvious that a substantial amount of compounding and polishing would be required to get this car looking its best again:
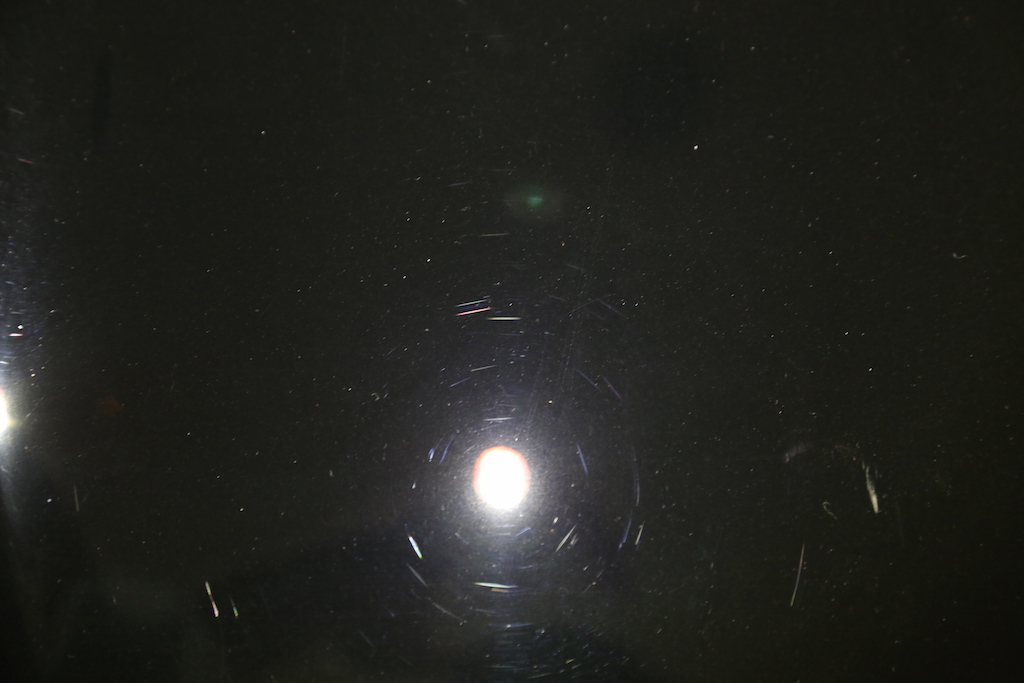
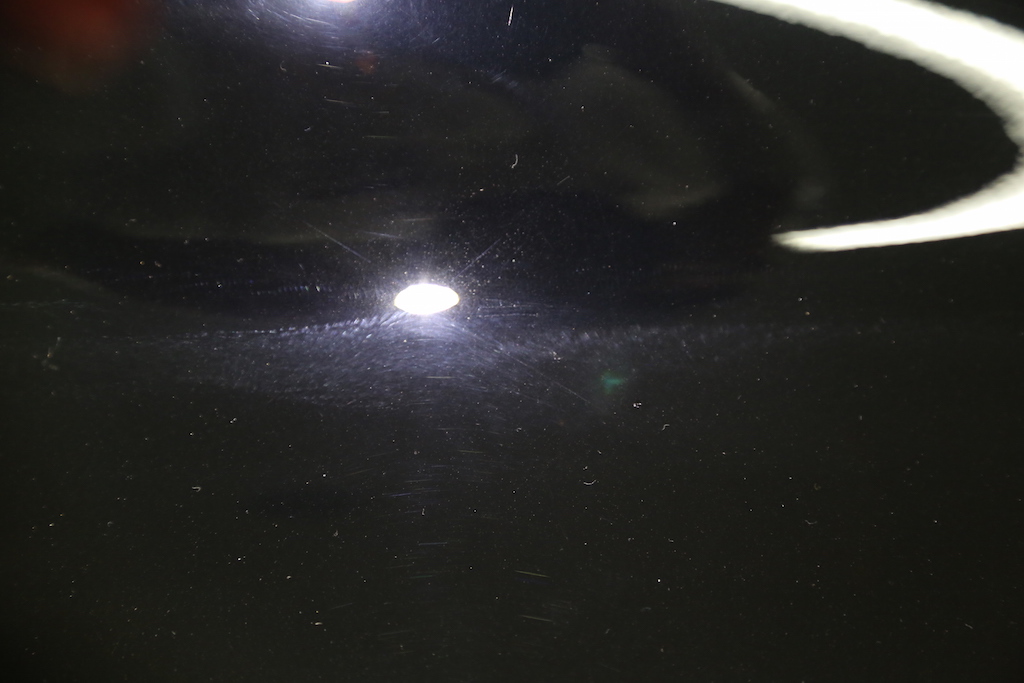
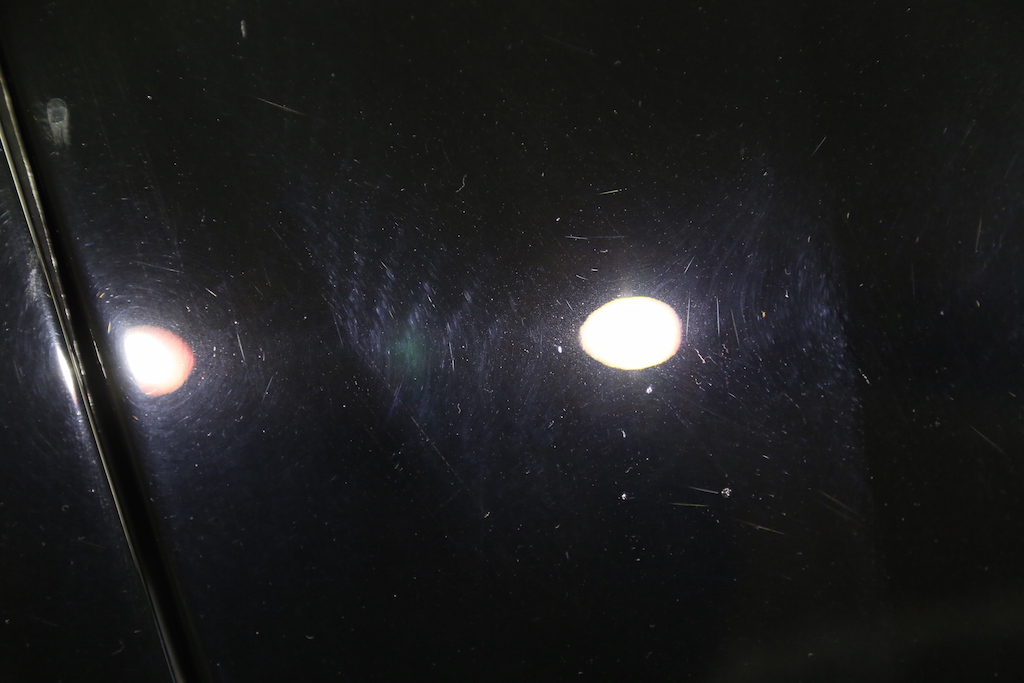
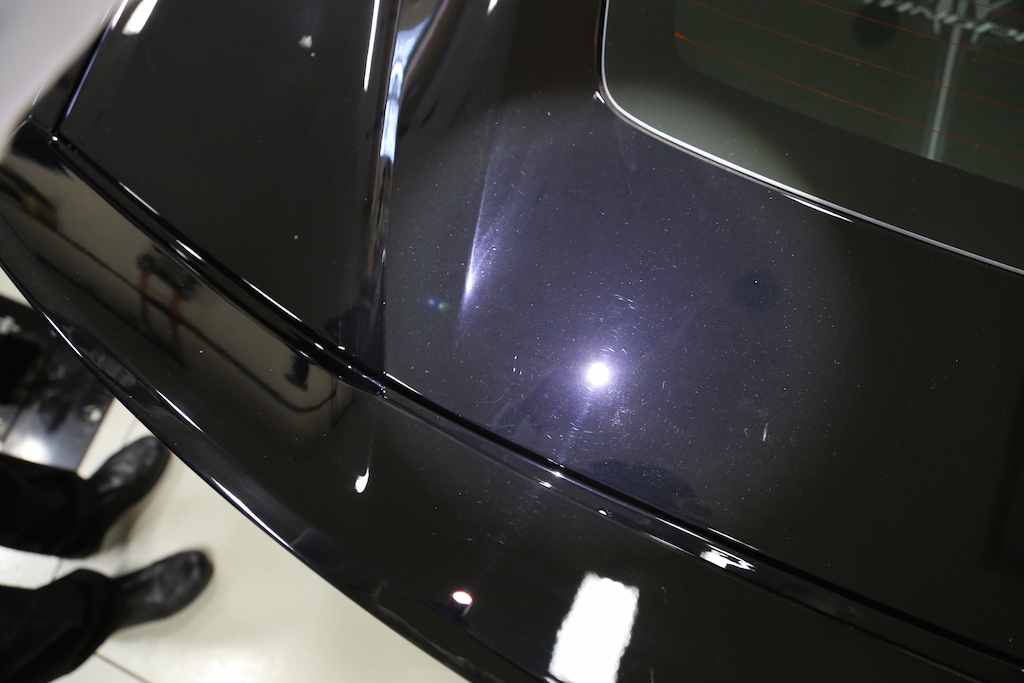
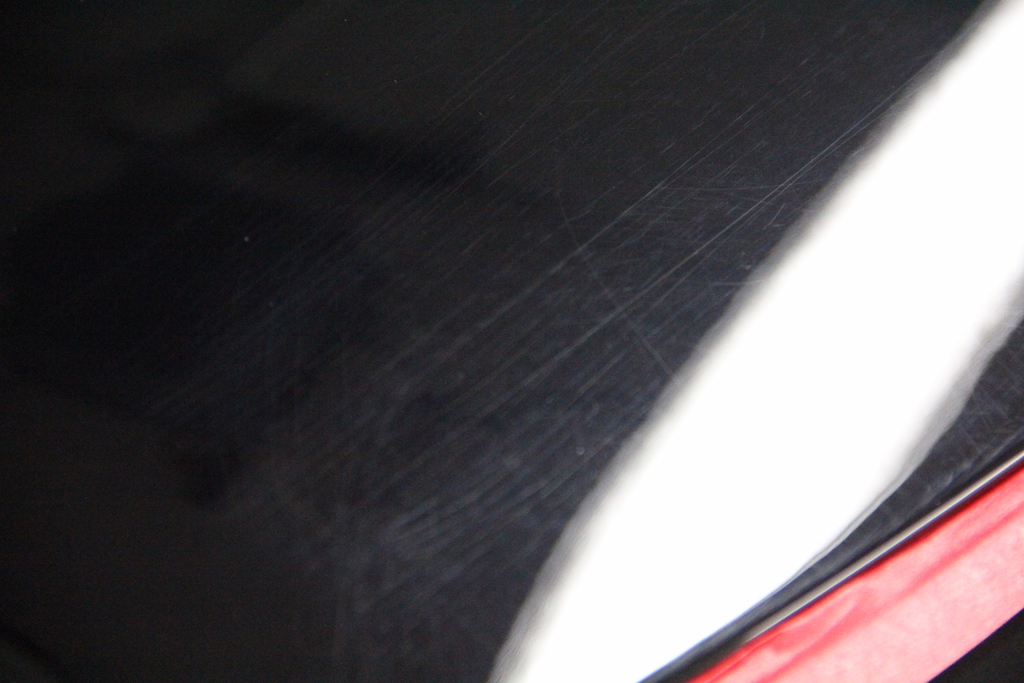
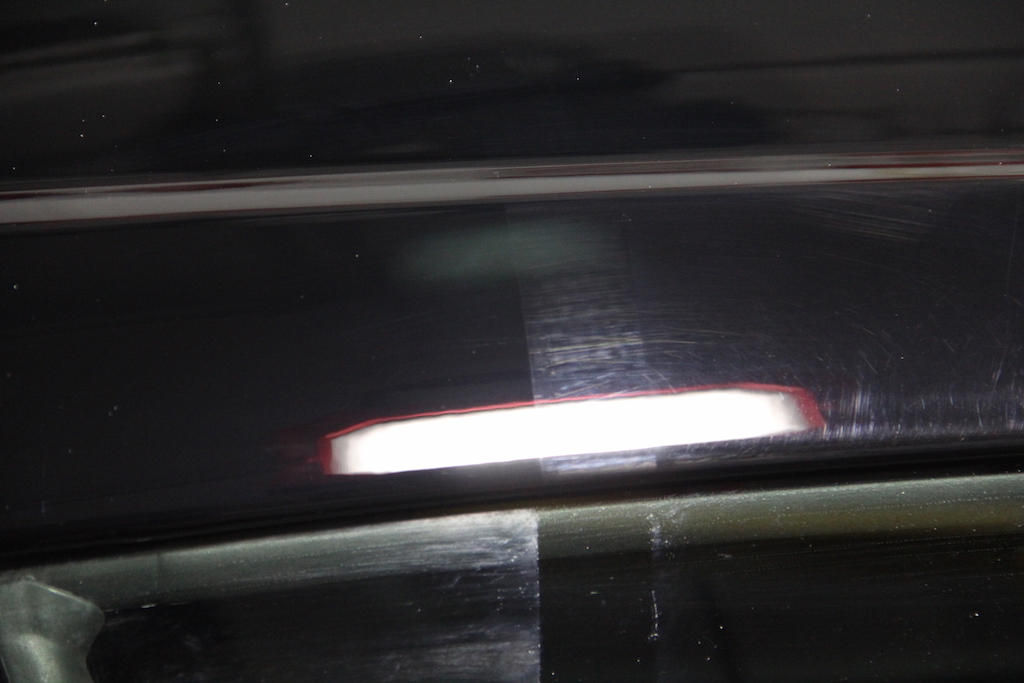
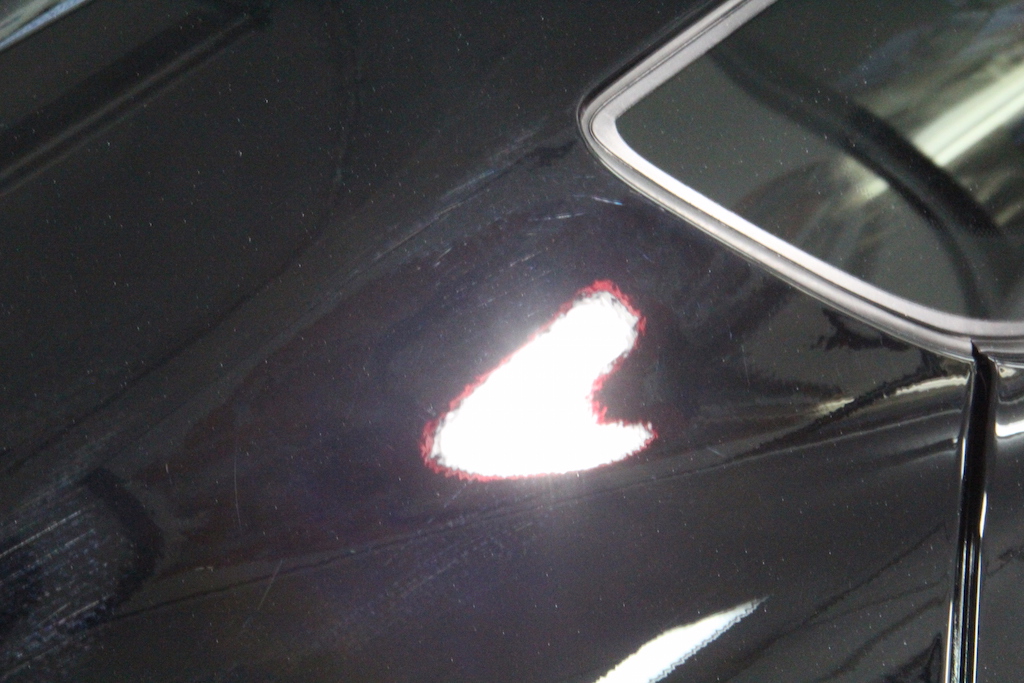
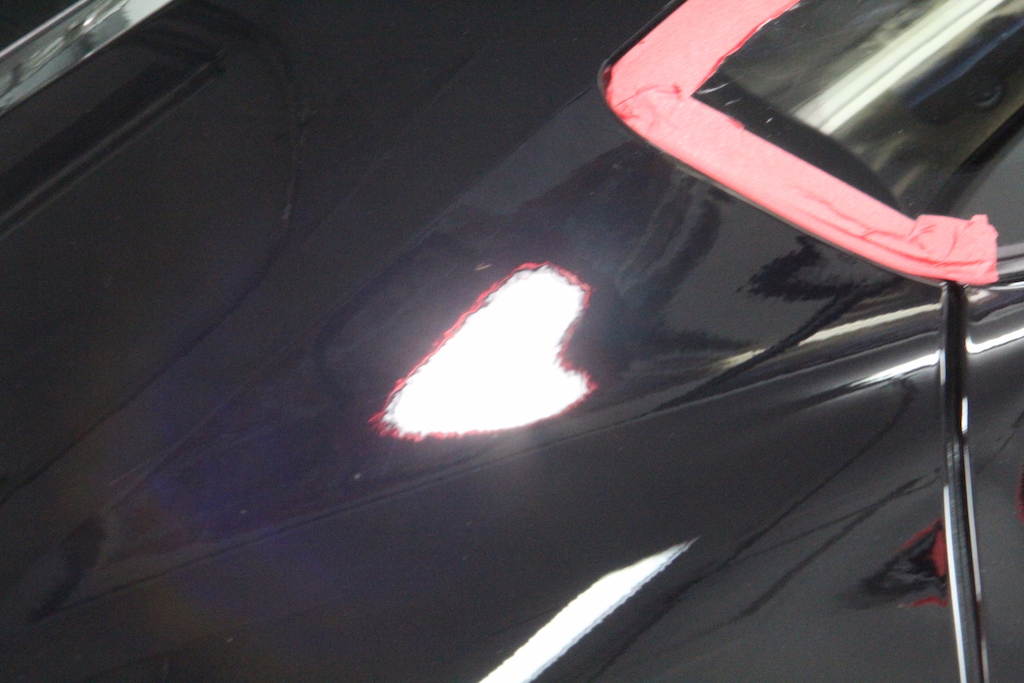
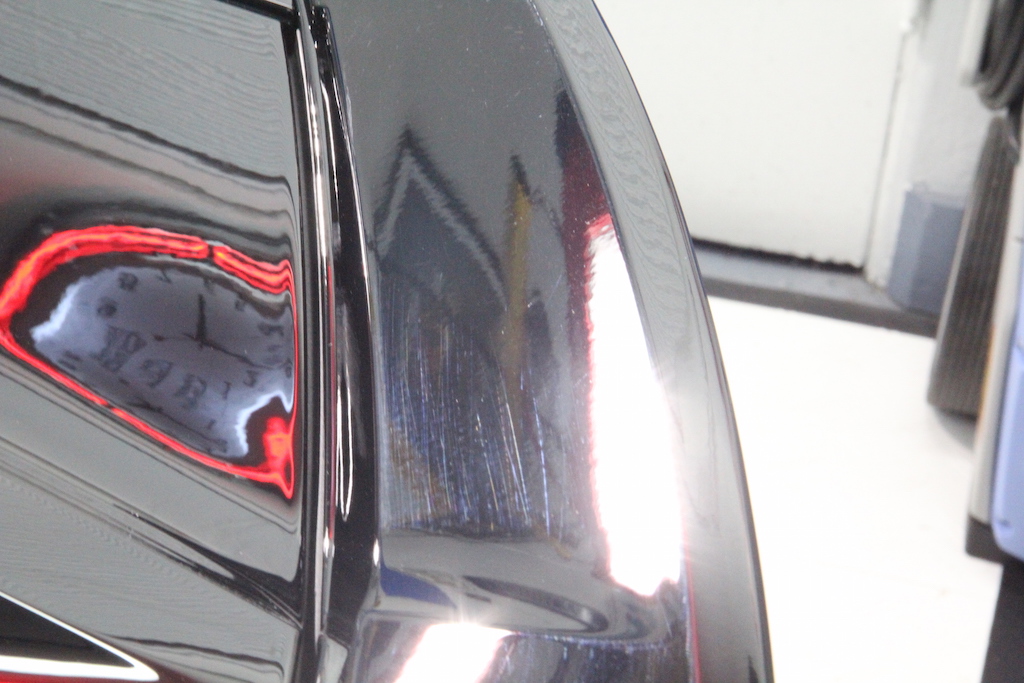
The entire car was covered in an abundance of swirls, scratches, and "buffer trails," left due to improper use of an aggressive pad and compound on a rotary polisher during the dealership's pre-delivery detail. As if that wasn't bad enough, my client also stated that he witnessed a technician at the dealership drop a towel on the ground, pick it up, and continue using it to wipe down his car. This sort of scenario is why many professional detailers educate our clients against letting dealers so much as wash their cars, let alone trusting them with the task of fully 'detailing' them; while certainly not all dealerships are so careless, the risk simply isn't worth it.
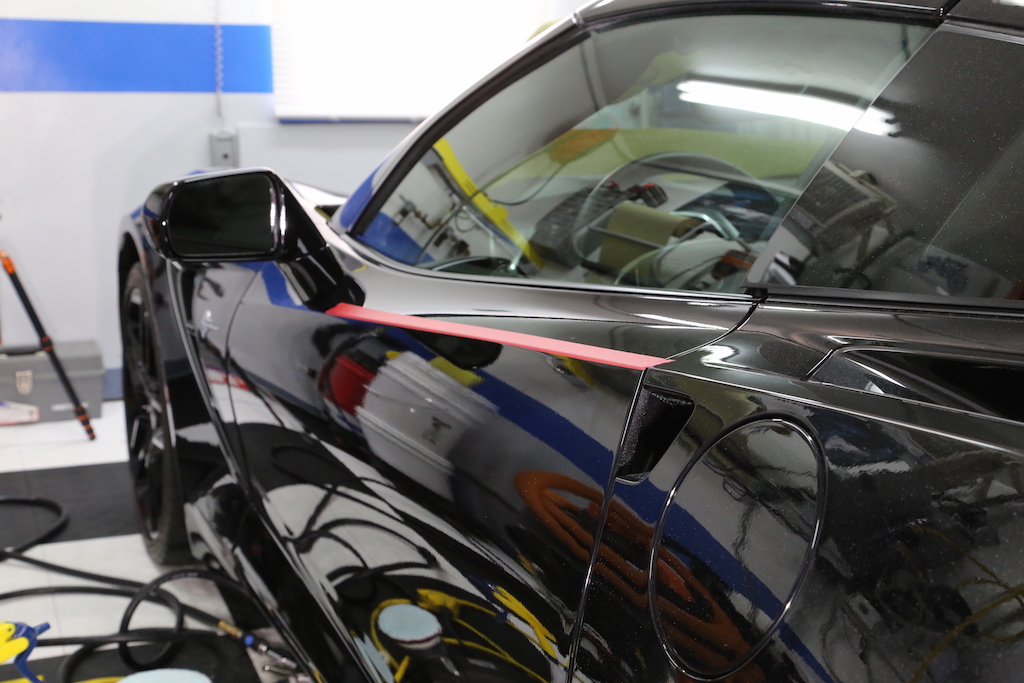
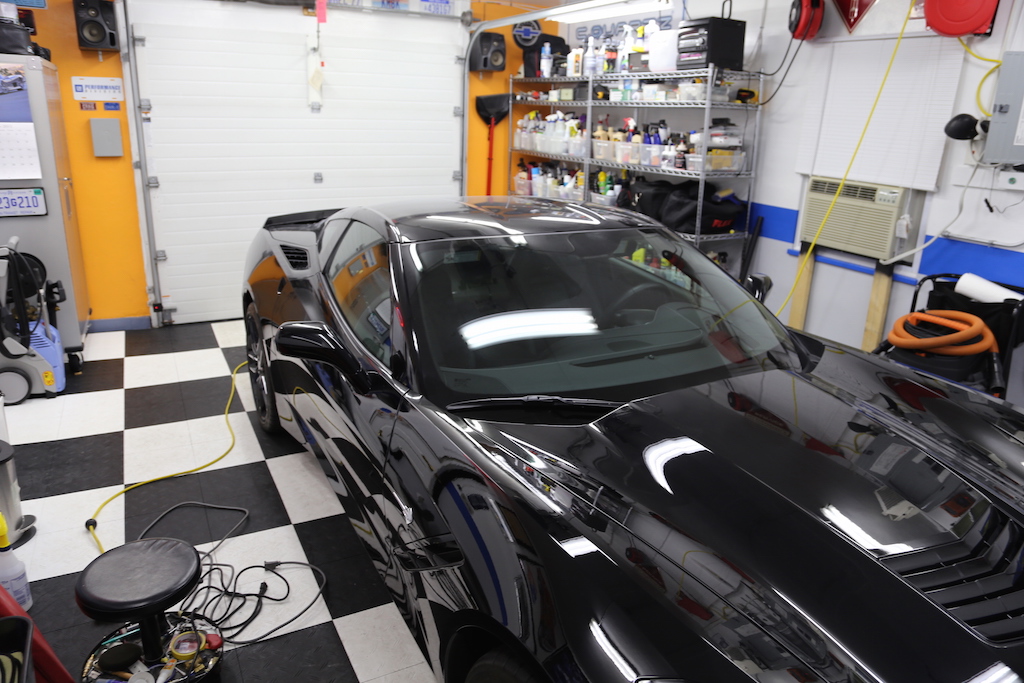
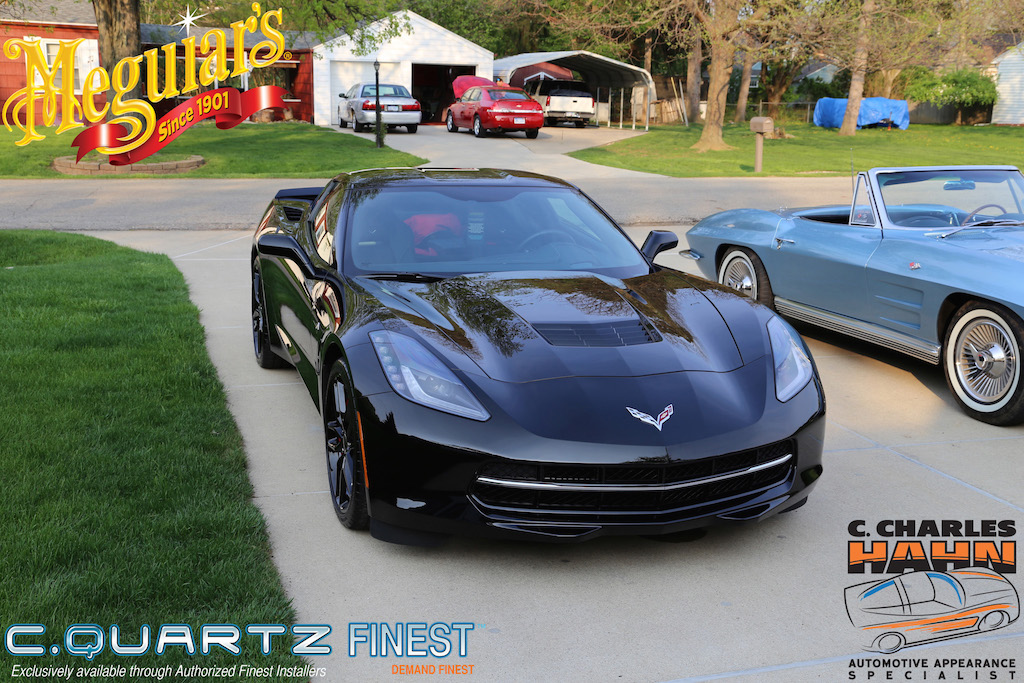
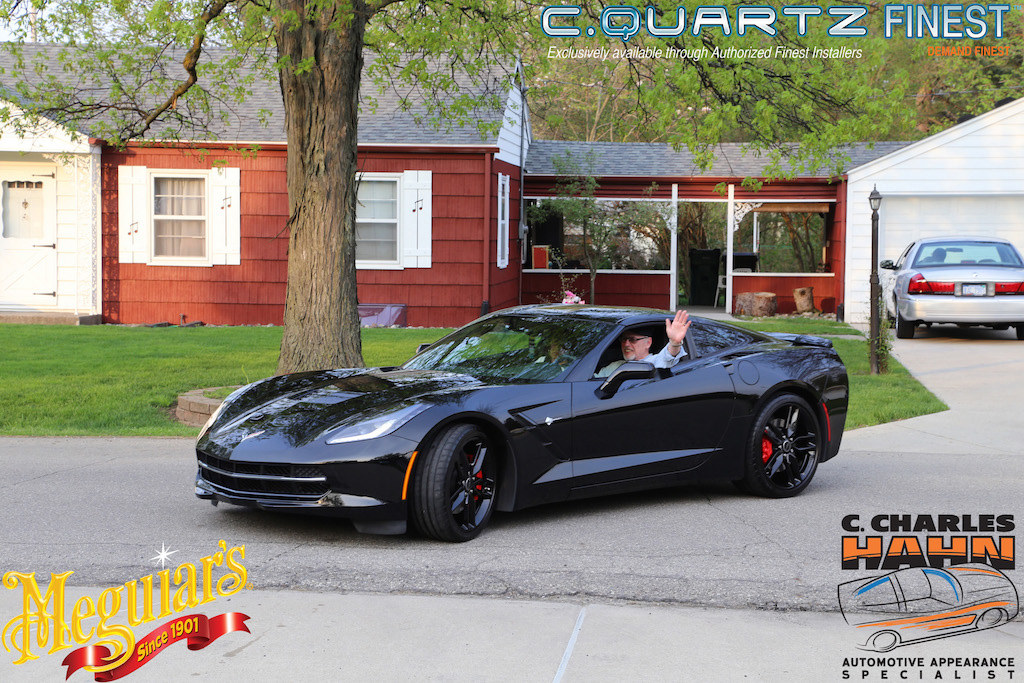
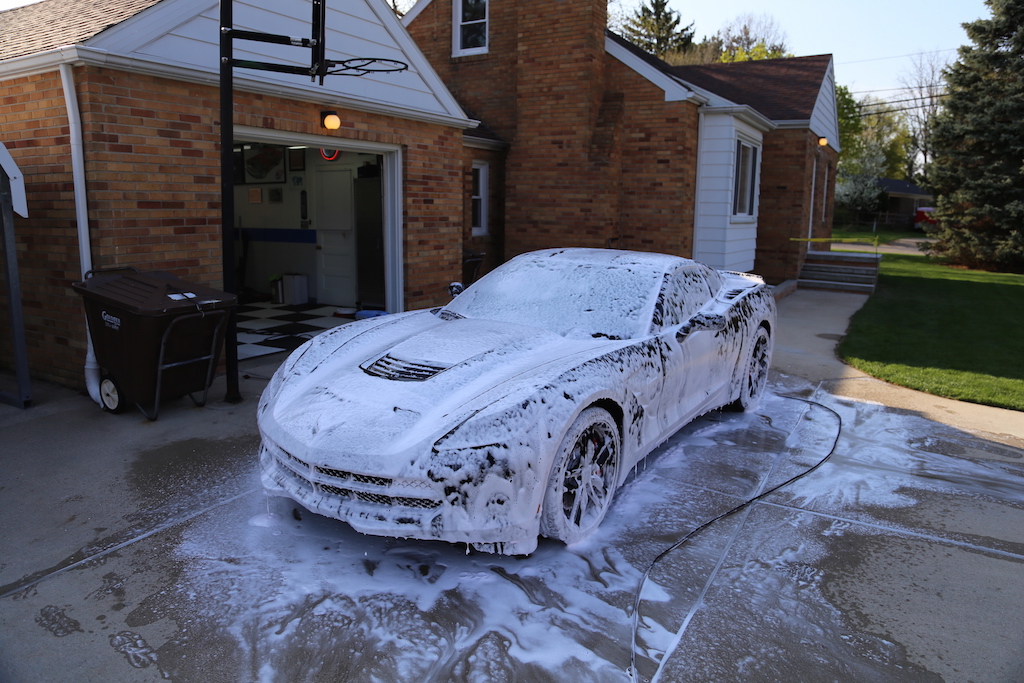
With a plan in place, the car was delivered to me for work to begin. Despite being well over a year old, it had only traveled just over 4,000 miles and was just moderately dirty:
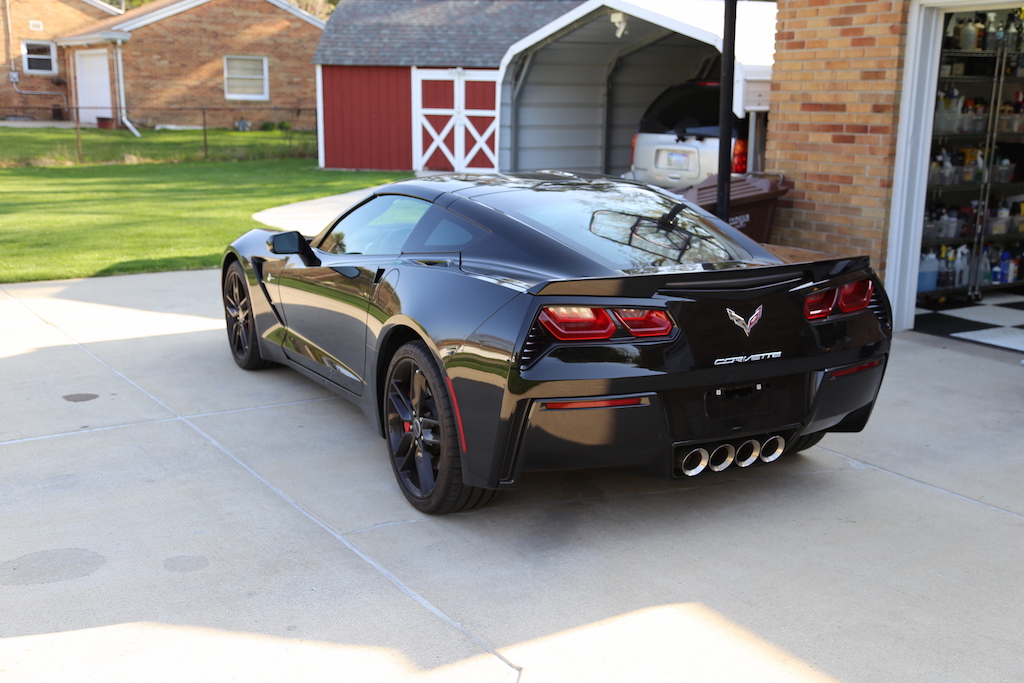
A thorough wash and decontamination was performed to strip any bonded contaminants such as bugs, tar, tree sap, or ferrous particles from the finish, leaving the car clean ready for paint correction.
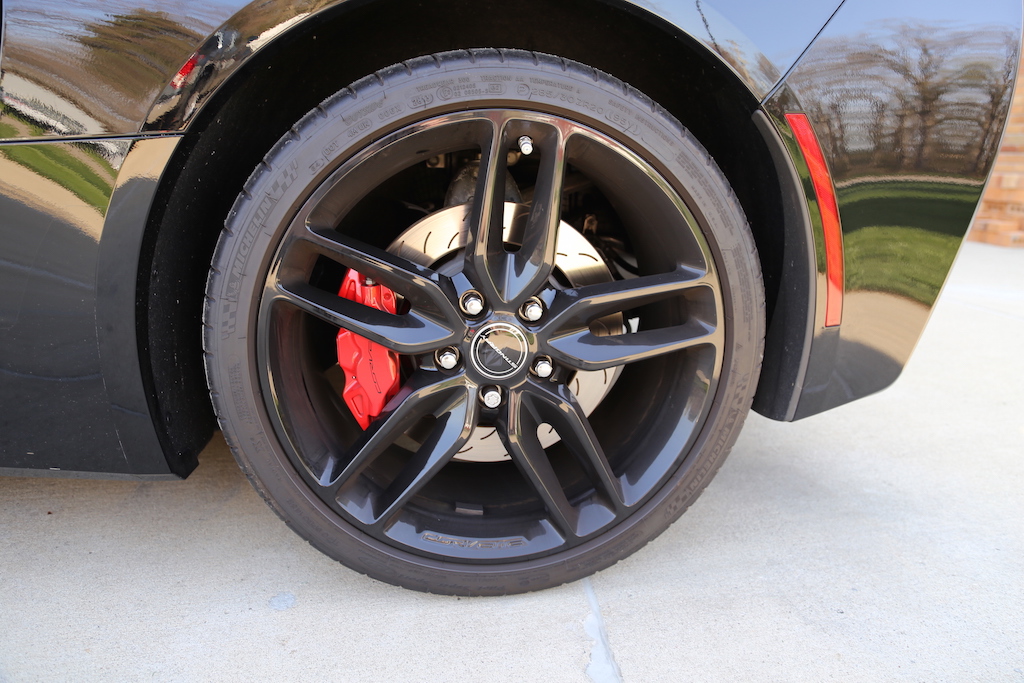
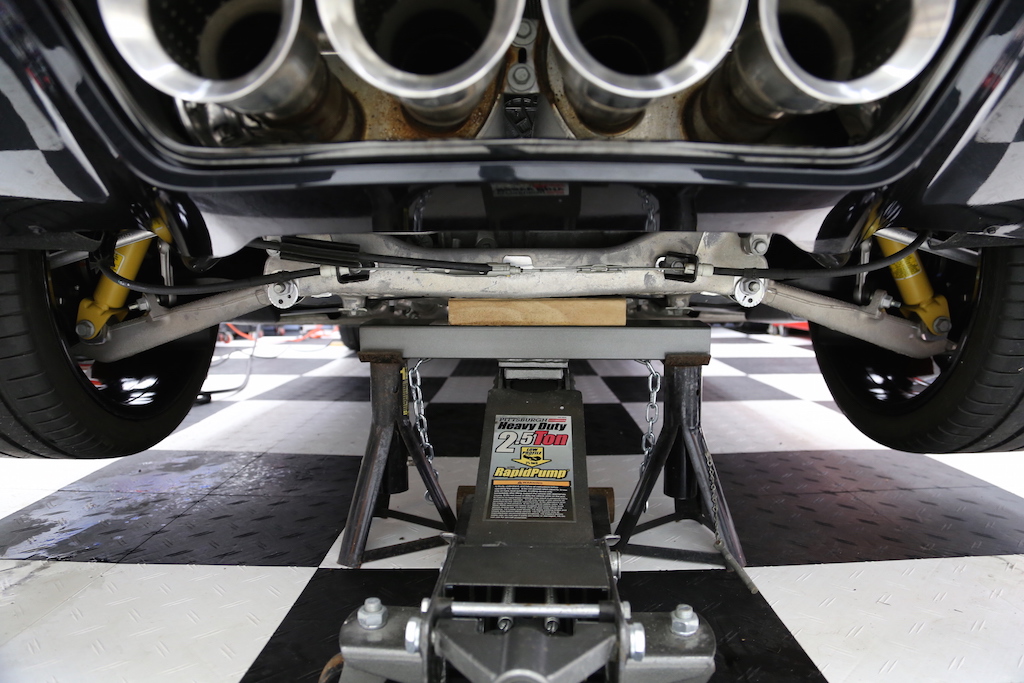
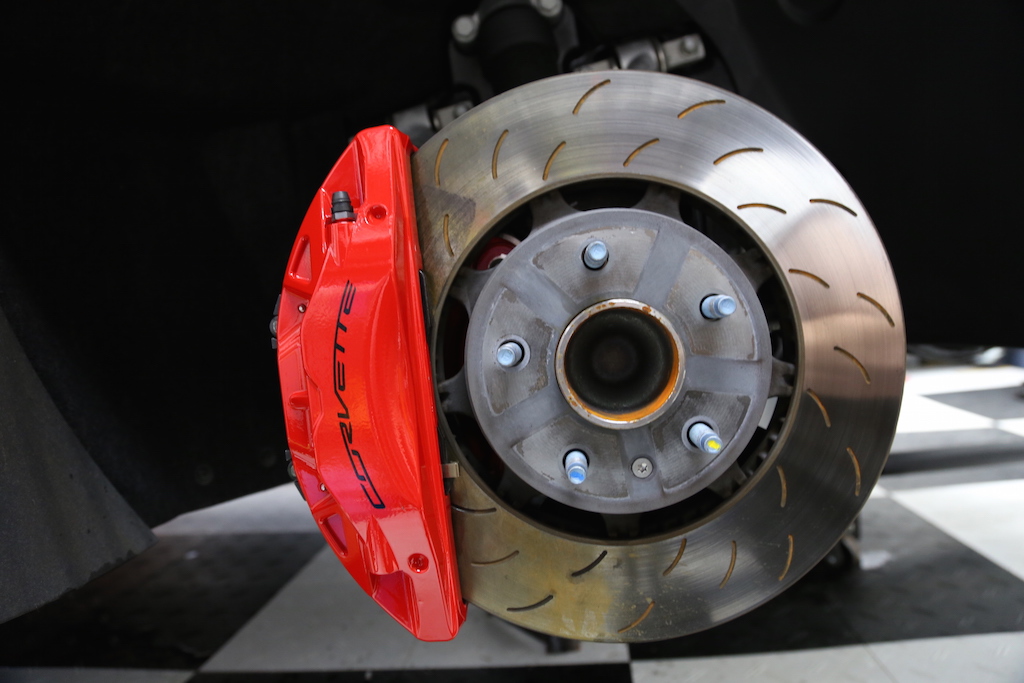
With the car now generally clean, first up for intensive work were the wheels, brakes, and suspension. In order to effectively clean and protect these intricate components, the vehicle was lifted and each wheel and tire assembly was carefully removed. Lifting duties were carried out using a heavy duty floor jack with a bolt-on cross beam under the front and rear frame cross-members. Jack stands were used to properly stabilize and secure the car to prevent dropping.
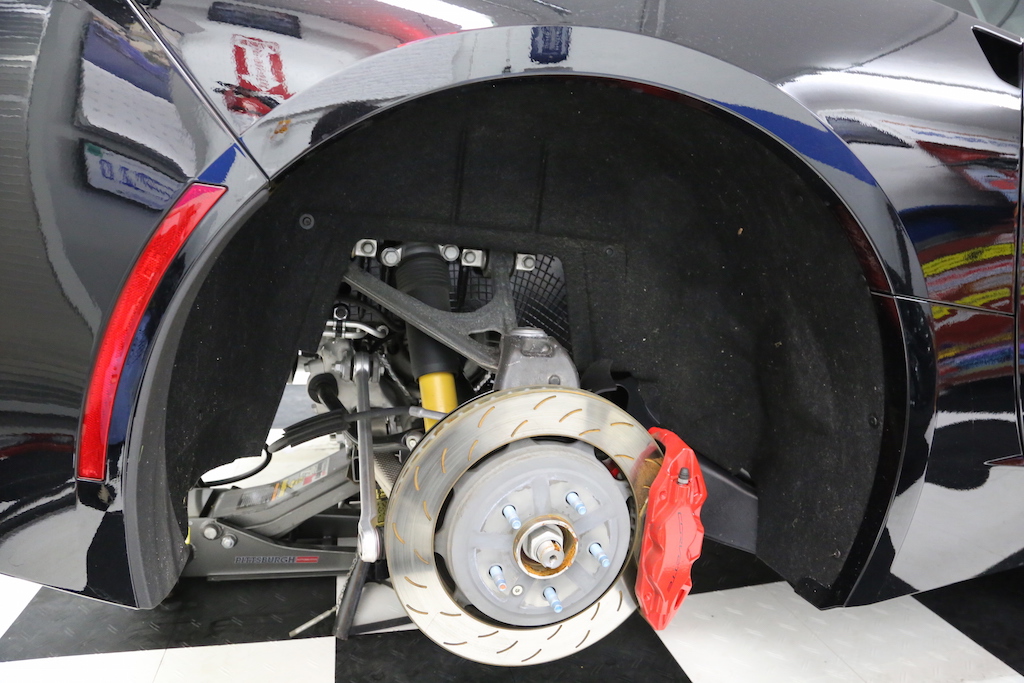
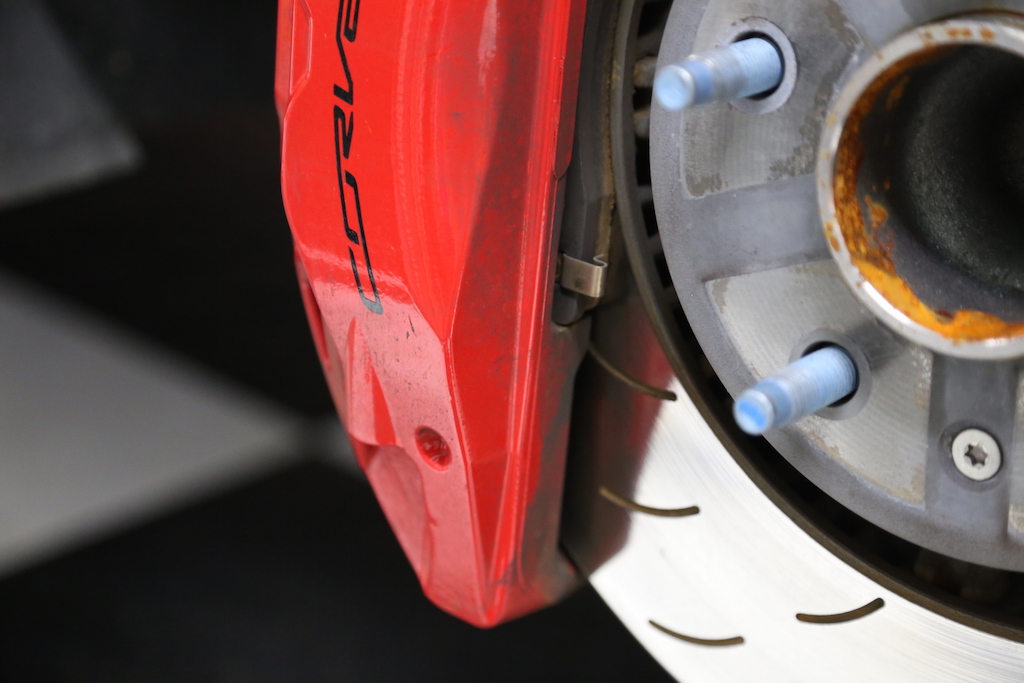
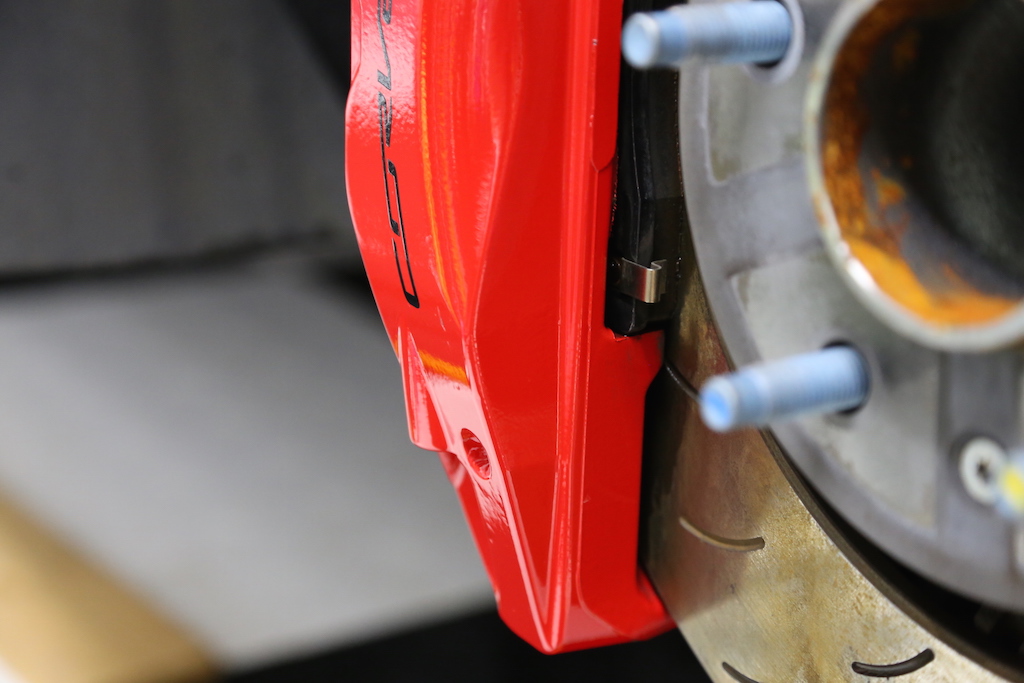
The brake calipers were cleaned using steam, and were then hand polished and coated with CarPro's DLUX coating, as were the wheels. Carpeted wheel well liners were also coated using CQuartz Fabric to ensure easy cleaning.
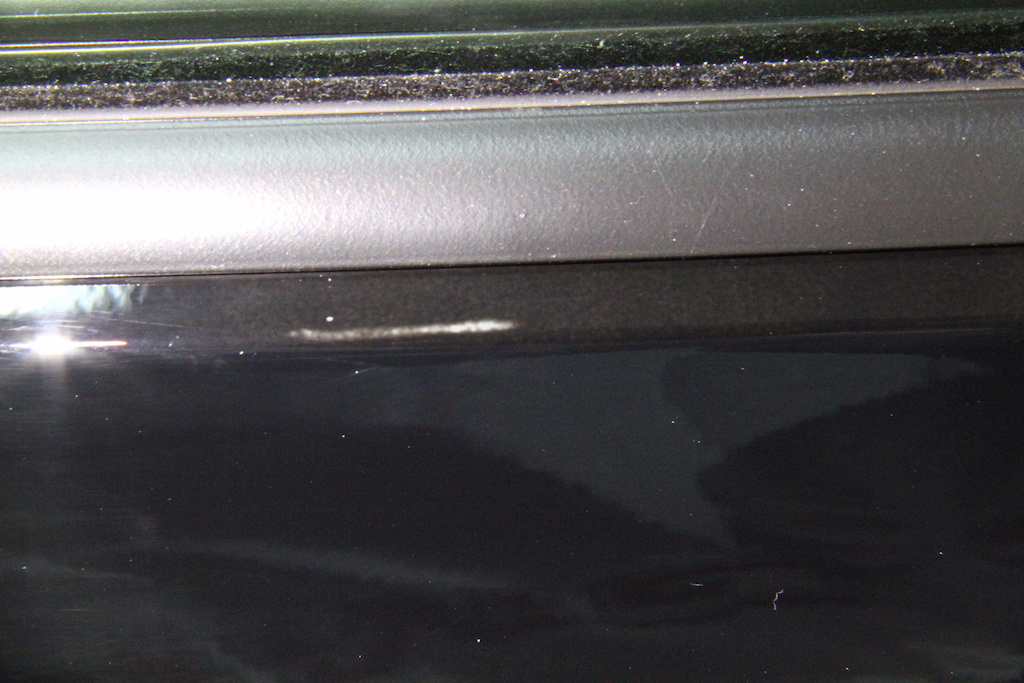
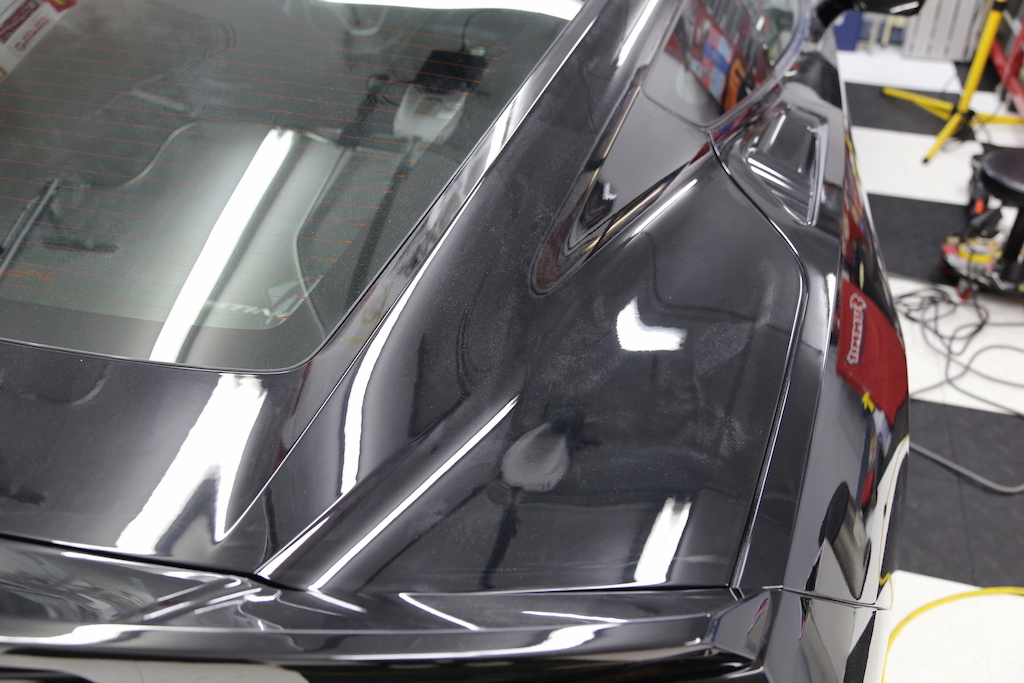
With the car back on the ground, attention was turned to another bit of evidence left behind by the previous 'detailing,' a bit of residue in the seam around the rear window.
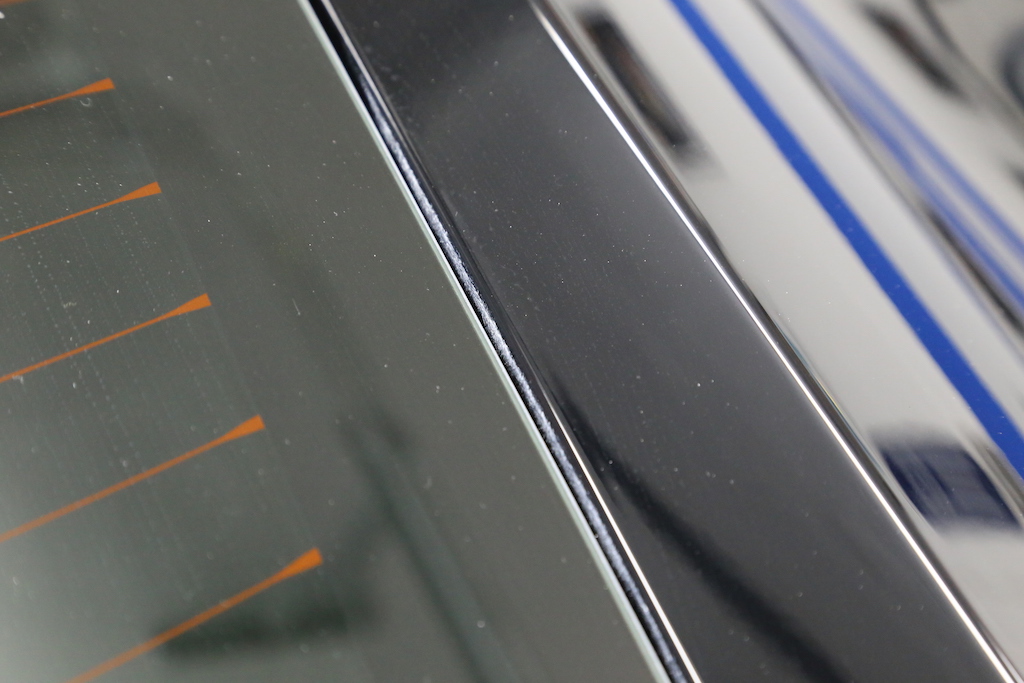
Once again, steam was employed to dissolve and rinse away the hardened residue:

Early C7s began shipping to dealerships on September 18, 2013. Among the cars in those first few shipments was a triple-black coupe equipped with the Z51 performance package and 3LT trim, destined for a hardcore enthusiast's Metro Detroit based collection. Like many of the vehicles in the initial batch, this one came with a number of paint-related issues which were unfortunately made even worse by the delivering dealership. My task was to identify and correct these issues as much as possible.
Before work could begin, I took the opportunity to inspect the car at the client's home and formulate a game plan. A few issues stood out immediately, and it became obvious that a substantial amount of compounding and polishing would be required to get this car looking its best again:
The entire car was covered in an abundance of swirls, scratches, and "buffer trails," left due to improper use of an aggressive pad and compound on a rotary polisher during the dealership's pre-delivery detail. As if that wasn't bad enough, my client also stated that he witnessed a technician at the dealership drop a towel on the ground, pick it up, and continue using it to wipe down his car. This sort of scenario is why many professional detailers educate our clients against letting dealers so much as wash their cars, let alone trusting them with the task of fully 'detailing' them; while certainly not all dealerships are so careless, the risk simply isn't worth it.
With a plan in place, the car was delivered to me for work to begin. Despite being well over a year old, it had only traveled just over 4,000 miles and was just moderately dirty:
A thorough wash and decontamination was performed to strip any bonded contaminants such as bugs, tar, tree sap, or ferrous particles from the finish, leaving the car clean ready for paint correction.
With the car now generally clean, first up for intensive work were the wheels, brakes, and suspension. In order to effectively clean and protect these intricate components, the vehicle was lifted and each wheel and tire assembly was carefully removed. Lifting duties were carried out using a heavy duty floor jack with a bolt-on cross beam under the front and rear frame cross-members. Jack stands were used to properly stabilize and secure the car to prevent dropping.
The brake calipers were cleaned using steam, and were then hand polished and coated with CarPro's DLUX coating, as were the wheels. Carpeted wheel well liners were also coated using CQuartz Fabric to ensure easy cleaning.
With the car back on the ground, attention was turned to another bit of evidence left behind by the previous 'detailing,' a bit of residue in the seam around the rear window.
Once again, steam was employed to dissolve and rinse away the hardened residue: