RaskyR1
Rasky's Auto Detailing
This detail is pretty special in many ways, so when I was contacted about it, I gladly accepted. Most importantly, this vehicle belongs to CPT Austin McNaul, of the US Army, who is currently on his second deployment in Afghanistan. While he is away, he asked his parents to safeguard his dog, Bruce, and this fine example of German engineering, his 2007 BMW 335i. The other reason this detail is special is that CPT McNaul’s father, Eric, has been a leader, mentor, and above all, a very good friend to my wife during her 8+ years at her job. For this, I also consider him a very good friend. When I first evaluated the vehicle with Eric he mentioned that he wanted lots of pictures and possibly some video, which he could later send to CPT McNaul to show the before and after condition. After looking the car over I suggested a 2-step correction and an interior detail to get the car looking better, but secretly my wife and I had discussed going “all out� on the car as a surprise for them both.
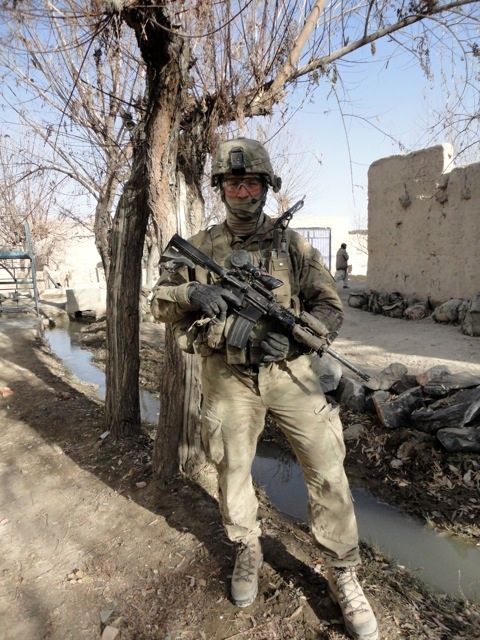
Here is the proud owner, CPT Austin McNaul

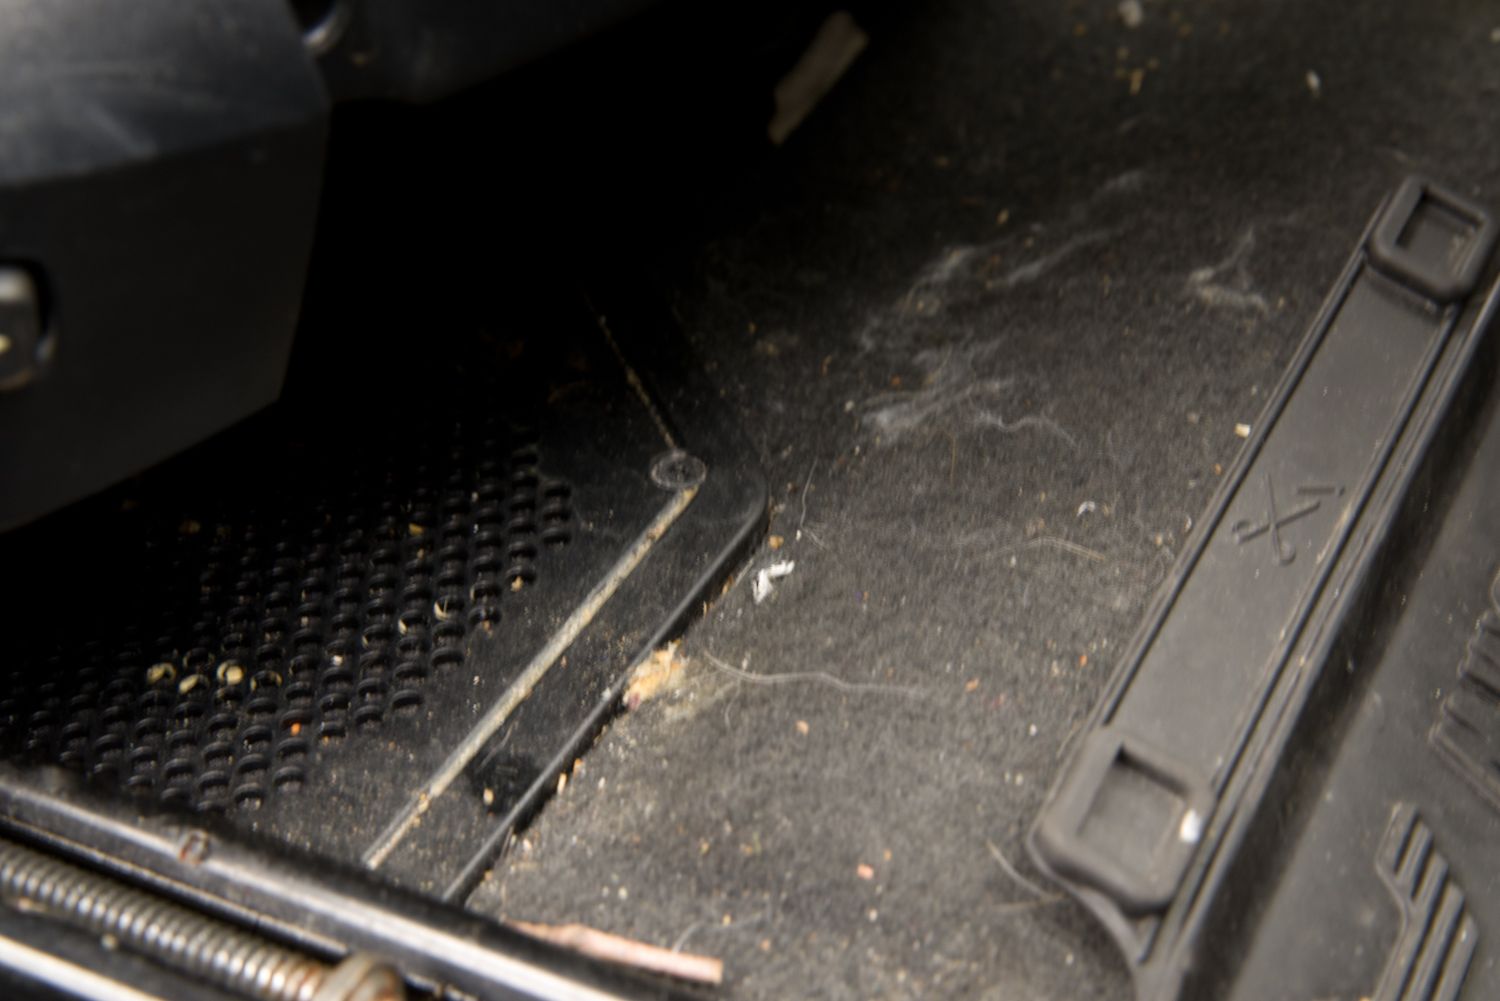
The condition of the car was pretty rough on the outside with some very nasty water spot etching, heavy swirls, scratches, and door scuffs. The interior was about average but the leather needed a good cleaning. Detailing the engine bay wasn’t planned, but after seeing how much dust/dirt was built up, I figured I’d give it a quick once over too.
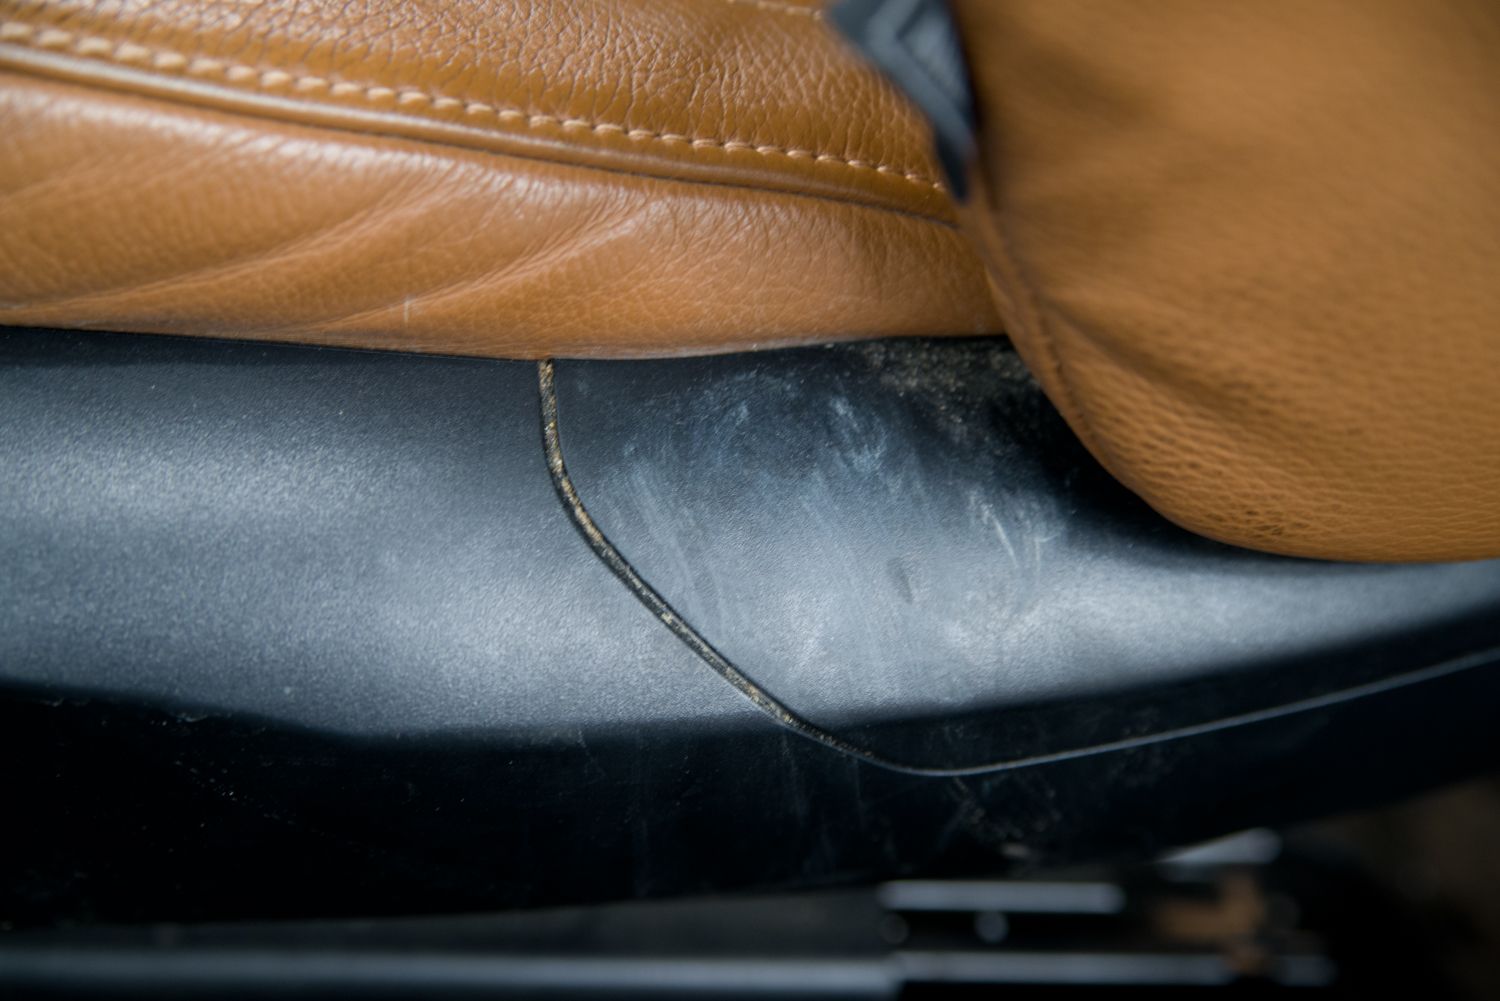
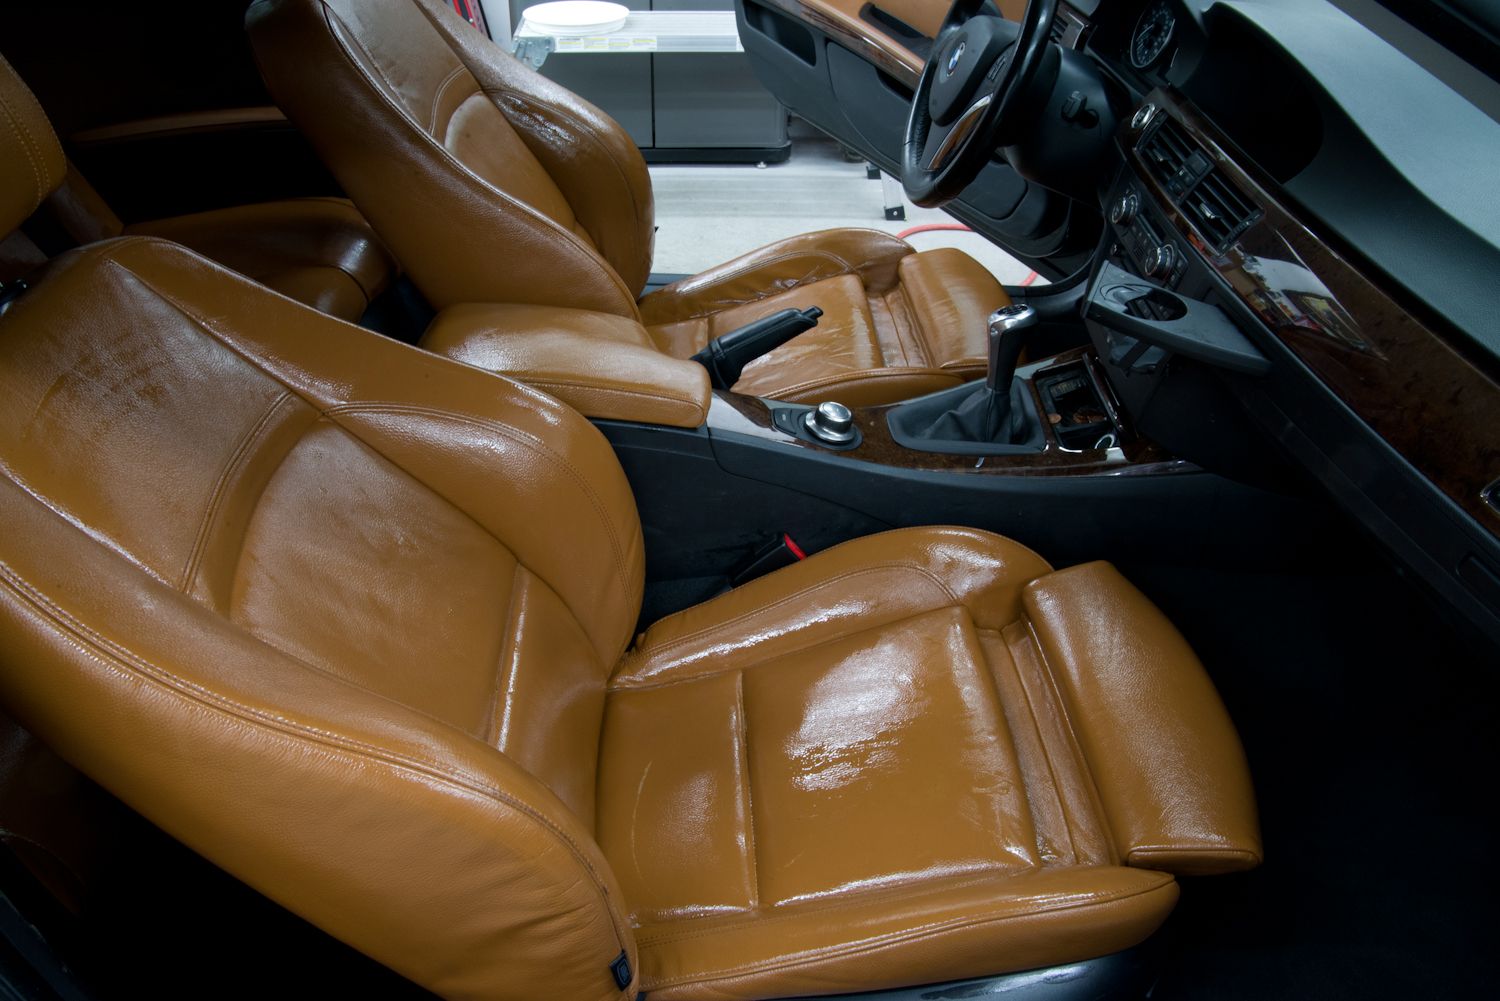
Interior before
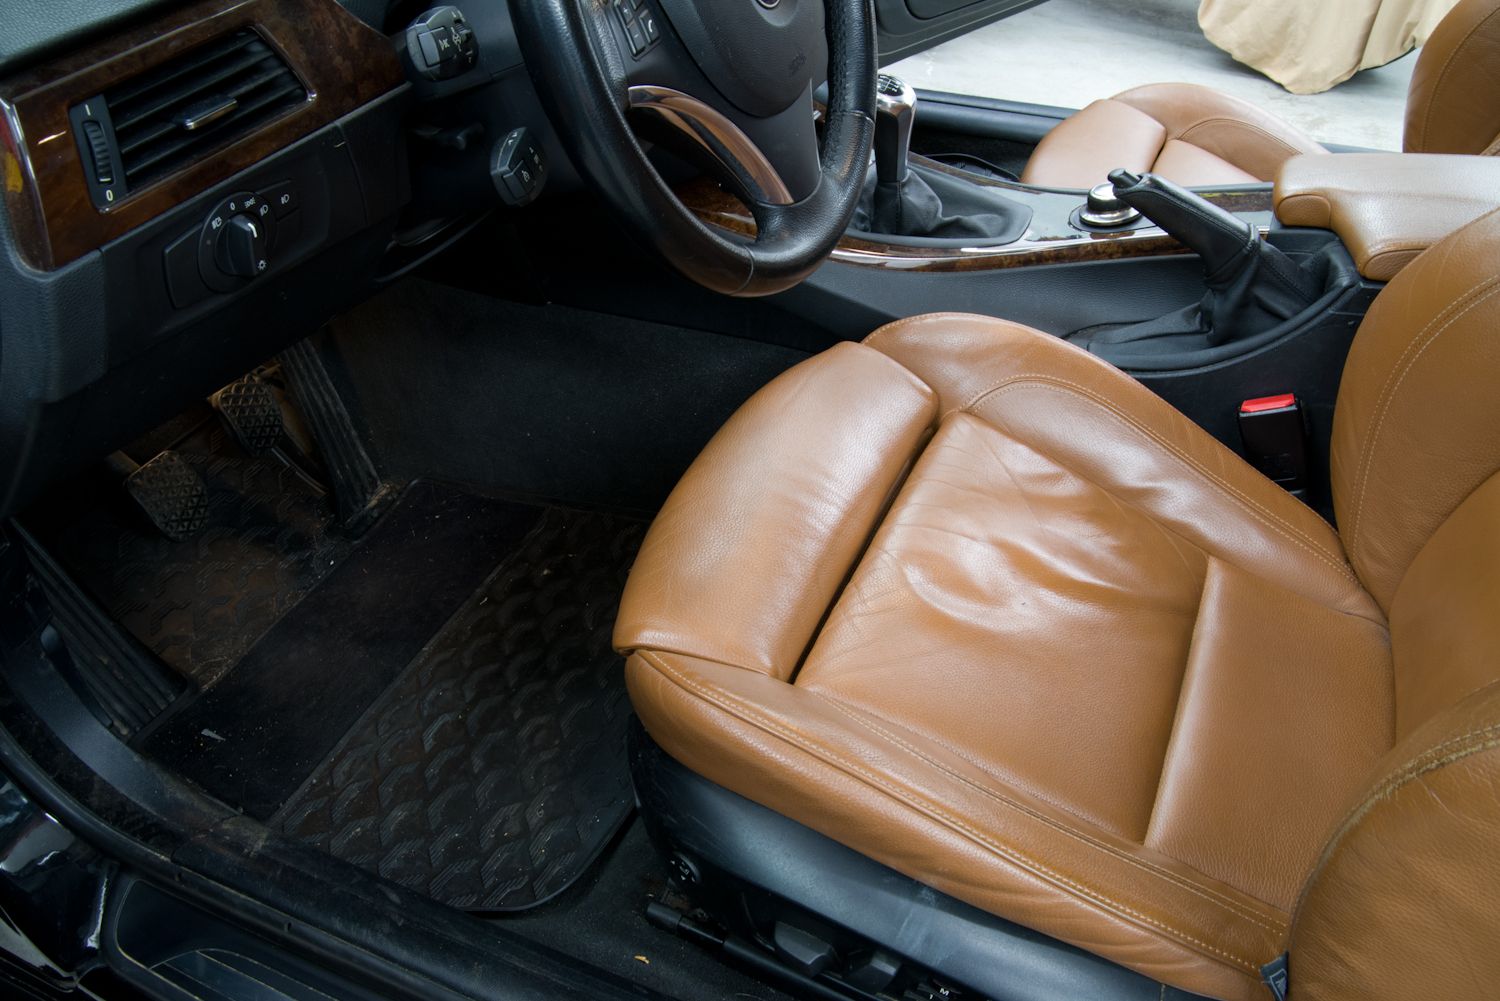
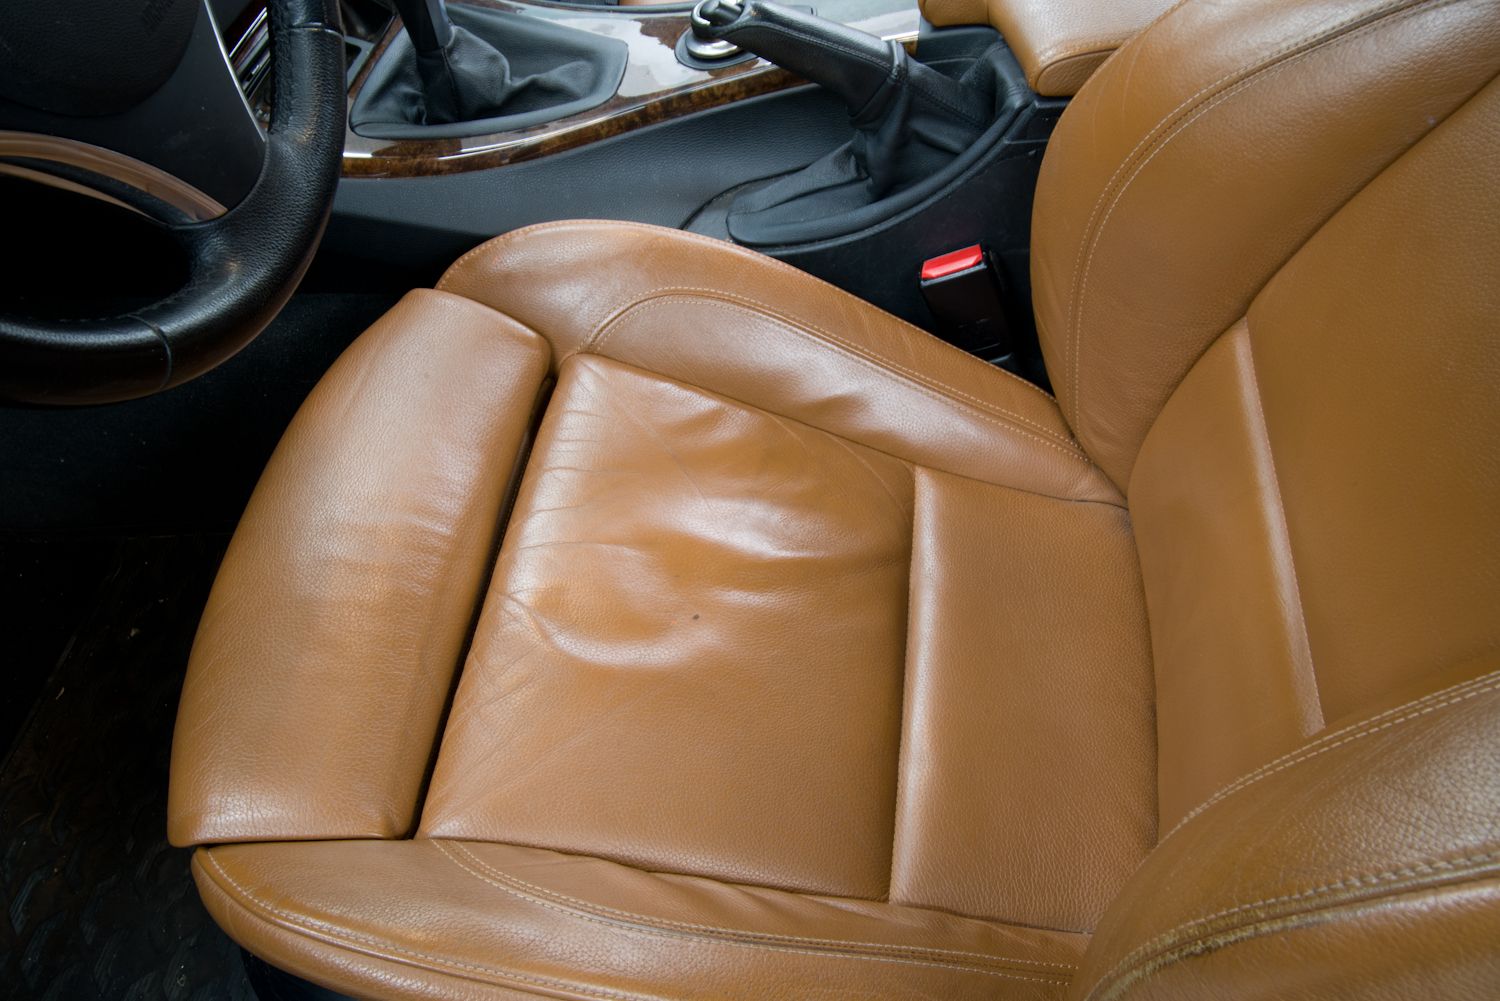
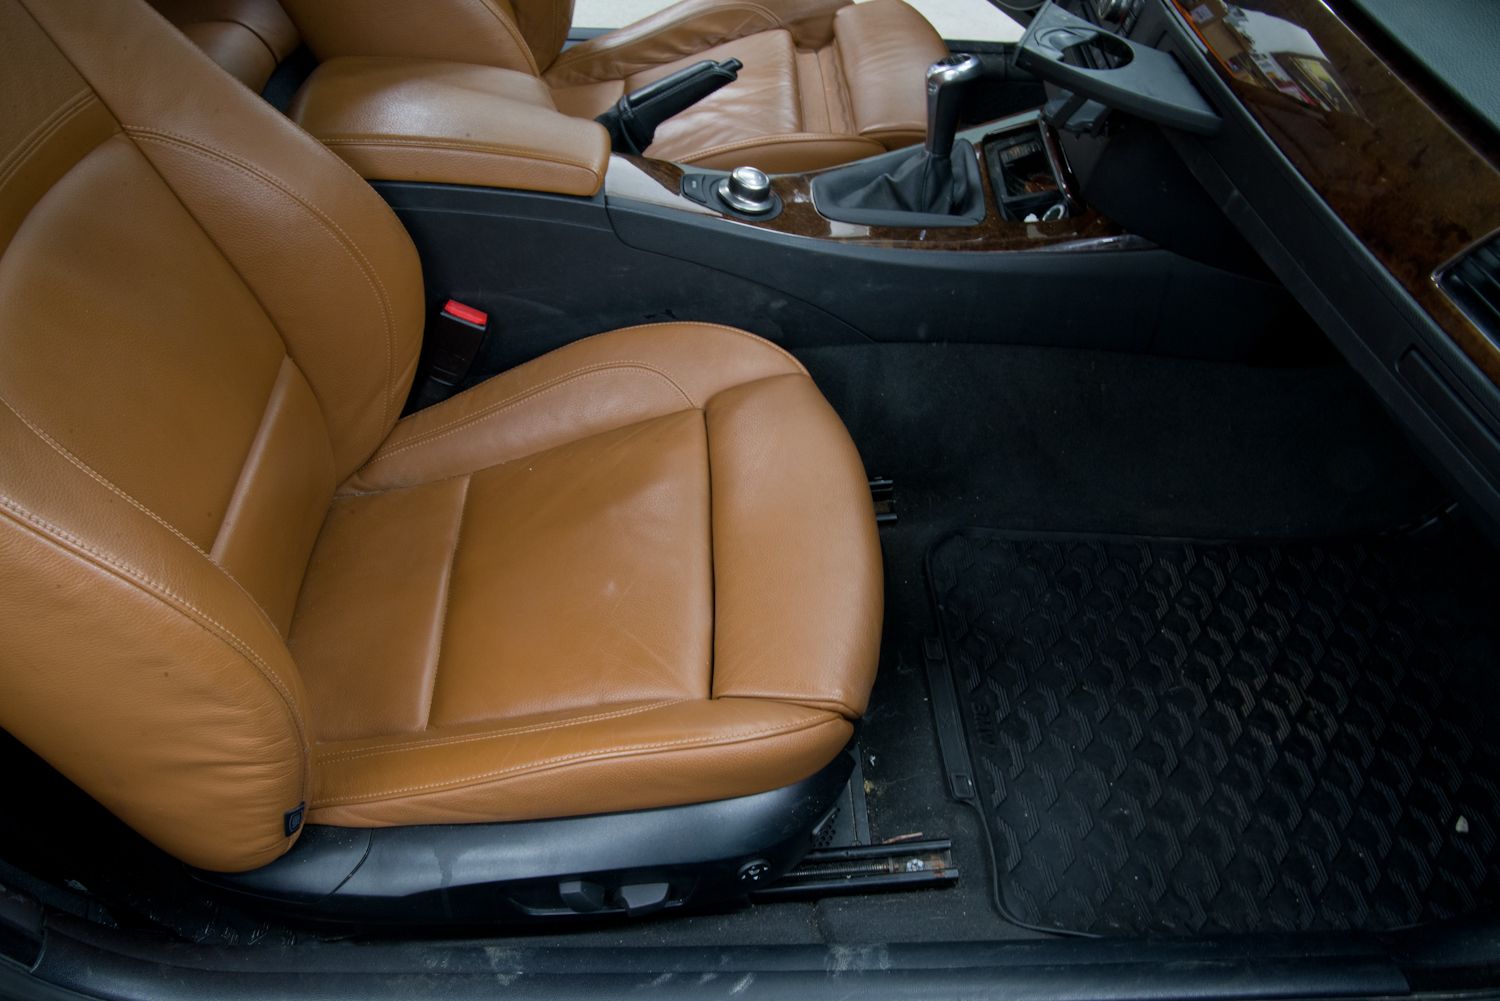
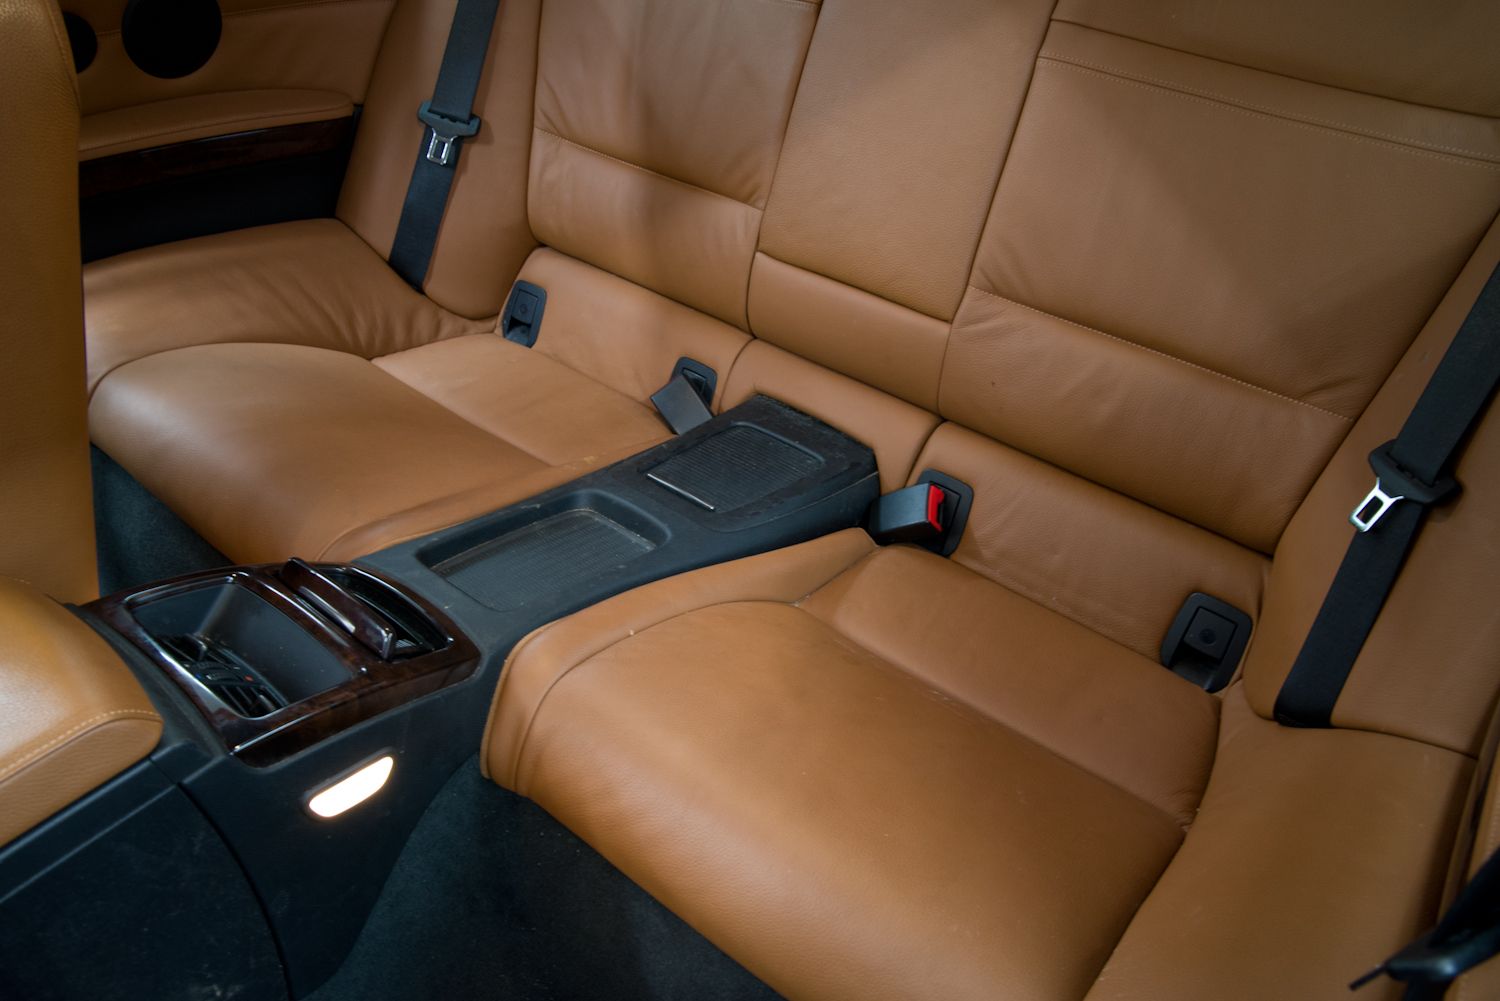
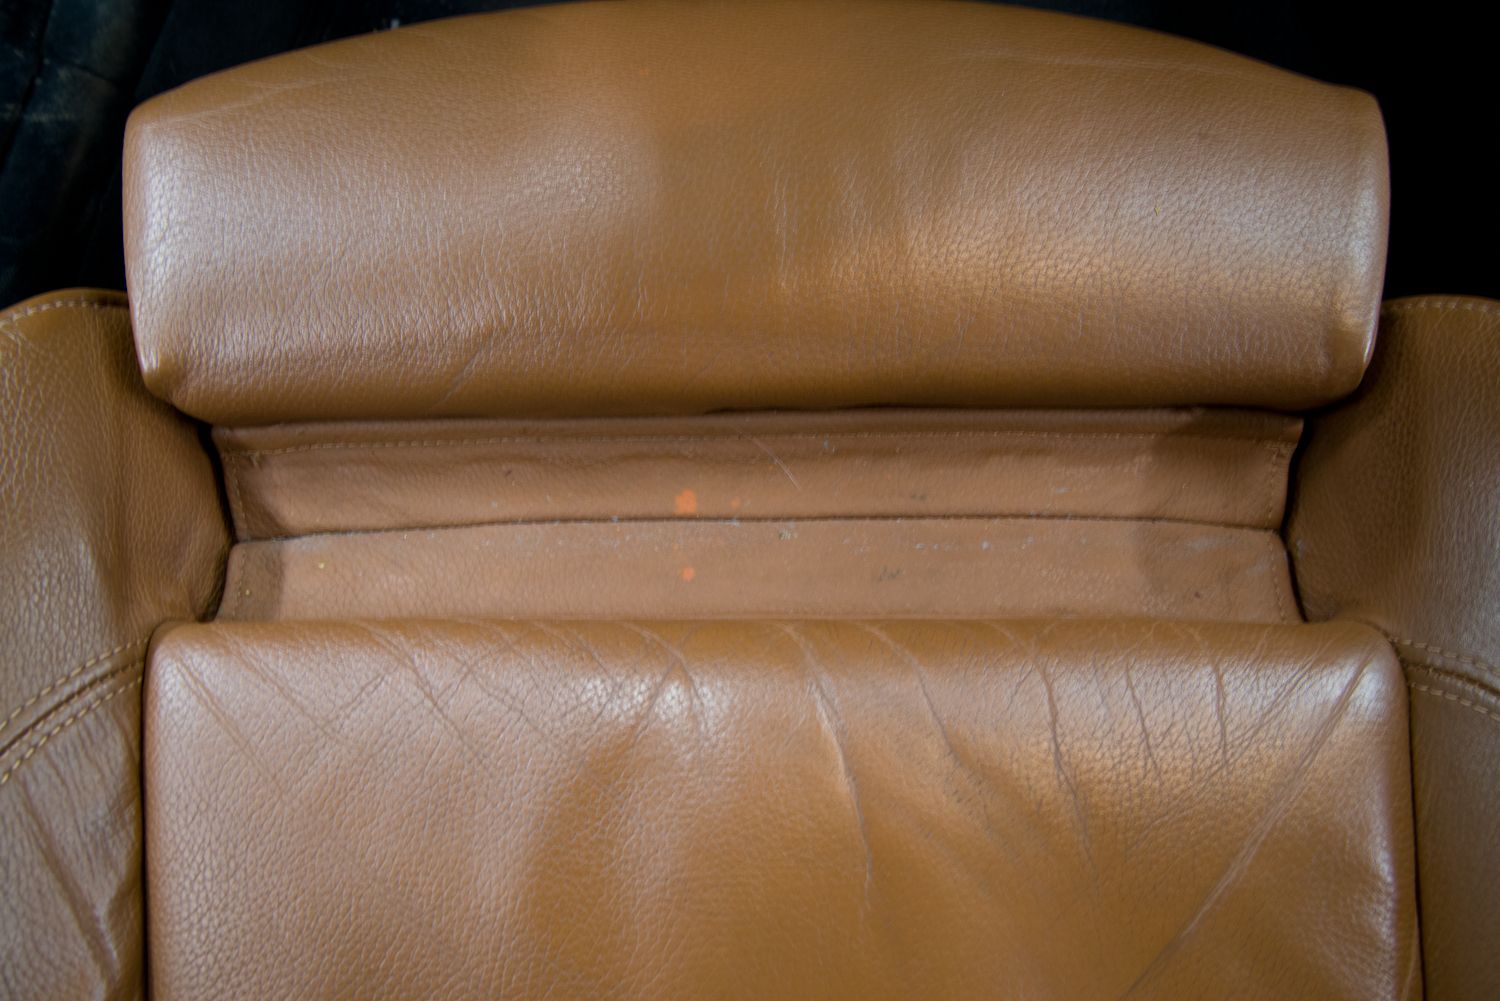
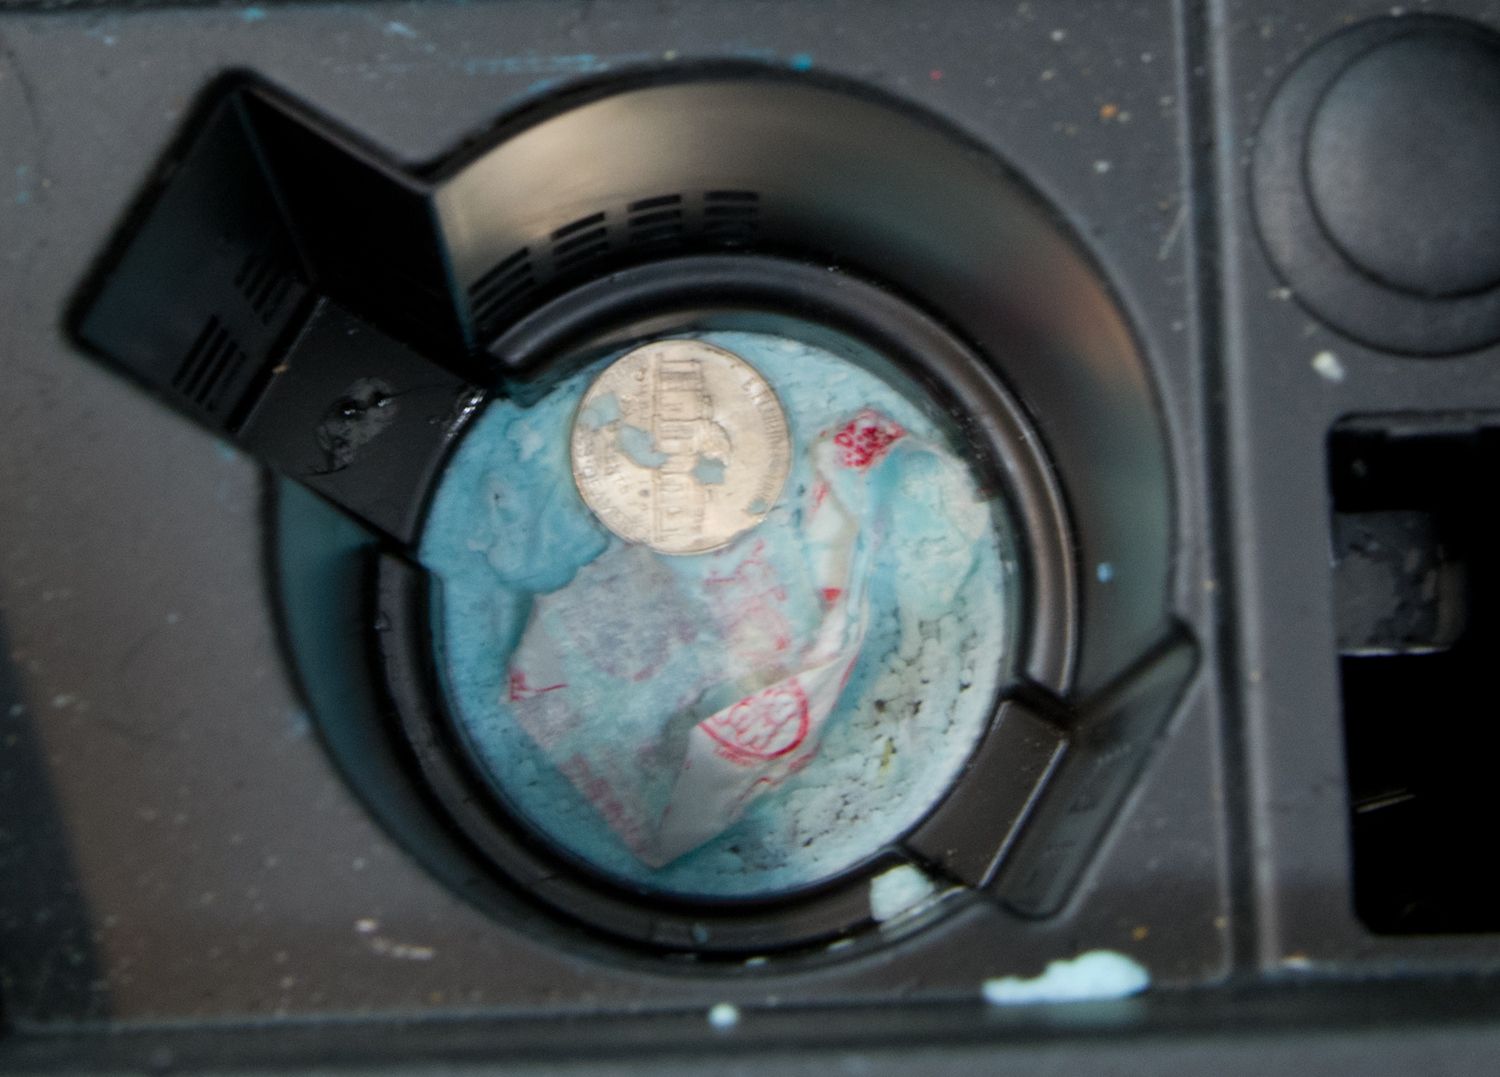
The years of dirt and grime could be seen packed down in all the textured groves of the leather.
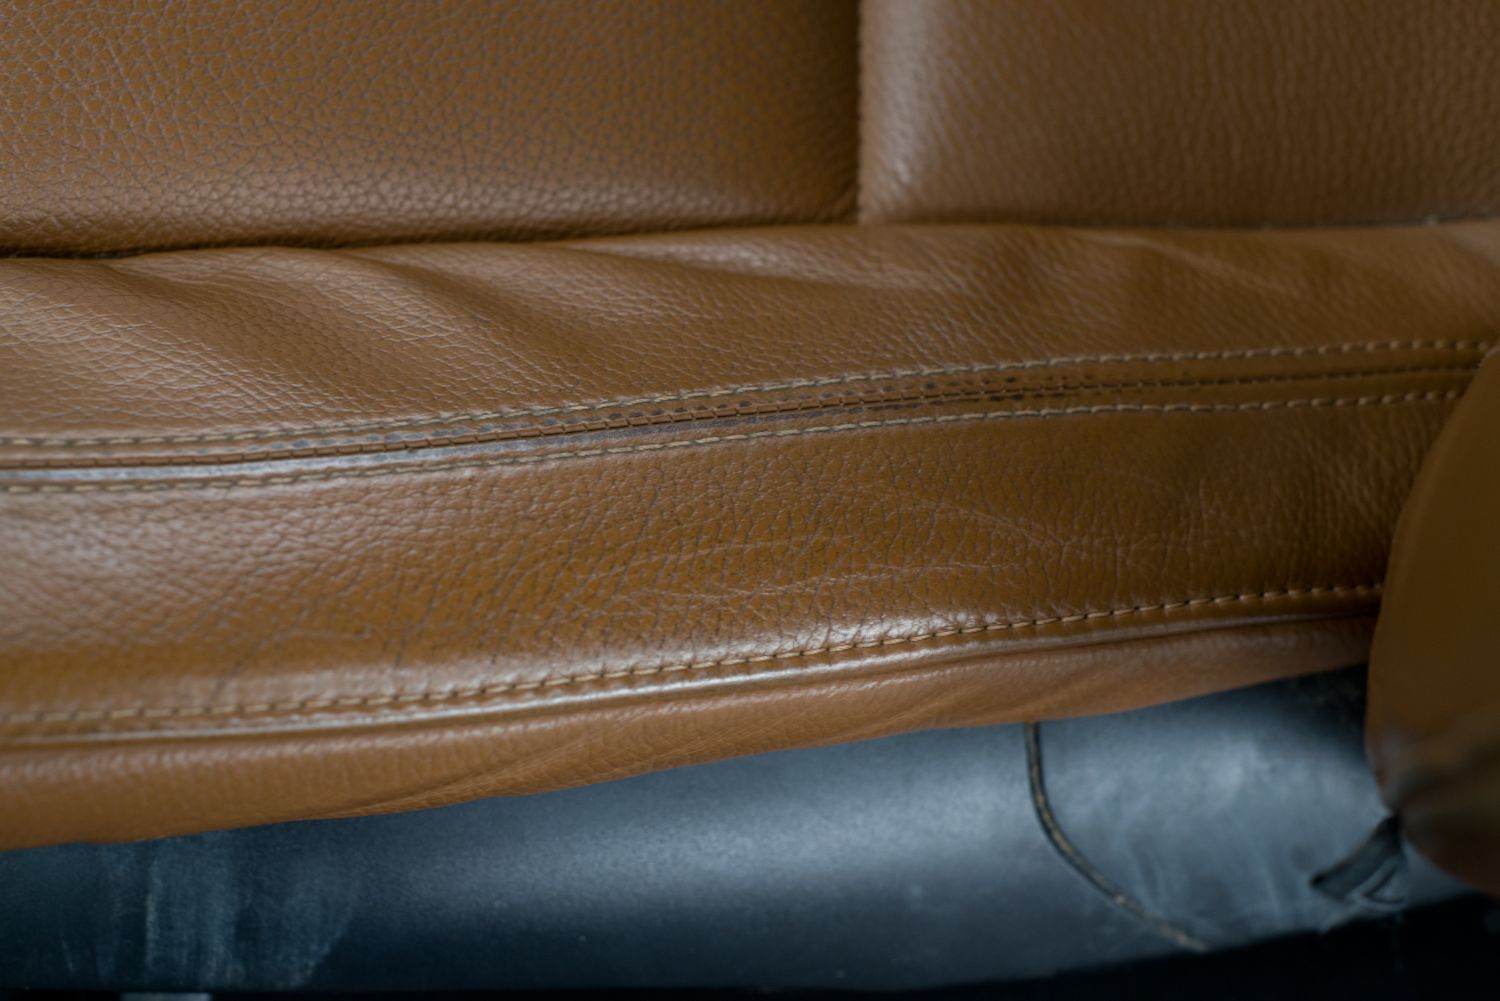
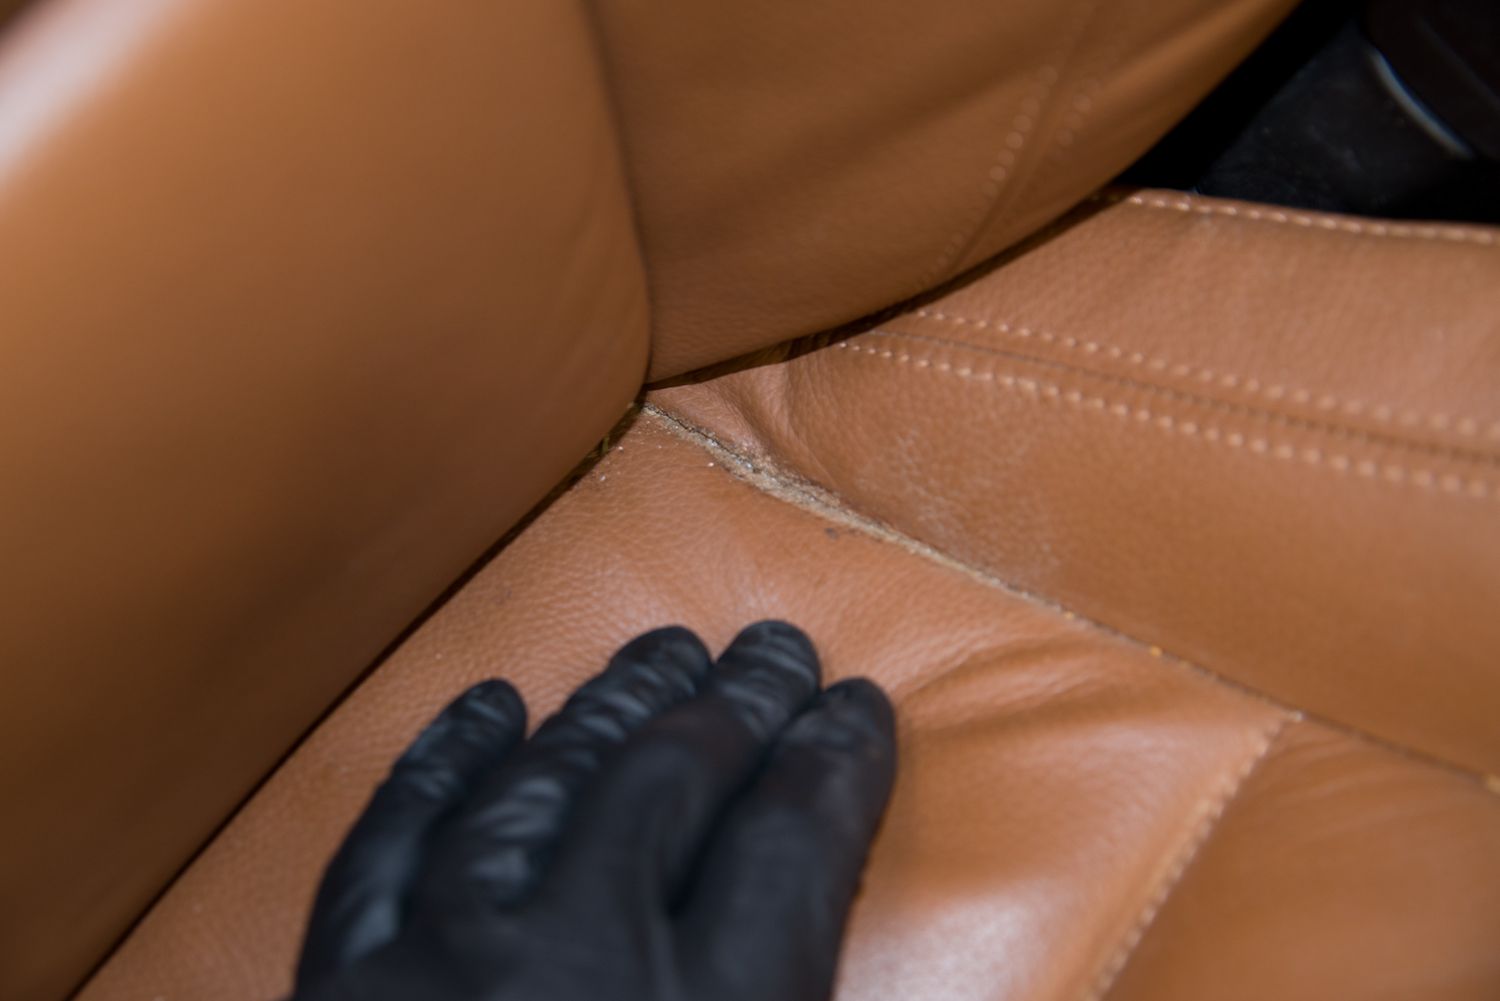
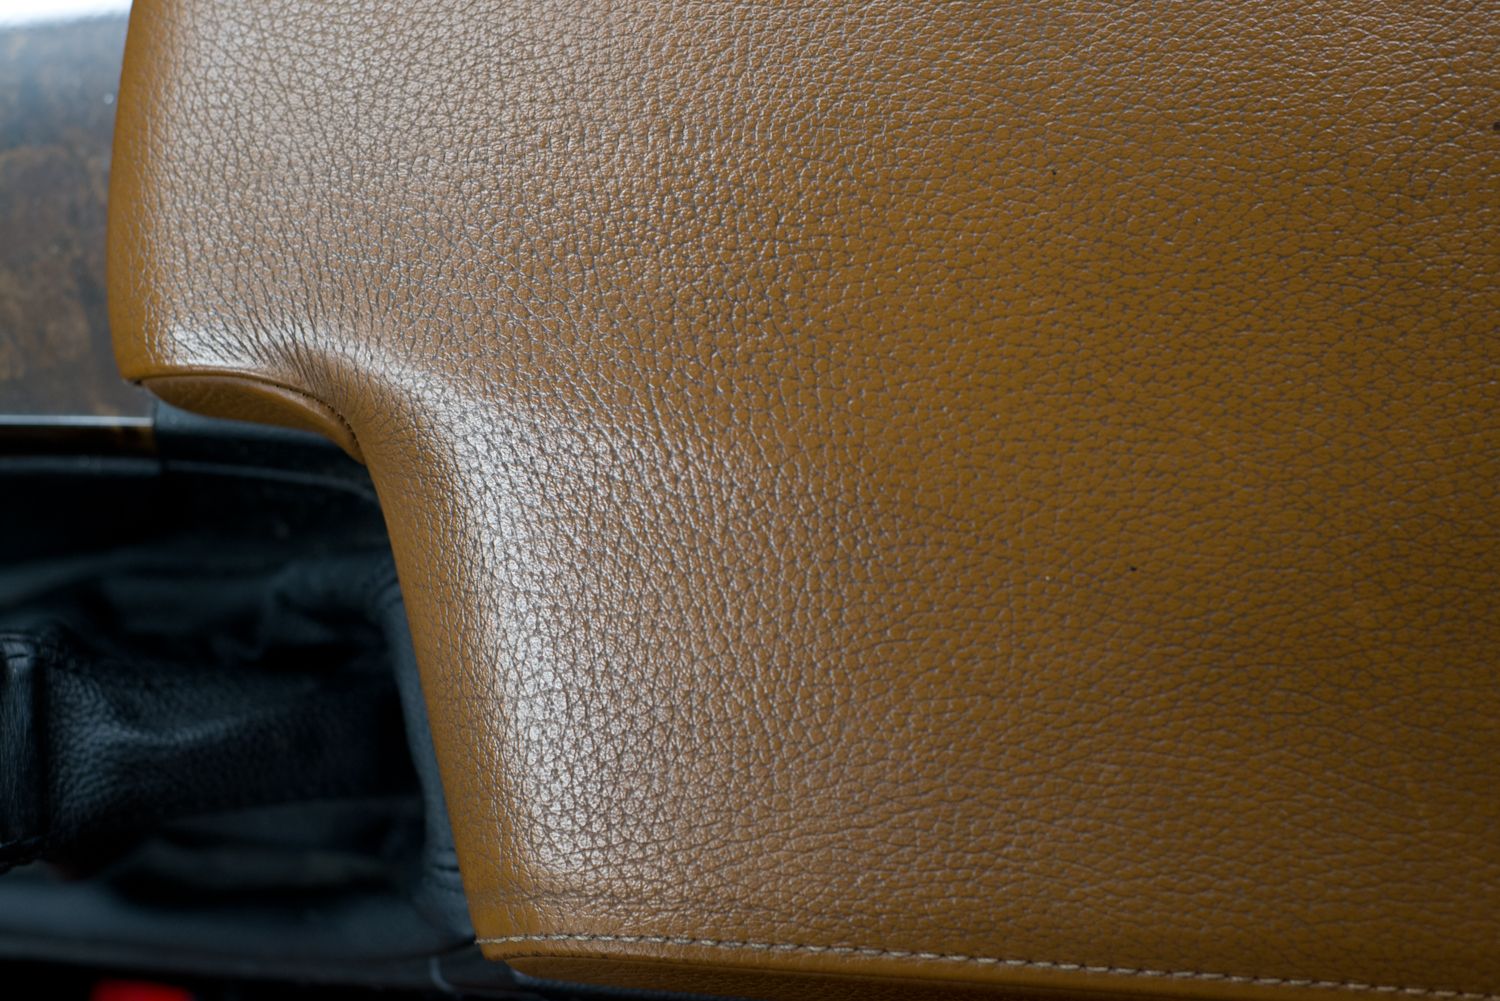
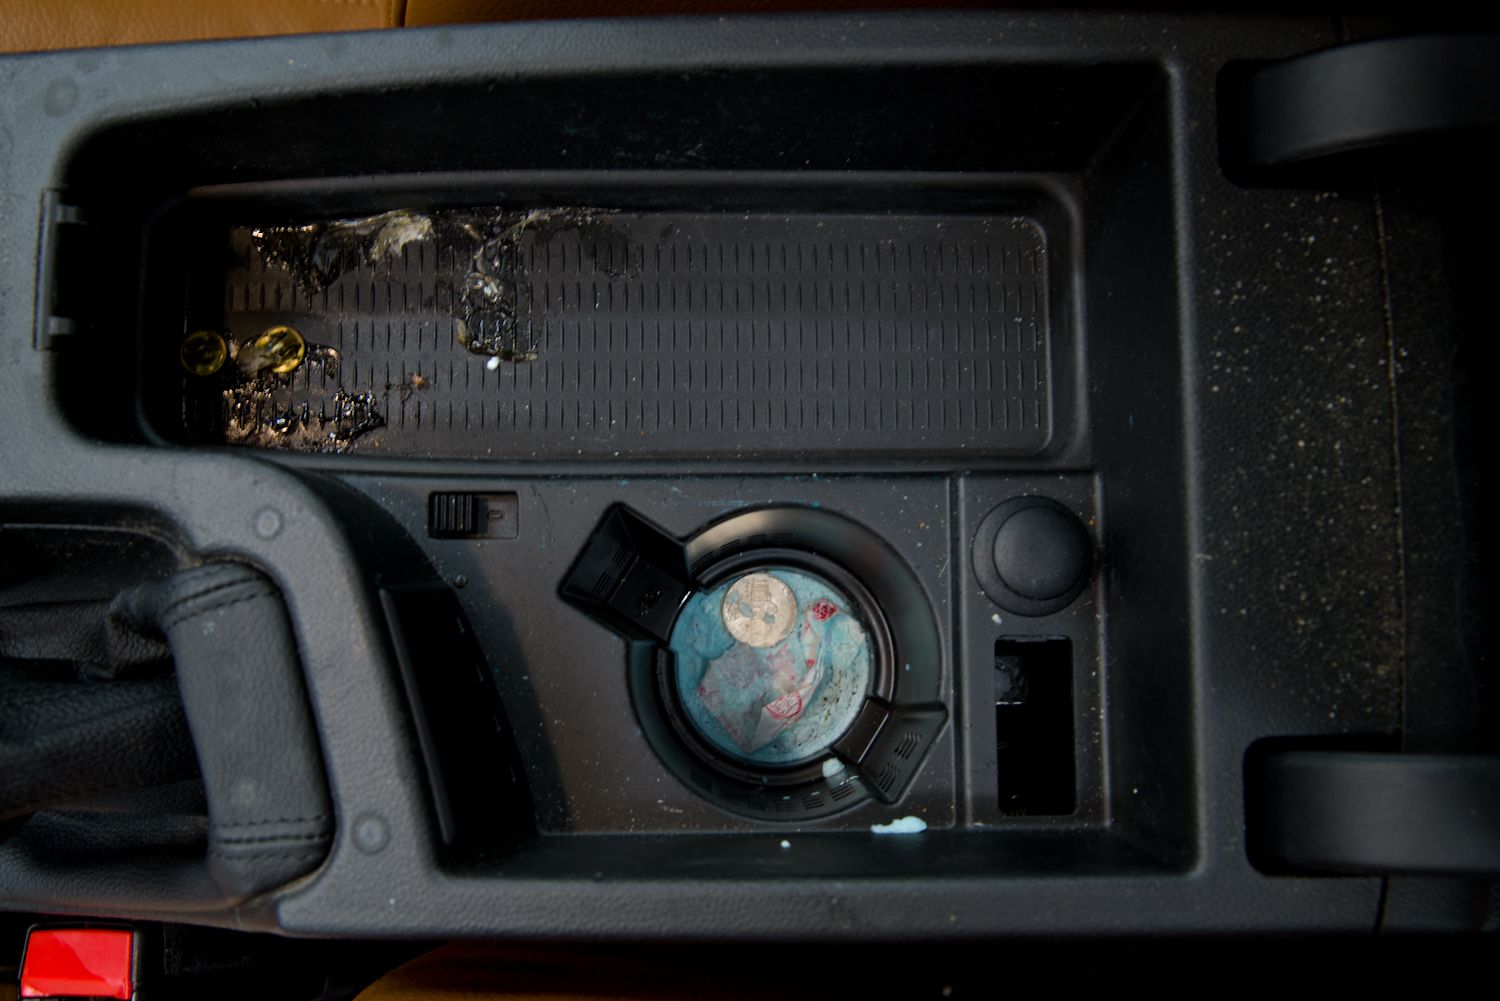
Yummy!
I did an initial cleaning of the seats using Optimum Power Clean at 10:1 and a leather brush. Below you can see my rinse water after doing just the drivers seat.

I then let some Leatherique Rejuvenator Oil soak in for 48hrs (Reapplied after 24hrs).
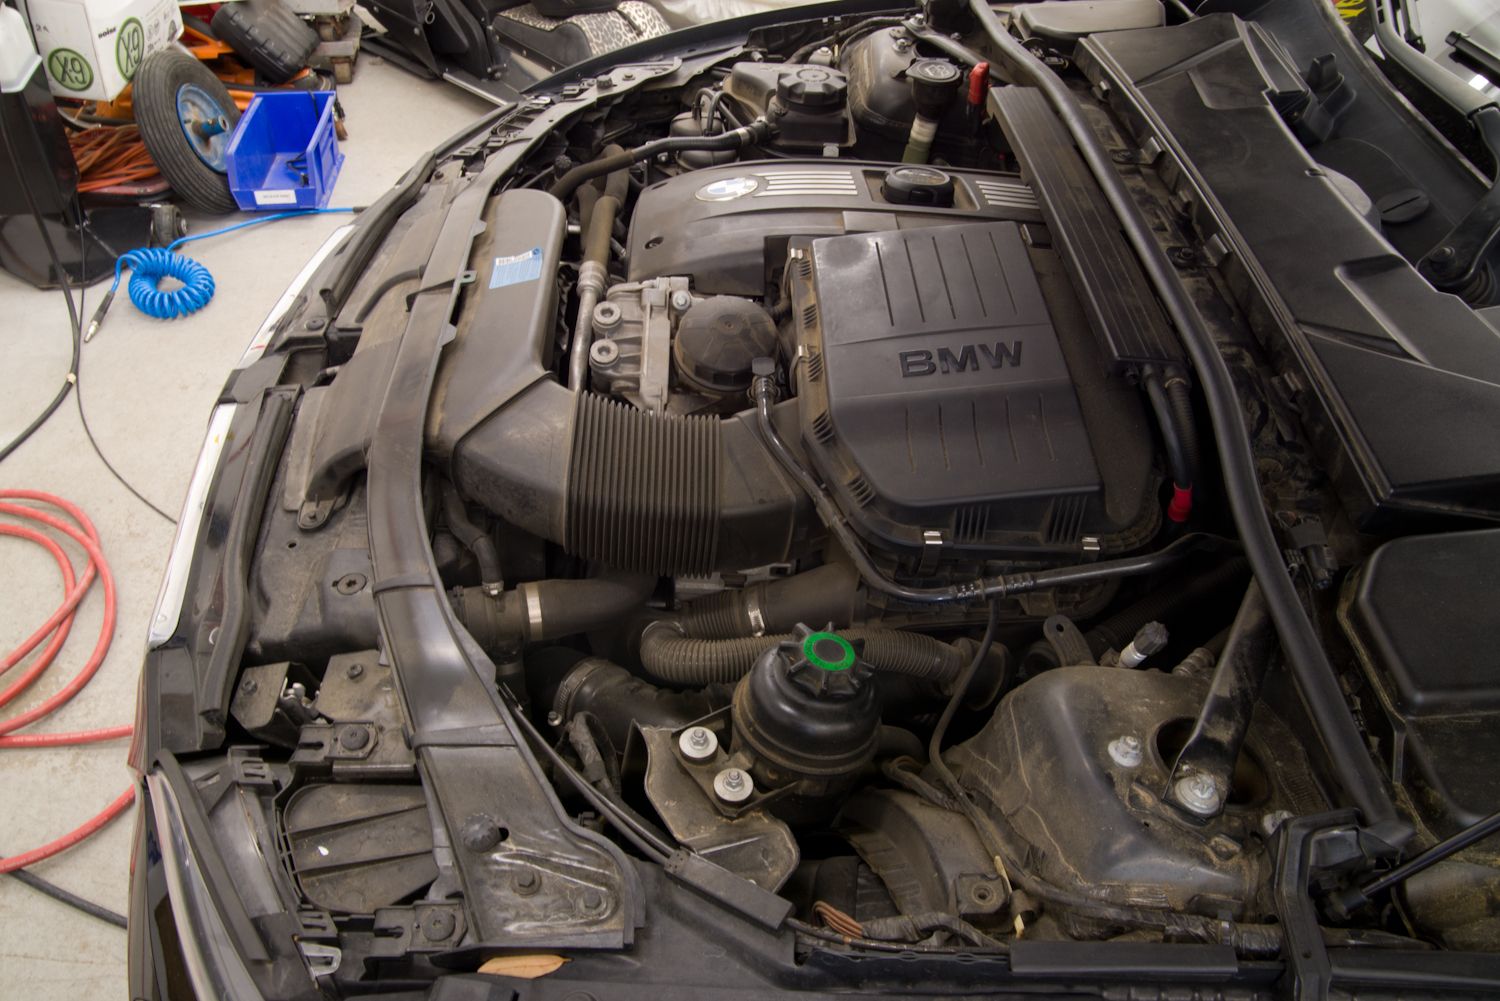
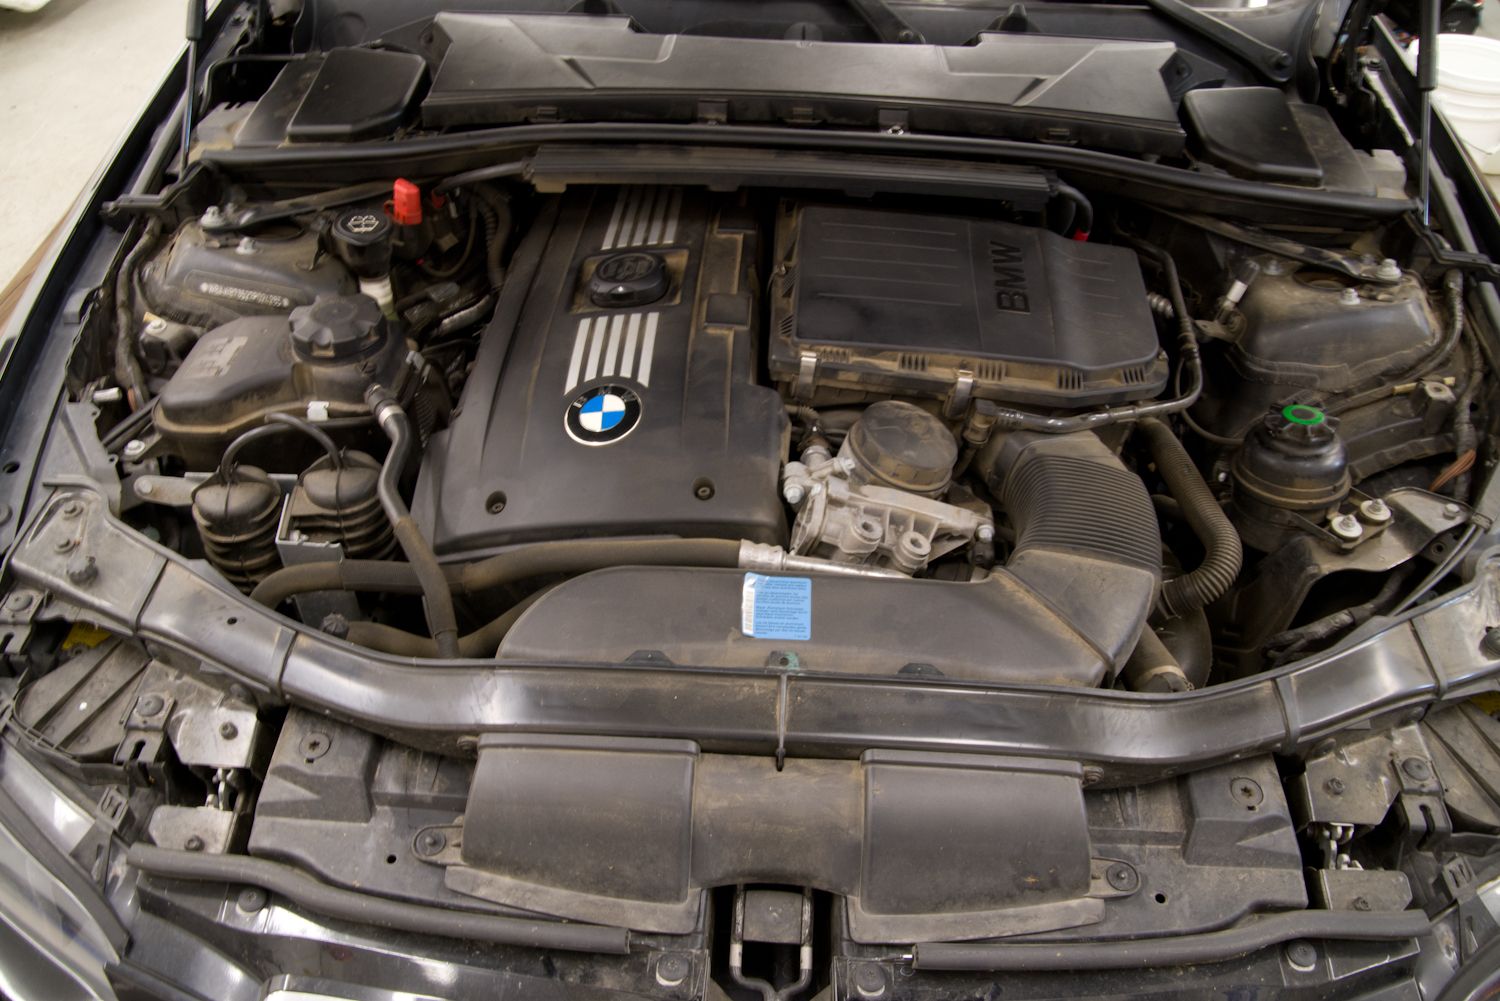
Moving on to the engine bay, you can see why I decided to clean it up a little with all the accumulated dust/dirt.
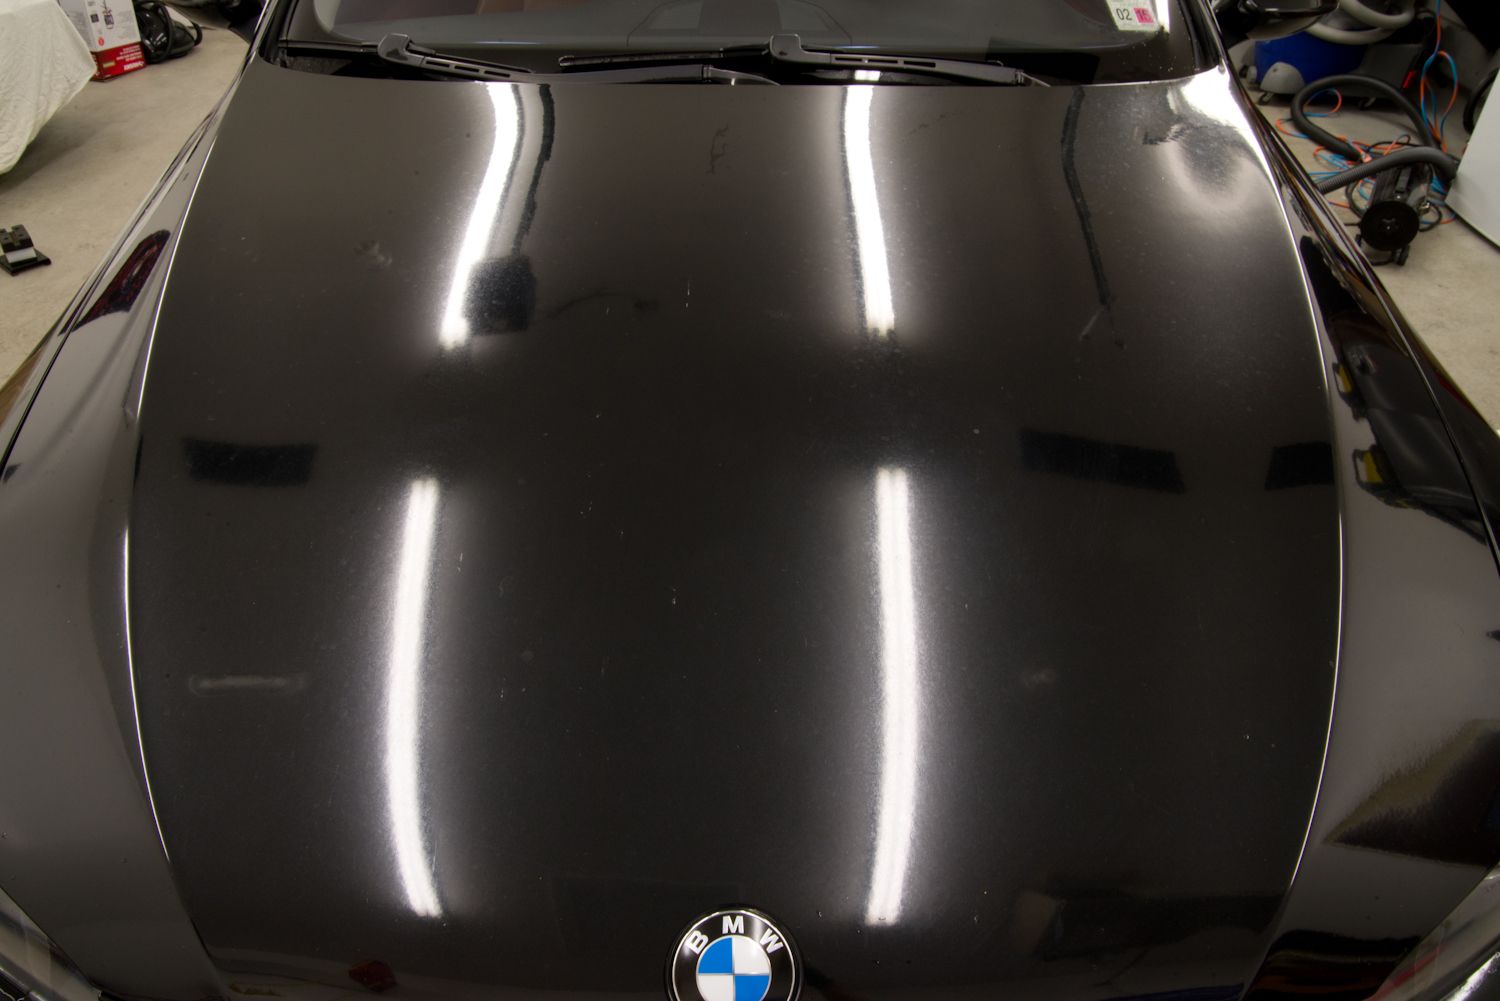
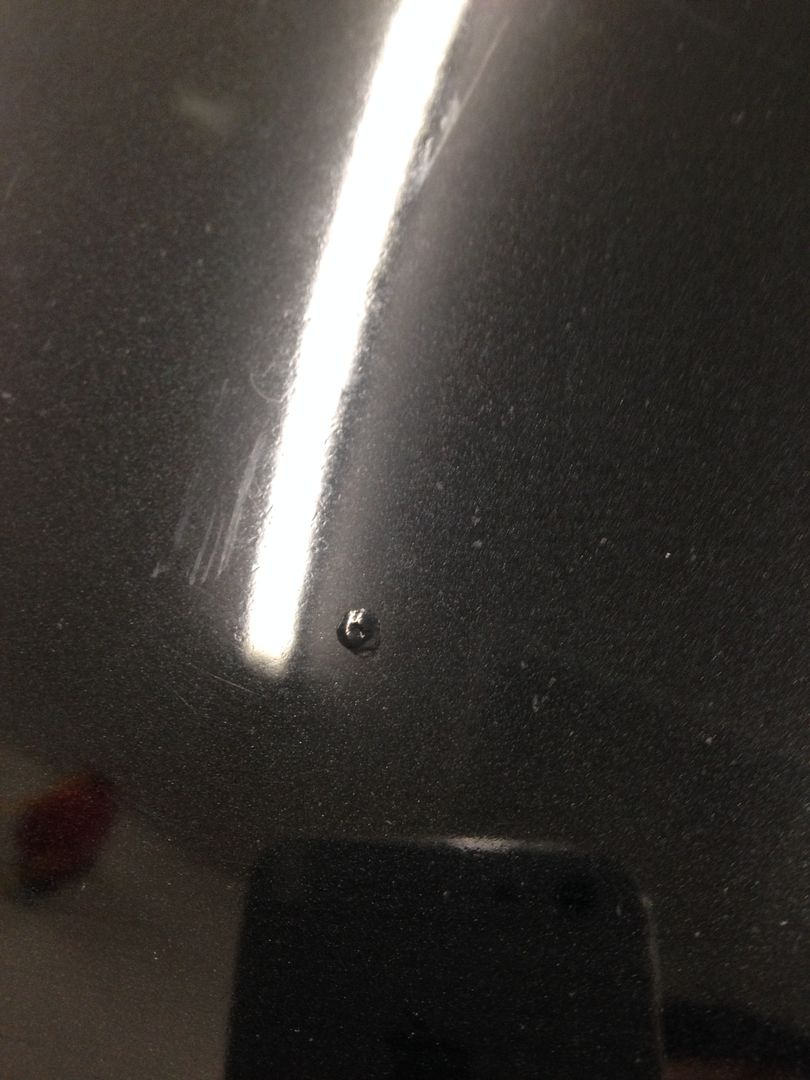
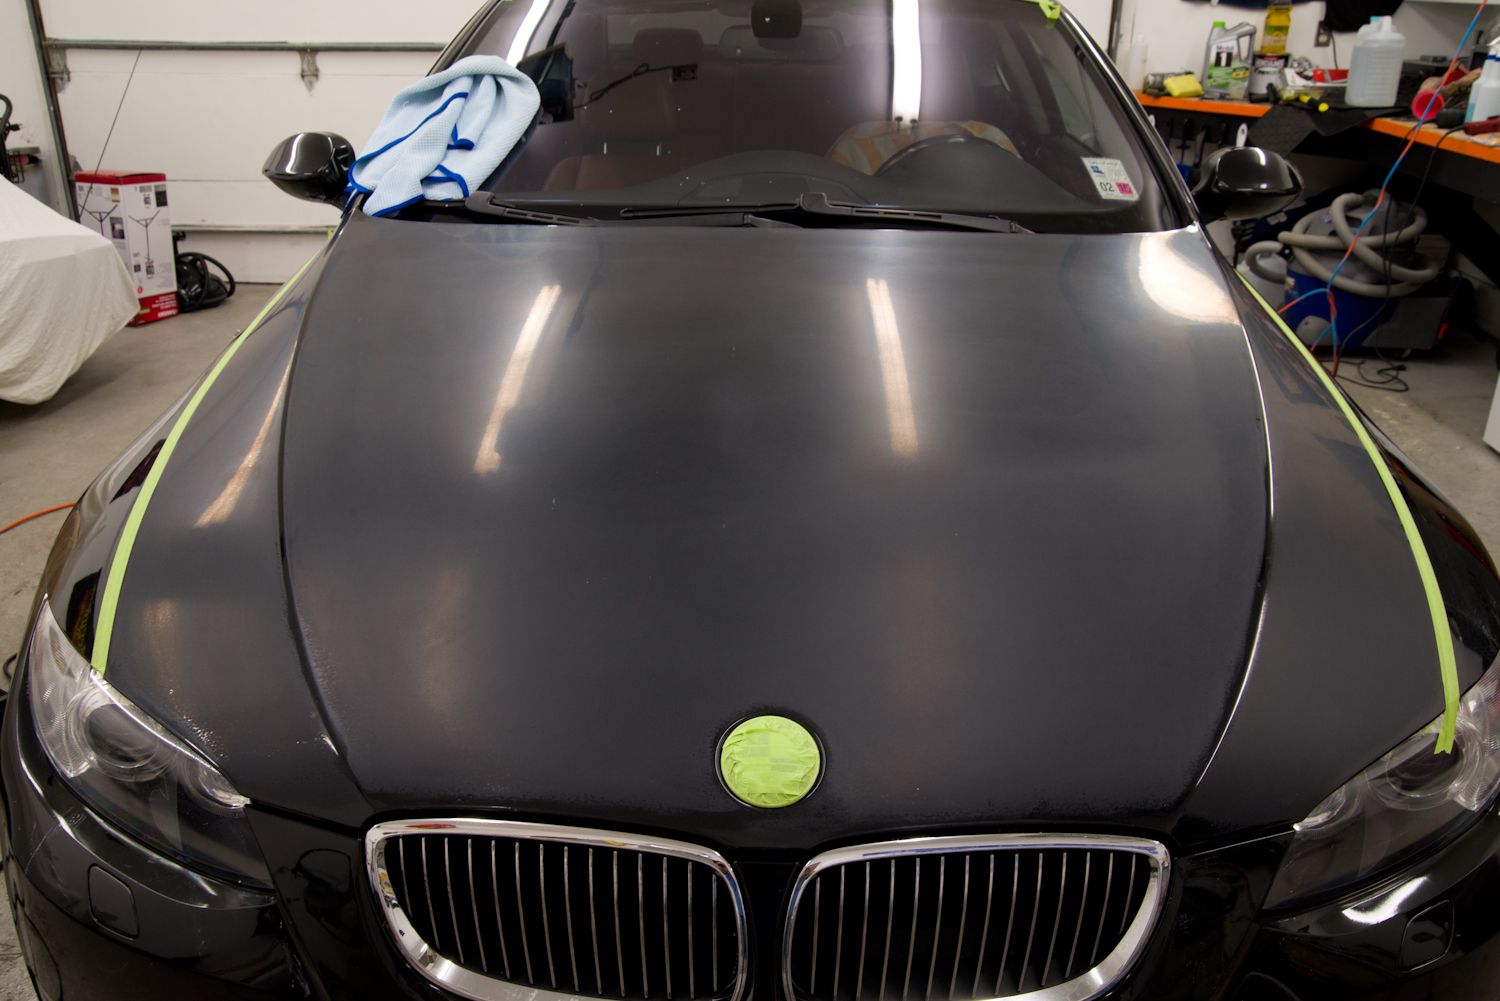
Hands down, I spent the most time on the exterior and addressing the water spot issue. After a good wash with Meguiar’s Hyper wash and decon with IronX and Tarminator, I brought it back in for a closer inspection. The damage done by the hard water spots was some of the worst I’ve seen and they literally changed the texture on the hood and fenders. If you look at the hood picture below you’ll notice the lack of gloss and the overhead lights look fuzzy/distorted in the reflection.
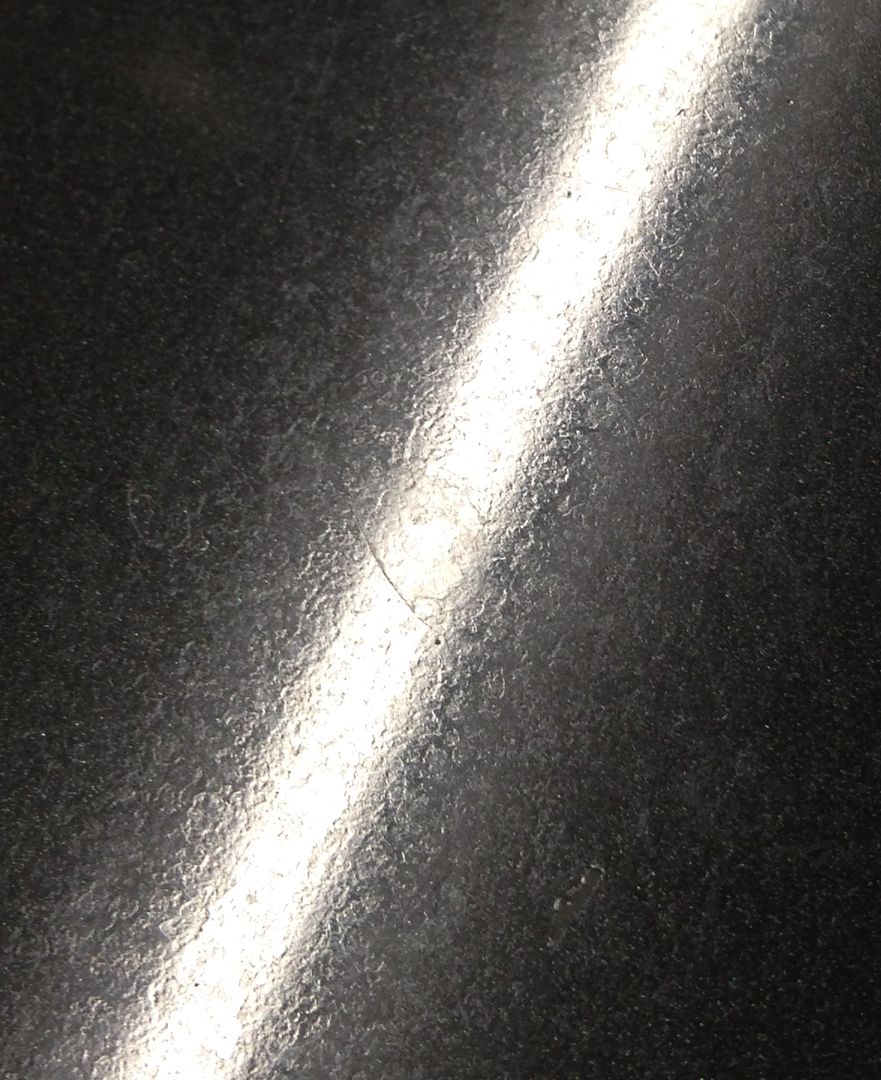
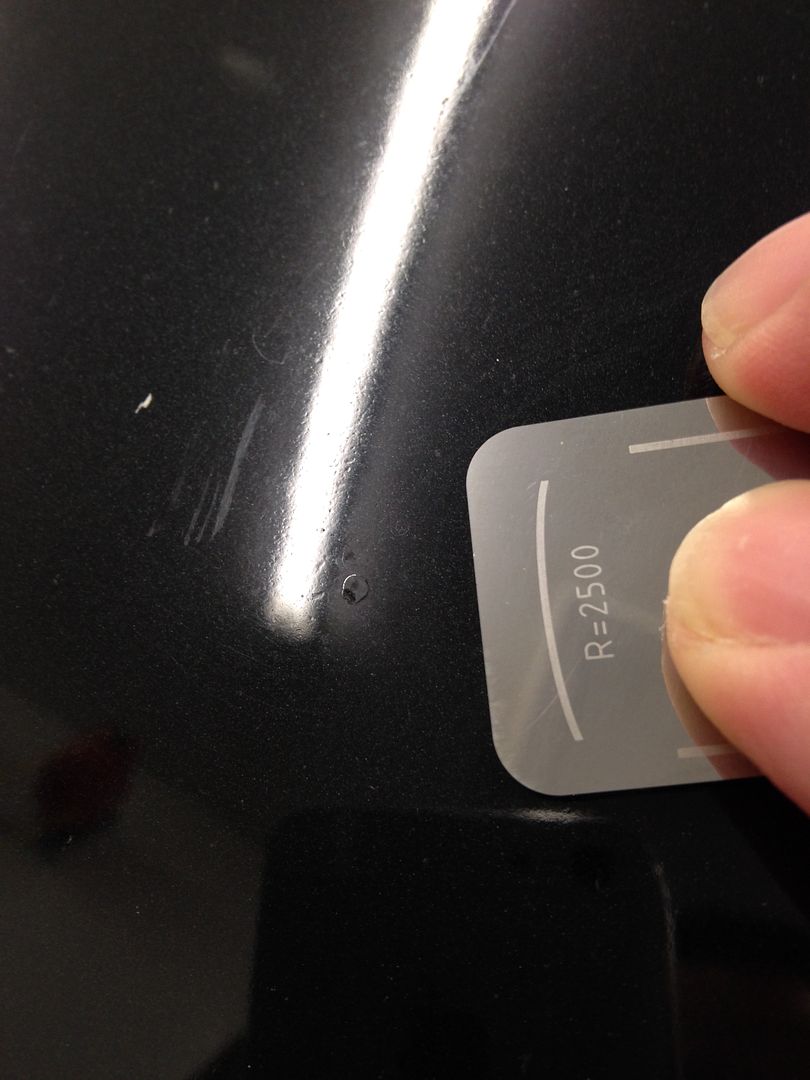
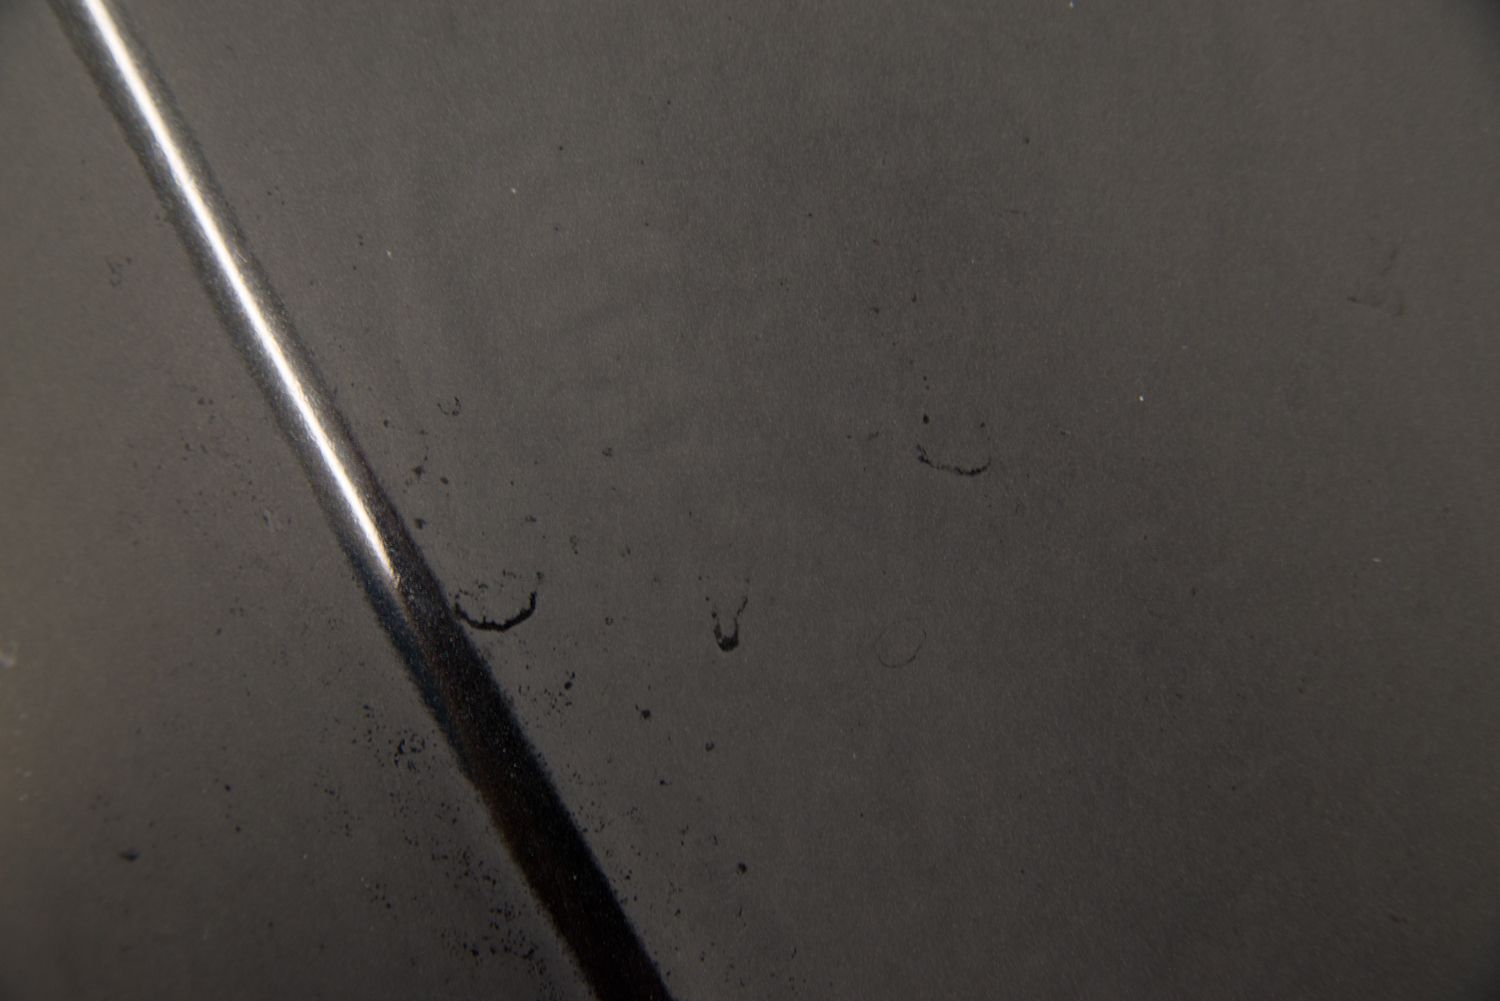
Zooming in close to the surface of the hood, we get a much better idea of why there is such a lack of gloss and the reason for the distorted reflection.
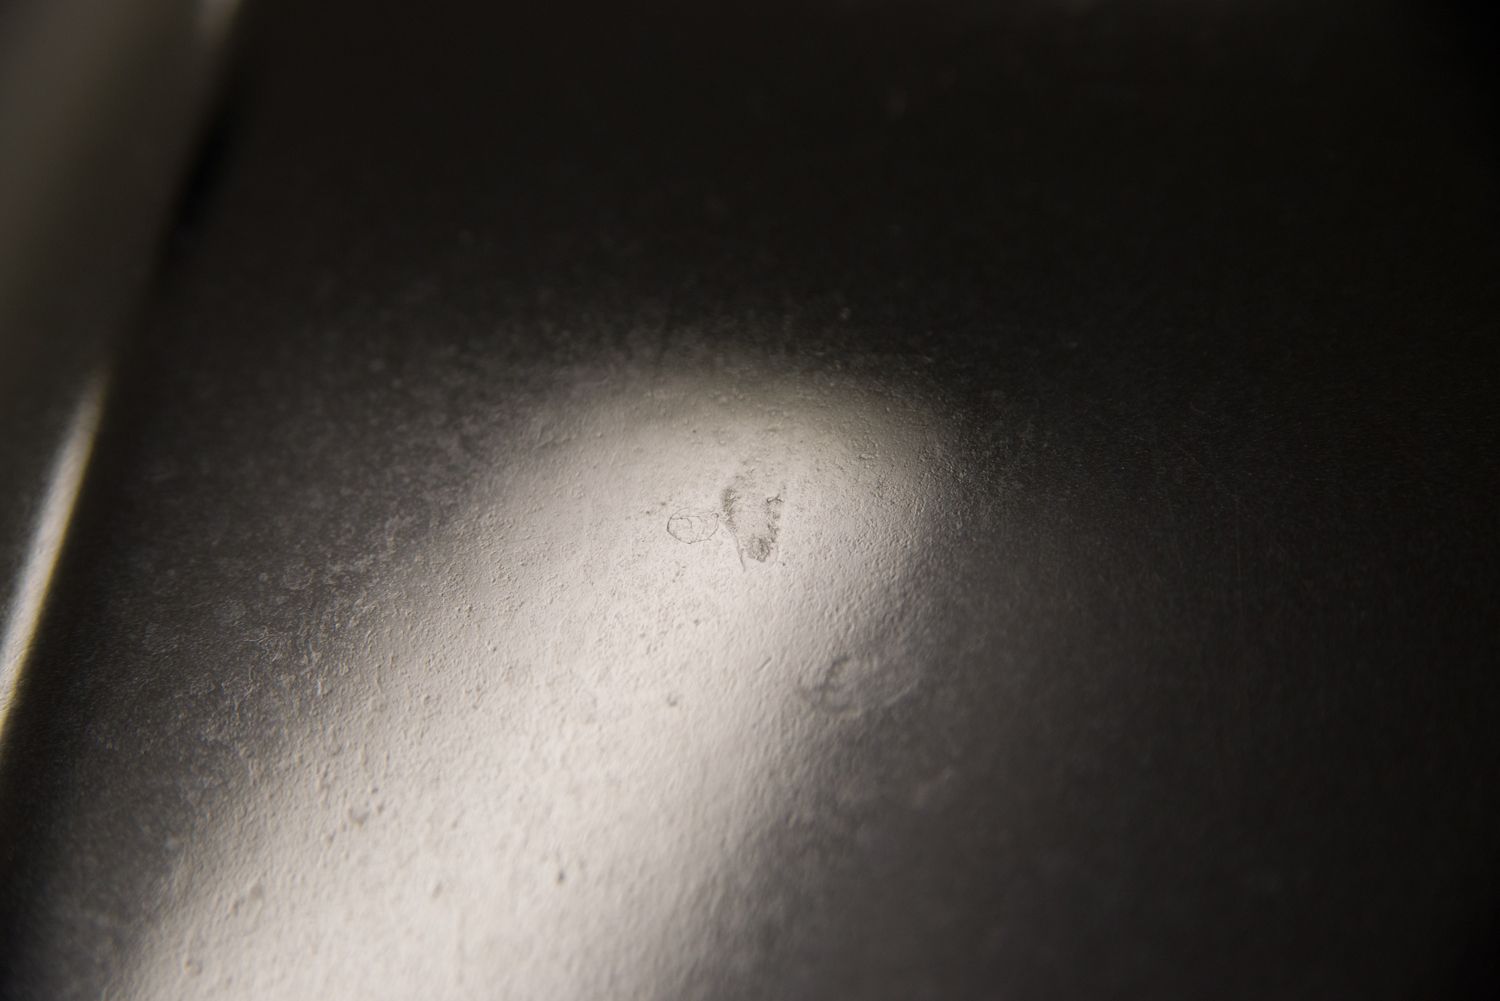
Closer yet (crop of the above pic)
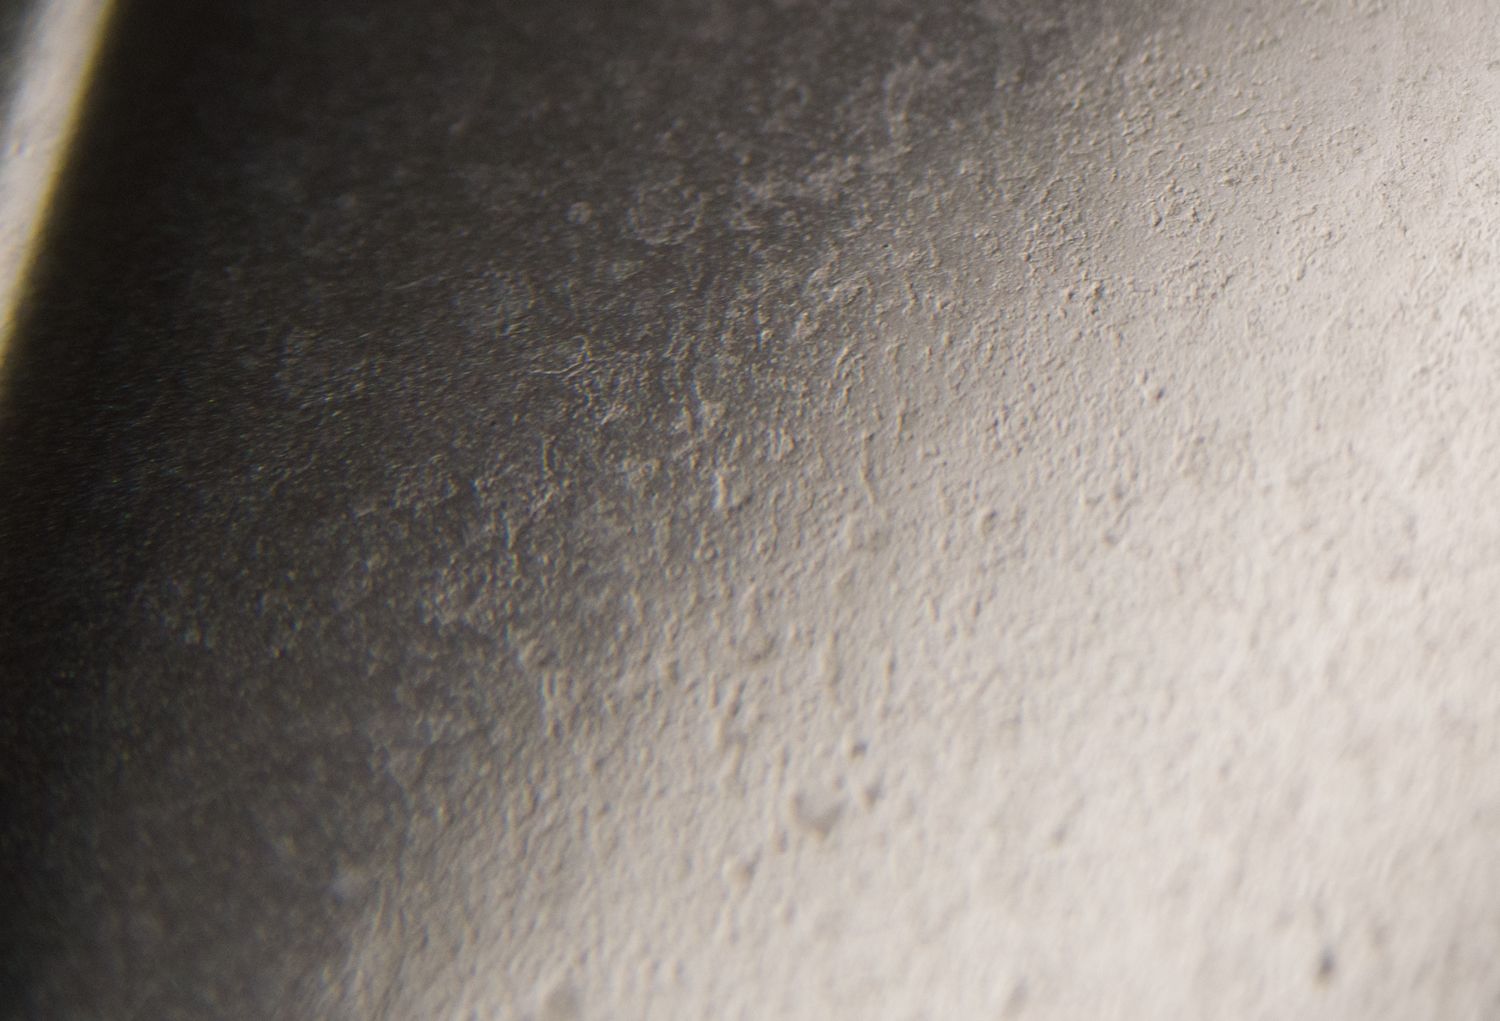
And another taken with my cell phone. The texture of the paint almost resembles that of the vinyl interior panels! Amazing how much damage hard water can do!
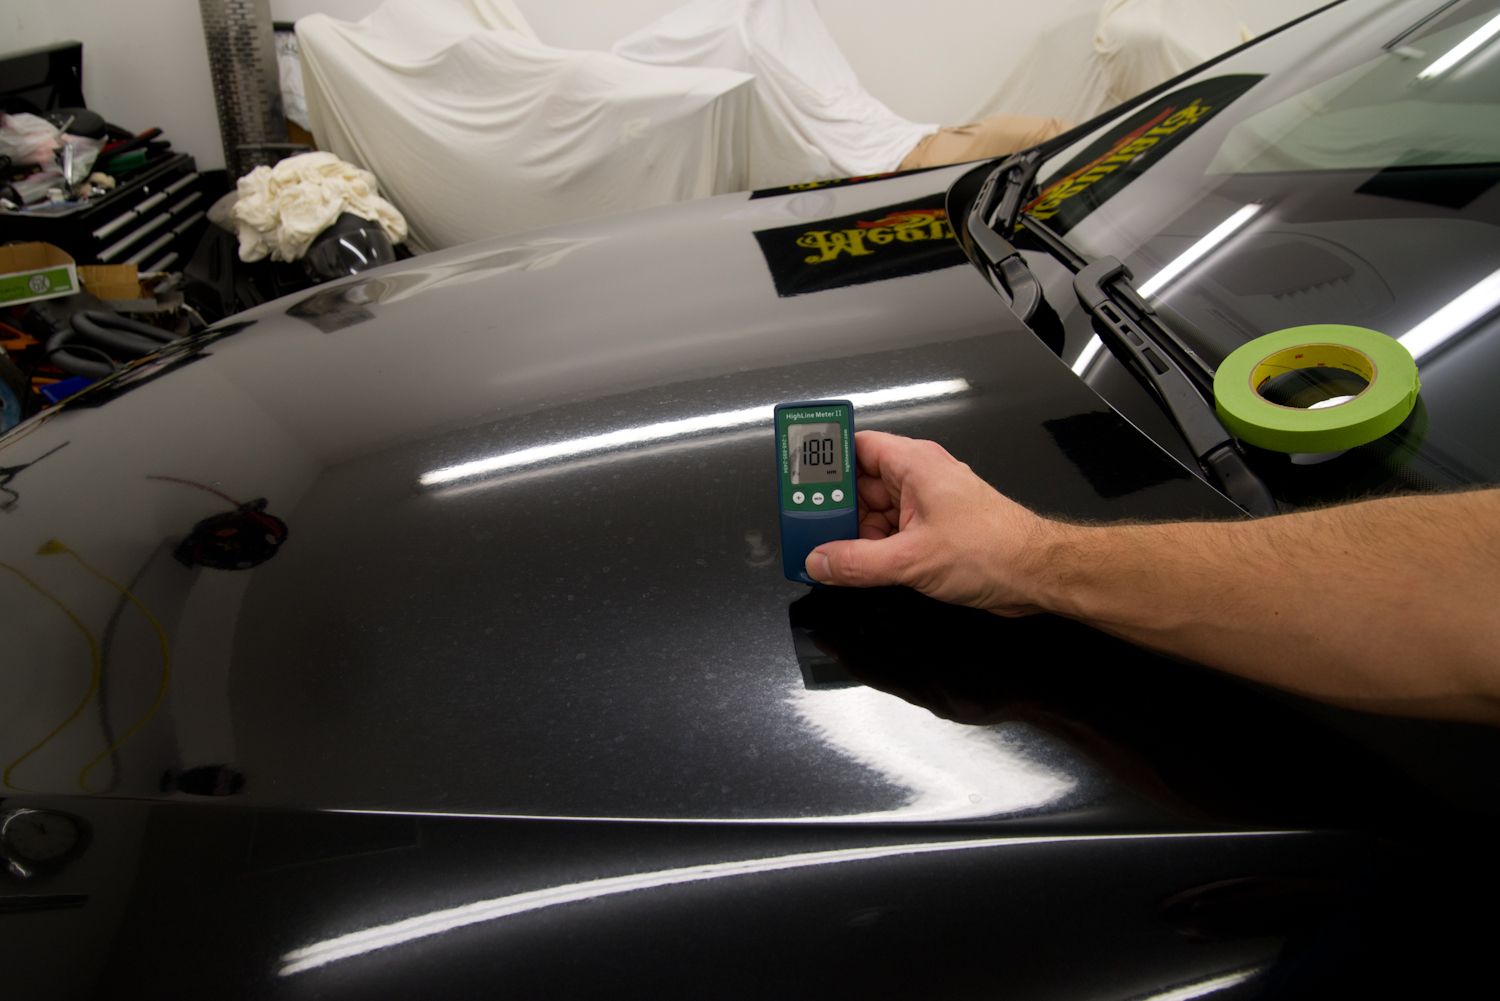
To remove these water spots would require a good amount of wet sanding. First thing I needed to do was take some paint readings to make sure there was enough clear coat to allow for sanding. BMW’s of this year tend to have a good amount of material on them and as can be seen below, readings were in the 160’s to 180’s throughout the car.
However, before sanding I wanted to touch up some of the larger rock chips that were on the front end. My method for doing this is to first build up the paint/clear, then I shave them down with my cool little Festool Denibber, which you can purchase from Kevin Brown.
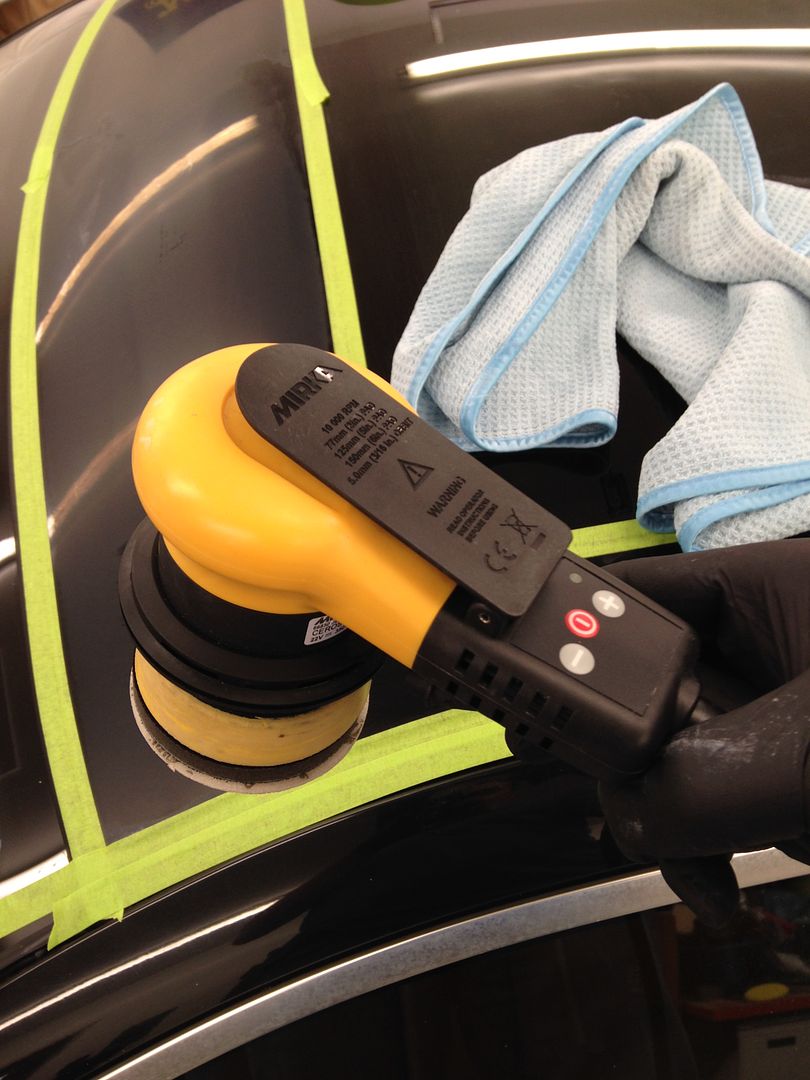
After the chips were taken care of, I wet sanded the roof, hood, and deck lid with Meguiar’s 1500 and 3000 grit “Finishing� discs. I paired the finishing discs with a Meguiar’s interface pad as the intention was to remove the water spots while minimizing the removal of the OEM orange peel. All sanding was done via my Mirka Ceros DA sander, compliments again of Kevin Brown.
Some remaining etching could be seen after sanding, but I’d say 95% of it was removed and would be very hard to spot after polishing.
Here is the proud owner, CPT Austin McNaul


The condition of the car was pretty rough on the outside with some very nasty water spot etching, heavy swirls, scratches, and door scuffs. The interior was about average but the leather needed a good cleaning. Detailing the engine bay wasn’t planned, but after seeing how much dust/dirt was built up, I figured I’d give it a quick once over too.
Interior before


The years of dirt and grime could be seen packed down in all the textured groves of the leather.


Yummy!

I did an initial cleaning of the seats using Optimum Power Clean at 10:1 and a leather brush. Below you can see my rinse water after doing just the drivers seat.

I then let some Leatherique Rejuvenator Oil soak in for 48hrs (Reapplied after 24hrs).

Moving on to the engine bay, you can see why I decided to clean it up a little with all the accumulated dust/dirt.


Hands down, I spent the most time on the exterior and addressing the water spot issue. After a good wash with Meguiar’s Hyper wash and decon with IronX and Tarminator, I brought it back in for a closer inspection. The damage done by the hard water spots was some of the worst I’ve seen and they literally changed the texture on the hood and fenders. If you look at the hood picture below you’ll notice the lack of gloss and the overhead lights look fuzzy/distorted in the reflection.

Zooming in close to the surface of the hood, we get a much better idea of why there is such a lack of gloss and the reason for the distorted reflection.

Closer yet (crop of the above pic)

And another taken with my cell phone. The texture of the paint almost resembles that of the vinyl interior panels! Amazing how much damage hard water can do!

To remove these water spots would require a good amount of wet sanding. First thing I needed to do was take some paint readings to make sure there was enough clear coat to allow for sanding. BMW’s of this year tend to have a good amount of material on them and as can be seen below, readings were in the 160’s to 180’s throughout the car.

However, before sanding I wanted to touch up some of the larger rock chips that were on the front end. My method for doing this is to first build up the paint/clear, then I shave them down with my cool little Festool Denibber, which you can purchase from Kevin Brown.


After the chips were taken care of, I wet sanded the roof, hood, and deck lid with Meguiar’s 1500 and 3000 grit “Finishing� discs. I paired the finishing discs with a Meguiar’s interface pad as the intention was to remove the water spots while minimizing the removal of the OEM orange peel. All sanding was done via my Mirka Ceros DA sander, compliments again of Kevin Brown.


Some remaining etching could be seen after sanding, but I’d say 95% of it was removed and would be very hard to spot after polishing.


")


