It was suggested that I add this for the forum and although I will admit I am not one to post click & brags for no other reason than it is just not my thing, that and doing write ups is not a speciality of mine nor is operating a camera.
I had allready done this for the owner of the car to be posted on another forum I figured I might as well, Since I have no real credibility here yet I figure I best prove that I'm not a total hack")
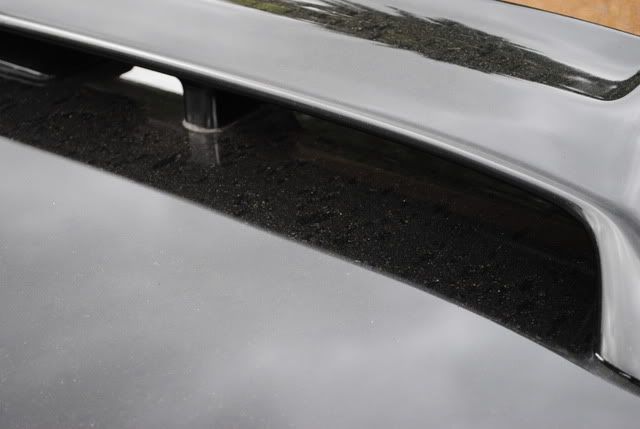
The last time I had seen the car was it was parked in a custom audio shop for a couple of months, and due to the earth works going on behind the shop this poor Alfa was covered in an inch of dust although even the dust couldn’t hide the swirls underneath and based on that I knew I was in for a big job.
My initial plan was to do the owner and the car justice by doing a complete paint correction which was to include a fair amount of wet sanding in order to remove some of the deeper scratches and RIDS.
Unfortunately I had to re think my plan of attack once I had the done a couple of test sections. The reason for this was due to some problems with the paint itself, I was aware that the car had been to one panel shop in the time the owner had owned it. However after working on several parts of the car I would suggest that it has been to 3-4 different places over time and all had used different paint (same colour) There had been a number of panels that have been blending by panel shops, this alone is no big deal the problem comes when some have used a clear coat in there repaint and some have not which leaves patches of clear and solid colour coat.
This creates a problem of knowing exactly how much paint there is to work with along with each section reacting differently to compounds, pads and process. A lot of patches left hazing between the blending of the paints.
In the end I resorted to no wet sanding and opted to simply polish out the swirls completely and remove as many of the deeper scratch as could be done safely, anything deeper was burnished off to flatten out and help hide their affect.
Process,
Foam Bath
Iron x for wheels and body decontamination
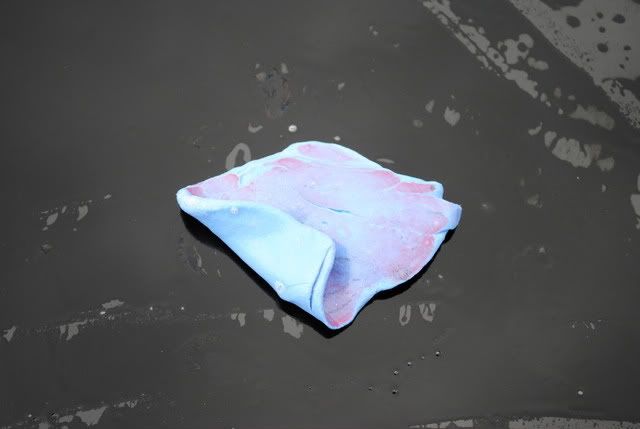
Clay bar
HD UNO various pads
HD Speed Red pad
HD Nitro Seal
C-Quartz for the wheels
HD Gel for the tyres
Various brushes, pads, micro fibre towels and other things
Now I will state from the outset that this was the first time I had used Iron X and C-Quartz.
For me the jury is still out on the Iron X. Sure it likes cool in action, however I think its cleaning ability leaves a little to be desired and I still found a need for claying during and after. It’s not just the Iron particles I want removed from the paint but also things like sap, tar, bug crap and other miscellaneous items that I found Iron X didn’t touch. That and cost per application makes it expensive to use.
On the other hand C-Quartz I liked, I have never really used coatings mainly because I never liked the finish left behind. Yet in saying that for a wheel application like this I found it perfect, very easy to use and I’m happy with the end result.
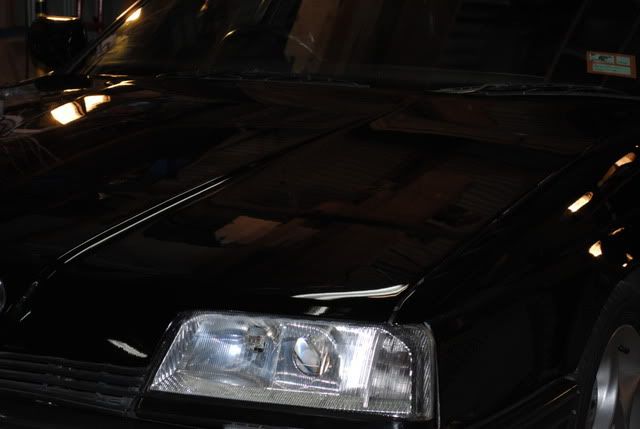
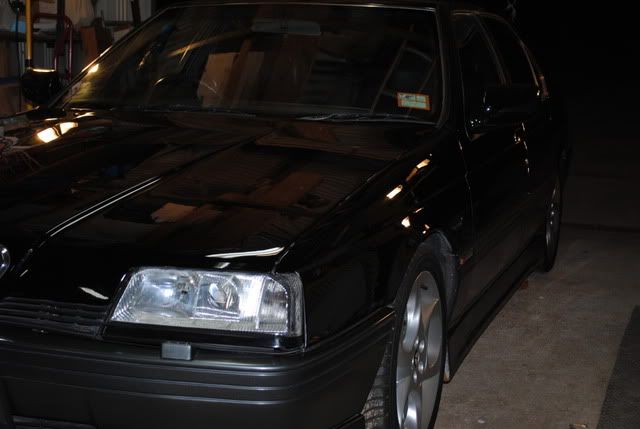
This is how the Alfa arrived, a little less dusty than the last time I saw it

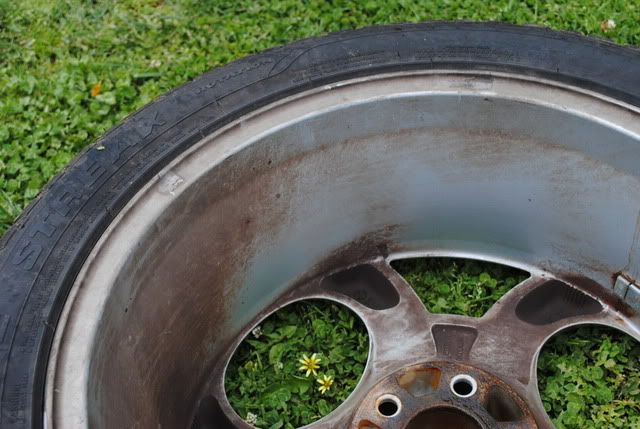
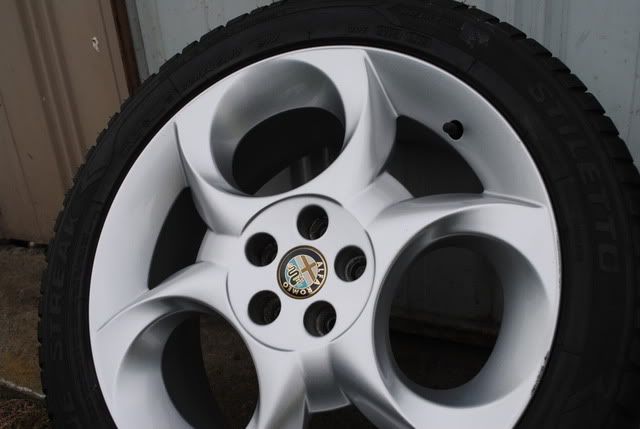
Wheels Before
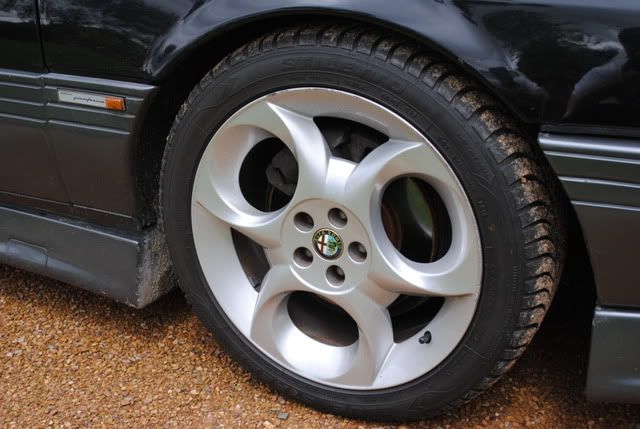
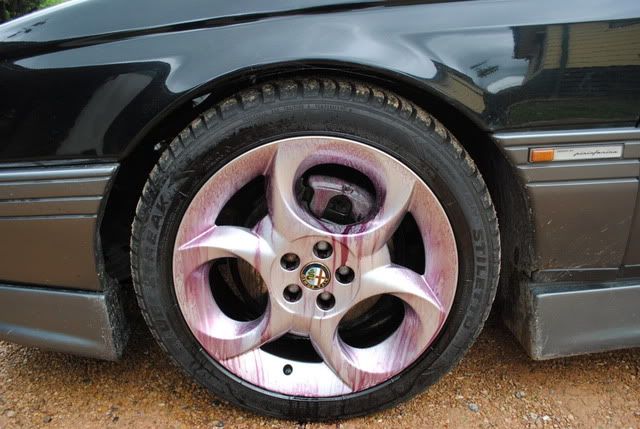
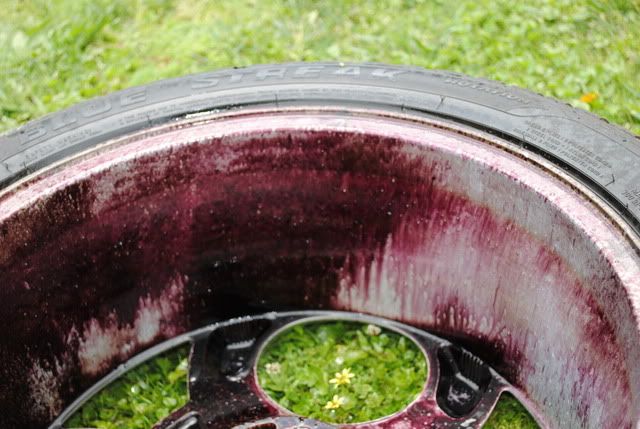
Iron X doing its thing
.

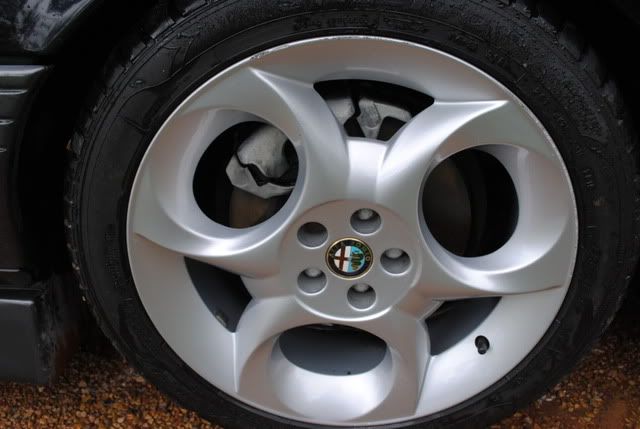
And After (clean, but not great and a lot of agitation required)
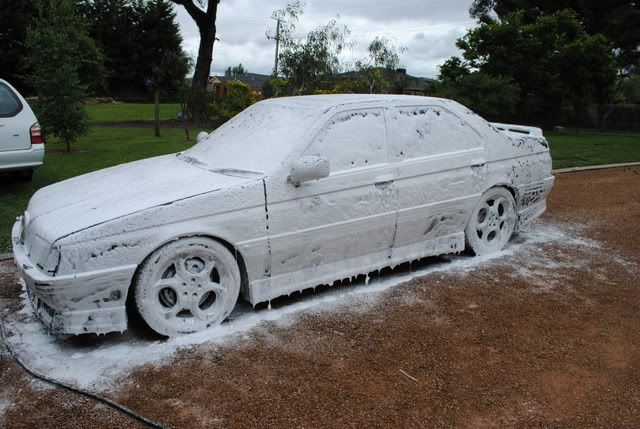
On to a nice Foam bath
A quick clay and Iron X on the paint work
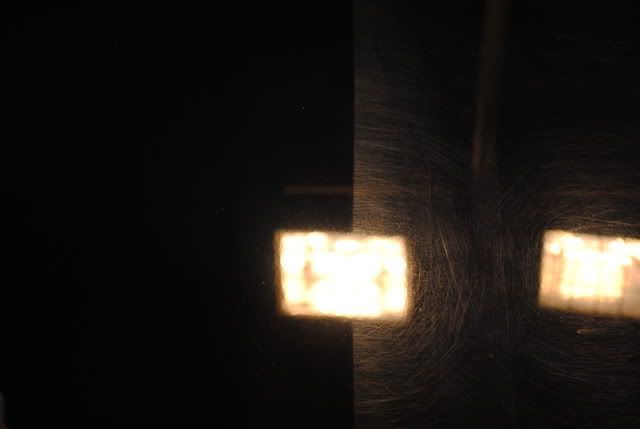
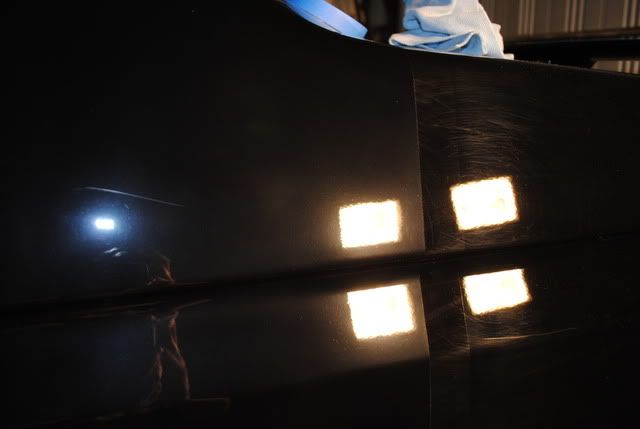
All Striped and under lights (“OUCH”)

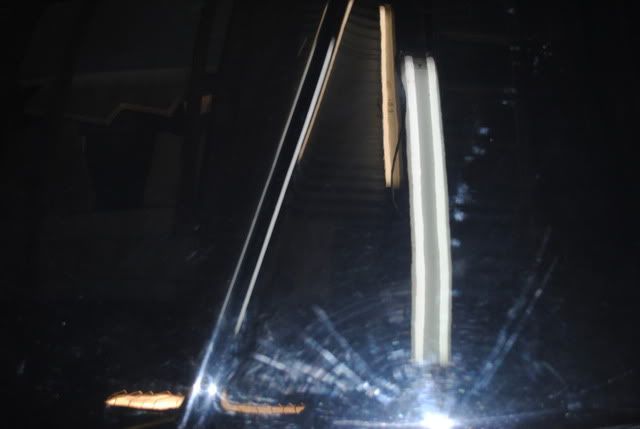


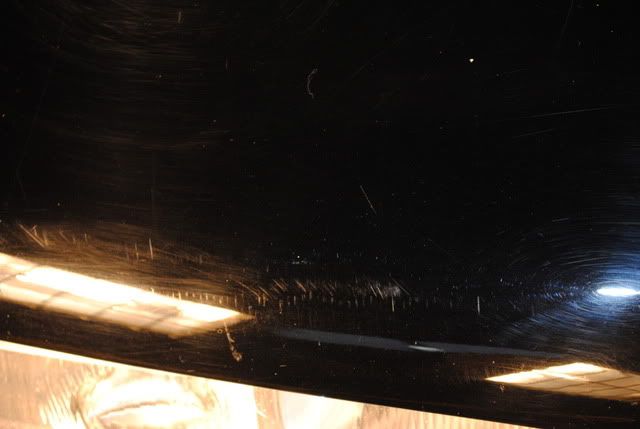

Test spot before (using a DA polisher and a Lake Country purple wool pad)

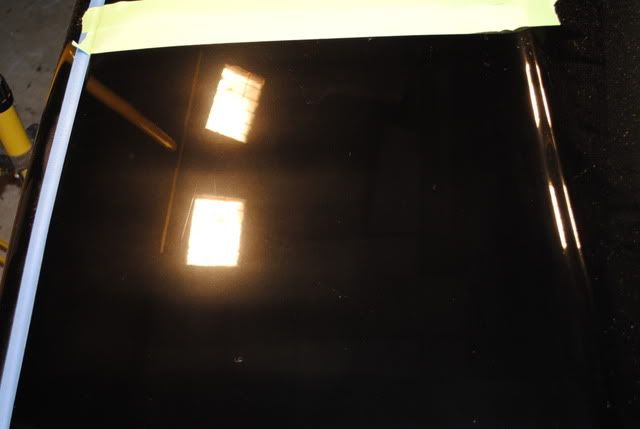
Test spot after
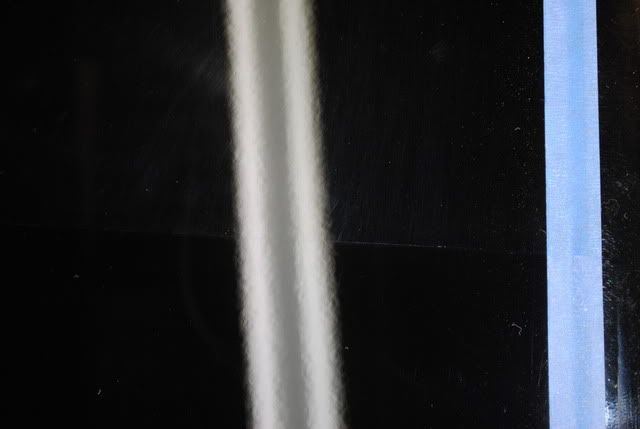
The 50/50’s (various pads used throughout these pictures)

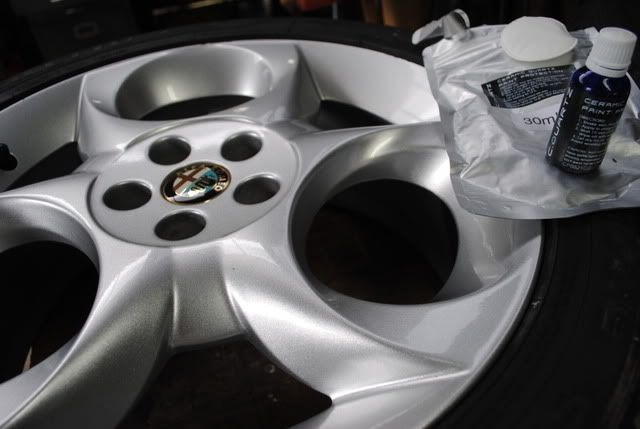
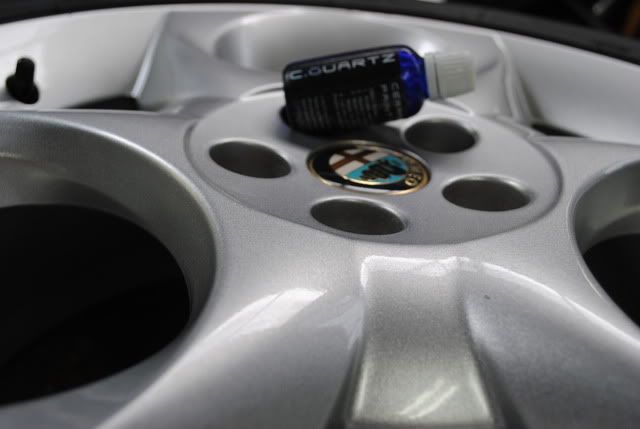
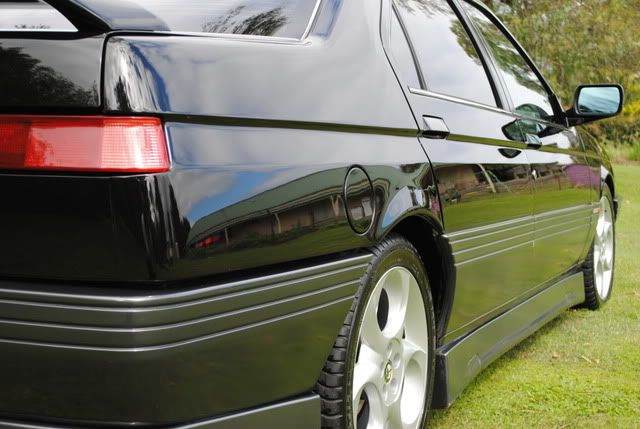
Wheels (A quick hand polish and C-Quartz Ceramic coating)
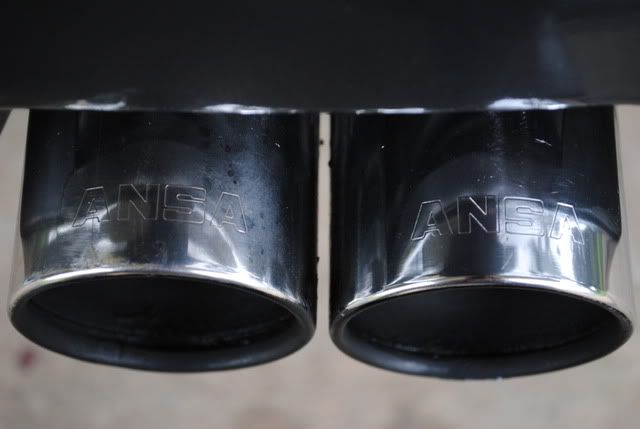
A quick clean up of the Tips (Right done Left not)
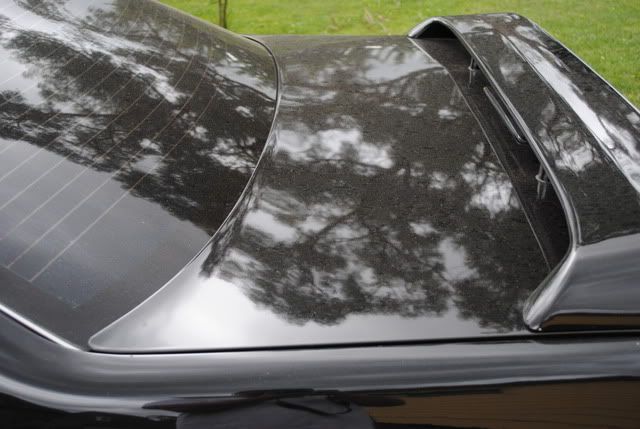
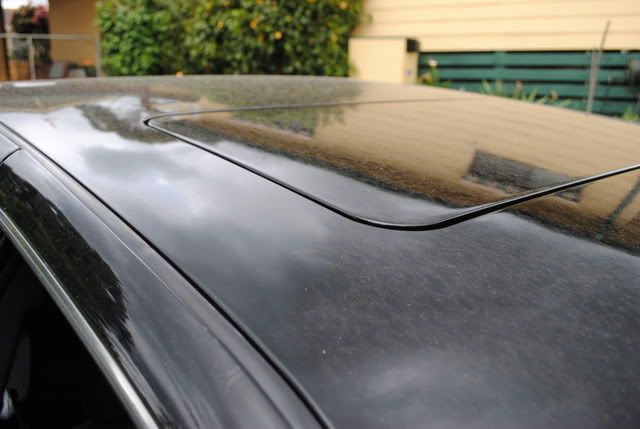
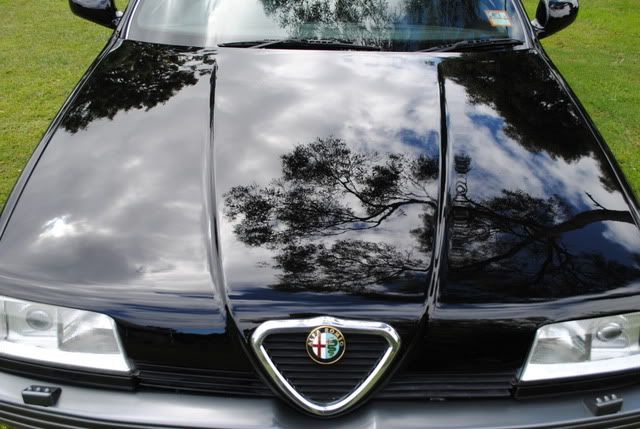
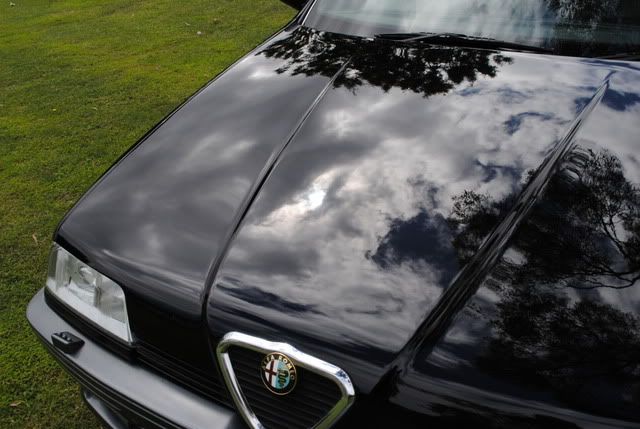
After Polishing (Before LSP)

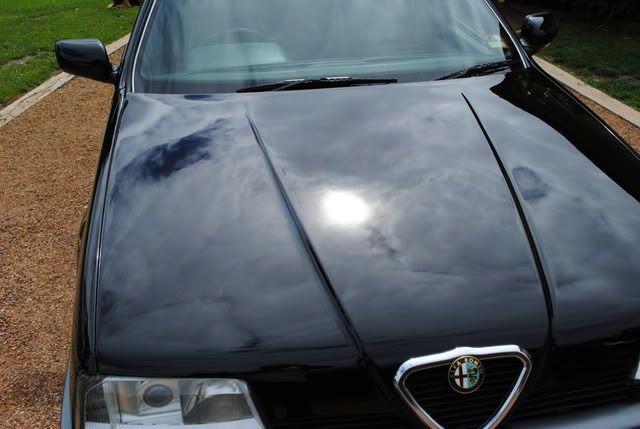
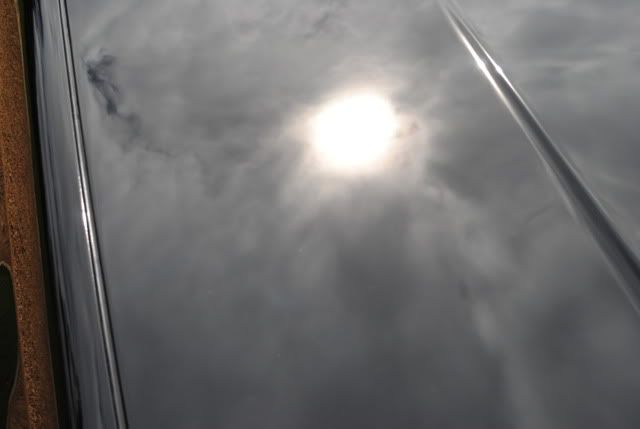
Finally Done, Sadly it was to overcast to get any sun pics

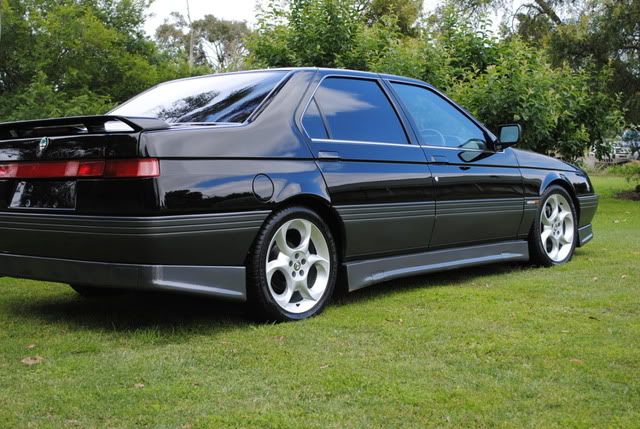


I will say the end result looks great; although I was disappointed that the paint just didn’t want to play nice and hindered getting that extra 10% of finish. However the car is 90% defect free and looks awesome compared to before it arrived.
Cheers Daniel
I had allready done this for the owner of the car to be posted on another forum I figured I might as well, Since I have no real credibility here yet I figure I best prove that I'm not a total hack
The last time I had seen the car was it was parked in a custom audio shop for a couple of months, and due to the earth works going on behind the shop this poor Alfa was covered in an inch of dust although even the dust couldn’t hide the swirls underneath and based on that I knew I was in for a big job.
My initial plan was to do the owner and the car justice by doing a complete paint correction which was to include a fair amount of wet sanding in order to remove some of the deeper scratches and RIDS.
Unfortunately I had to re think my plan of attack once I had the done a couple of test sections. The reason for this was due to some problems with the paint itself, I was aware that the car had been to one panel shop in the time the owner had owned it. However after working on several parts of the car I would suggest that it has been to 3-4 different places over time and all had used different paint (same colour) There had been a number of panels that have been blending by panel shops, this alone is no big deal the problem comes when some have used a clear coat in there repaint and some have not which leaves patches of clear and solid colour coat.
This creates a problem of knowing exactly how much paint there is to work with along with each section reacting differently to compounds, pads and process. A lot of patches left hazing between the blending of the paints.
In the end I resorted to no wet sanding and opted to simply polish out the swirls completely and remove as many of the deeper scratch as could be done safely, anything deeper was burnished off to flatten out and help hide their affect.
Process,
Foam Bath
Iron x for wheels and body decontamination
Clay bar
HD UNO various pads
HD Speed Red pad
HD Nitro Seal
C-Quartz for the wheels
HD Gel for the tyres
Various brushes, pads, micro fibre towels and other things
Now I will state from the outset that this was the first time I had used Iron X and C-Quartz.
For me the jury is still out on the Iron X. Sure it likes cool in action, however I think its cleaning ability leaves a little to be desired and I still found a need for claying during and after. It’s not just the Iron particles I want removed from the paint but also things like sap, tar, bug crap and other miscellaneous items that I found Iron X didn’t touch. That and cost per application makes it expensive to use.
On the other hand C-Quartz I liked, I have never really used coatings mainly because I never liked the finish left behind. Yet in saying that for a wheel application like this I found it perfect, very easy to use and I’m happy with the end result.
This is how the Alfa arrived, a little less dusty than the last time I saw it
Wheels Before
Iron X doing its thing
.
And After (clean, but not great and a lot of agitation required)
On to a nice Foam bath
A quick clay and Iron X on the paint work
All Striped and under lights (“OUCH”)
Test spot before (using a DA polisher and a Lake Country purple wool pad)
Test spot after
The 50/50’s (various pads used throughout these pictures)
Wheels (A quick hand polish and C-Quartz Ceramic coating)
A quick clean up of the Tips (Right done Left not)
After Polishing (Before LSP)
Finally Done, Sadly it was to overcast to get any sun pics
I will say the end result looks great; although I was disappointed that the paint just didn’t want to play nice and hindered getting that extra 10% of finish. However the car is 90% defect free and looks awesome compared to before it arrived.
Cheers Daniel