Envious Eric
New member
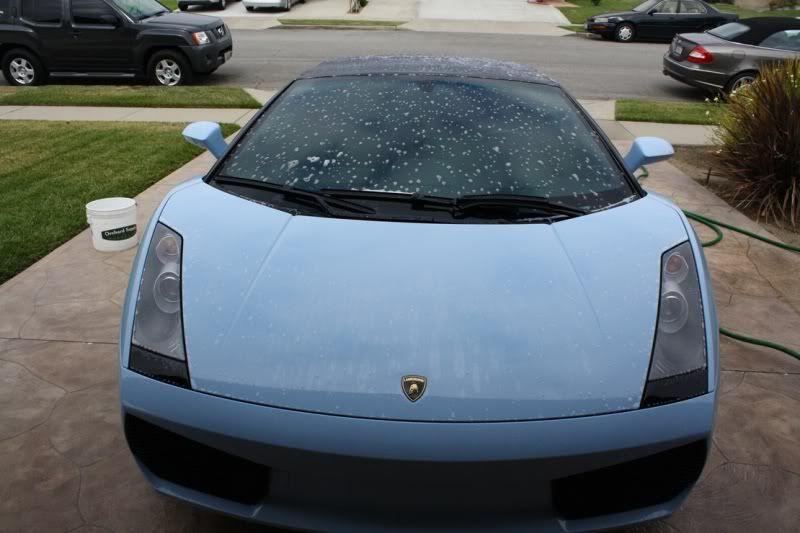
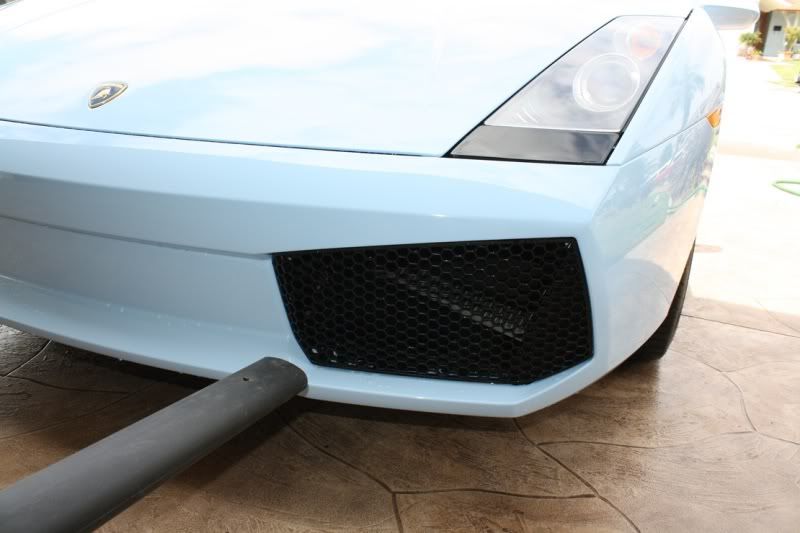
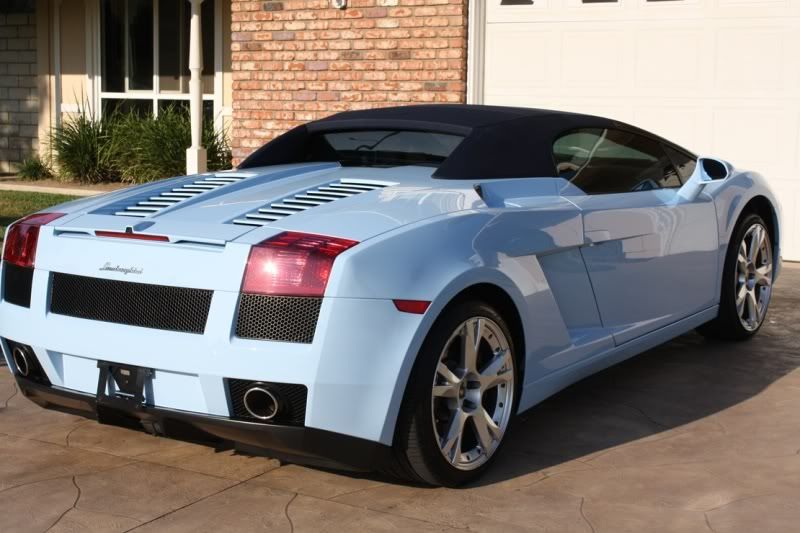
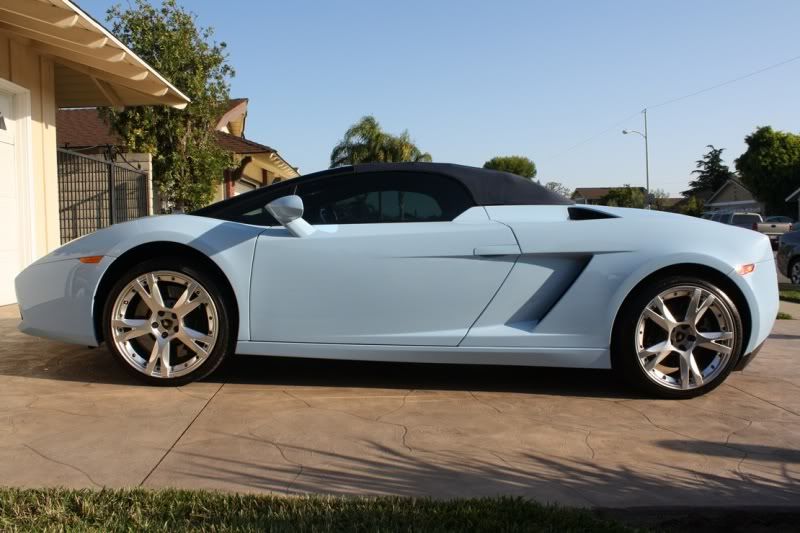
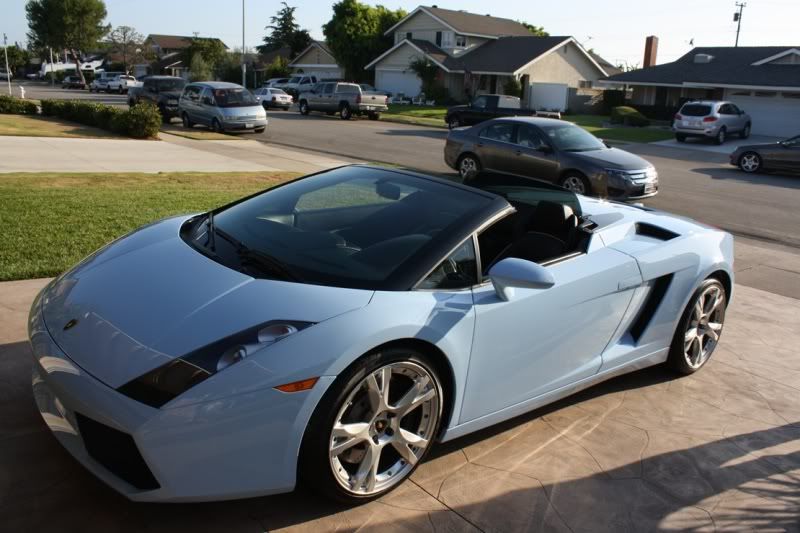
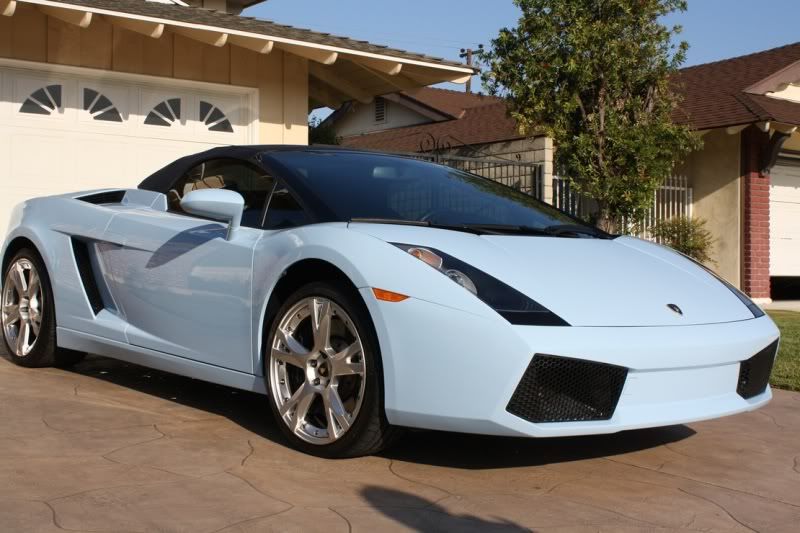
I was contacted a while back by the owner of this rare color Gallardo for a detail and setting up a weekly maintenance program with him. I ended up there the first week and we discussed our options for the car. Instead of a simple polishing to boost the gloss and make it look better, we decided to go all out and recondition the whole car, top to bottom! The paint was pretty scratched up and covered in deep rids, some of which needed sanding, the color wasn’t at its optimal gloss, and the wheels needed a very thorough cleaning in order to make this car stand out.
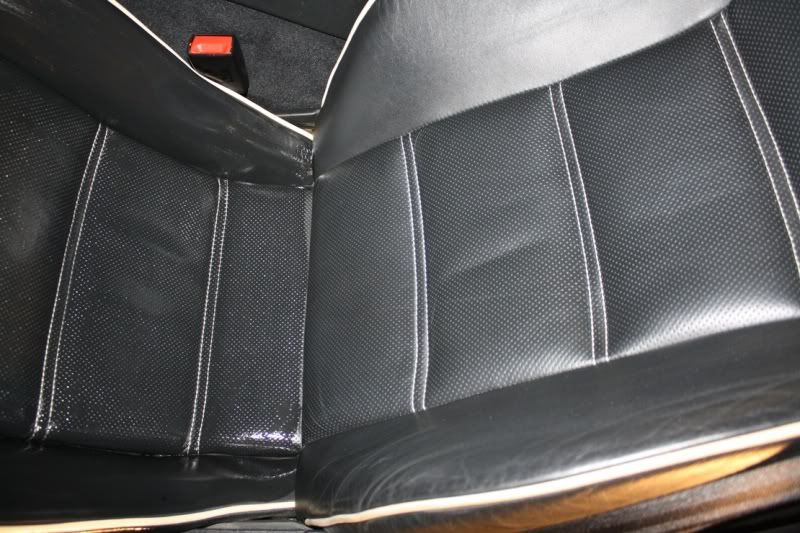
Fast forward five weeks later, I finally was able to give this car the reconditioning that it needed. I threw everything at this one: thorough washing, claybar treatment, compounding, polishing, sealant wax for protection, wheel removal and suspension detailing to go along with a complete interior reconditioning and protection application. Total time invested in the car from start to finish was about 23 hours and it was well worth the time spent!!!
I would like to be up-front, this is going to be a really long, very picture heavy to depict just what I was working with along the way, and a lot of how to information on various procedures. Please feel free to leave comments or questions after you read this one!
WASHING STEP
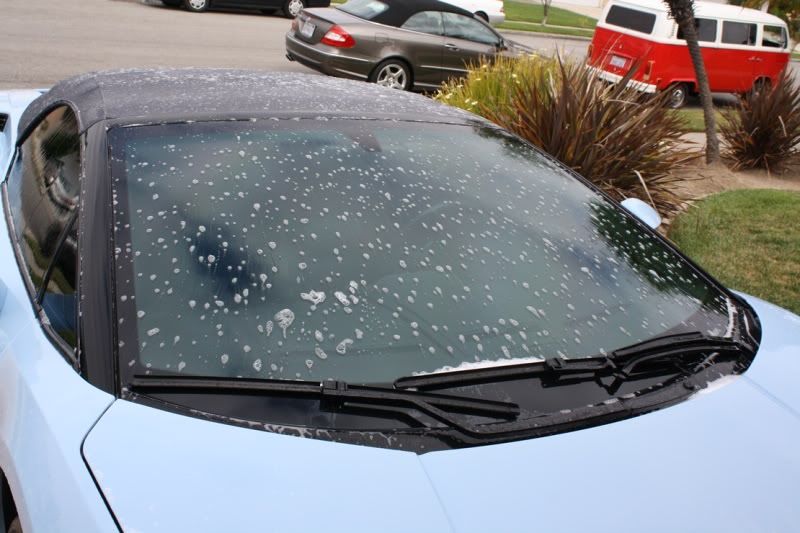
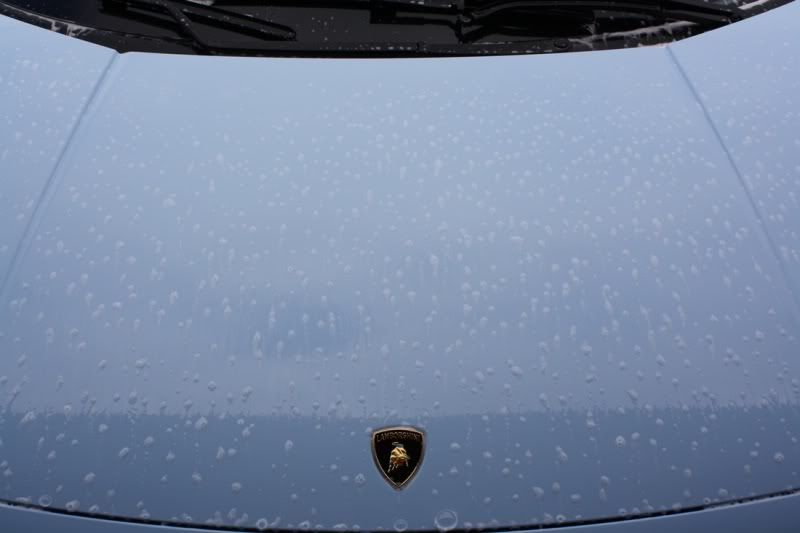
Starting off with a slightly dirty car and a traditional wash (hose and bucket), I attached a foam gun substitute to get some suds on the car to start the grime and dirt breakdown process. I used a healthy dose of Chemical Guys Wash and Clear in both the foam gun and in my initial wash bucket. By doing this step, anything on the paint will remove much more easily and not induce any more damage to the car, as well as strip everything off the paint to allow better cleaning/polishing.
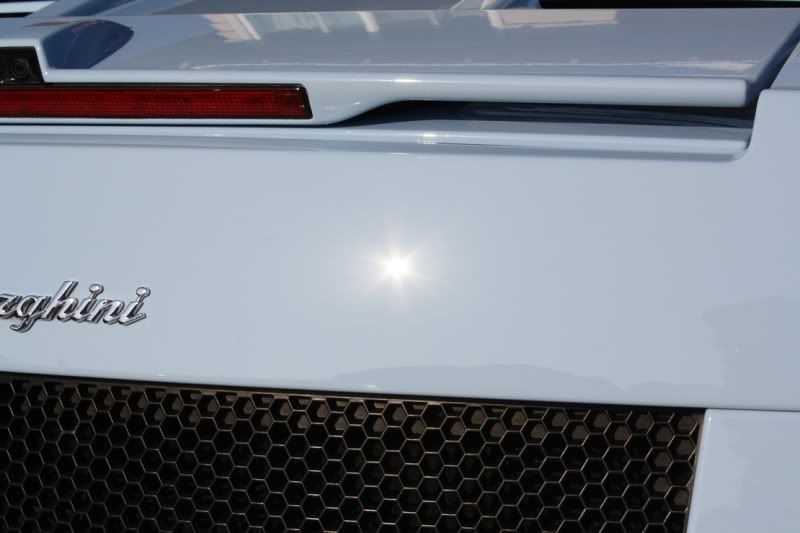
During the wash stage, all of the grills needed to be cleaned in a different manner as a sponge would not work well in this situation. Using a 1″ boars hair brush, I was able to get into the crevices and each hole in the honeycomb grills to clean them efficiently and effectively.
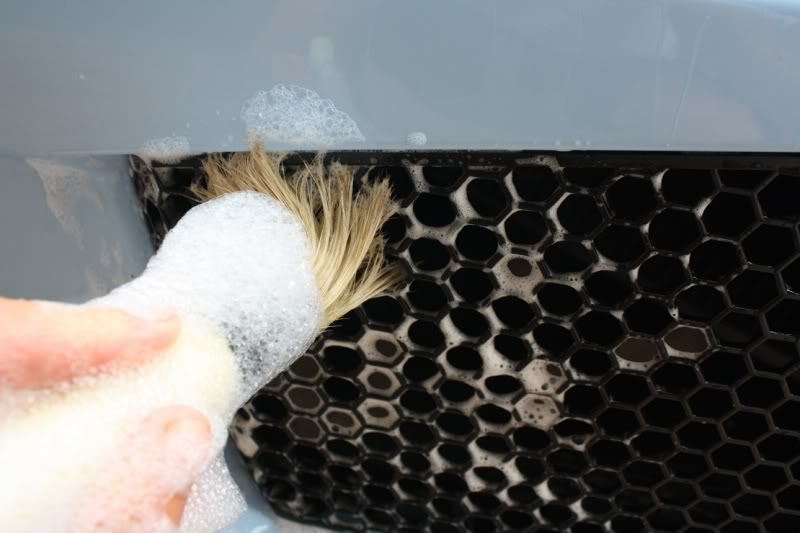
One more tip to help out in this situation is to use forced air to dry the grills. You can use an air compressor or a leaf blower to get all the loose water out from the cracks and crevices. You dont want water dripping out of crevices while polishing so this is a good step to perform.
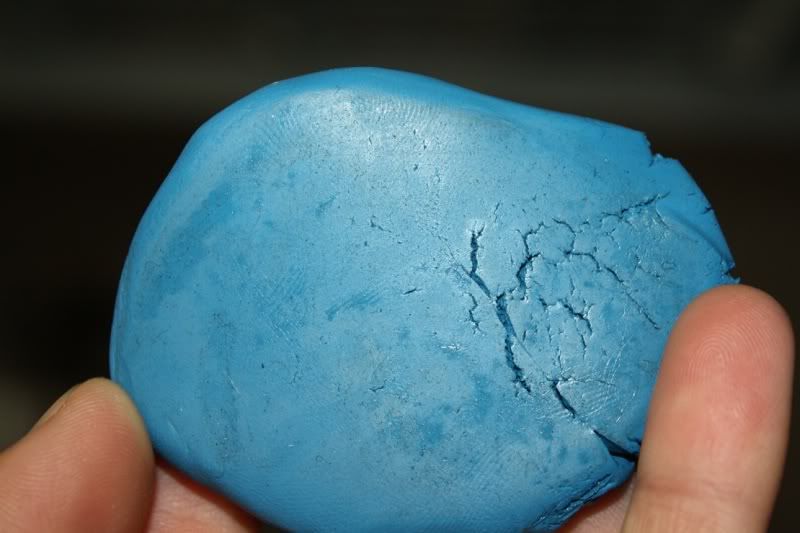
CLAYBAR TREATMENT
Why is it necessary to use clay? Well, you need to remove the bonded contaminants from the paint prior to polishing, otherwise you run the risk of grinding in dirt into the paint creating more swirls than you take out! Luckily, this paint did not have a lot of contaminants on it! I ended up with the DI fine grade clay, and ONR for a clay lube.
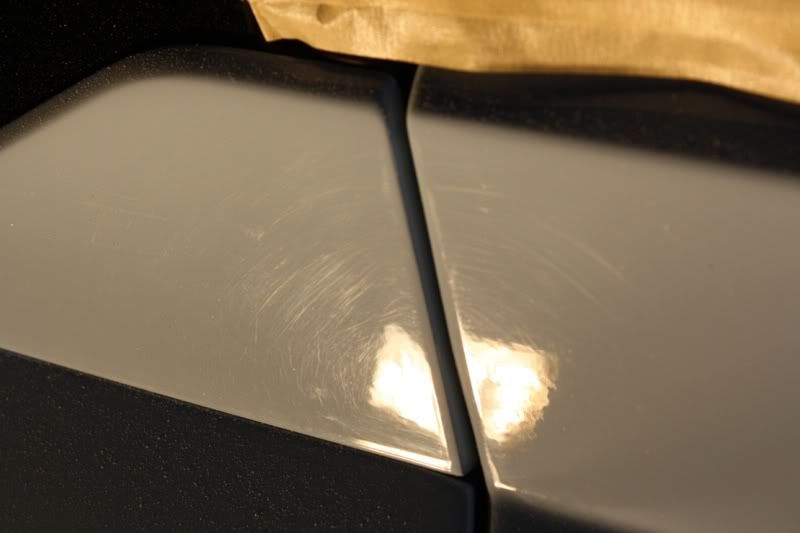
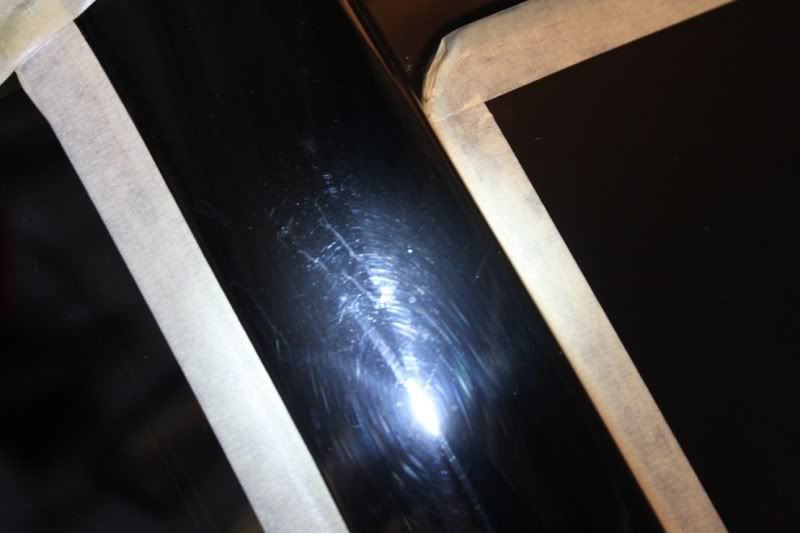
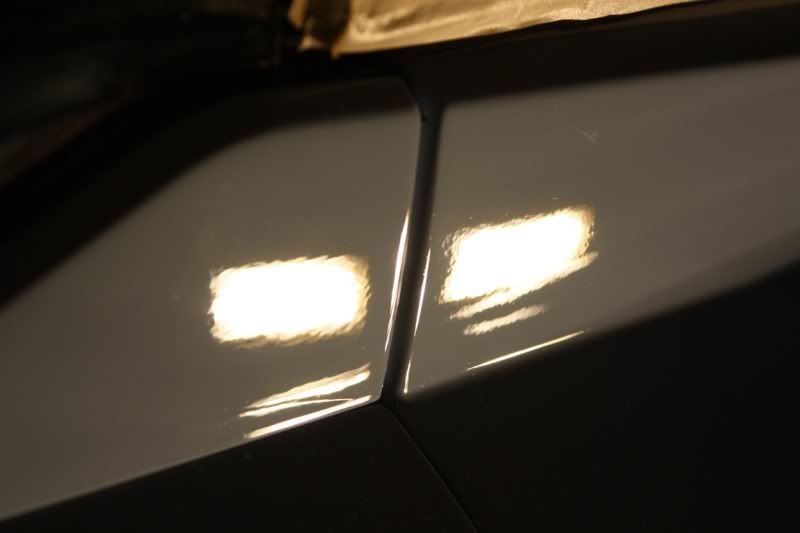
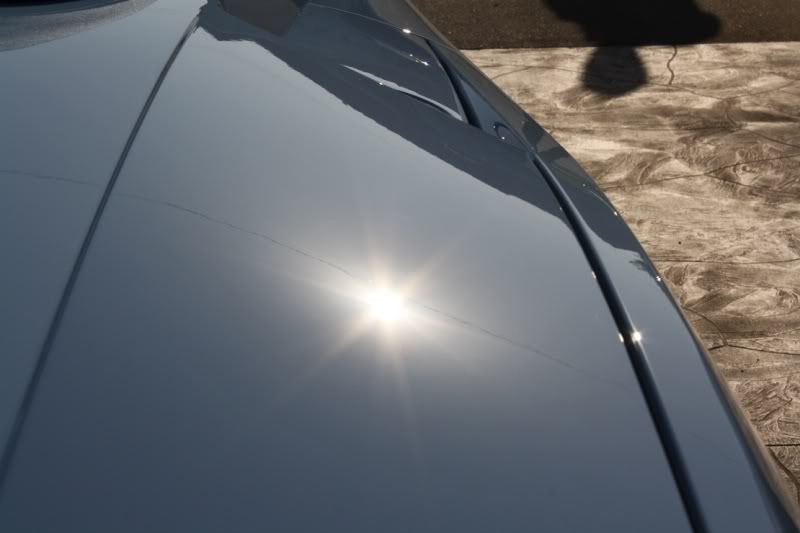
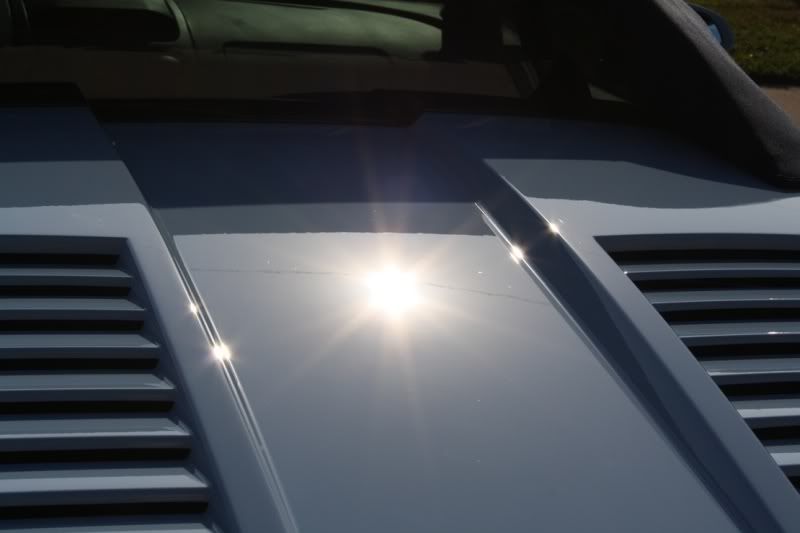
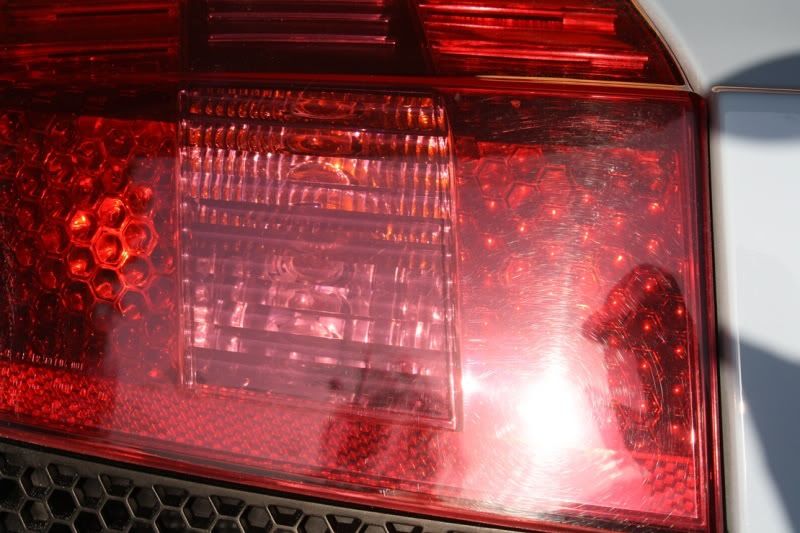
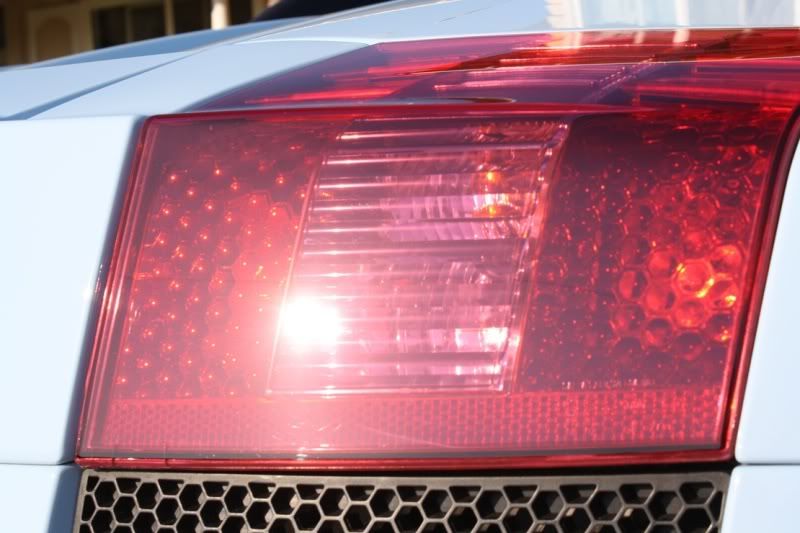
INSPECTING THE PAINT WITH VARIOUS LIGHTS – LED/HALOGEN/SUN
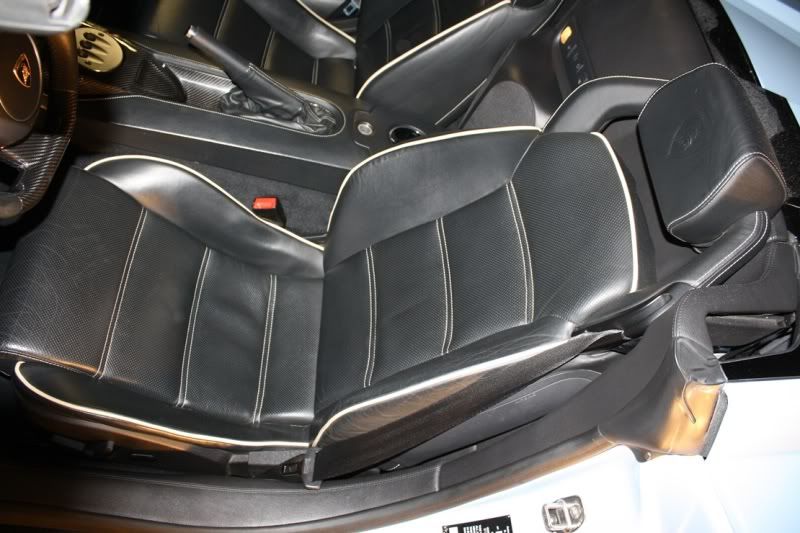
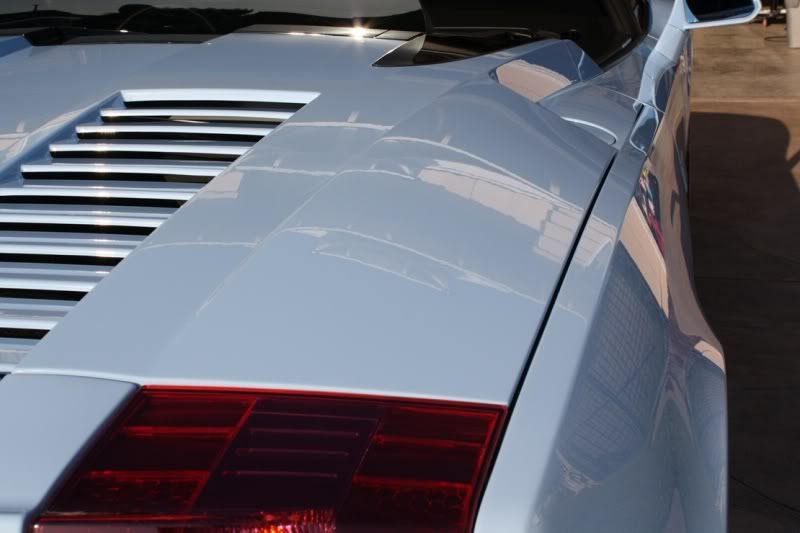
After the car was clayed and taped up with the meguiars masking tape, I proceeded to inspect the car for all the damage I could find. There were holograms, swirl marks, scratches…this car had it all! Here are some before shots of how the entire car looked:


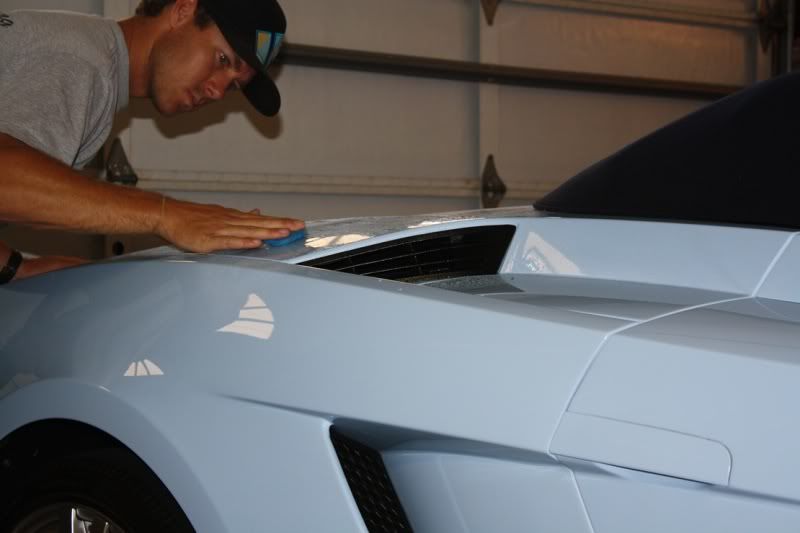
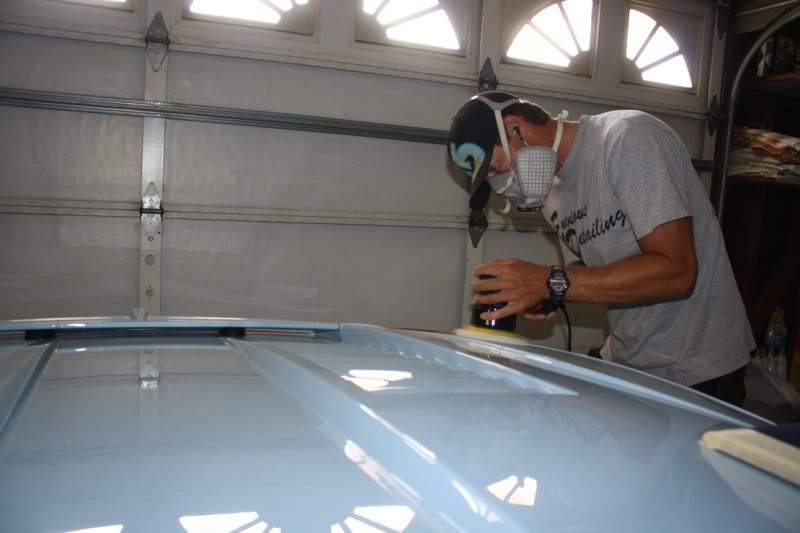
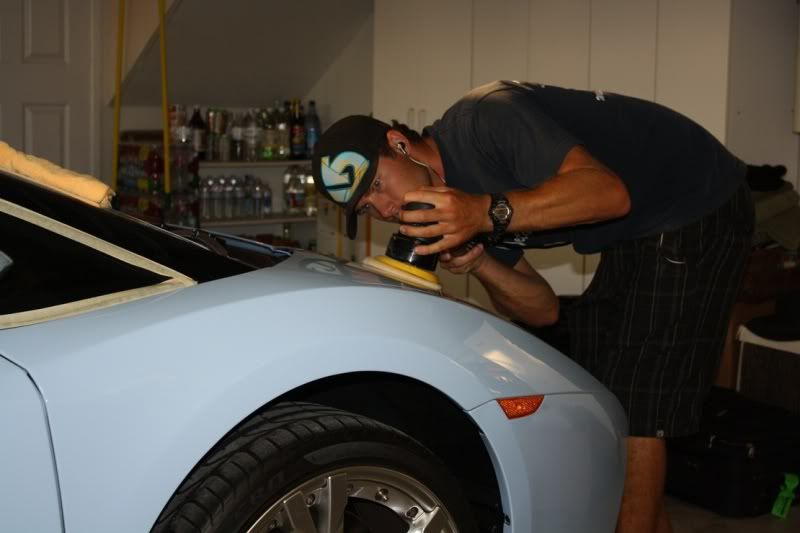
COMPOUNDING STAGE
This is the crucial stage of the whole paint correction game. It can either make or break your finish! Too heavy and you will make the finish worse, too light and you will not remove enough defects to get optically clear paint. What compounding doesnt remove, polishing will not either, so if you want to make sure defects are removed, it better be done in the compounding/heavy polishing step BEFORE you move on to the next less aggressive step. Here I am with the DA and a meguiars 105 ultra cut compound and surbuf pad combo. Some areas needed two passes to clear up. I have to assume the previous car washings were not done with any type of care as there was a lot of deep straight line scratches indicative of a brush being used…not good!
After compounding the whole car over I proceeded to re-wash the car with the same thorough method as the initial wash. The amount of dust on the car would not allow me to move on to the next step without doing so!
Polishing step: Menzerna powerfinish and a LC white pad
After drying the car, I pulled out the powerfinish and white pad and started to work my way around the car. Everything at this point was clearing up and the gloss was really starting to come around! With the cutting ability of powerfinish to remove the more aggressive previous steps hazing, yet still finishing down almost LSP ready, I could have stopped there and laid on a coat of wax…BUT, thats not how I do things!
Final polishing step: Menzerna 85rd and a LC black pad
For the final step before the final wash (yes I washed this car a total of 3 times), I pulled out the infamously good 85rd by menzerna. This is a true finishing polish that brings out an insane amount of gloss and depth from the paint. I will never finish a paint correction job without using this combo!
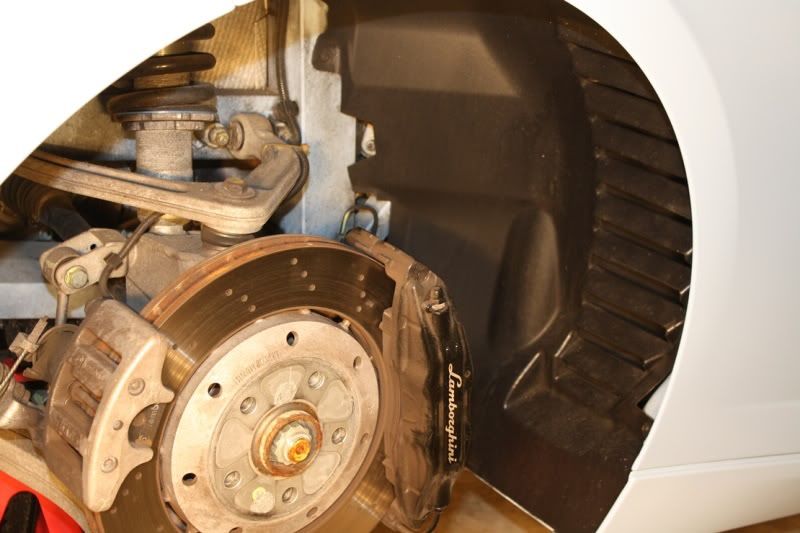
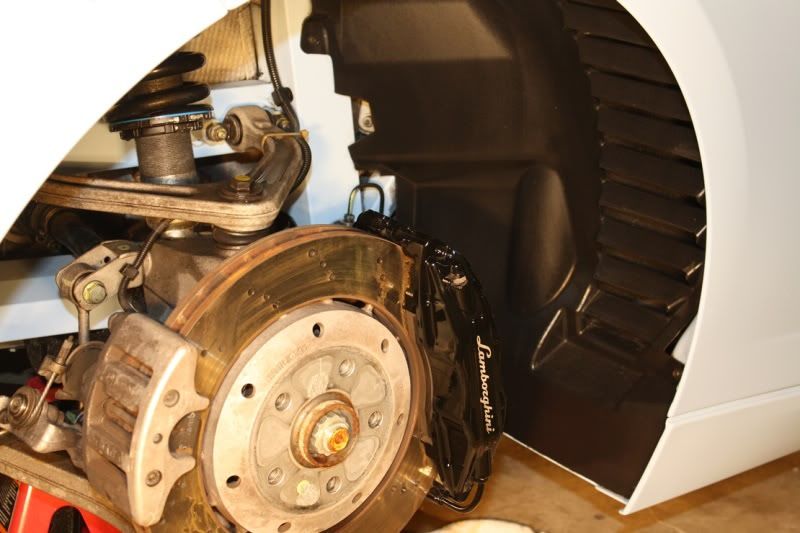
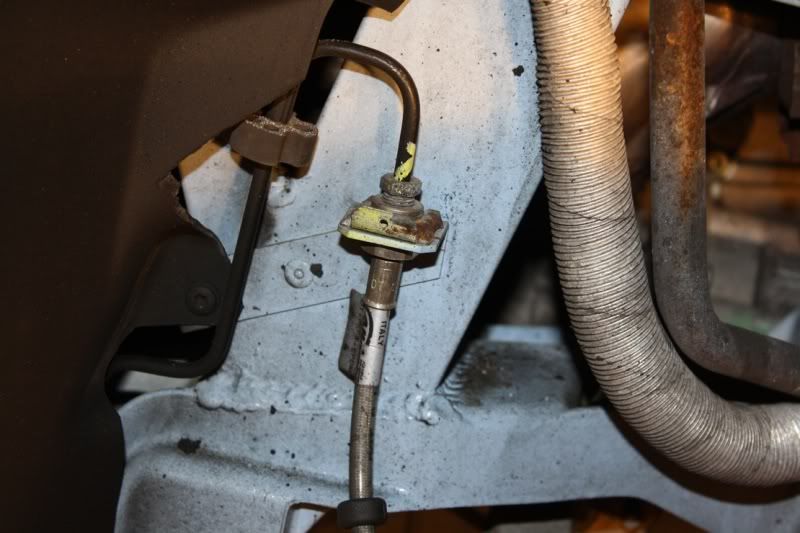
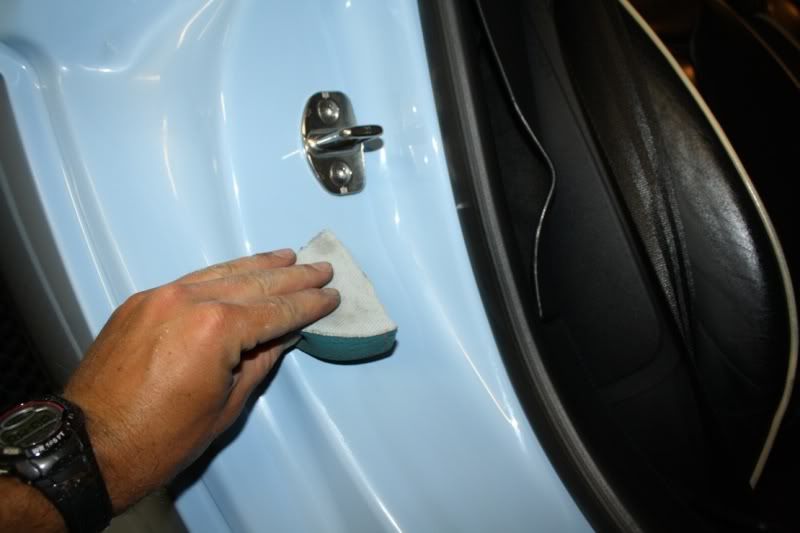
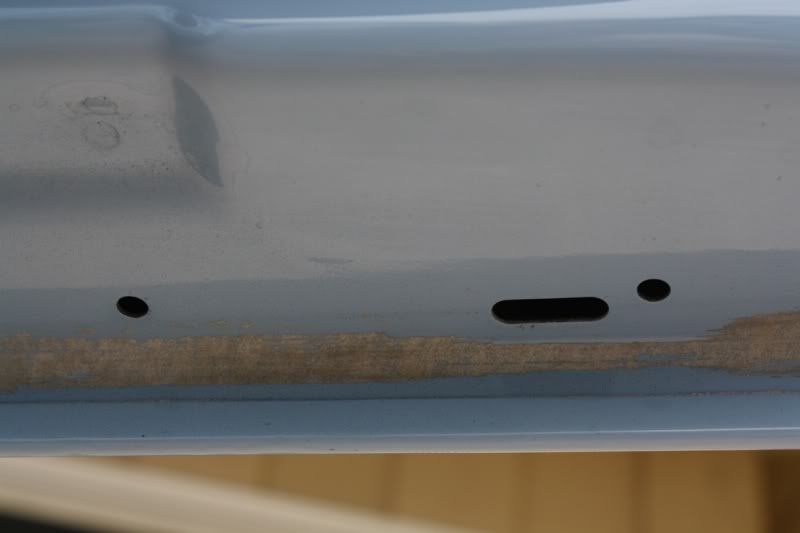
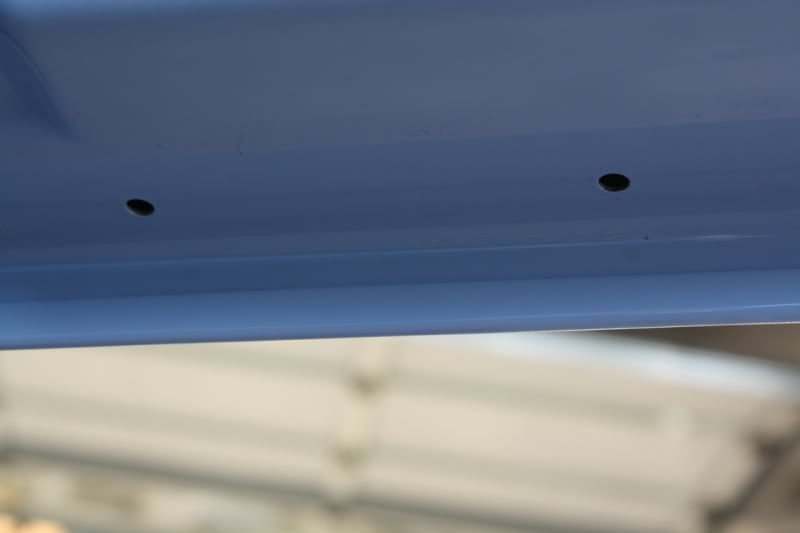
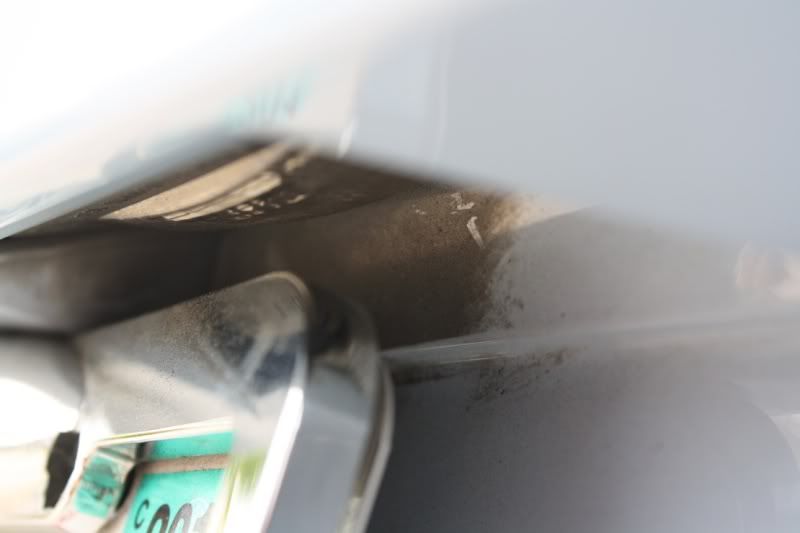
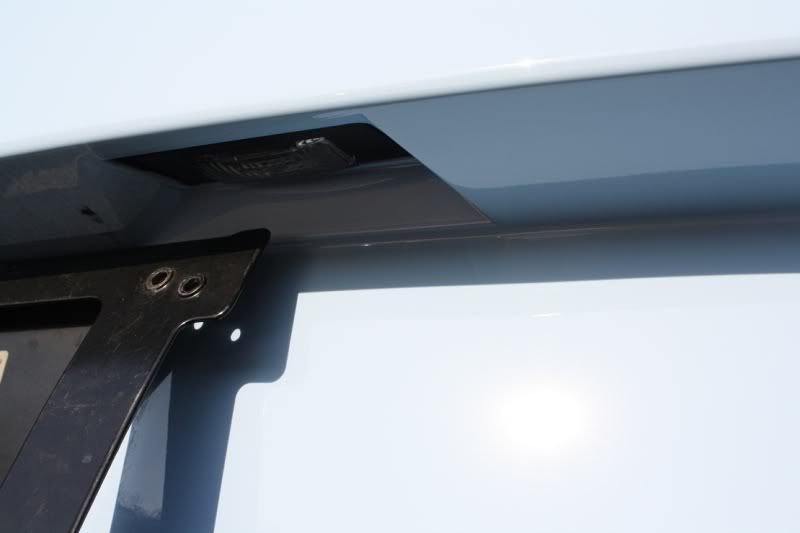
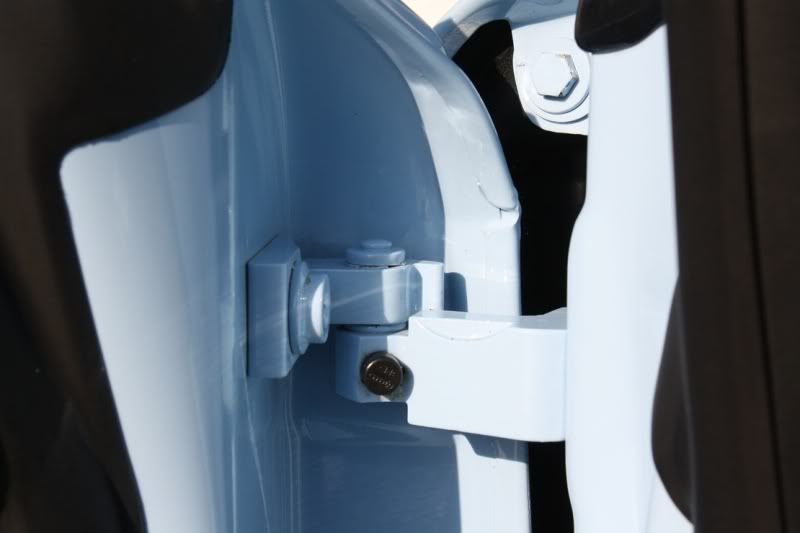
Suspension detailing stage:
Using Meguiars APC+, ONR, various brushes, and polishing pads with some menzerna 85rd and a sealant wax, I was able to restore the cleanliness and beauty from “behind the scenes” so to speak. Sure you dont see this area specifically, but as a whole, it enhances the overall picture!


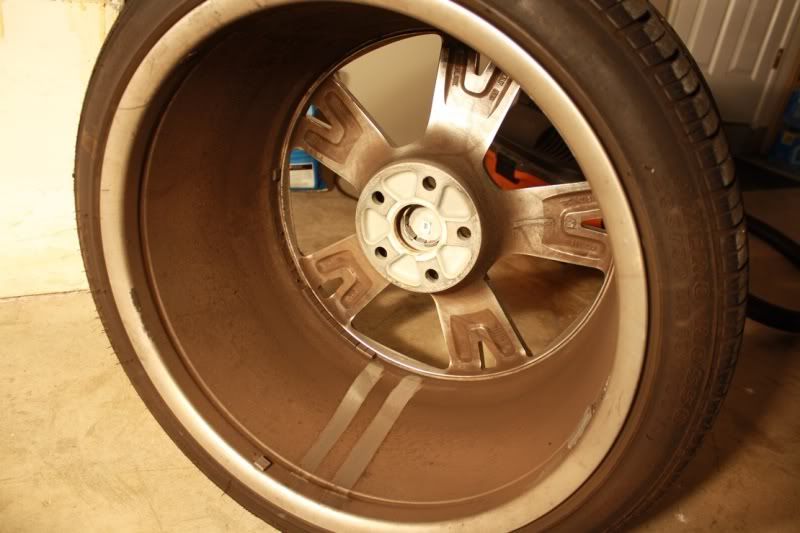
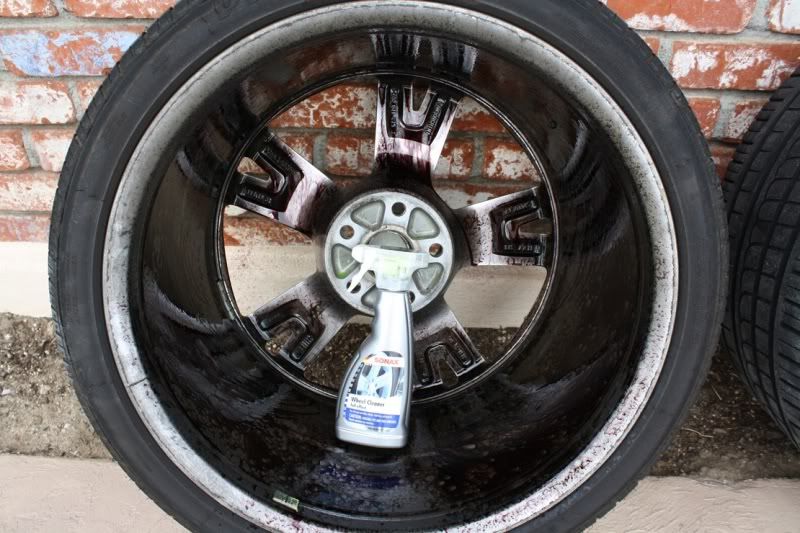
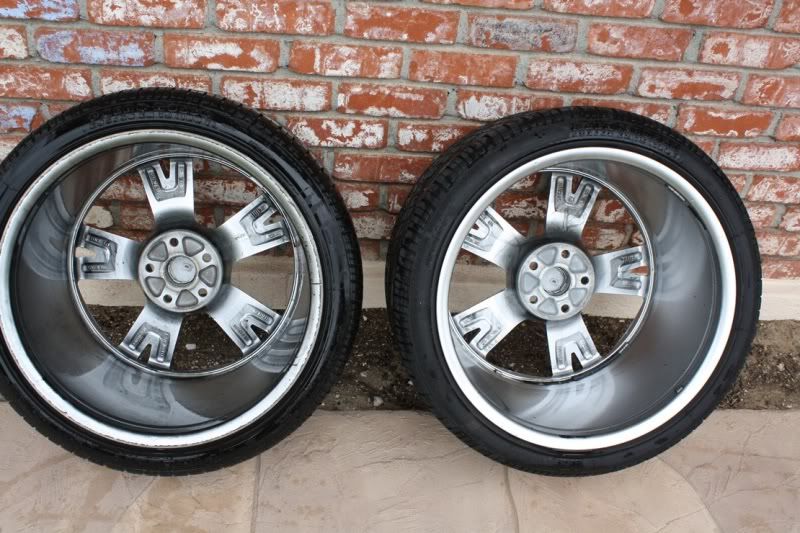
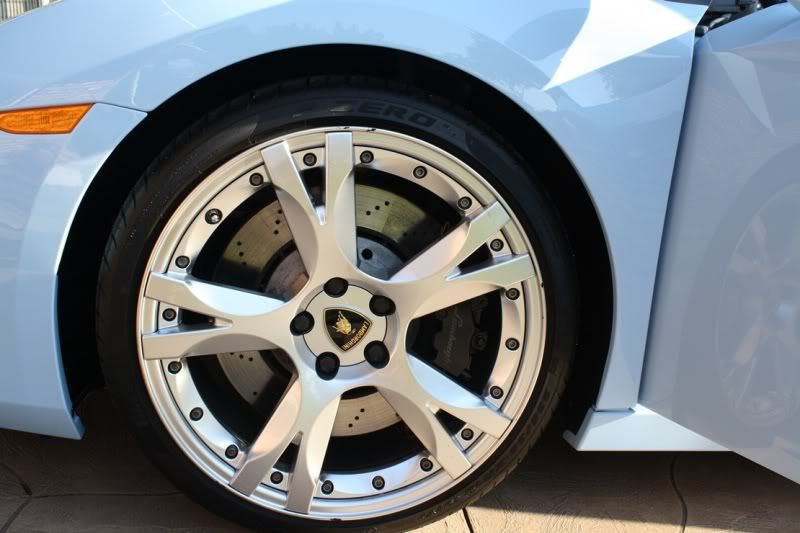
Wheels cleaned with SONAX Full Effect
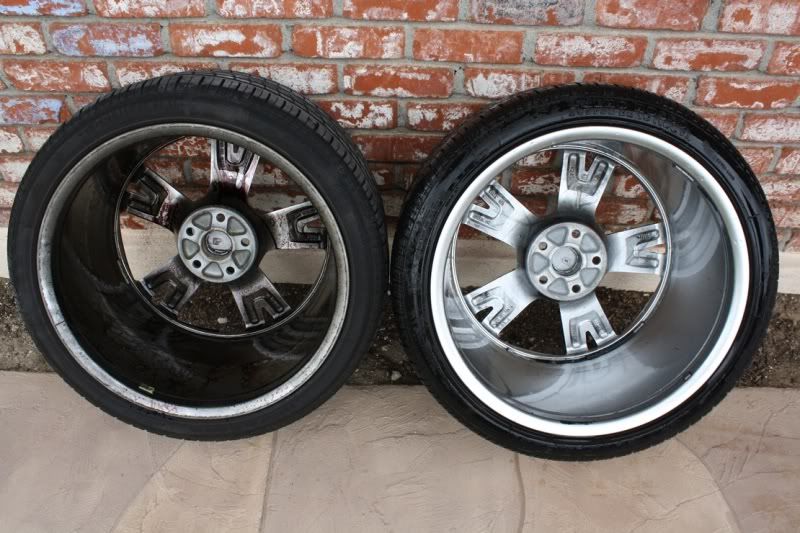
While I had the wheels removed from the car for the suspension detailing, I then moved onto the wheels to clean them inside and out! There is nothing worse than having dirty inner wheels while the outside of the wheels look perfect. Once again, it just completes the job!
Here I am with sonax wheel cleaner and a boars hair brush. Usually Ill use a ezdetail brush if the wheels are still on the car, but its much easier with them off the car! You can see the before and after as its pretty apparent which was cleaned and which one is not. SONAX has to be the best wheel cleaner I have ever used! They really hit the nail on the head with this product!
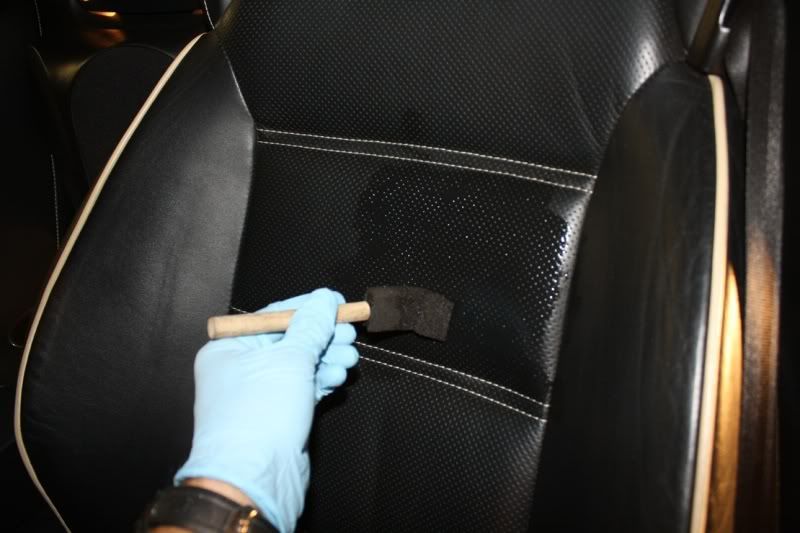


")