PrideAutoDetail
New member
[COLOR=rgba(26, 26, 26, 0.701961)]For more detailing content check out prideautodetailing.com/blog
I always love a challenge. That's what I was thinking as I took on this 2016 Mercedes RV on. This customer is a good client of mine and always calls on us to detail their company and personal vehicles. They had just bought this RV and the paint was very very scratched up. The Mercedes dealership would run this vehicle through their scratch-o-matic car wash doing nothing but destroying the quality of this very expensive RV. After agreeing on a price for a 2 step polish with Cquartz coating we got to work as there was heavy rain in the forecast soon and he needed this vehicle for their family's Christmas road trip.
[/COLOR]
[COLOR=rgba(26, 26, 26, 0.701961)]

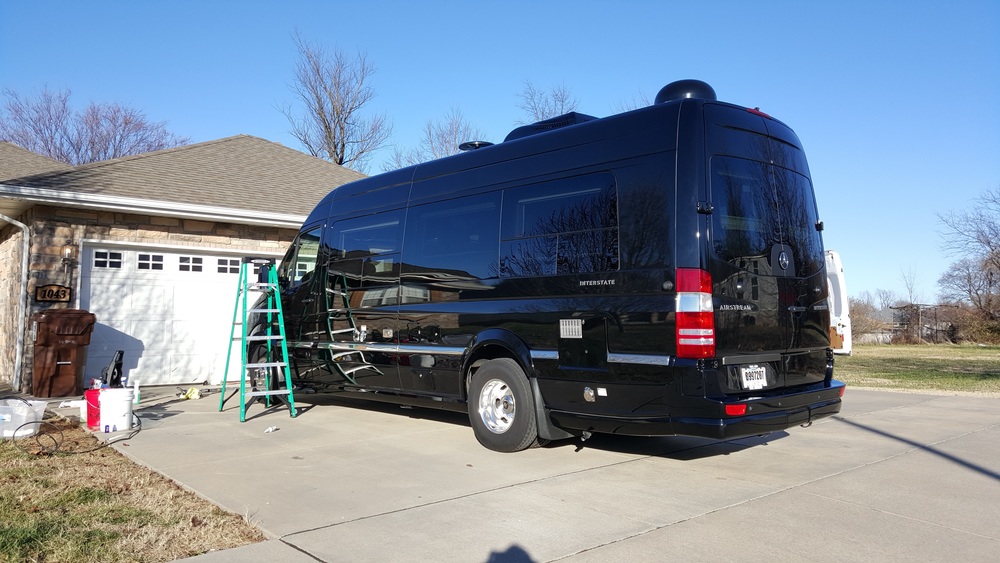
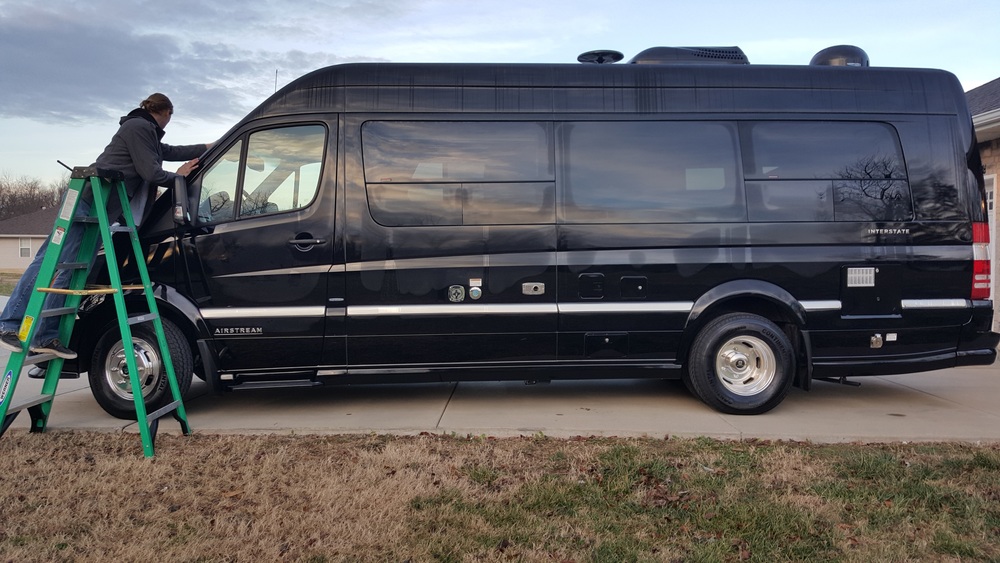
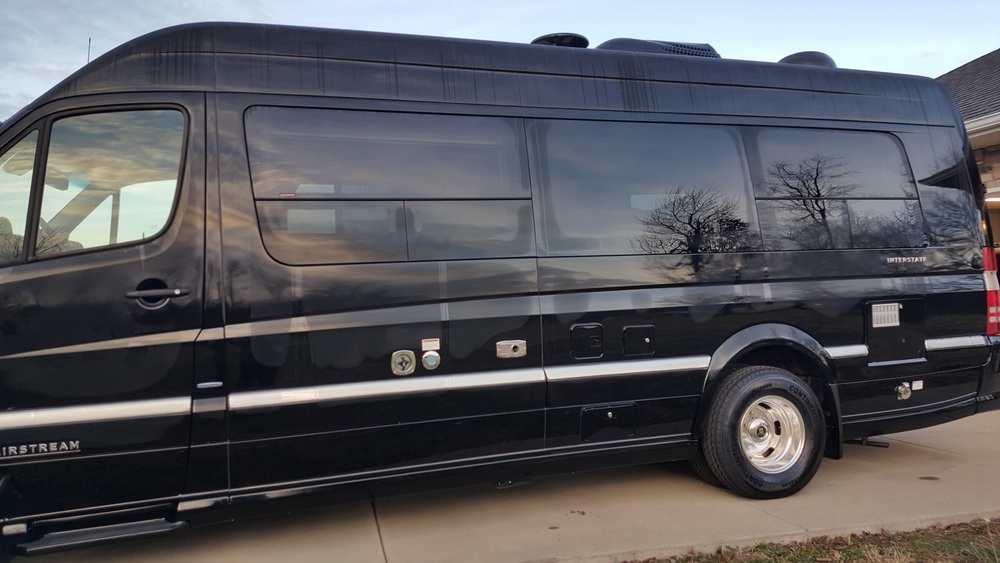
VEHICLE STATE ON PICKUP
Here is the vehicle as we picked it up All 24 feet long with 10 feet high ready for us to detail. This customer was looking for a full paint correction on this vehicle. We were up for the challenge took the keys and drove it to the shop where it would spend the next 2 days
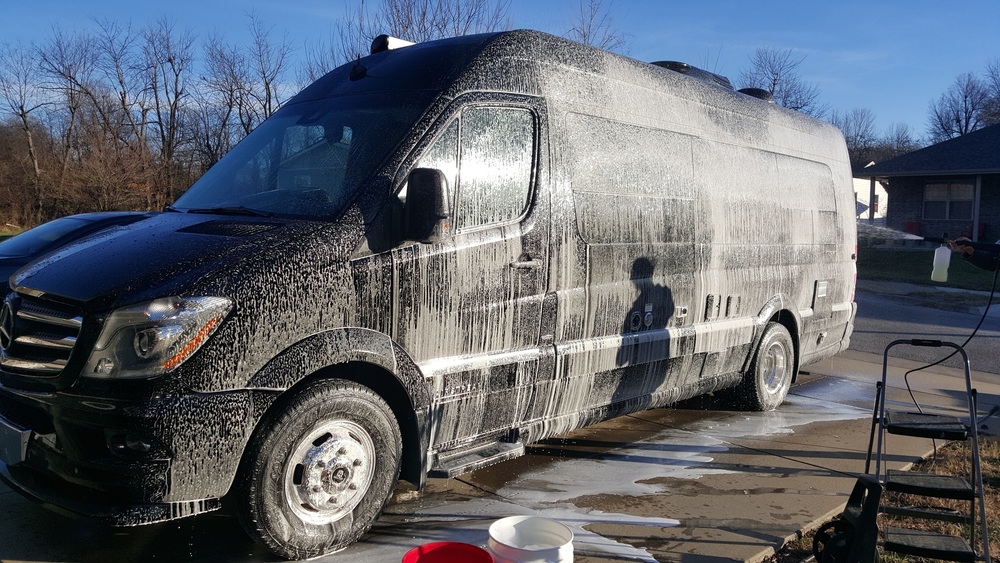
TIME TO WORK! FOAM GUN ACTION
First we started with a full paint decontamination. This consisted of a foam bath and full 2 bucket wash. The vehicle was fully clayed during the wash to prepare for the polish.

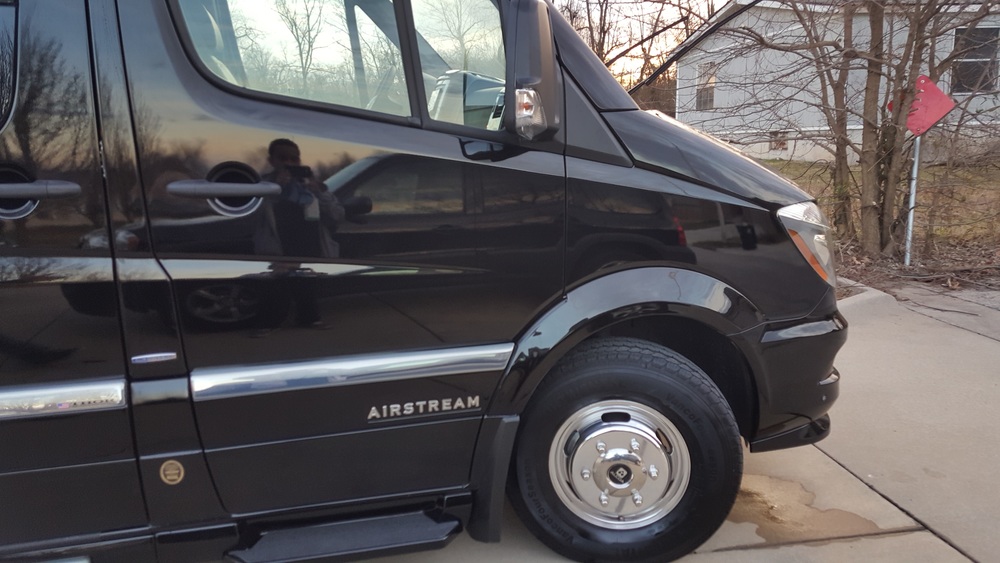
WHEELS ALL SONAX'D
For a new RV it had a surprising amount of iron decontamination in the wheel. This is evidenced by the Sonax Full Effect wheel product reacting and turning purple as it encounters brake dust.
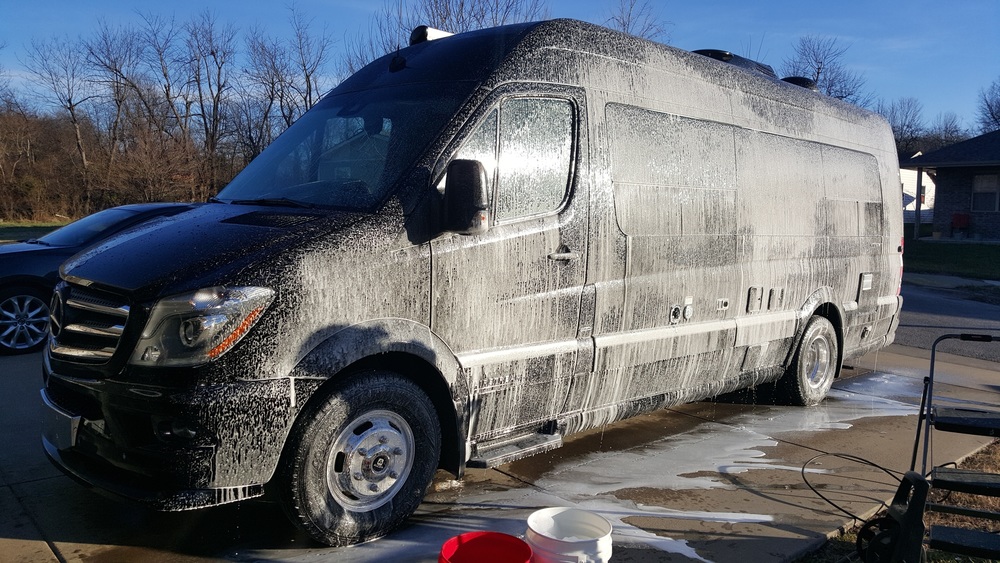
DURING WASH
I cannot lie I spent quite a bit of time admiring this vehicle. During the wash we could tell the dealership had put some kind of spray wax on it as there was uneven water beading and the paint definitely exhibited hydrophobic properties.

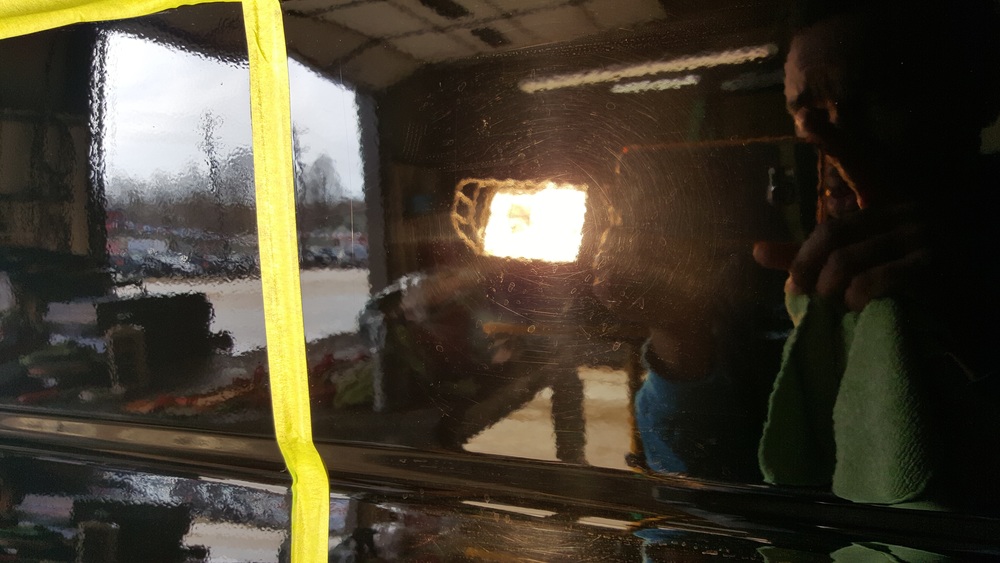
PAINT CORRECTING TIME
As you can see in this picture the paint was pretty battered. Nothing like a giant black RV to make you realize you don't have any compound or polish. Luckily I was able to find some Meguiar's Ultimate compound.
AFTER CORRECTION
Pretty nice result here. This was achieved with 1 pass with microfiber cutting pad, one pass with white hex logic pad on a griots Garage 6 inch dual action polisher.
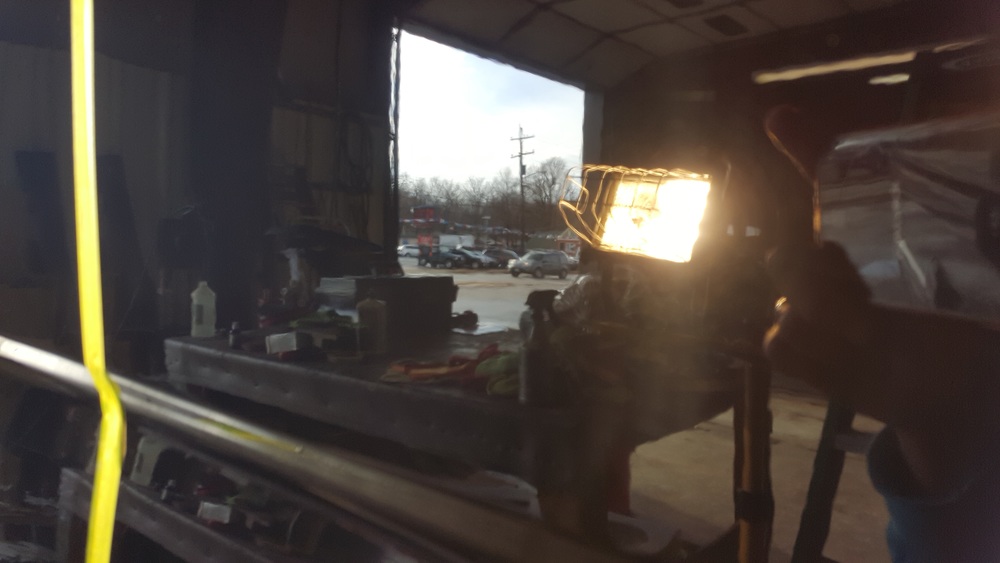
ATTEMPT AT 50/50
Working in this garage I wasnt able to get the lighting right for a good 50/50. Plus we were on a time crunch so I didnt want to push it too hard. You can sort of see the left side free of scratches while the right side with scratches.
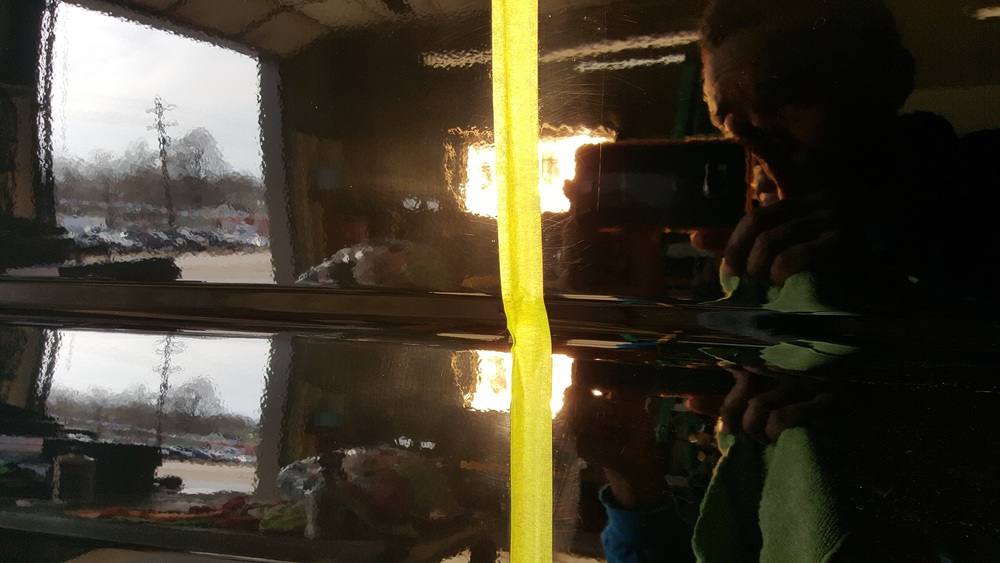
BEFORE CORRECTION
This ends up being probably the most dramatic picture showing the correction. As you can see there are lots of deep swirls and watermarks.
AFTER CORRECTION
WOW The ultimate compound worked really well removing the defects in the paint. The only complaint I had with it was It was difficult to remove the polish without reintroducing marring so we had to be very careful.

CQUARTZ COATING.
After the many hours of polishing we took it back outside to do the coating.
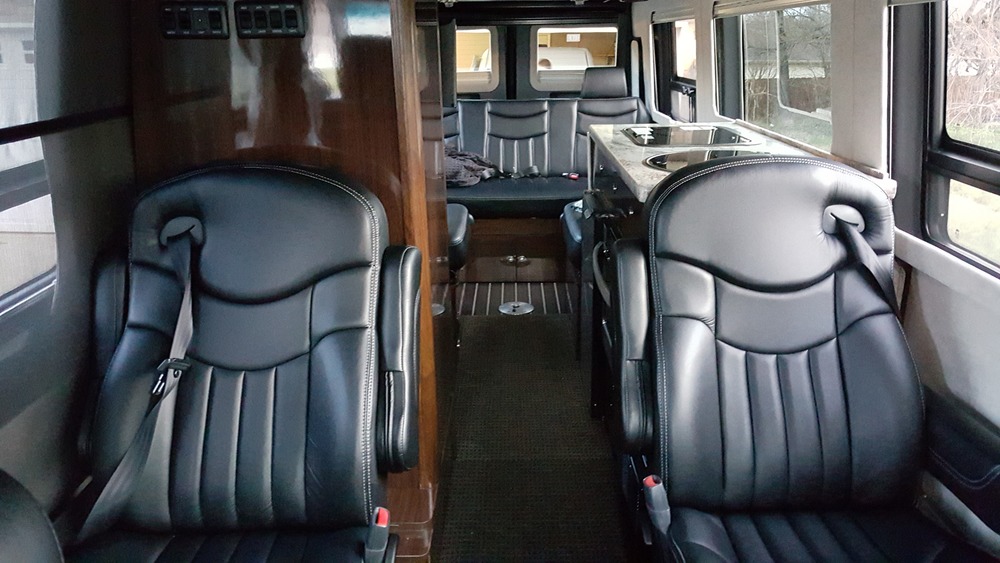
LUXURIOUS INTERIOR DETAIL
The interior recieved a light detail. It was in pretty good shape just a bit of dust. Beautiful cabin though.
BRIGHT AND EARLY NEXT MORNING READY FOR DELIVERY
We got up early to do all the finishing details. Wheels, Windows, etc.

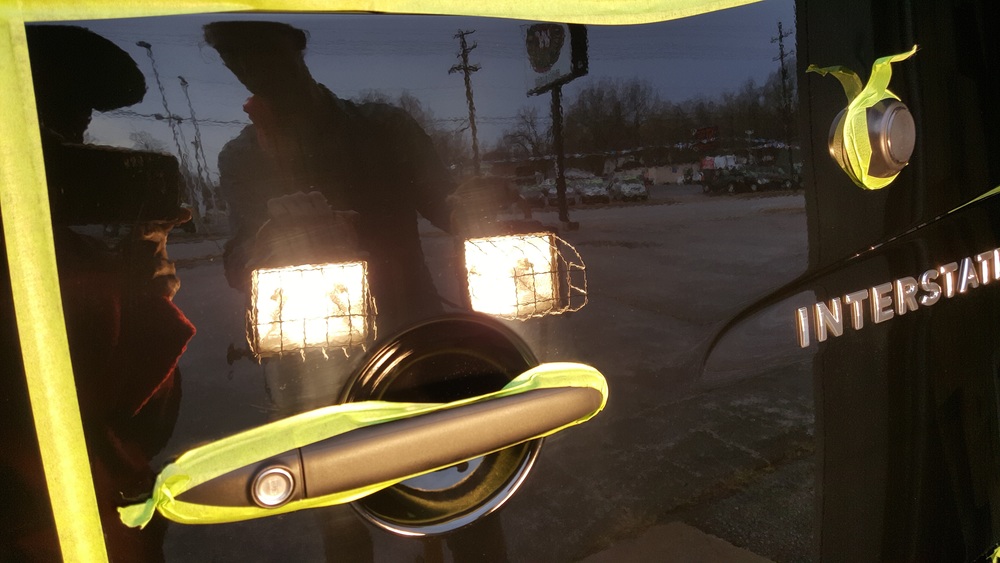
WINDOW CLEANED
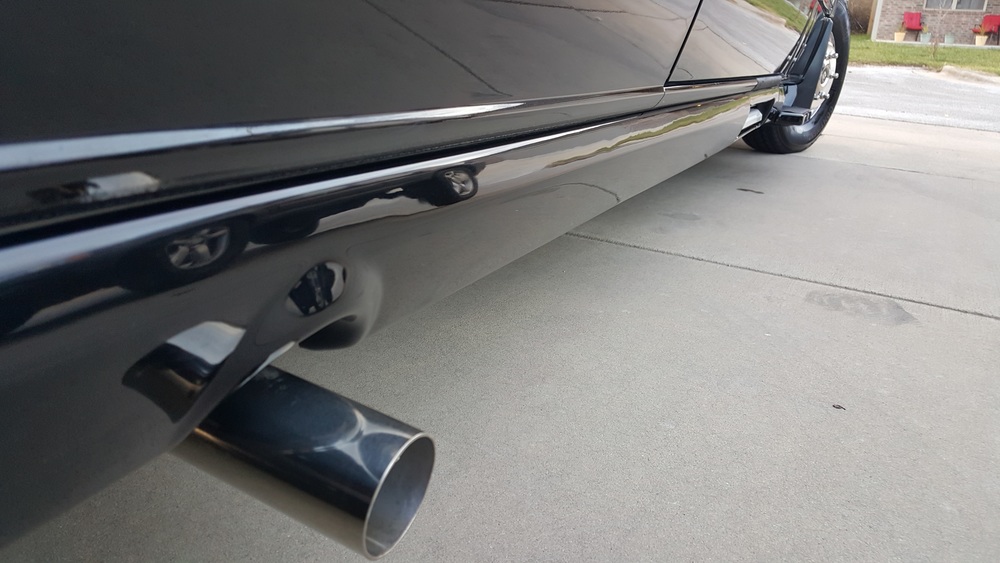
TAILPIPE POLISHED
LAST CHECK BEFORE DELIVERY
We turned the vehicle around in the sunlight to check our results before delivery. We like to look at the paint in the sun to make sure the job came out exceptional. It was worth it as the customer was extremely happy and plans for us to detail it out in the future.
[/COLOR]
I always love a challenge. That's what I was thinking as I took on this 2016 Mercedes RV on. This customer is a good client of mine and always calls on us to detail their company and personal vehicles. They had just bought this RV and the paint was very very scratched up. The Mercedes dealership would run this vehicle through their scratch-o-matic car wash doing nothing but destroying the quality of this very expensive RV. After agreeing on a price for a 2 step polish with Cquartz coating we got to work as there was heavy rain in the forecast soon and he needed this vehicle for their family's Christmas road trip.
[/COLOR]
[COLOR=rgba(26, 26, 26, 0.701961)]
VEHICLE STATE ON PICKUP
Here is the vehicle as we picked it up All 24 feet long with 10 feet high ready for us to detail. This customer was looking for a full paint correction on this vehicle. We were up for the challenge took the keys and drove it to the shop where it would spend the next 2 days
TIME TO WORK! FOAM GUN ACTION
First we started with a full paint decontamination. This consisted of a foam bath and full 2 bucket wash. The vehicle was fully clayed during the wash to prepare for the polish.
WHEELS ALL SONAX'D
For a new RV it had a surprising amount of iron decontamination in the wheel. This is evidenced by the Sonax Full Effect wheel product reacting and turning purple as it encounters brake dust.
DURING WASH
I cannot lie I spent quite a bit of time admiring this vehicle. During the wash we could tell the dealership had put some kind of spray wax on it as there was uneven water beading and the paint definitely exhibited hydrophobic properties.
PAINT CORRECTING TIME
As you can see in this picture the paint was pretty battered. Nothing like a giant black RV to make you realize you don't have any compound or polish. Luckily I was able to find some Meguiar's Ultimate compound.
AFTER CORRECTION
Pretty nice result here. This was achieved with 1 pass with microfiber cutting pad, one pass with white hex logic pad on a griots Garage 6 inch dual action polisher.
ATTEMPT AT 50/50
Working in this garage I wasnt able to get the lighting right for a good 50/50. Plus we were on a time crunch so I didnt want to push it too hard. You can sort of see the left side free of scratches while the right side with scratches.
BEFORE CORRECTION
This ends up being probably the most dramatic picture showing the correction. As you can see there are lots of deep swirls and watermarks.
AFTER CORRECTION
WOW The ultimate compound worked really well removing the defects in the paint. The only complaint I had with it was It was difficult to remove the polish without reintroducing marring so we had to be very careful.
CQUARTZ COATING.
After the many hours of polishing we took it back outside to do the coating.
LUXURIOUS INTERIOR DETAIL
The interior recieved a light detail. It was in pretty good shape just a bit of dust. Beautiful cabin though.
BRIGHT AND EARLY NEXT MORNING READY FOR DELIVERY
We got up early to do all the finishing details. Wheels, Windows, etc.
WINDOW CLEANED
TAILPIPE POLISHED
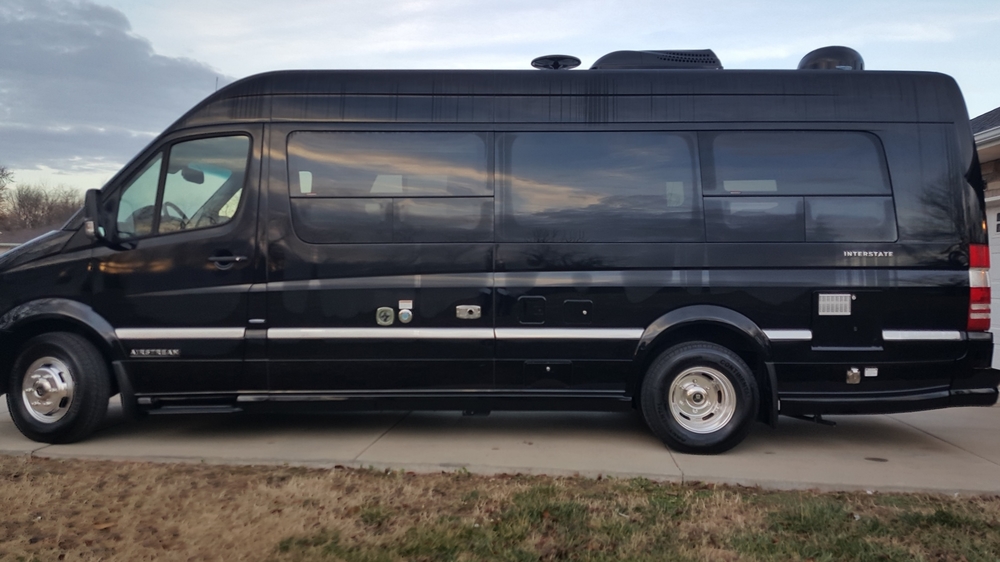
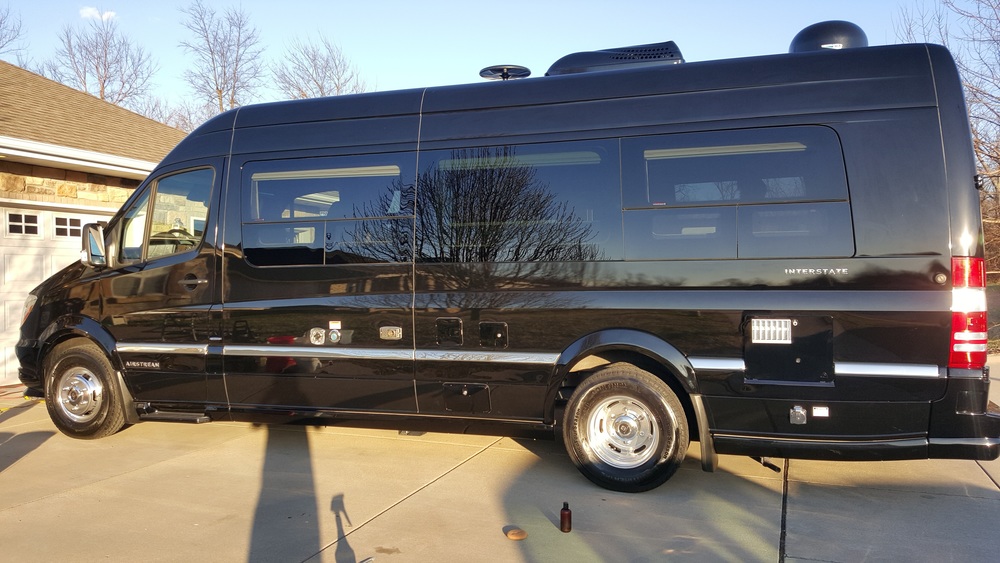
LAST CHECK BEFORE DELIVERY
We turned the vehicle around in the sunlight to check our results before delivery. We like to look at the paint in the sun to make sure the job came out exceptional. It was worth it as the customer was extremely happy and plans for us to detail it out in the future.
[/COLOR]
")