richy
New member
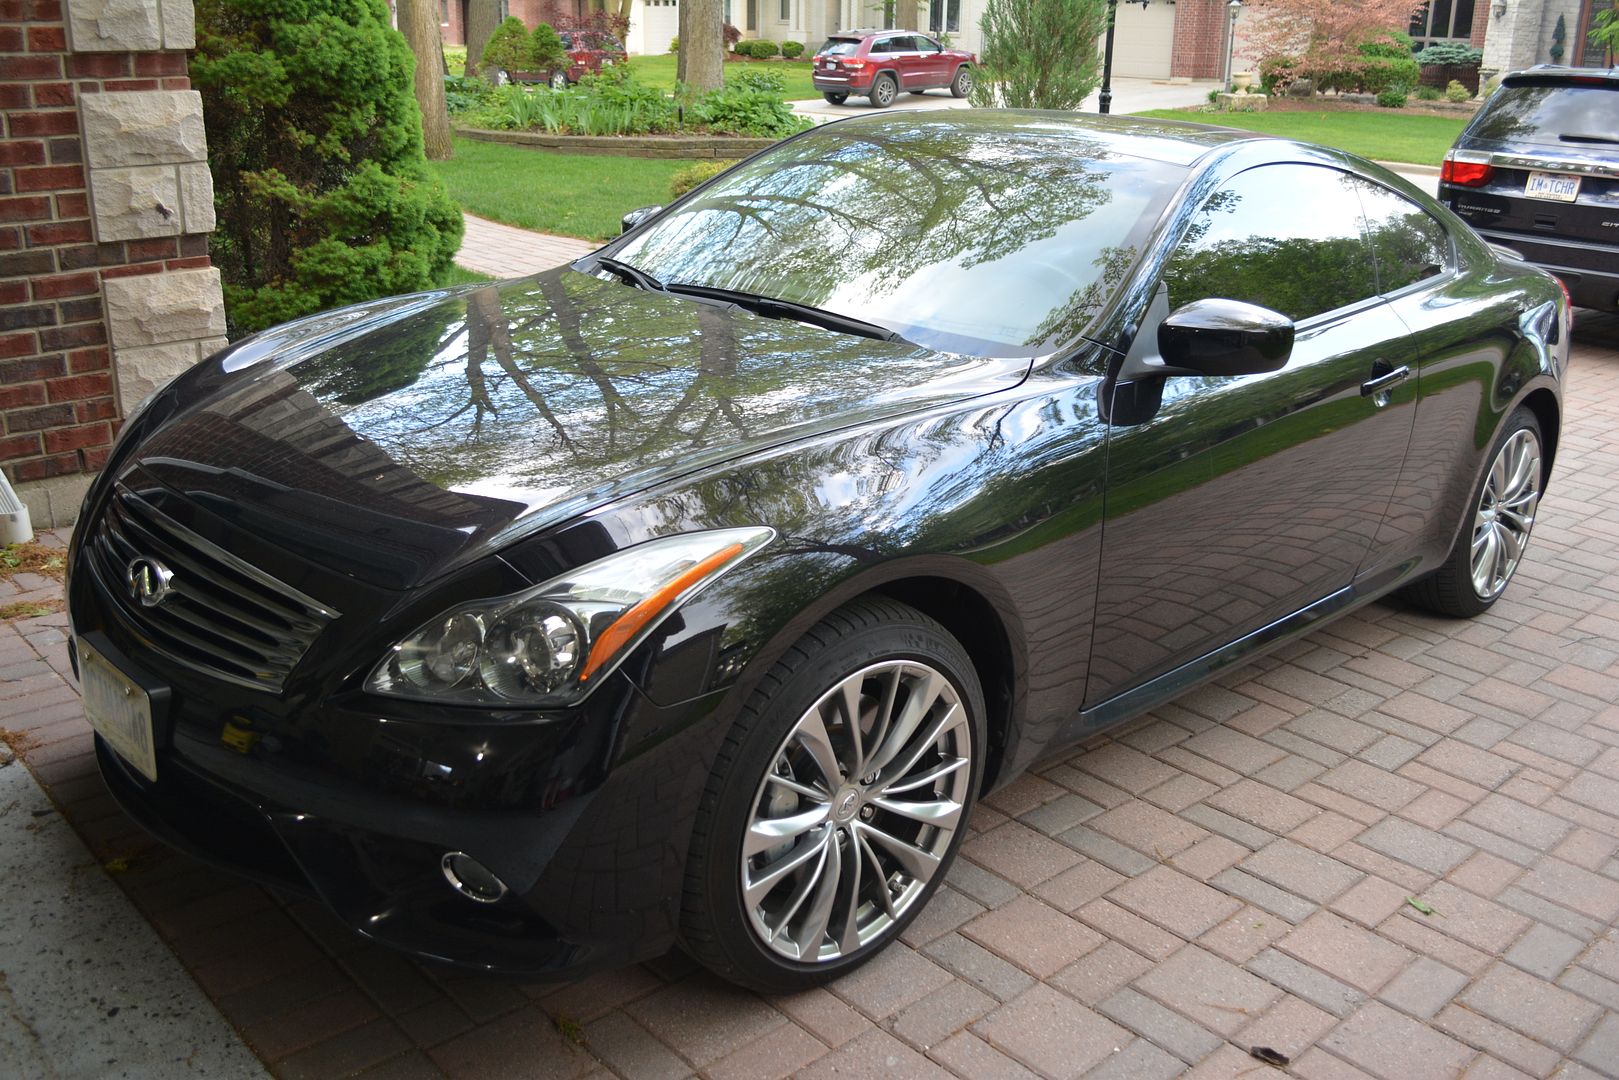
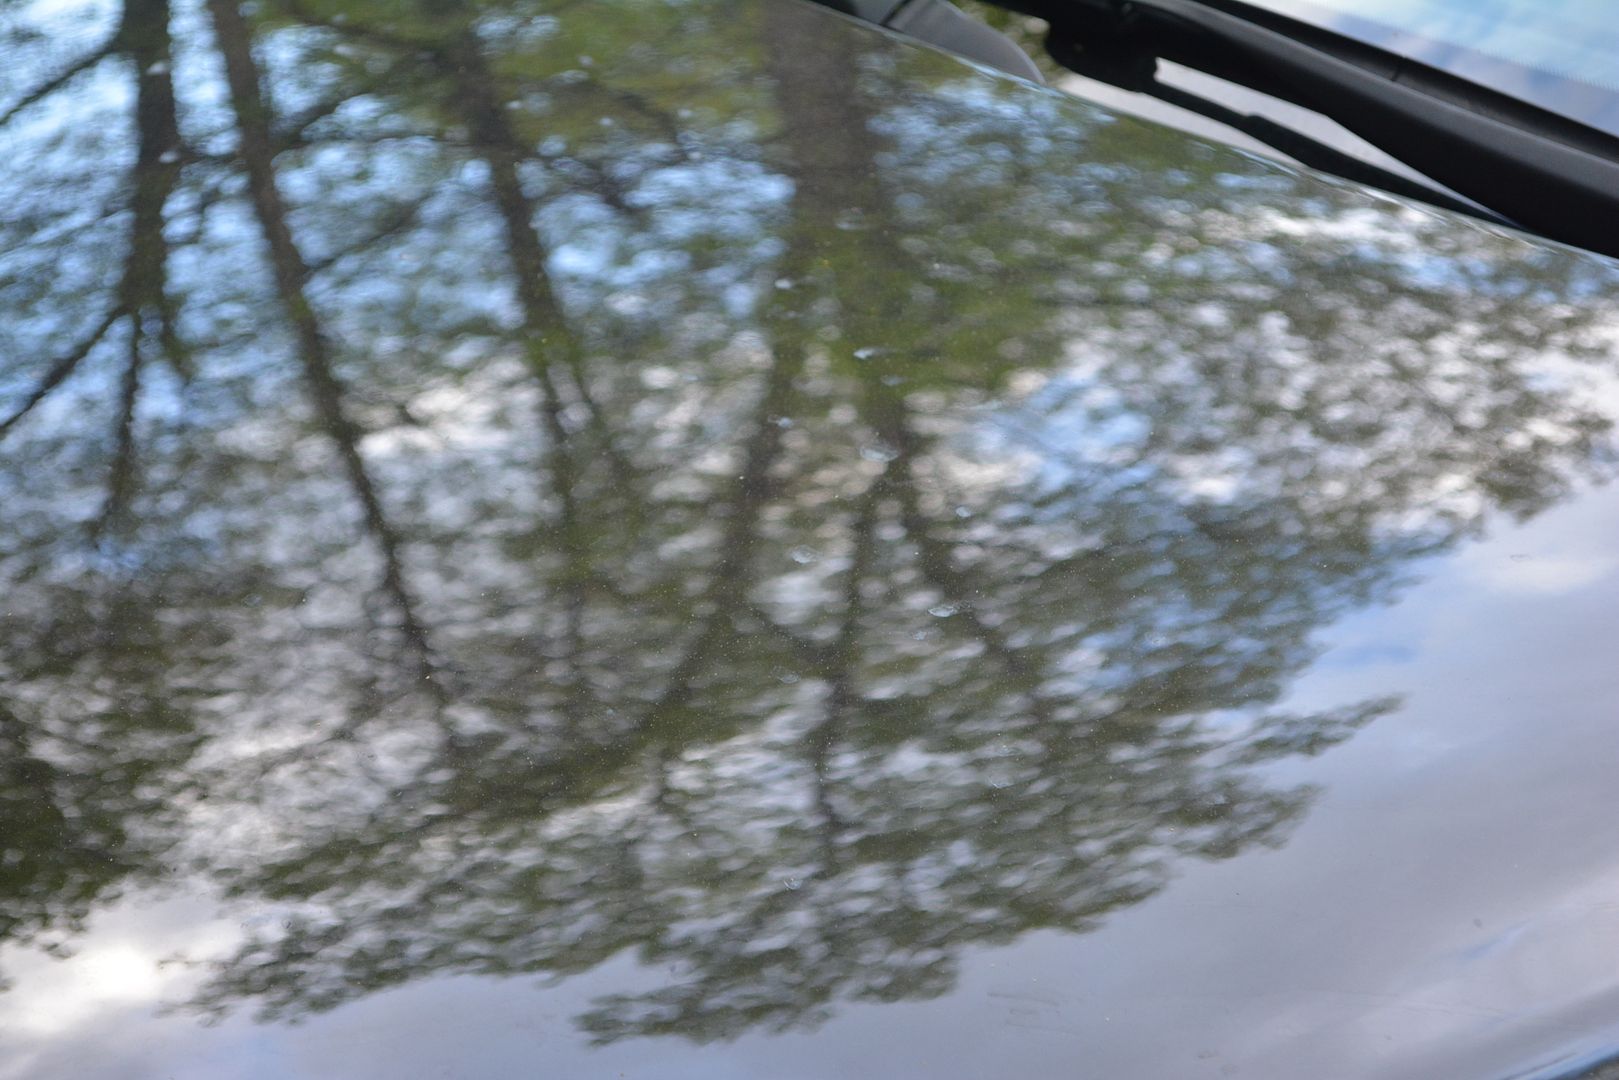
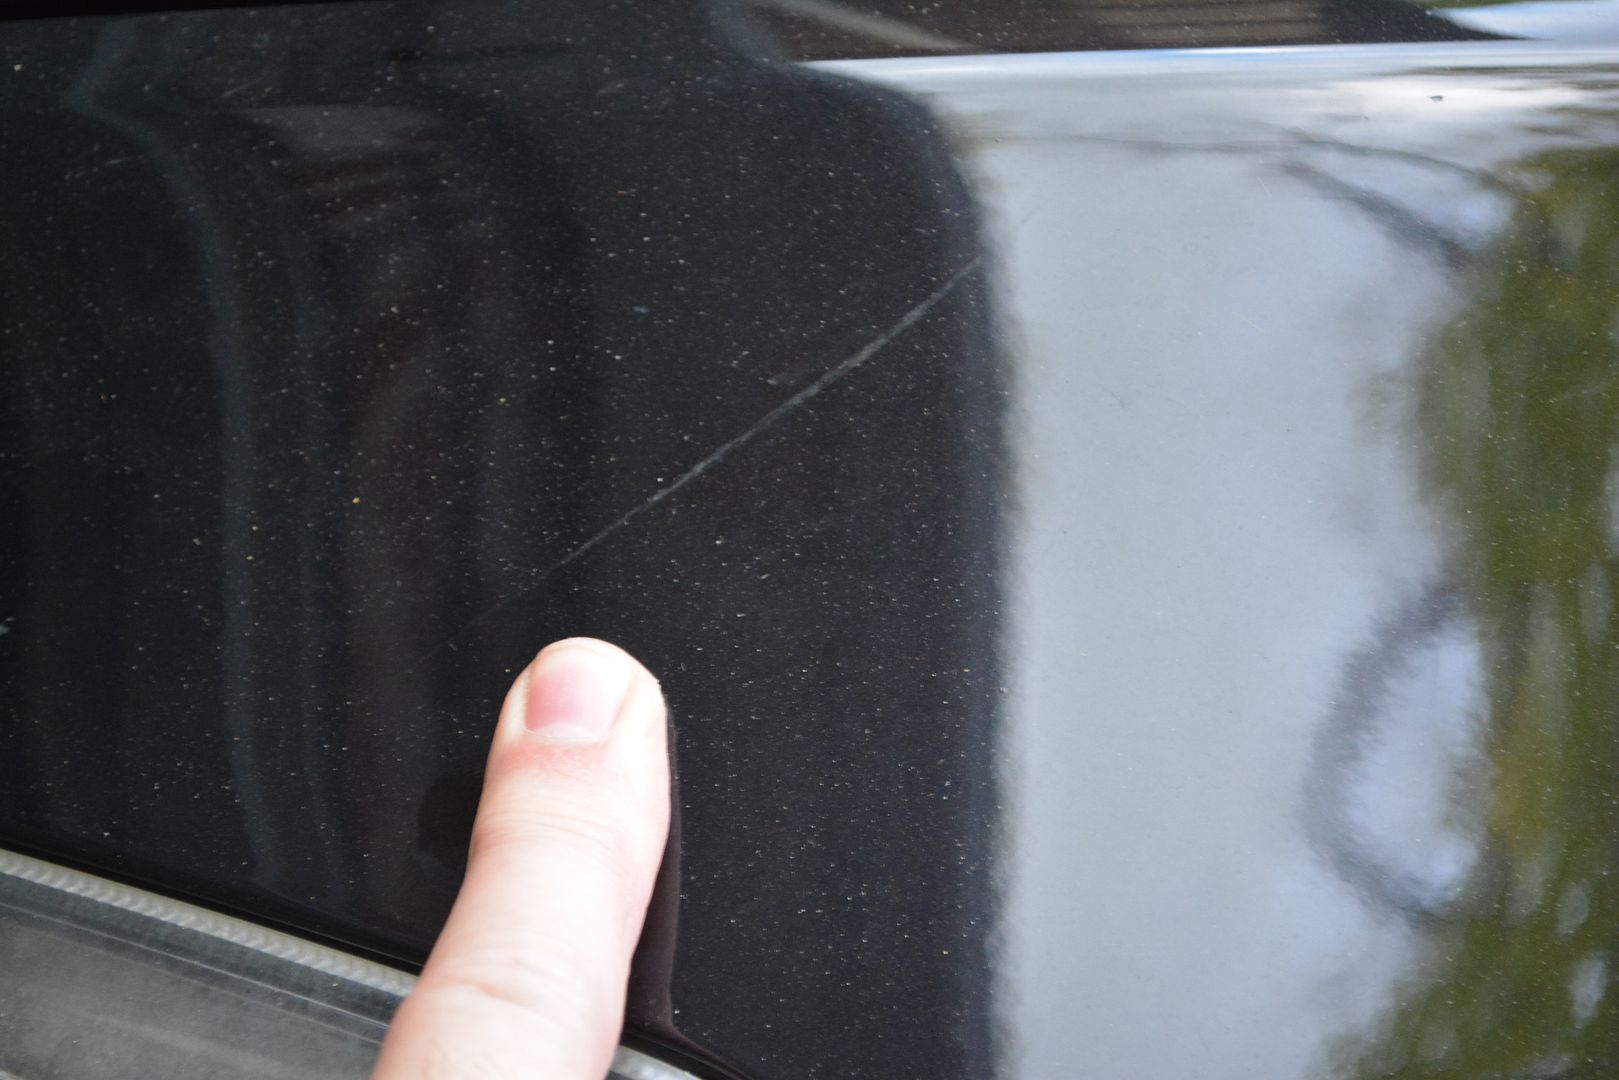
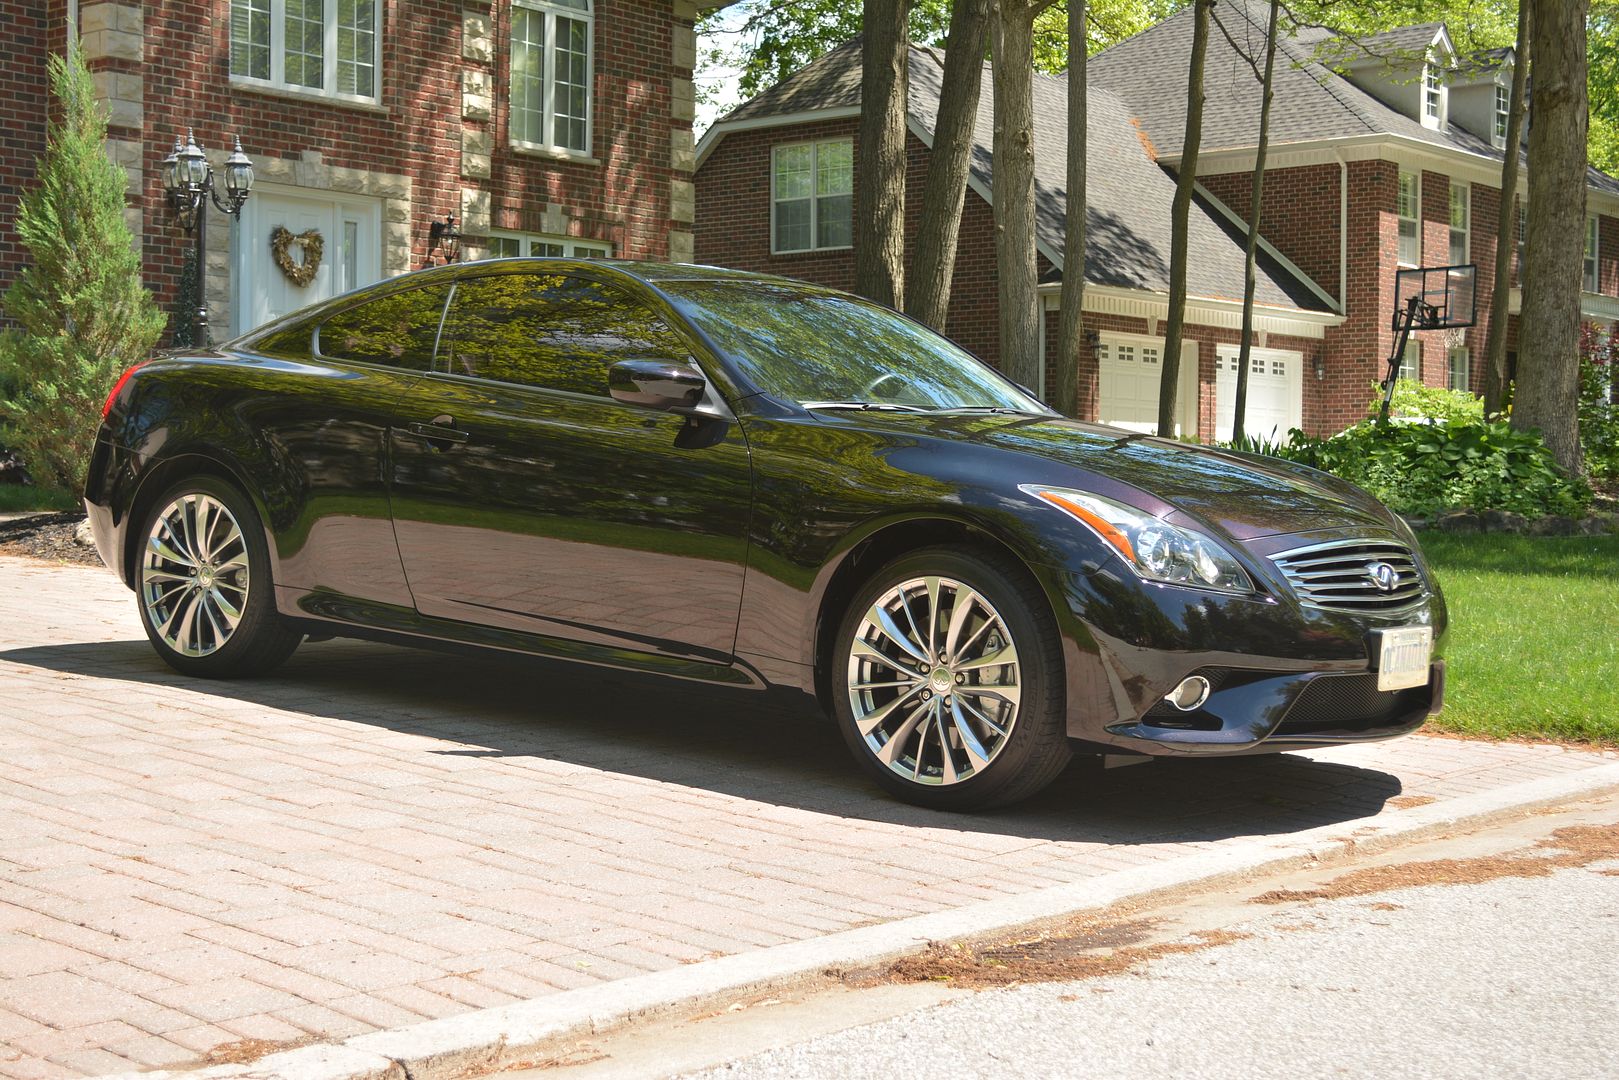
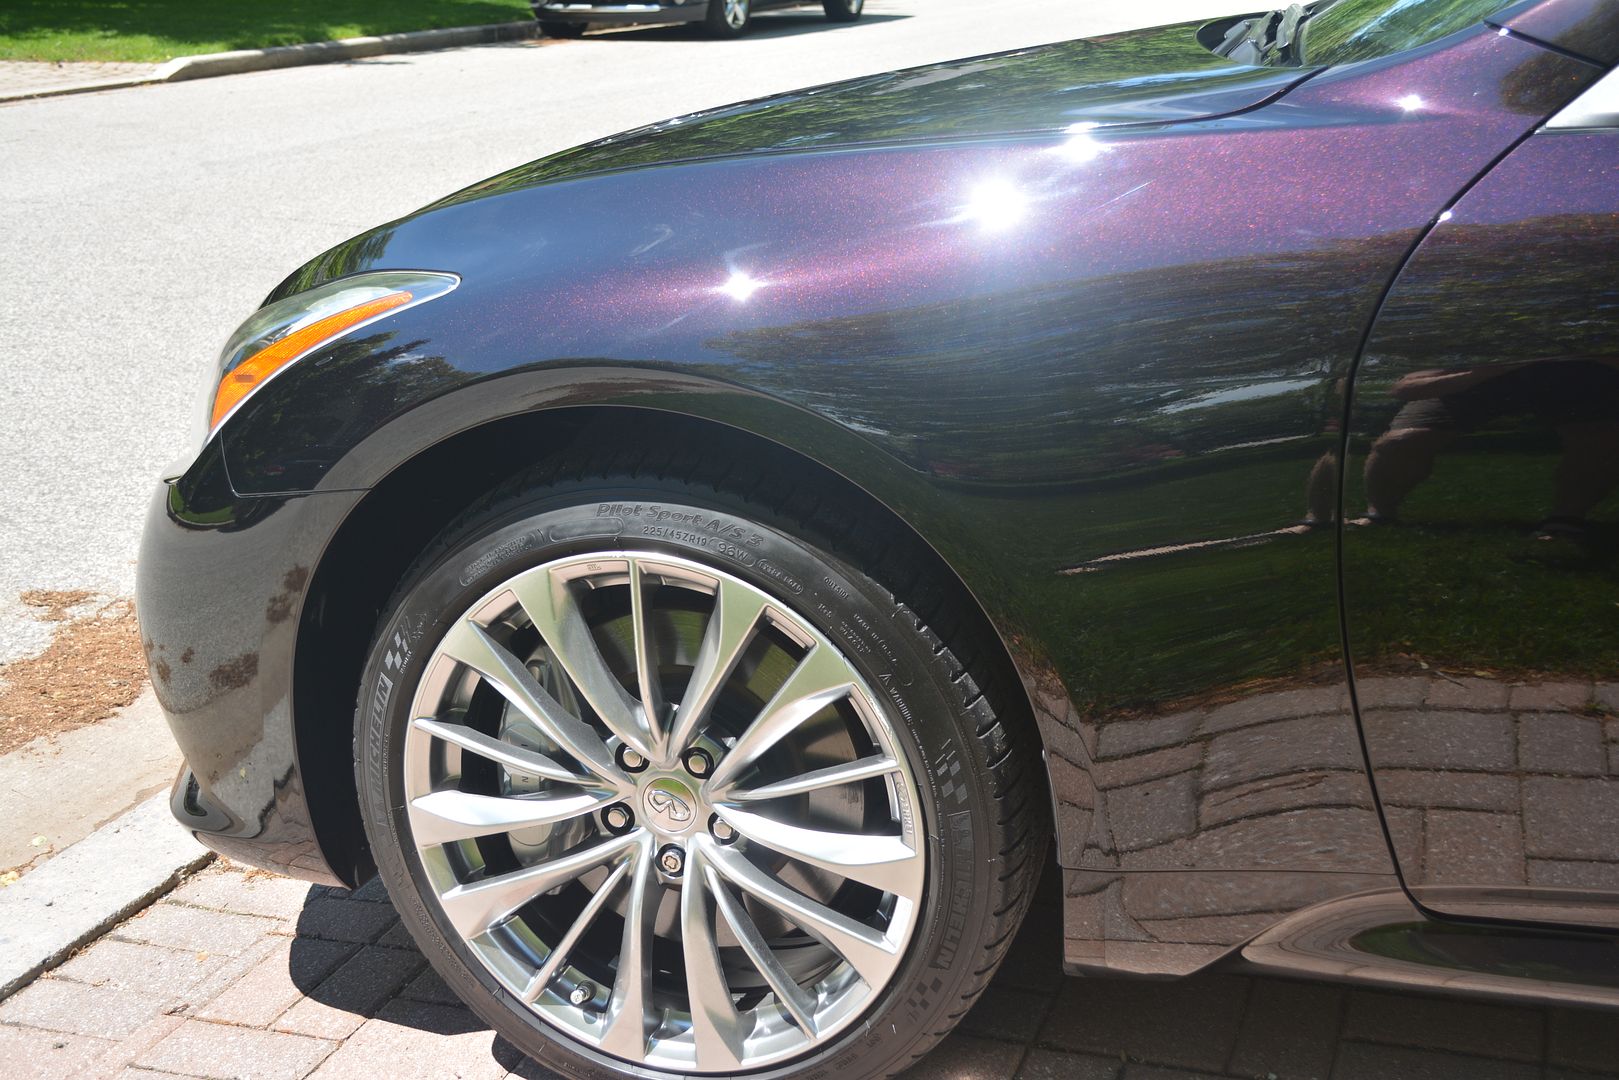
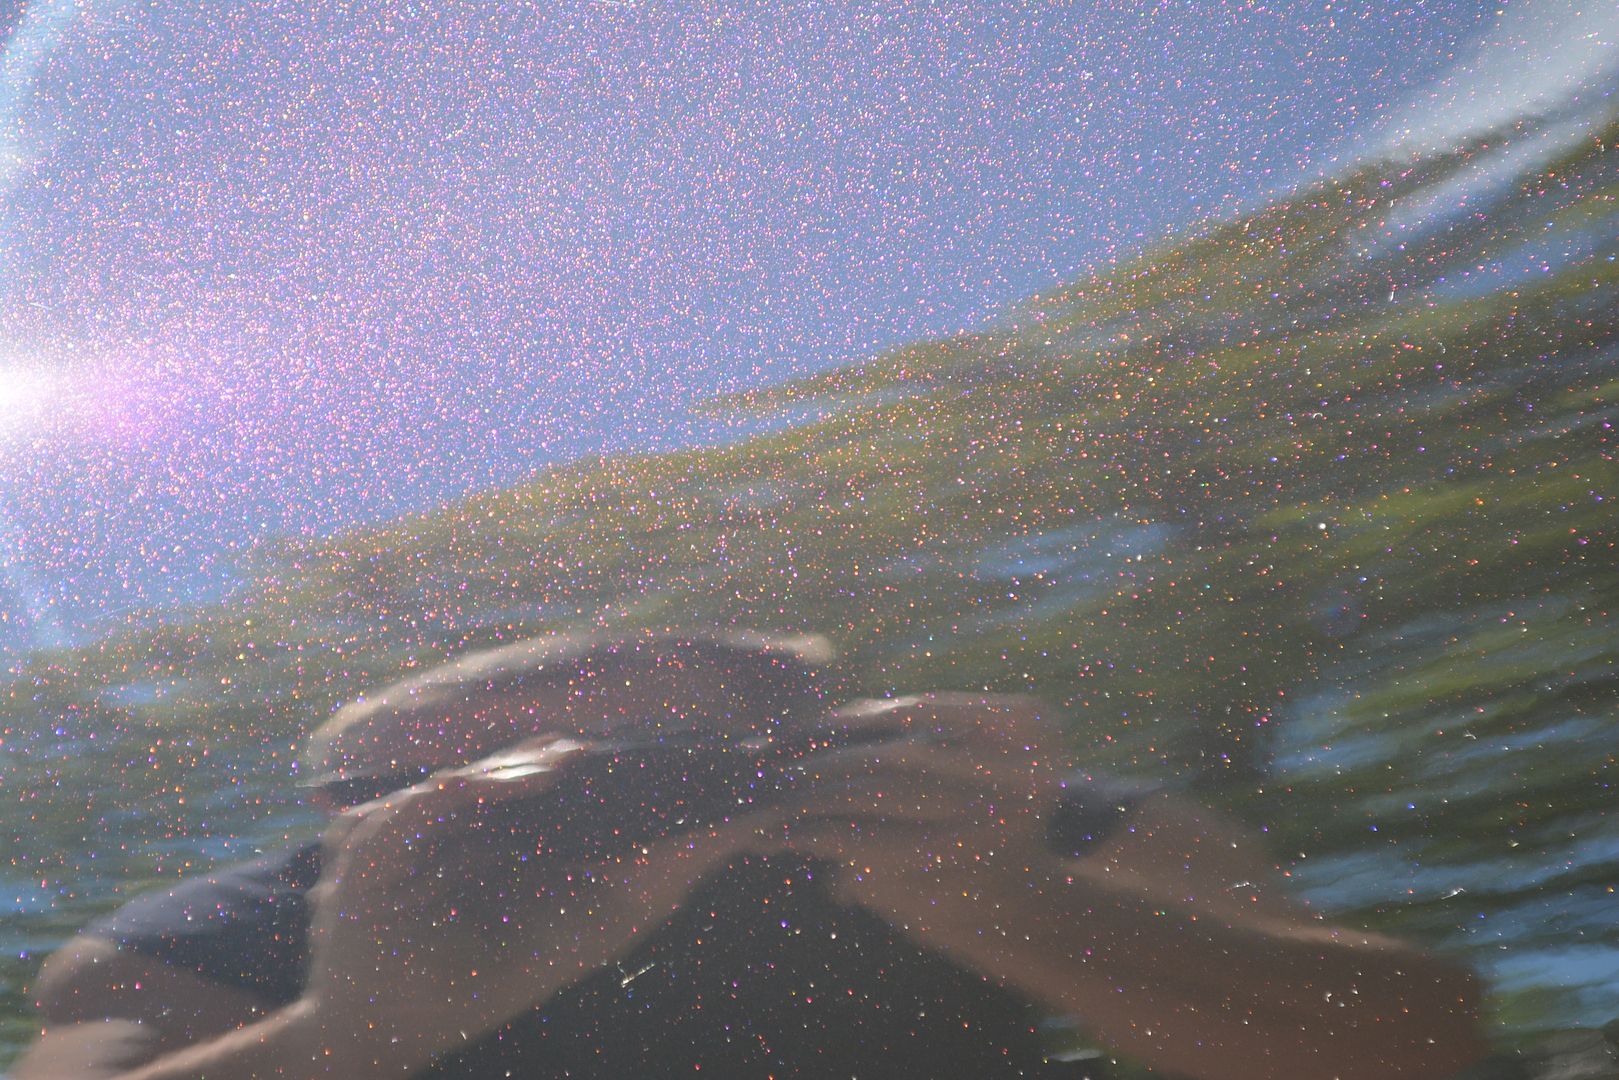
This is a repeat customer for whom I did this car in June of 2015. It was due again. Just like last time, there were also 2 sets of wheels to clean and coat. The paint is soft and he was disappointed in the amount of marks that had accumulated in the last 2 years. You`ll see in one pic that there was also some significant etching on the glass as well. So, it really needed to be brought back to life. This car is an amazing colour that changes from black when there isn`t much light, to this amazing metallic purple when there is. I needed to bring that back to life but furthermore, he needed something to protect it better. He chose to go with Feynlab Self Heal Lite. I had only used it on the front of my Lincoln in my garage in February, so it was VERY different applying it this time (more on that in a bit).
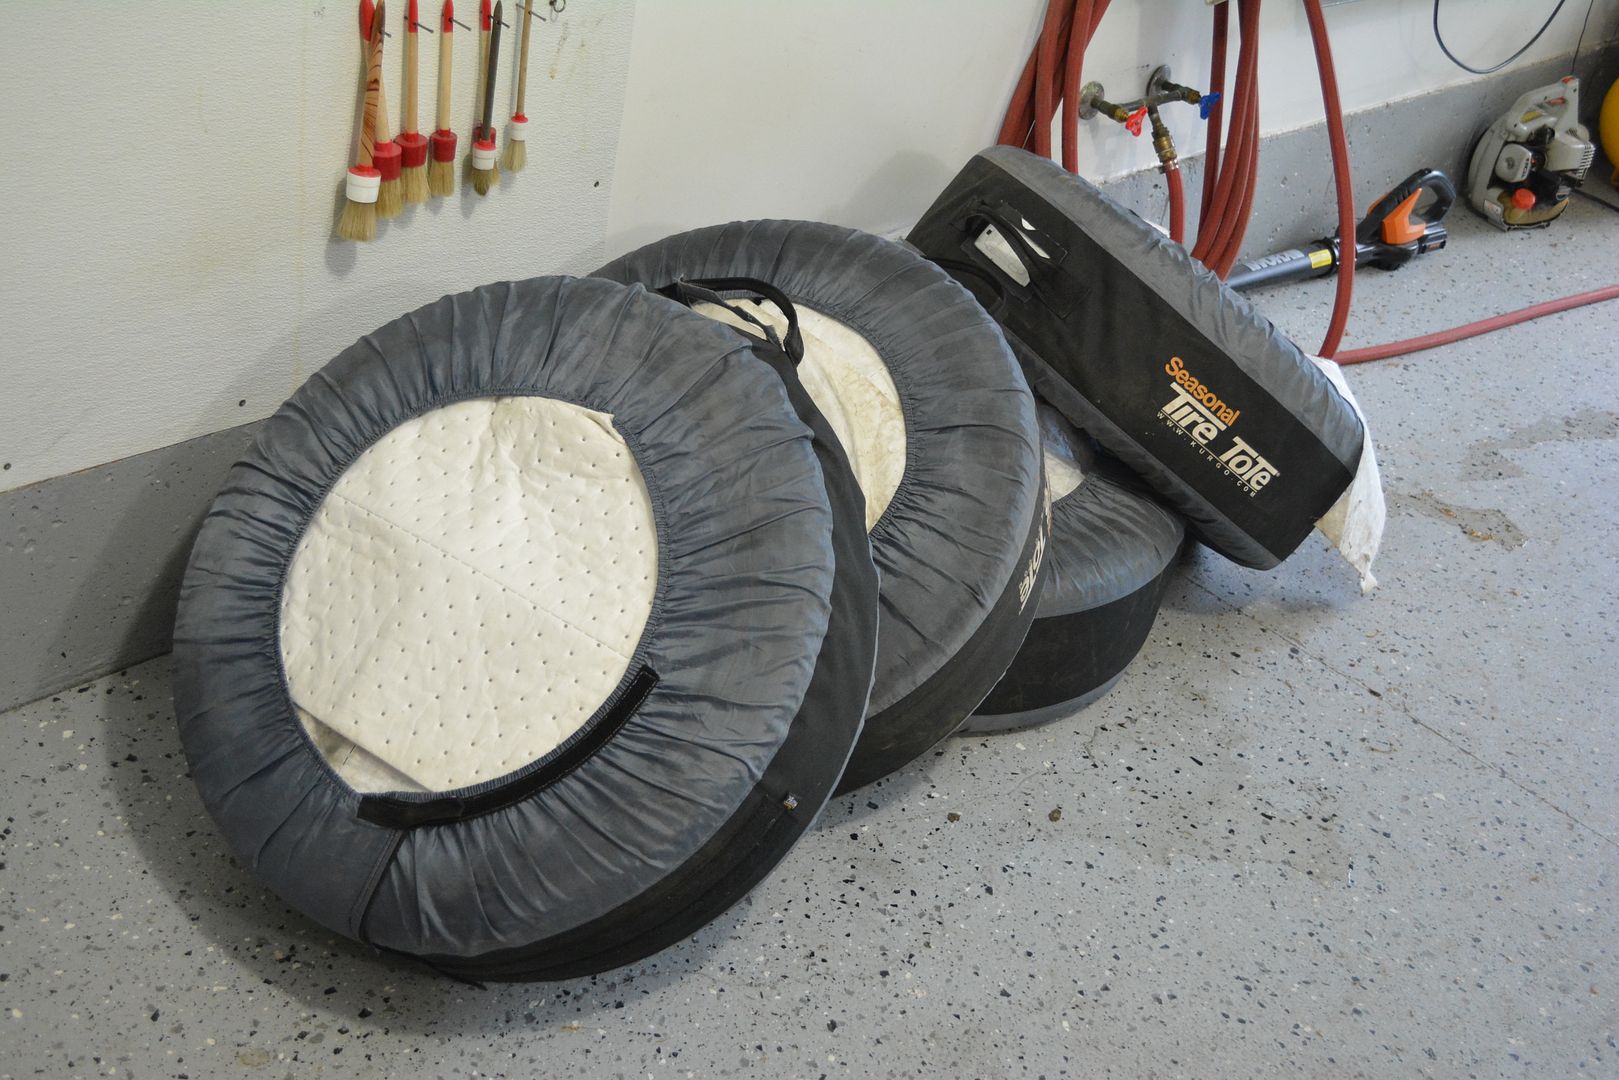
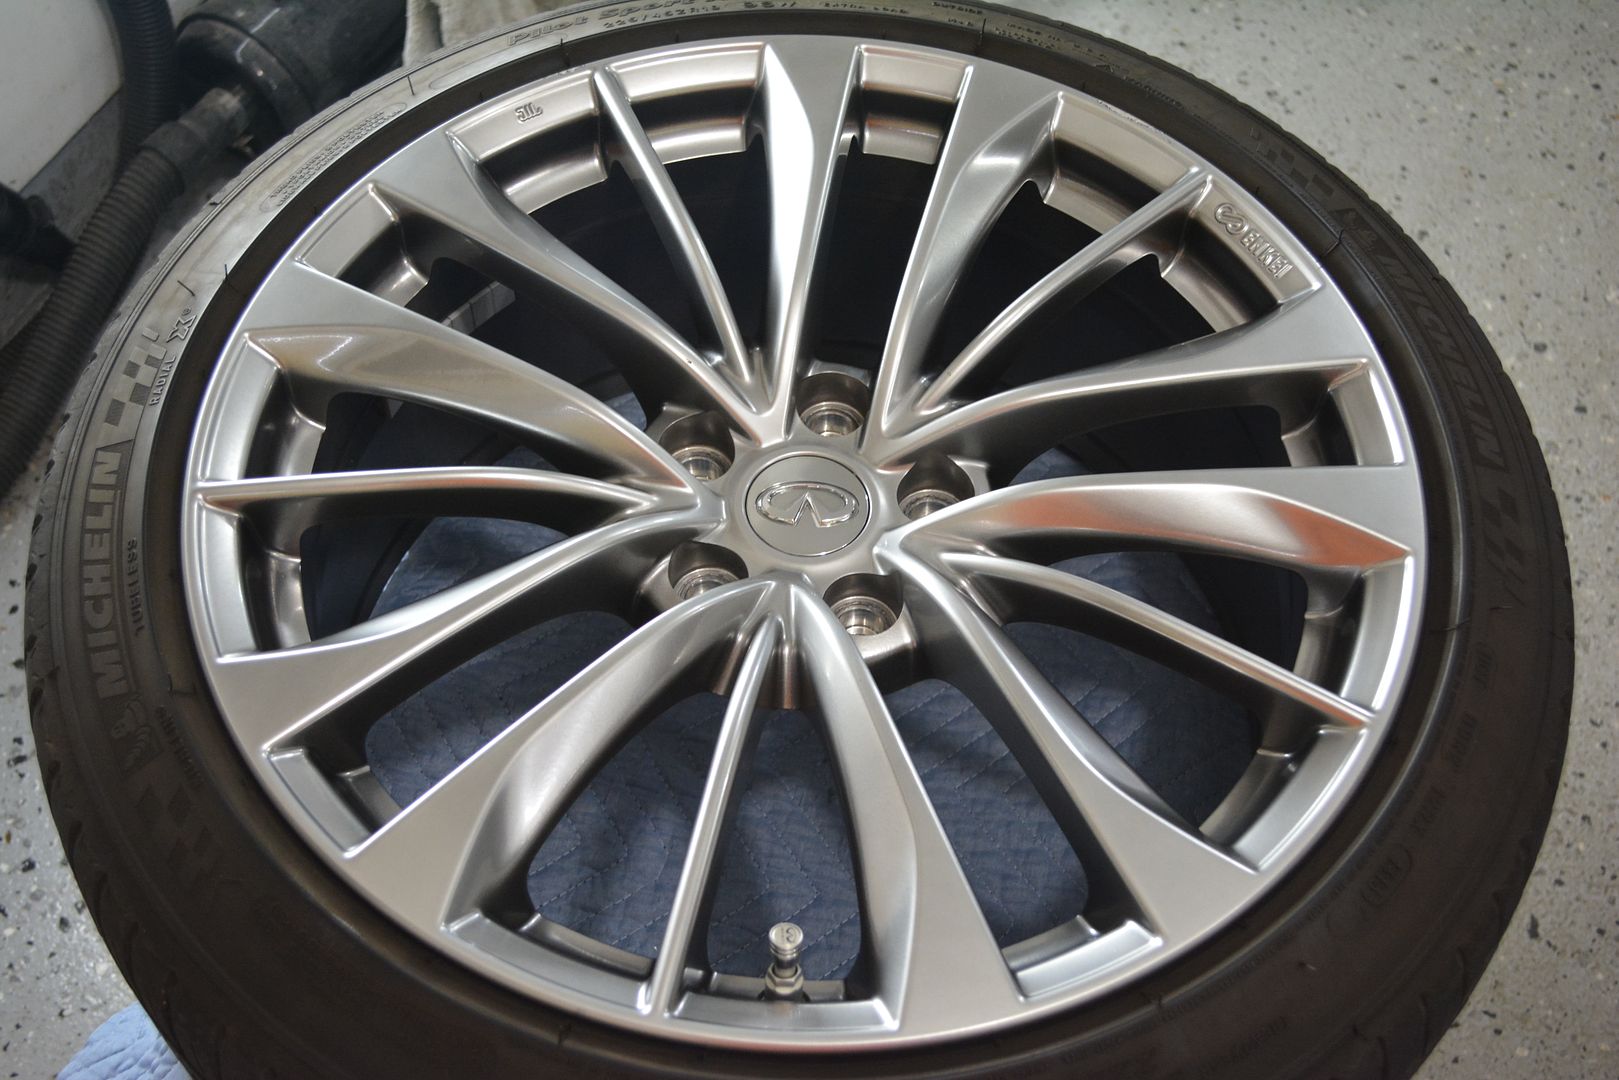
Anyway, here it is as it arrived with the extra set of wheels too:
First up was to wash the vehicle. The wheels, etc were done first. The front plastic barrels were cleaned with LATA while the tires were cleaned with Zep 505. The barrels were cleaned with a Daytona brush and Zep Citrus along with a demoted wash mitt with DG 901. They were going to be removed anyway, so I was just trying to cut down my additional cleaning time later. The paint was washed with DG 901 followed by IronX gel soap. It was brought inside and clayed with Riccardo yellow and Feynlab Prime as the lube.
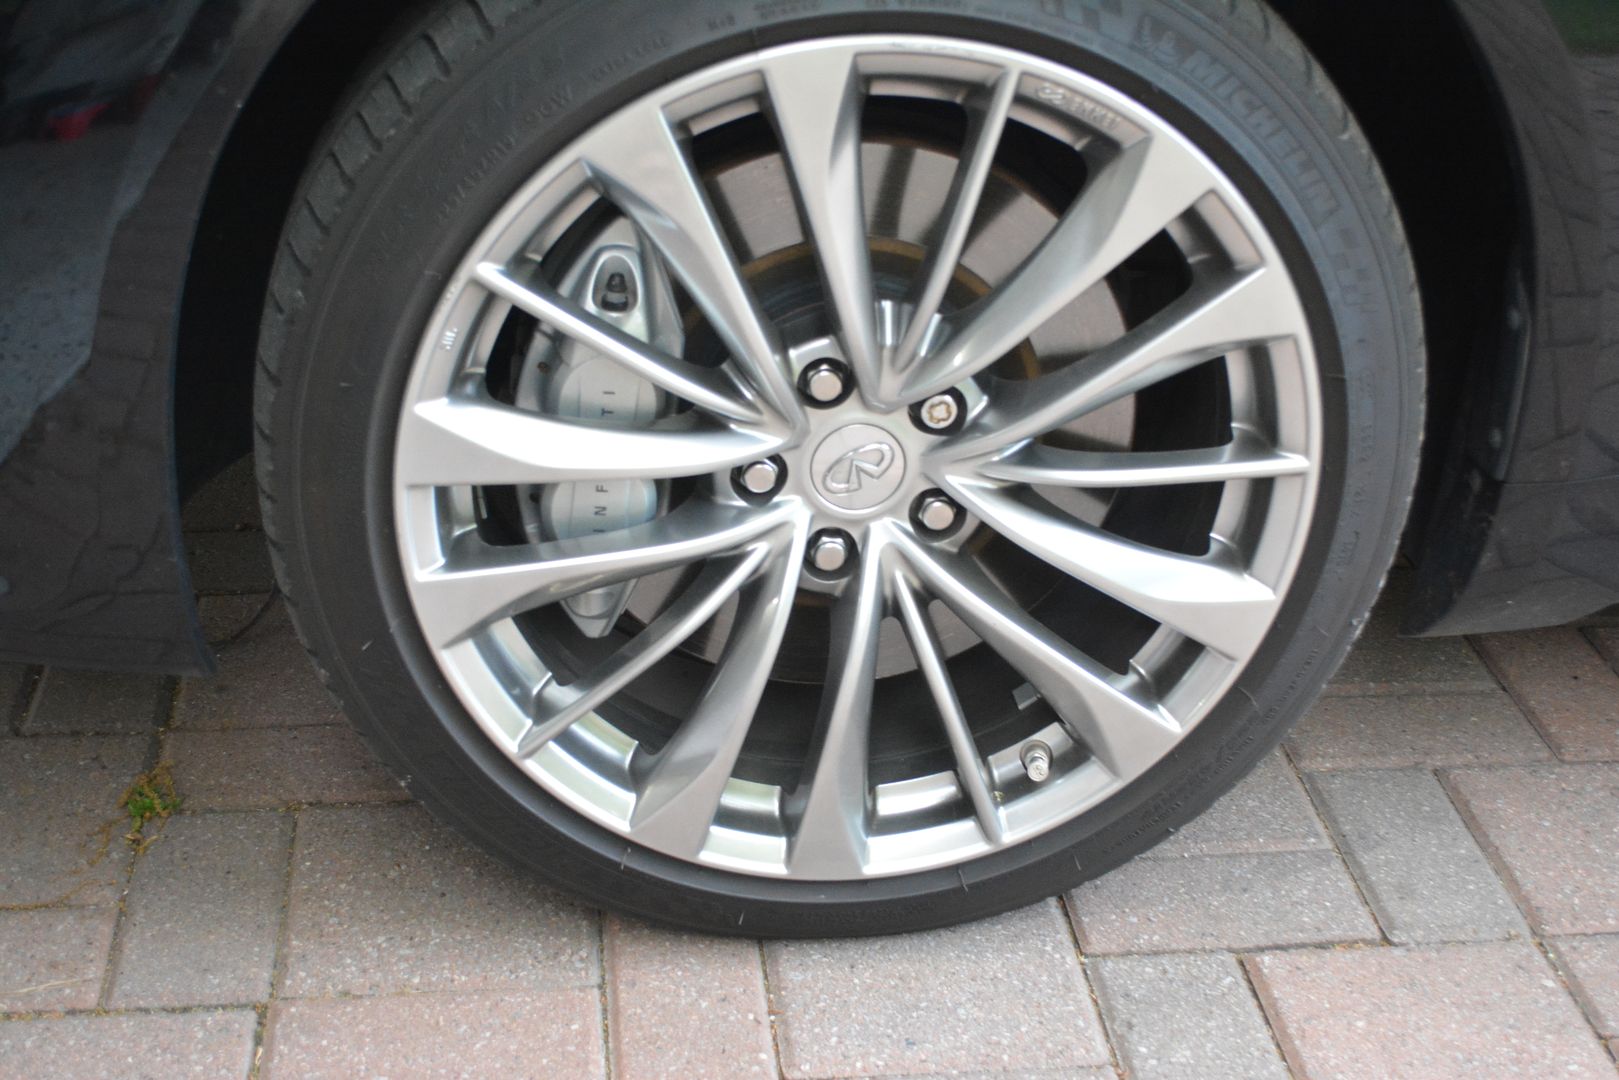
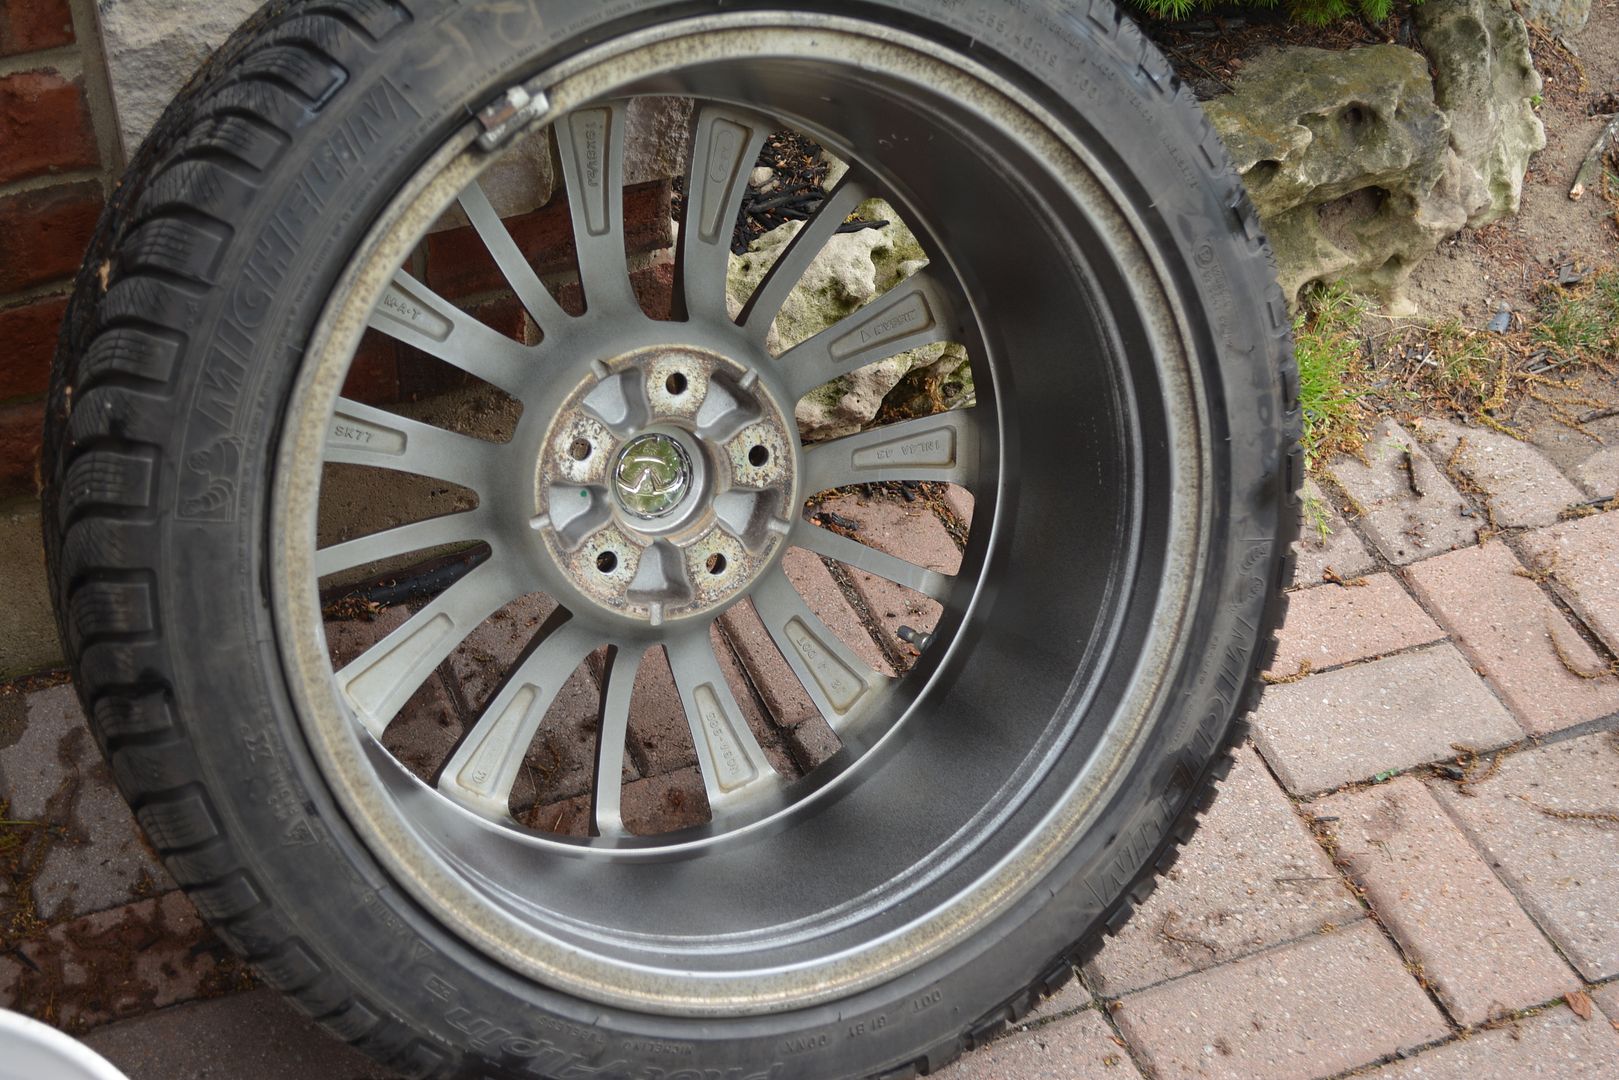
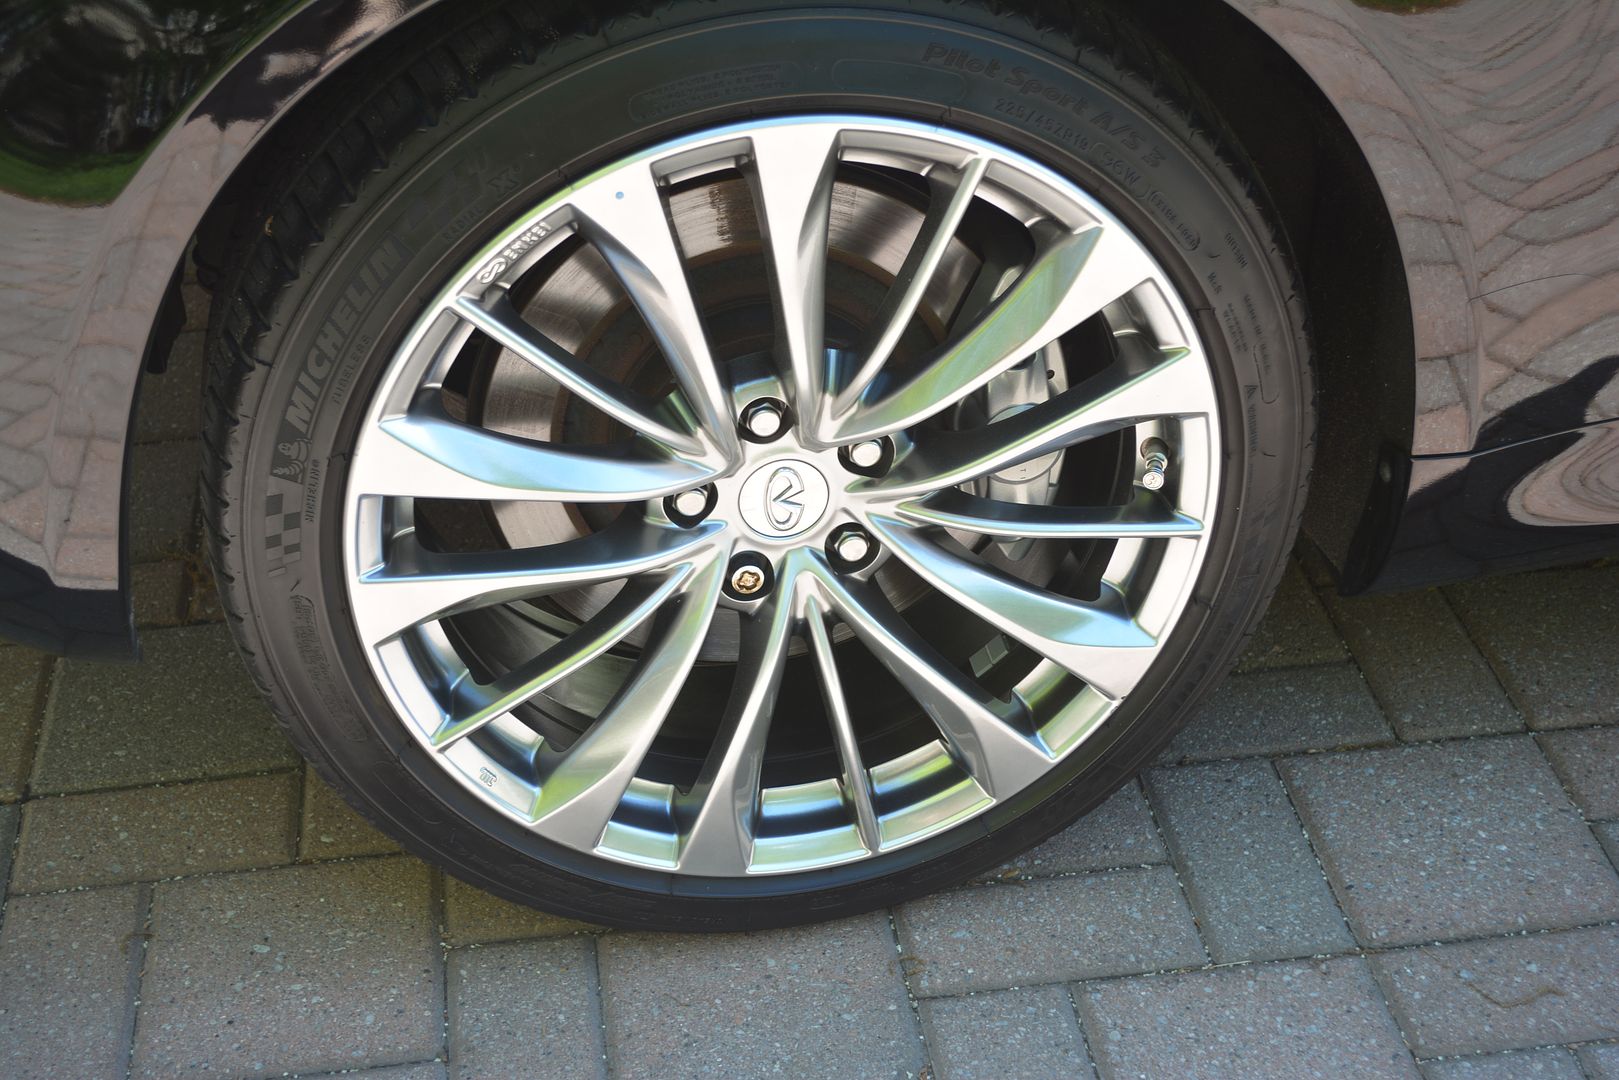
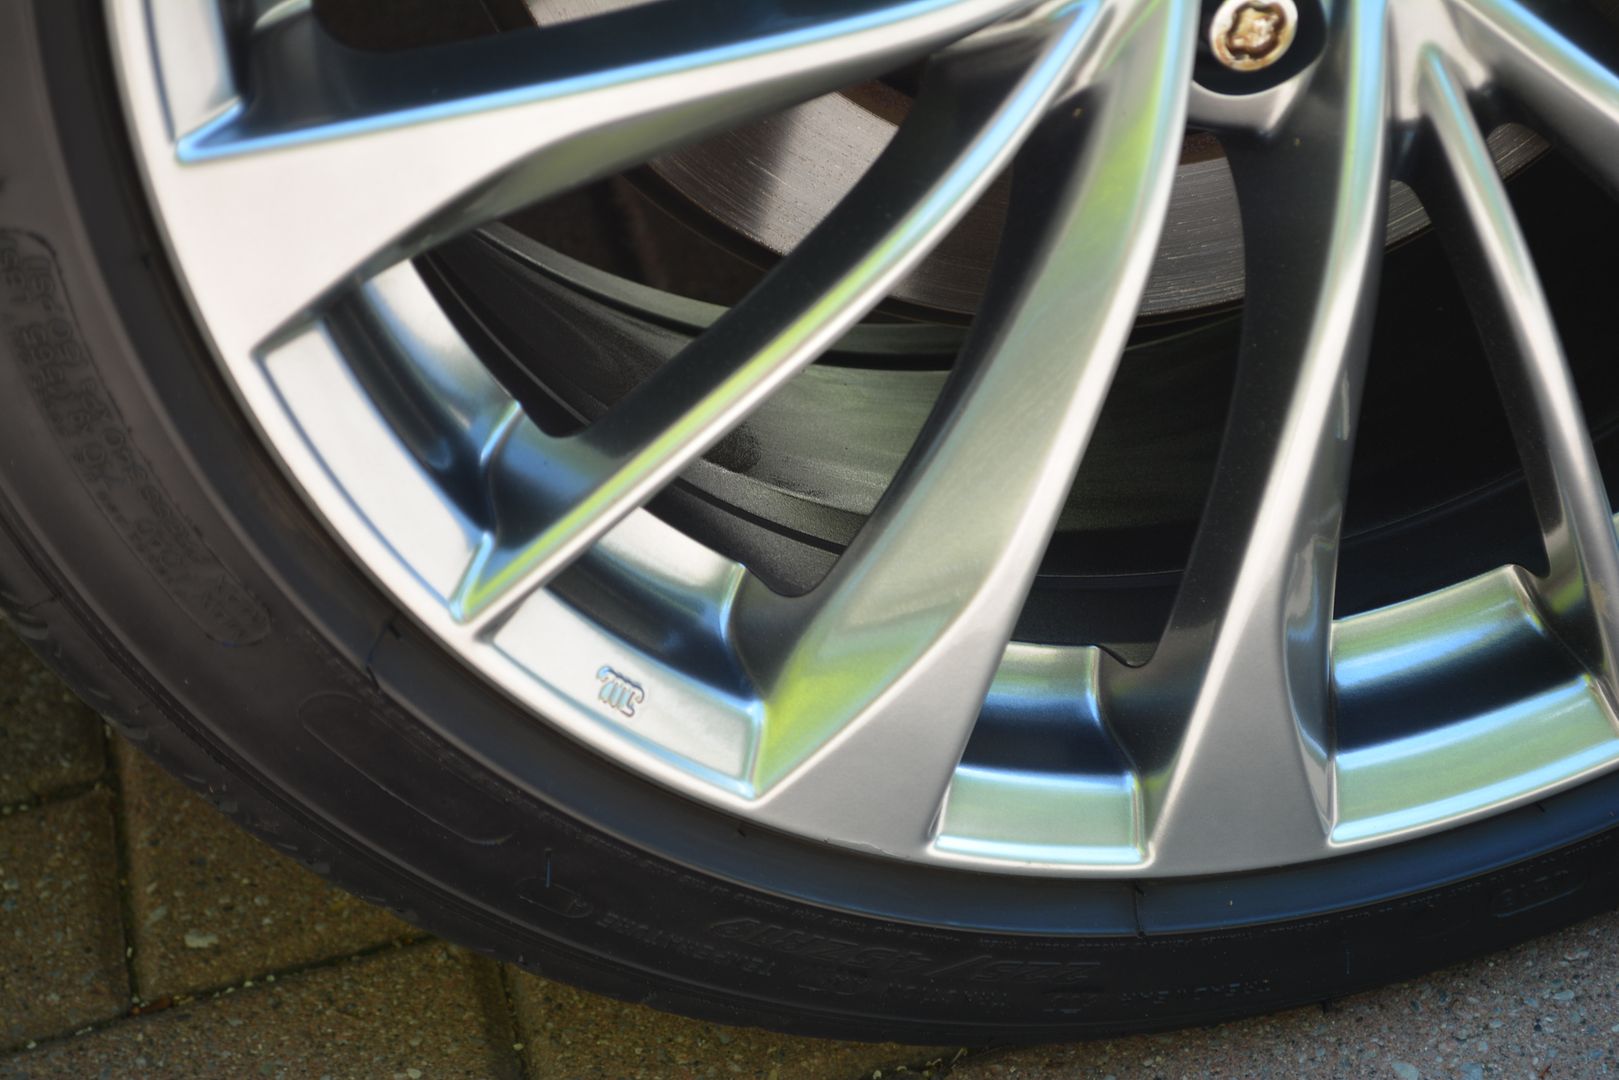
Next was to do the winter wheels. Each barrel was cleaned with Tarminator first and a plastic razor blade followed by Zep Citrus and a demoted wash mitt and DG 901. The faces were cleaned with ZC and DG 901. The tires were cleaned with Zep 505. Each wheel was then chemically cleaned with DG Squeaky Clean (unbelievable what that got out too!) and then the barrels were coated with DLux and the faces were coated with Feynlab Wheel & Caliper coating. It has a strong solvent smell to it and gave me a headache. You can tell this stuff is strong! Here`s one of the winter wheels in process:

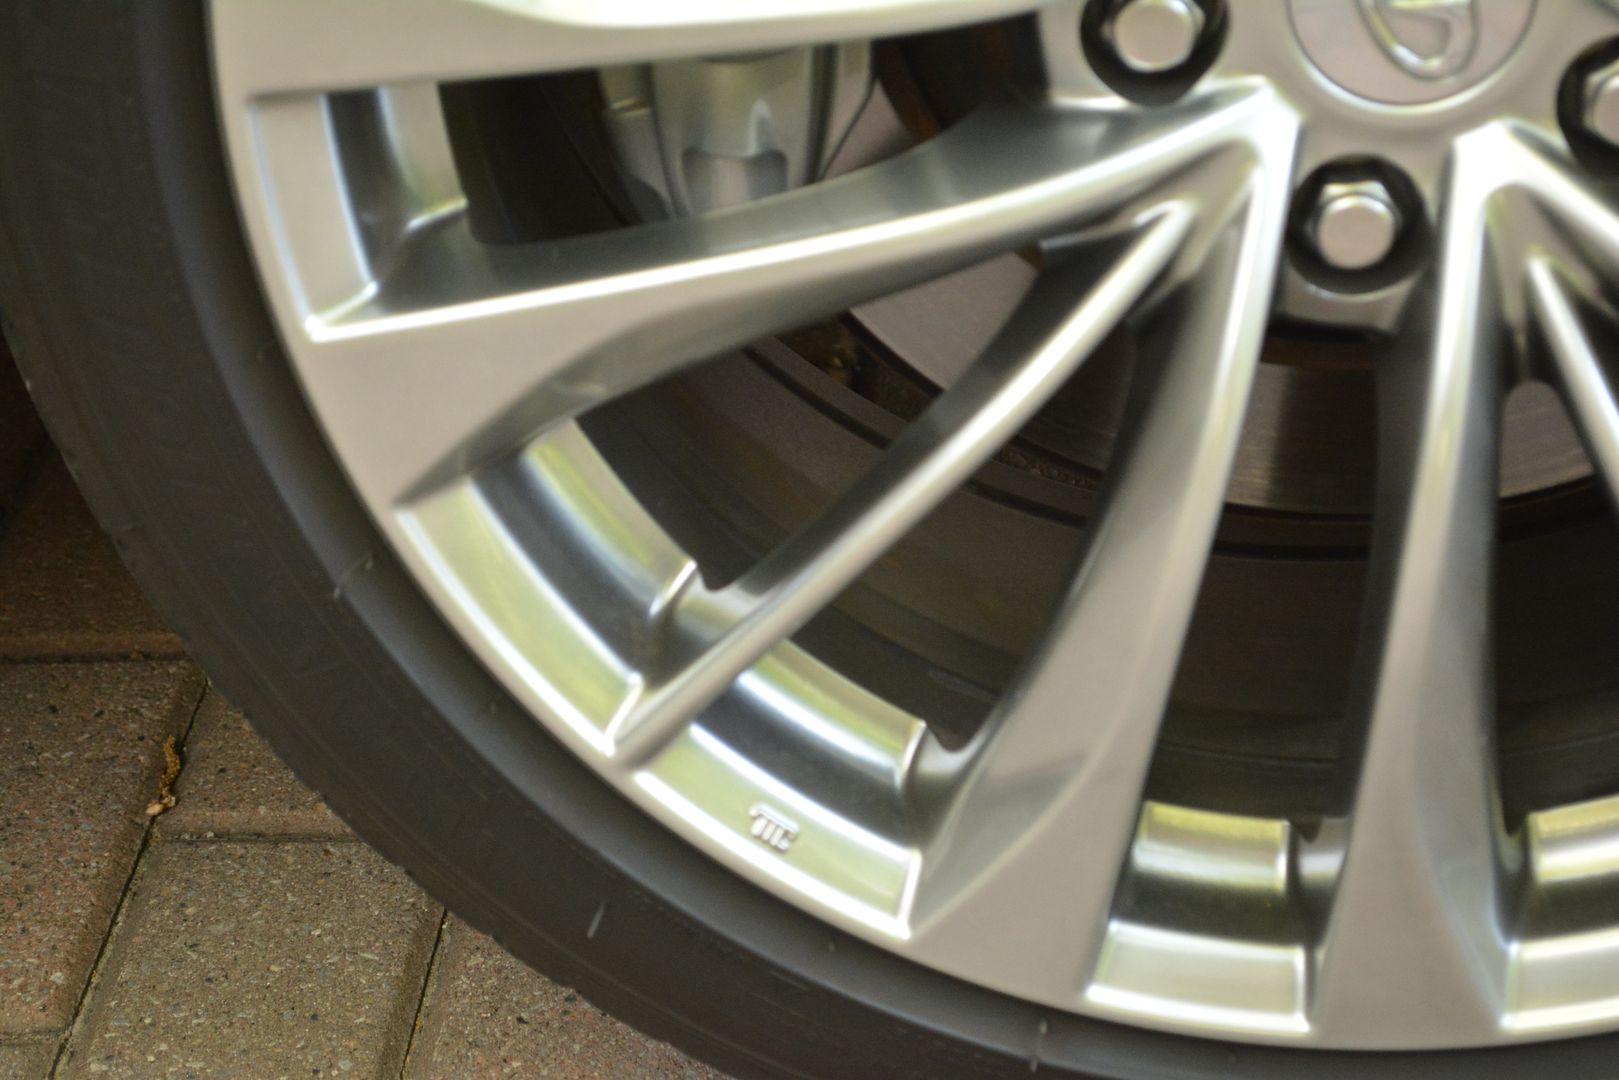
The set on the car then got done. In addition, the plastic front wells were further cleaned with ONR and then blown dry and had DLux applied to them. I did this for free because of being a repeat customer. I always try to do something extra for a repeat customer to show my appreciation. In this case it was applying DLux to the wells. Feynlab got applied to faces and to the calipers as well. The tire was shot with Opti Bond from my air gun while the wheel was raised up. Each wheel was torqued back to spec after re-installing. DLux was used on the barrels of this set too. I`ve asked him to compare the performance of the two for me. All in all, I was 7 hours doing the wheels.
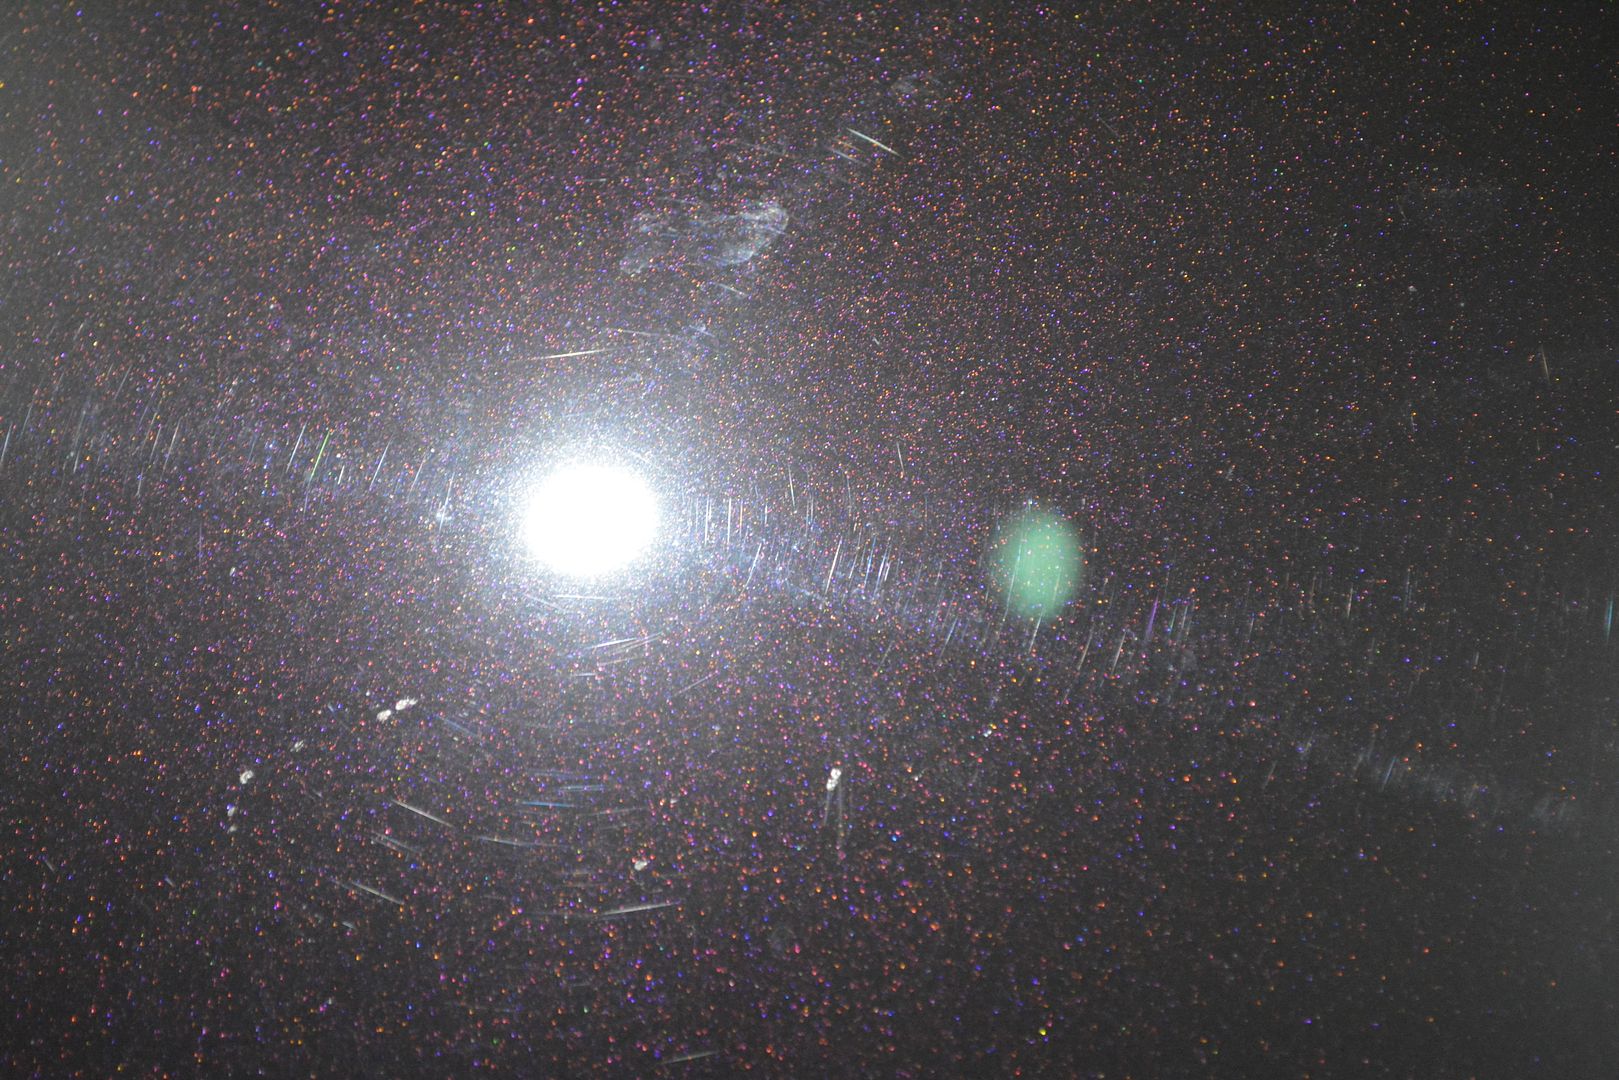
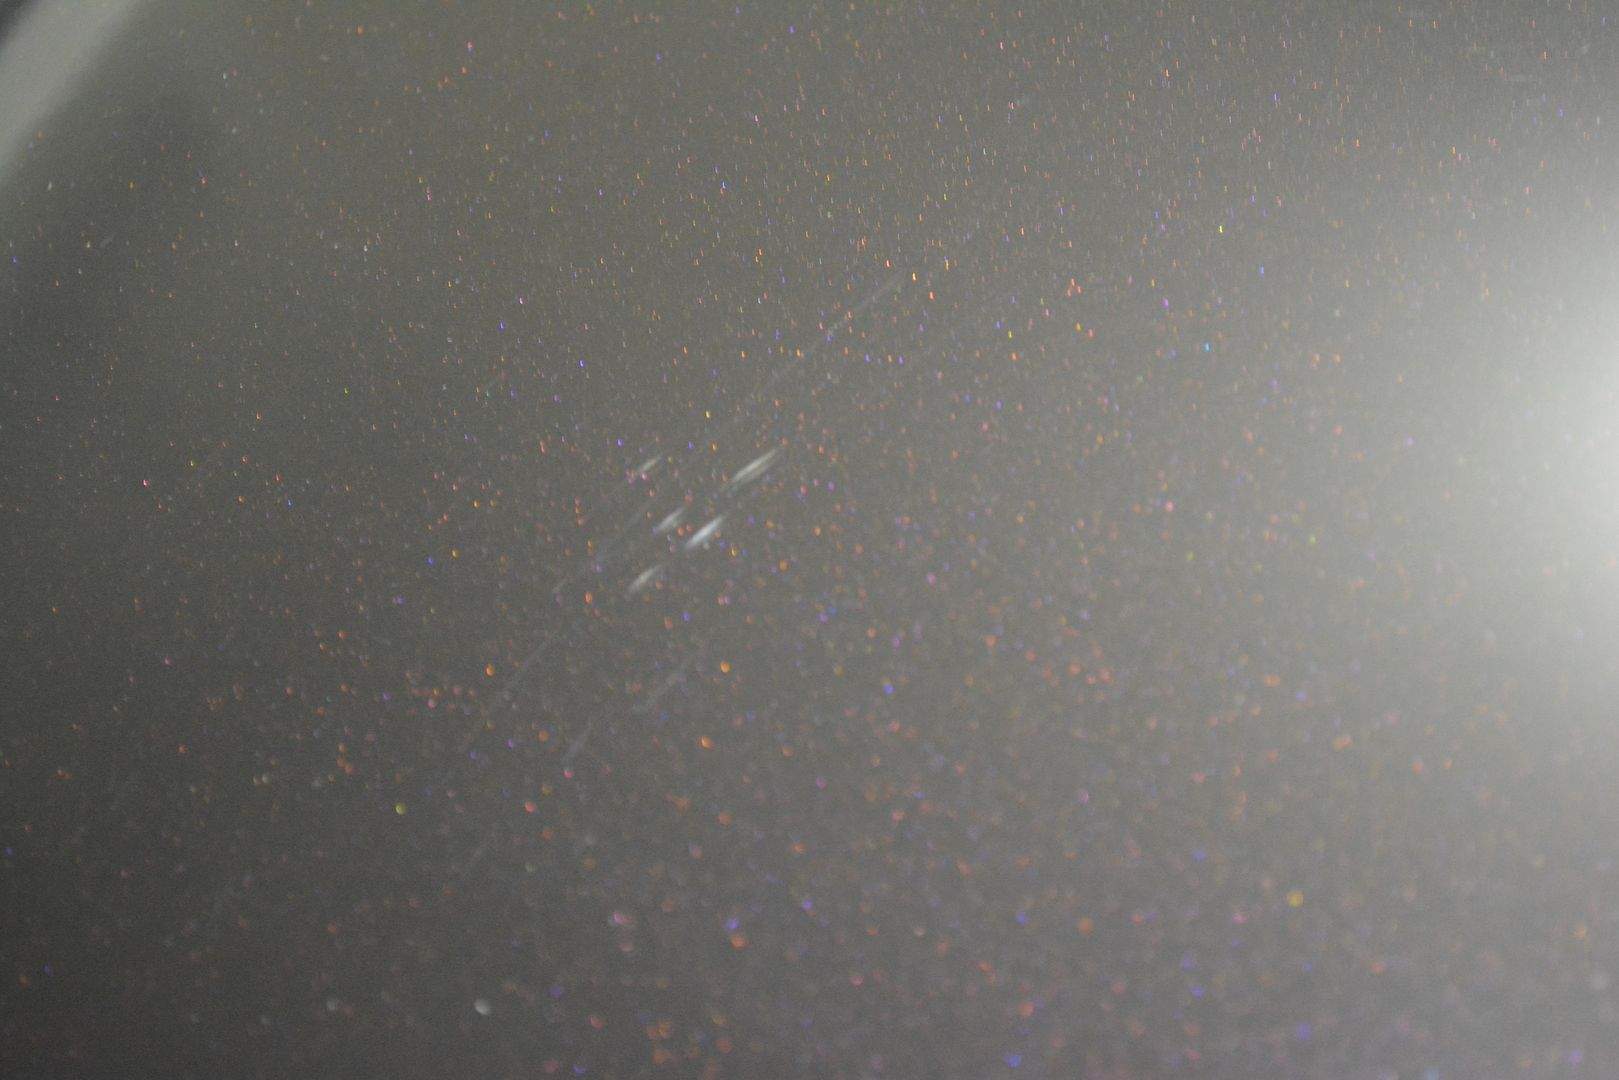
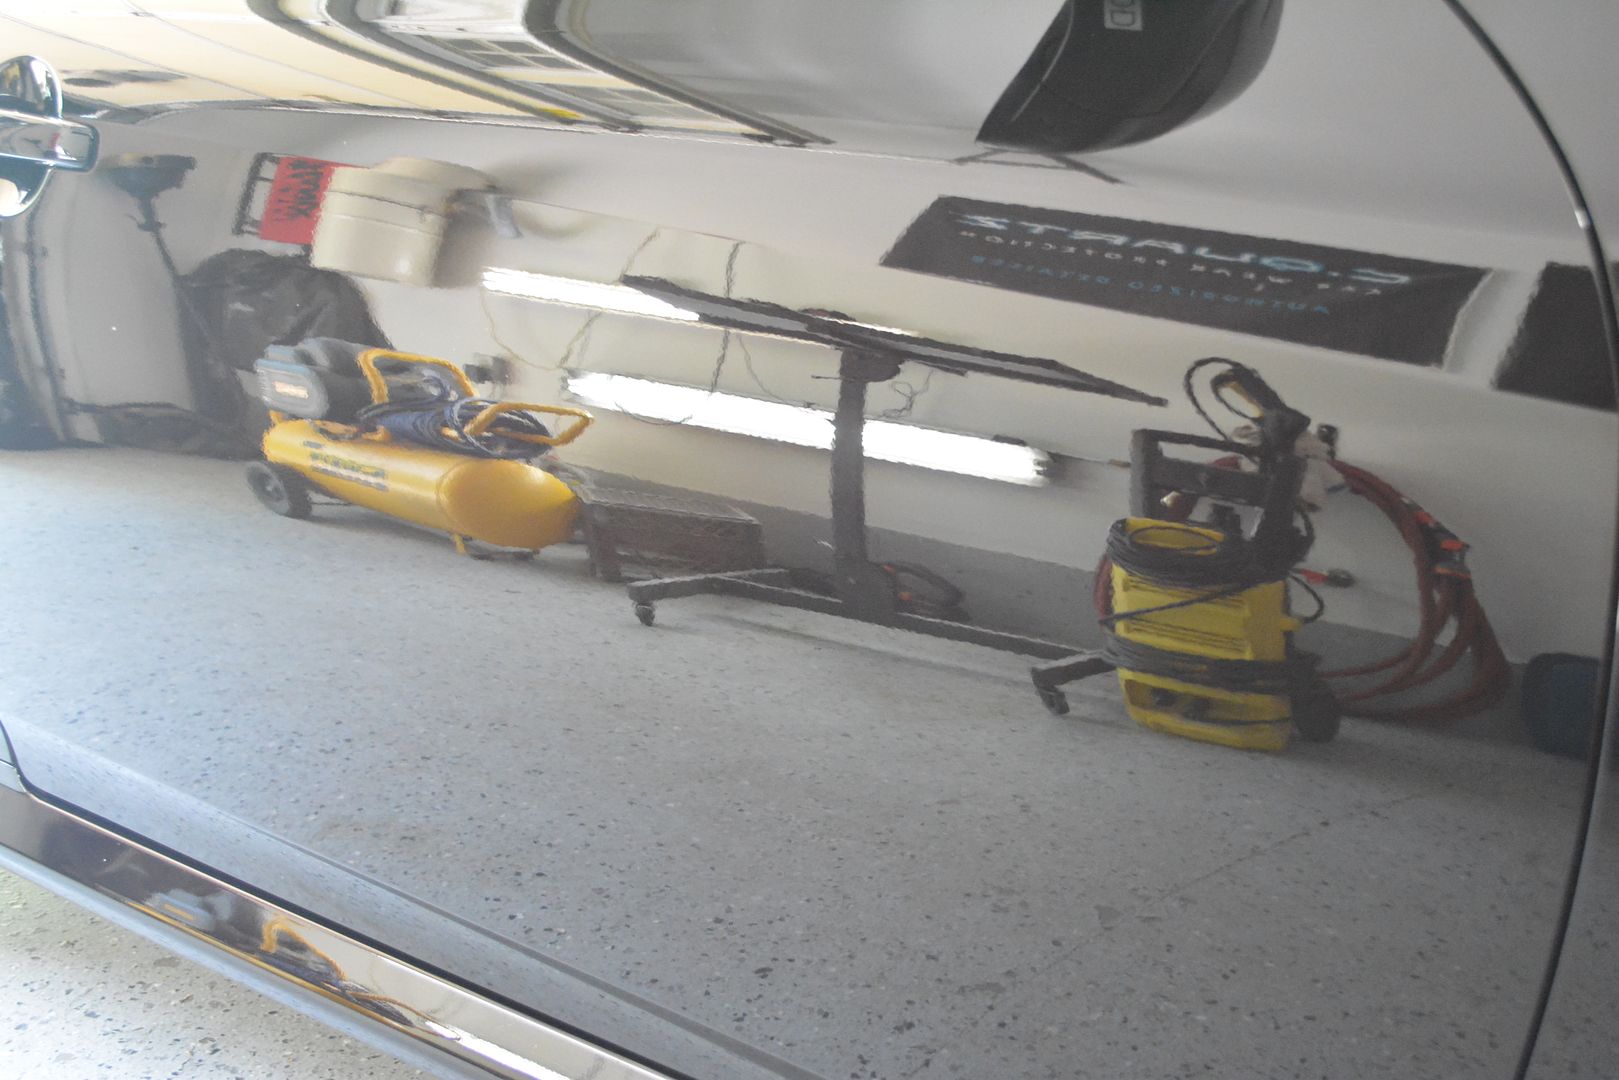
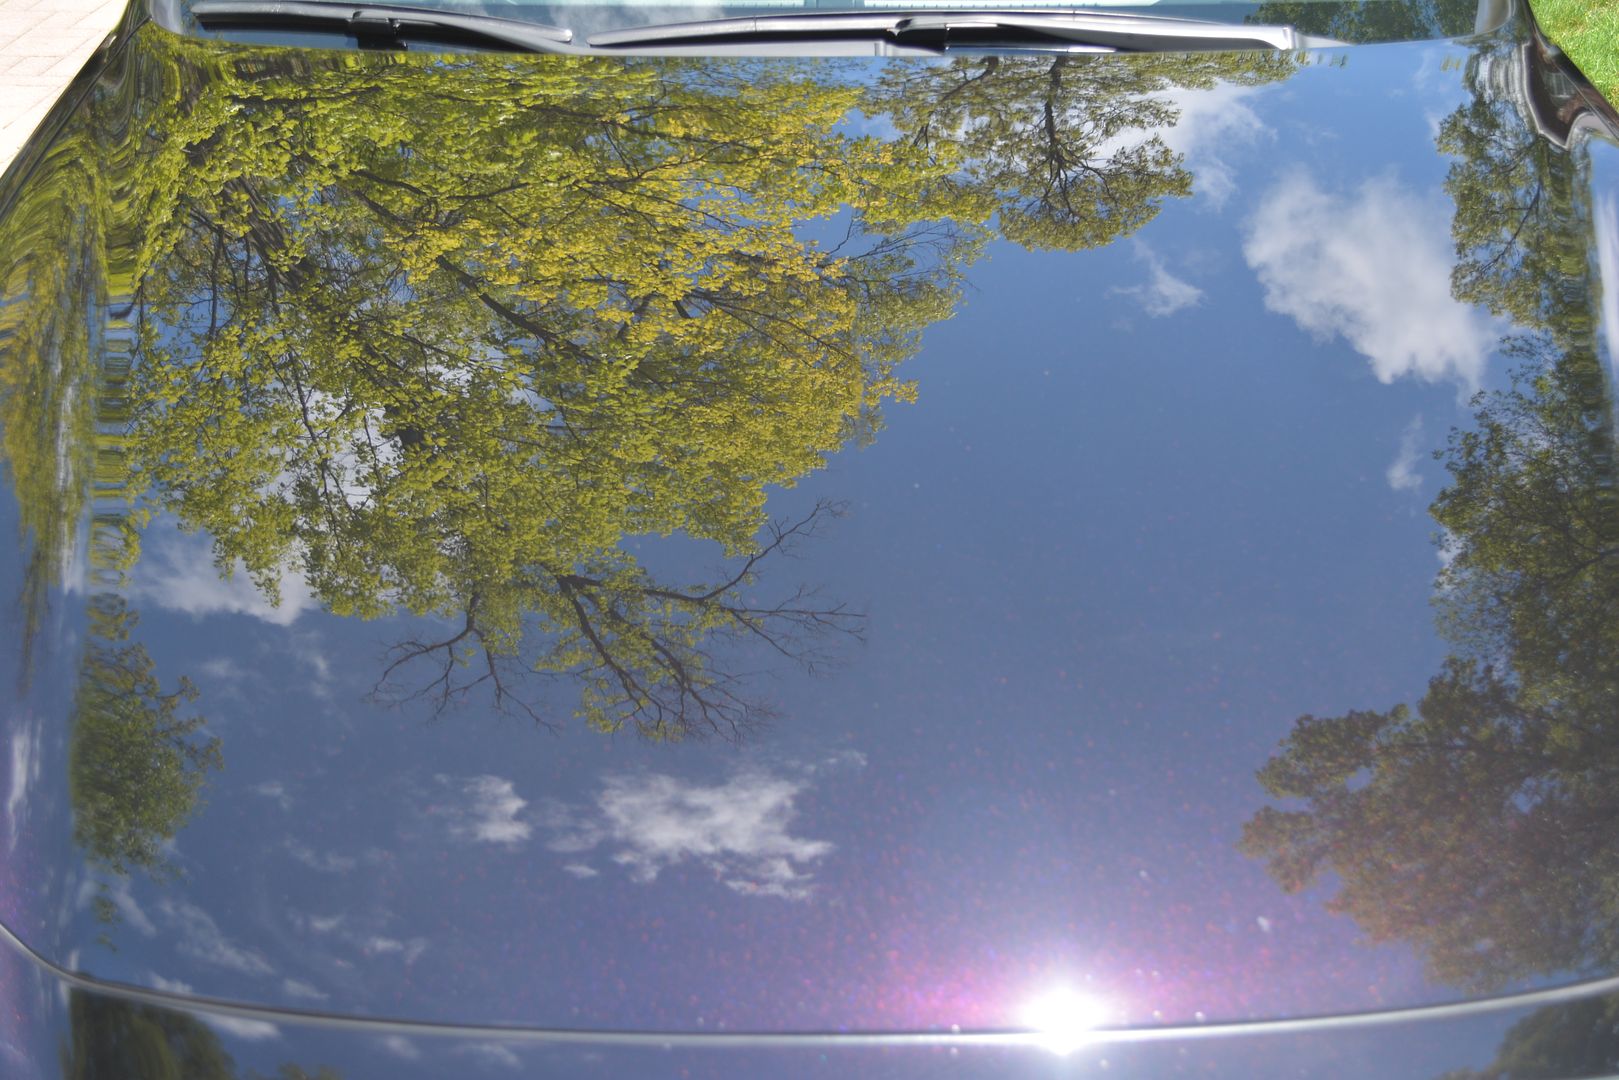
Now it was time to play with the paint. Here is the condition after being clayed:

I had my work cut out for me again <sigh>. The water spotted glass was treated with Car Pro Water Spot remover followed by ONR. I sealed the side and rear glass using Fly By 30. I hope it is more resistant to the hard water stains in the future. The windshield was coated with Forte. I again used The Last Cut as the compound of choice with a black wool HD pad + 3401. That was followed by M205 + 3401 + orange B/S pad.
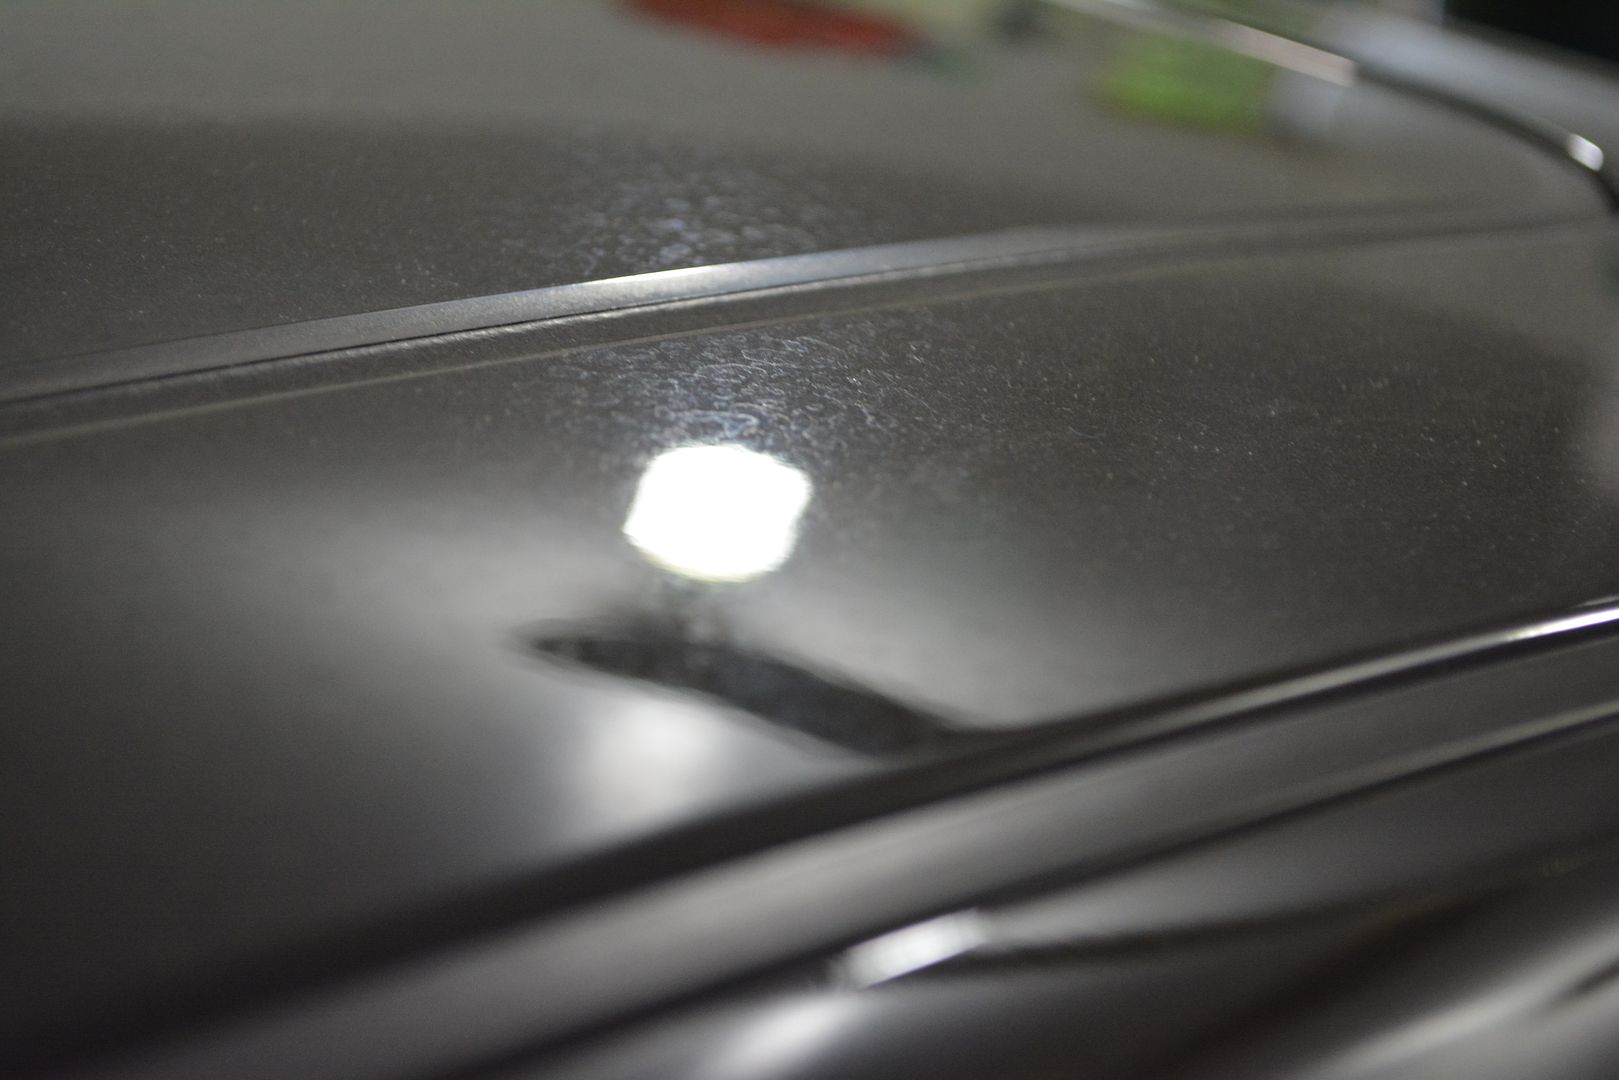
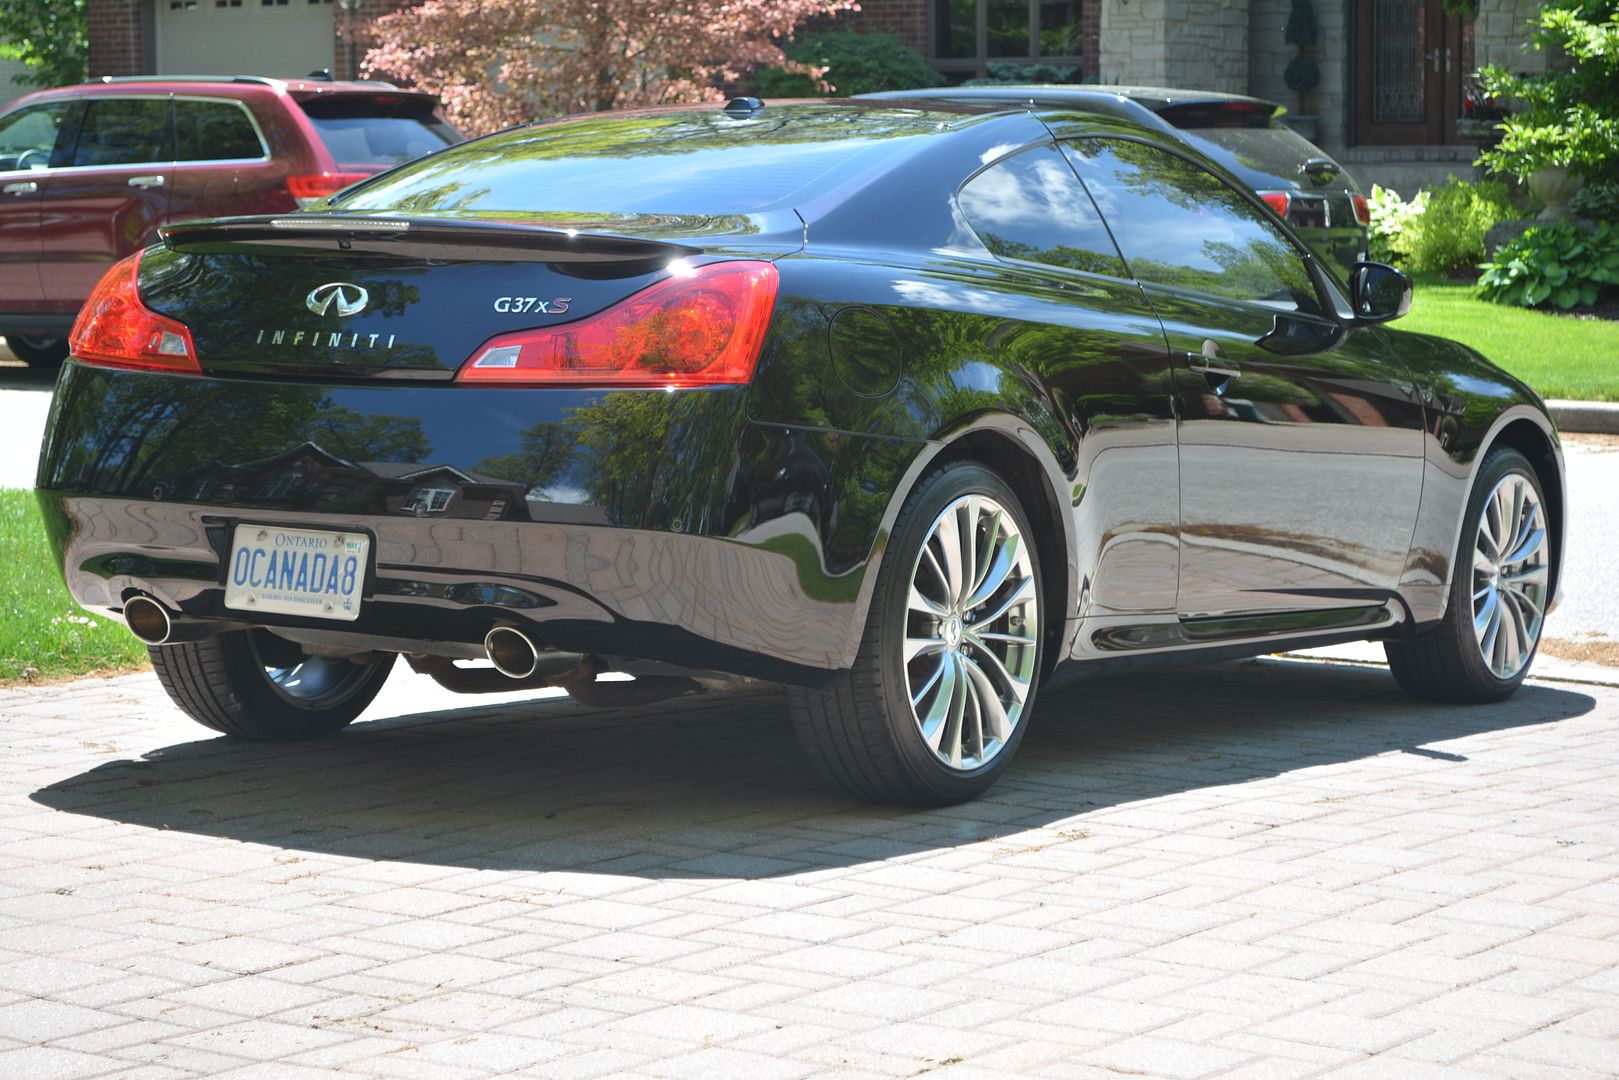
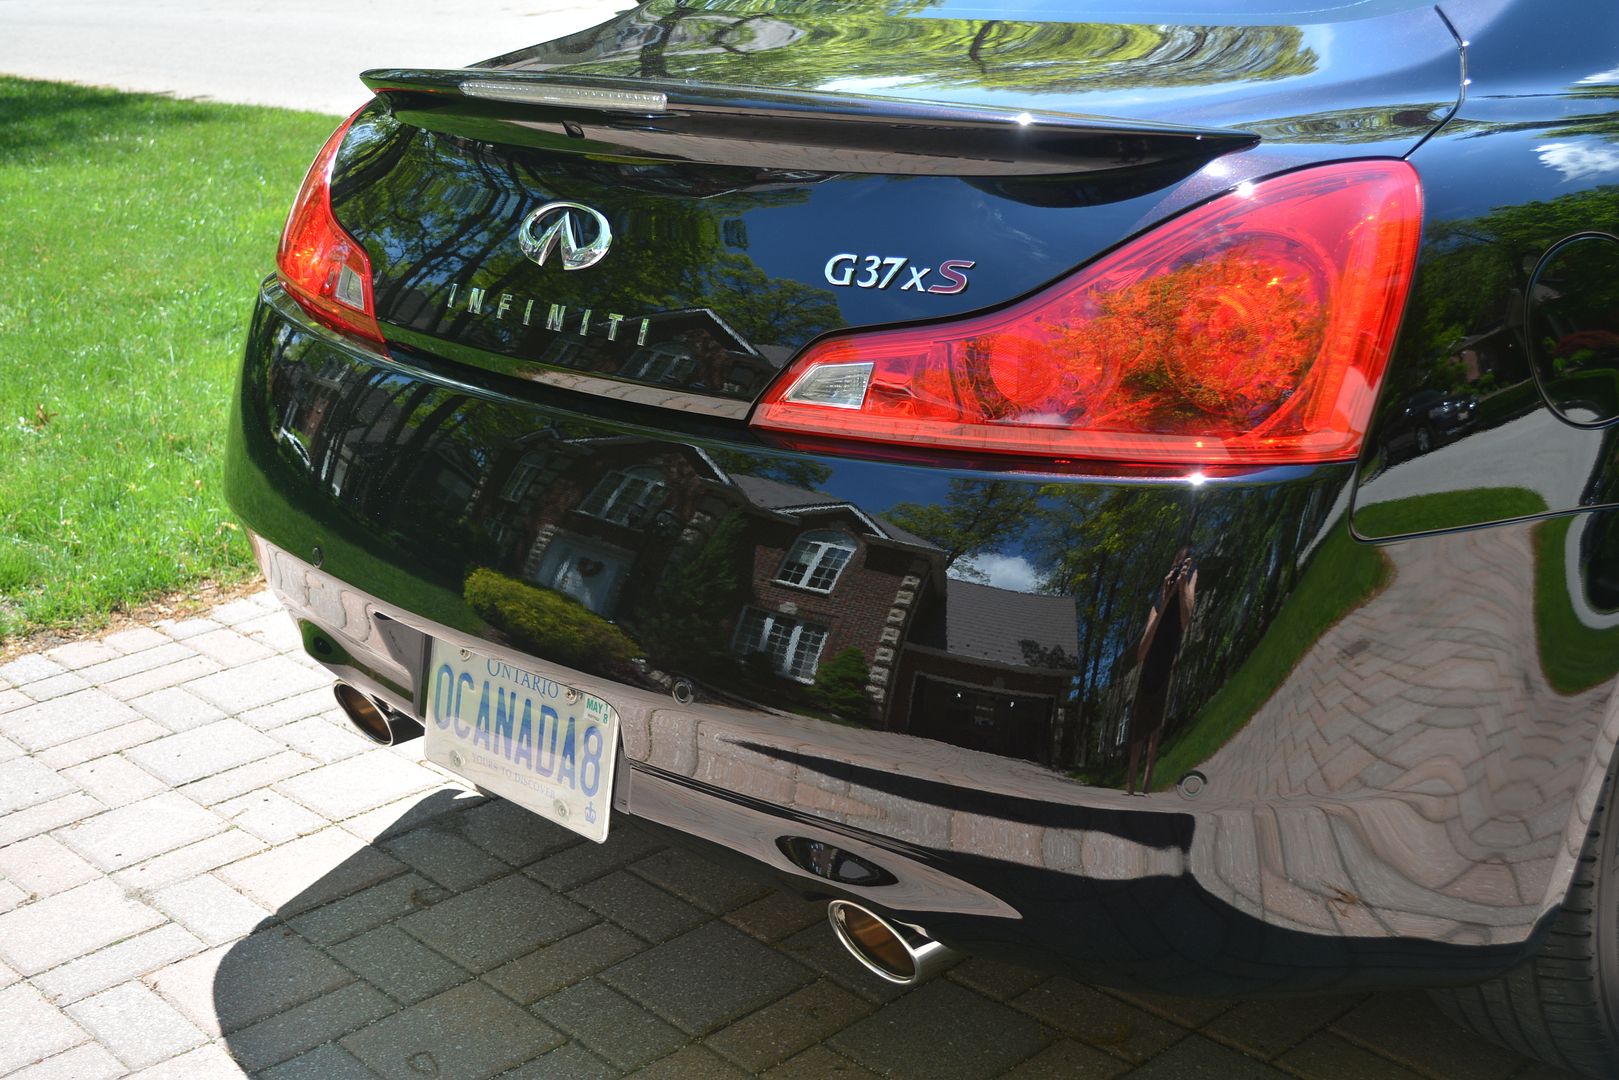
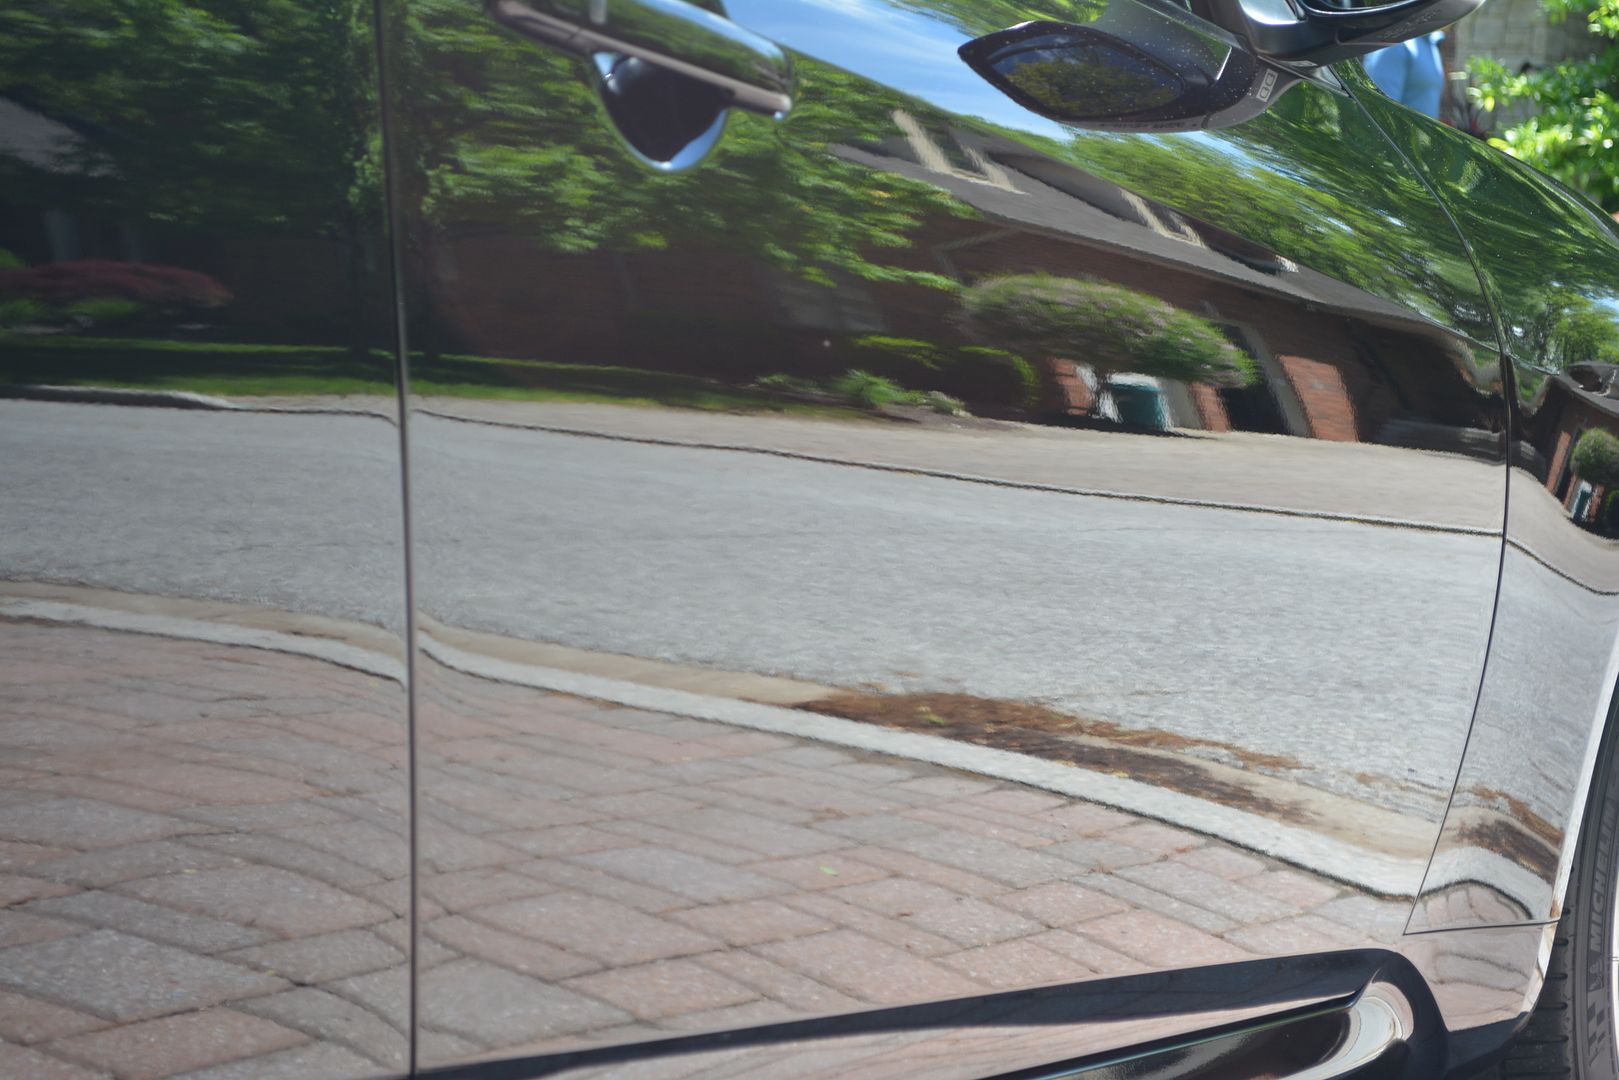
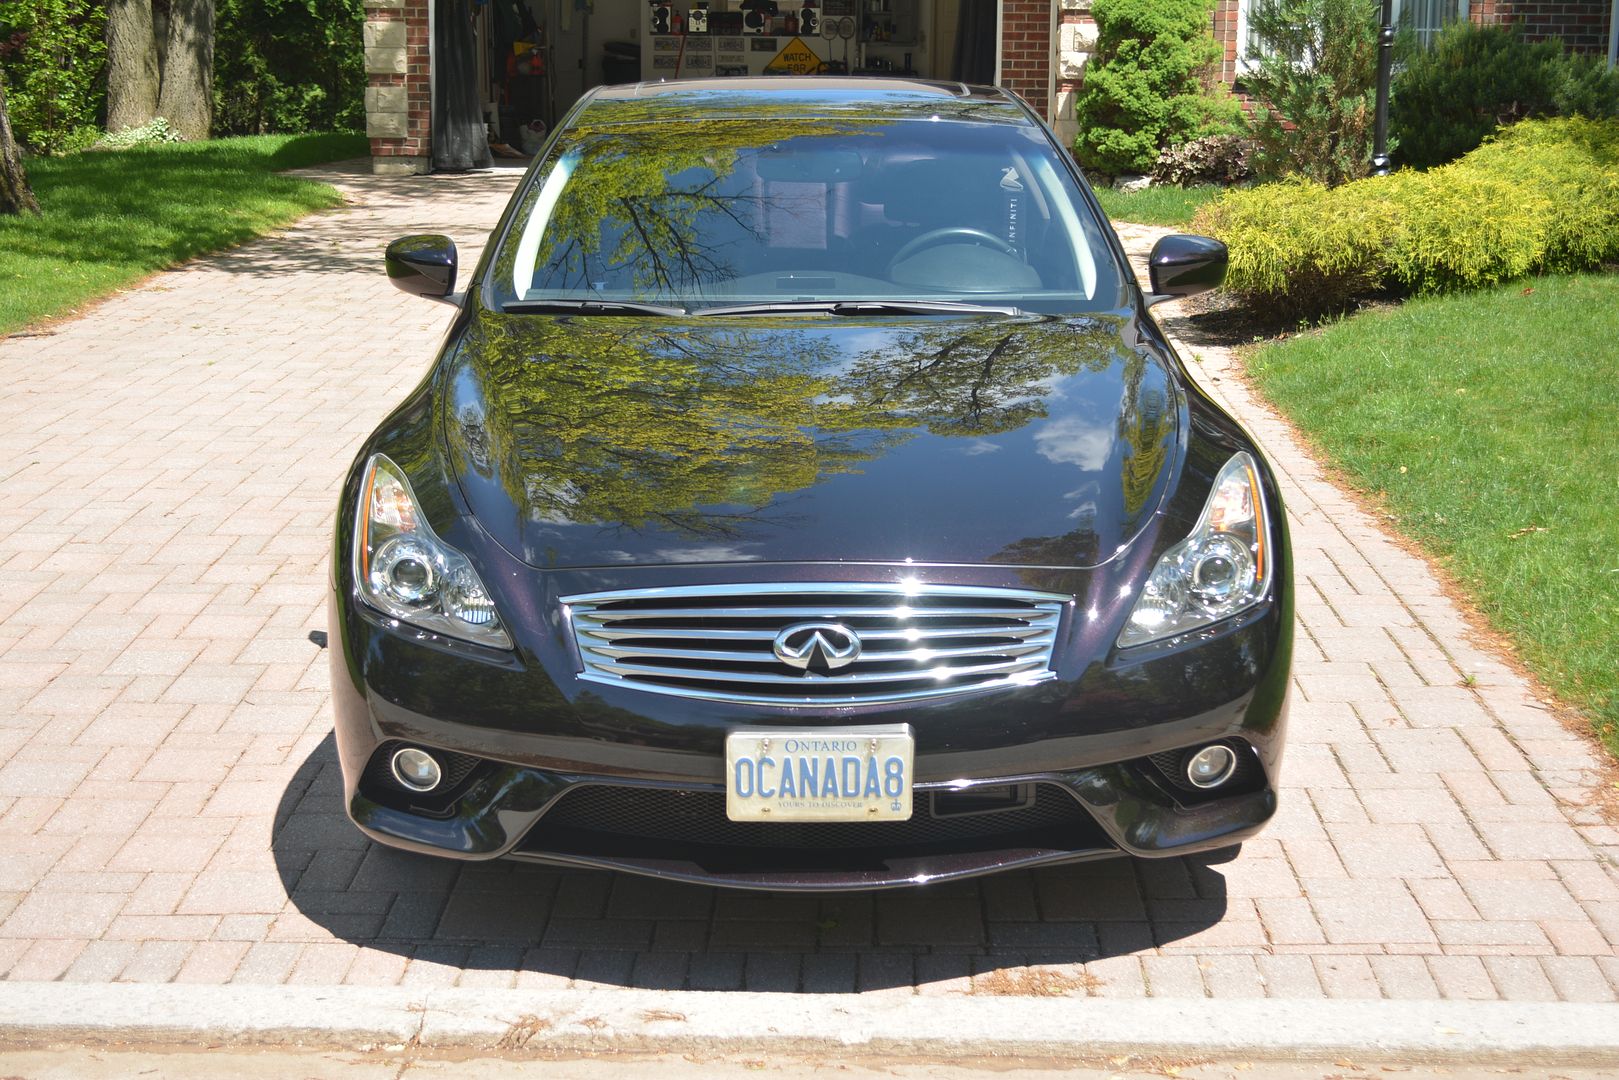
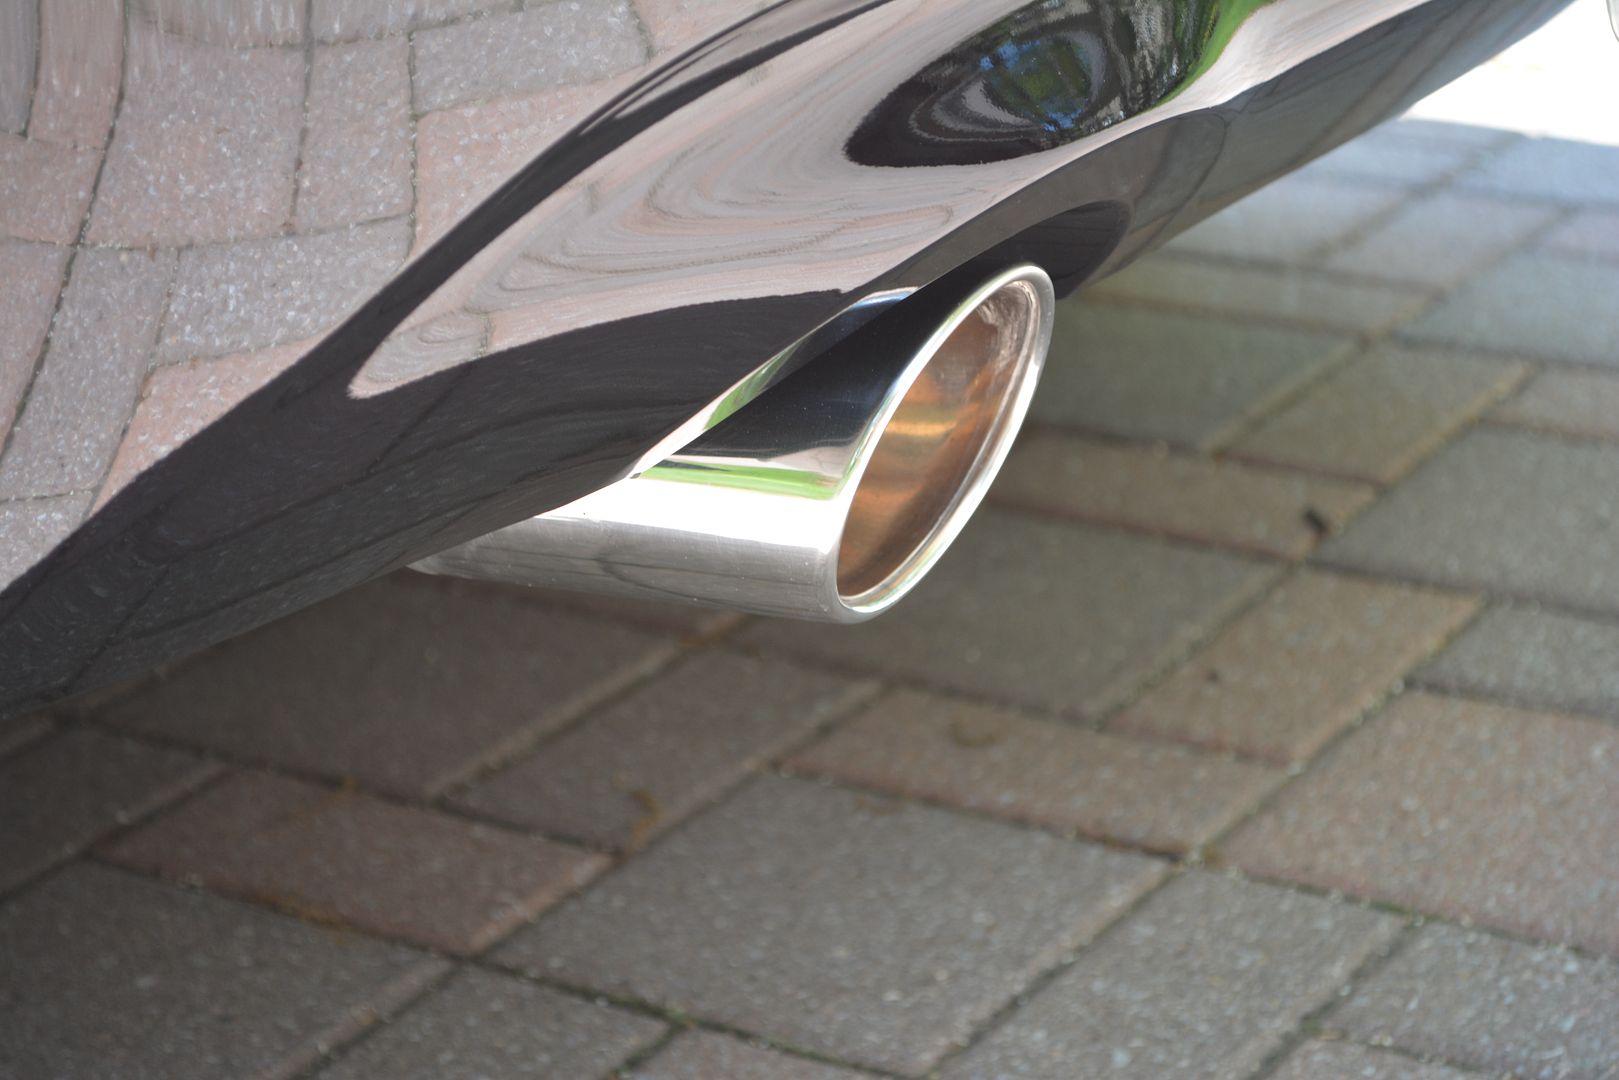
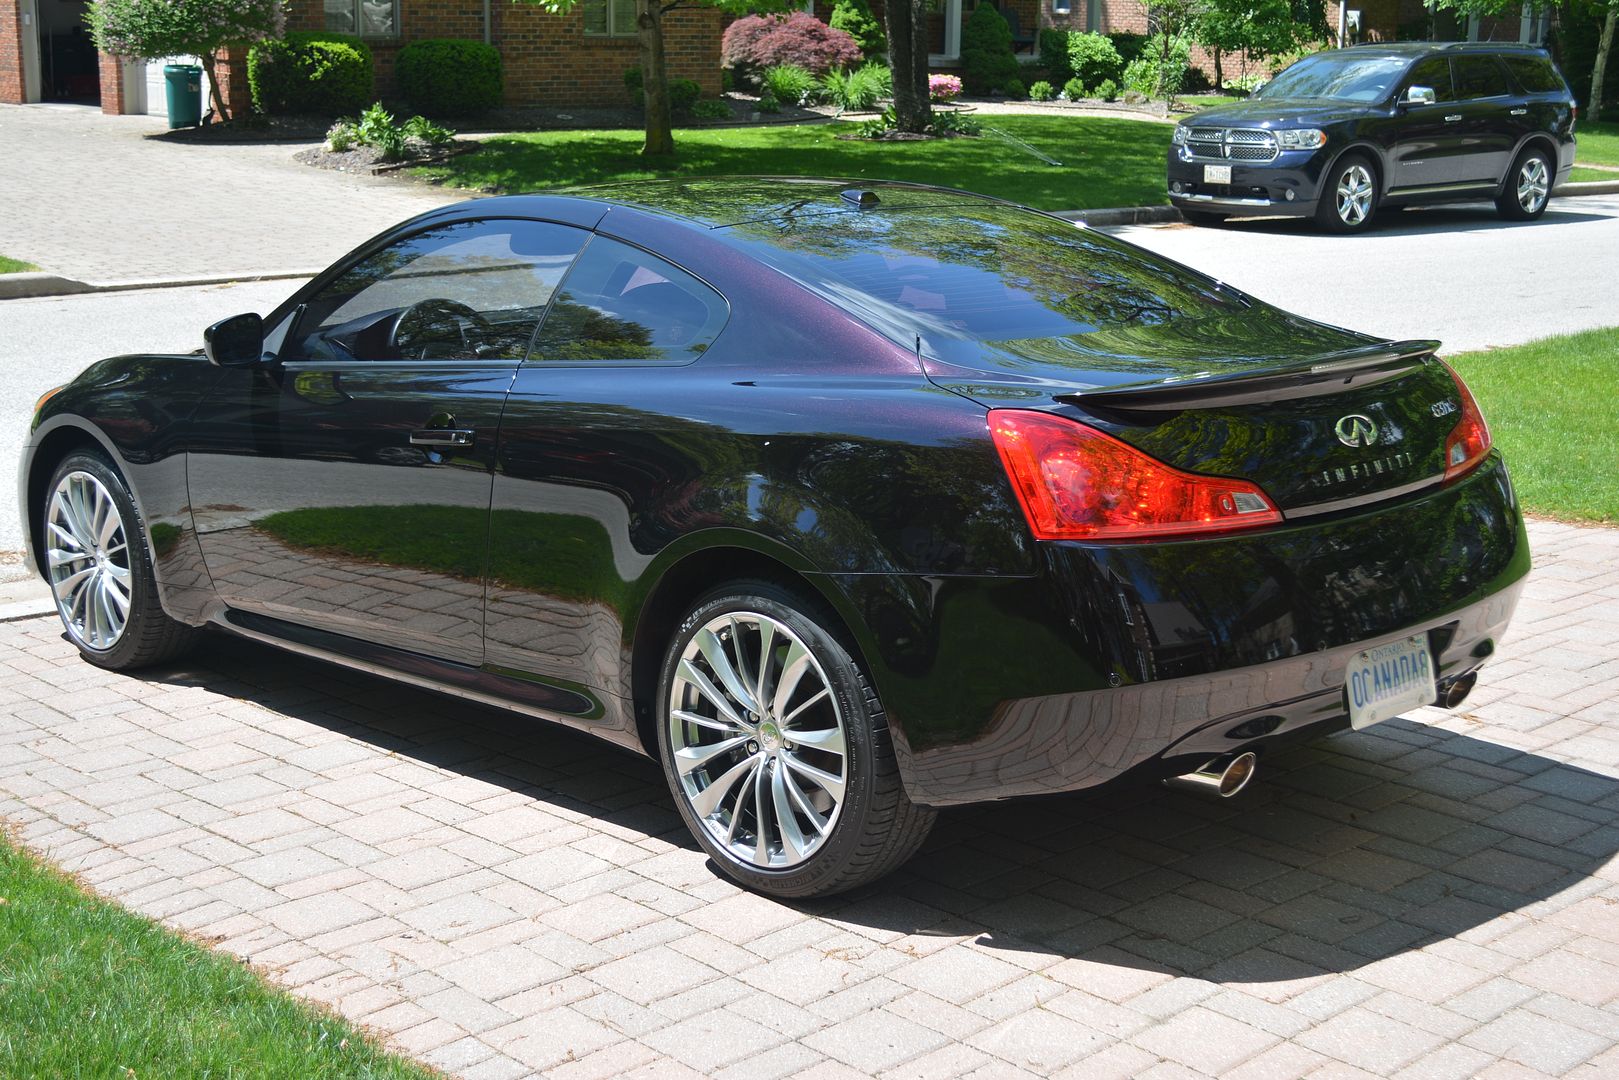
The paint was then coated with Feynlab Self Heal lite. It was raining at the time and extremely humid (typical of our summers when surrounded by the Great Lakes). The humidity was causing the coating to flash extremely quickly and I was getting frustrated using it. This was the first full car for me to coat with it. I expected a learning curve (only so much you can get from one day of training) but it was very frustrating at the beginning. John Parker of Texas was an amazing guide to help me with the issues and I also incorporated some good tips from Brent. By the end, I had changed my approach substantially based on their recommendations. I ended up having 24 hours in the job with both sets of wheels. I think this will be the answer for his soft paint and I`m looking forward to the feedback I get from him. I coached him on how to activate the self healing properties in the coating. Here it is all done:

Thanks for looking!
Anyway, here it is as it arrived with the extra set of wheels too:


First up was to wash the vehicle. The wheels, etc were done first. The front plastic barrels were cleaned with LATA while the tires were cleaned with Zep 505. The barrels were cleaned with a Daytona brush and Zep Citrus along with a demoted wash mitt with DG 901. They were going to be removed anyway, so I was just trying to cut down my additional cleaning time later. The paint was washed with DG 901 followed by IronX gel soap. It was brought inside and clayed with Riccardo yellow and Feynlab Prime as the lube.
Next was to do the winter wheels. Each barrel was cleaned with Tarminator first and a plastic razor blade followed by Zep Citrus and a demoted wash mitt and DG 901. The faces were cleaned with ZC and DG 901. The tires were cleaned with Zep 505. Each wheel was then chemically cleaned with DG Squeaky Clean (unbelievable what that got out too!) and then the barrels were coated with DLux and the faces were coated with Feynlab Wheel & Caliper coating. It has a strong solvent smell to it and gave me a headache. You can tell this stuff is strong! Here`s one of the winter wheels in process:


The set on the car then got done. In addition, the plastic front wells were further cleaned with ONR and then blown dry and had DLux applied to them. I did this for free because of being a repeat customer. I always try to do something extra for a repeat customer to show my appreciation. In this case it was applying DLux to the wells. Feynlab got applied to faces and to the calipers as well. The tire was shot with Opti Bond from my air gun while the wheel was raised up. Each wheel was torqued back to spec after re-installing. DLux was used on the barrels of this set too. I`ve asked him to compare the performance of the two for me. All in all, I was 7 hours doing the wheels.
Now it was time to play with the paint. Here is the condition after being clayed:


I had my work cut out for me again <sigh>. The water spotted glass was treated with Car Pro Water Spot remover followed by ONR. I sealed the side and rear glass using Fly By 30. I hope it is more resistant to the hard water stains in the future. The windshield was coated with Forte. I again used The Last Cut as the compound of choice with a black wool HD pad + 3401. That was followed by M205 + 3401 + orange B/S pad.
The paint was then coated with Feynlab Self Heal lite. It was raining at the time and extremely humid (typical of our summers when surrounded by the Great Lakes). The humidity was causing the coating to flash extremely quickly and I was getting frustrated using it. This was the first full car for me to coat with it. I expected a learning curve (only so much you can get from one day of training) but it was very frustrating at the beginning. John Parker of Texas was an amazing guide to help me with the issues and I also incorporated some good tips from Brent. By the end, I had changed my approach substantially based on their recommendations. I ended up having 24 hours in the job with both sets of wheels. I think this will be the answer for his soft paint and I`m looking forward to the feedback I get from him. I coached him on how to activate the self healing properties in the coating. Here it is all done:


Thanks for looking!