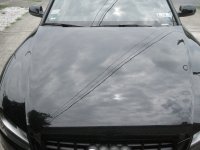
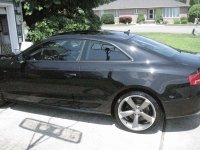
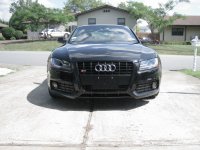
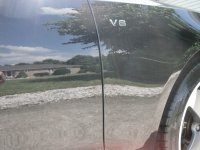
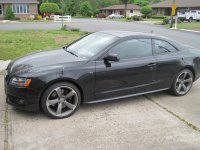
I had a week off from work and my brother has been bugging me to do a full correction on his car. So I started last Sunday and finally finished today. To do everything is took me 33 hours and this was my first full correction.
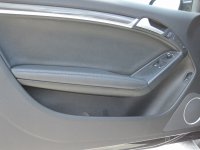
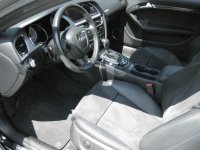
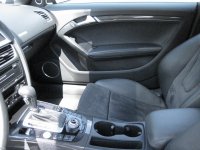
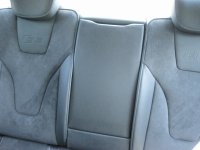
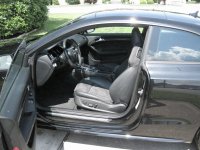
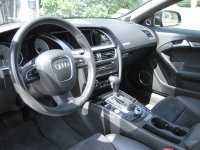
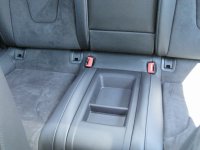
The interior was full cleaned and reconditioned with CG Leather Cleaner and Leather Conditioner. The plastics and trim were wiped down and dressed with Black-fire interior protectant. All the glass was cleaned with Meg's Glass cleaner.
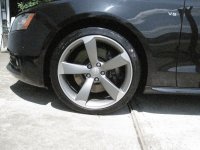
The wheels were cleaned using soap and water, Meg's APC+ for the tires, and Meg's Wheel Brightener was used for a couple of tough areas.
I two bucket washed the car then clay bar.
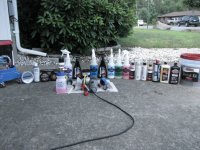
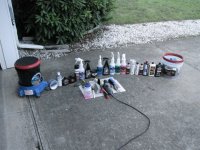
3 Step Compound and Polish:
Compounded with Porter Cable, 5" Meg's MF Cutting discs with D300 mixed with Meg's 101 for certain tough spots.
Polished with a LC CCS Black Pad with Menzerna Final Finish PO85U
Jeweled the paint with a Gold LC CCS pad with Menzerna Super Finish PO 106 FA
Used the Karcher foam cannon and rinsed the car off. Dried the car and put a coat of Adam's revive to fully clean the paint of any residue.
I than added a coat of Poorboy's Black Hole Glaze with a CCS Black Pad and the PC.
A coat of Nanoskin Hydrophobic wax was added with a CCS Red Pad and the PC.
The car got two coats of Pinnacle Souveran Paste Wax.
The tires and trim were dressed with Meg's Hyper Dressing.
The final coat of wax is Wolfgang's Fuzion.
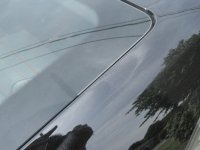
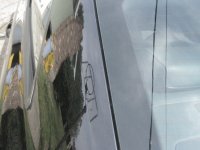
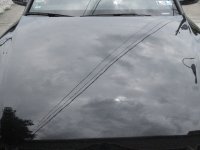
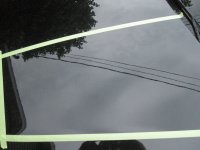
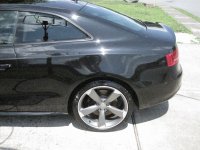
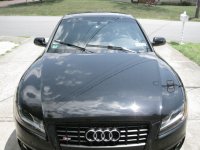
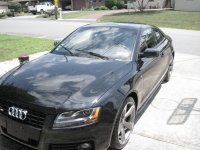
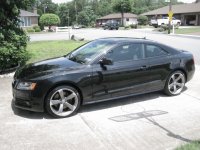
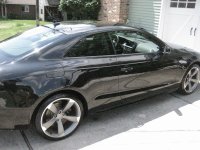
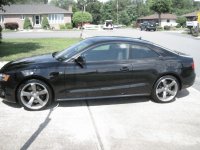
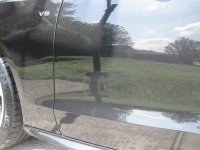
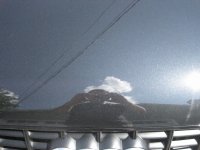
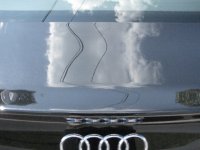
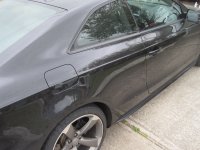
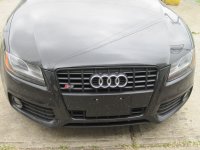
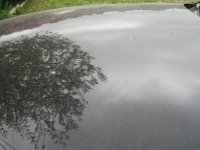
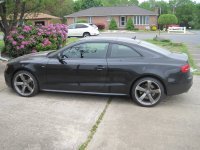
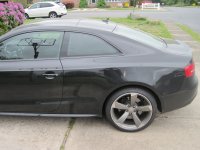
For my first full paint correction my brother and I were extremely pleased with the results!!!
Videos:
2012 Audi S5 Full Correction - YouTube
2012 Audi S5 Full Correction, Glazed and 3 coats of Wax - YouTube
2012 Audi S5 Full Correction, Glazed and 4 Coats of Wax - YouTube
Thanks for looking!
The interior was full cleaned and reconditioned with CG Leather Cleaner and Leather Conditioner. The plastics and trim were wiped down and dressed with Black-fire interior protectant. All the glass was cleaned with Meg's Glass cleaner.
The wheels were cleaned using soap and water, Meg's APC+ for the tires, and Meg's Wheel Brightener was used for a couple of tough areas.
I two bucket washed the car then clay bar.
3 Step Compound and Polish:
Compounded with Porter Cable, 5" Meg's MF Cutting discs with D300 mixed with Meg's 101 for certain tough spots.
Polished with a LC CCS Black Pad with Menzerna Final Finish PO85U
Jeweled the paint with a Gold LC CCS pad with Menzerna Super Finish PO 106 FA
Used the Karcher foam cannon and rinsed the car off. Dried the car and put a coat of Adam's revive to fully clean the paint of any residue.
I than added a coat of Poorboy's Black Hole Glaze with a CCS Black Pad and the PC.
A coat of Nanoskin Hydrophobic wax was added with a CCS Red Pad and the PC.
The car got two coats of Pinnacle Souveran Paste Wax.
The tires and trim were dressed with Meg's Hyper Dressing.
The final coat of wax is Wolfgang's Fuzion.
For my first full paint correction my brother and I were extremely pleased with the results!!!
Videos:
2012 Audi S5 Full Correction - YouTube
2012 Audi S5 Full Correction, Glazed and 3 coats of Wax - YouTube
2012 Audi S5 Full Correction, Glazed and 4 Coats of Wax - YouTube
Thanks for looking!
Attachments
-
 IMG_0232.JPG650.4 KB · Views: 9
 -
 IMG_557.JPG702.5 KB · Views: 13
 -
 IMG_0555.JPG684.1 KB · Views: 21
 -
 IMG_0239.JPG580.1 KB · Views: 9
 -
 IMG_0238.JPG449.5 KB · Views: 7
 -
 IMG_0237.JPG467.8 KB · Views: 6
 -
 IMG_0236.JPG368.9 KB · Views: 5
 -
 IMG_0235.JPG444.3 KB · Views: 6
 -
 IMG_0234.JPG717.6 KB · Views: 10
 -
 IMG_0233.JPG505 KB · Views: 7