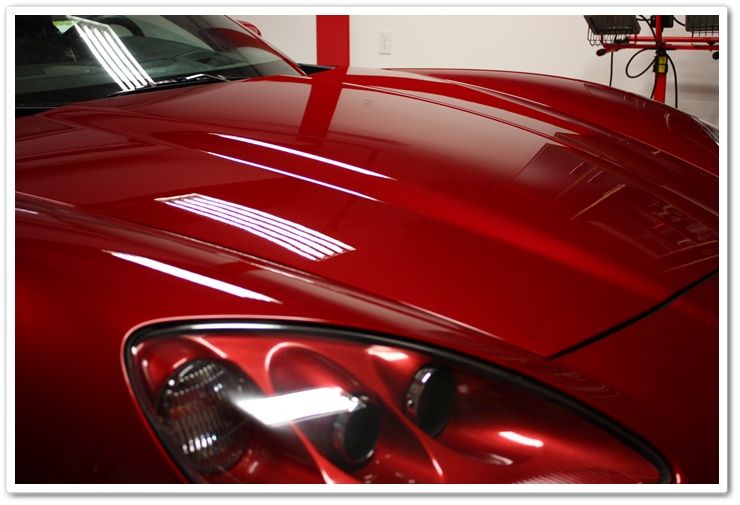
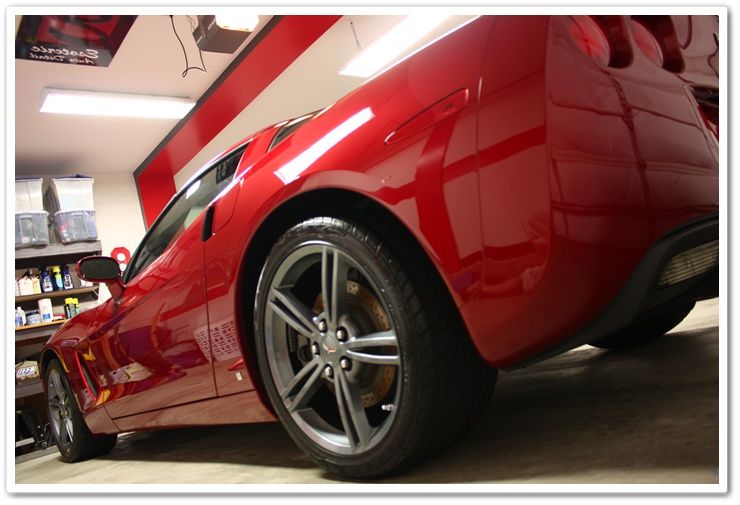
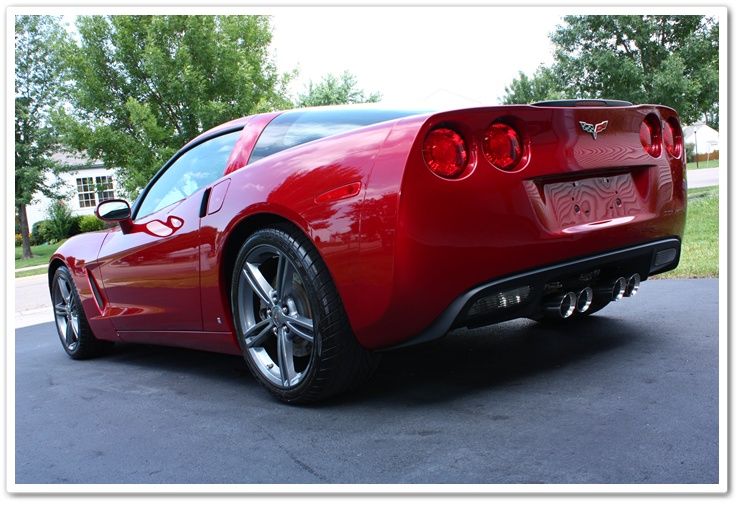
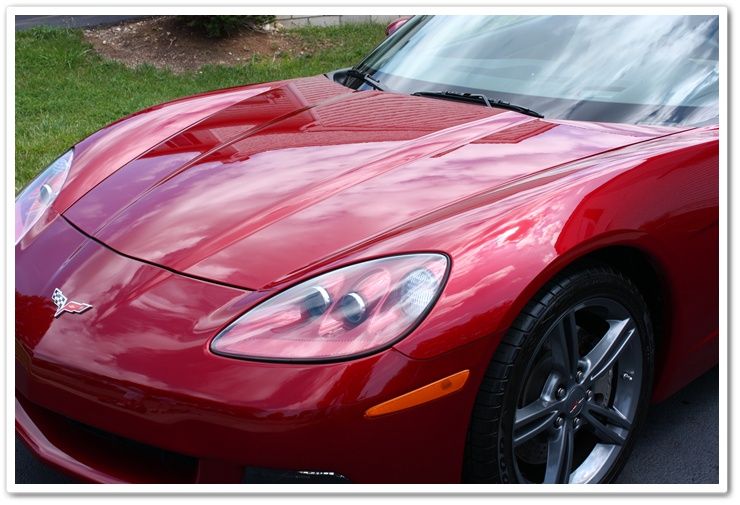
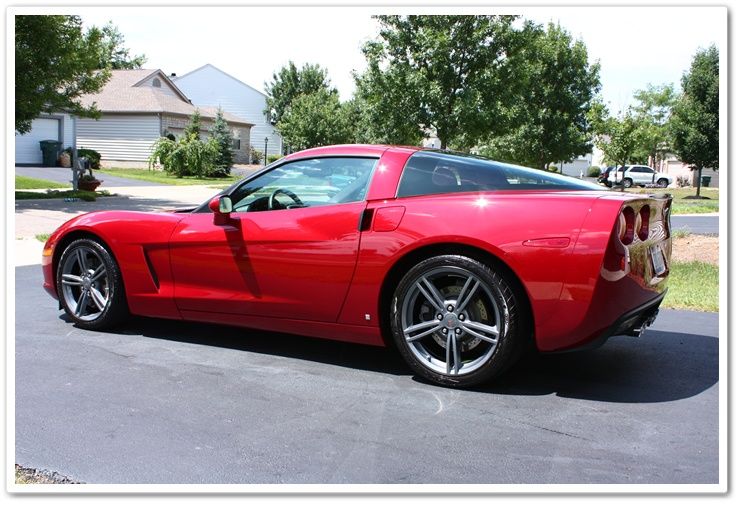
2008 Corvette in Crystal Red Metallic
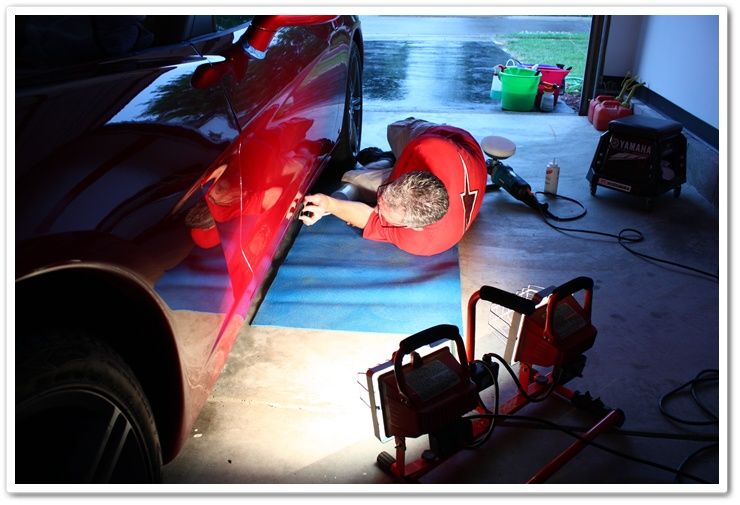
Perfected by Esoteric Auto Detail, LLC of Columbus, Ohio.
Every car has history and a few stories, but rarely do they have this much when they’re “brand new”.
My client purchased this leftover ’08 model from a dealer on the other side of the country, and didn’t get the opportunity to look it over prior to the purchase. It was sold as “new” since it had never been titled, and had only 106 miles on it. When the truck arrived here in Ohio however, it looked more like it had 10,000 miles on it and never once cleaned! I inspected the vehicle right after he received it, and was amazed at the condition. We immediately scheduled a full detail for my first available opening.
I have a theory on how this all happened, but I’ll save that for a little bit later in the write up.
When he received it, he also found out that the trucking company had damaged one of the lower rocker panels…big gouge! So it was first off to the body shop for some damage repair before I could work on it. It turned out that it was a good idea to send it to the body shop first…more on that in a bit.
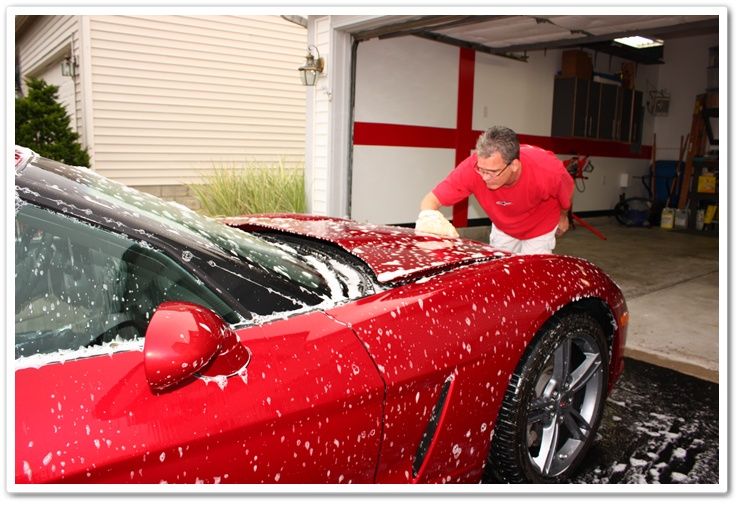
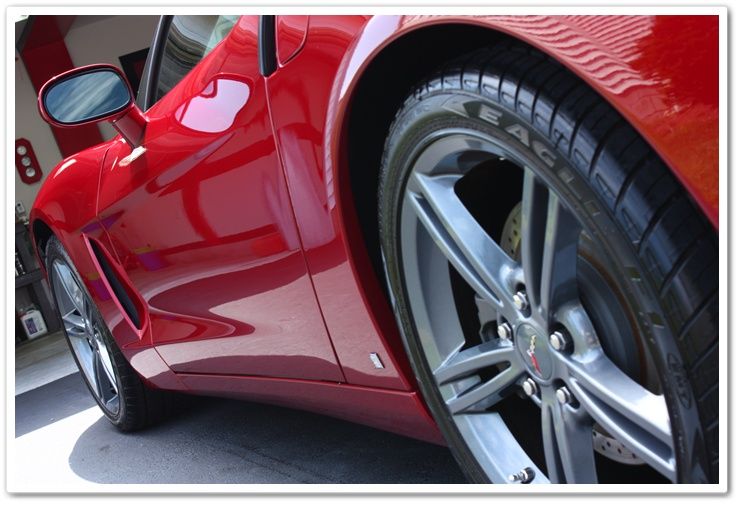
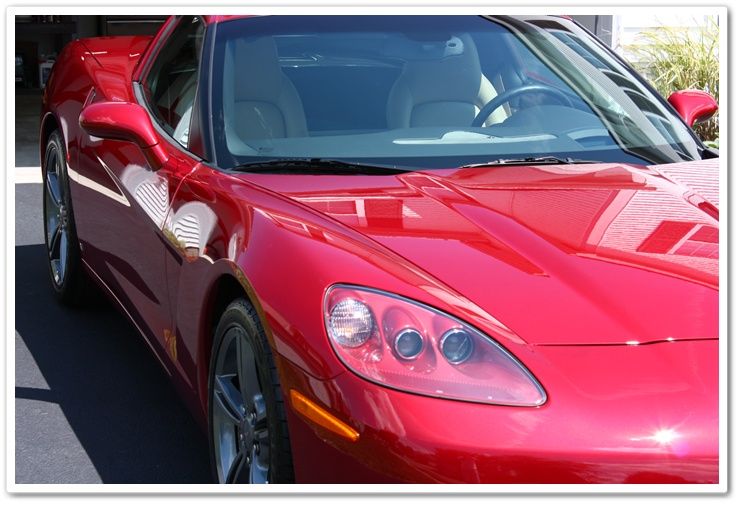
First let’s take a look at the overall condition of this brand new Corvette.
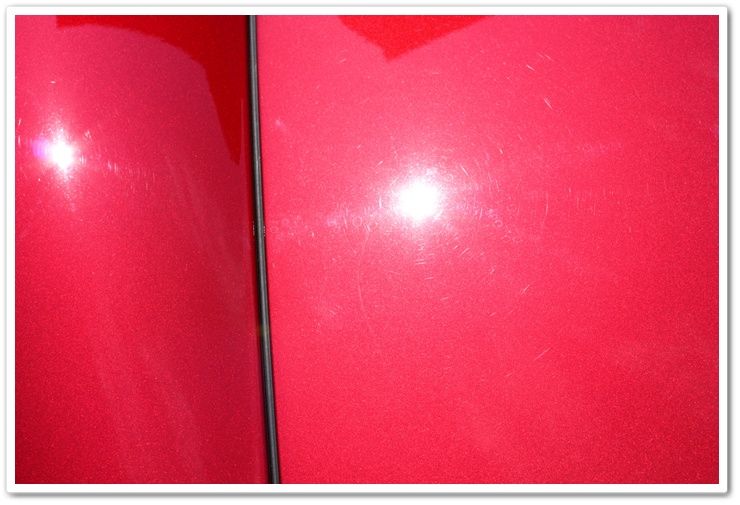
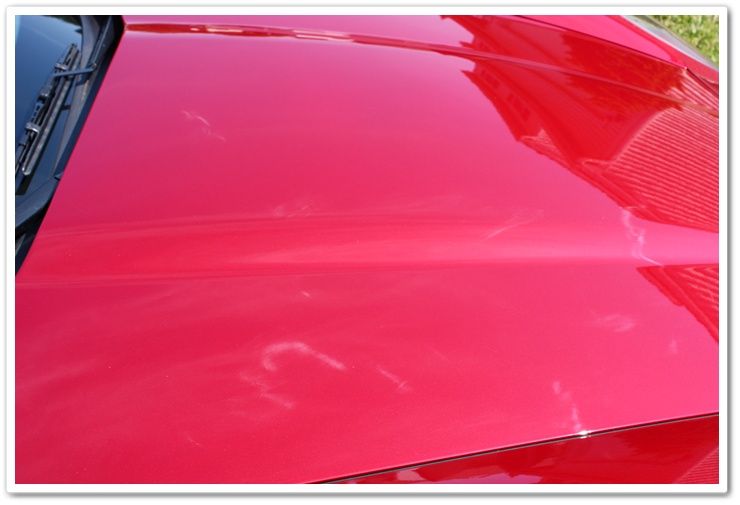
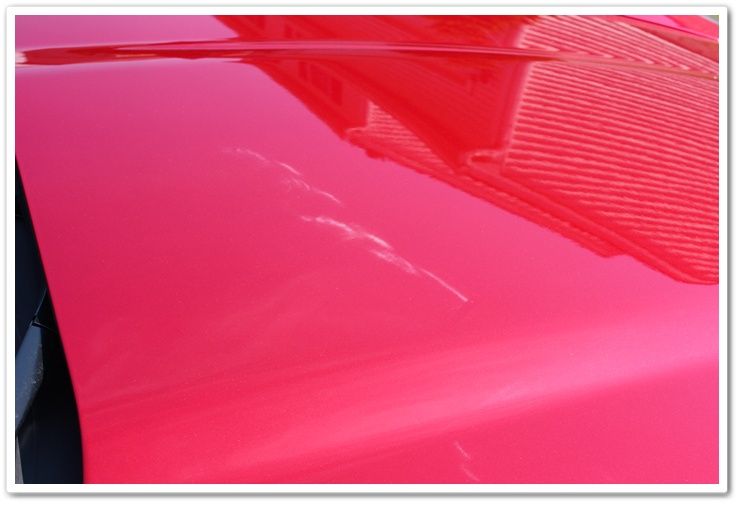
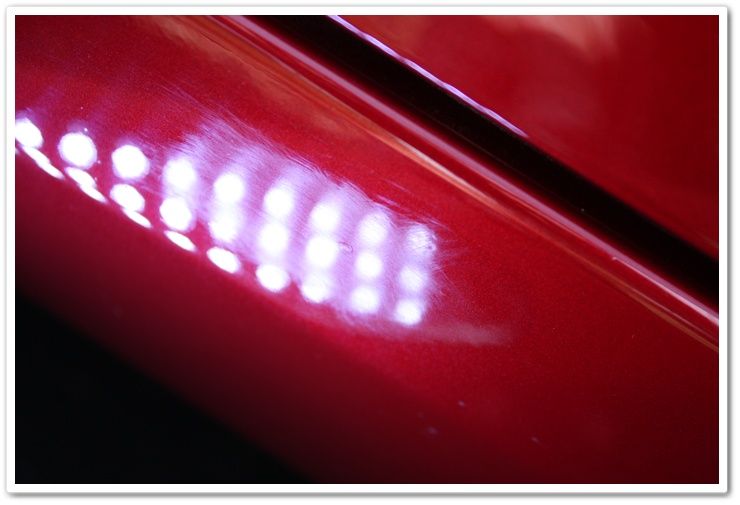
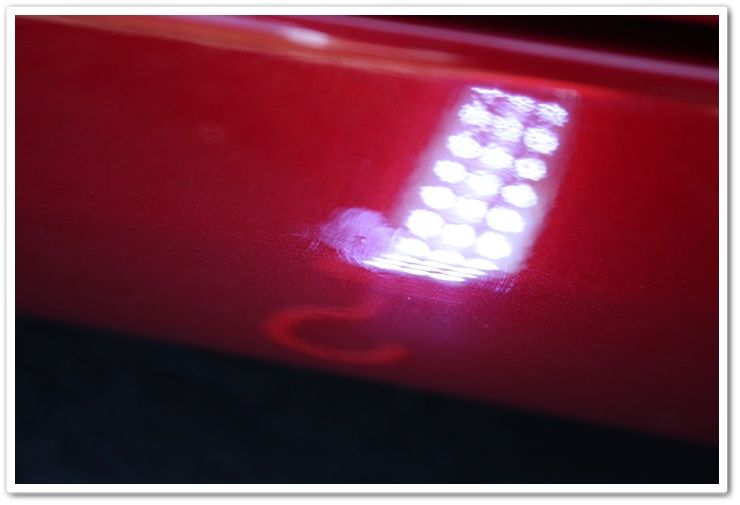
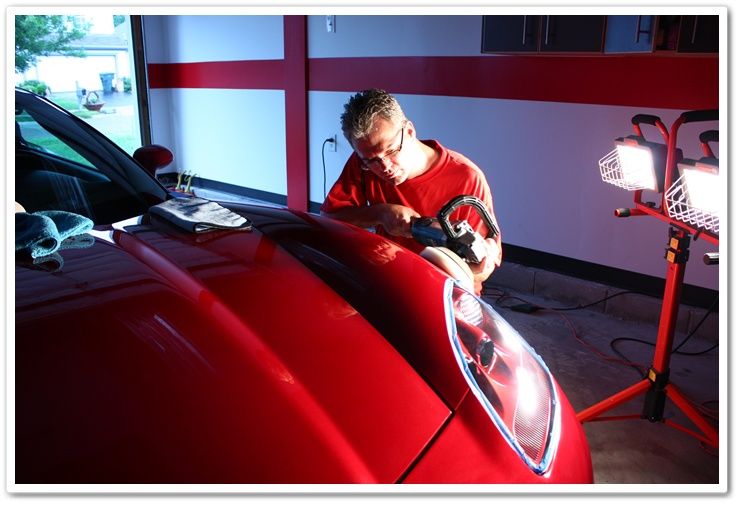
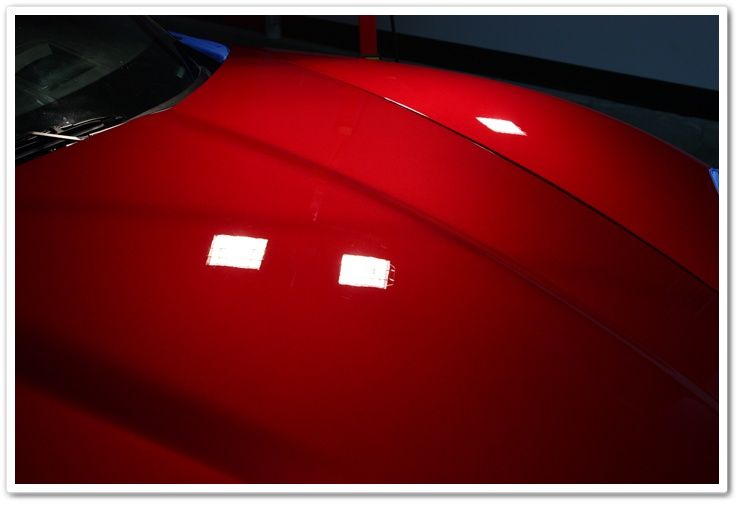
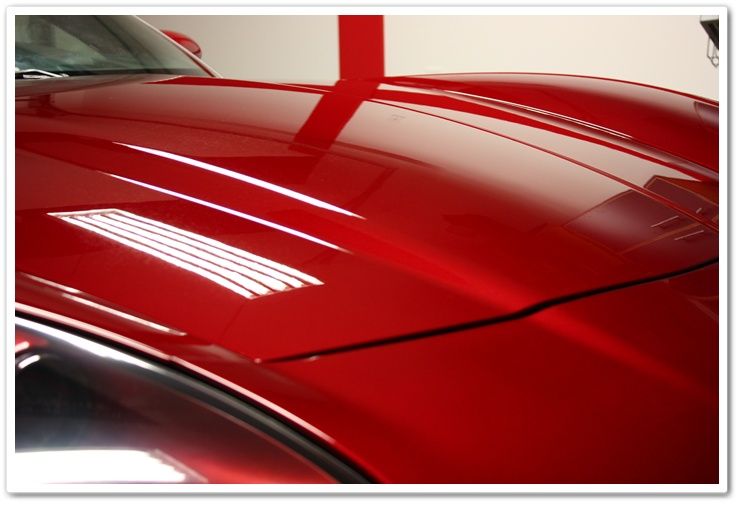
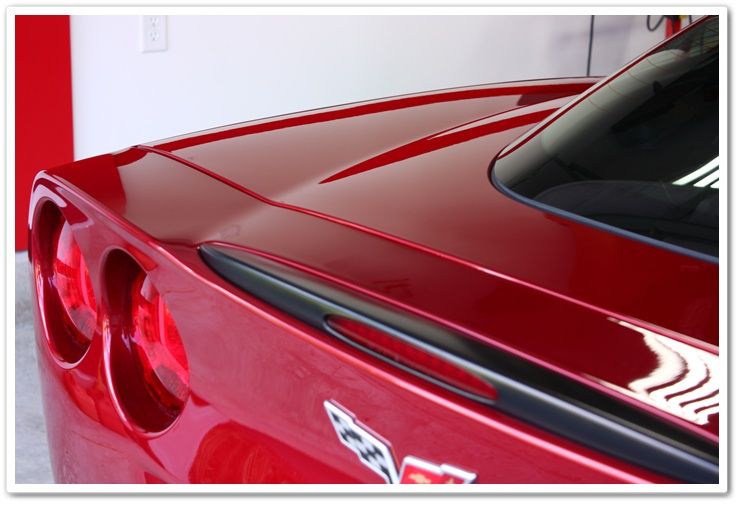
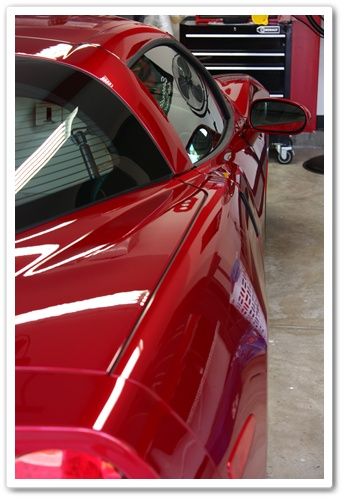
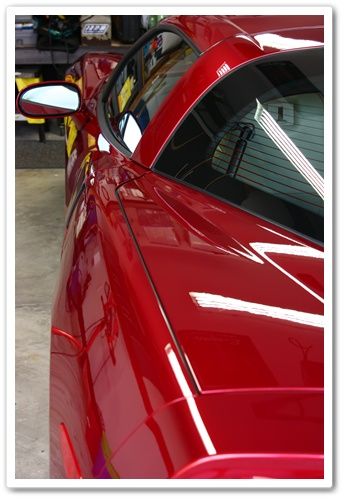
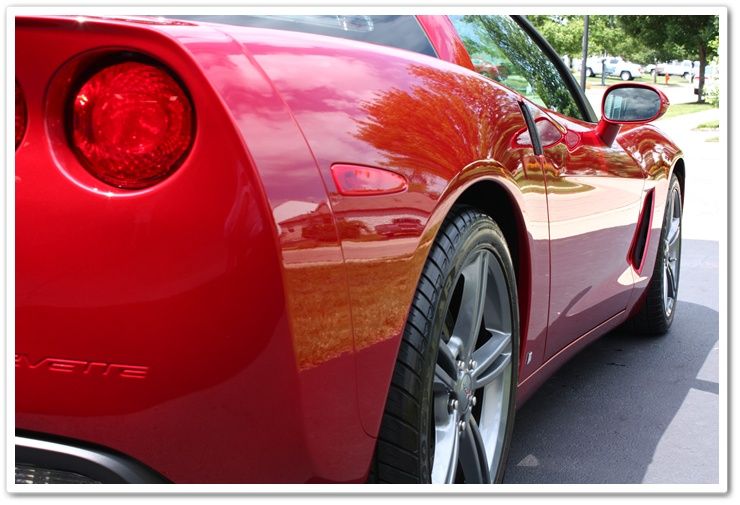
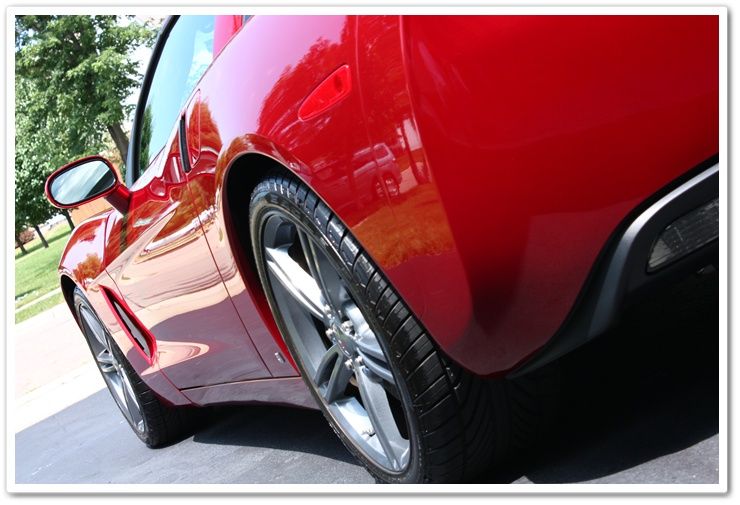
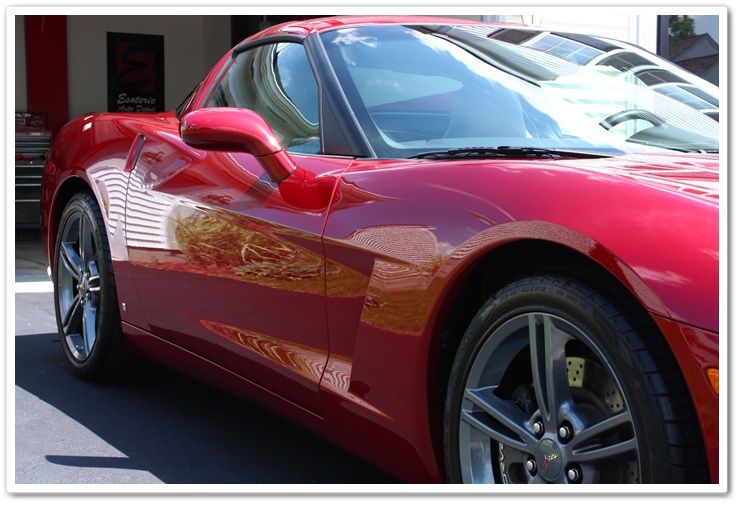
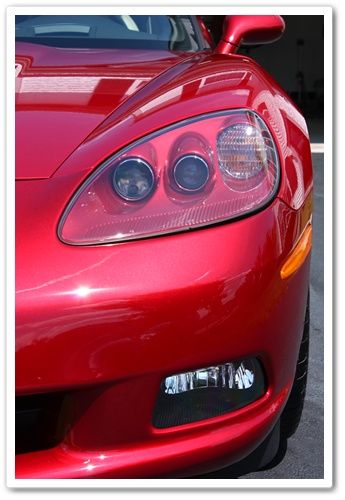
Paint condition: Light to moderate swirls all over the car. Obviously during its time sitting around the dealership it had been improperly cared for.
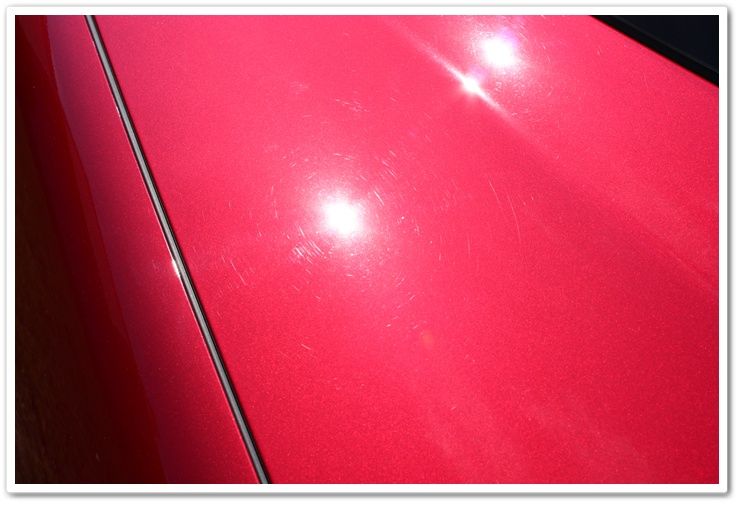
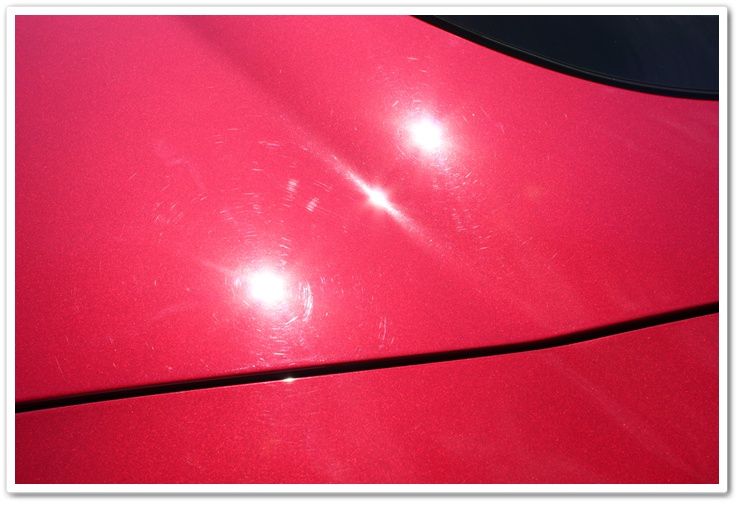
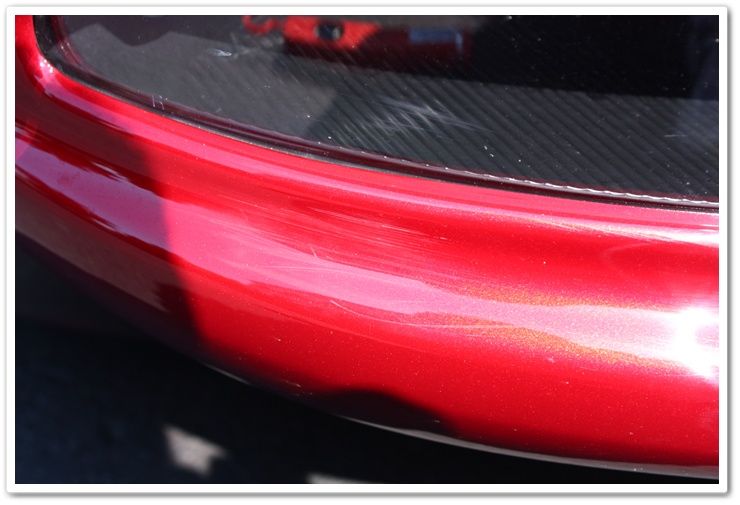
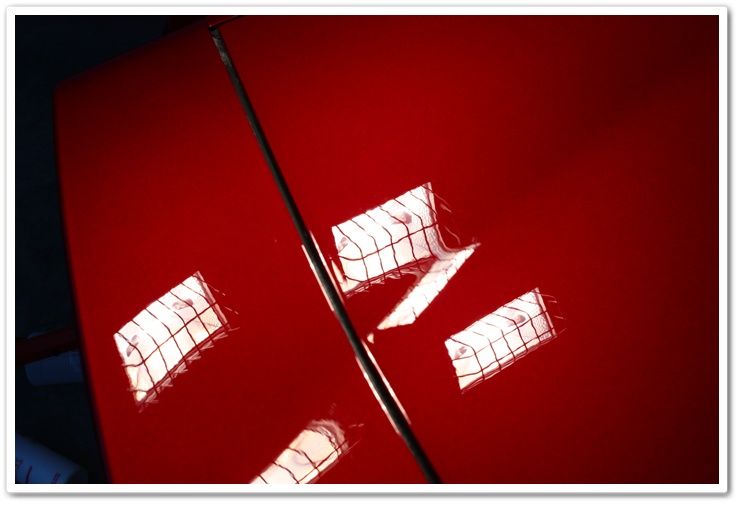
As soon as I saw this, I knew that the car had been wiped down (dry) from all of the body shop dust. This is proof of why debris should never be wiped off dry. The way this was leaving hologram-like defects, you could actually follow the wiping pattern. Can you imagine the situation if I would have worked on it first, and then they did this?
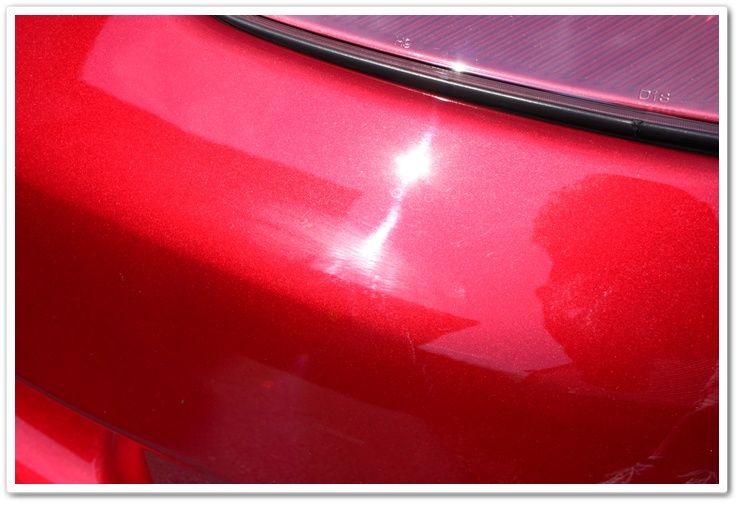
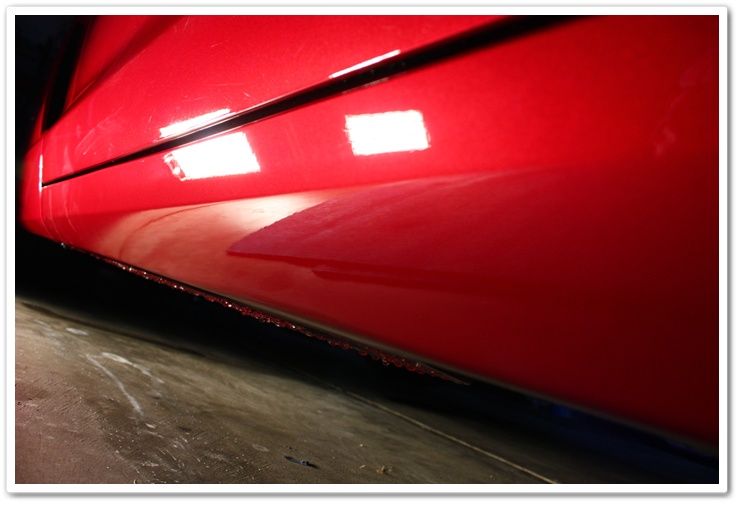
Since I knew where the damage repair had been done, I wanted to inspect it to see if there were any blend marks that needed to be fixed. I was a bit surprised to find this! It looked like there was a run in the paint, and somebody had attacked it with a very abrasive piece of sandpaper, and then walked away and called it finished.
There was another one of the exact same problem about two feet away…these were on the lower side of the rocker panels. Quality work didn’t happen on this job, and this poor Vette just can’t get a break!
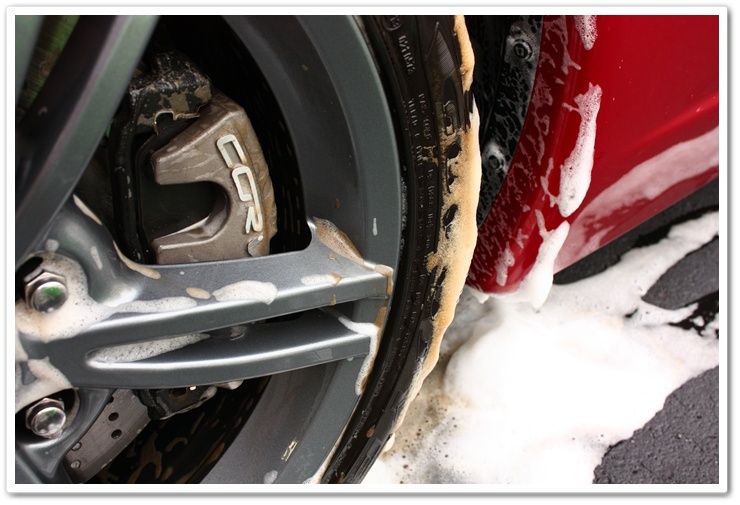
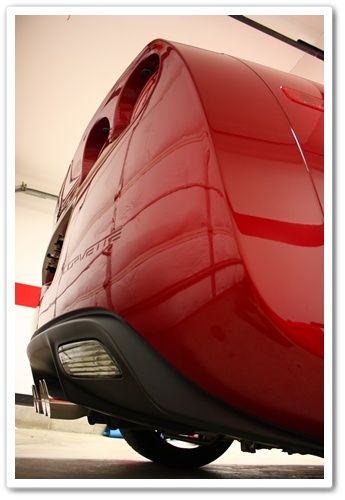
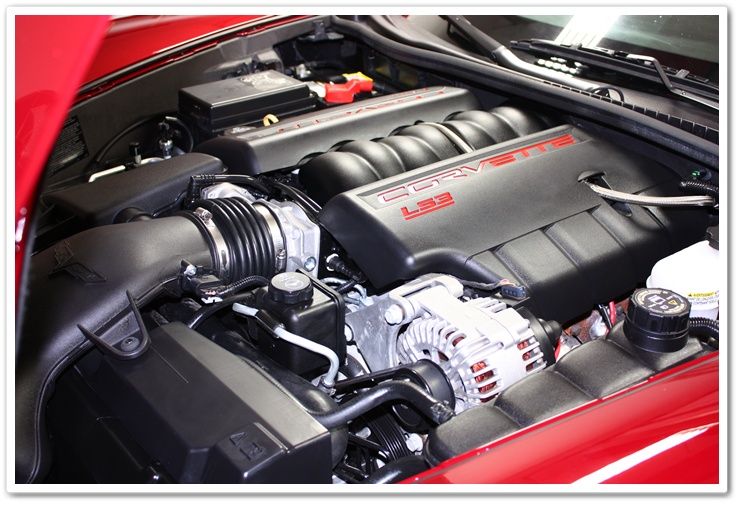
When I looked over the rest of the car, I found what appeared to be a heavy build up of sand in every crack and crevice.
In the rear deck lid:
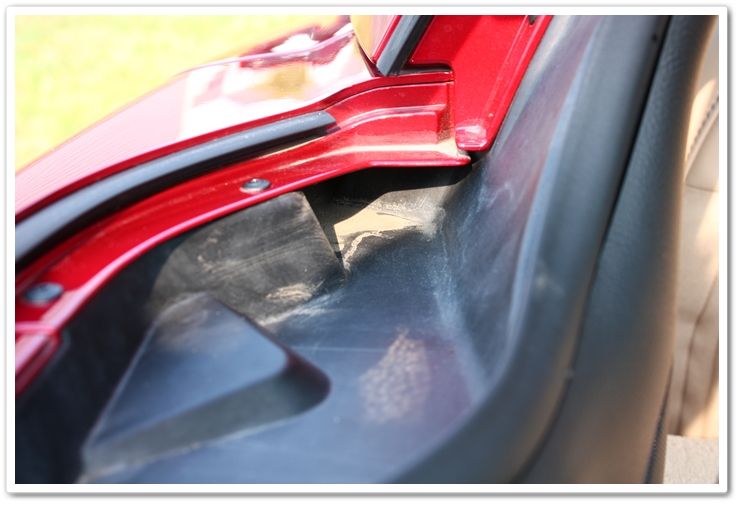
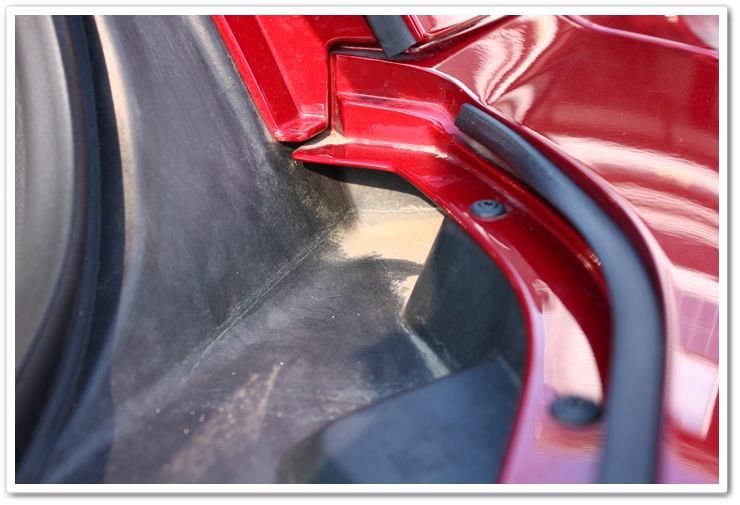
In the door jambs:
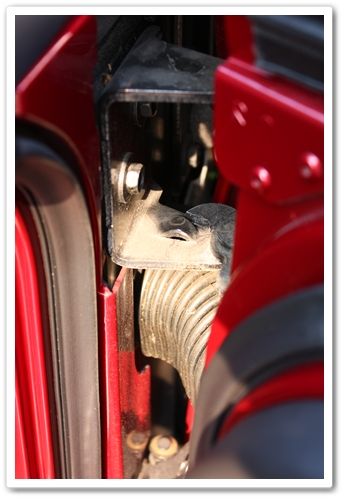
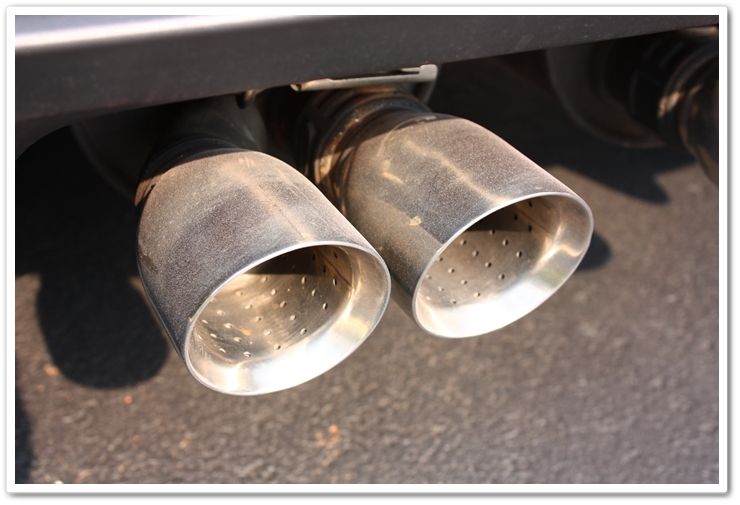
The exhaust:
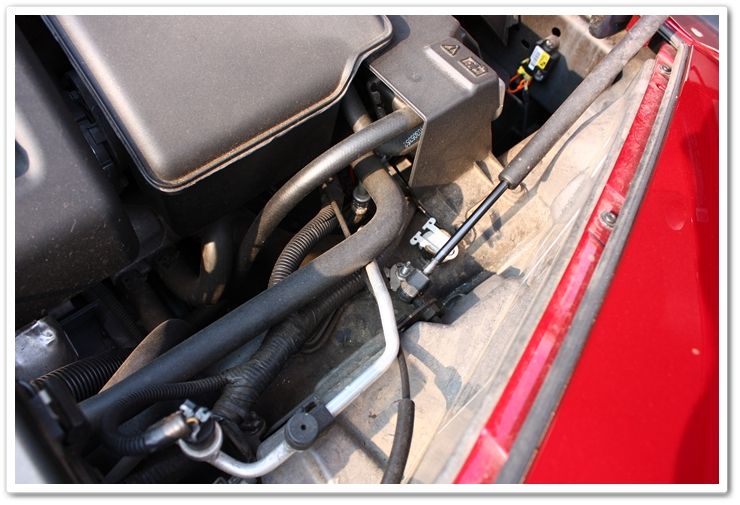
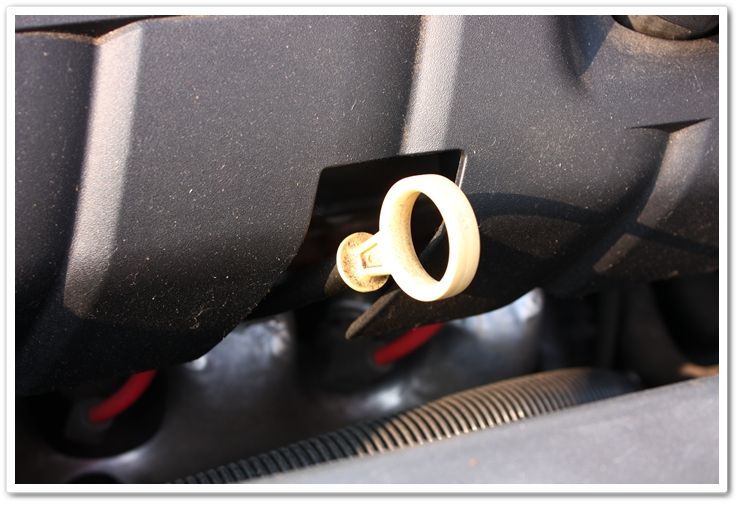
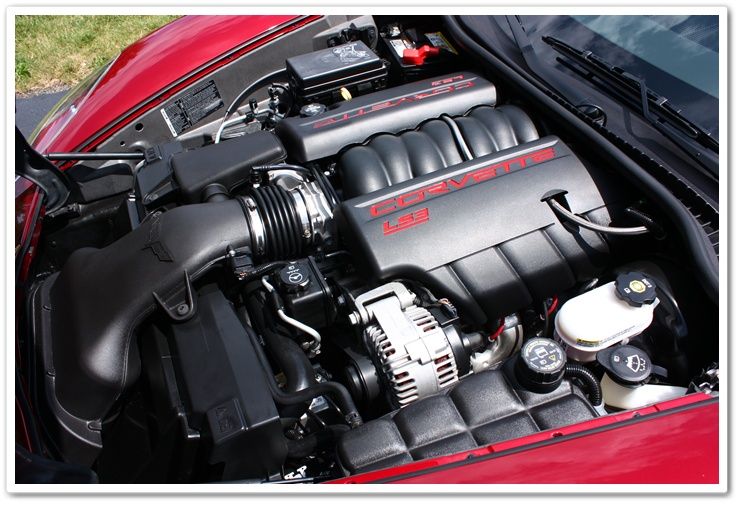
And everywhere in the engine compartment!

It’s getting pretty disgusting, right? I’m sure by now you can really feel for the owner of this car that was sold as “new”.
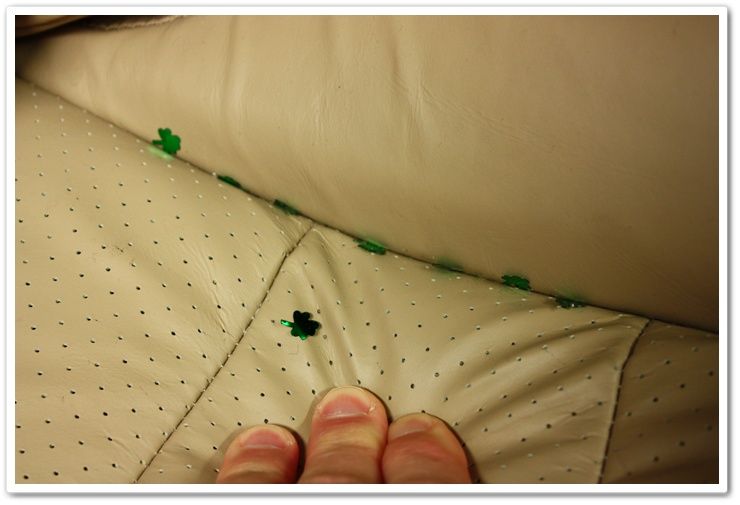
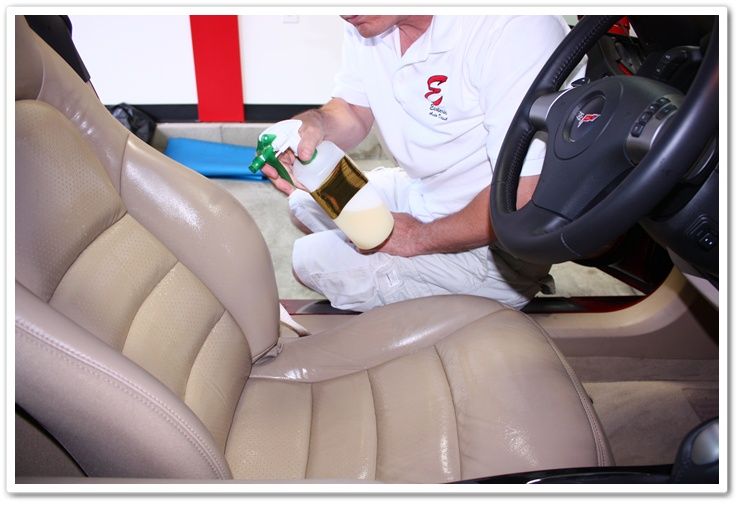
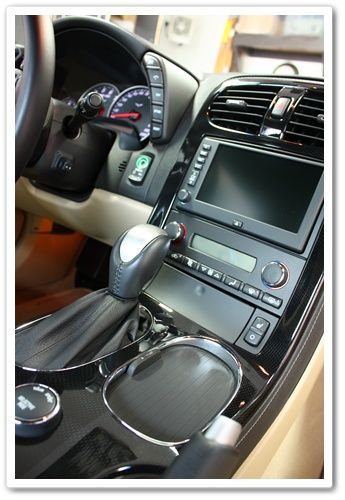
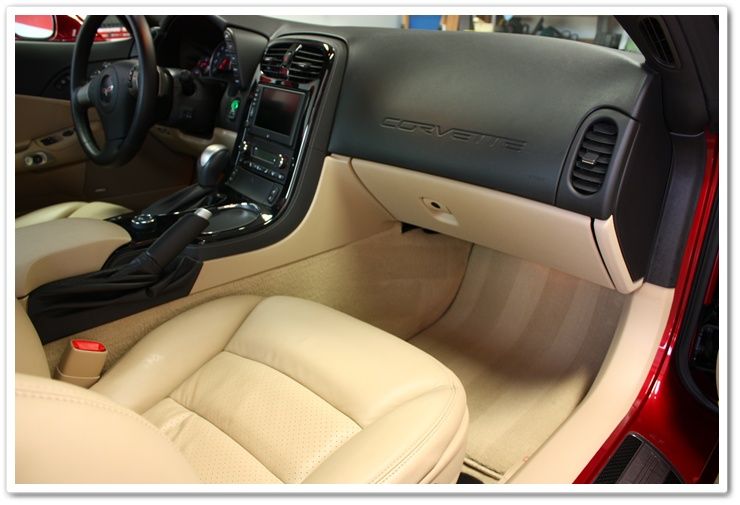
The plot thickens as we move to the interior, and I’m starting to put pieces of the puzzle together to come up with what I believe to be a solid theory.
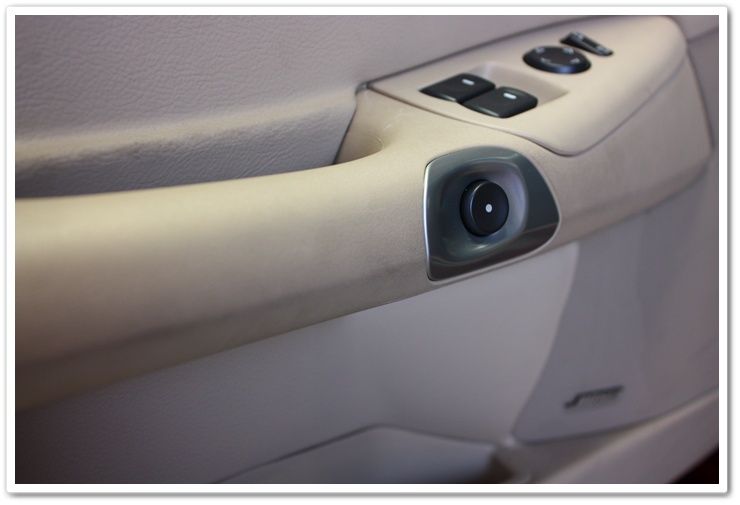
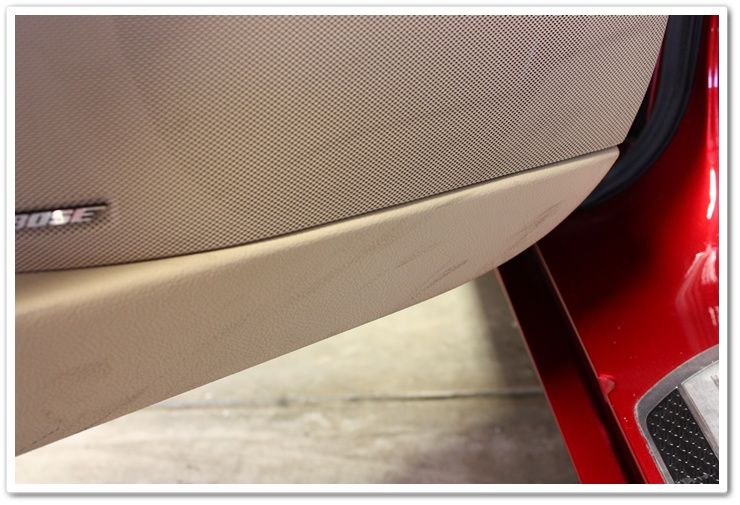
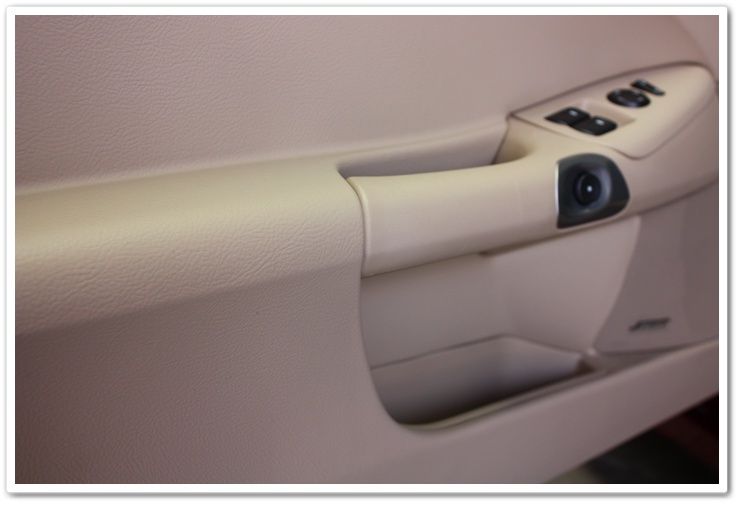
Here was a thorough build-up of crud all over the door panels and handles:
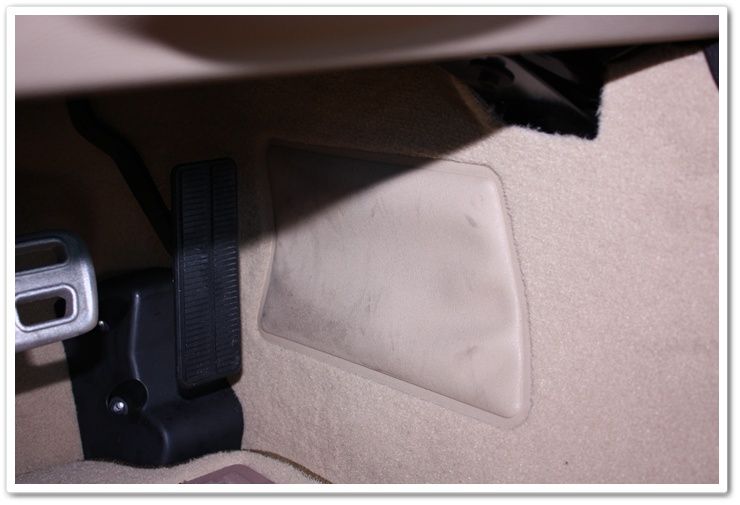
Don’t forget about down here.
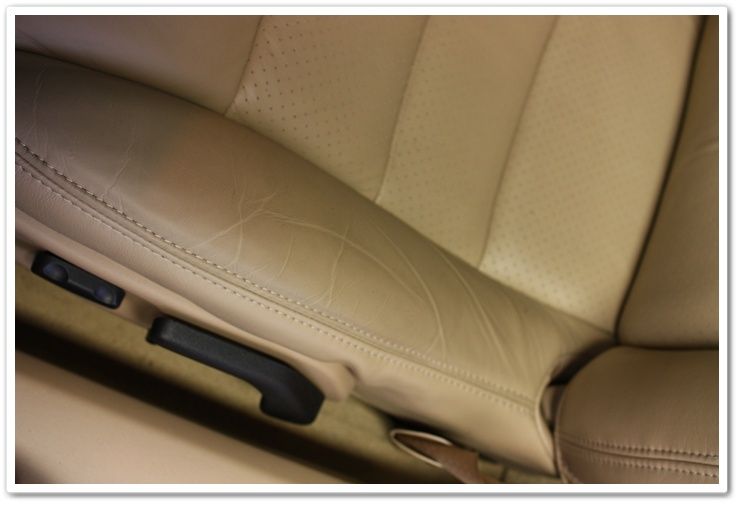
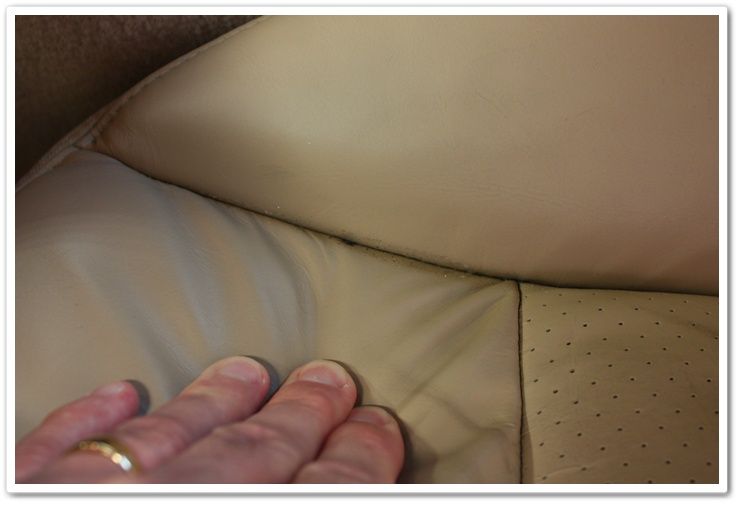
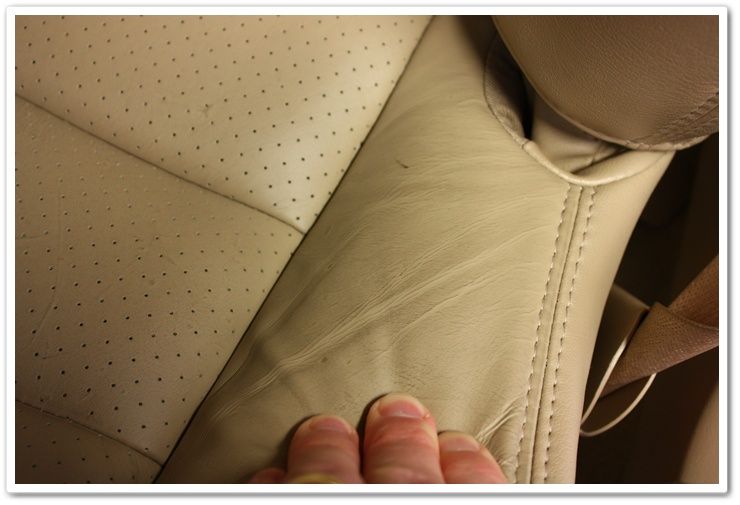
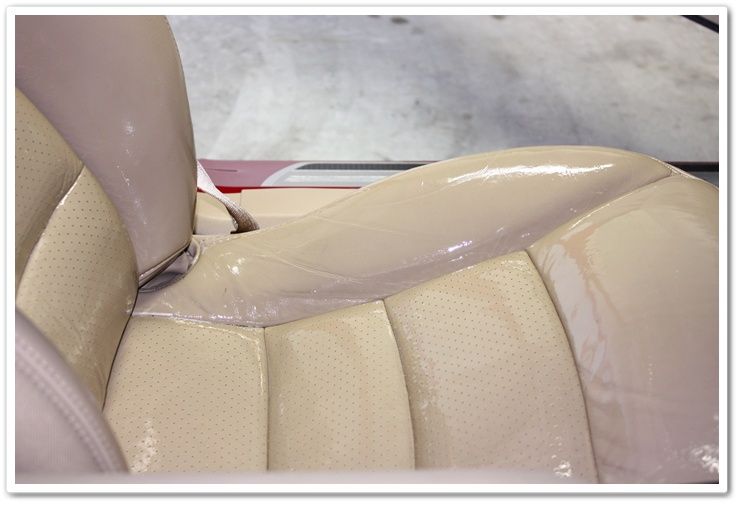
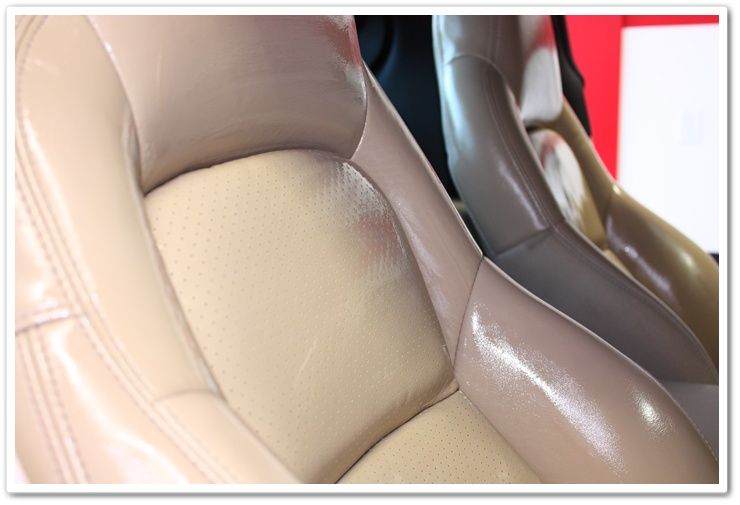
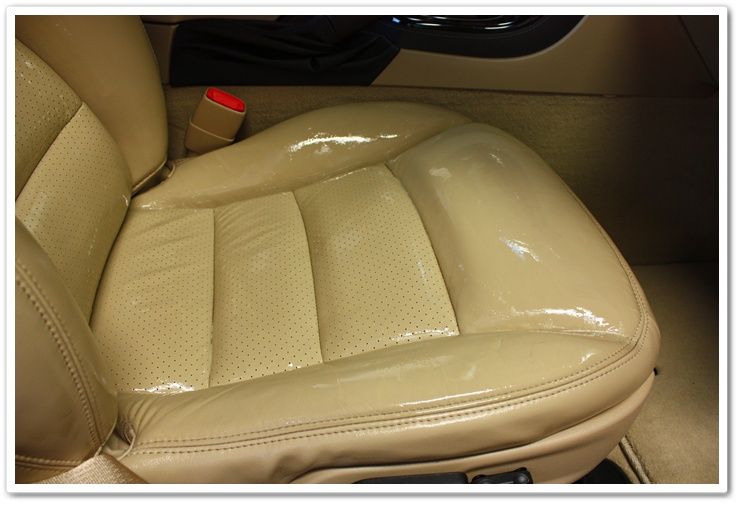
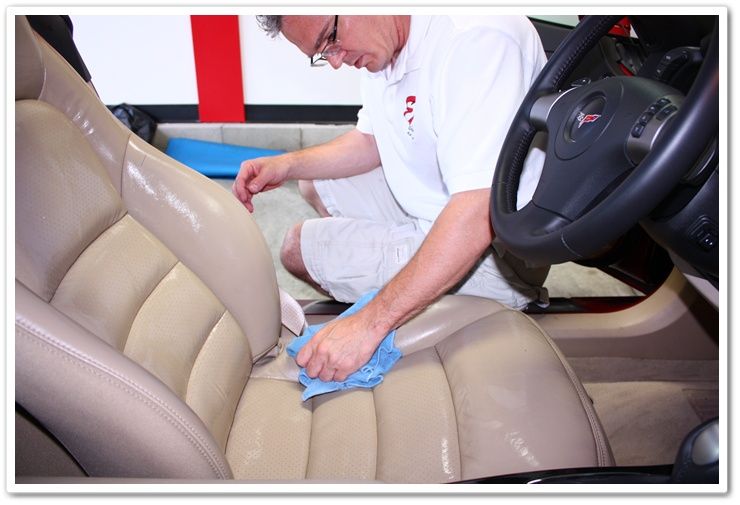
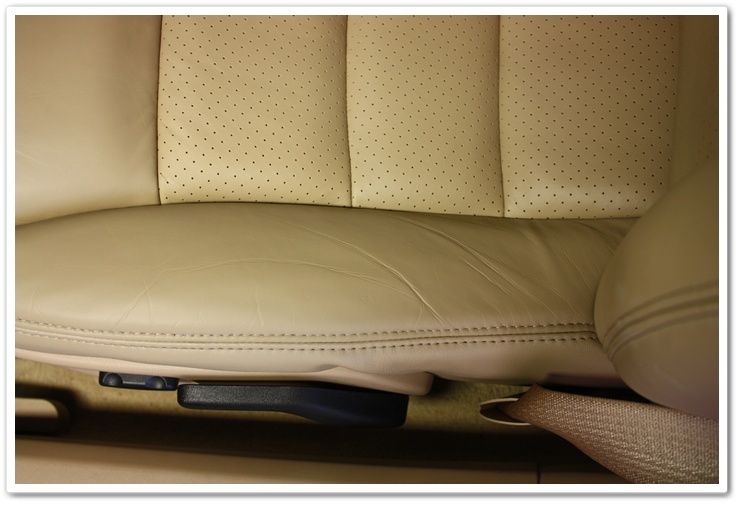
The leather looked exceptionally filthy
Perfected by Esoteric Auto Detail, LLC of Columbus, Ohio.
Every car has history and a few stories, but rarely do they have this much when they’re “brand new”.
My client purchased this leftover ’08 model from a dealer on the other side of the country, and didn’t get the opportunity to look it over prior to the purchase. It was sold as “new” since it had never been titled, and had only 106 miles on it. When the truck arrived here in Ohio however, it looked more like it had 10,000 miles on it and never once cleaned! I inspected the vehicle right after he received it, and was amazed at the condition. We immediately scheduled a full detail for my first available opening.
I have a theory on how this all happened, but I’ll save that for a little bit later in the write up.
When he received it, he also found out that the trucking company had damaged one of the lower rocker panels…big gouge! So it was first off to the body shop for some damage repair before I could work on it. It turned out that it was a good idea to send it to the body shop first…more on that in a bit.
First let’s take a look at the overall condition of this brand new Corvette.
Paint condition: Light to moderate swirls all over the car. Obviously during its time sitting around the dealership it had been improperly cared for.
As soon as I saw this, I knew that the car had been wiped down (dry) from all of the body shop dust. This is proof of why debris should never be wiped off dry. The way this was leaving hologram-like defects, you could actually follow the wiping pattern. Can you imagine the situation if I would have worked on it first, and then they did this?
Since I knew where the damage repair had been done, I wanted to inspect it to see if there were any blend marks that needed to be fixed. I was a bit surprised to find this! It looked like there was a run in the paint, and somebody had attacked it with a very abrasive piece of sandpaper, and then walked away and called it finished.
There was another one of the exact same problem about two feet away…these were on the lower side of the rocker panels. Quality work didn’t happen on this job, and this poor Vette just can’t get a break!
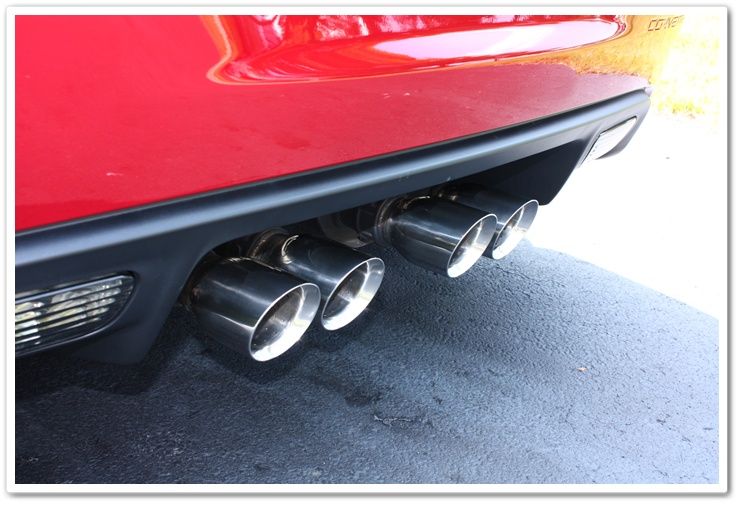
When I looked over the rest of the car, I found what appeared to be a heavy build up of sand in every crack and crevice.
In the rear deck lid:
In the door jambs:
The exhaust:
And everywhere in the engine compartment!
It’s getting pretty disgusting, right? I’m sure by now you can really feel for the owner of this car that was sold as “new”.
The plot thickens as we move to the interior, and I’m starting to put pieces of the puzzle together to come up with what I believe to be a solid theory.
Here was a thorough build-up of crud all over the door panels and handles:
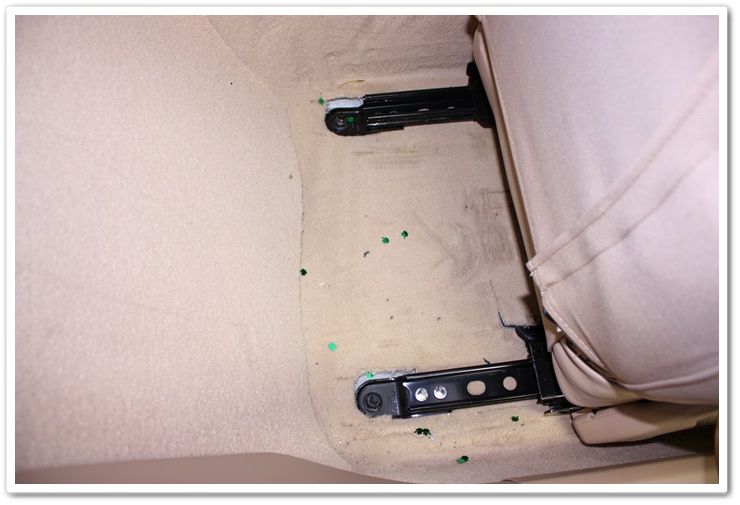
Don’t forget about down here.
The leather looked exceptionally filthy


")
