imported_DJ Mayo
New member
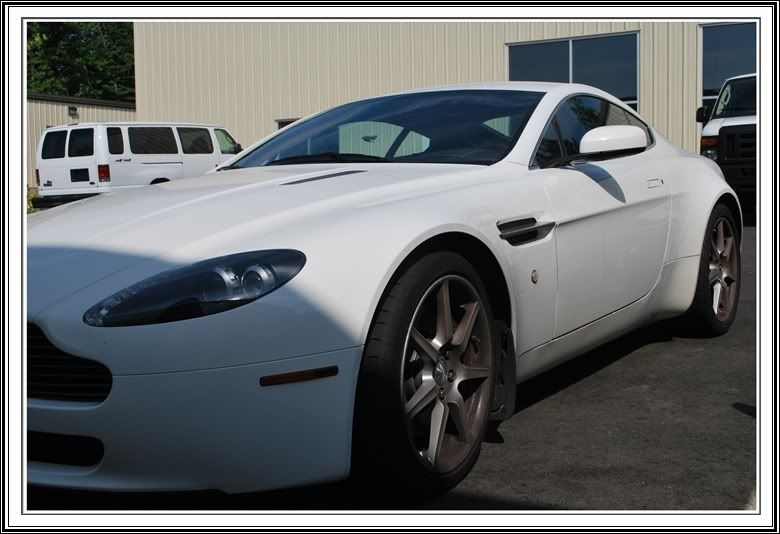
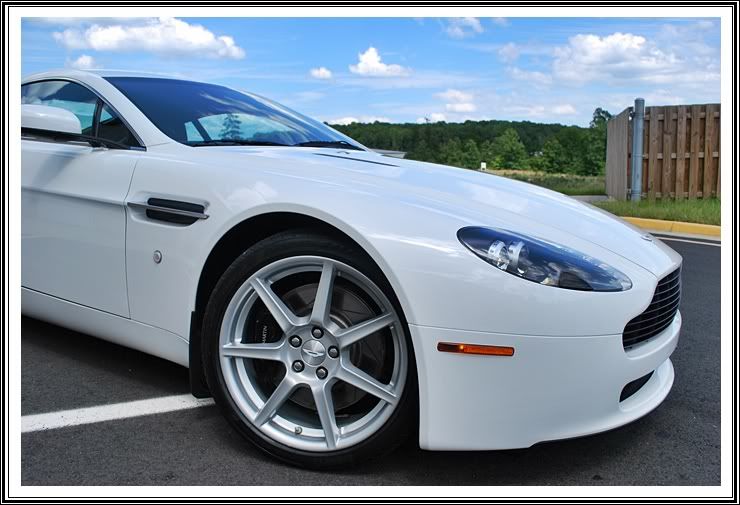
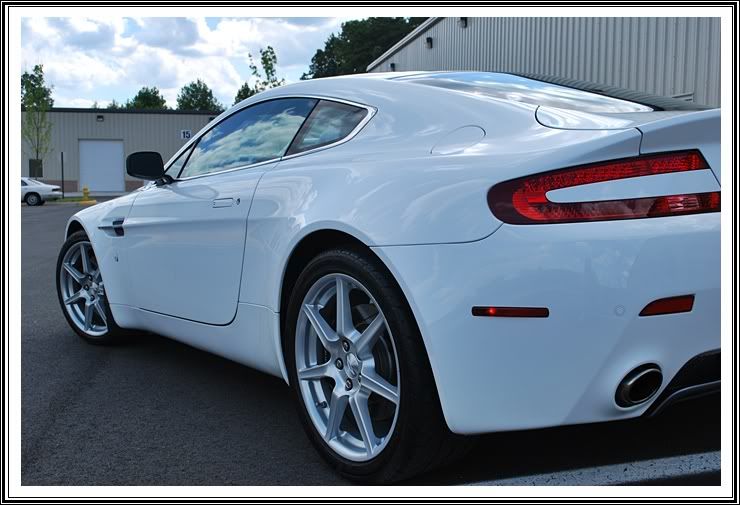
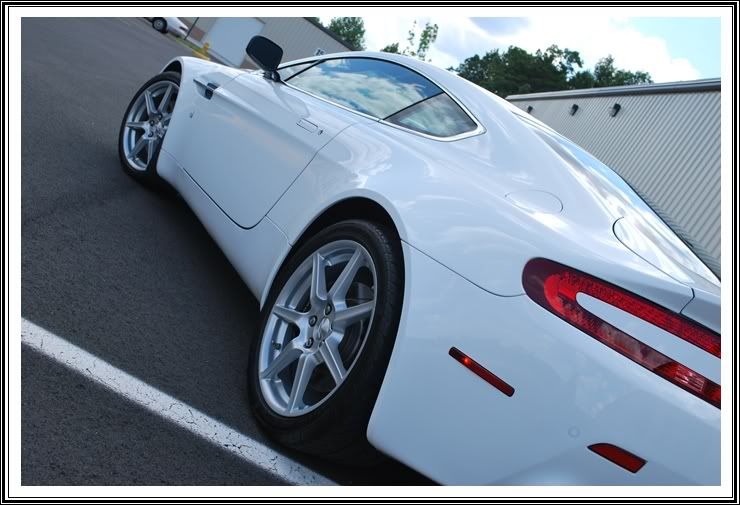
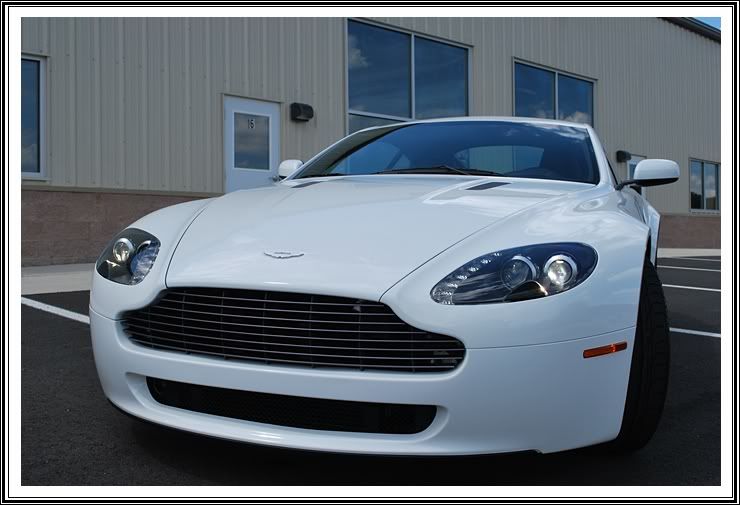
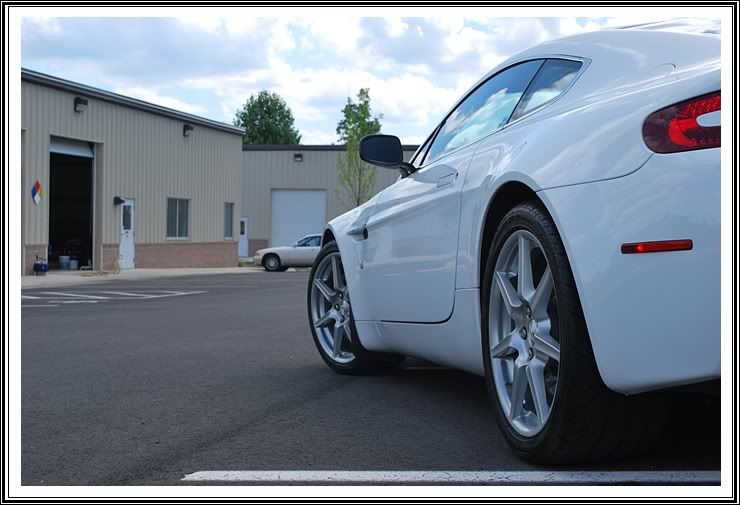
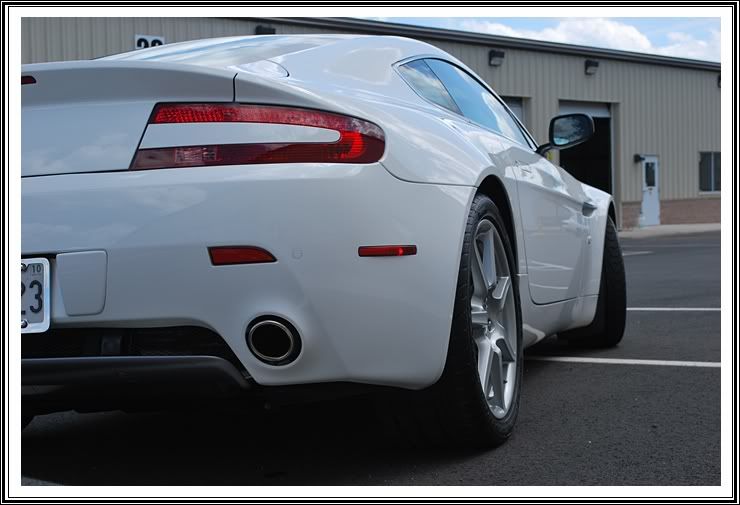
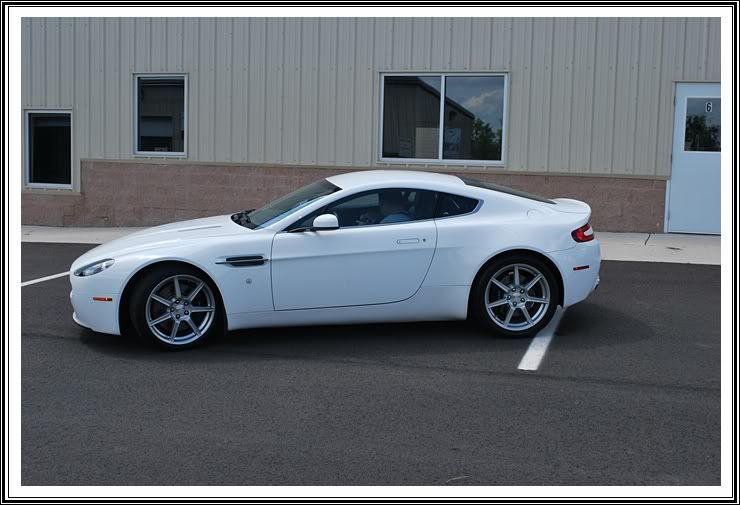
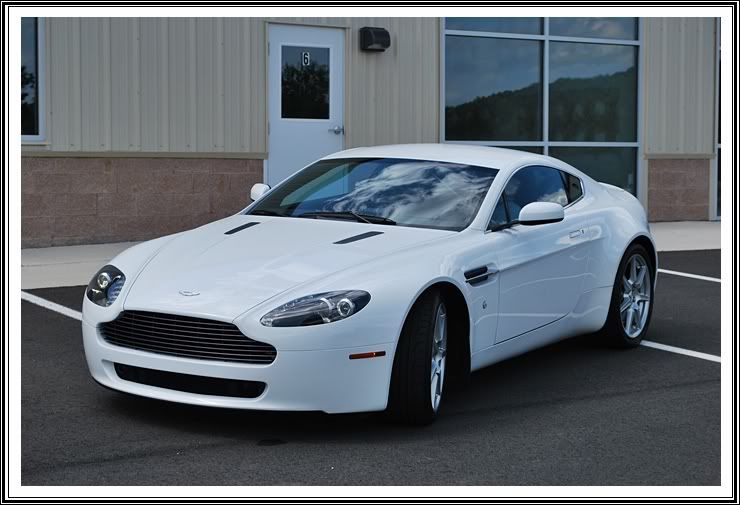
I have always loved Aston’s but this is the first white Vantage Coupe I had the pleasure of working on. White may not be everyone’s cup of tea for their automotive color choice, but this is one white that fits the aggressive body style of the 2008 Vantage. This car is elegant, classy, and still beefy enough to be in a rare class of automobiles. I’m sure the 4.7 liter V8 pushing out 420hp with nearly 350 ft-lbs help, but it’s the name that sells. These cars are a sight for sore eyes. With proper polishing techniques and select products, this car with only 3,500 miles was taking care of by Reflections Detailing in approximately 7 hours.
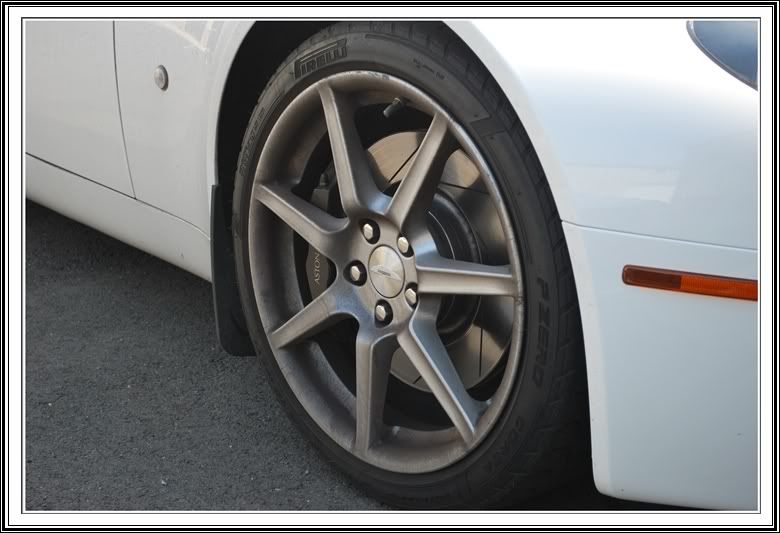
The owner called me up to discuss and we selected a date a few weeks out where both schedules allowed time. After initial inspection and time restraints we decided a thorough 1 step would be suffice for this Stratus White Metallic paint. So as normal, I first started with the wheels, wells, and tires. For here I used Chemical Guys Sticky Gel Wheel Cleaner on the wheels and barrels in combination to using Chemical Guys Grime Reaper on the tires and wheel wells. I let the wheel gel sit for 10 minutes then came back with my Mother's Wheel Brush for the face of the wheels and my EZ Detail Brush to get behind the spokes and the barrel of the wheels.
Upon arrival I'm not sure if this car had been washed in a few months, the wheels were horrible and the paint was loaded with contamination.
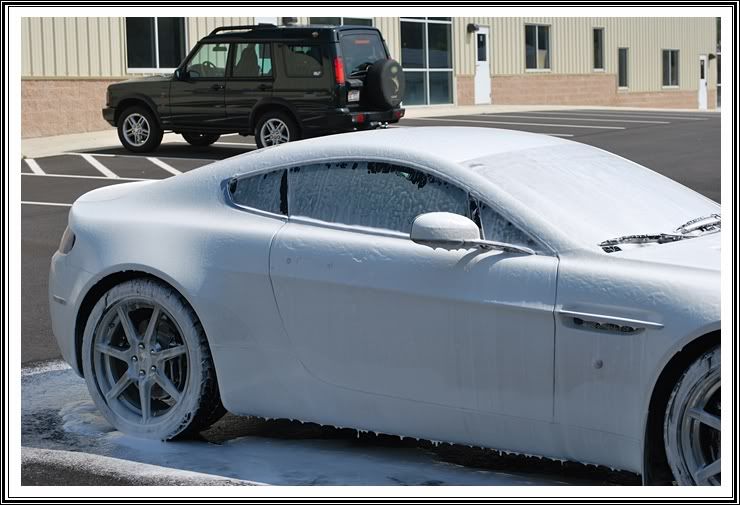
Next, I foamed the car using Chemical Guys Citrus Wash-N-Gloss at paint prep ratio (2oz per gallon of water). Doing this allows the cleaners to help loosen and remove any grime, dirt, wax that was present. After allowing it to dwell for 4-5 minutes I power washed off, then proceeded to do my traditional two bucket wash using Citrus Wash at the same ratio. After the car was completely washed, I made my away around the car claying using DI Fine Grade Clay Bar with Optimum Instant Detailer (10:1) as my clay lube. I use that product because of the lubricants it provides for the clay. After claying was complete I pulled the car into the shop then followed with a 91% alcohol wipe down before any polishing.
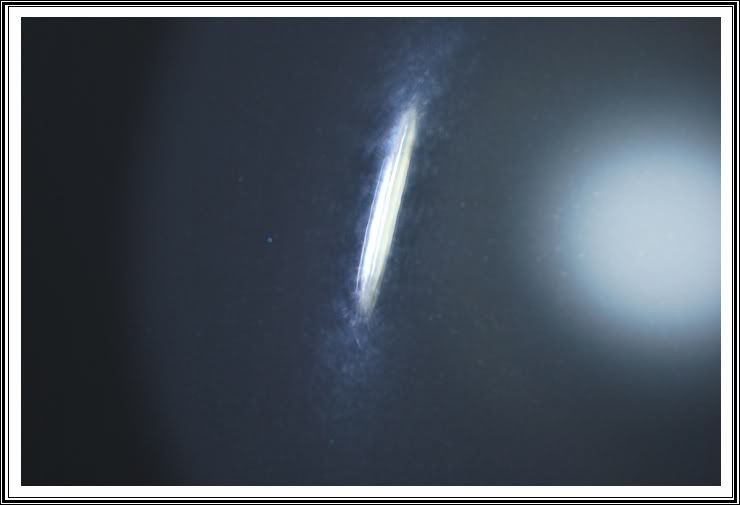
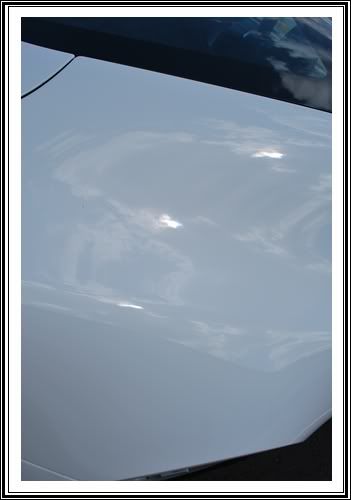
I used a variety of lights to capture the defects in the clear but I didn't take too many pictures. I also measured each panel and the driver side had readings over 300 where the normal is 120-140.
So as usual when doing a 1 step, my go to product here is Menzerna Power Finish 203. This product is excellent as it has nearly the cutting power of Super Intensive Polish, yet can finish down like Super Finish. (both pad dependent) I decided to go with Power Finish via White Pad @ 900 rpm’s for one pass, then went up to 1500 rpm’s until I was satisfied, then back down to 1200 for a pass, then lastly 900 working it slowly.
By doing all those different speeds help assure knowing there is no holograms, buffer trails, etc. left in the paint. That is what I call a thorough 1 step polishing. That step left the paint glowing and looking great, but of course it could be taking to the next level. When this situation arises I call on no other than Menzerna PO85rd. I used this with a Black Pad @ 900 rpm’s for one pass, 1400 rpm’s for many passes, then back to 900 rpm’s for two last passes. After removing the polish from the paint, the car looked outstanding all prior to applying any type of protection. This is just another reason showing that proper techniques, prep, and product is the key to a level clear coat and great gloss. After all polishing was done I switched to the PCXP and a fresh black pad and used Chemical Guy's EZ Creme Glaze. This product is packed with cleaners so after proper use you can be sure your wax or sealant will properly bond to the paint.
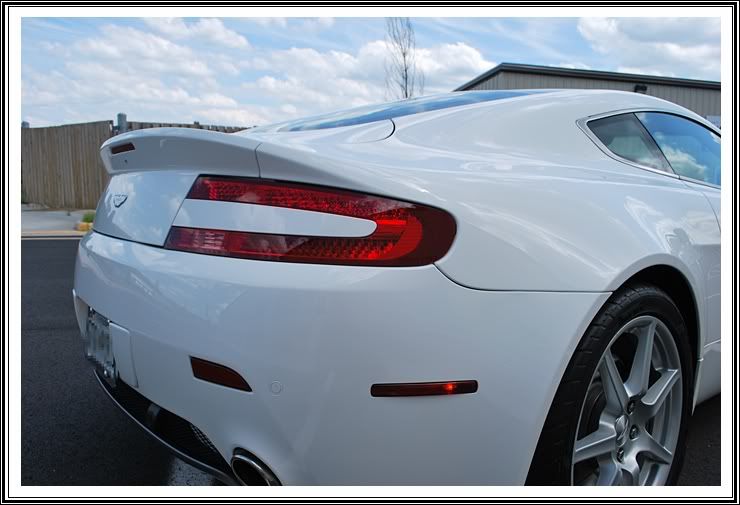
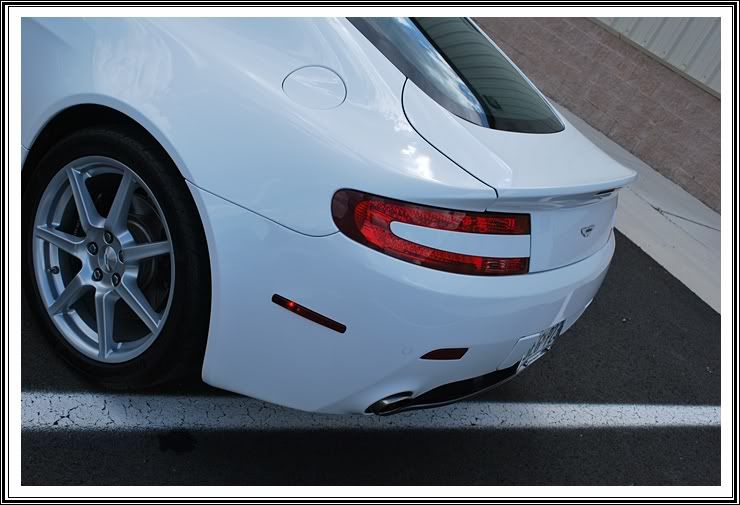
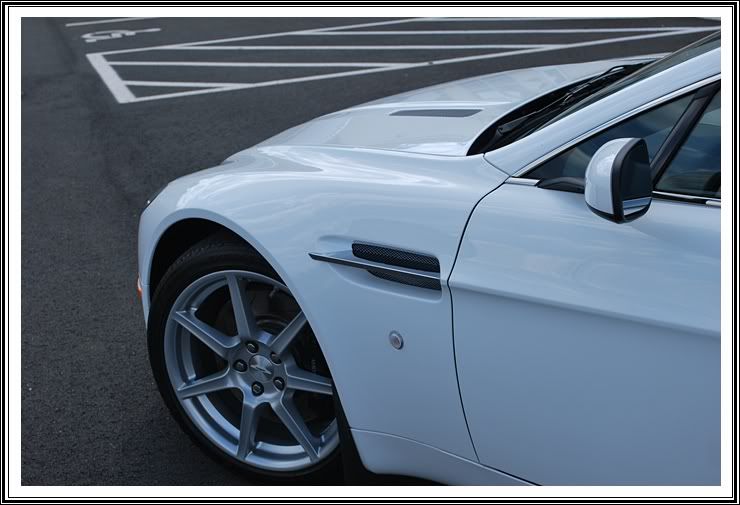
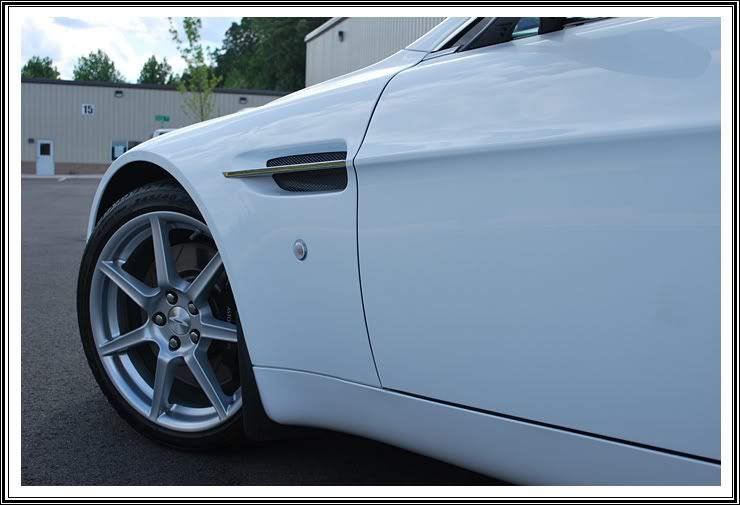
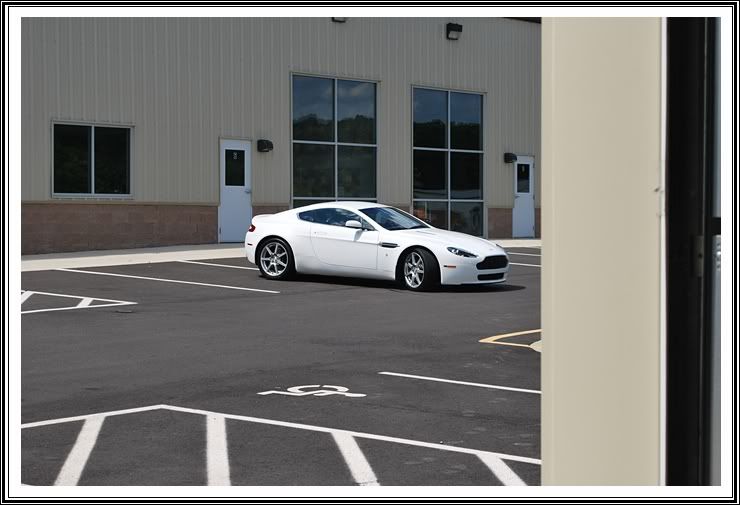
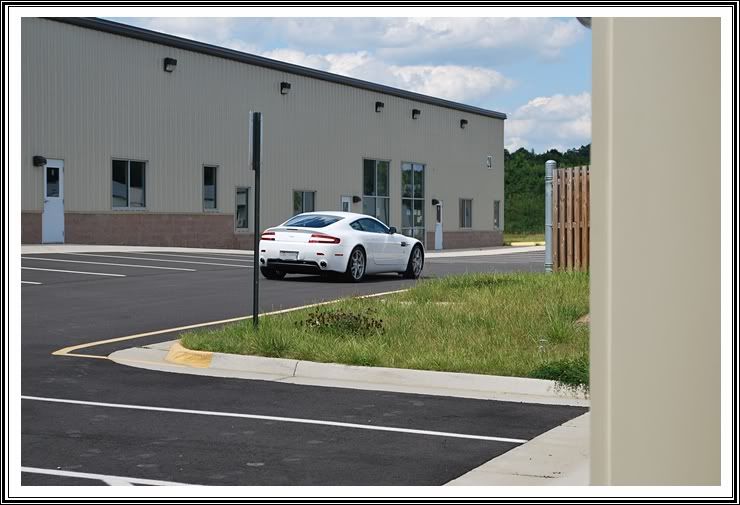
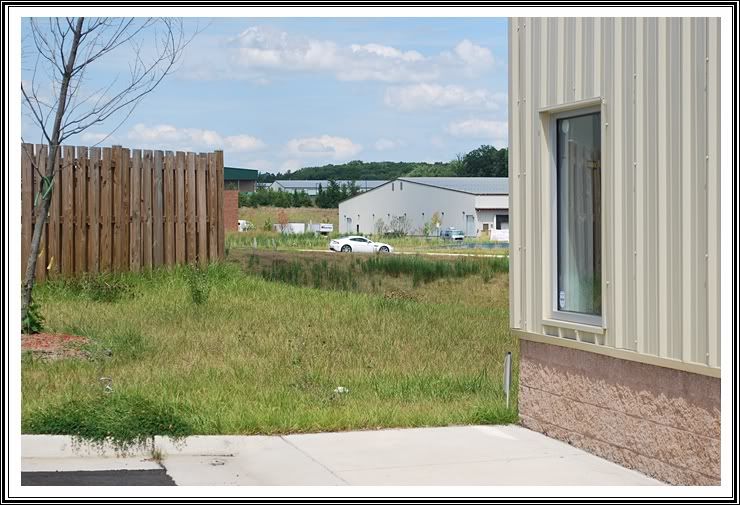
Since the owner was in the waiting room, I did not take the proper time to document all the before and during photos like I normally would but however I did make it my job to get plenty of eye candy for you guys!
I then used Optimum Opti-Seal for the protection. I let it sit on the paint for 20-30 minutes while I did the finishing touches. I also used Opti-Seal on the wheels. I then came back around the car and gave it a wipe down with Optimum Car Wax and sent another happy customer on the way.
Now at this point in time, I had only had my Nikon DSLR for 2 months maybe and was still getting use to it. When I uploaded these pictures I was thinking these were the best I have taking. Hopefully I'll be seeing this car again since my camera skills have improved. Either way, enjoy!! :clap:

The owner called me up to discuss and we selected a date a few weeks out where both schedules allowed time. After initial inspection and time restraints we decided a thorough 1 step would be suffice for this Stratus White Metallic paint. So as normal, I first started with the wheels, wells, and tires. For here I used Chemical Guys Sticky Gel Wheel Cleaner on the wheels and barrels in combination to using Chemical Guys Grime Reaper on the tires and wheel wells. I let the wheel gel sit for 10 minutes then came back with my Mother's Wheel Brush for the face of the wheels and my EZ Detail Brush to get behind the spokes and the barrel of the wheels.
Upon arrival I'm not sure if this car had been washed in a few months, the wheels were horrible and the paint was loaded with contamination.
Next, I foamed the car using Chemical Guys Citrus Wash-N-Gloss at paint prep ratio (2oz per gallon of water). Doing this allows the cleaners to help loosen and remove any grime, dirt, wax that was present. After allowing it to dwell for 4-5 minutes I power washed off, then proceeded to do my traditional two bucket wash using Citrus Wash at the same ratio. After the car was completely washed, I made my away around the car claying using DI Fine Grade Clay Bar with Optimum Instant Detailer (10:1) as my clay lube. I use that product because of the lubricants it provides for the clay. After claying was complete I pulled the car into the shop then followed with a 91% alcohol wipe down before any polishing.
I used a variety of lights to capture the defects in the clear but I didn't take too many pictures. I also measured each panel and the driver side had readings over 300 where the normal is 120-140.
So as usual when doing a 1 step, my go to product here is Menzerna Power Finish 203. This product is excellent as it has nearly the cutting power of Super Intensive Polish, yet can finish down like Super Finish. (both pad dependent) I decided to go with Power Finish via White Pad @ 900 rpm’s for one pass, then went up to 1500 rpm’s until I was satisfied, then back down to 1200 for a pass, then lastly 900 working it slowly.
By doing all those different speeds help assure knowing there is no holograms, buffer trails, etc. left in the paint. That is what I call a thorough 1 step polishing. That step left the paint glowing and looking great, but of course it could be taking to the next level. When this situation arises I call on no other than Menzerna PO85rd. I used this with a Black Pad @ 900 rpm’s for one pass, 1400 rpm’s for many passes, then back to 900 rpm’s for two last passes. After removing the polish from the paint, the car looked outstanding all prior to applying any type of protection. This is just another reason showing that proper techniques, prep, and product is the key to a level clear coat and great gloss. After all polishing was done I switched to the PCXP and a fresh black pad and used Chemical Guy's EZ Creme Glaze. This product is packed with cleaners so after proper use you can be sure your wax or sealant will properly bond to the paint.
Since the owner was in the waiting room, I did not take the proper time to document all the before and during photos like I normally would but however I did make it my job to get plenty of eye candy for you guys!
I then used Optimum Opti-Seal for the protection. I let it sit on the paint for 20-30 minutes while I did the finishing touches. I also used Opti-Seal on the wheels. I then came back around the car and gave it a wipe down with Optimum Car Wax and sent another happy customer on the way.
Now at this point in time, I had only had my Nikon DSLR for 2 months maybe and was still getting use to it. When I uploaded these pictures I was thinking these were the best I have taking. Hopefully I'll be seeing this car again since my camera skills have improved. Either way, enjoy!! :clap:

")