So I spent all of last summer with Andrew working on various cars, learned a lot and started to aquire the required products and tools. The Camry that he (we) did a few weeks ago was the first attempt at using my equipment. Since then I added a few more products and a lot more sweat.
So this is my car, it had some major paint work done a month ago. Entire left side of the car was repainted due to someone keying it on two seperate occasions. Both time they chose the left front fender and the left rear door. Also had the rear bumper cover replaced because I accidently backed it over a piece of rebar in my sisters yard while helping her move into her new place. It put a whole in the bottom of the cover and 2 nice scratches across the face. Also had a small scratch above the right tail-light cluster.
When I took it in I asked them when they removed the "Focus SE" badges for paint to leave them off, I think it looks much cleaner.
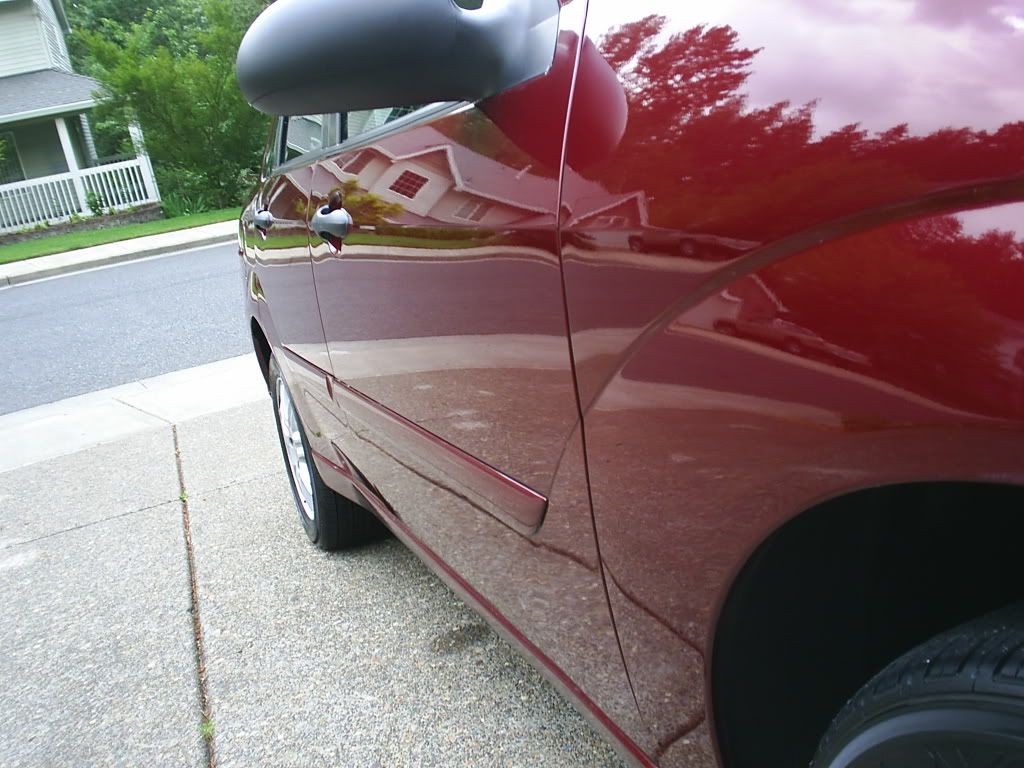
But back to the task at hand; when they painted it the buffed it with a rotary. When I took delivery of the car I didn't notice that they had in fact given me buffer burn on the entire side, thus the need for polishing it after the month they told me I had to wait before I could wax it.
Exterior Process
Wash with GG car wash
Claybar entire car with GG Detailing clay and GG speed shine as lubricant
Polish with GG #3 polish on drivers side/trunk face/hood/roof (applied with GG random orbital)
Polish with GG #2 polish on select spot of hood
Megs #21 synthetic sealent (applied by hand) cured for 40 minutes
Megs NXT Generation Tech Wax paste (applied by hand foam applicator) cured for 1 hour
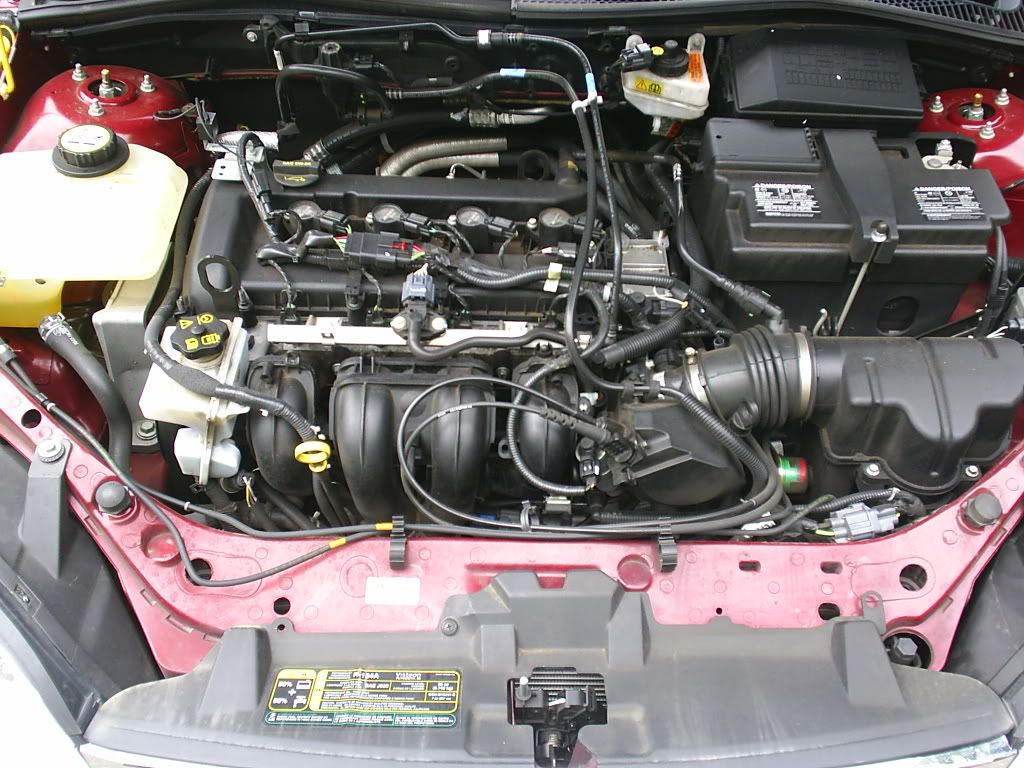
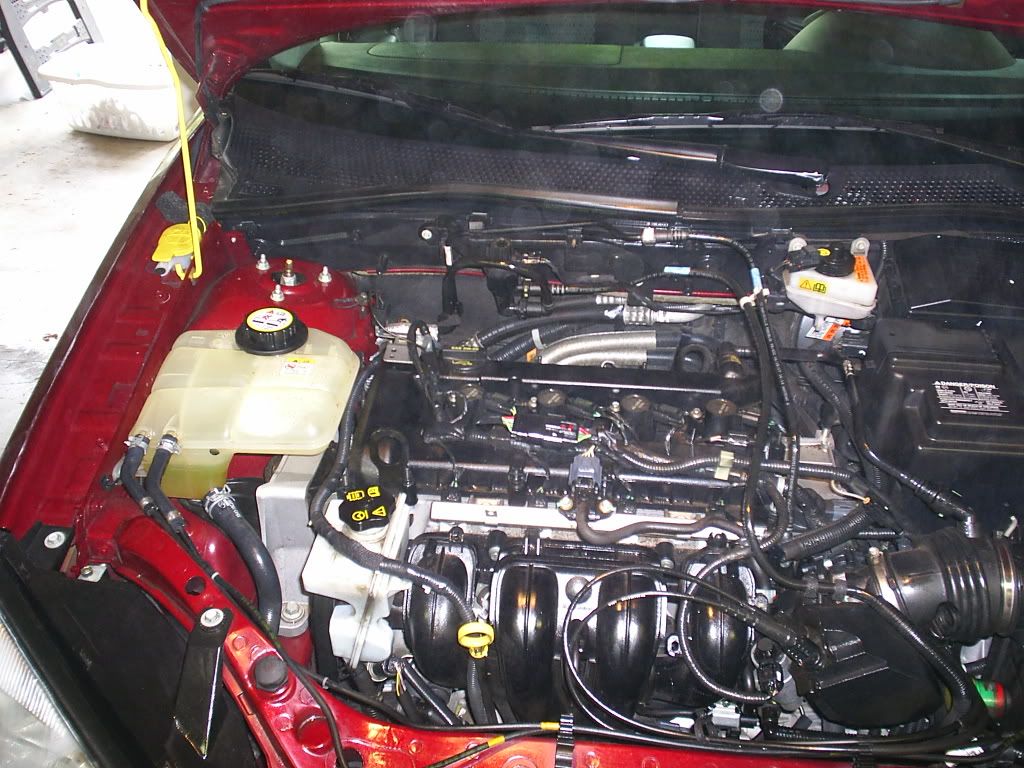
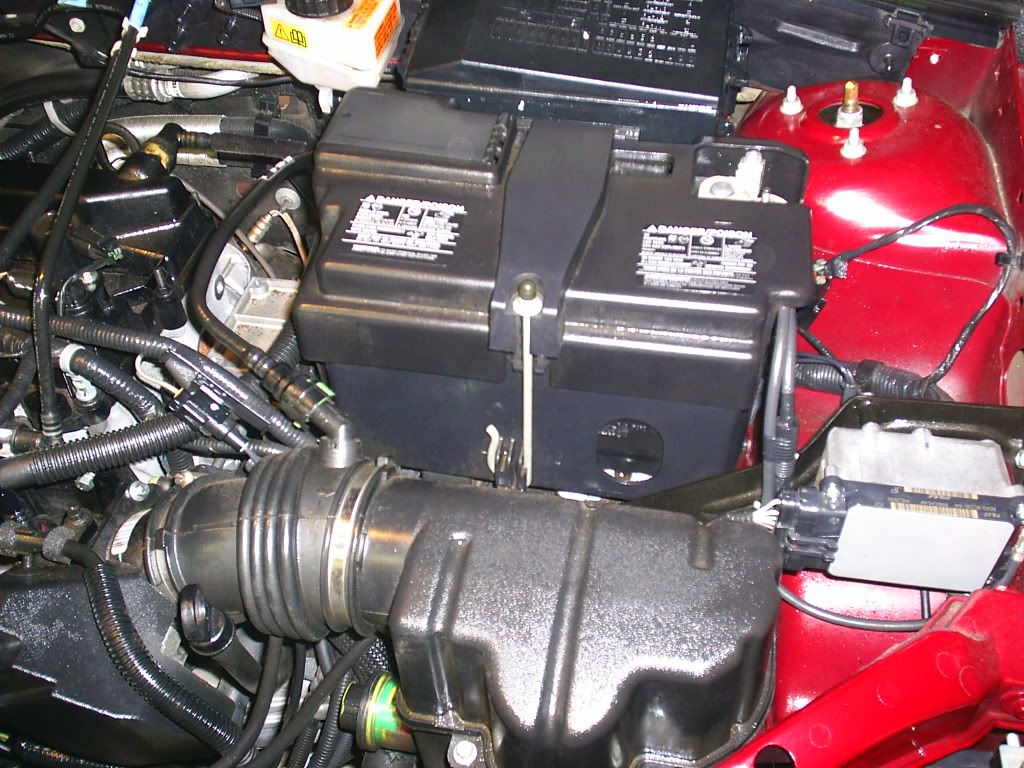
Wheels/Tires/Engine
Engine bay soaked with Megs APC 4:1 and scrubbed by hand
Dressed with Stoner Trim Shine
Wheels washed with GG Wheel Cleaner during wash process
Wheels then sprayed with GG Wheel Cleaner and hand scrubbed
Tires dressed with GG Long Lasting Tire Dressing
Exaust tip scrubbed with GG Speed Shine
Interior Process
Vaccumed with Rigid Shop-Vac
Rubber floormats cleaned with Megs APC 4:1 and hosed off
Carpet floormats cleaned with Megs Quick Out carpet spot remover
GG interior cleaner used on Dashboard, Instrument Cluster, Center Console and Front door panels
Windows cleaned inside and out with GG Window Cleaner
Total Time: 7 Hours
and now the pics
Before
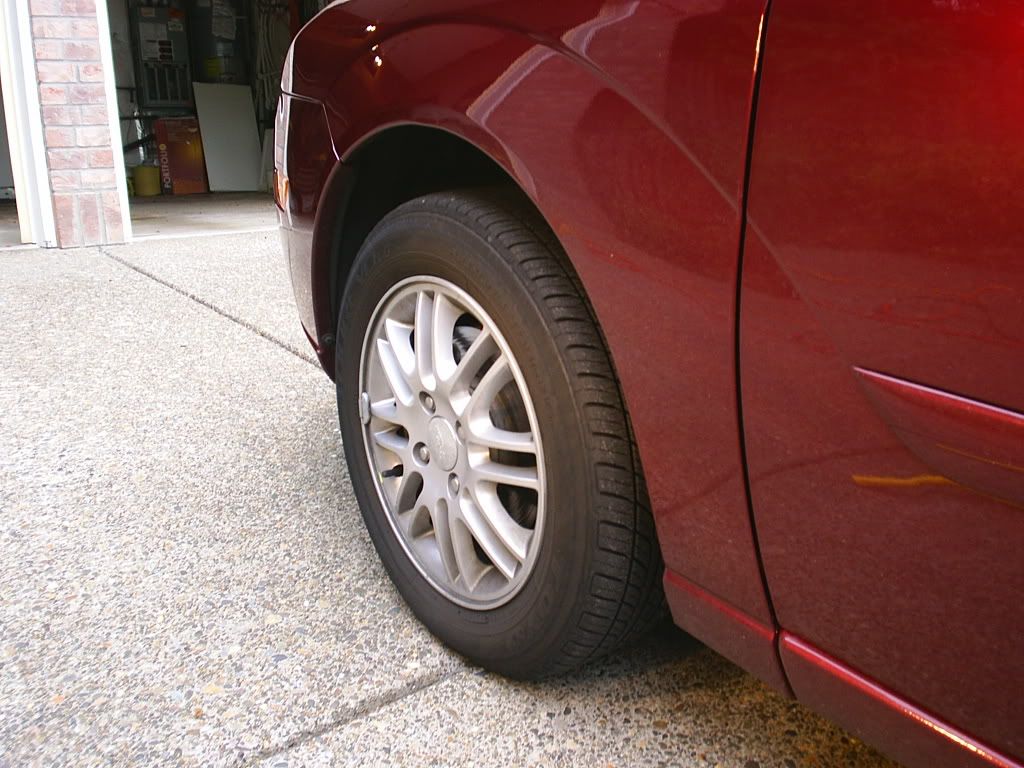
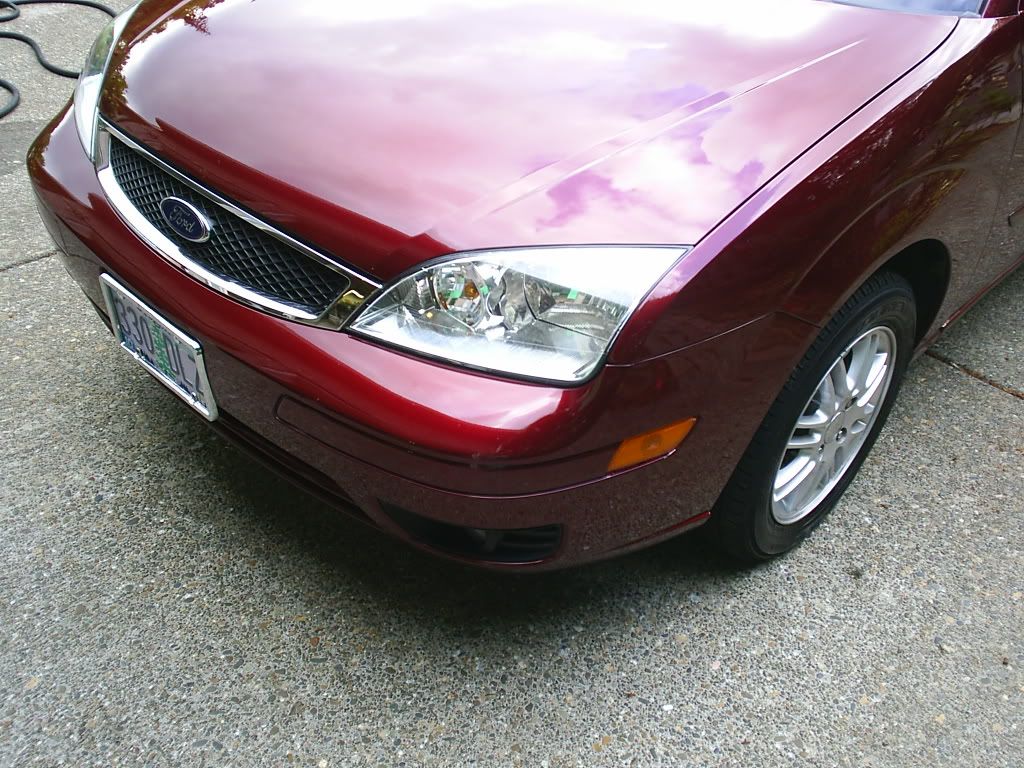
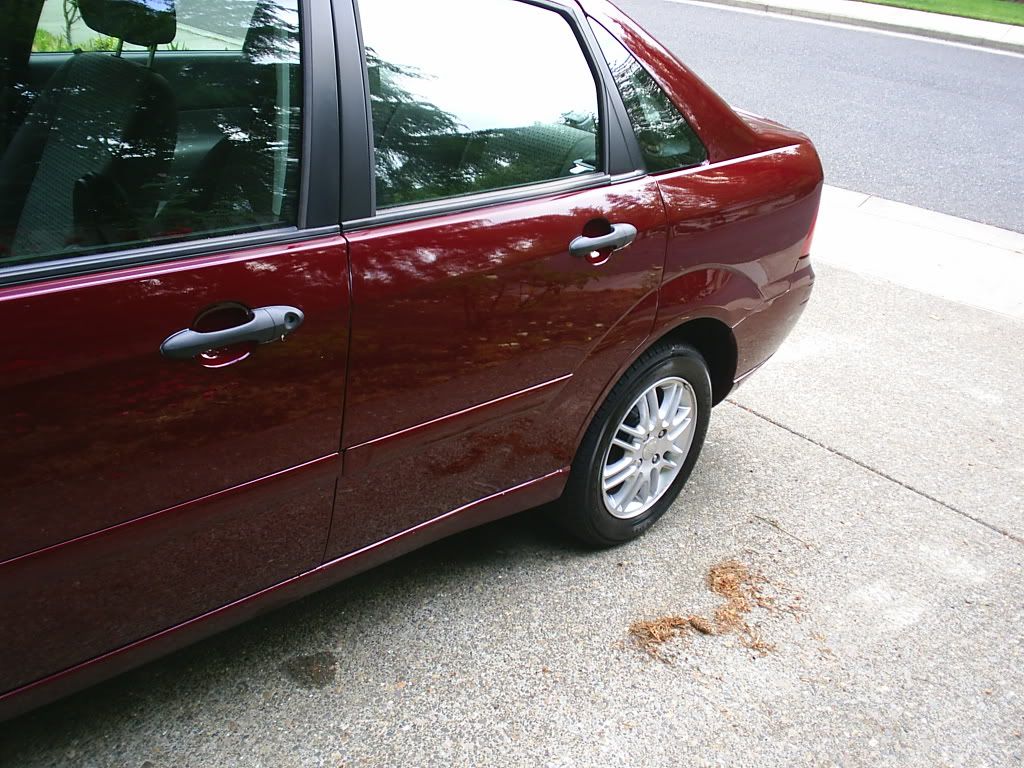
Wheels weren't to bad, took it through touchless car wash about a week ago
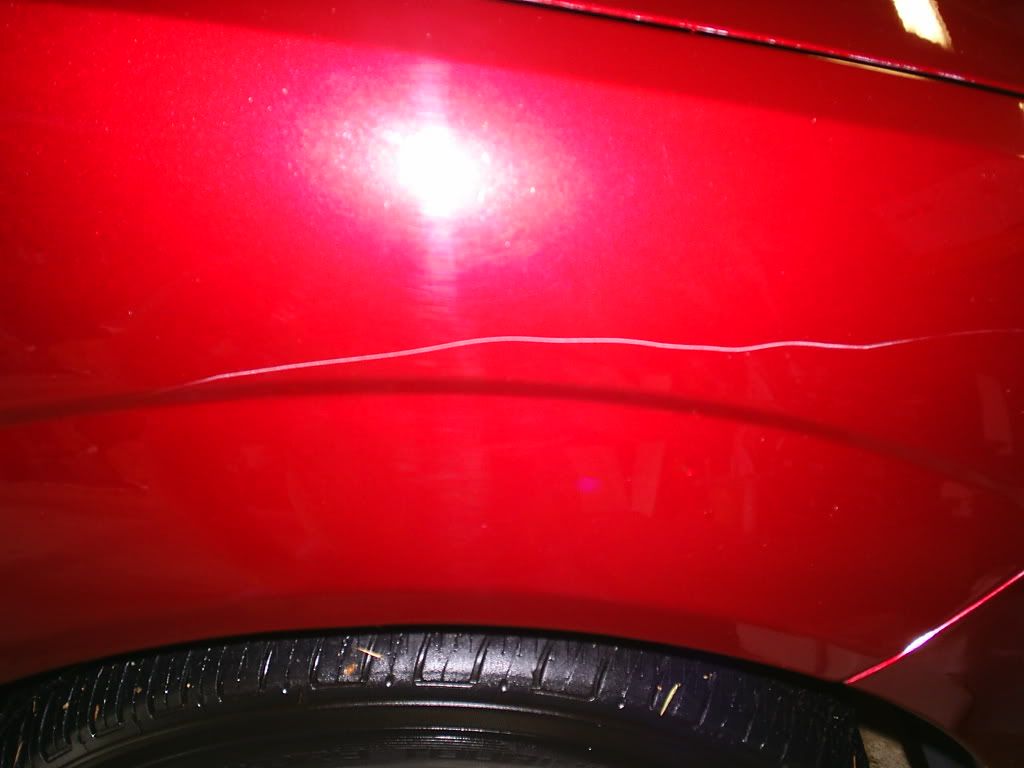
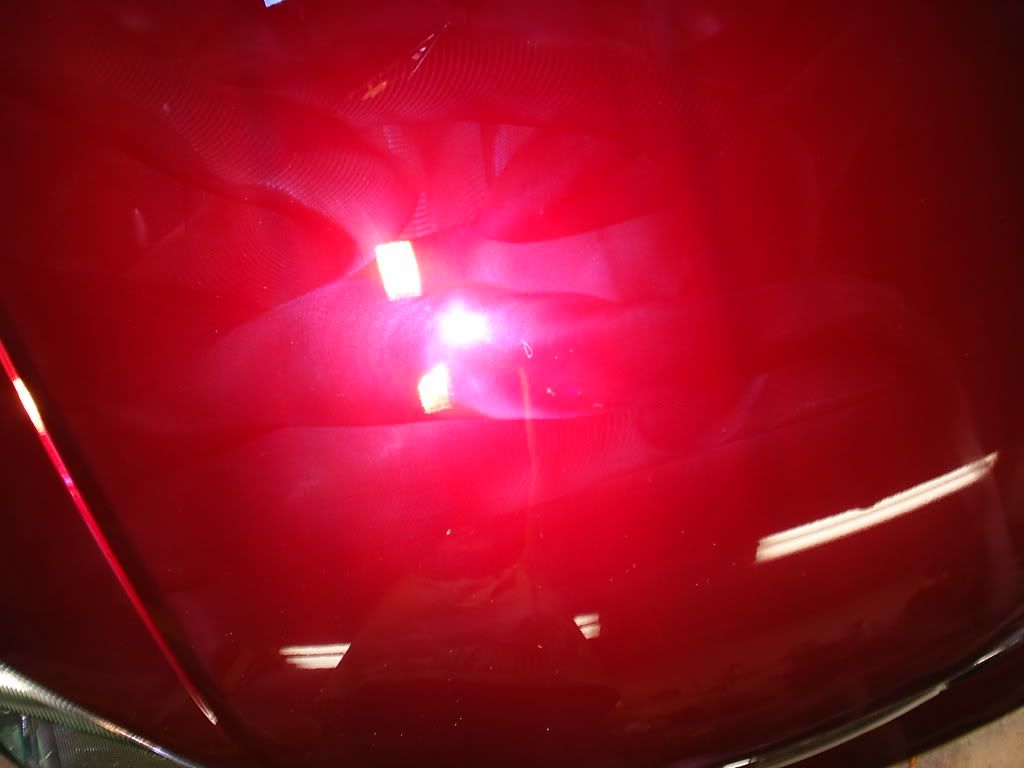
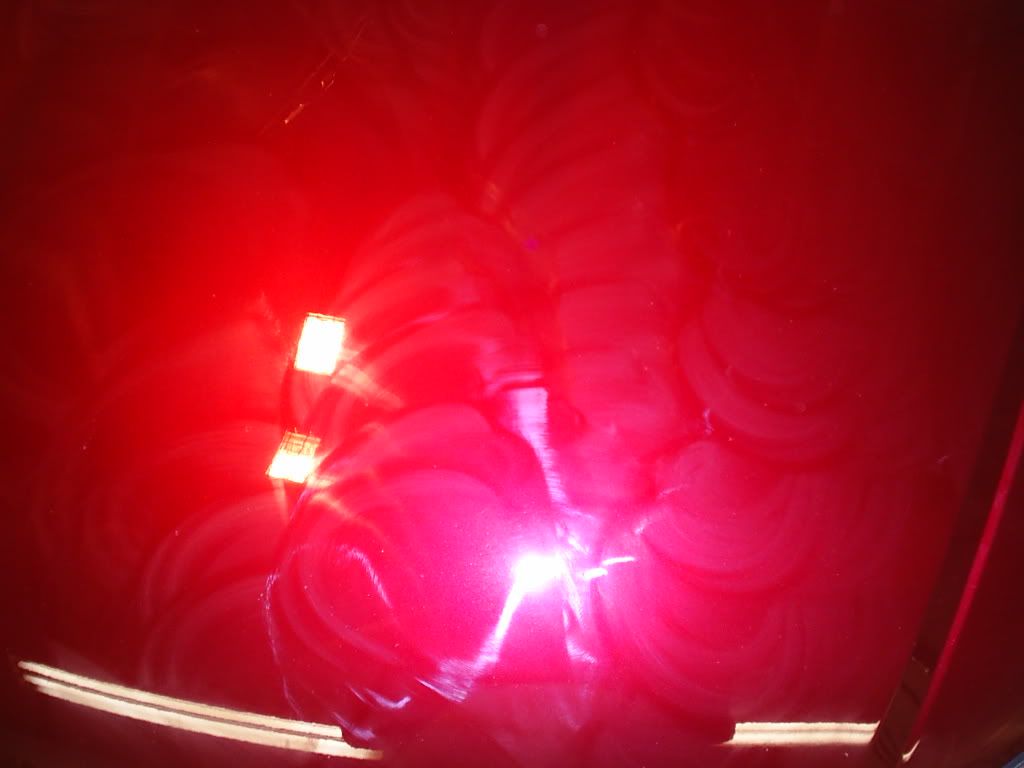
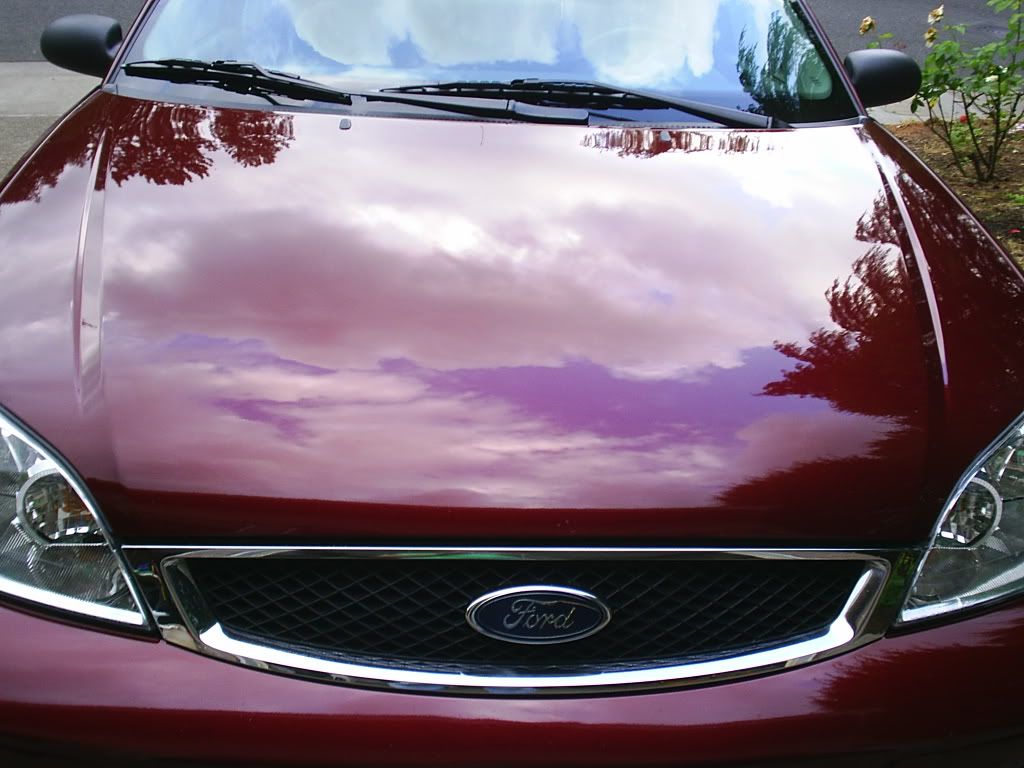
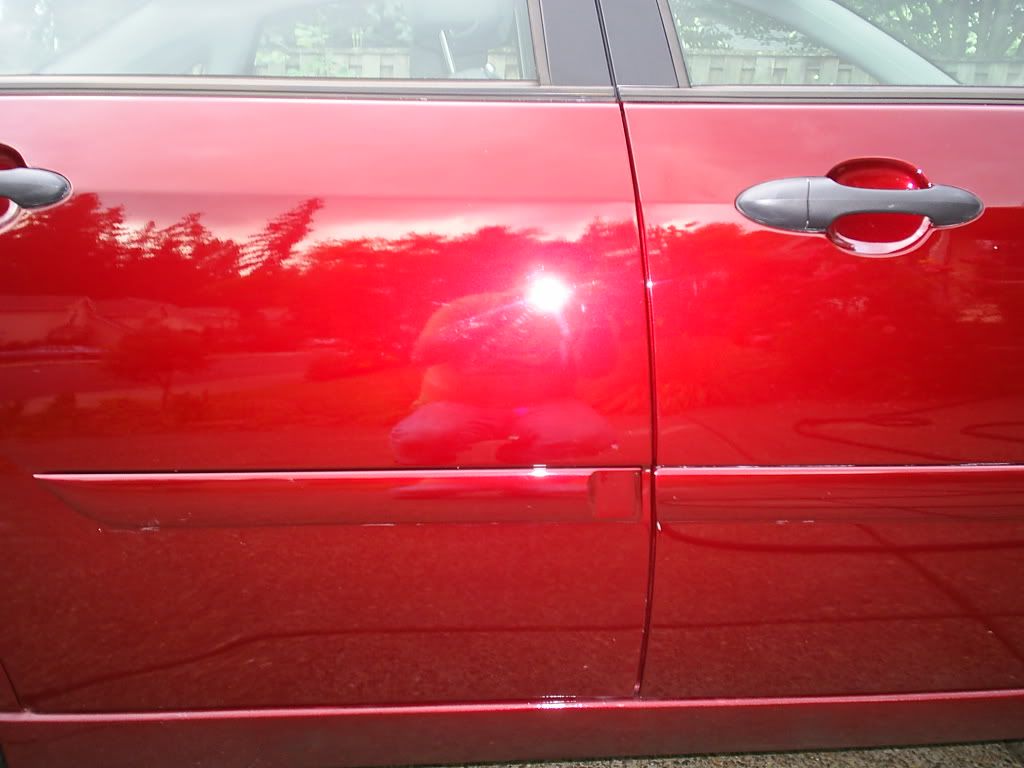
couldn't really capture the burn, otherwise paint was pristine on all panels
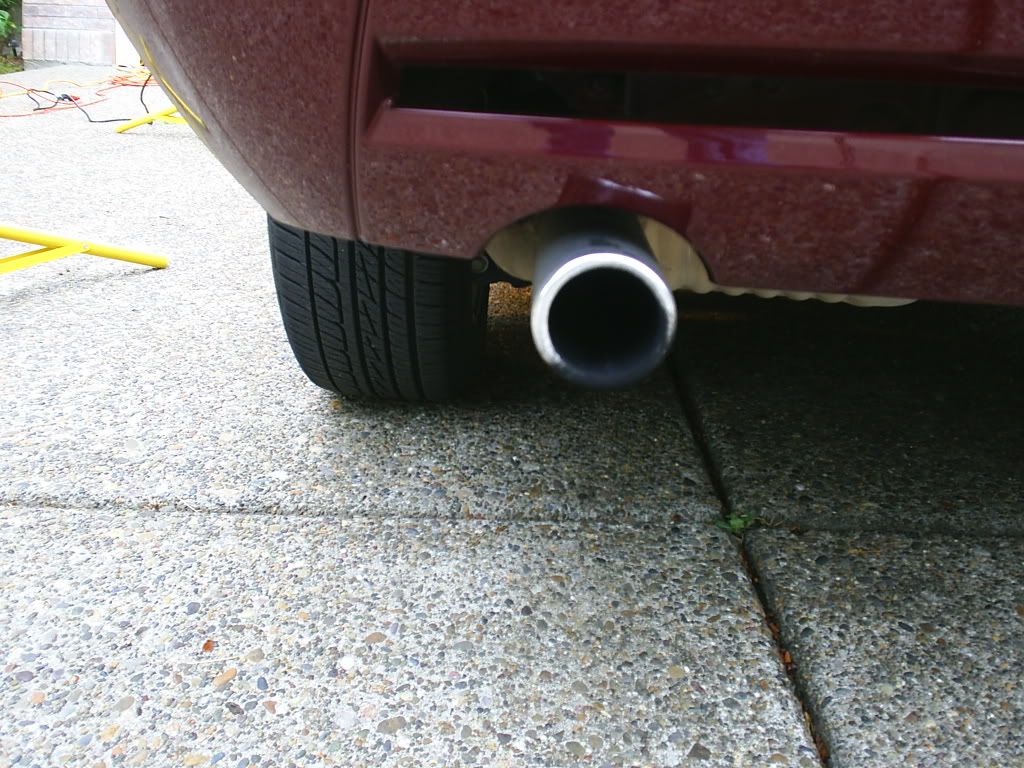
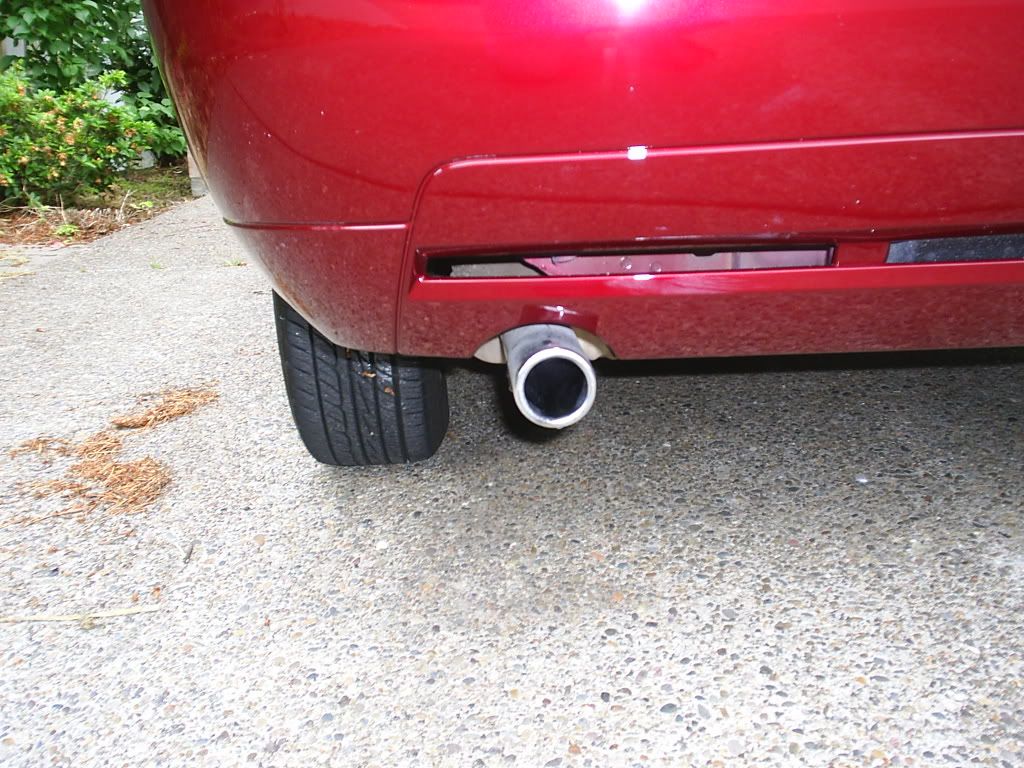
Exaust tip

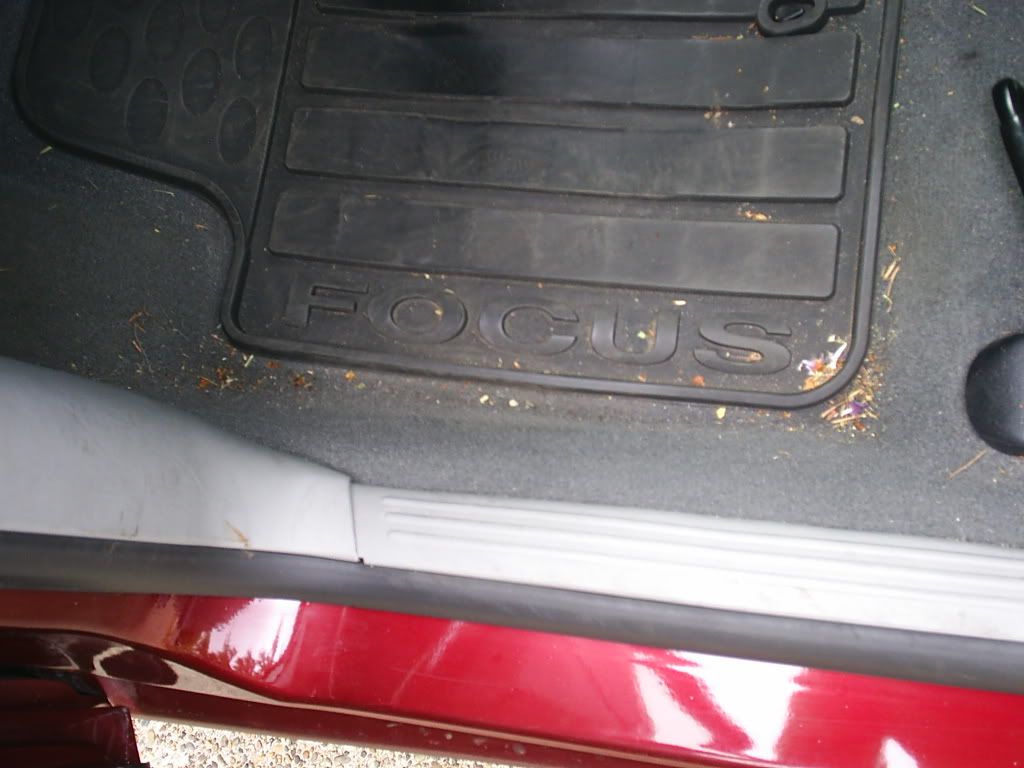
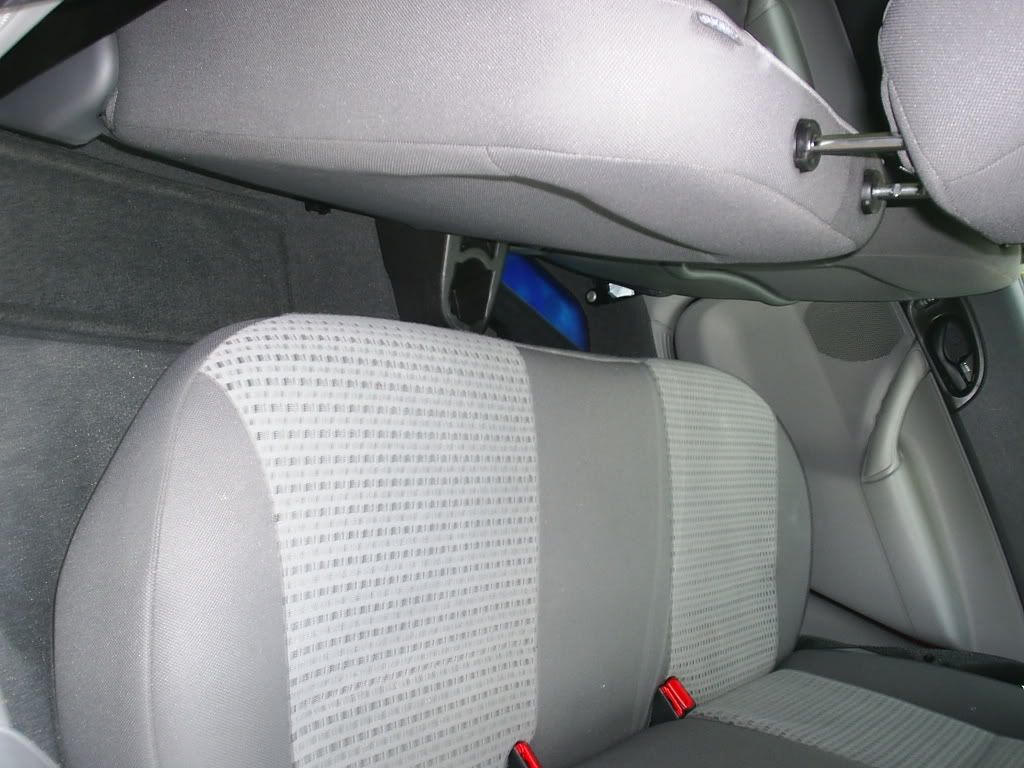
think these flecks were from the repaint, found on interior of all panels involved
floormats were cleaned and put away for the summer
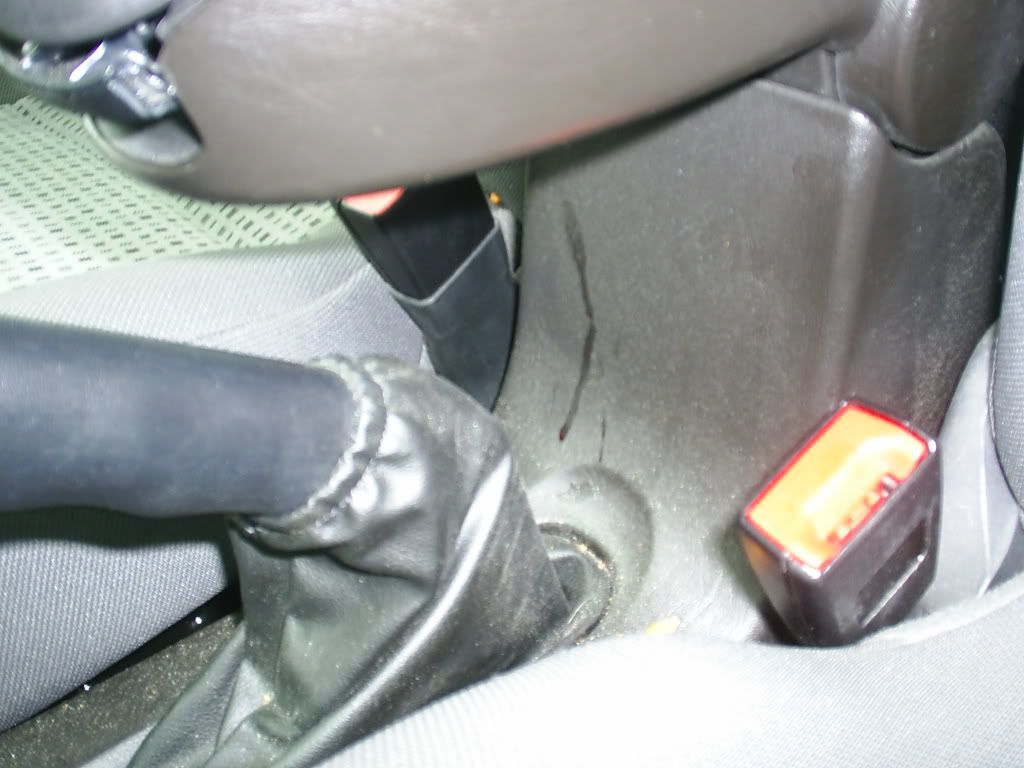
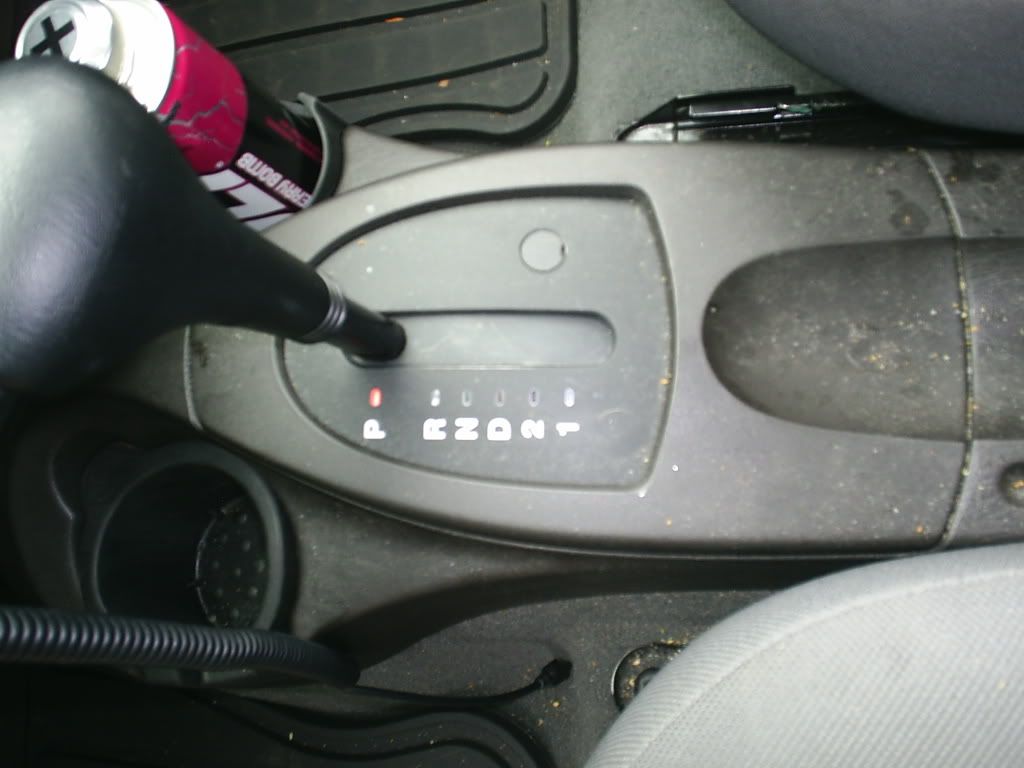
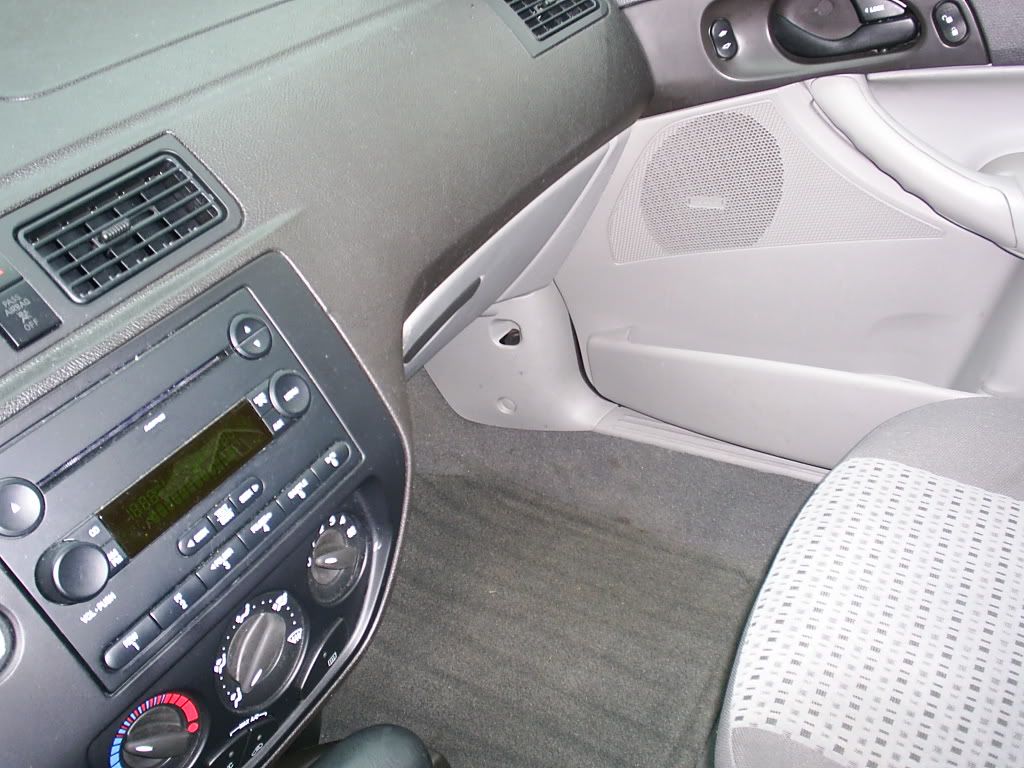
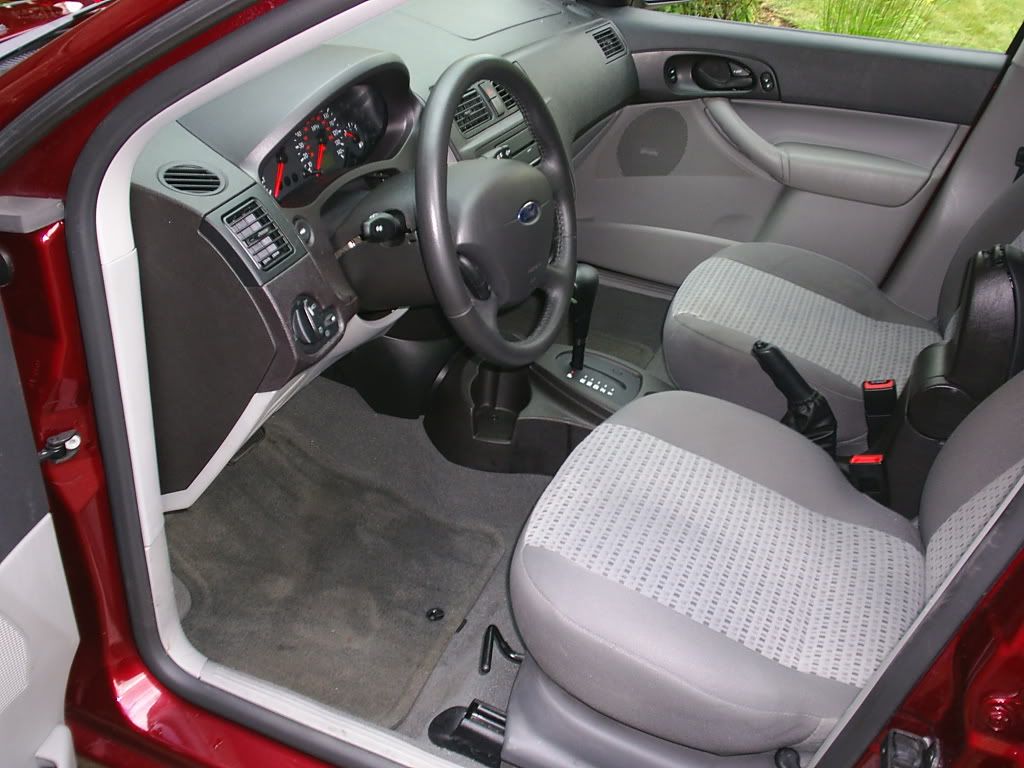
Interior was mostly just dusty from winter/spring months of no time for deep cleaning and way too much fast food
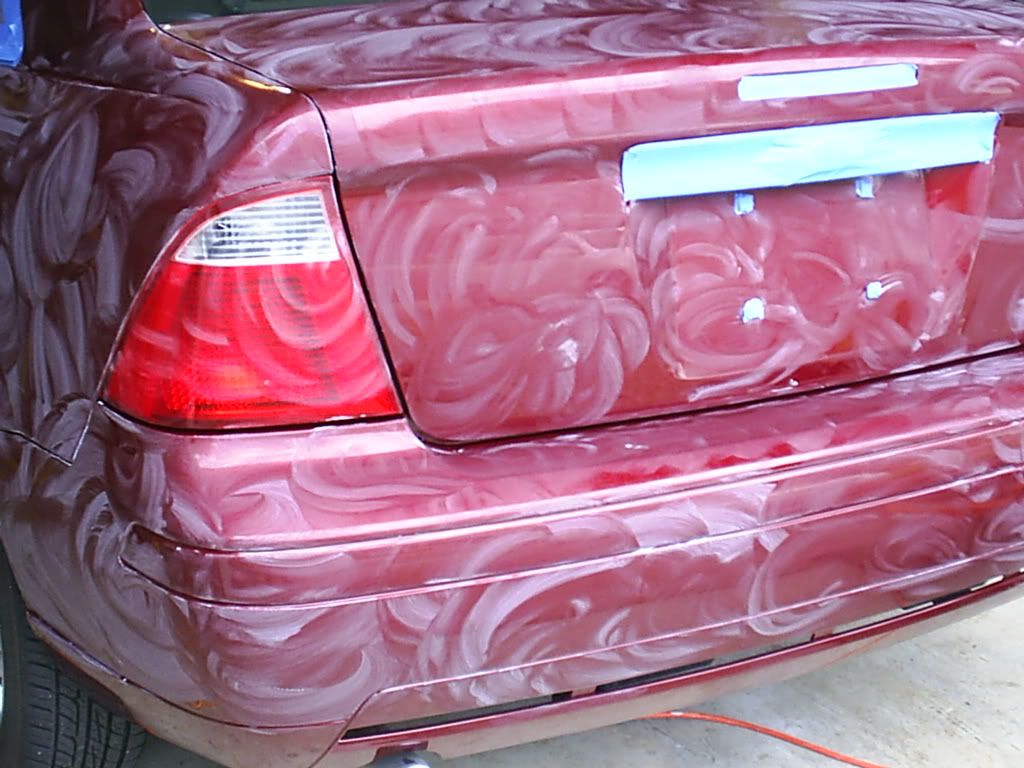
Work in Progress
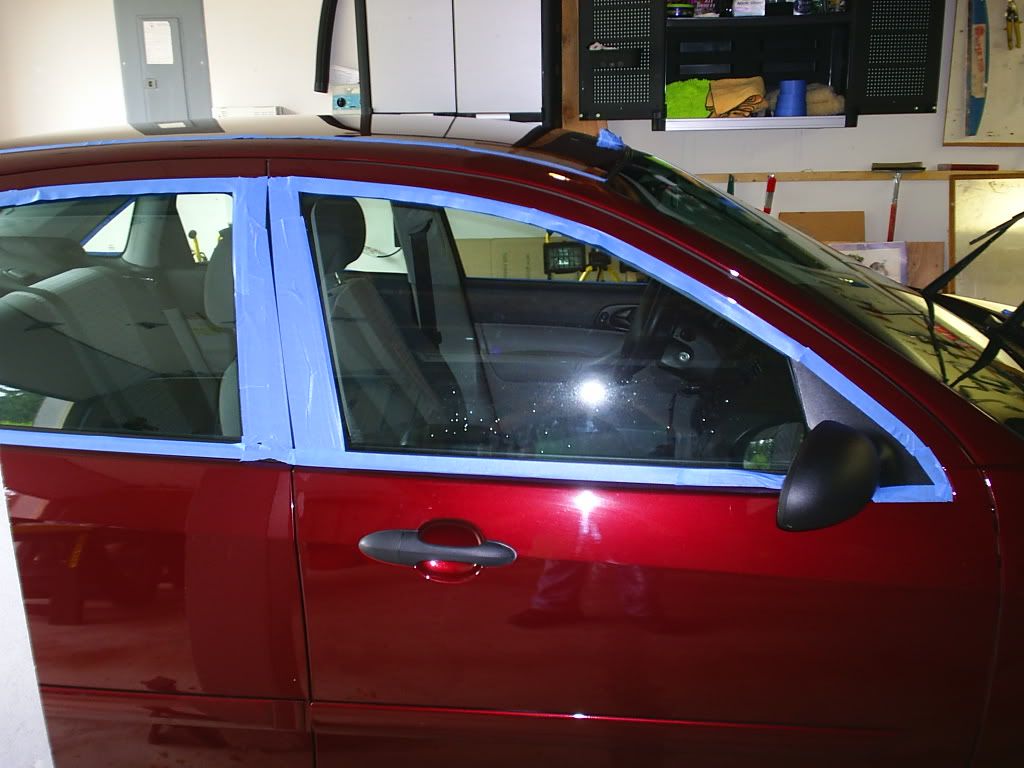

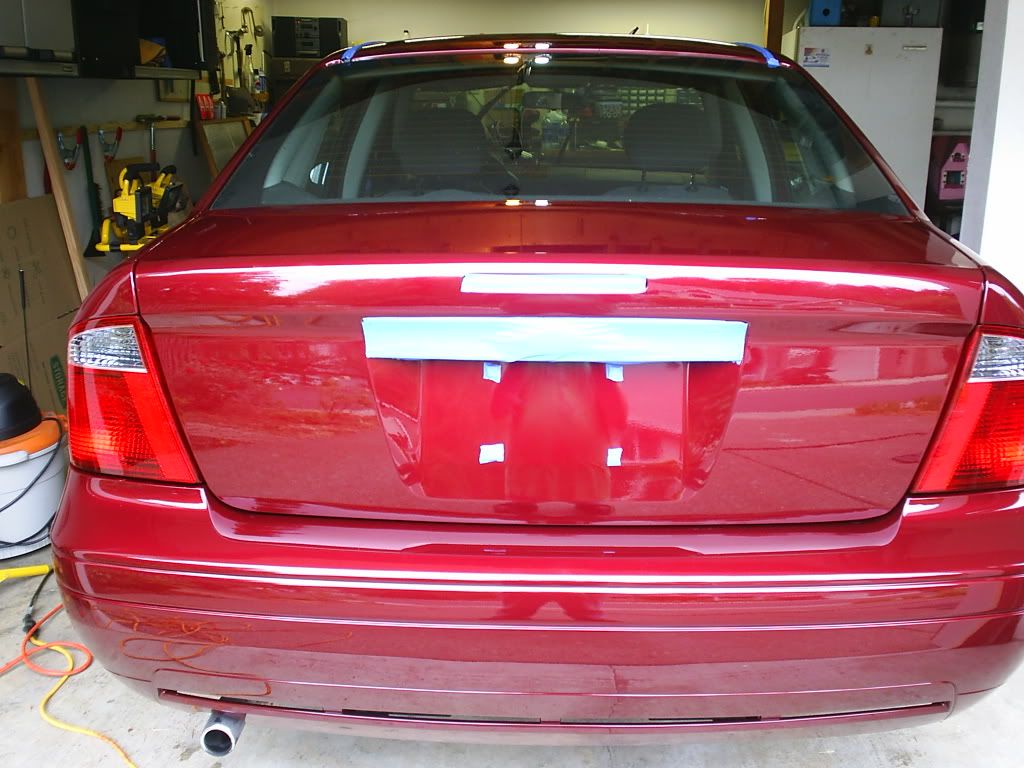
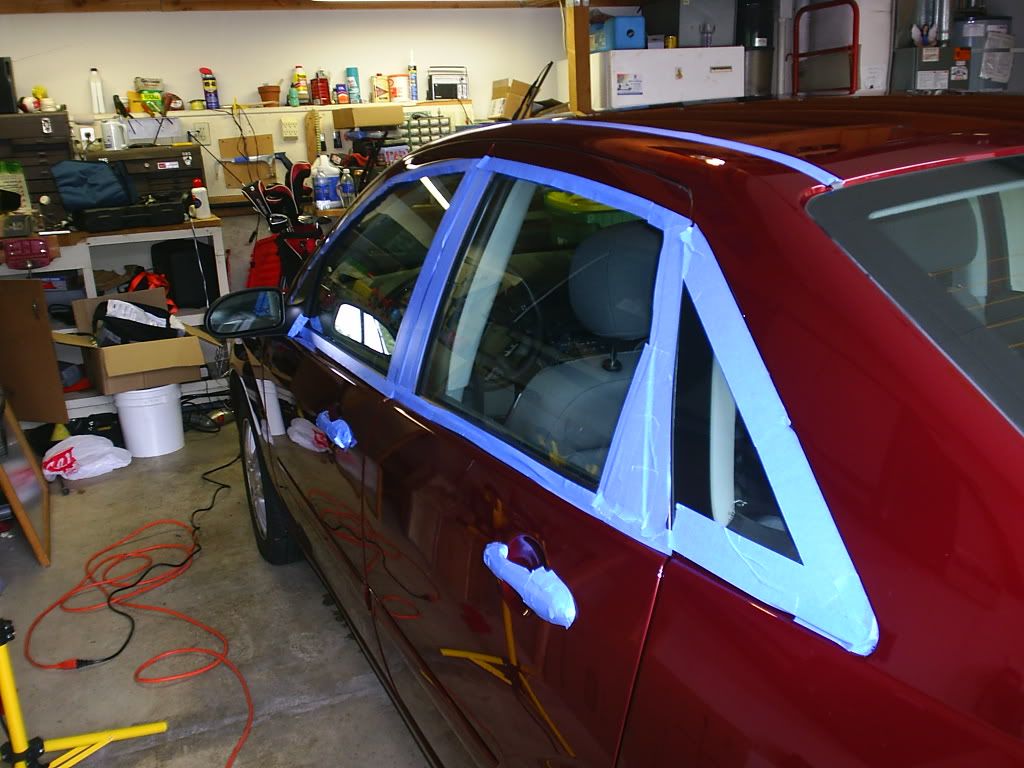
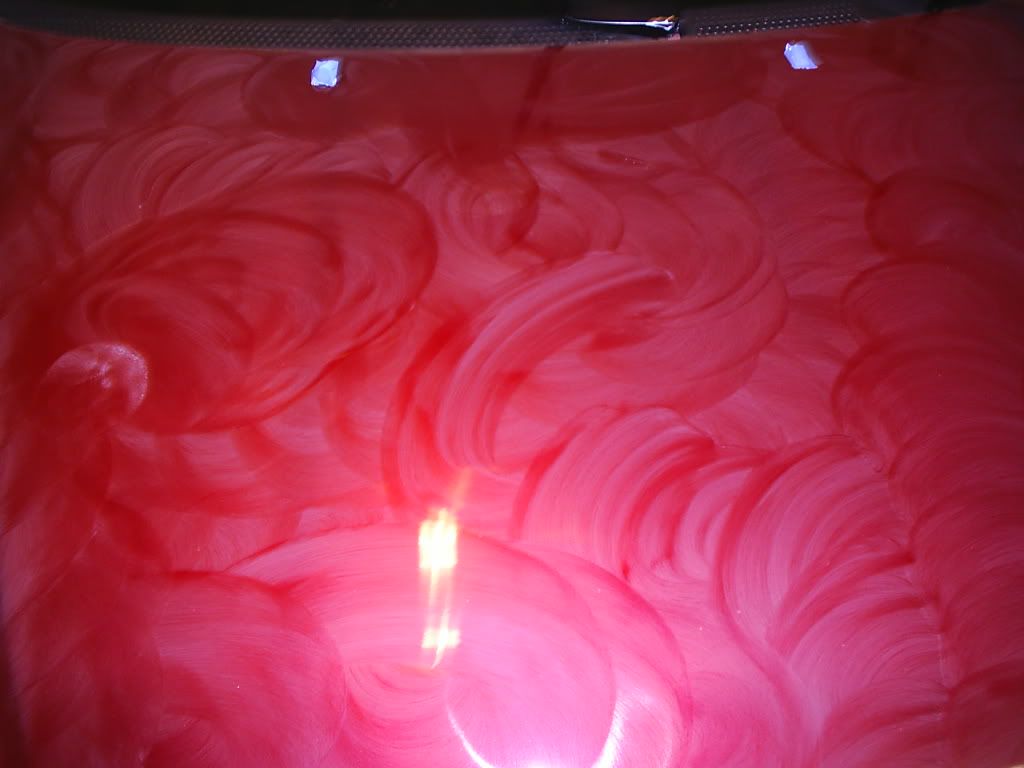
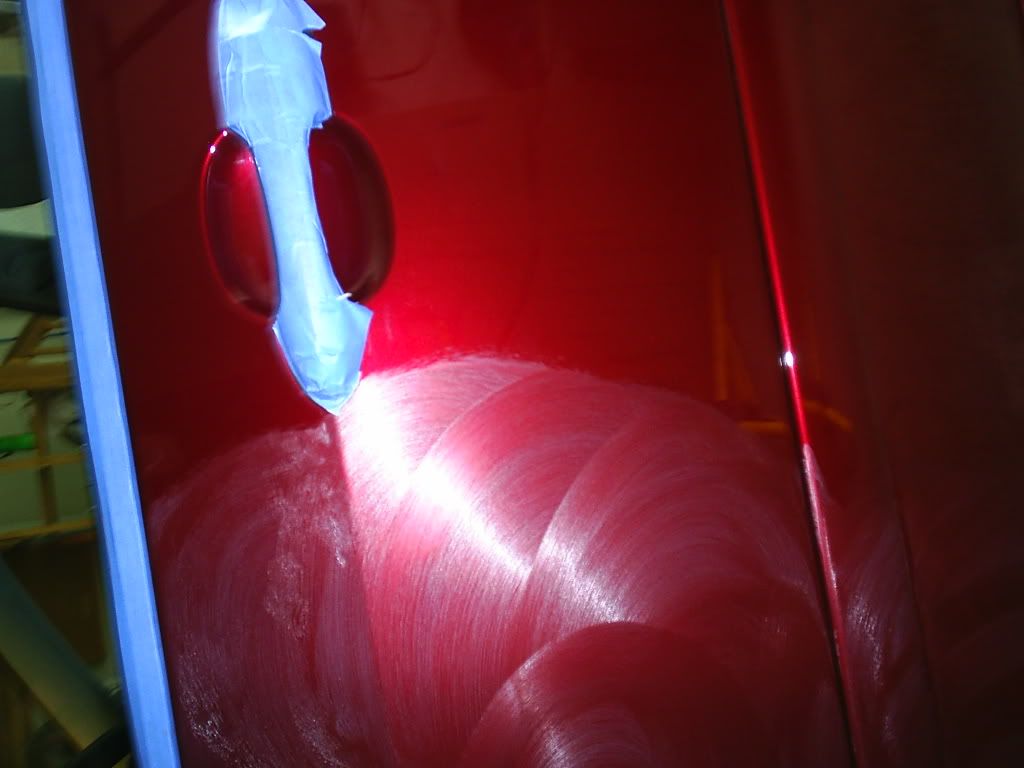
all taped up and ready for the real work to begin
Megs Sealent Curing
And yes I did get that spot I missed after I took the picture

Tech Wax, I think I may have used more than was needed
So this is my car, it had some major paint work done a month ago. Entire left side of the car was repainted due to someone keying it on two seperate occasions. Both time they chose the left front fender and the left rear door. Also had the rear bumper cover replaced because I accidently backed it over a piece of rebar in my sisters yard while helping her move into her new place. It put a whole in the bottom of the cover and 2 nice scratches across the face. Also had a small scratch above the right tail-light cluster.
When I took it in I asked them when they removed the "Focus SE" badges for paint to leave them off, I think it looks much cleaner.
But back to the task at hand; when they painted it the buffed it with a rotary. When I took delivery of the car I didn't notice that they had in fact given me buffer burn on the entire side, thus the need for polishing it after the month they told me I had to wait before I could wax it.
Exterior Process
Wash with GG car wash
Claybar entire car with GG Detailing clay and GG speed shine as lubricant
Polish with GG #3 polish on drivers side/trunk face/hood/roof (applied with GG random orbital)
Polish with GG #2 polish on select spot of hood
Megs #21 synthetic sealent (applied by hand) cured for 40 minutes
Megs NXT Generation Tech Wax paste (applied by hand foam applicator) cured for 1 hour
Wheels/Tires/Engine
Engine bay soaked with Megs APC 4:1 and scrubbed by hand
Dressed with Stoner Trim Shine
Wheels washed with GG Wheel Cleaner during wash process
Wheels then sprayed with GG Wheel Cleaner and hand scrubbed
Tires dressed with GG Long Lasting Tire Dressing
Exaust tip scrubbed with GG Speed Shine
Interior Process
Vaccumed with Rigid Shop-Vac
Rubber floormats cleaned with Megs APC 4:1 and hosed off
Carpet floormats cleaned with Megs Quick Out carpet spot remover
GG interior cleaner used on Dashboard, Instrument Cluster, Center Console and Front door panels
Windows cleaned inside and out with GG Window Cleaner
Total Time: 7 Hours
and now the pics
Before
Wheels weren't to bad, took it through touchless car wash about a week ago
couldn't really capture the burn, otherwise paint was pristine on all panels
Exaust tip
think these flecks were from the repaint, found on interior of all panels involved
floormats were cleaned and put away for the summer
Interior was mostly just dusty from winter/spring months of no time for deep cleaning and way too much fast food
Work in Progress
all taped up and ready for the real work to begin
Megs Sealent Curing
And yes I did get that spot I missed after I took the picture
Tech Wax, I think I may have used more than was needed


 Interior looks good and the exterior looks great also.Nice to see the wheelwells completed and dressed...