CalgaryDetail
Mike
**** I did no do this write up, i however was one of the three involved with this detail so im not stealing someone's detailing work just there right up lol****
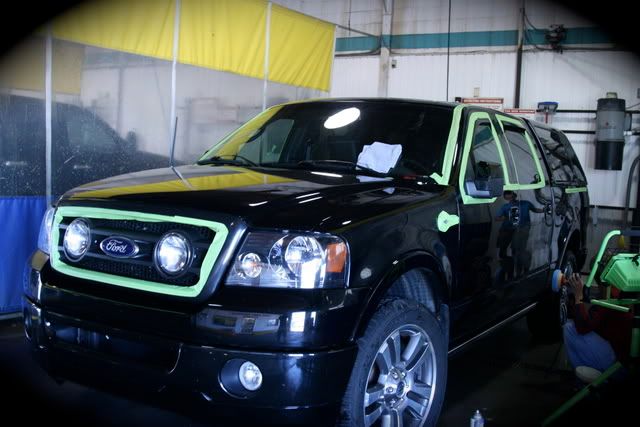
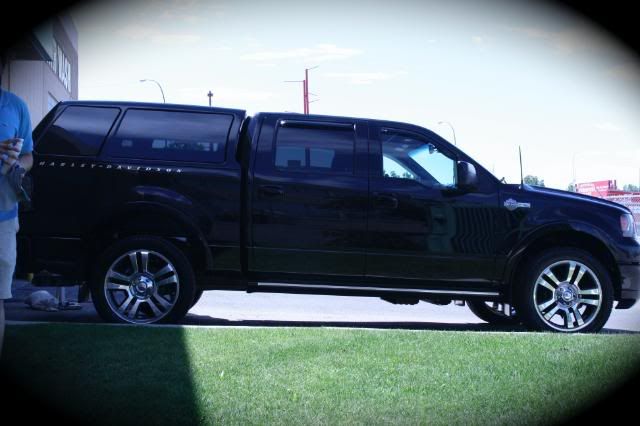
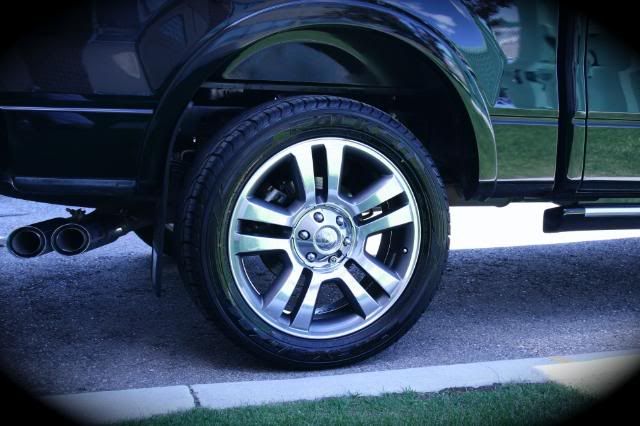
Well a good friend of mine just purchased this truck and wanted it looking as best as possible, the best thing was that this was a tag team detail :thumb: The vehicle:
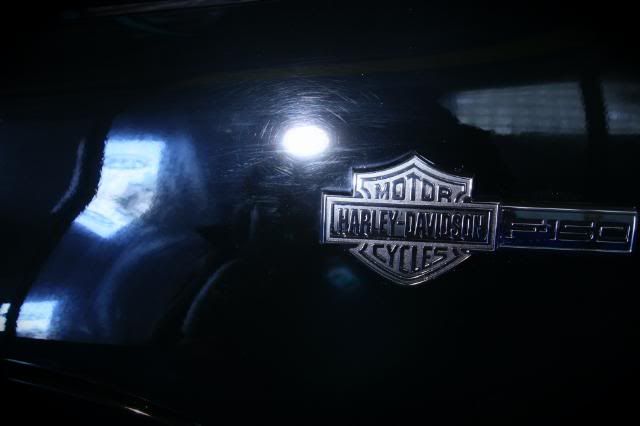
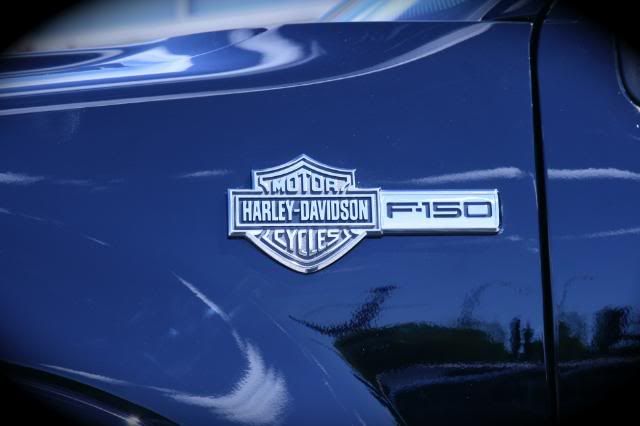
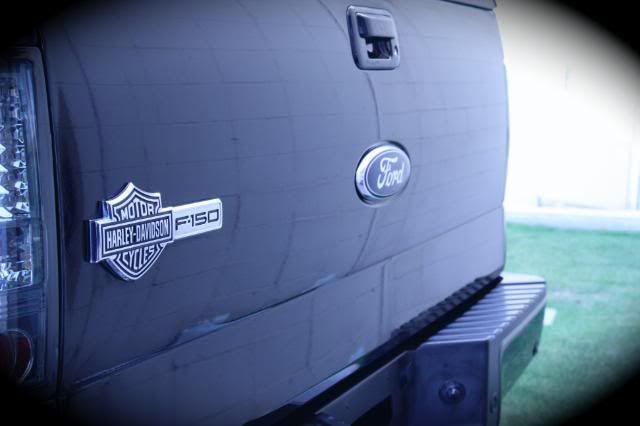
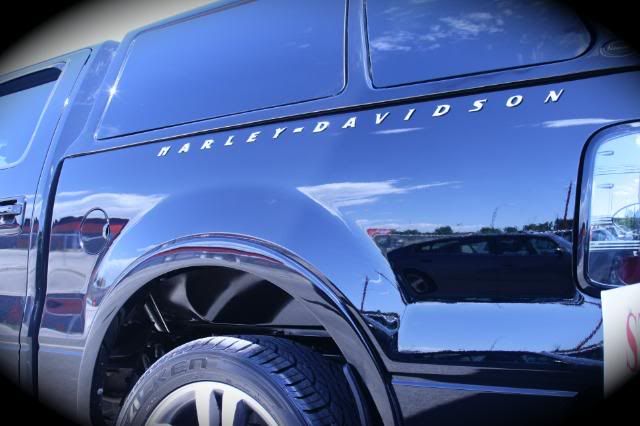
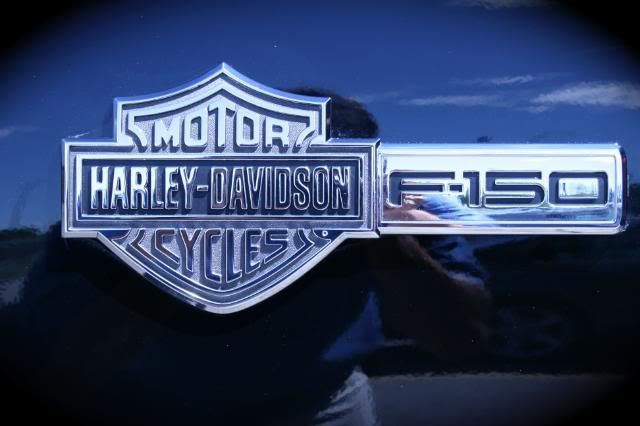
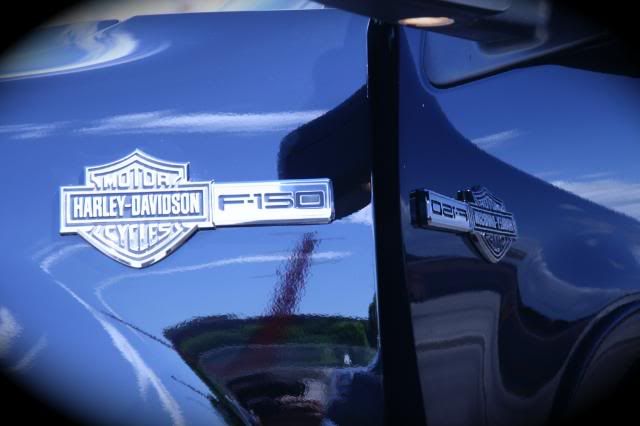
2007 – Harley Davidson F-150
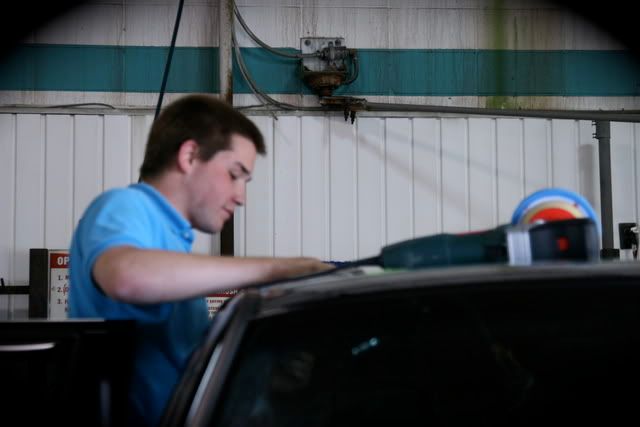
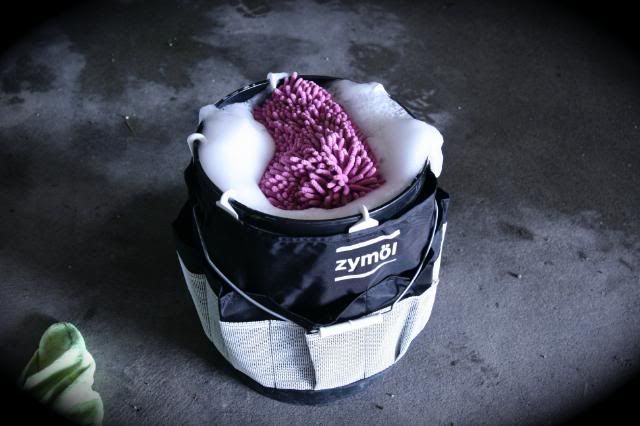
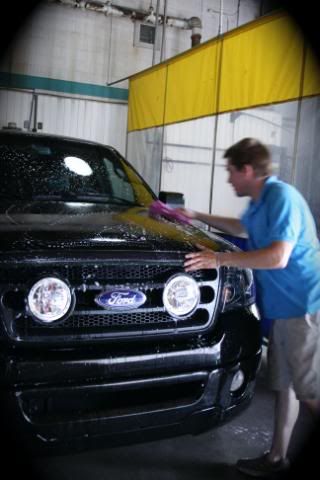
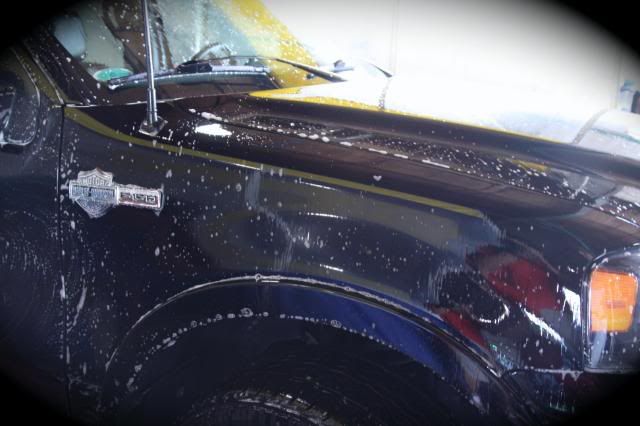
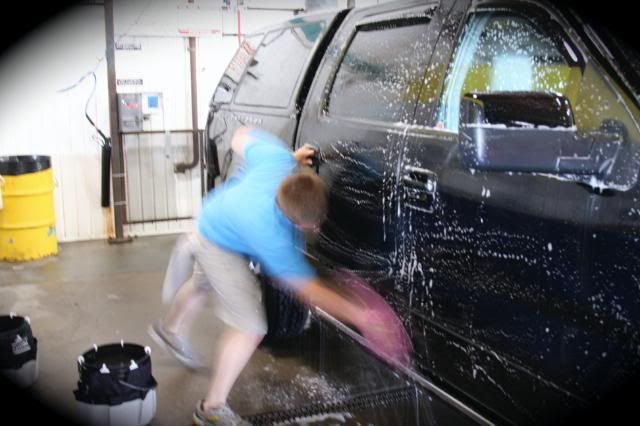
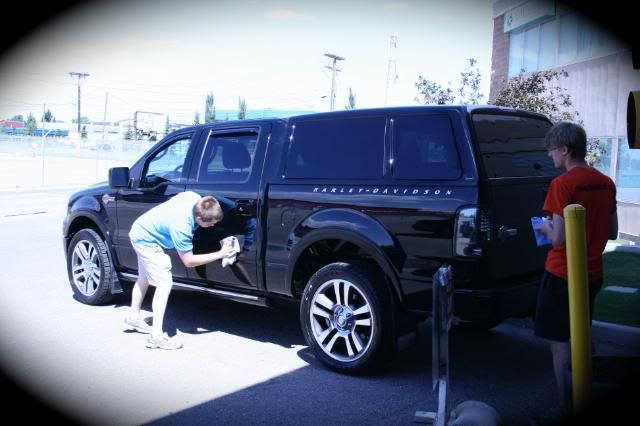
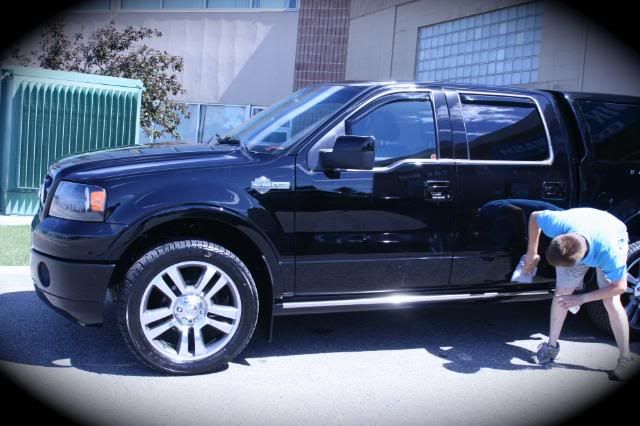
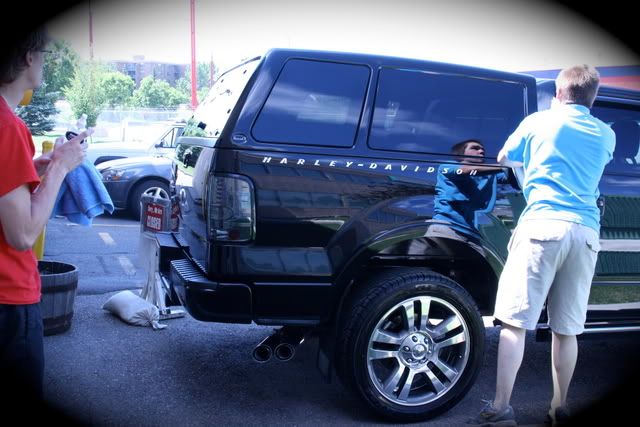
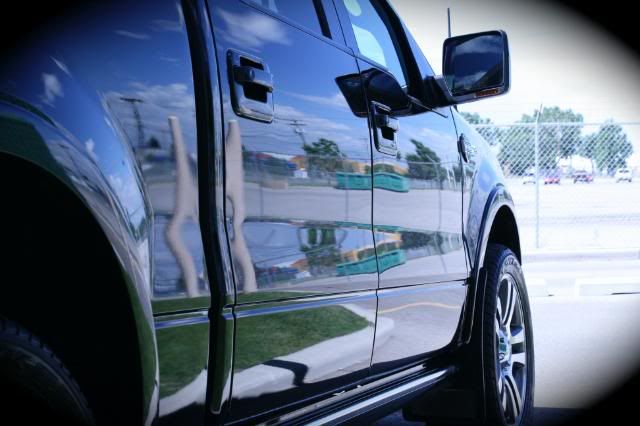
Well my friend dropped off the vehicle and needed a ride back home so I drove him back home mean time Mike and Justin got started with the vehicle washed it using the two bucket method and clayed it with the Riccardo clay bar. By the time I arrived it was time to tape up the vehicle and get going with the polishing :cheerl: funny how that worked out huh
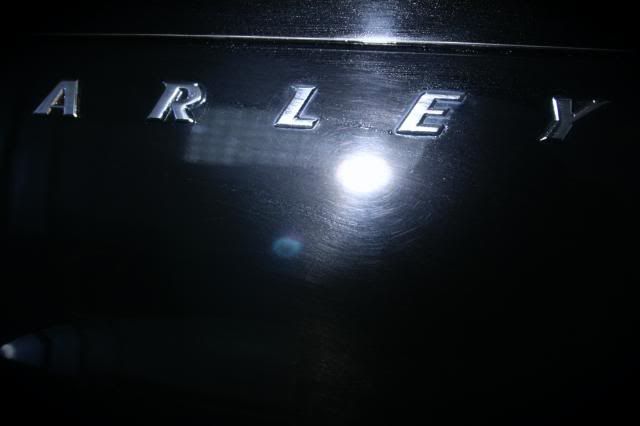
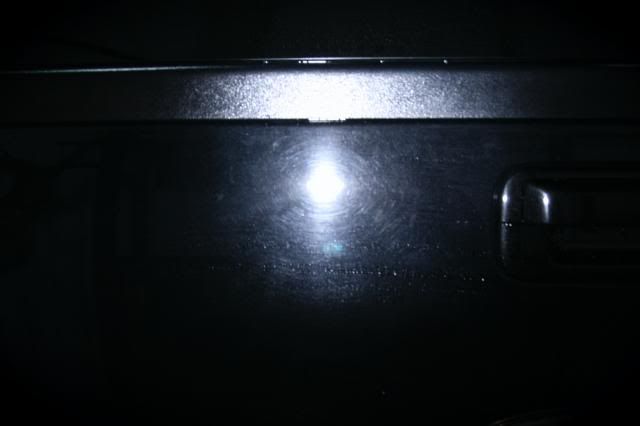
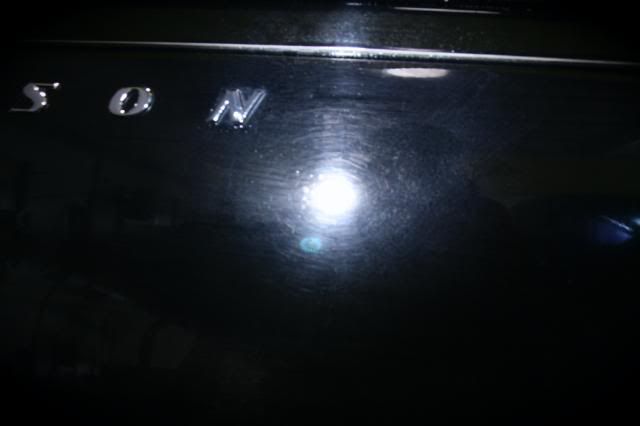
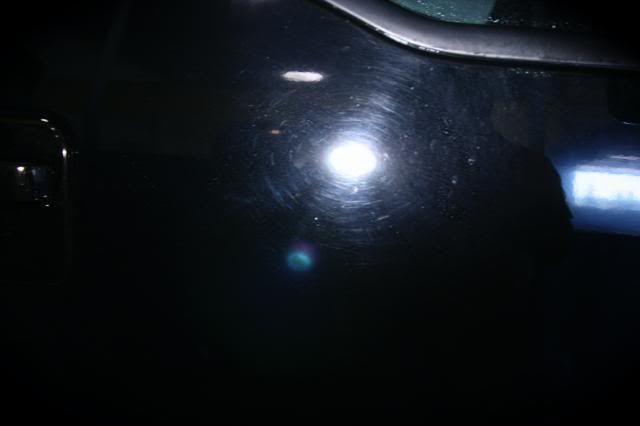
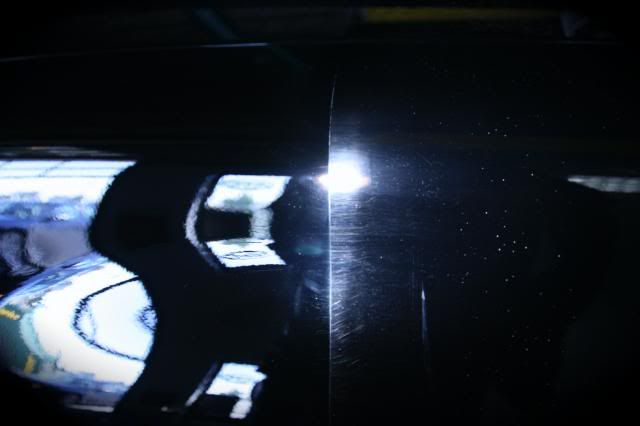
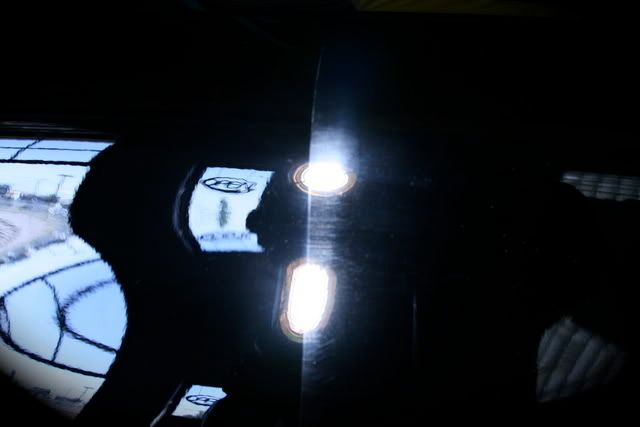
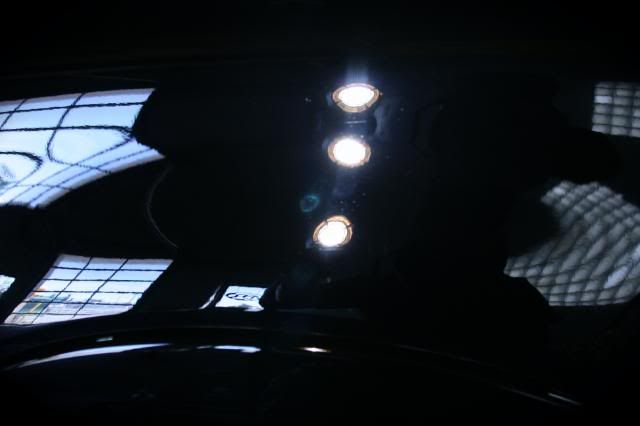
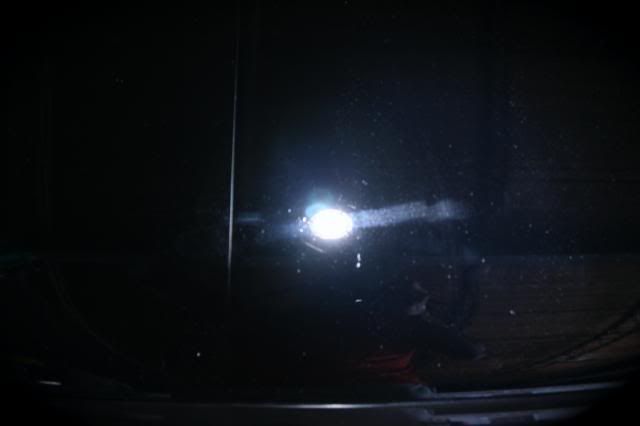
First up to see what we were up against, with the help of the 3M Sun Gun we were able to see the true state of the vehicle:
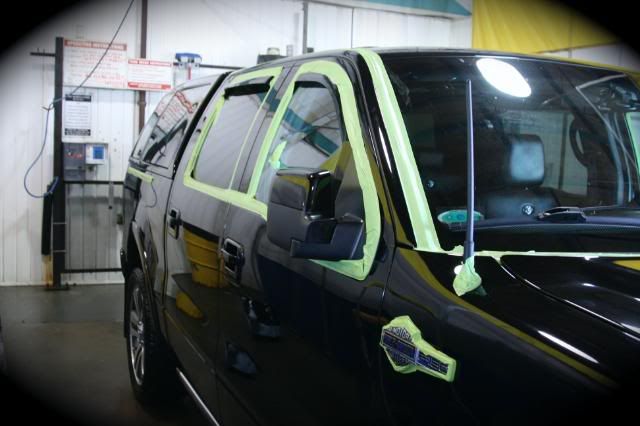
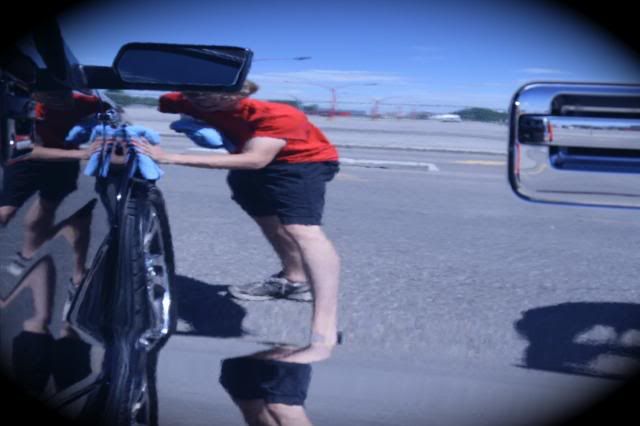
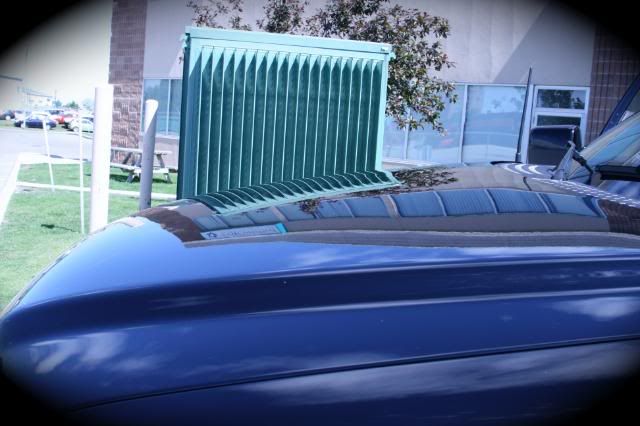
Any who vehicle was taped up:
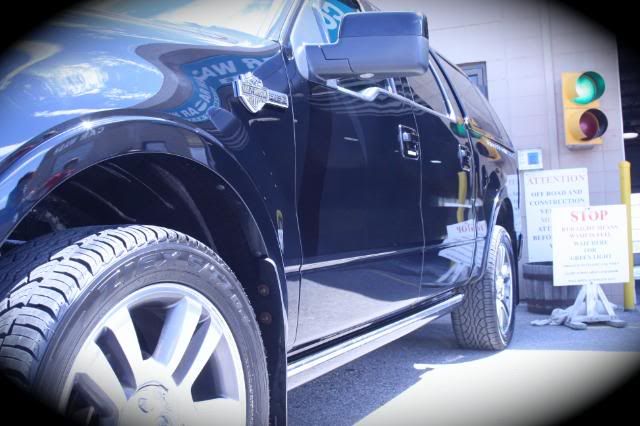
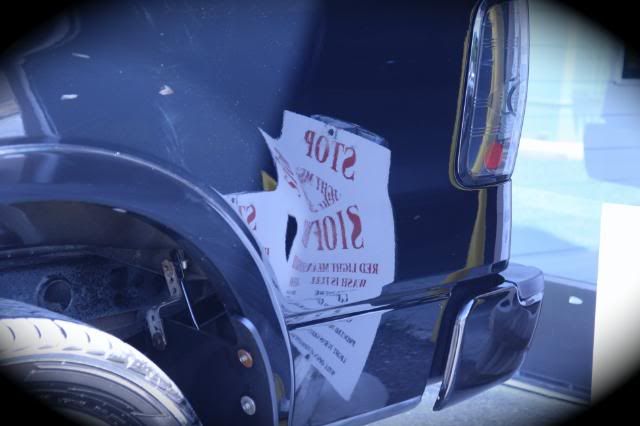
Well not much to tape now it was time to see how much paint we had to play with, for this the PosiTest DFT combo was used:
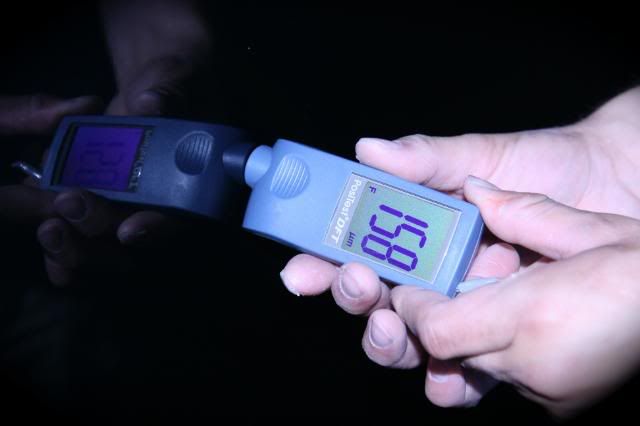
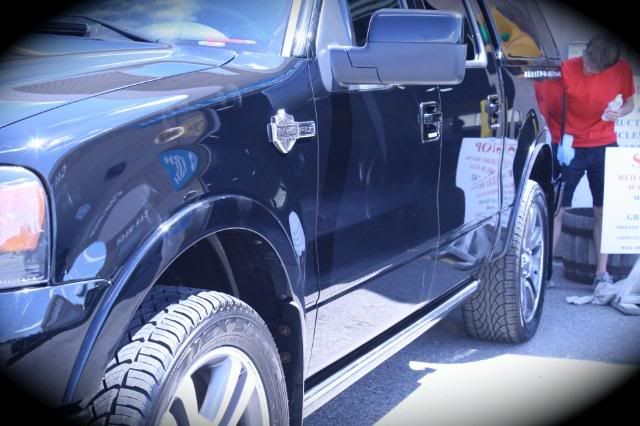
The truck had plenty of paint for us to play with :thumb:
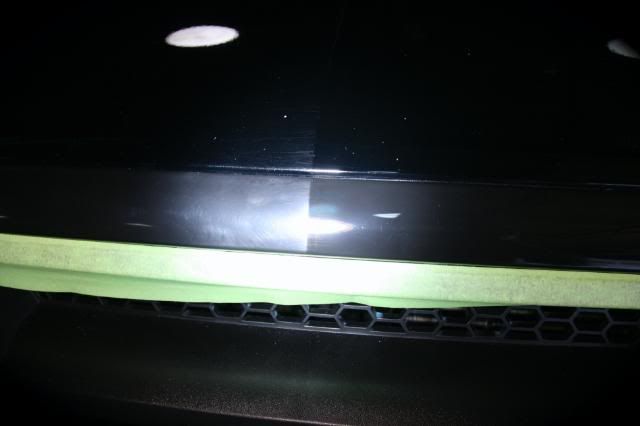
Well now to see what combo would work best on this truck, first up was the Menzerna 85RD3.02 with a Black 3M UK Polishing pad, Metabo at 1500 RPM with 3M Backing Plate. The swirls laughed at this combo and Menzerna 3.02 was just not going to cut it this time around.
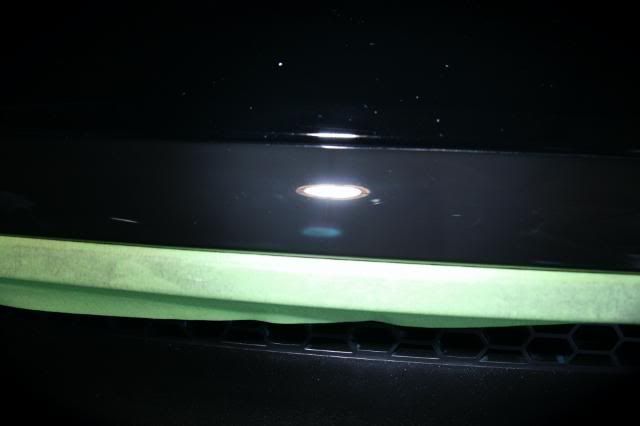
The next combo used was 3M UK Perfect-it III Extra Fine Compound (80349) with a Black 3M UK Polishing pad, Metabo at 1500 RPM with 3M Backing Plate, this was then followed up with Menzerna 85RD with a Blue 3M UK Finishing pad, Metabo at 1500 RPM with 3M Backing Plate.
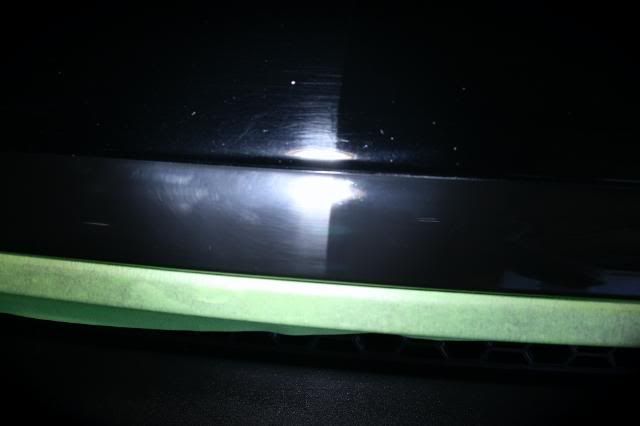
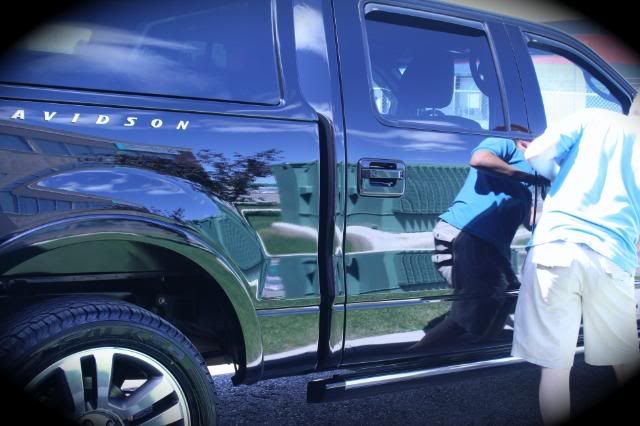
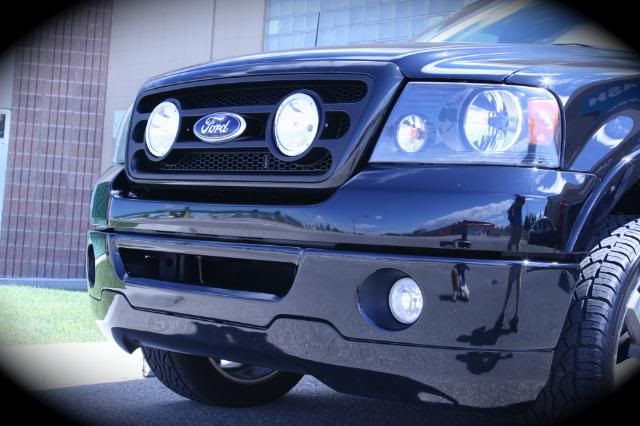
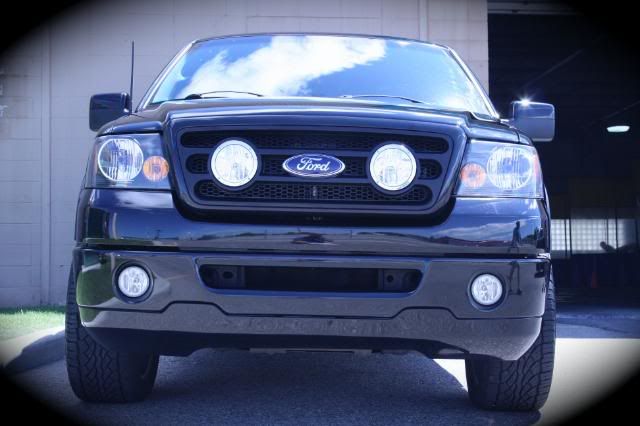
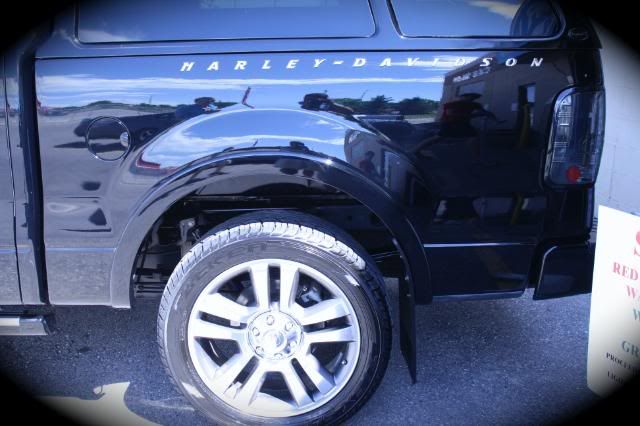
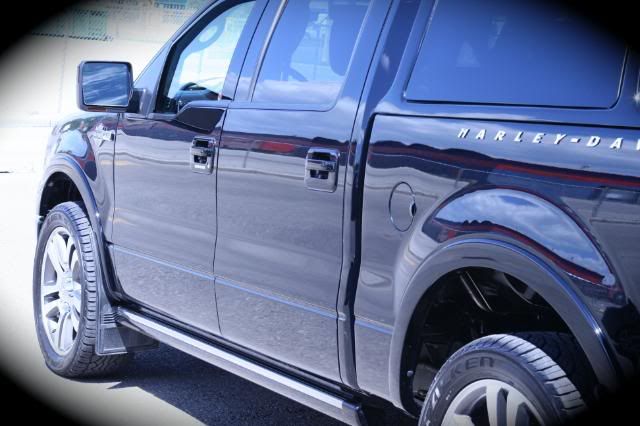
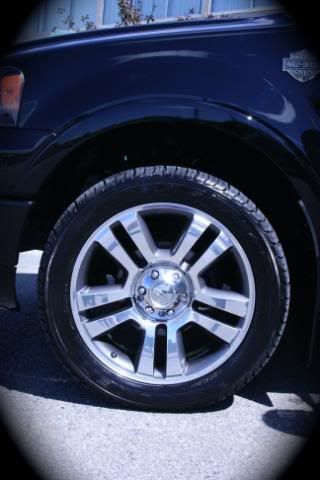
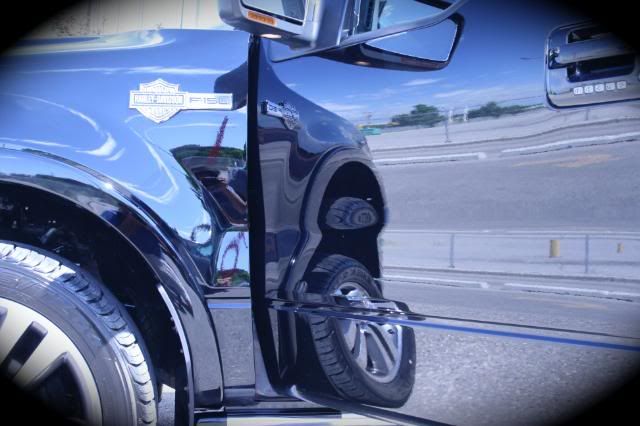
Now this combo gave the following results (driver side fender):
Well a good friend of mine just purchased this truck and wanted it looking as best as possible, the best thing was that this was a tag team detail :thumb: The vehicle:
2007 – Harley Davidson F-150
Well my friend dropped off the vehicle and needed a ride back home so I drove him back home mean time Mike and Justin got started with the vehicle washed it using the two bucket method and clayed it with the Riccardo clay bar. By the time I arrived it was time to tape up the vehicle and get going with the polishing :cheerl: funny how that worked out huh
First up to see what we were up against, with the help of the 3M Sun Gun we were able to see the true state of the vehicle:
Any who vehicle was taped up:
Well not much to tape now it was time to see how much paint we had to play with, for this the PosiTest DFT combo was used:
The truck had plenty of paint for us to play with :thumb:
Well now to see what combo would work best on this truck, first up was the Menzerna 85RD3.02 with a Black 3M UK Polishing pad, Metabo at 1500 RPM with 3M Backing Plate. The swirls laughed at this combo and Menzerna 3.02 was just not going to cut it this time around.
The next combo used was 3M UK Perfect-it III Extra Fine Compound (80349) with a Black 3M UK Polishing pad, Metabo at 1500 RPM with 3M Backing Plate, this was then followed up with Menzerna 85RD with a Blue 3M UK Finishing pad, Metabo at 1500 RPM with 3M Backing Plate.
Now this combo gave the following results (driver side fender):


")