OCDinPDX
Paint Ph.D
2007 Acura RL
Nighthawk Black Pearl
Nighthawk Black Pearl
Detail – June 3, 2009
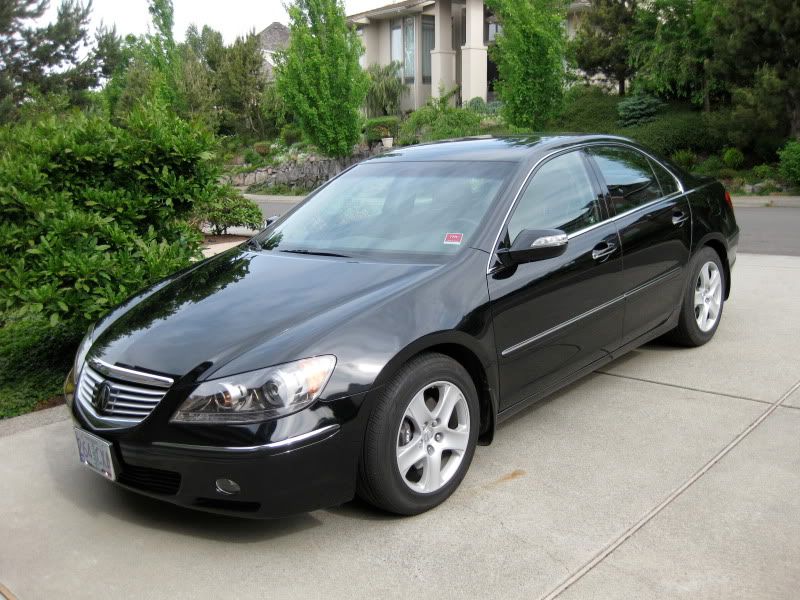
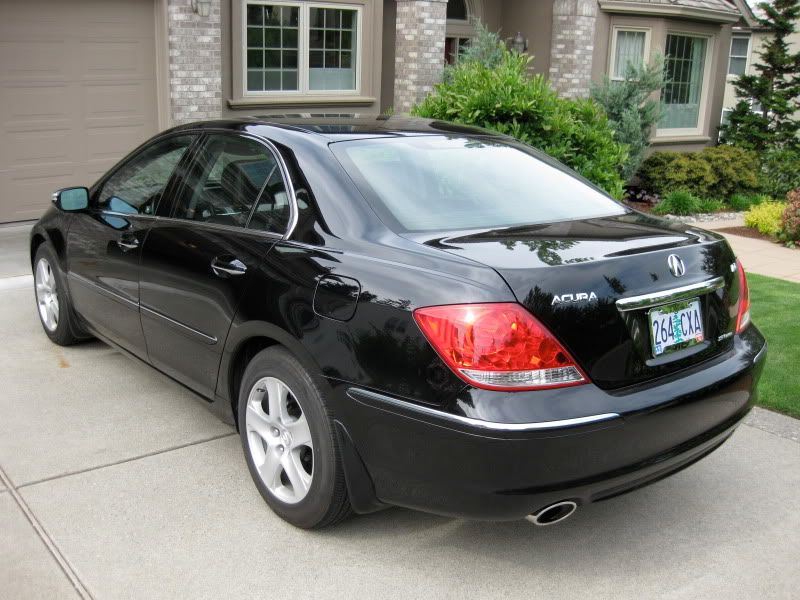
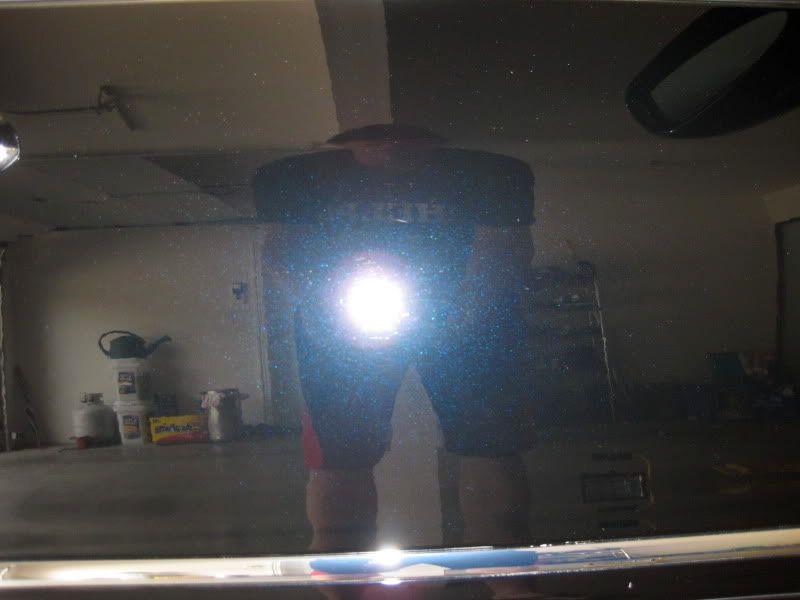
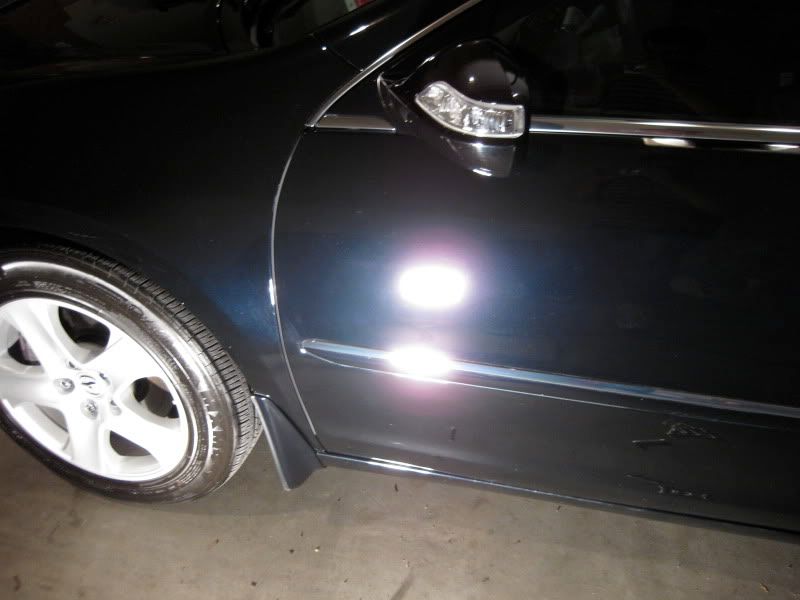
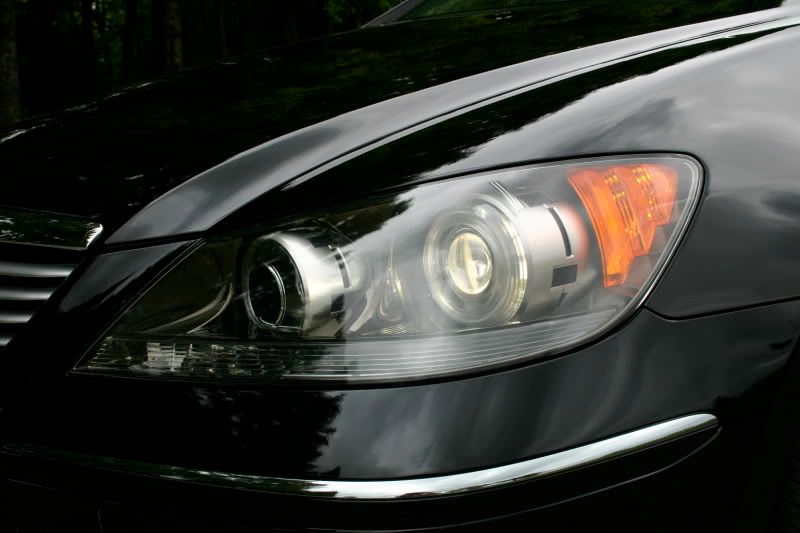
This 2007 RL belongs to my dad and he bought it new in December of 2006. It has only 25,000 miles on it and I have tried to keep it up as best I could and polished it to perfection last May. It looked fabulous with only very light marring from washes until a snafu lead to the dealer running it through the swirl-o-tron. Moderate swirls and some lovely RIDS (all courtesy of the dealer wash) peppered the super-soft Nighthawk Black Pearl paint.
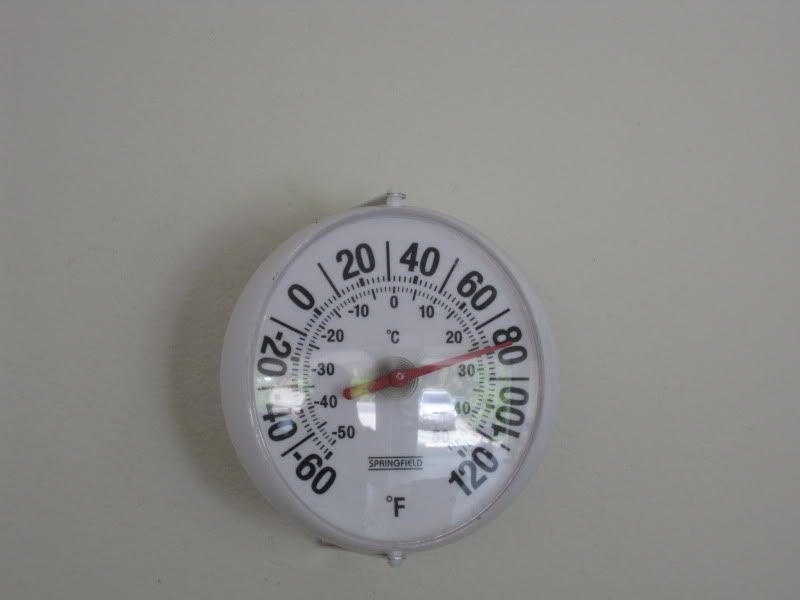
This job was actually broken up into three days. Day one started at 9:30 AM and ran until 6:25 PM when the heat and humidity (damn near close to 90º and 85% humidity) finally got to me and I cut it short after polishing a little under half of the car. Day one also included engine cleaning and dressing, wheel arch and wheel deep cleaning, exterior wash, clay, and partial polish. Day two saw the completion of polishing and a post-polish wash that was quickly negated by a storm that blew dust all over the clean car (I couldn't seal up the garage quickly enough). I abandoned my quest until Day 3 which saw another wash to get all the storm dust off and then the application of the 4-Star and interior detail.
Exterior Process
Wash with Griot’s Car Wash and MF Mitt
Jack up vehicle, remove wheels and clean suspension components with pressure washer, Meg’s APC 4:1 and detail with GG Undercarriage Spray.
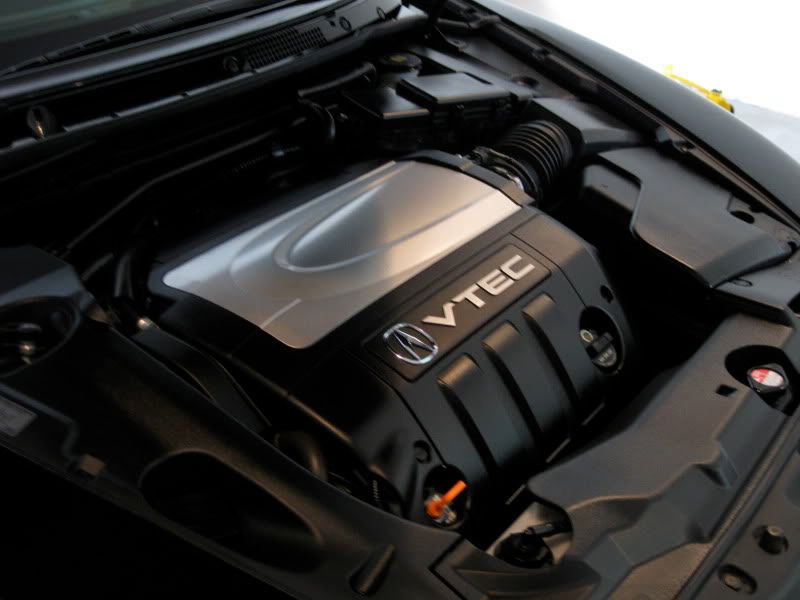
Engine clean with APC 4:1 and dress with Stoner's Trim Shine.
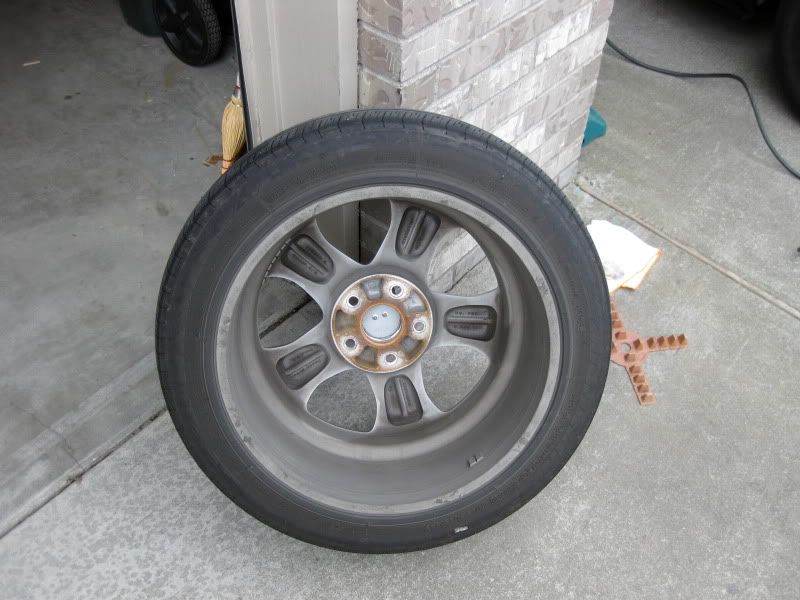
Deep-clean wheels with Griot’s Wheel Cleaner and elbow grease.
Dry with GG Microfiber Drying towel
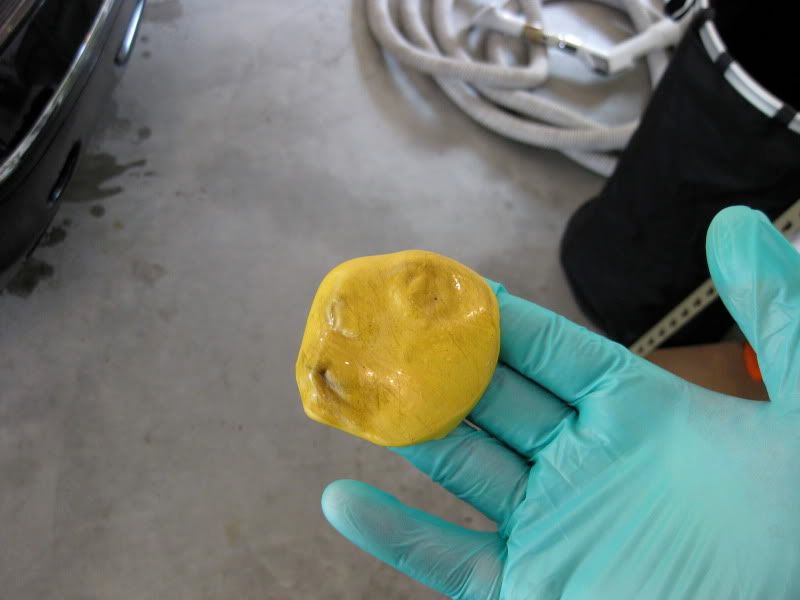
Clay with Griot's Clay and Speed Shine for lubricant.
Polish with Griot’s Random Orbital and Orange Pad; two or three passes with Stage 2 polish and one finishing pass with Stage 3 polish.
4-star UPP used for LSP, applied by hand and allowed to cure for two hours.
Interior Process
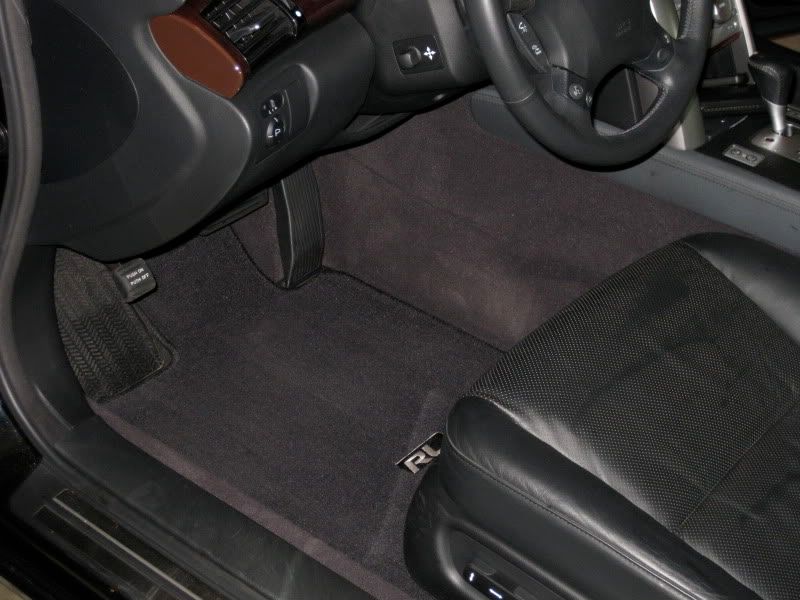
Removed winter mats (rubber) and prep summer mats (carpeted) by hot-water extracting with Dirt Devil carpet cleaner
Remove door sill scuff plates and clean with Lexol leather cleaner (does miracles minimizing scuffs).
Vacuum interior
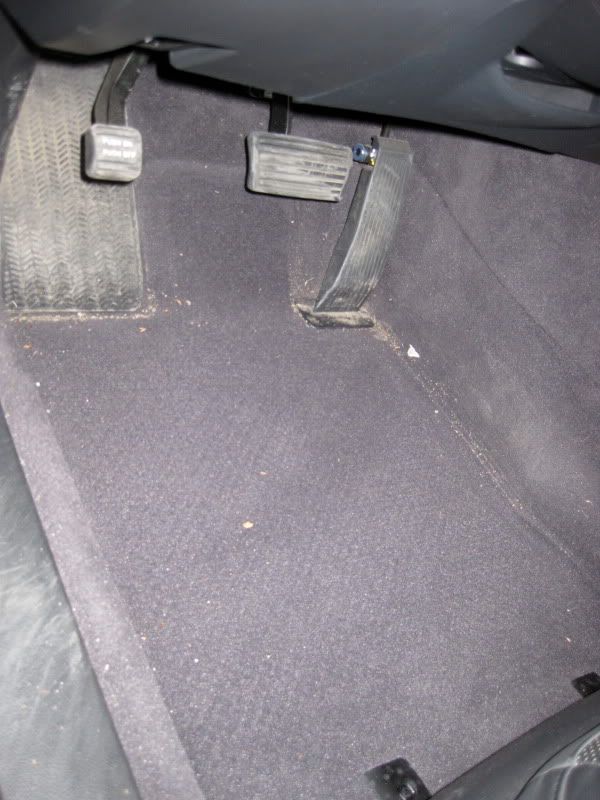
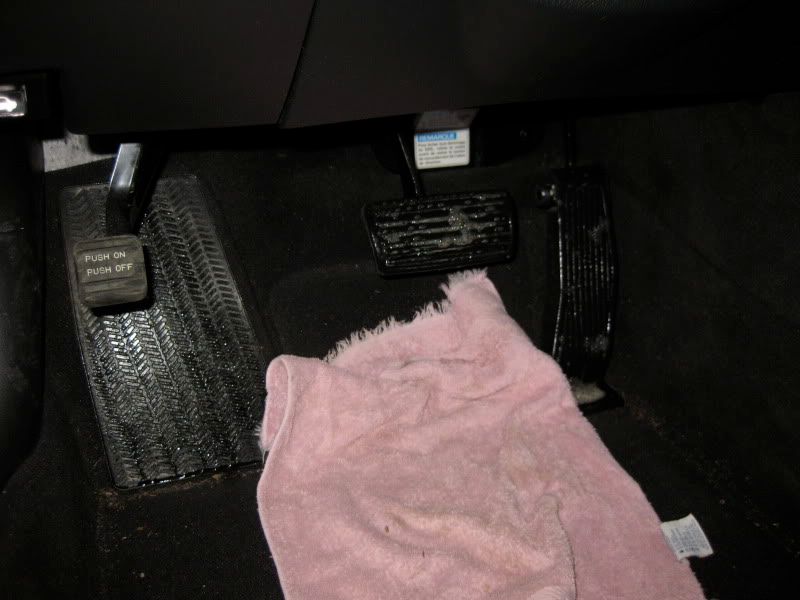
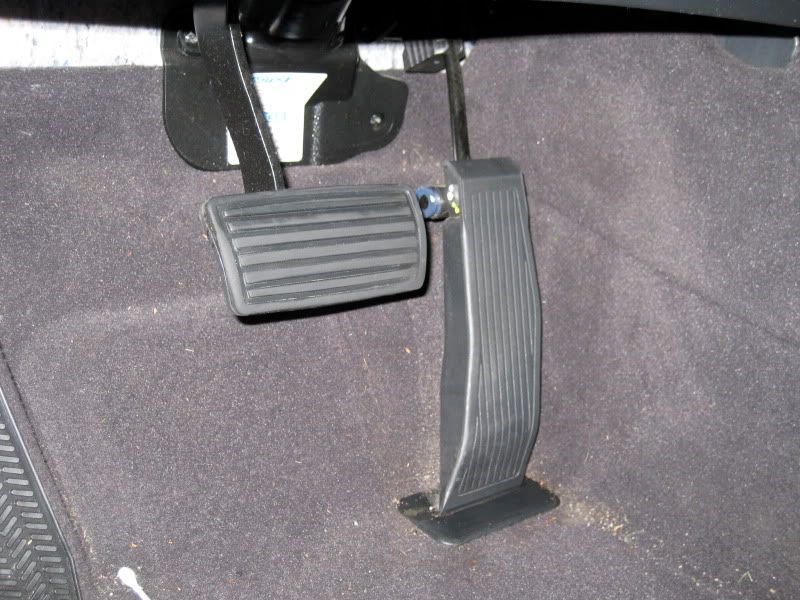
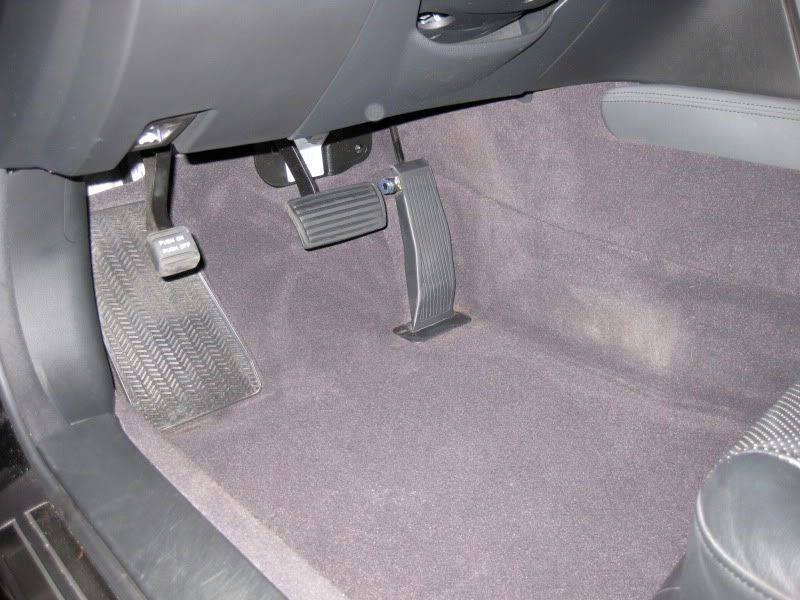
Clean dirty rubber pedal covers with APC 4:1, brush, and cotton towel.
Clean and condition leather seats, steering wheel and arm rest with Lexol leather cleaner and leather conditioner
Dust dashboard with MF cloth
Clean windows with Sprayaway ammonia-free window cleaner.
Total Time Spent: 20 hours
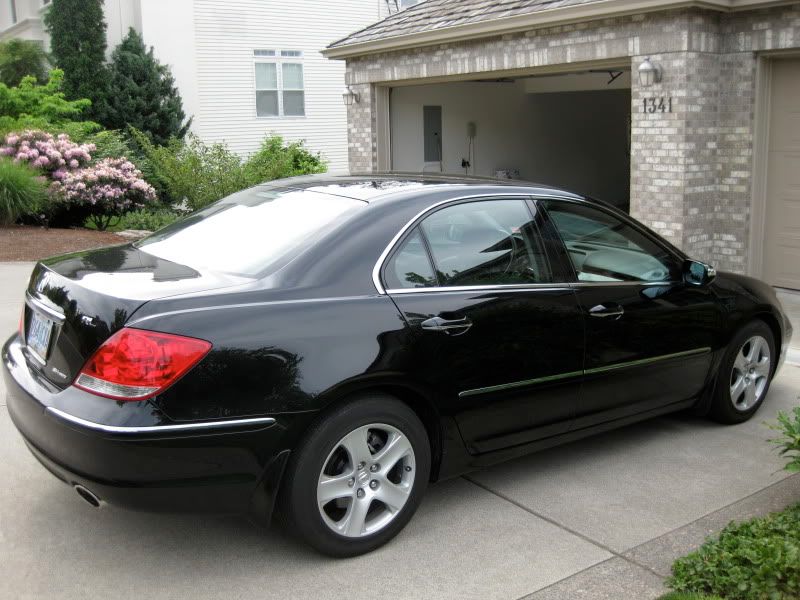
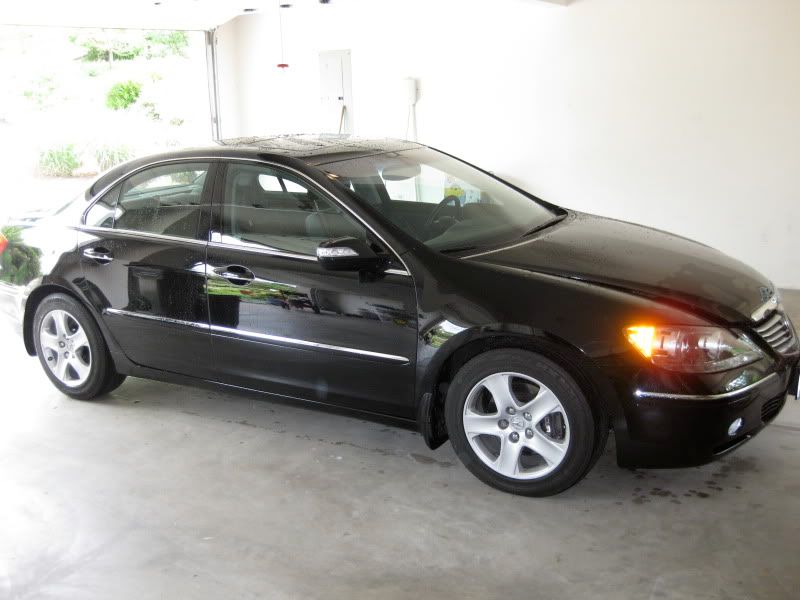
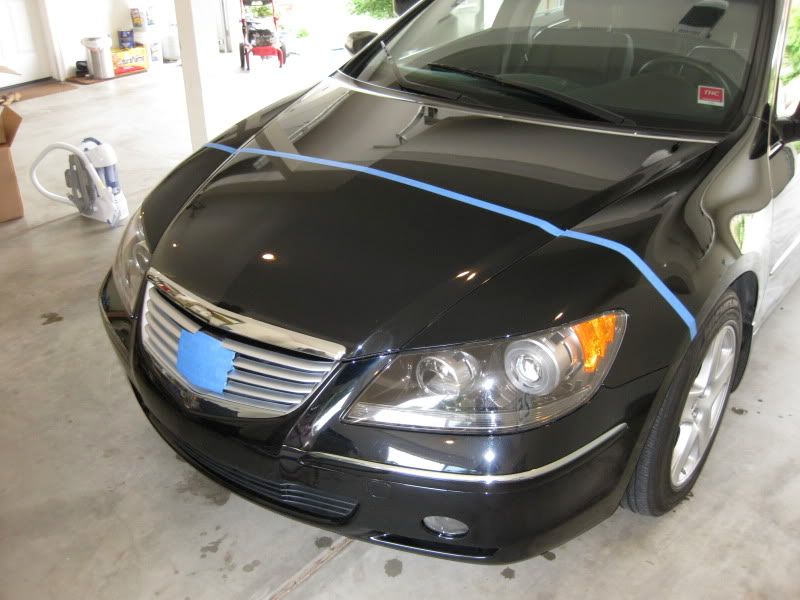
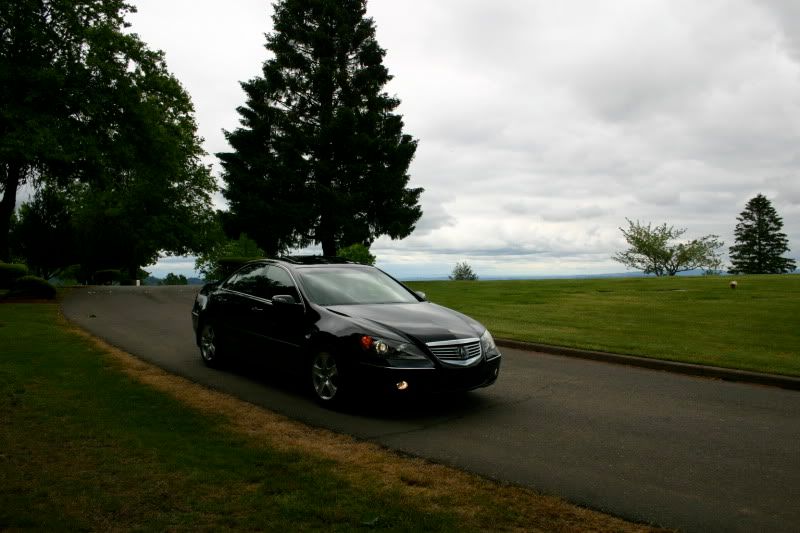
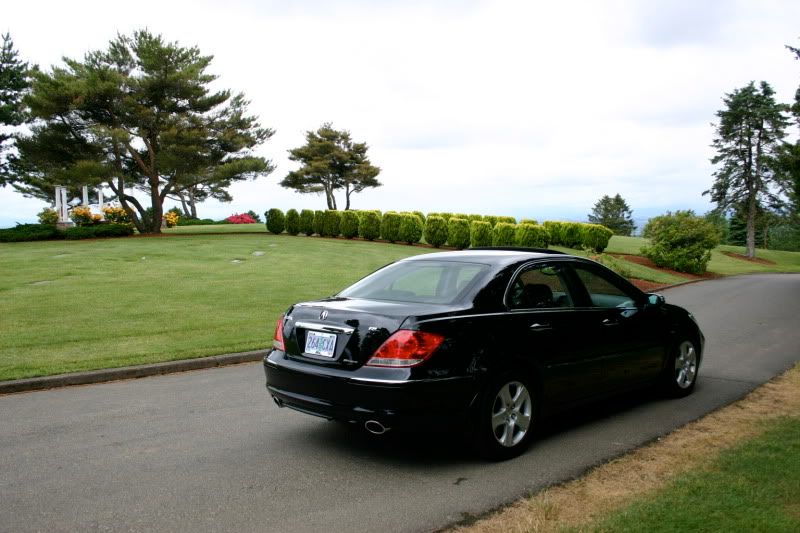
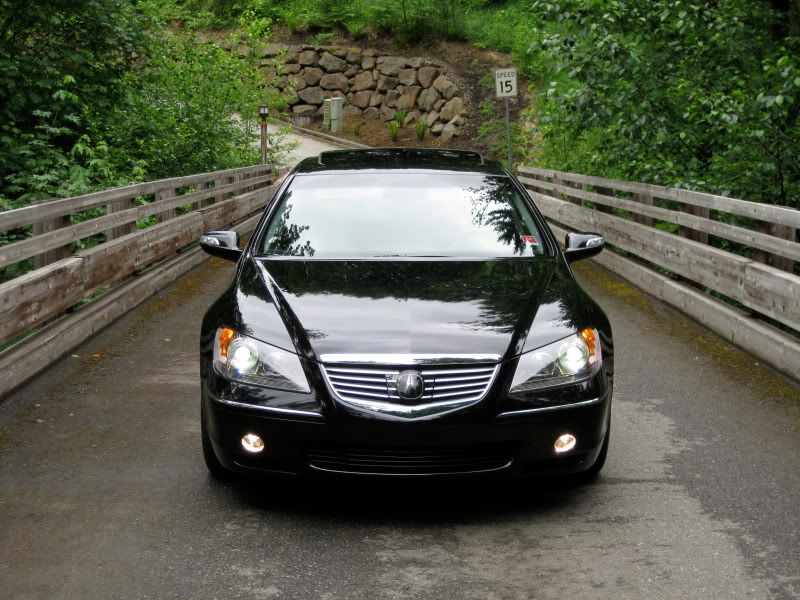
Here we are with the vehicle as I got started...from a distance it doesn't look too bad.
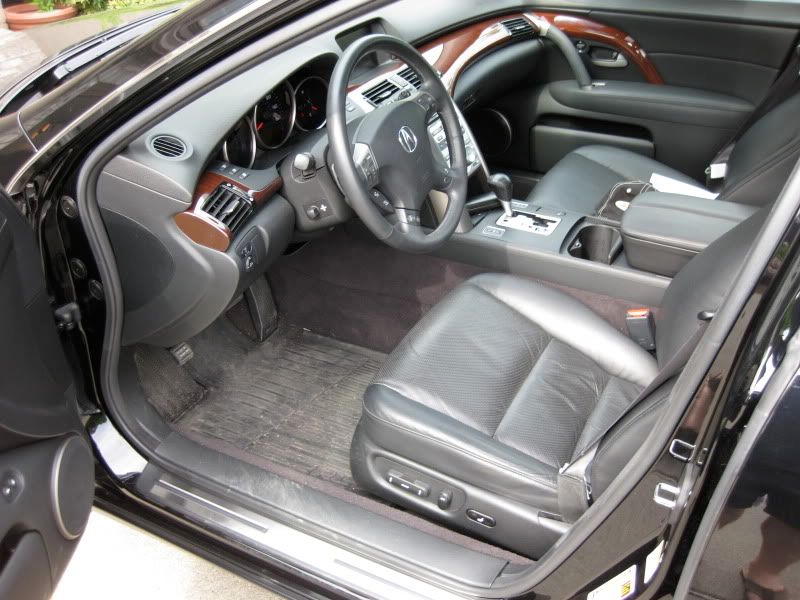
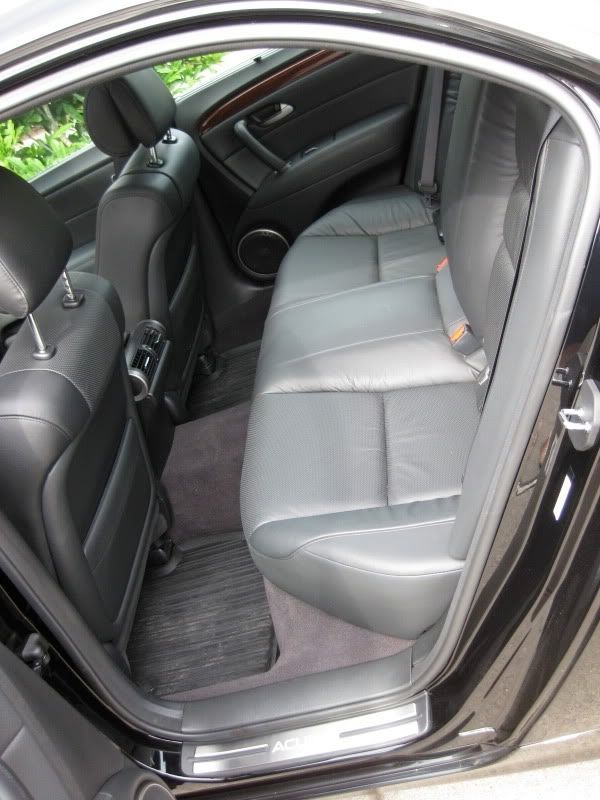
The interior was actually fairly nasty.
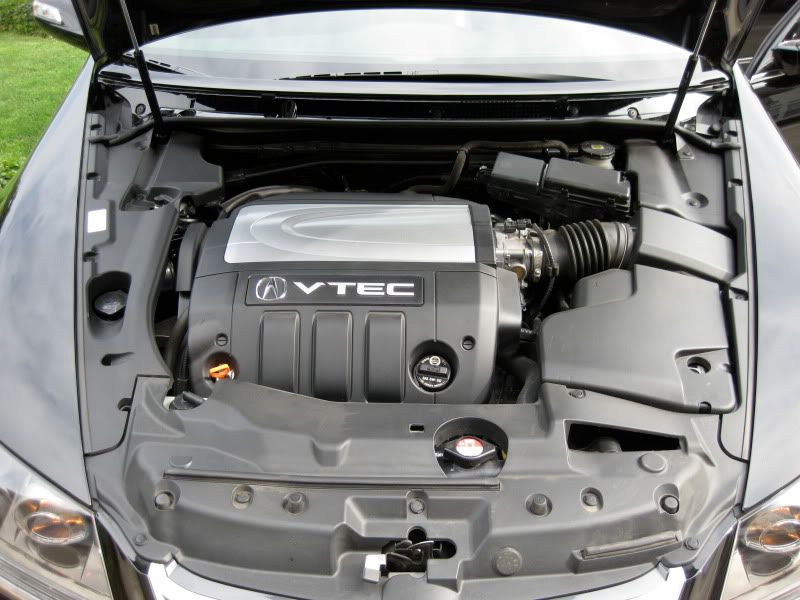
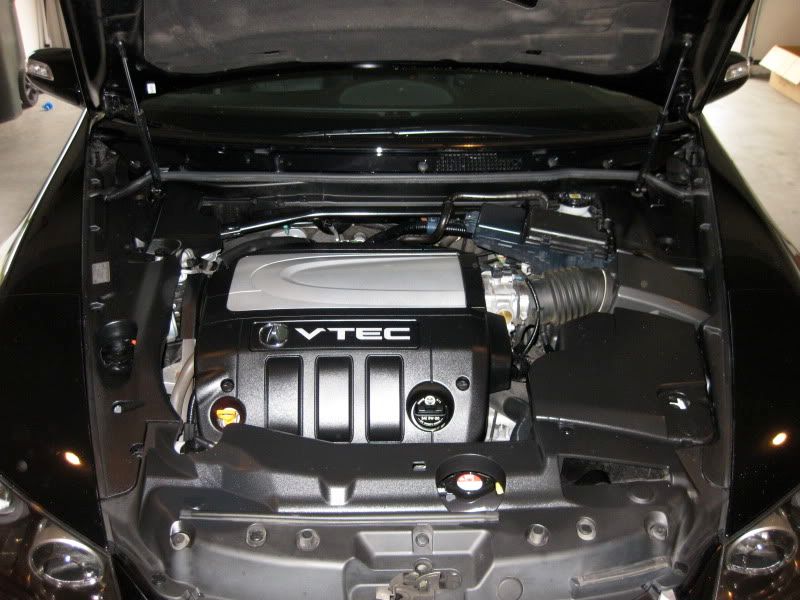
Engine was pre-soaked with Meg's APC 4:1 and hit with the hose. As you can see it really wasn't all that bad.
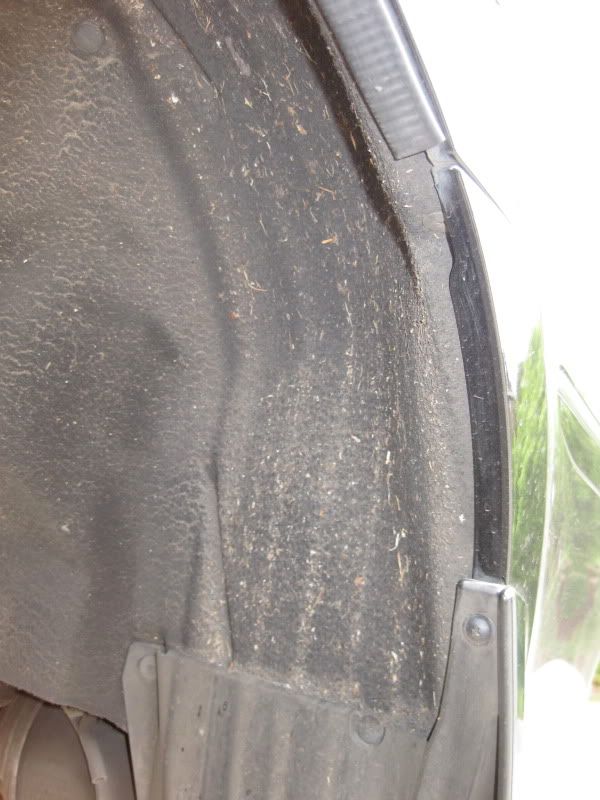
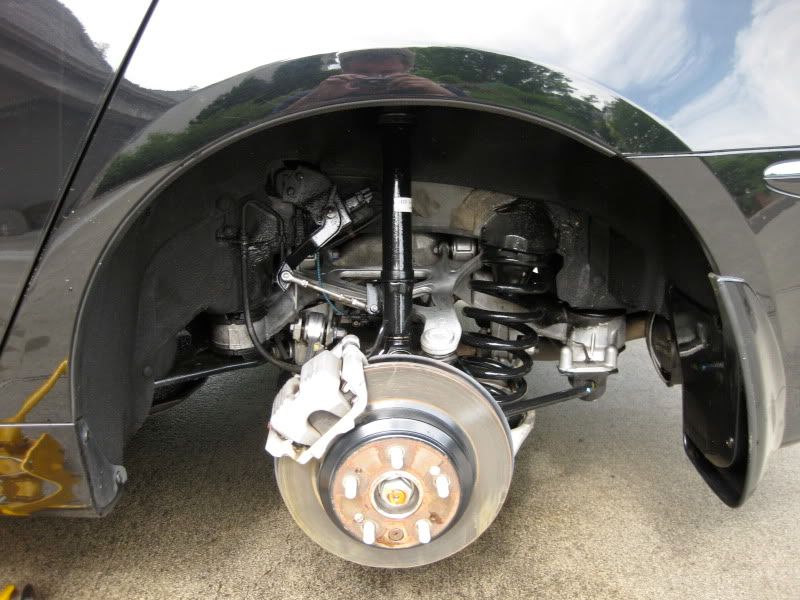
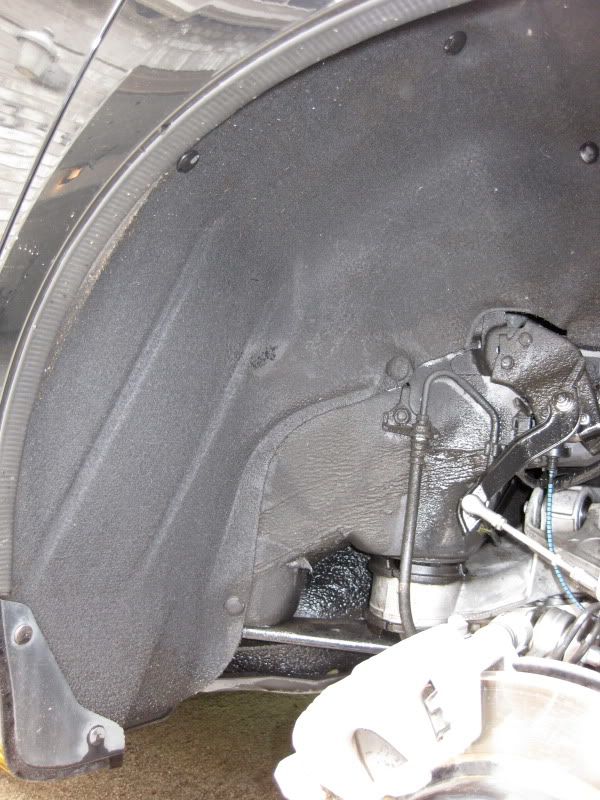
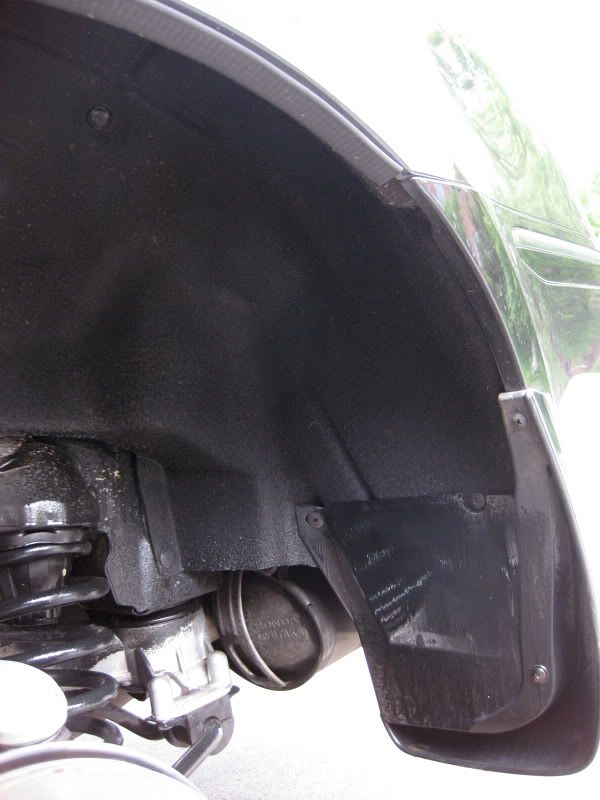
The wheel arches, on the other hand were beyond gross. These were pre-sprayed with APC and blasted clean (went easy on the suspension components, of course) with a pressure washer.
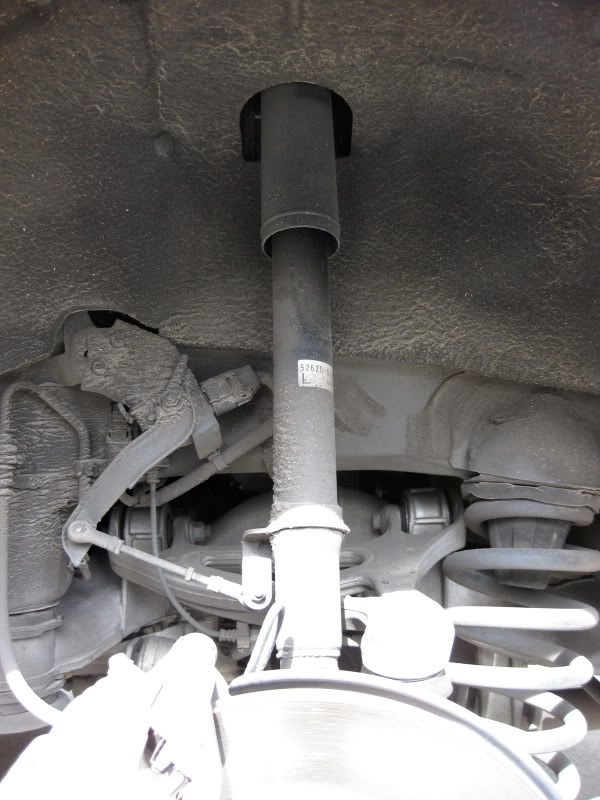
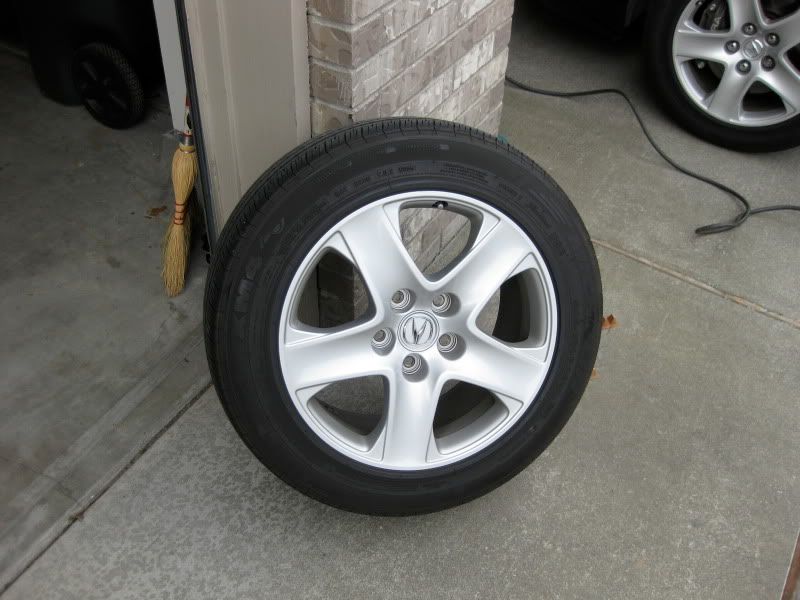
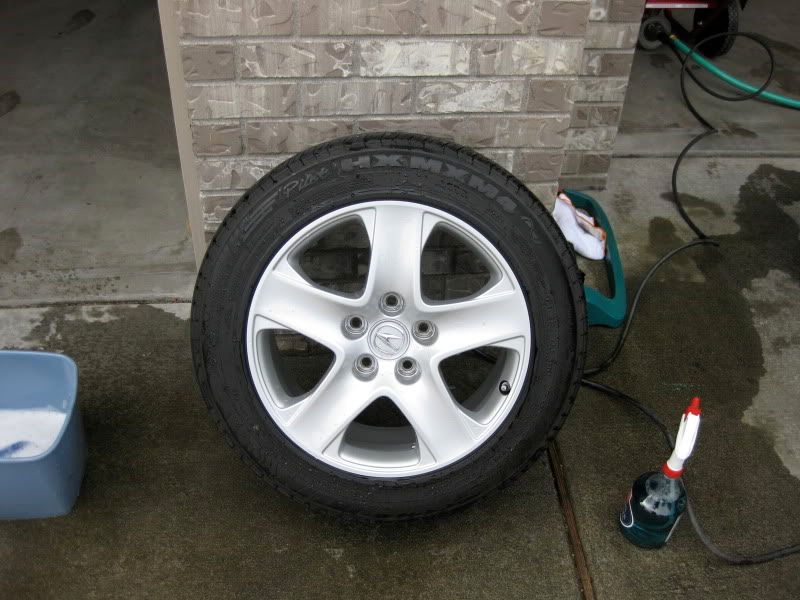
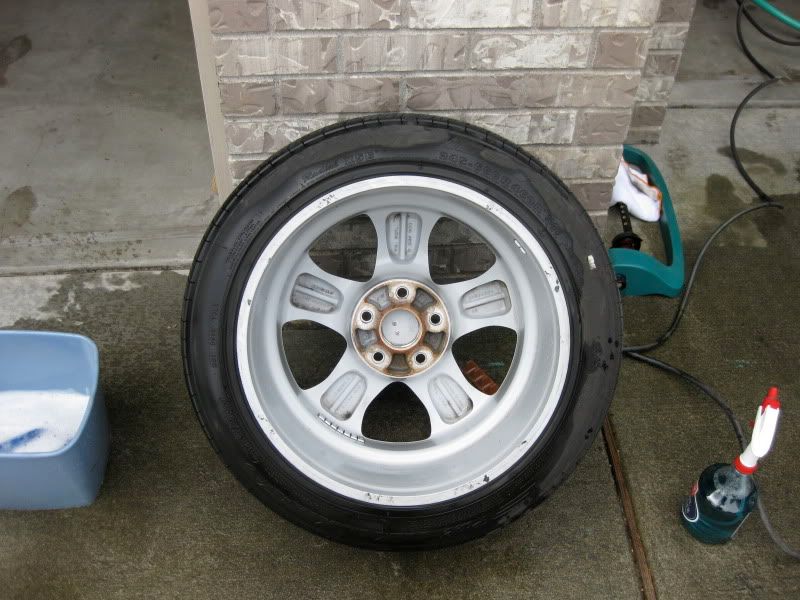
Since I had the wheels off to clean the arches, I did a full wheel clean-up, front and back. These are the specialty Michelin PAX run-flat tires and these things weigh a damn ton! I estimate their weight at 75 to 100 pounds each. Light they are not.
Eww....
The wheel arches and suspension bits look MUCH better!
The wheels after...
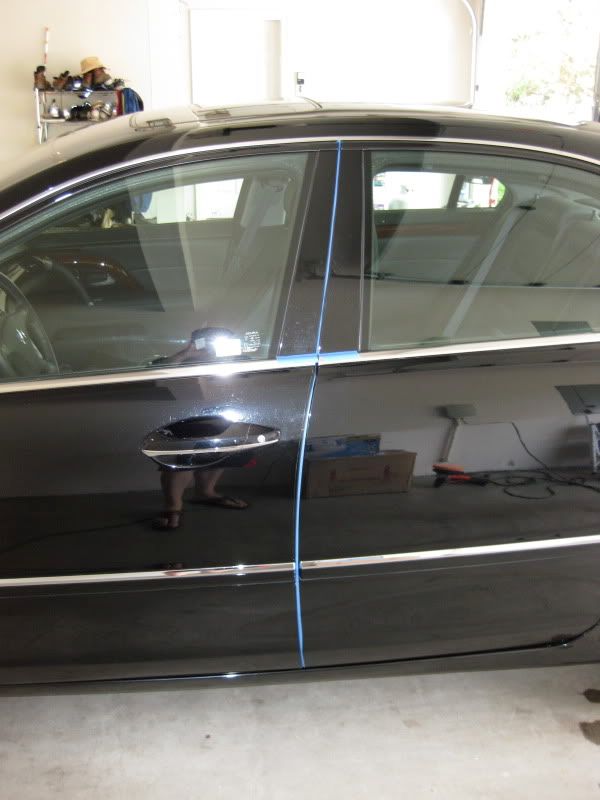
In the garage for drying and clay.
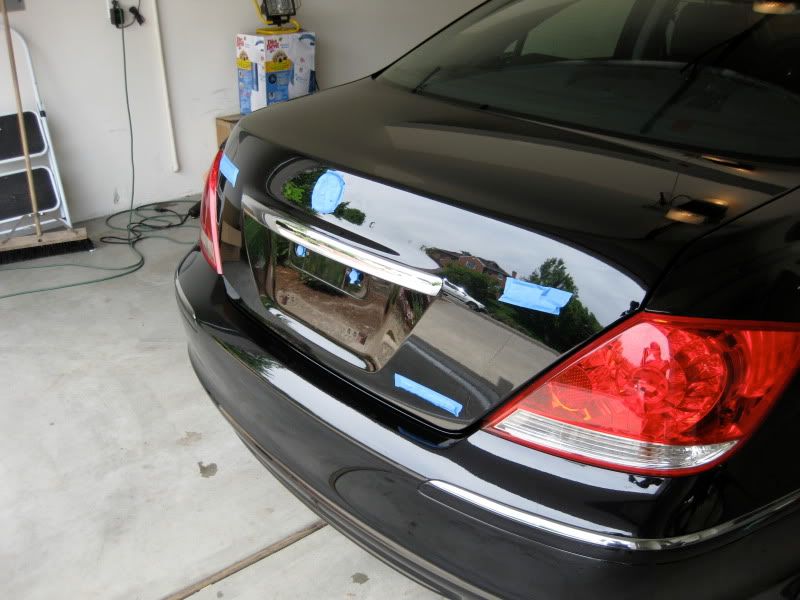
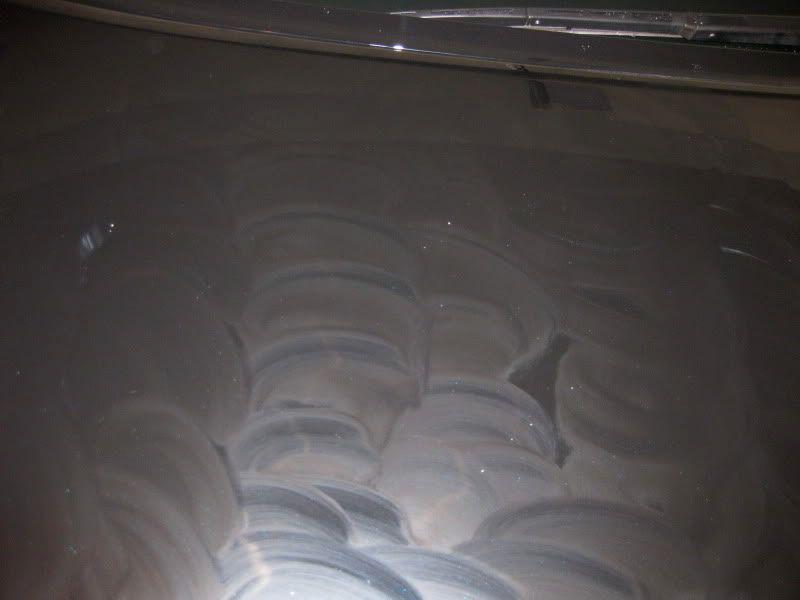
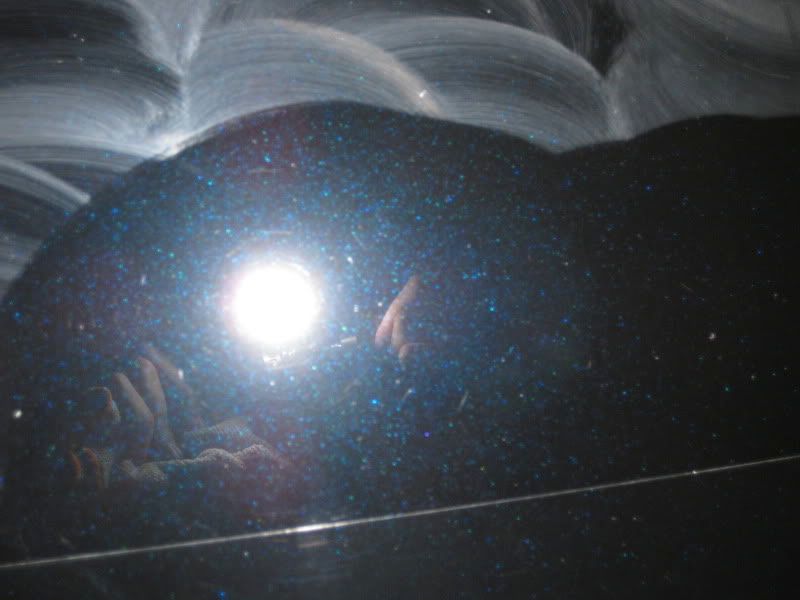
A majority of the contamination came from the trunk lid and rear bumper.
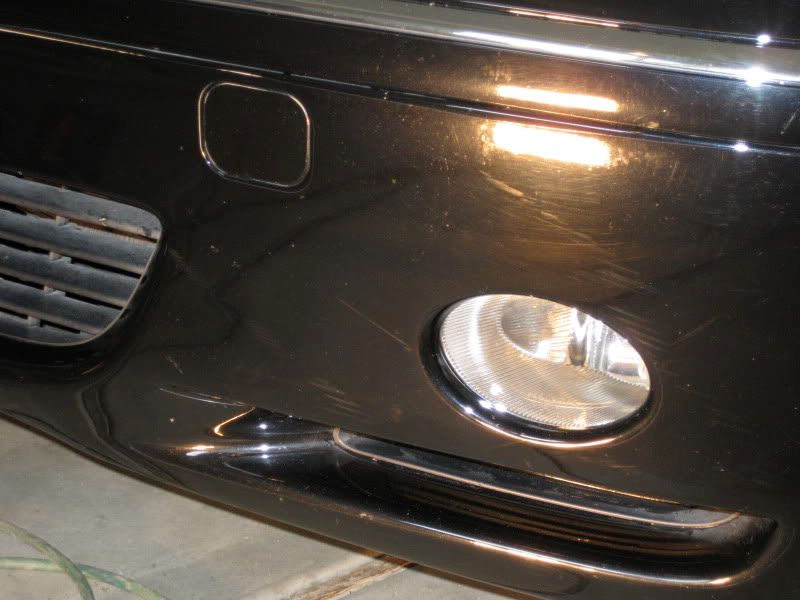
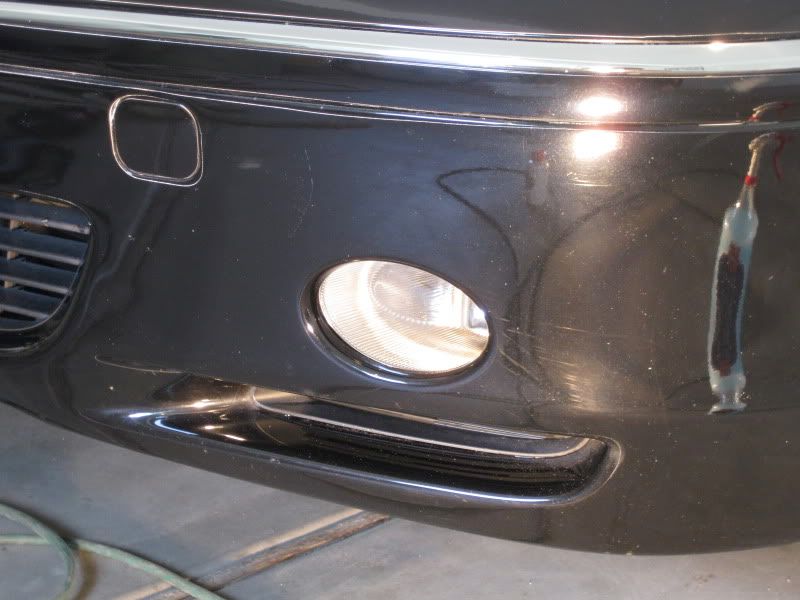
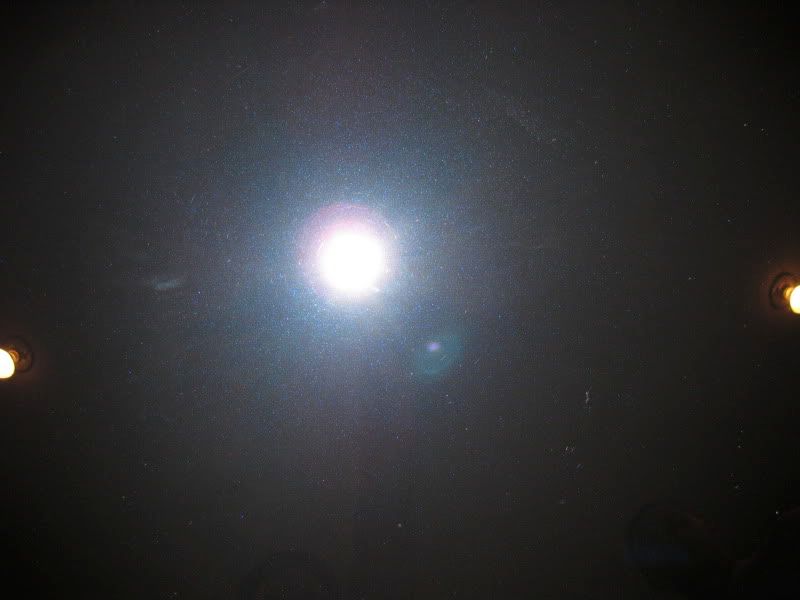
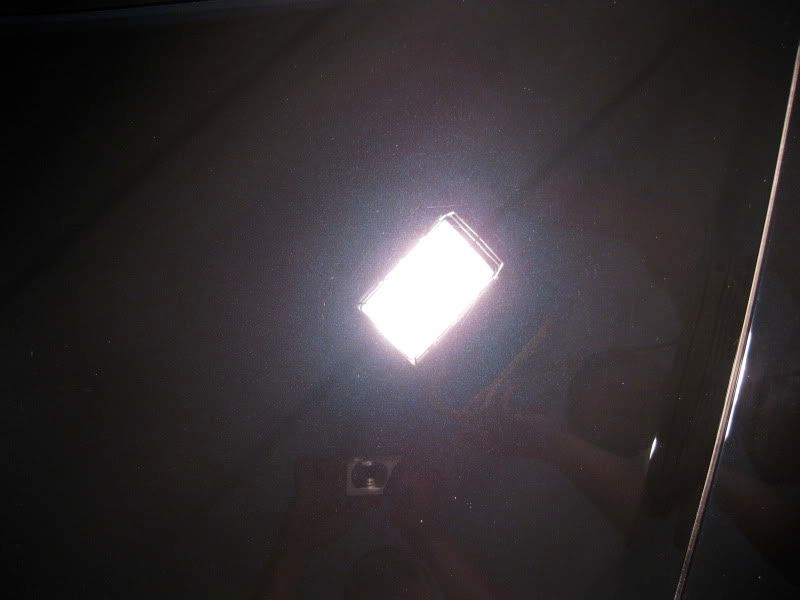
With the paint stripped clean, the actual extent of the damage was revealed.
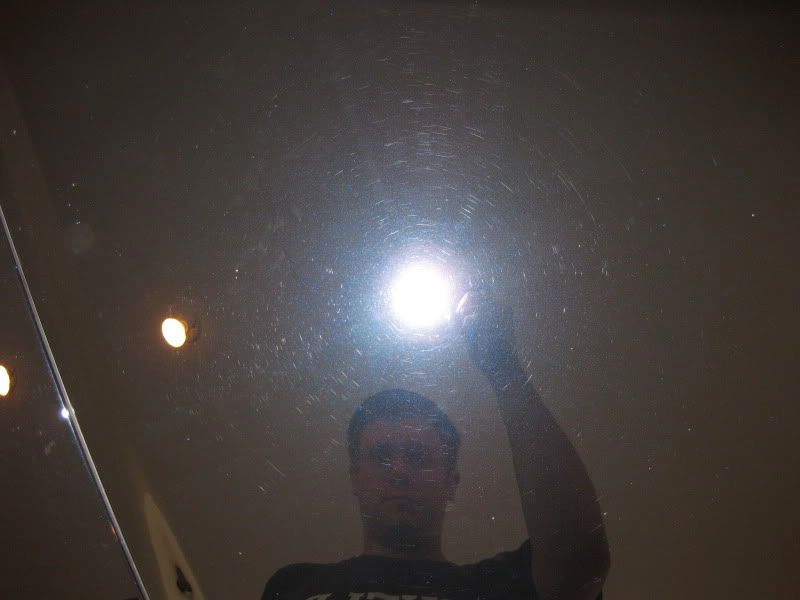
And it was only 12:30....

") And that is pretty incredible attention to detail - I especially love the work you did on the wheel wells. I thought I was the only one who worried about keeping the INSIDES of my wheels clean! LOL. Very, very nice work.
And that is pretty incredible attention to detail - I especially love the work you did on the wheel wells. I thought I was the only one who worried about keeping the INSIDES of my wheels clean! LOL. Very, very nice work.