Darkstar752
New member
Hey guys,
Just a short write-up for this one, didn't get too many correction pics as it started and was quoted as a 2-step correction but ended up needing a 3-step as many of the scratches were quite deep and the paint was a bit more finicky than I thought. Medium hardness but for some reason had trouble finishing down, even needed 4-steps in some of the more destroyed areas. Sanding marks from when it was bought new were evident all over the car. Time spent was somewhere in the ~22 hour range over 3 days. It was a birthday present so I wanted to do a really nice job despite under-quoting the job.
Wash:
Foamed with Meguiar's NXT
Rims got 5-7(!) hits of Sonax to finally get them acceptable
Tarminator on all lower panels
Clayed with Riccardo/ Adam's Gray/ ONR
Correction Process:
Griot's Garage DA/Surbuf/D300 + 105
Makita 9227C/ Uber Green/ Menzerna P203S
Makita 9227C/ uber Blue/ Menzerna 106
Makita 9227C/ Uber Blue or black/ Menzerna 85RD+Ultrafina Combo
Wheels polished with Makita 9227C/ 4" Orange/ Menzerna SIP + Poorboy's Wheel Sealant
Tires got Adam's Super VRT
Trim got Meguiar's Ultimate Protectant
Sealed with Menzerna Powerlock/ 2 coats
Interior was extracted with Meg's APC/ LGM
Leather received Leatherique Pristine Clean/ Leather Masters Conditioner
Meguiar's Quik Interior + Natural Shine on dash etc.
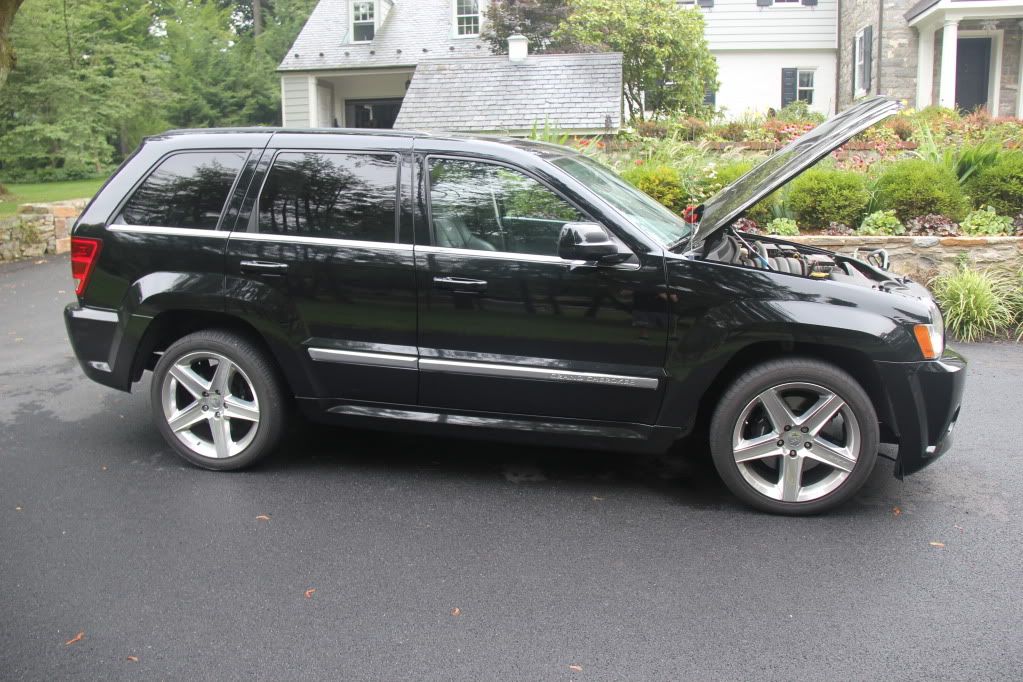
Before:

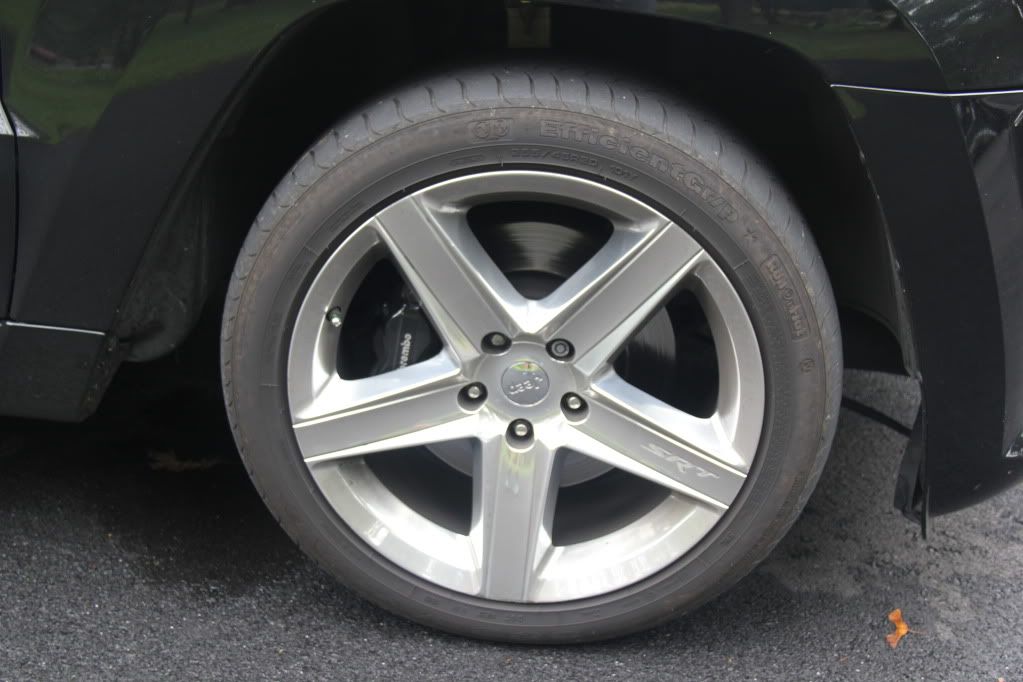
Rims looked especially dull, took 5-7 sonax hits per wheel, 4-5 hours on rims alone:
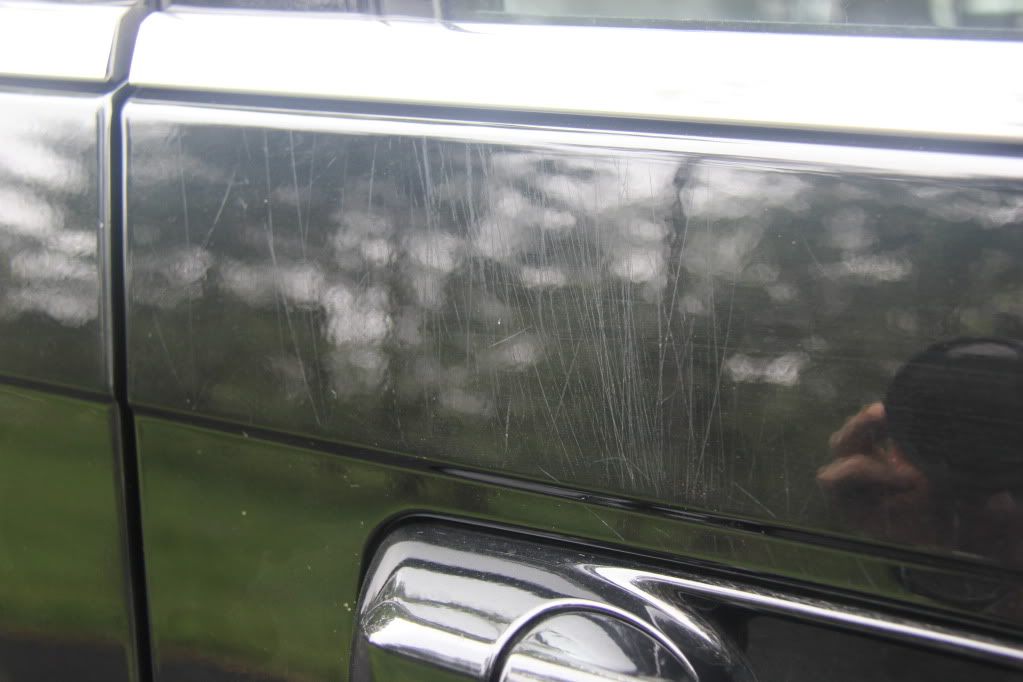
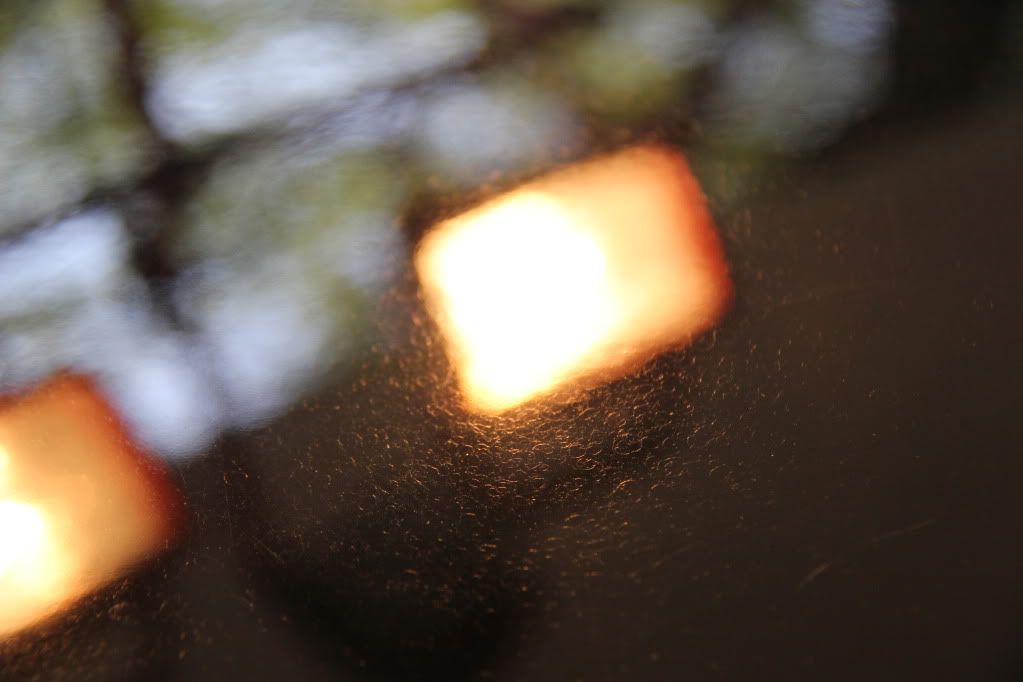
Deep scratches all over:
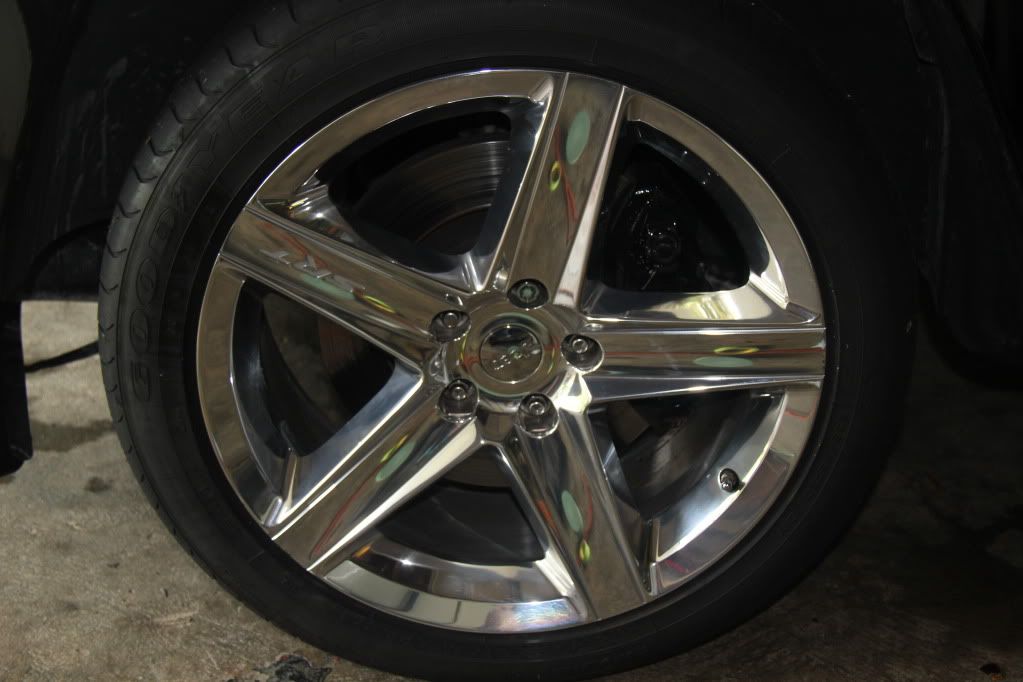
Rims after polishing with Menzerna SIP/ Ultrafina:
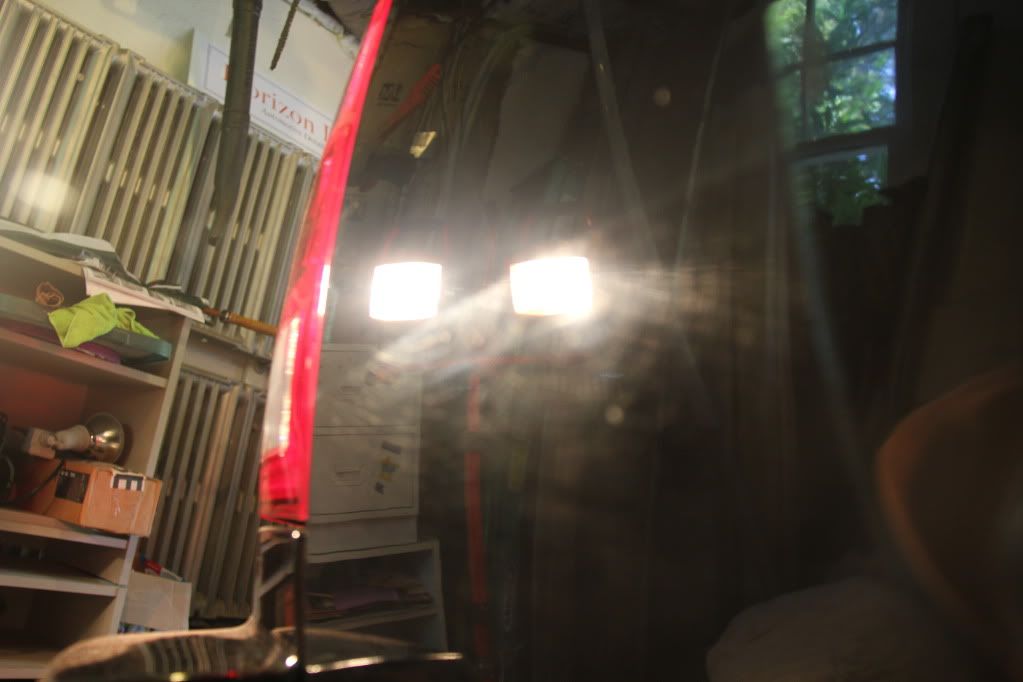
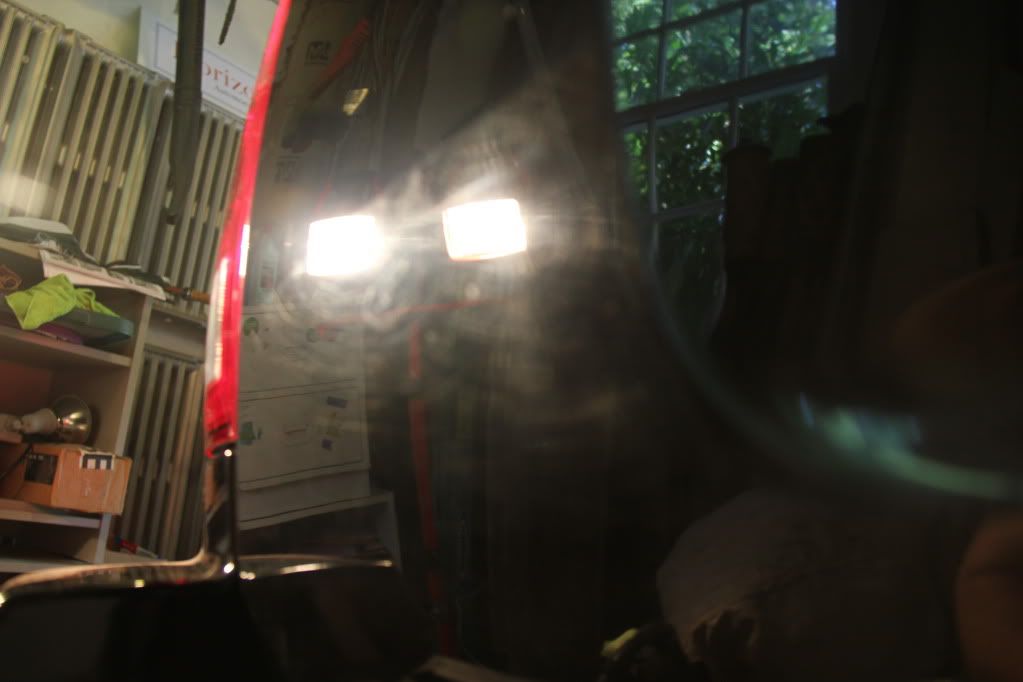
Sanding pigtails(hood pictured):
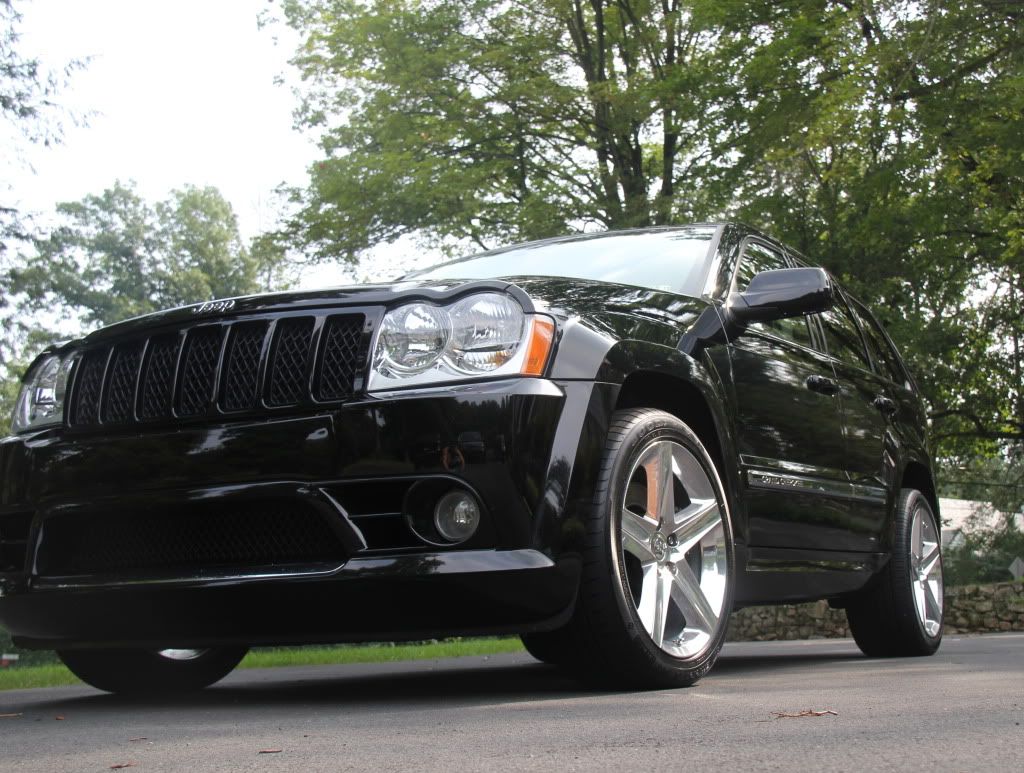
Corrected:

Only 50/50's I took(sorry, was pressed for time):

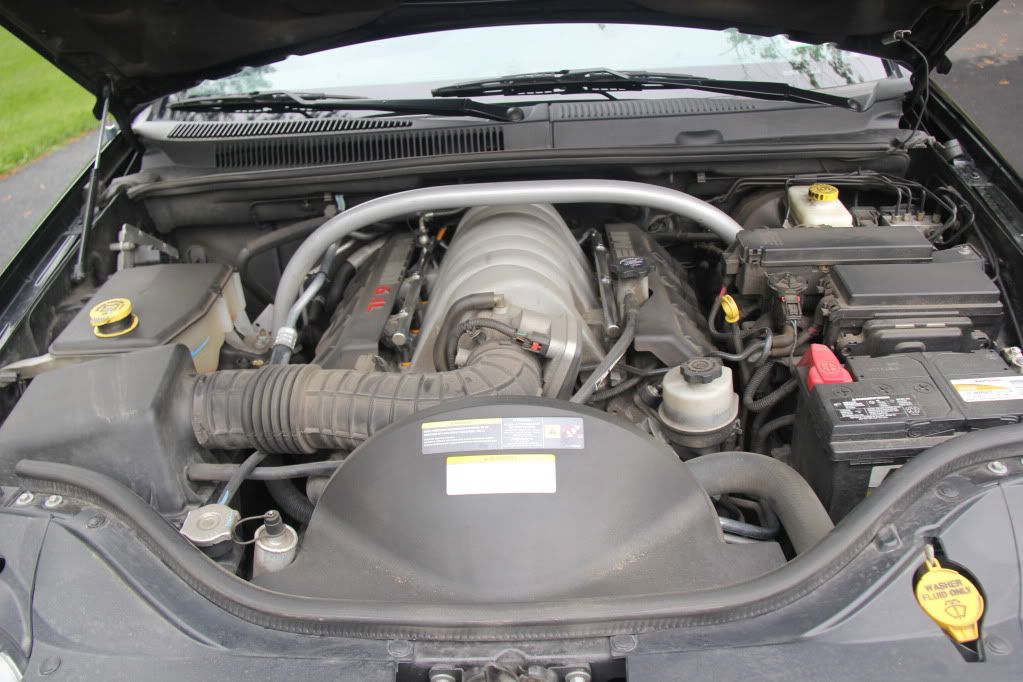
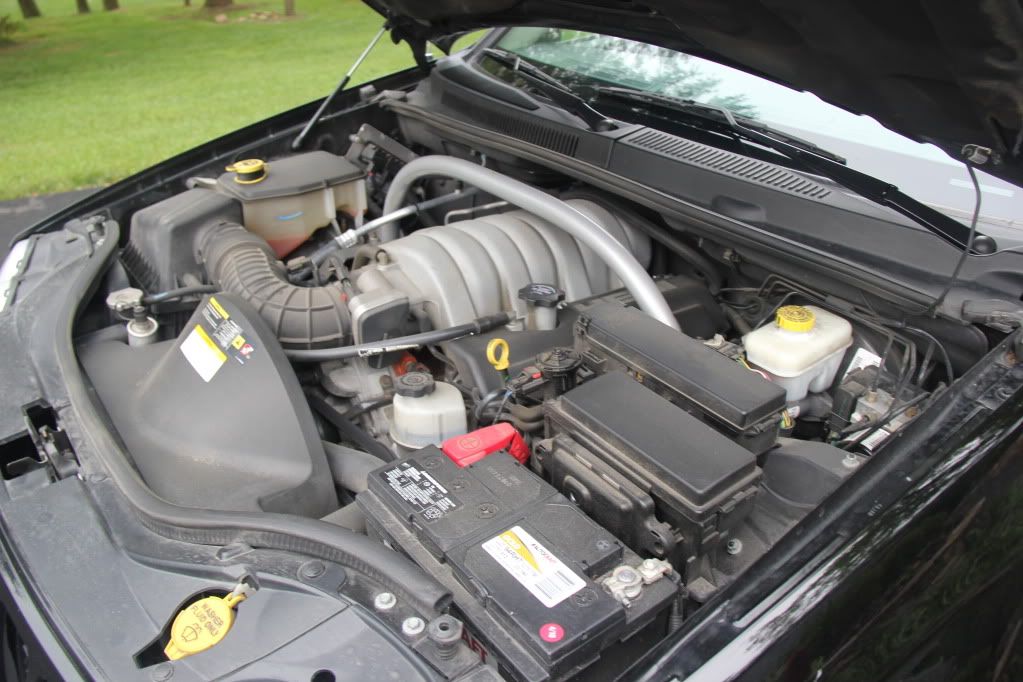
Sorry, forgot interior/engine afters.
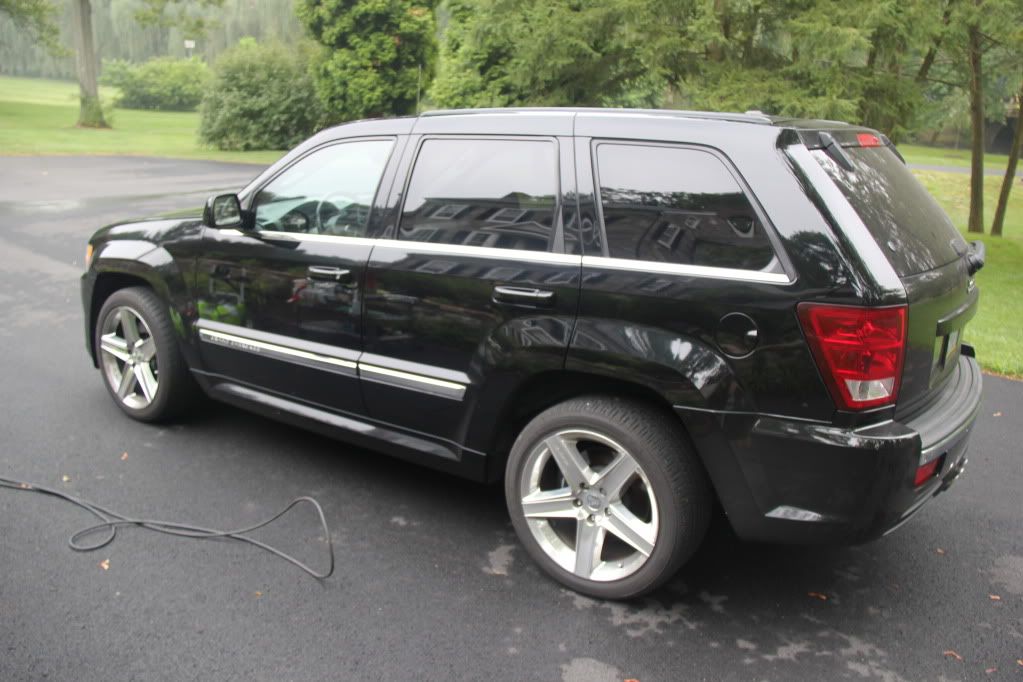
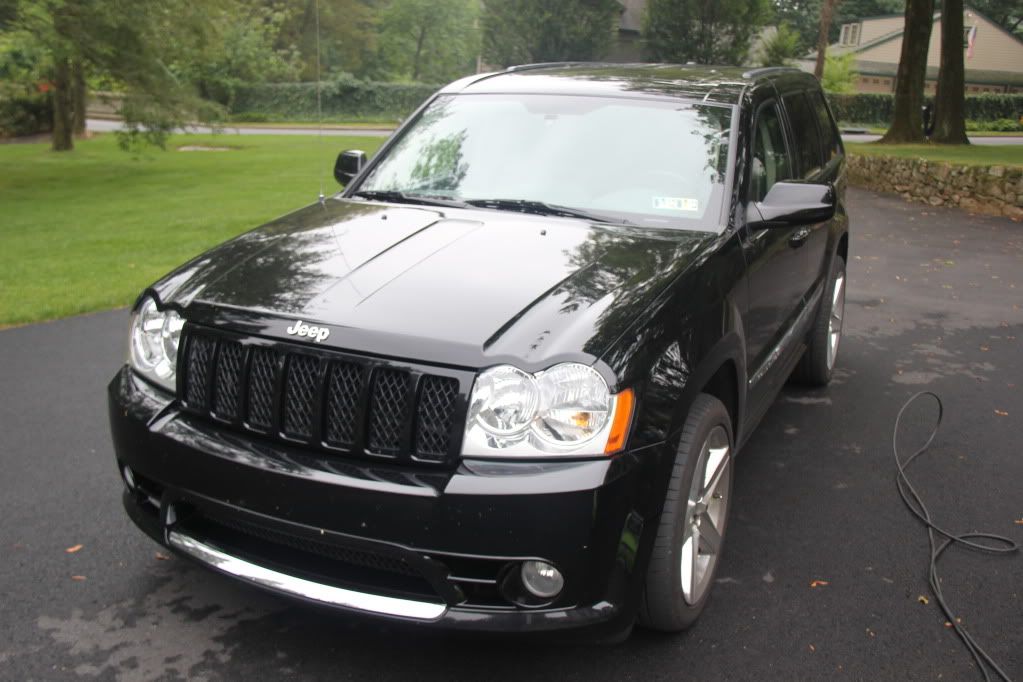
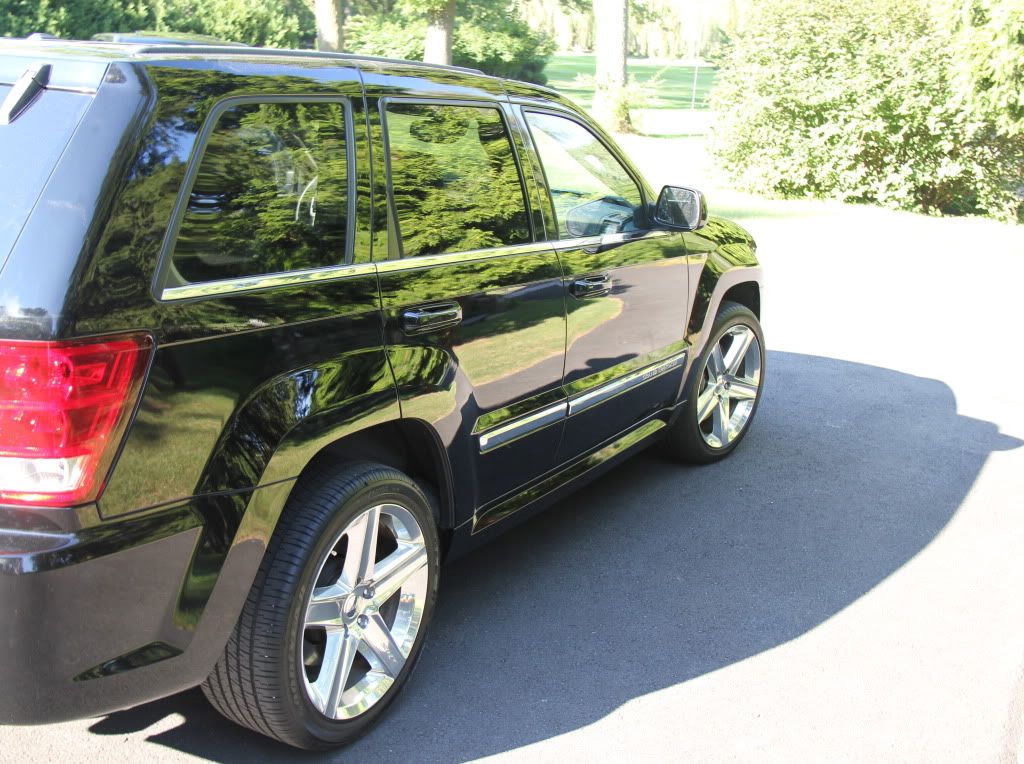
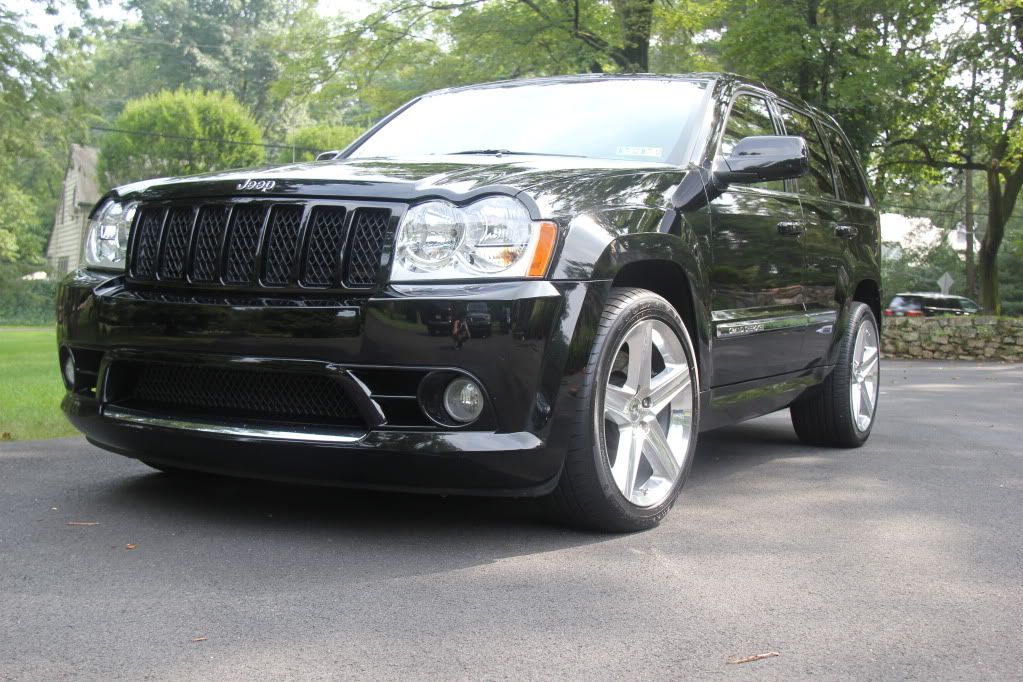
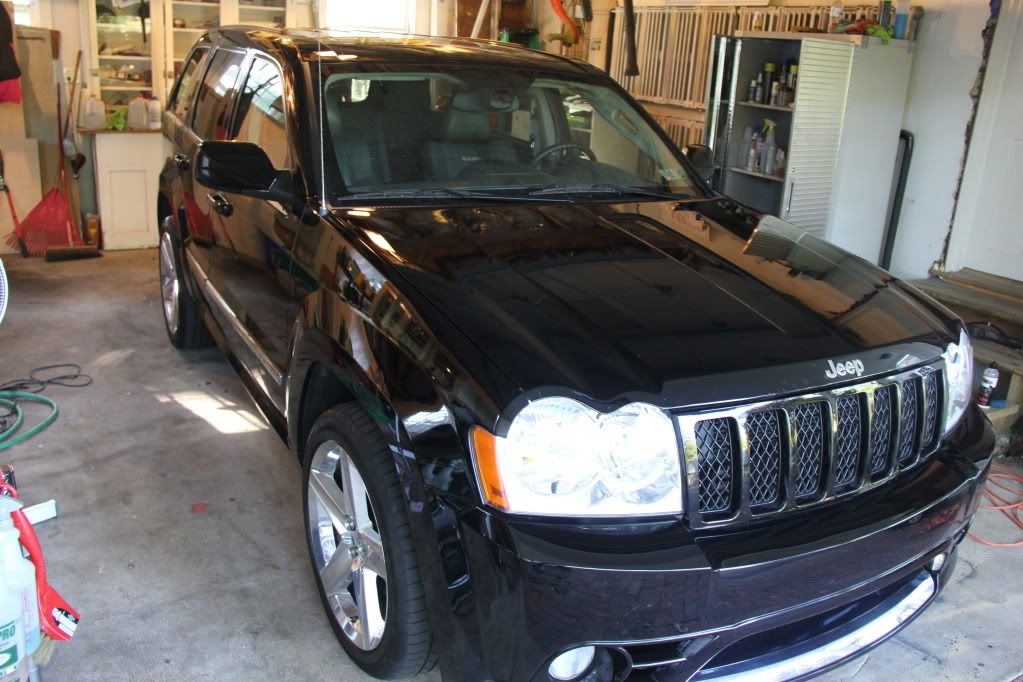
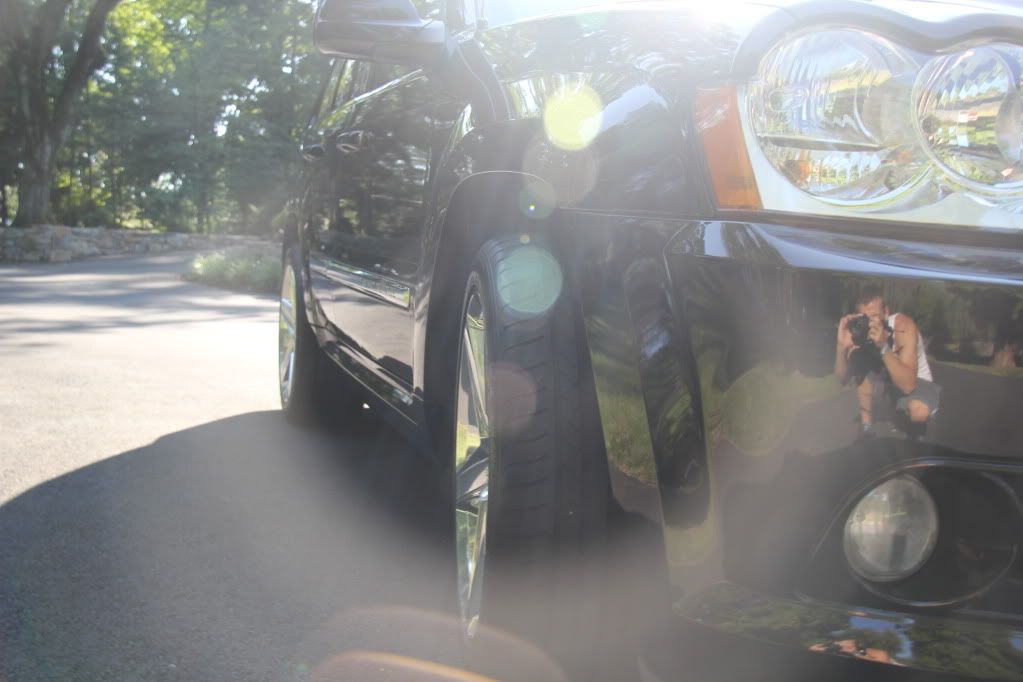
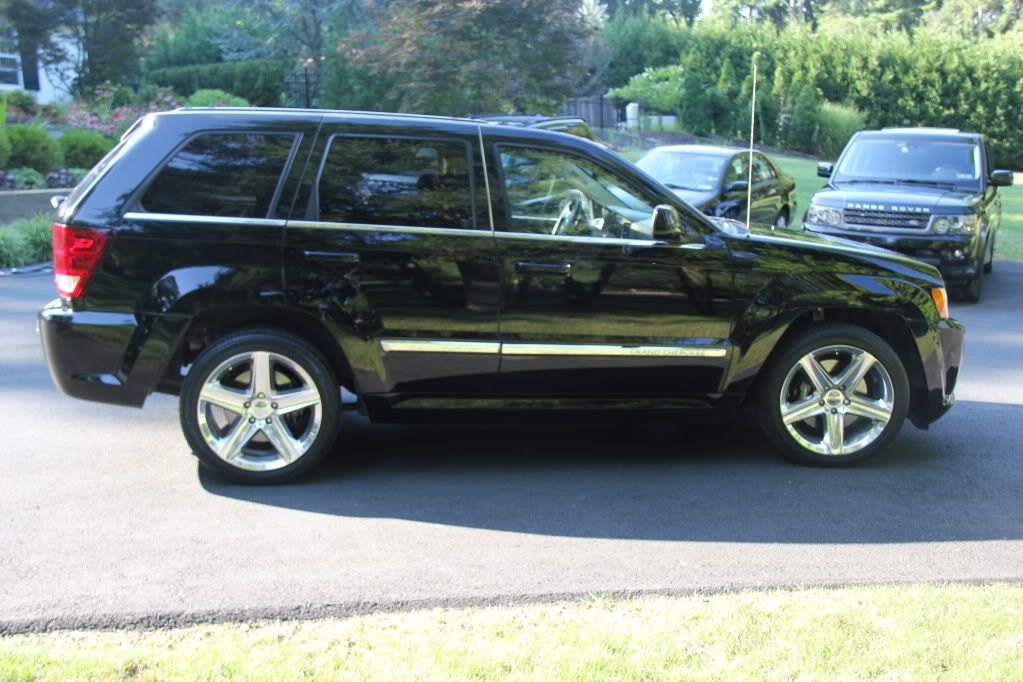
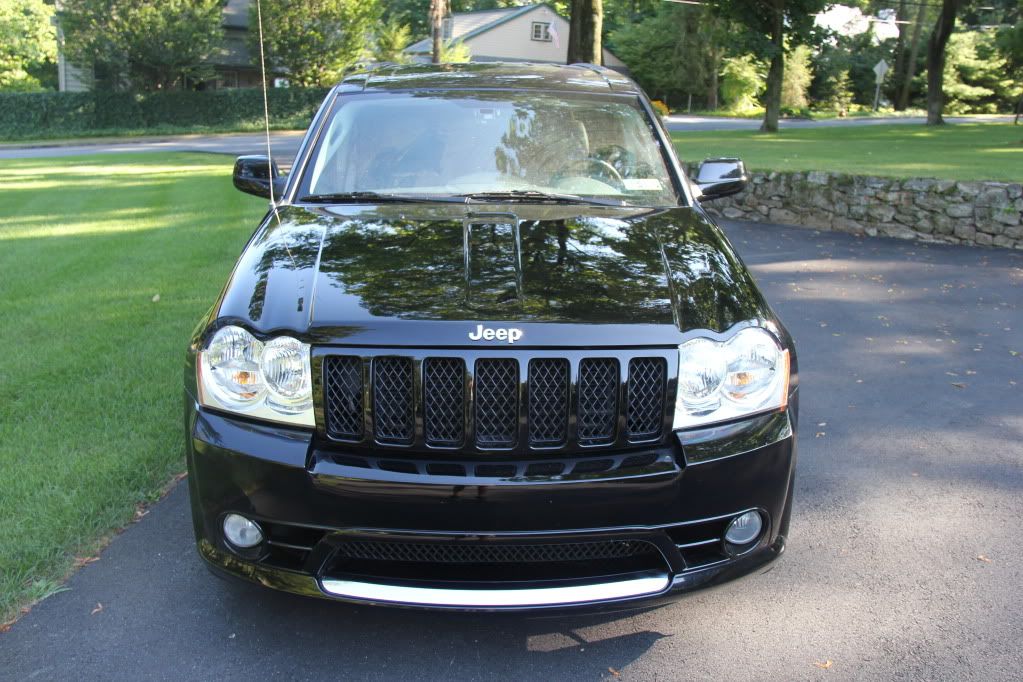
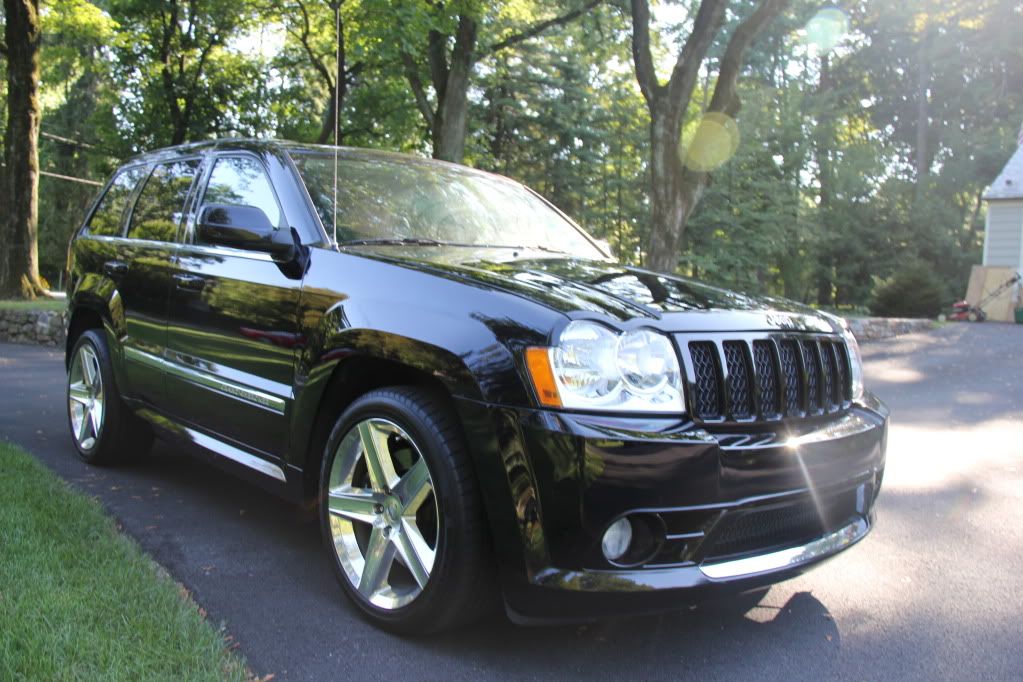
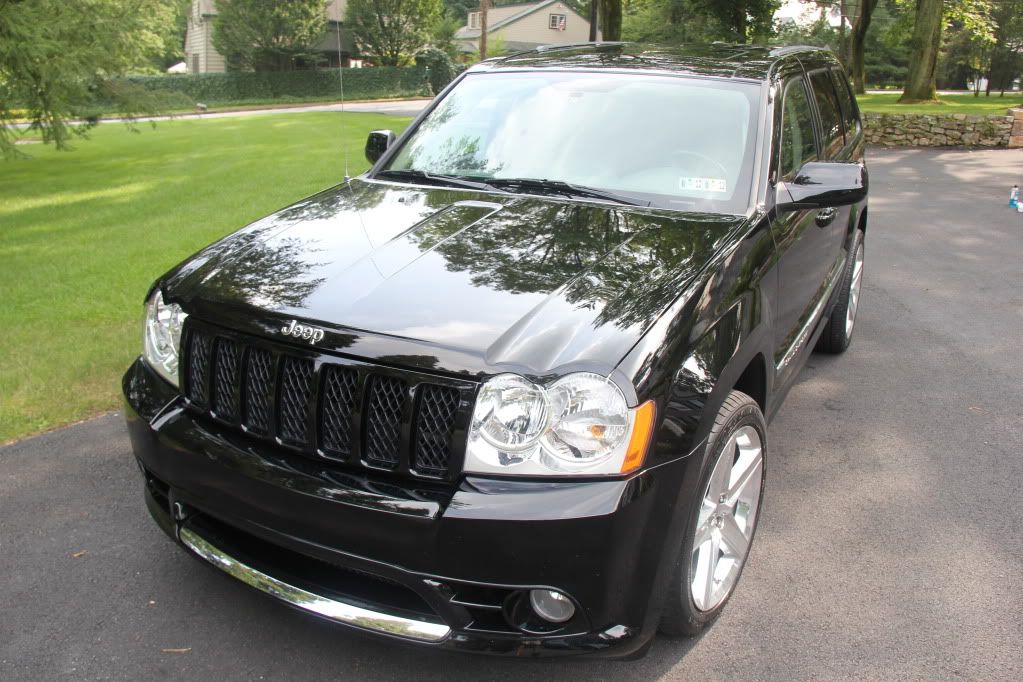
And the final after pictures, sun was in and out:


Thanks for viewing! Questions/Comment welcome!
Just a short write-up for this one, didn't get too many correction pics as it started and was quoted as a 2-step correction but ended up needing a 3-step as many of the scratches were quite deep and the paint was a bit more finicky than I thought. Medium hardness but for some reason had trouble finishing down, even needed 4-steps in some of the more destroyed areas. Sanding marks from when it was bought new were evident all over the car. Time spent was somewhere in the ~22 hour range over 3 days. It was a birthday present so I wanted to do a really nice job despite under-quoting the job.
Wash:
Foamed with Meguiar's NXT
Rims got 5-7(!) hits of Sonax to finally get them acceptable
Tarminator on all lower panels
Clayed with Riccardo/ Adam's Gray/ ONR
Correction Process:
Griot's Garage DA/Surbuf/D300 + 105
Makita 9227C/ Uber Green/ Menzerna P203S
Makita 9227C/ uber Blue/ Menzerna 106
Makita 9227C/ Uber Blue or black/ Menzerna 85RD+Ultrafina Combo
Wheels polished with Makita 9227C/ 4" Orange/ Menzerna SIP + Poorboy's Wheel Sealant
Tires got Adam's Super VRT
Trim got Meguiar's Ultimate Protectant
Sealed with Menzerna Powerlock/ 2 coats
Interior was extracted with Meg's APC/ LGM
Leather received Leatherique Pristine Clean/ Leather Masters Conditioner
Meguiar's Quik Interior + Natural Shine on dash etc.
Before:
Rims looked especially dull, took 5-7 sonax hits per wheel, 4-5 hours on rims alone:
Deep scratches all over:
Rims after polishing with Menzerna SIP/ Ultrafina:
Sanding pigtails(hood pictured):
Corrected:
Only 50/50's I took(sorry, was pressed for time):
Sorry, forgot interior/engine afters.
And the final after pictures, sun was in and out:
Thanks for viewing! Questions/Comment welcome!
") Keep an eye out for a bit of a unique one, detailing a shuttlecab tomorrow
Keep an eye out for a bit of a unique one, detailing a shuttlecab tomorrow ")