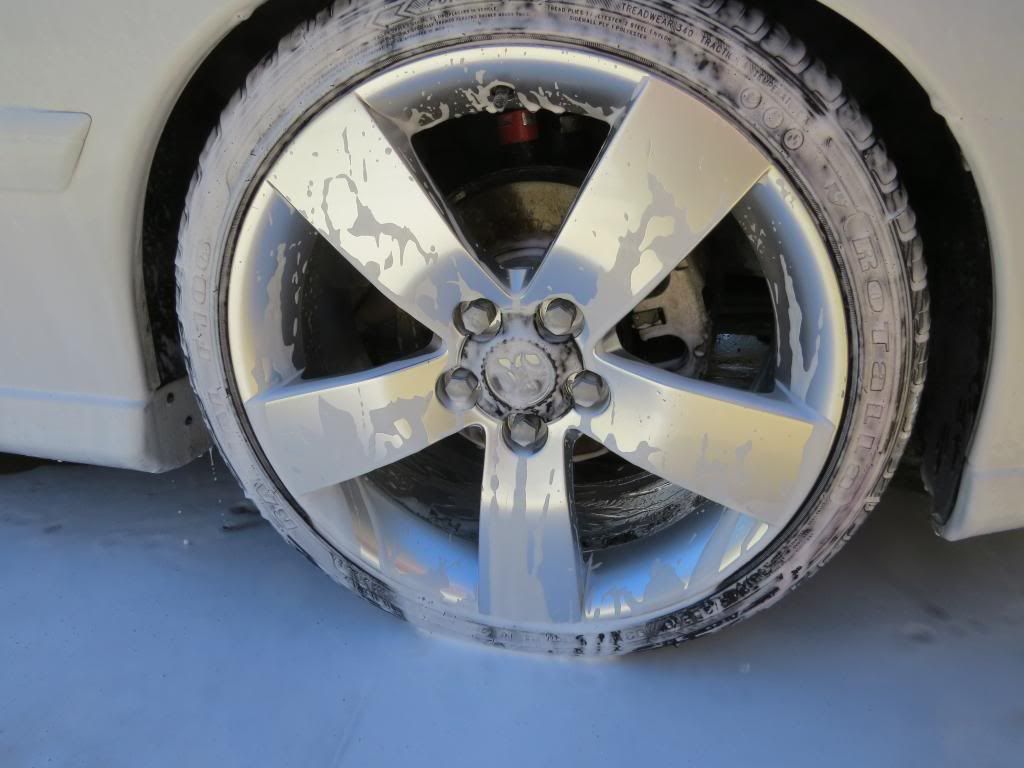
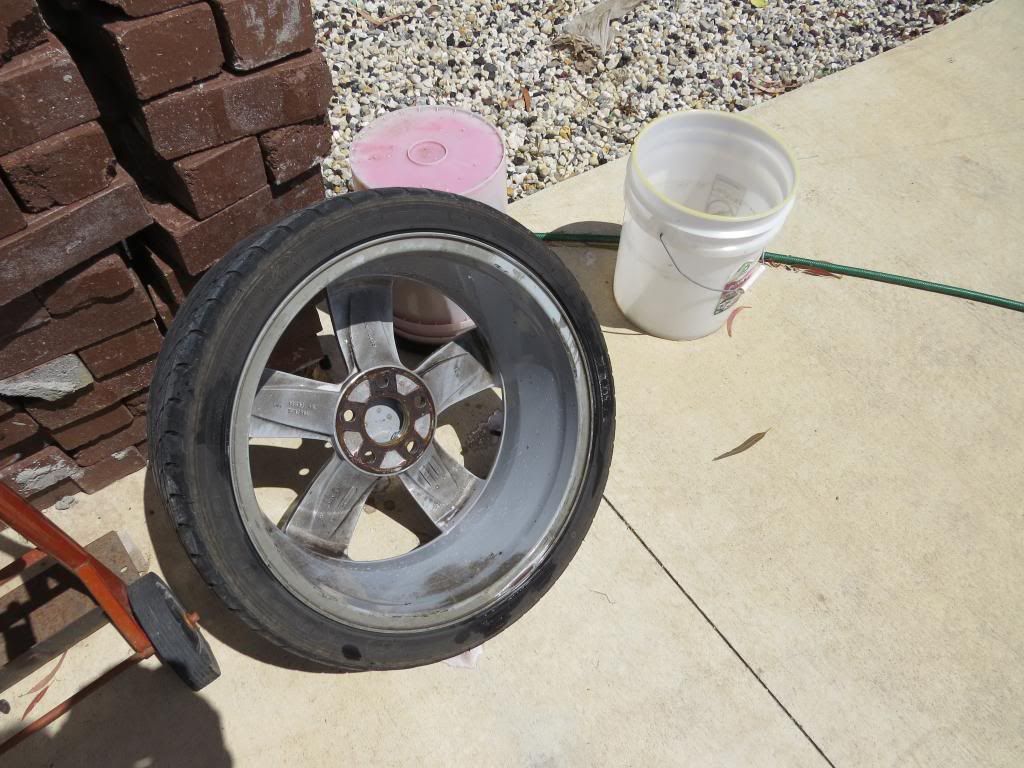
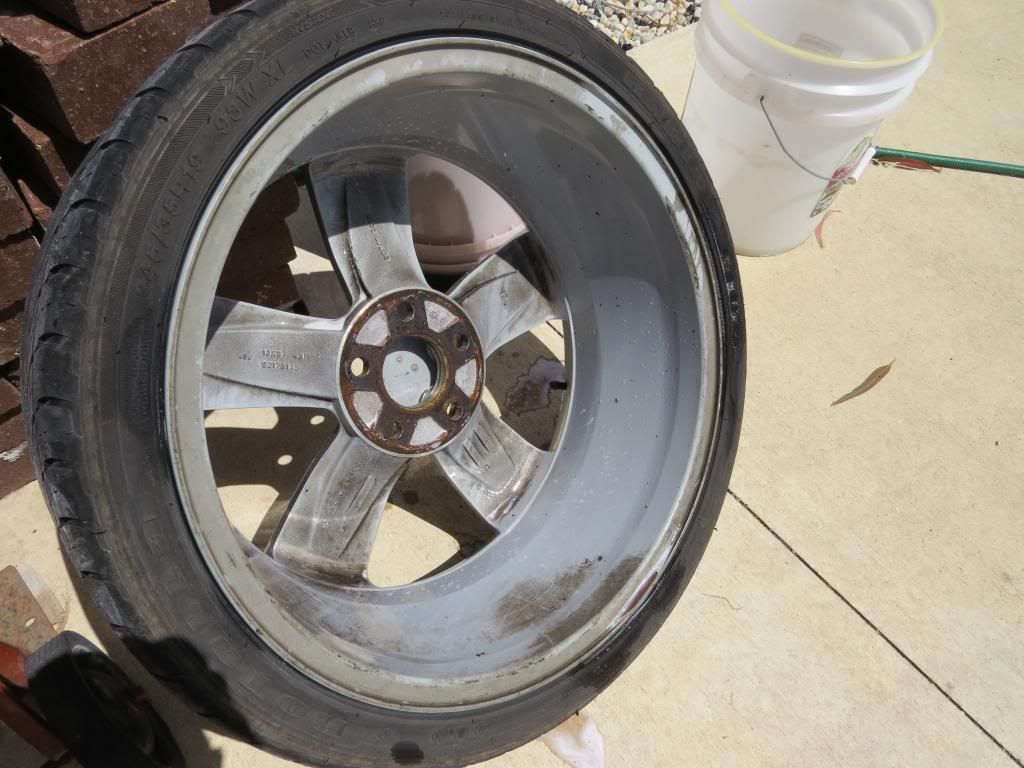
- Wheels were prepped with HD Total and Wheel Brite, and cleaned up with various brushes
- Tyre were spritzed down with HD Total and washed down
- Wheel wells were cleaned up
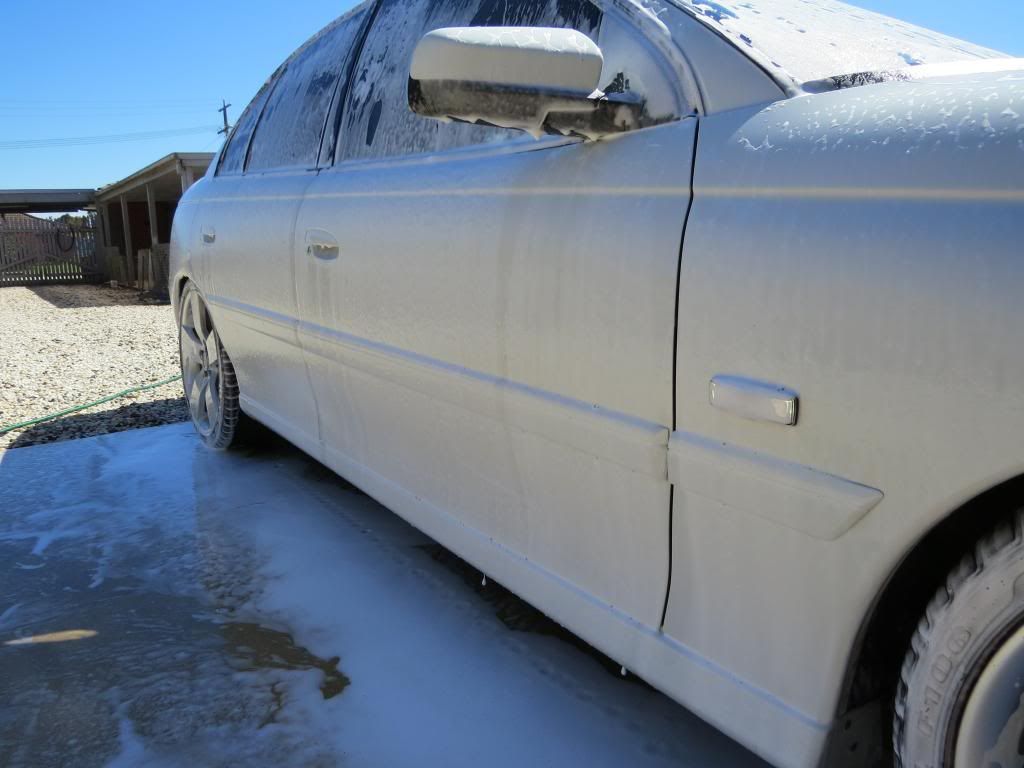
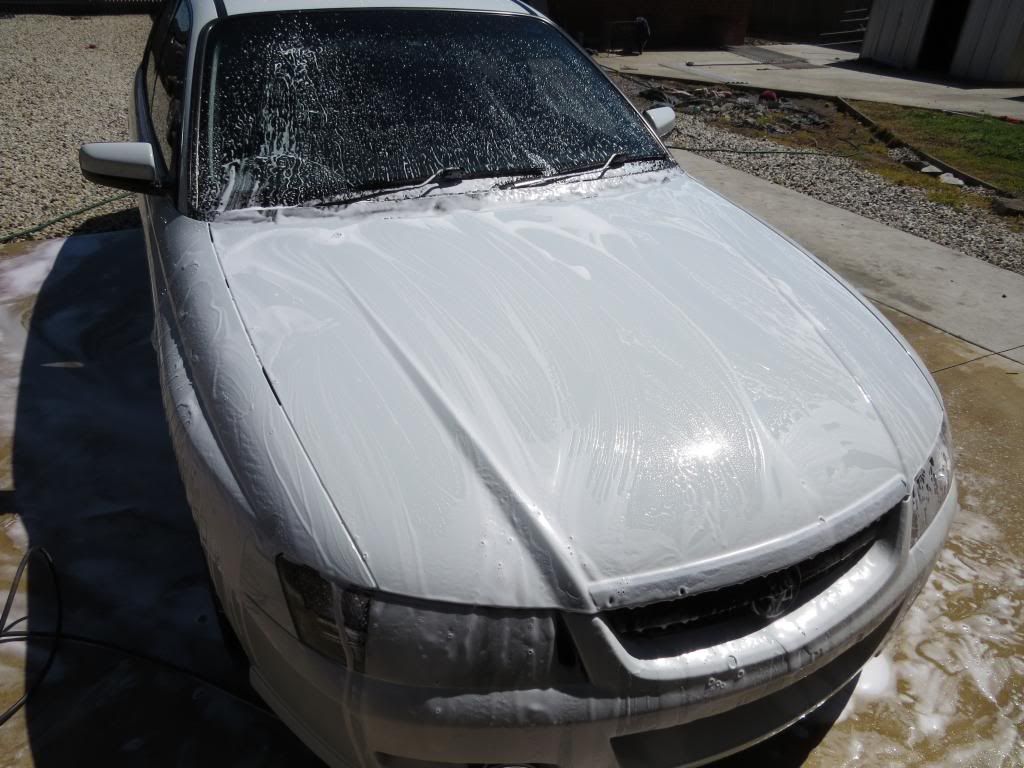
- Foamed with Pink Soap
- Decon with IronX
- 3D Water spot eraser
- Wash down and rinsed
- Door jambs were cleaned up
- HD Nano prep towel - clayed
- Dried
- Wheels removed, tar was stripped off and old wheel weight adhesive removed
- Tyres dressed with an experimental coating - then heat cured
- Masking
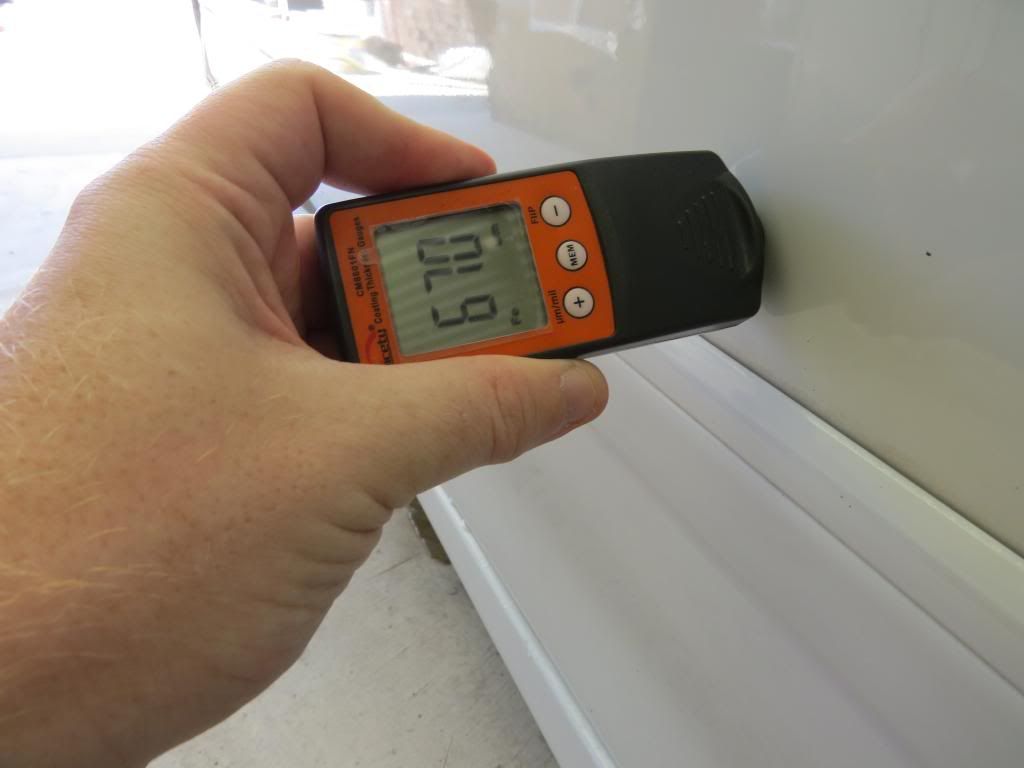
- Paint Measurement - showed some areas of repair seems the drivers door may have been crunched at some stage in its past.
- Fixed a few stone chips with touch paint - then wet sanded
- Compound - HD Cut - black wool pad Festool rotary
- Second stage compound - HD Cut - orange pad - Rupes big-foot
- Jewelling - HD Polish - Big-foot
- Last step - HD Nitroseal - Rupes on red pad
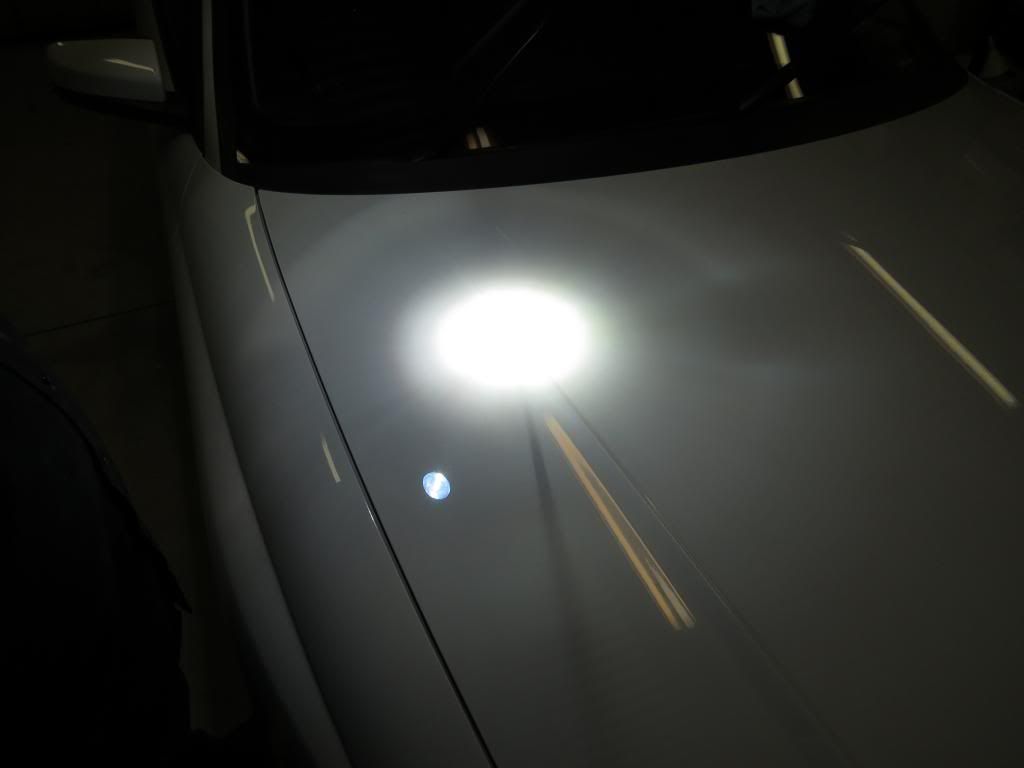
- Inspection with Brinkmann, and natural sunlight
- Wheel wells were cleaned and dressed
- Rubber and Plastics Treated with another "in-testing" dressing
- Exterior windows and mirrors cleaned and sealed
- Exhaust tips cleaned
- Windows were clayed, cleaned with Garry Dean Infinite Use Detail Juice and sealed with coating
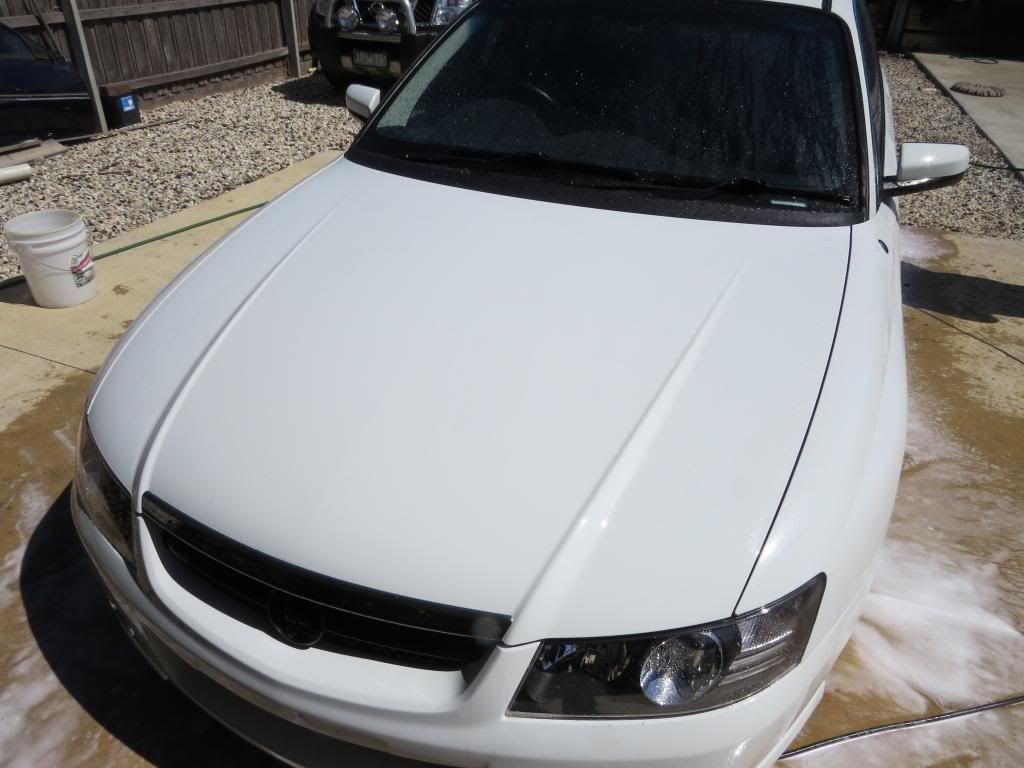
This car is my daily driver, its just done 120,000kms, so does get driven a lot and during the day, lives outside in a car park. It was showing a lot of oxidised paint. Whilst it was still whitish, it was just cloudy, dull and lacked depth, covered with road grime and bugs. We knew it could look better...
The Heron white (SS) was fairly easy to work with and responded to the products used. Please excused the pics, we were really trying to hammer though this.
I am so very happy with what we what we achieved. I stayed at my good mate Dan's house over night whilst we worked, and I learnt. He fed me, kept me going with drinks and snacks, made me laugh as we worked. I learnt more in 2 days with Dan than I have in over 5 years of just doing things as I thought they were done. This wasn't just an exercise to have someone else do the work for me. It was for me to learn greater knowledge and hone my skills further. Dan has been doing for many years longer than I have. Dan was a great teacher, taught me some very cool tricks and tips. Dan is the Australian 3D distributor


Foaming stage:


You can see the nasty surface even in this pic
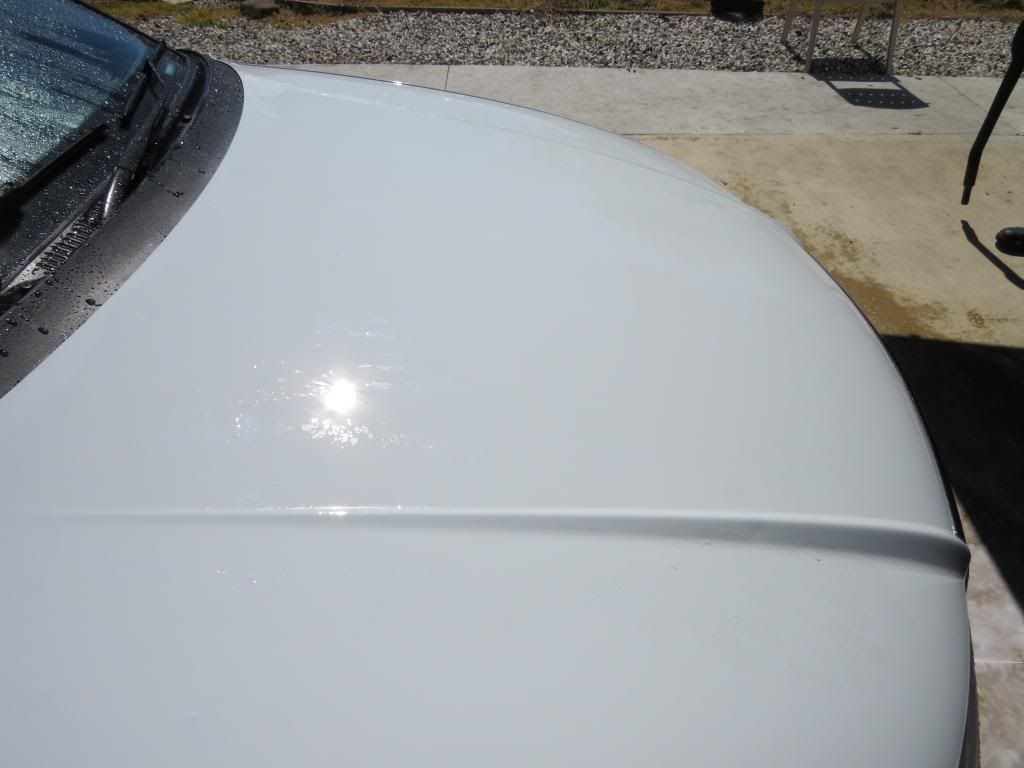
You can see how dull and flat the paint looked
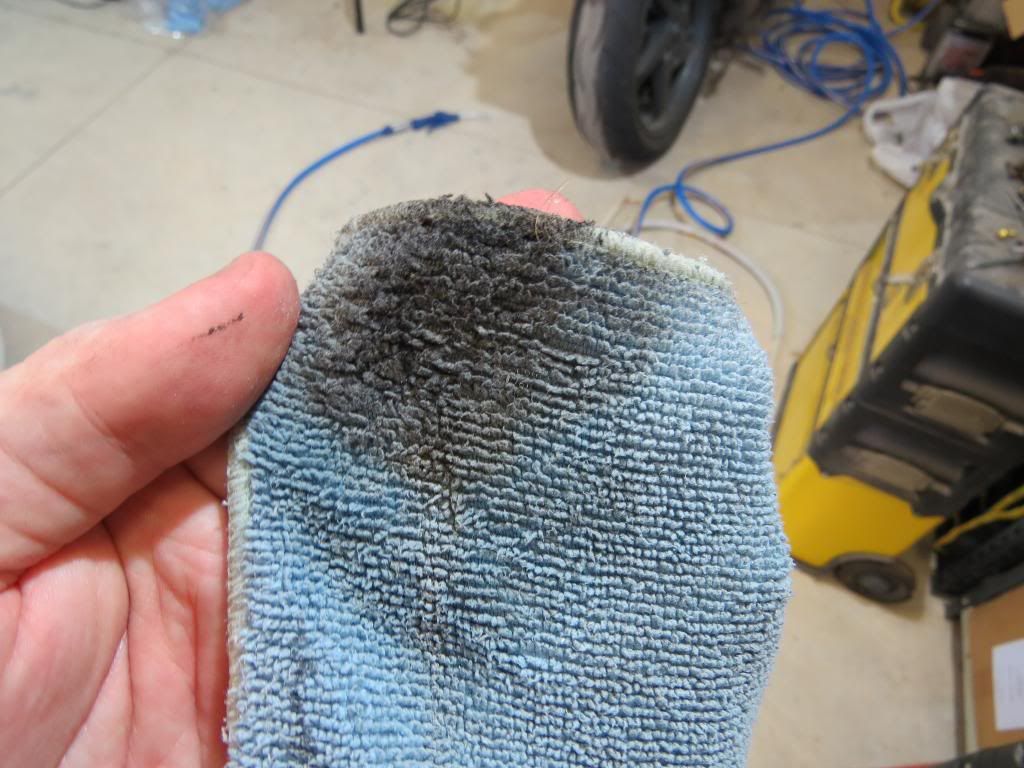
Foamed again - HD prep towel being used
Wheels off and cleaned - yuk
Rinsed. Dried and then inside, you can see the dull surface


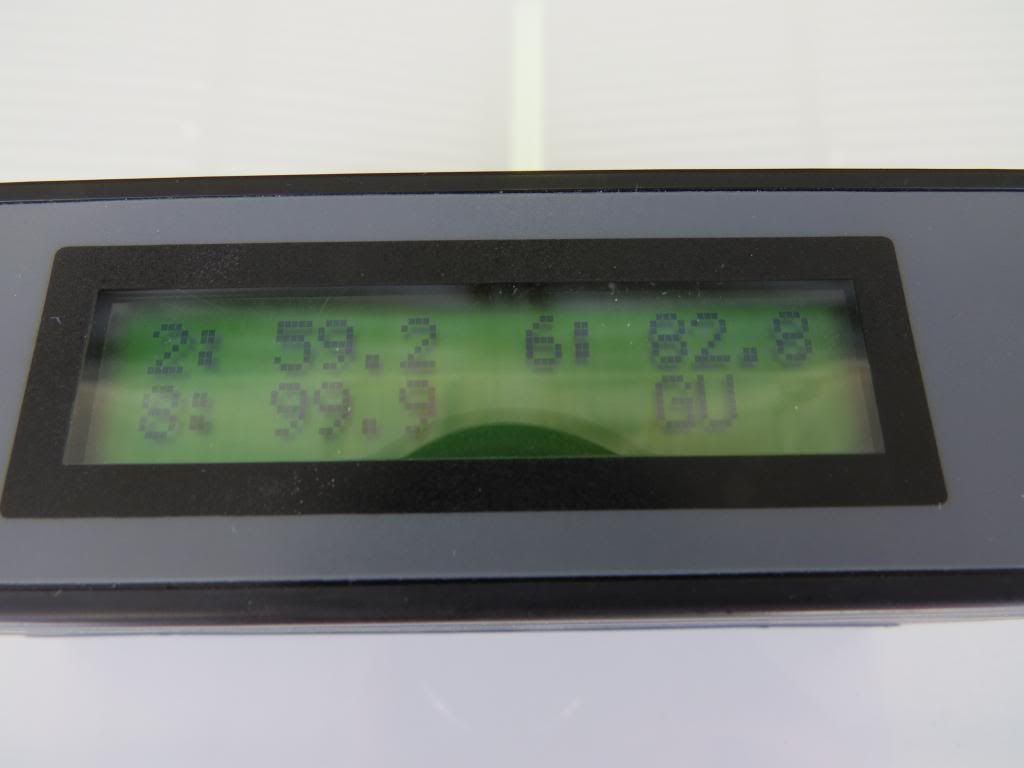
Onto the paint measurements
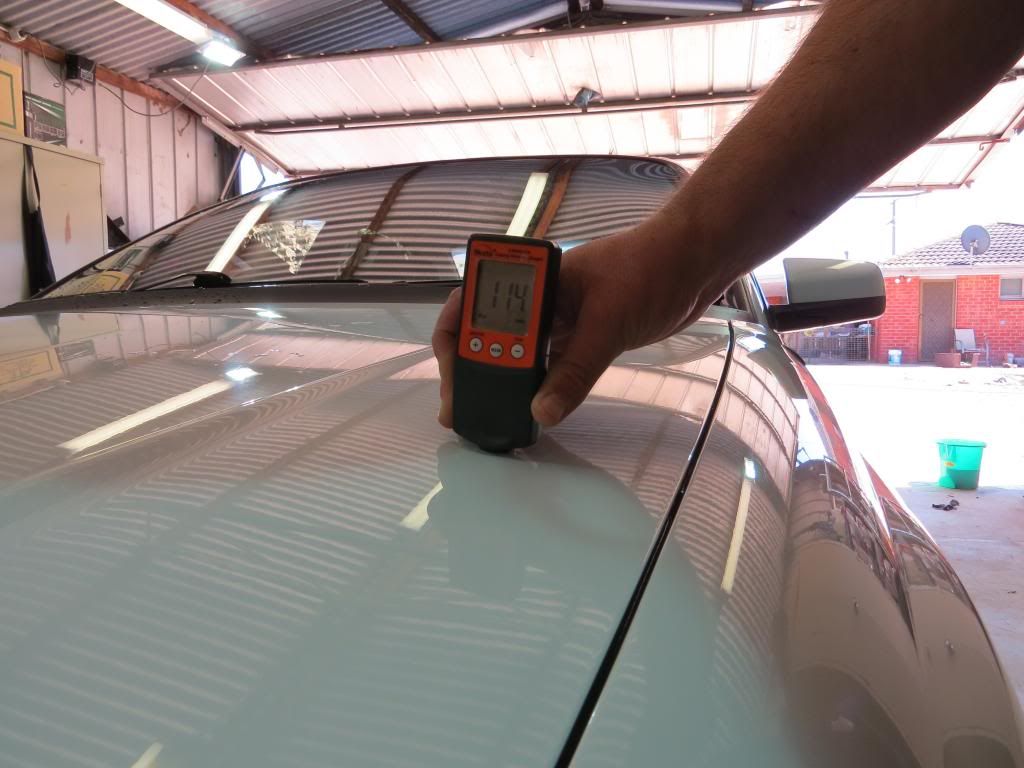
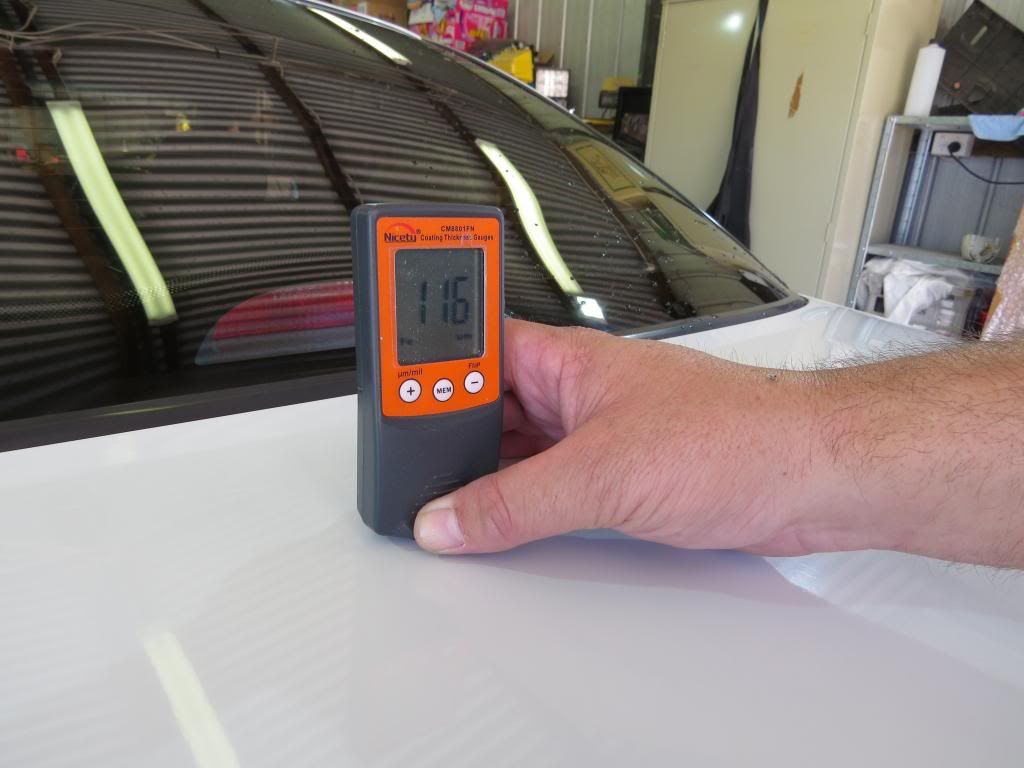
OUCH!!!
Cleaning rubbers around windscreen

Before compounding

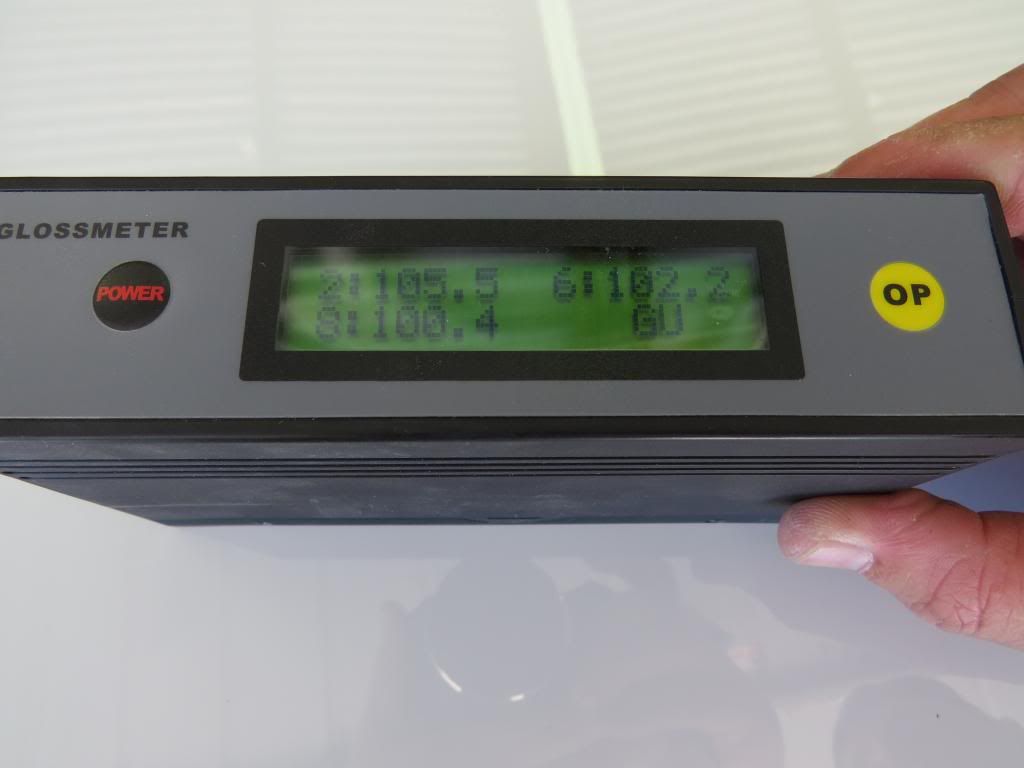
First stage compounded
Improvements")
Another wash and foamed again to remove any oils and dusting
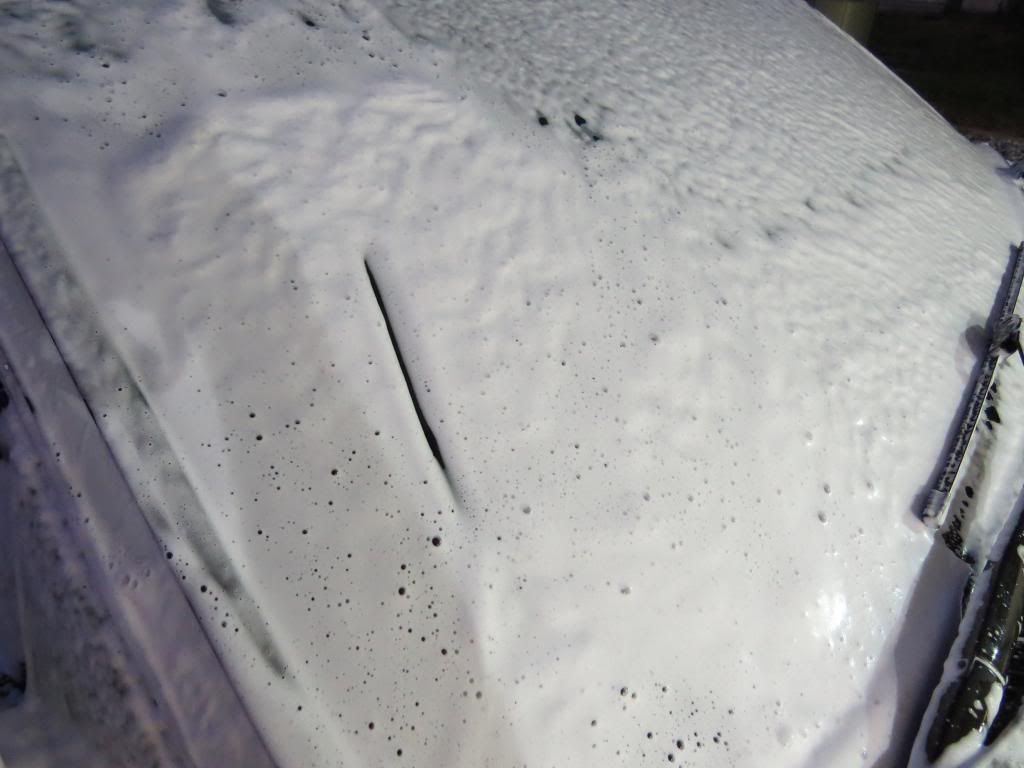
Thick foam with the Pink Foam
Dried and then brought inside, checked with Brinkman

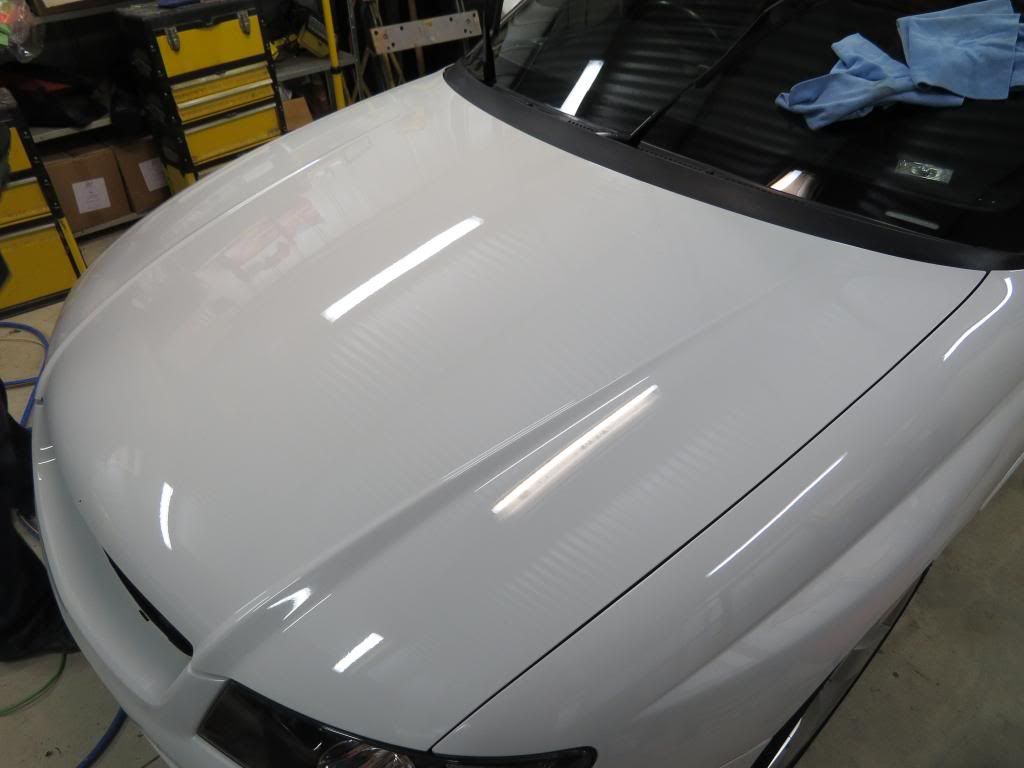
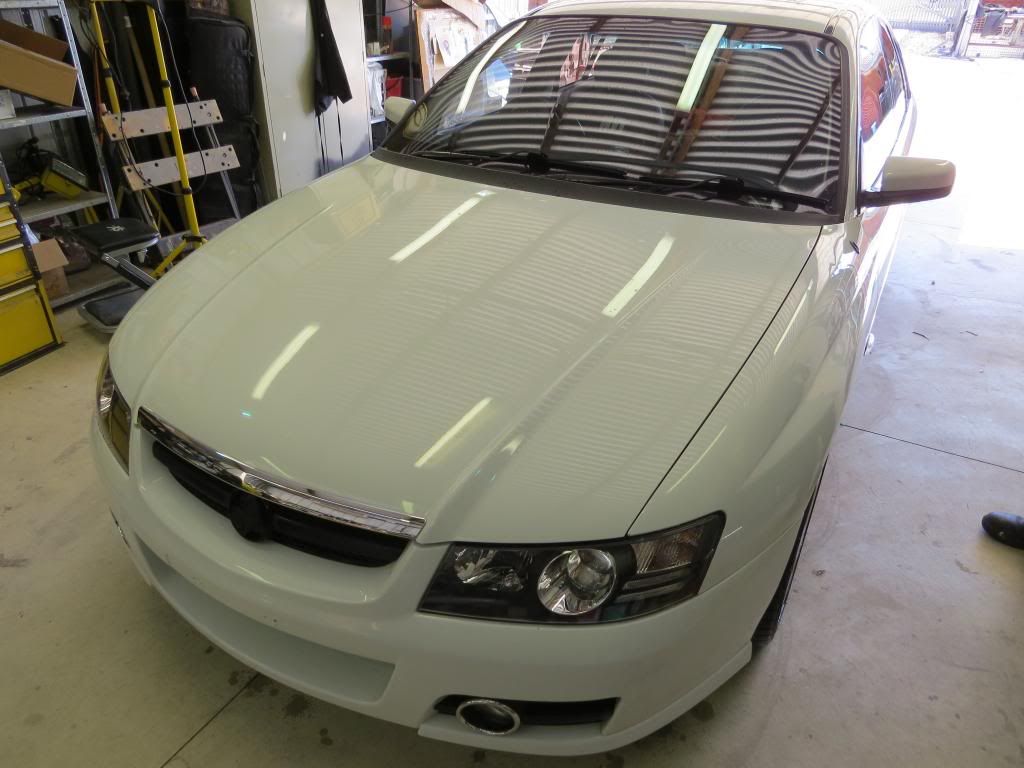
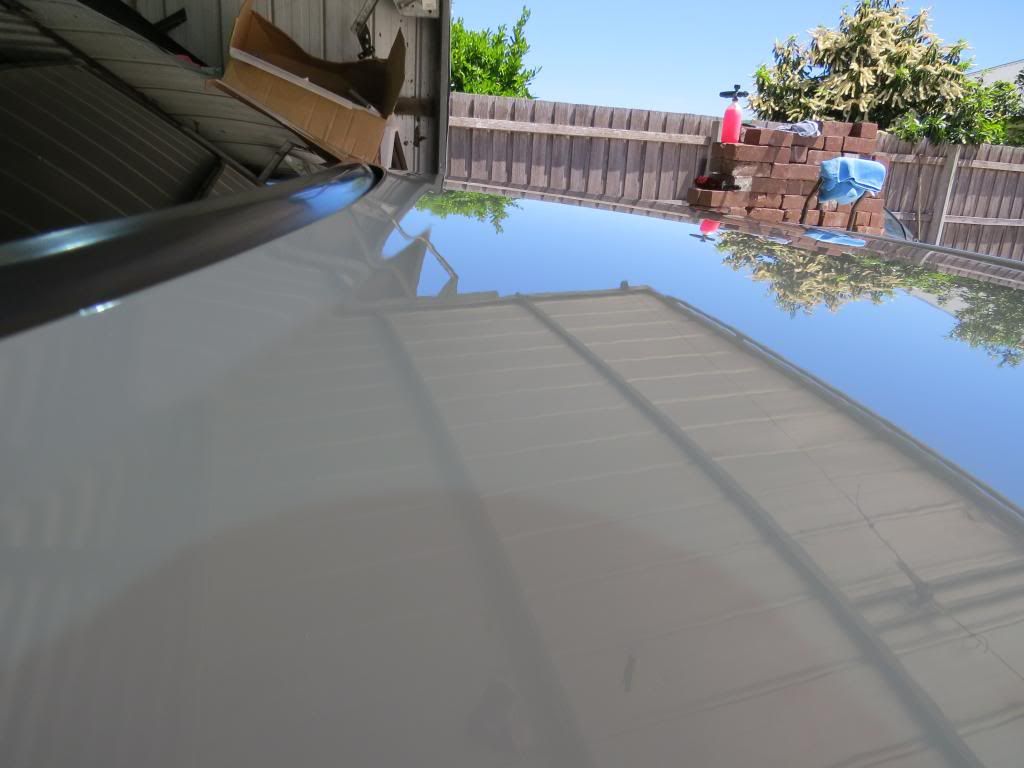
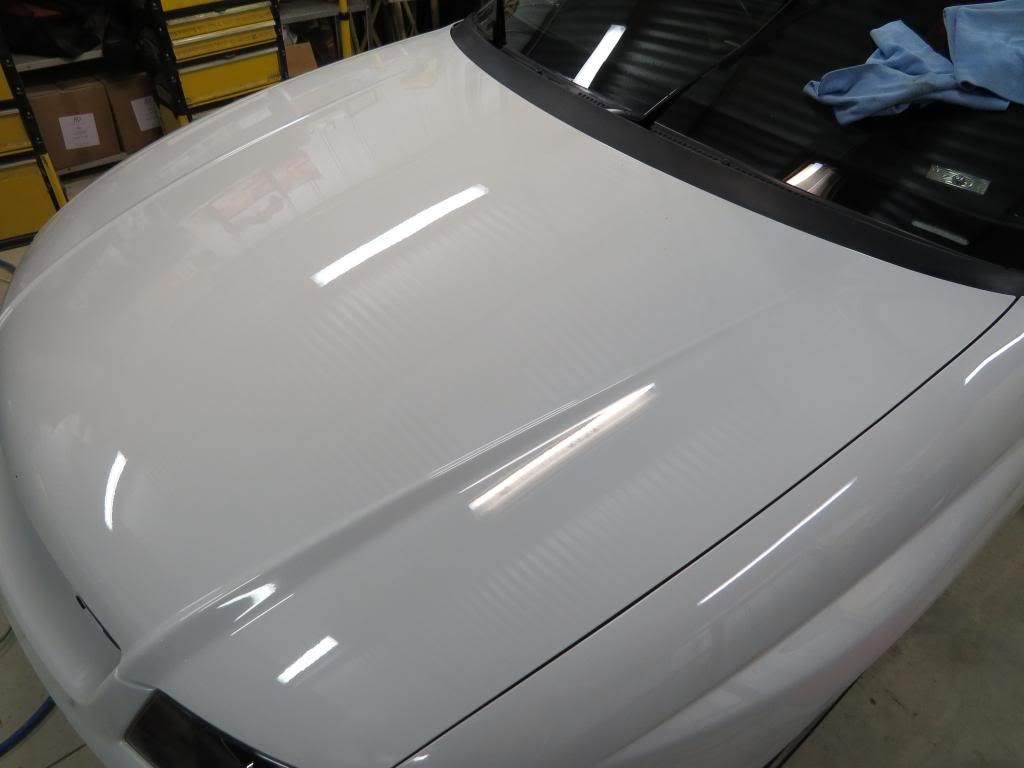
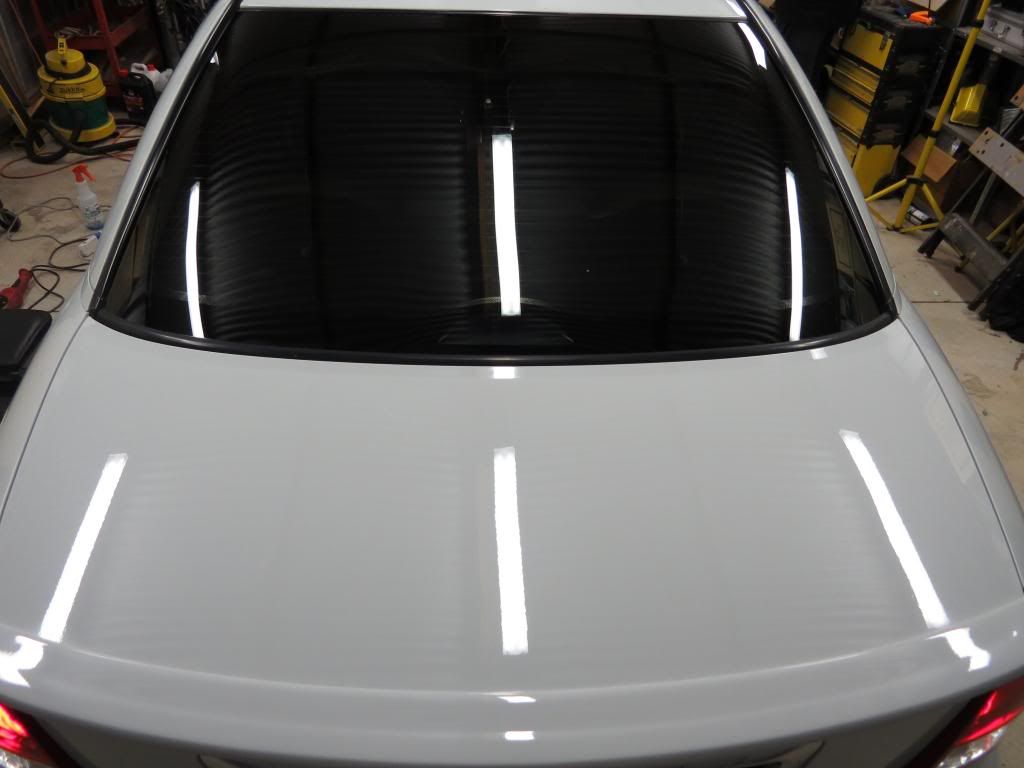
Nice clean crisp reflections. This is before any sealant
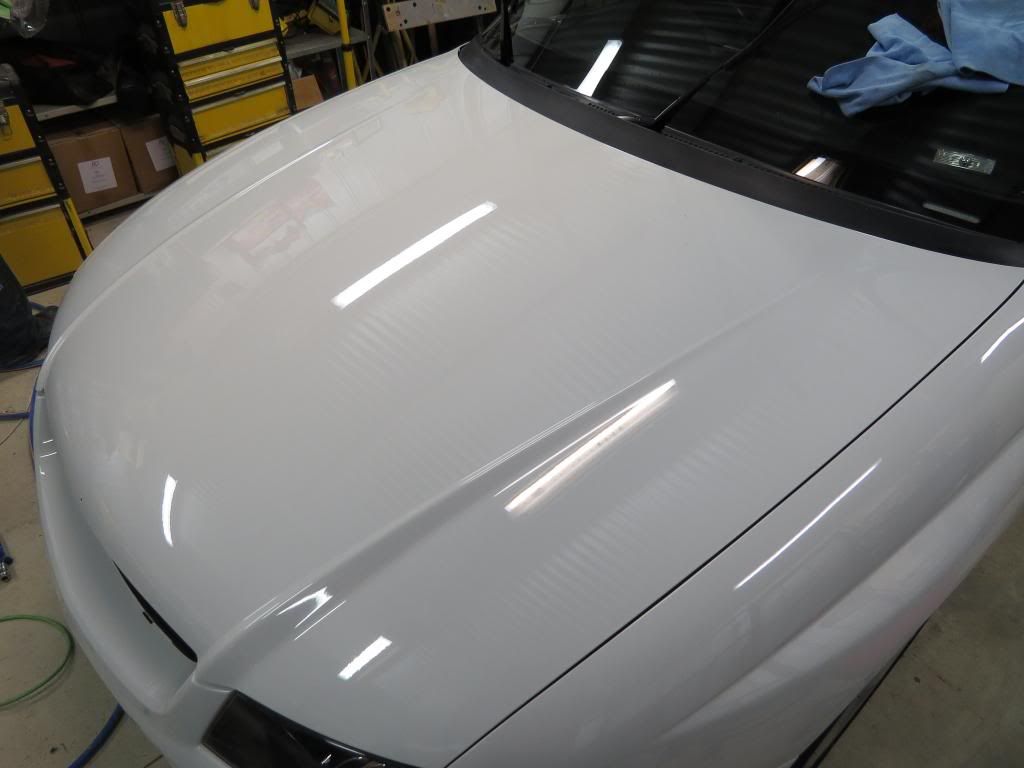
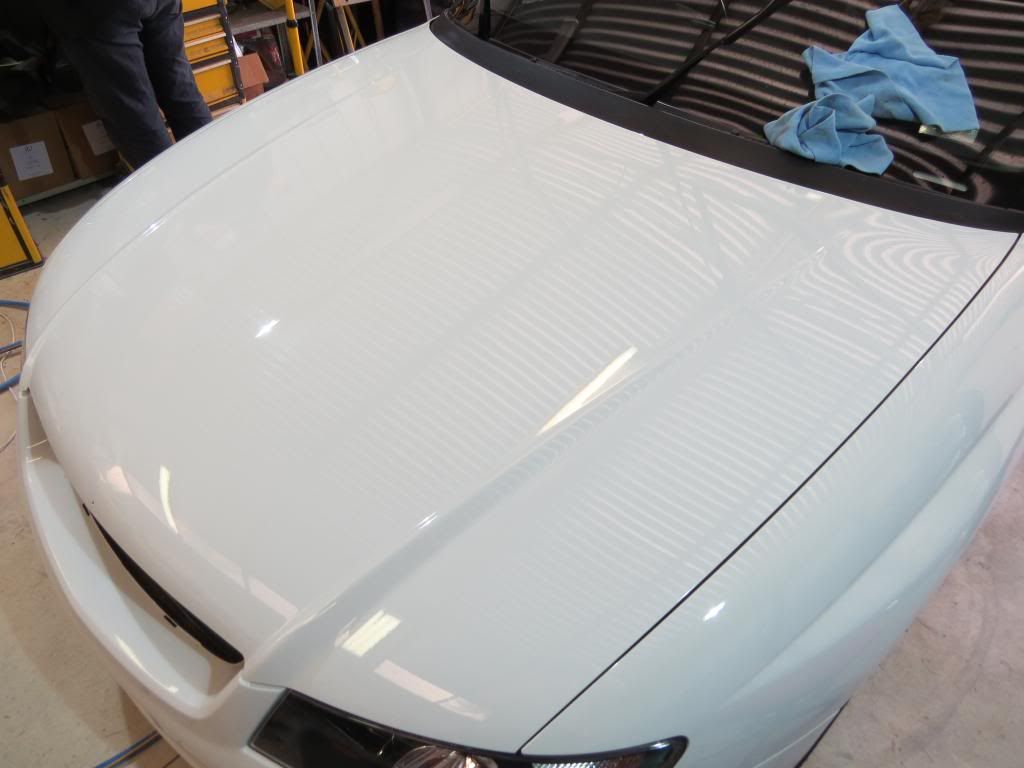
At this stage it was 12:00am, still looking good
I loved this shot, loved the straight line reflections
So we applied the Nitro-seal and called it a night. I think I crawled into bed at 1:45am... zzzzzzzzzzzzzzzzzzzzzzzz
- Tyre were spritzed down with HD Total and washed down
- Wheel wells were cleaned up
- Foamed with Pink Soap
- Decon with IronX
- 3D Water spot eraser
- Wash down and rinsed
- Door jambs were cleaned up
- HD Nano prep towel - clayed
- Dried
- Wheels removed, tar was stripped off and old wheel weight adhesive removed
- Tyres dressed with an experimental coating - then heat cured
- Masking
- Paint Measurement - showed some areas of repair
seems the drivers door may have been crunched at some stage in its past.- Fixed a few stone chips with touch paint - then wet sanded
- Compound - HD Cut - black wool pad Festool rotary
- Second stage compound - HD Cut - orange pad - Rupes big-foot
- Jewelling - HD Polish - Big-foot
- Last step - HD Nitroseal - Rupes on red pad
- Inspection with Brinkmann, and natural sunlight
- Wheel wells were cleaned and dressed
- Rubber and Plastics Treated with another "in-testing" dressing
- Exterior windows and mirrors cleaned and sealed
- Exhaust tips cleaned
- Windows were clayed, cleaned with Garry Dean Infinite Use Detail Juice and sealed with coating
This car is my daily driver, its just done 120,000kms, so does get driven a lot and during the day, lives outside in a car park. It was showing a lot of oxidised paint. Whilst it was still whitish, it was just cloudy, dull and lacked depth, covered with road grime and bugs. We knew it could look better...
The Heron white (SS) was fairly easy to work with and responded to the products used. Please excused the pics, we were really trying to hammer though this.
I am so very happy with what we what we achieved. I stayed at my good mate Dan's house over night whilst we worked, and I learnt. He fed me, kept me going with drinks and snacks, made me laugh as we worked. I learnt more in 2 days with Dan than I have in over 5 years of just doing things as I thought they were done. This wasn't just an exercise to have someone else do the work for me. It was for me to learn greater knowledge and hone my skills further. Dan has been doing for many years longer than I have. Dan was a great teacher, taught me some very cool tricks and tips. Dan is the Australian 3D distributor
Foaming stage:


You can see the nasty surface even in this pic

You can see how dull and flat the paint looked

Foamed again - HD prep towel being used

Wheels off and cleaned - yuk


Rinsed. Dried and then inside, you can see the dull surface


Onto the paint measurements


OUCH!!!

Cleaning rubbers around windscreen


Before compounding


First stage compounded

Improvements

Another wash and foamed again to remove any oils and dusting
Thick foam with the Pink Foam

Dried and then brought inside, checked with Brinkman


Nice clean crisp reflections. This is before any sealant


At this stage it was 12:00am, still looking good

I loved this shot, loved the straight line reflections

So we applied the Nitro-seal and called it a night. I think I crawled into bed at 1:45am... zzzzzzzzzzzzzzzzzzzzzzzz


