DetailersDomain
New member
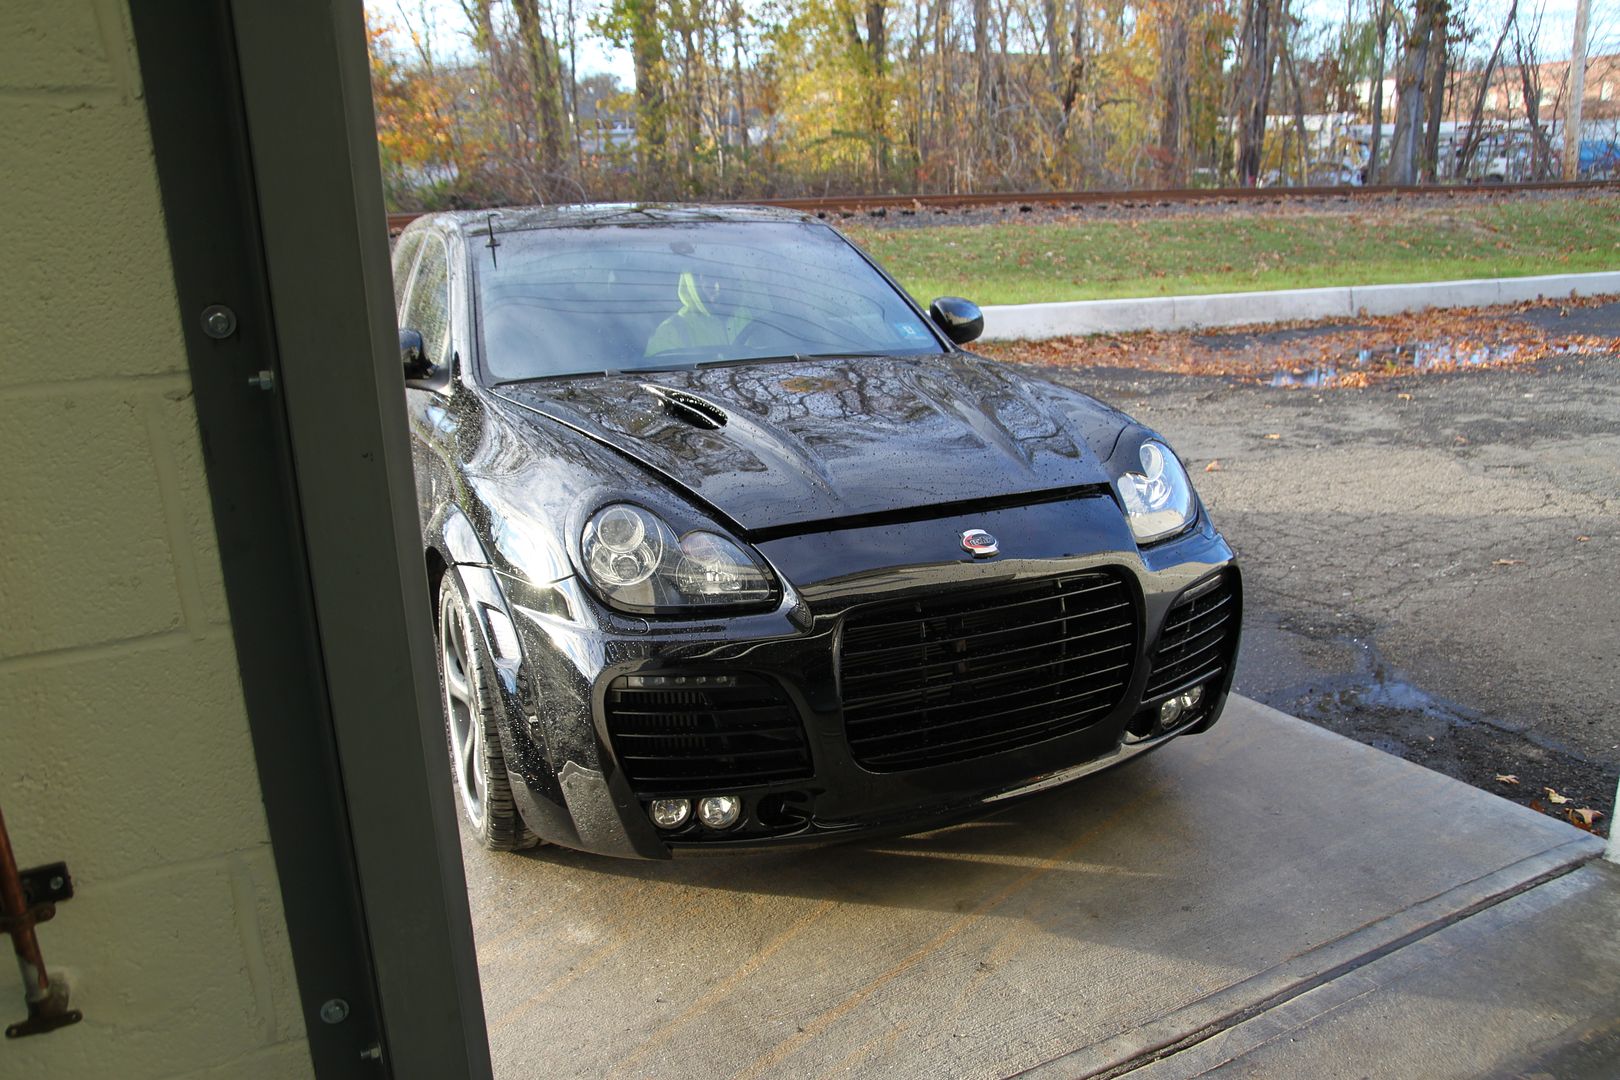
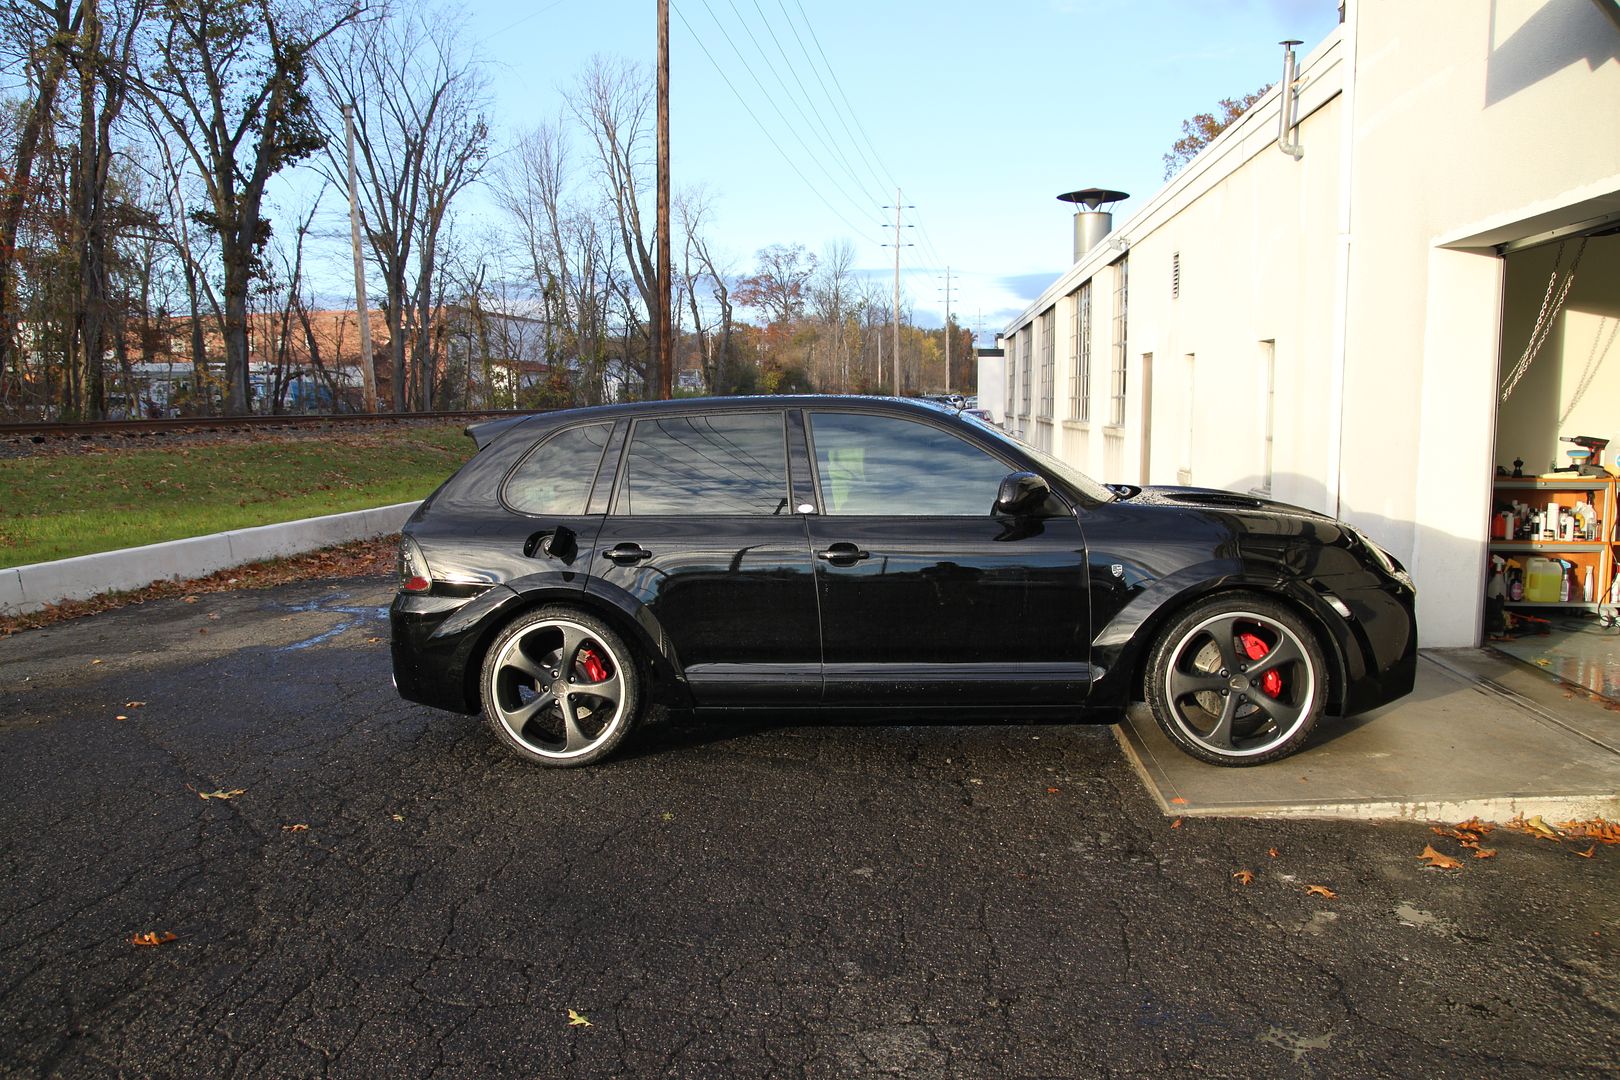
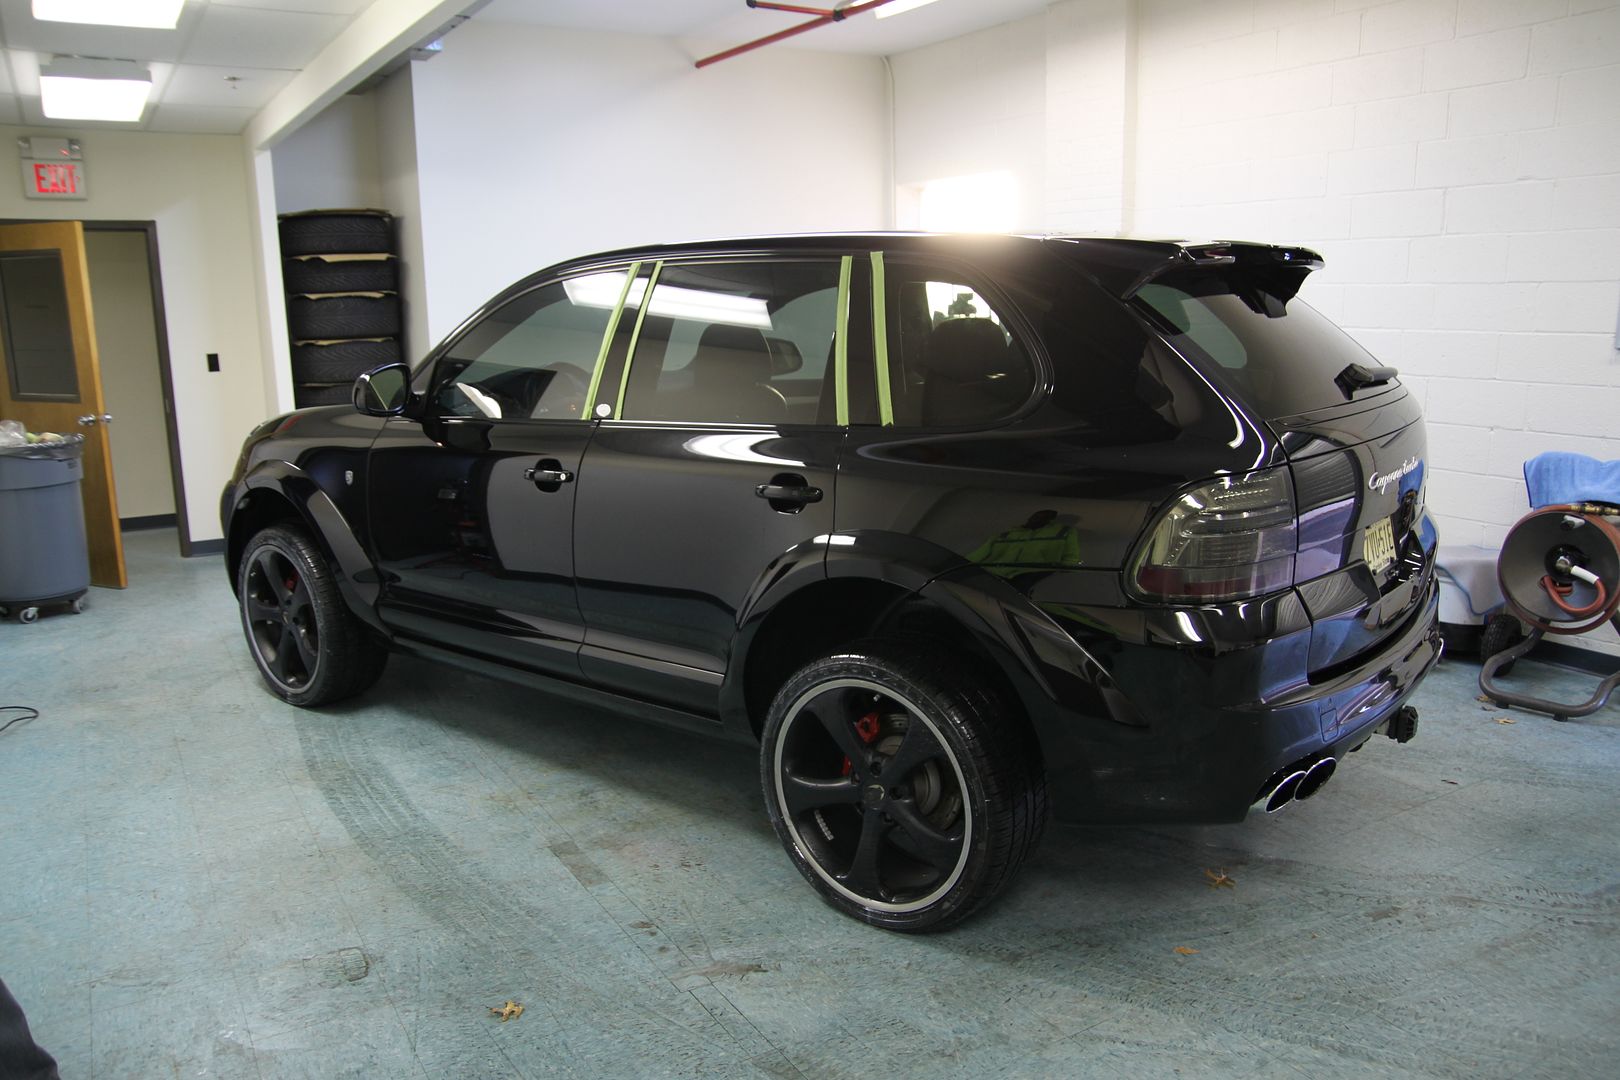
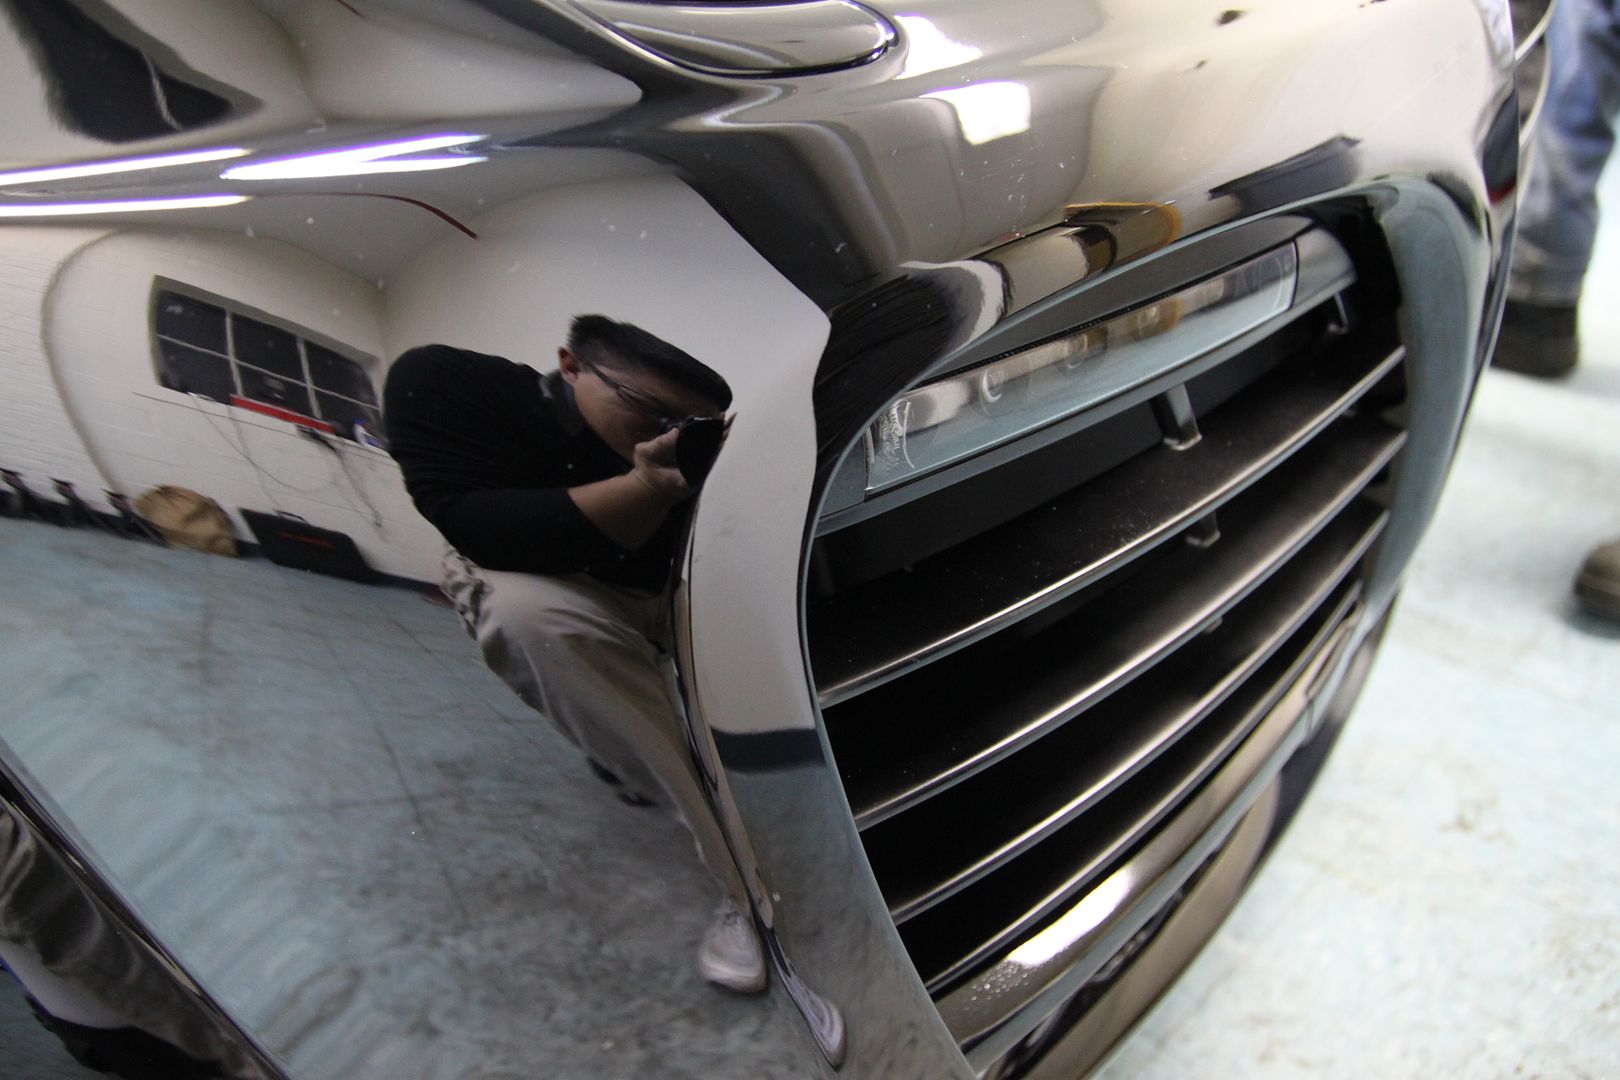
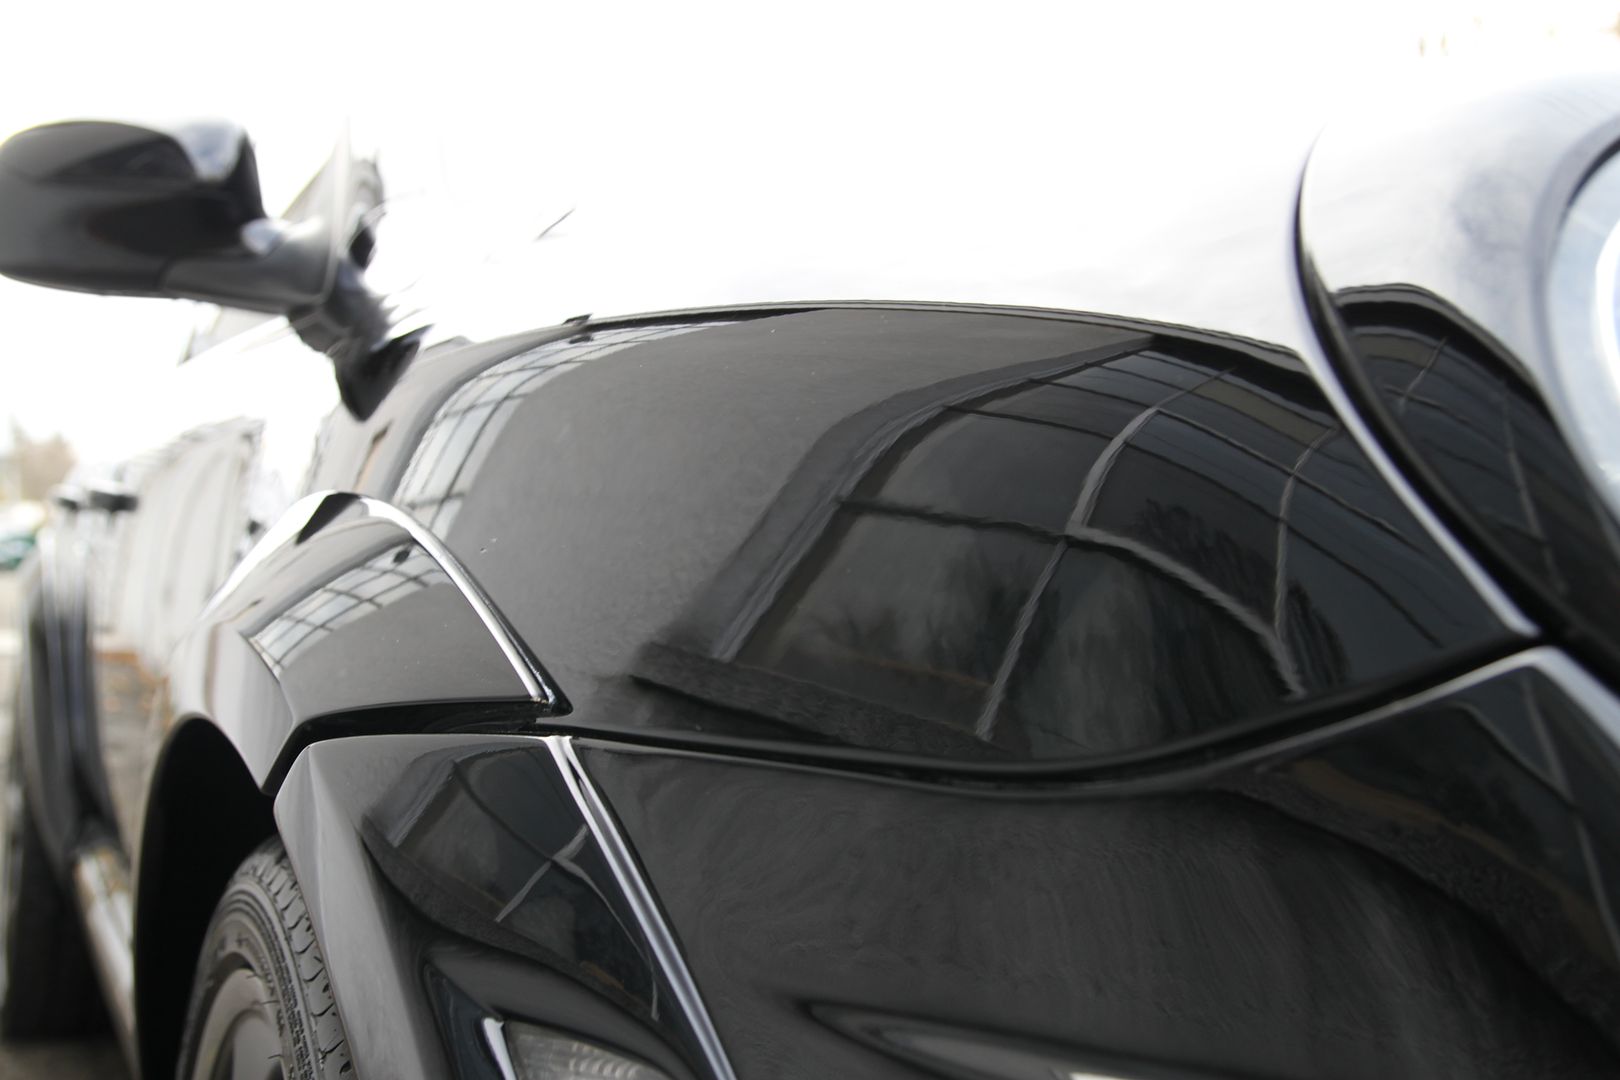
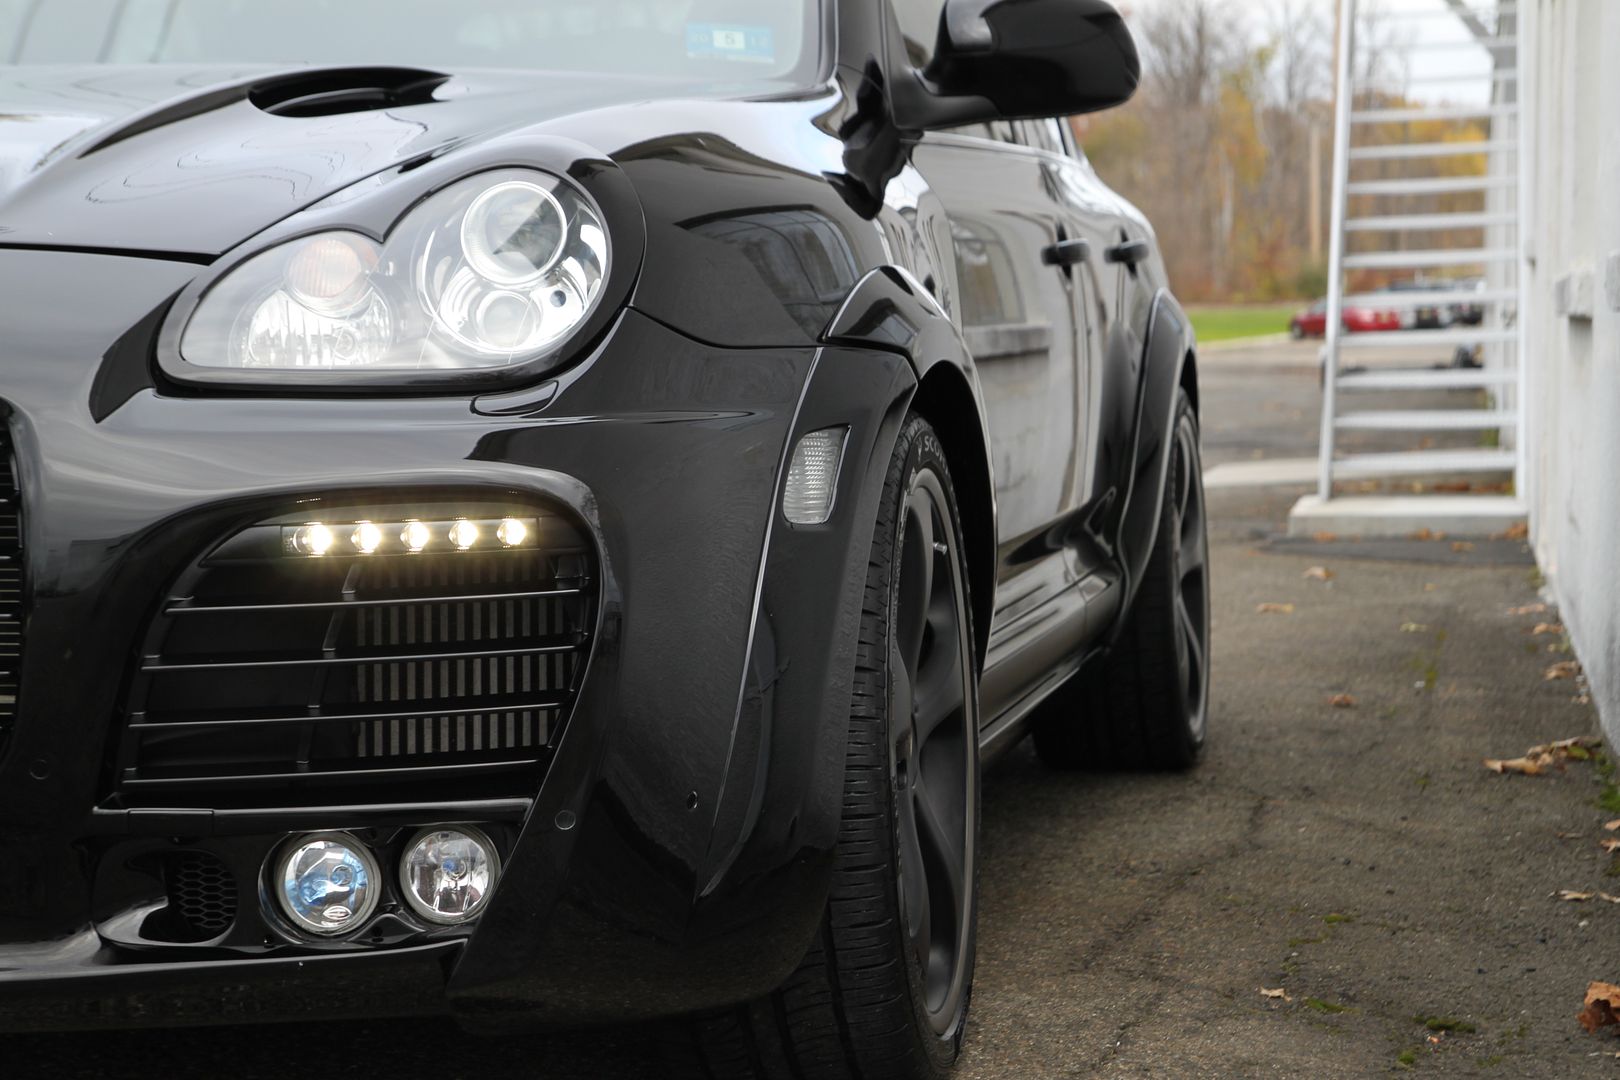
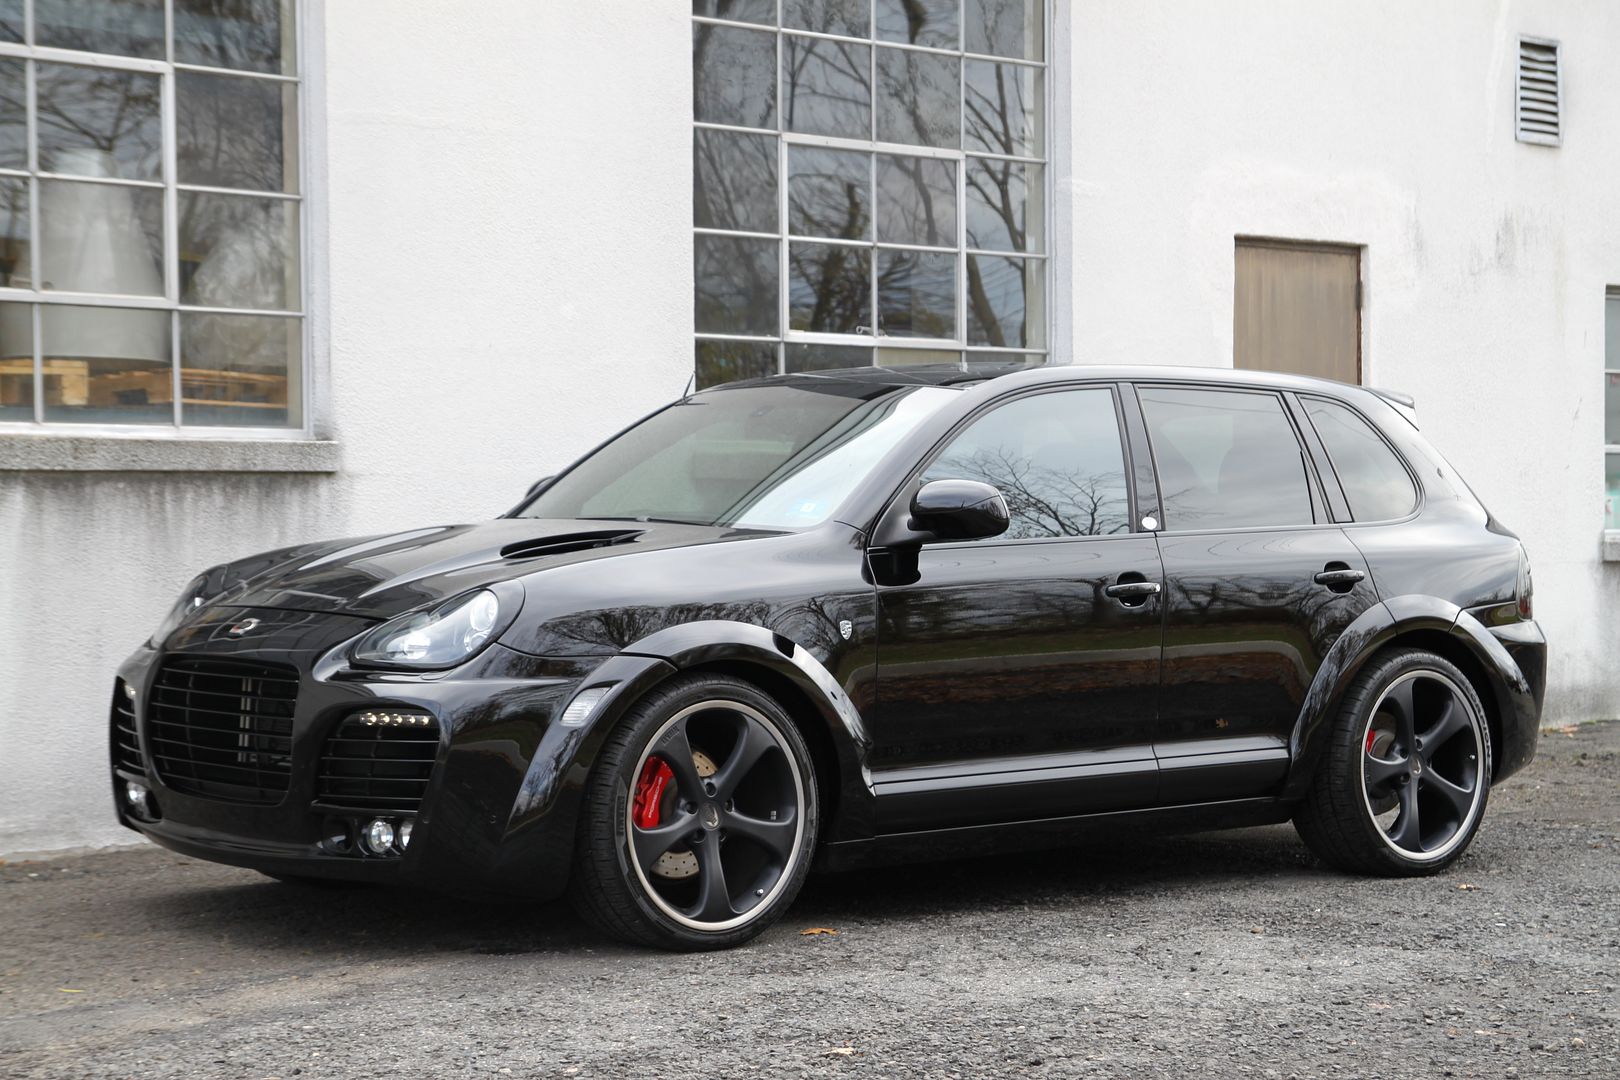
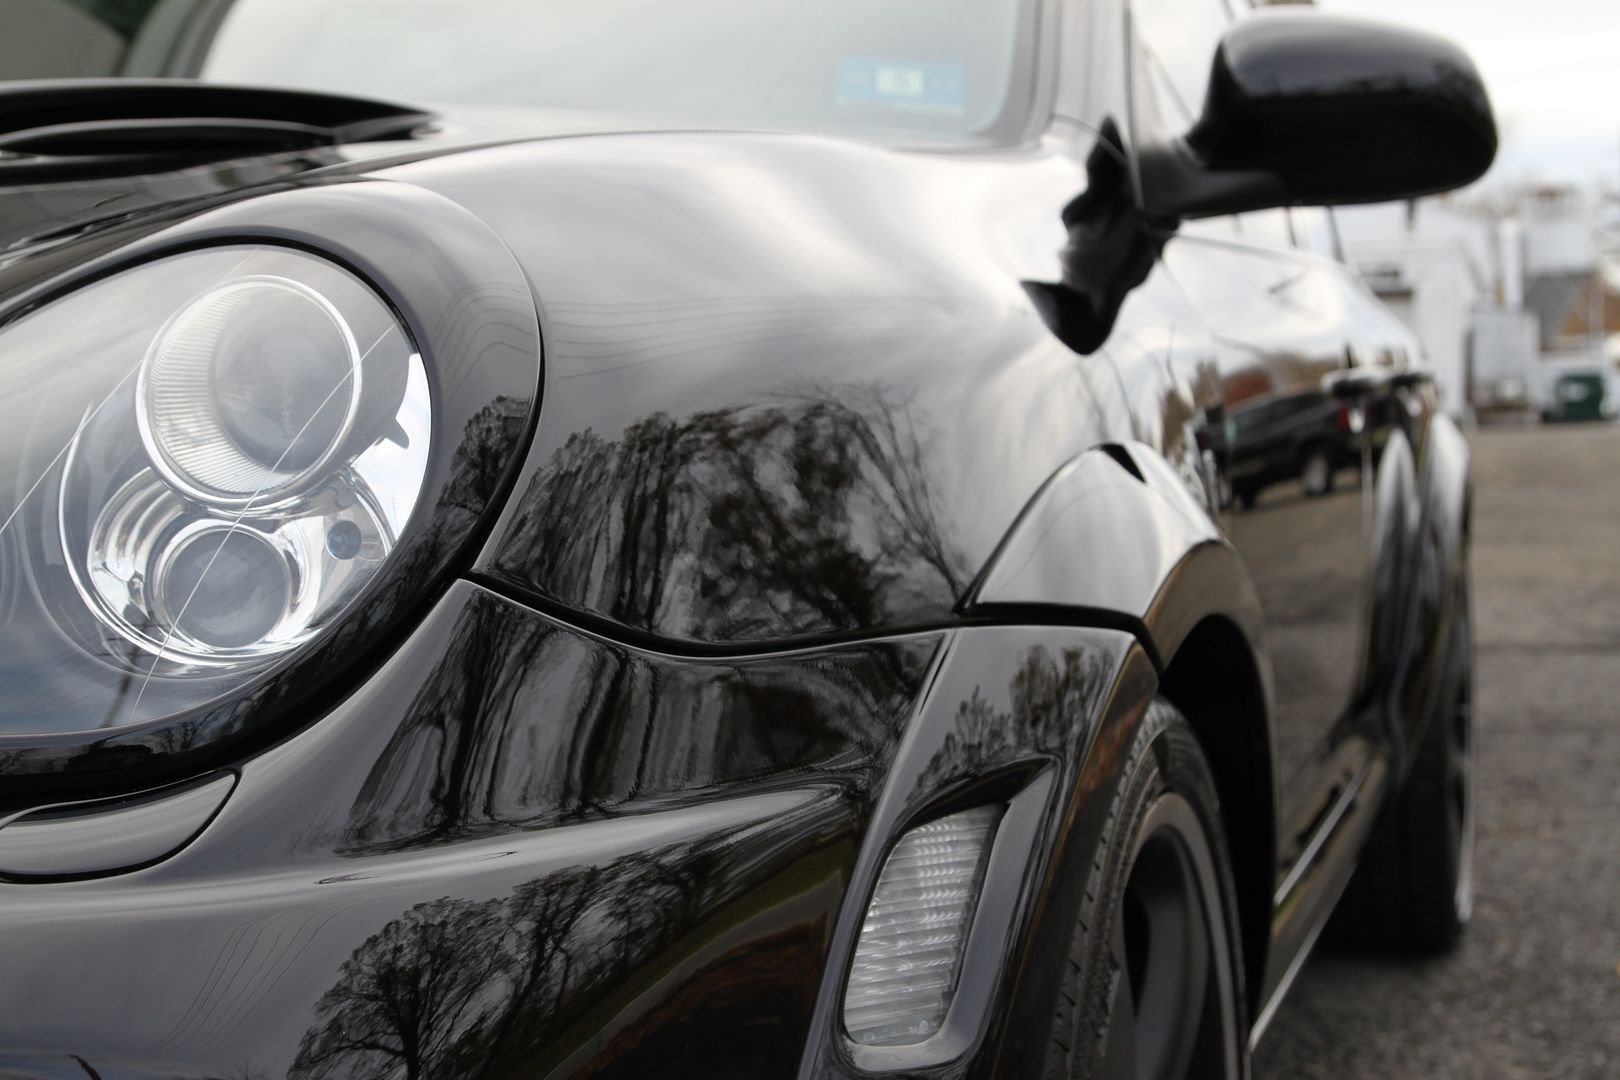
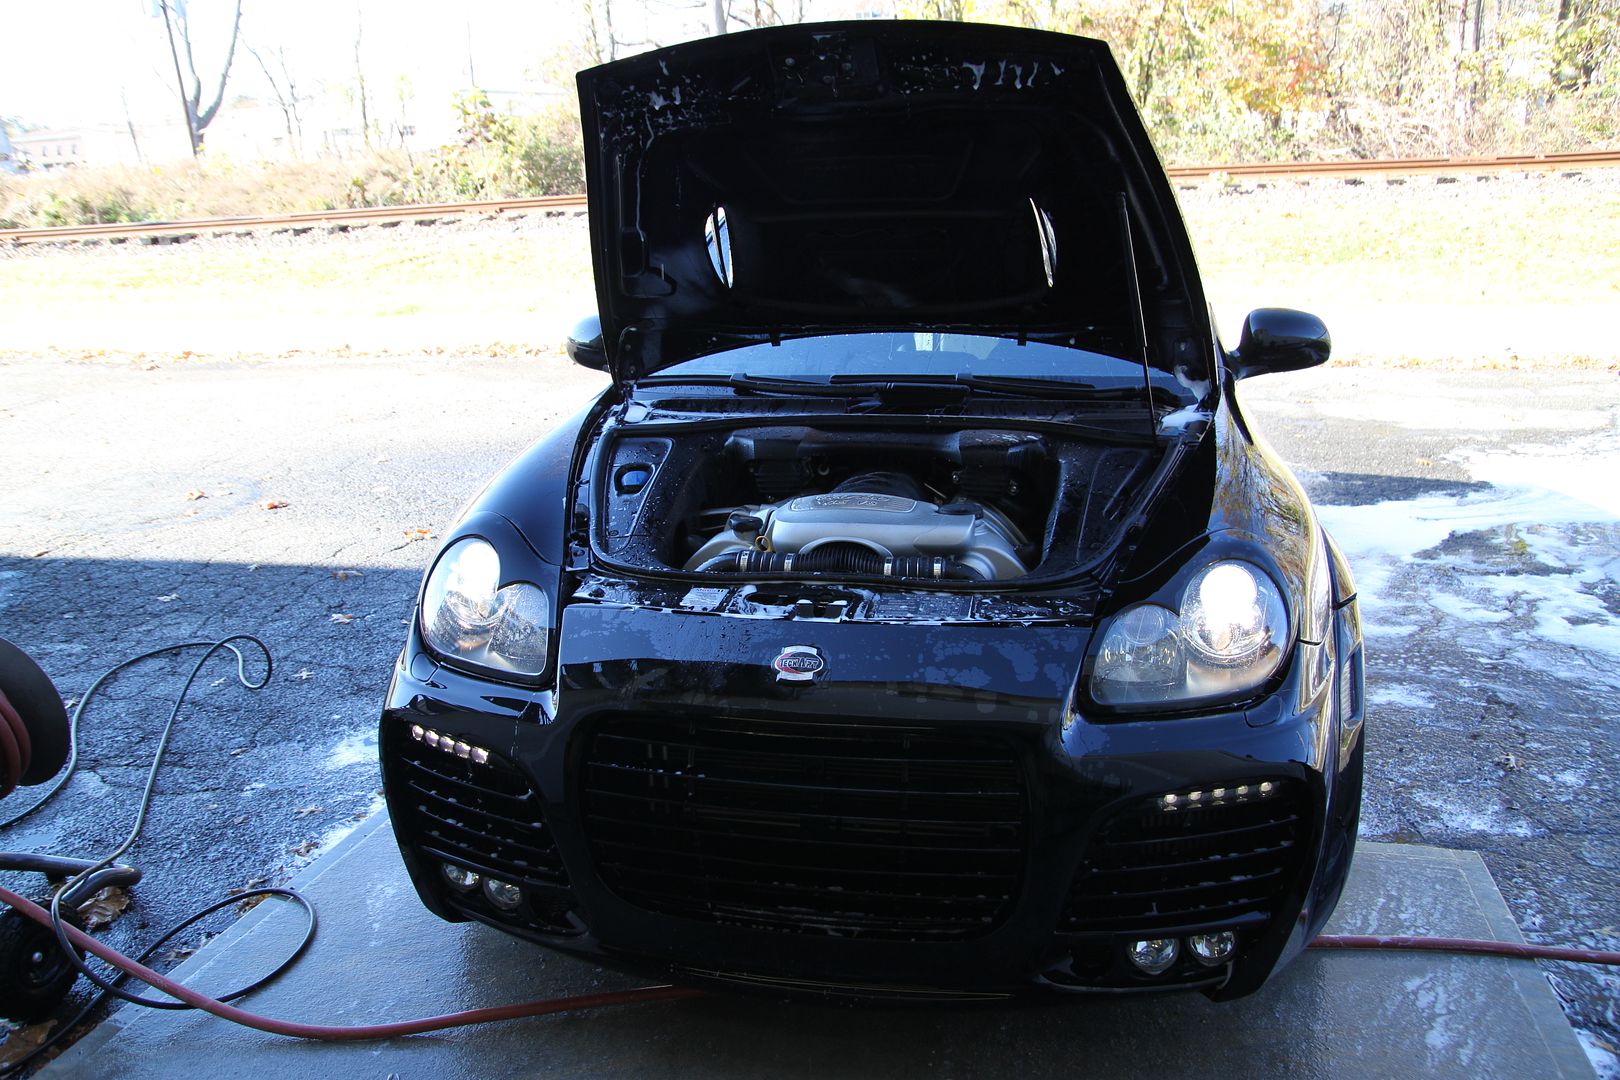
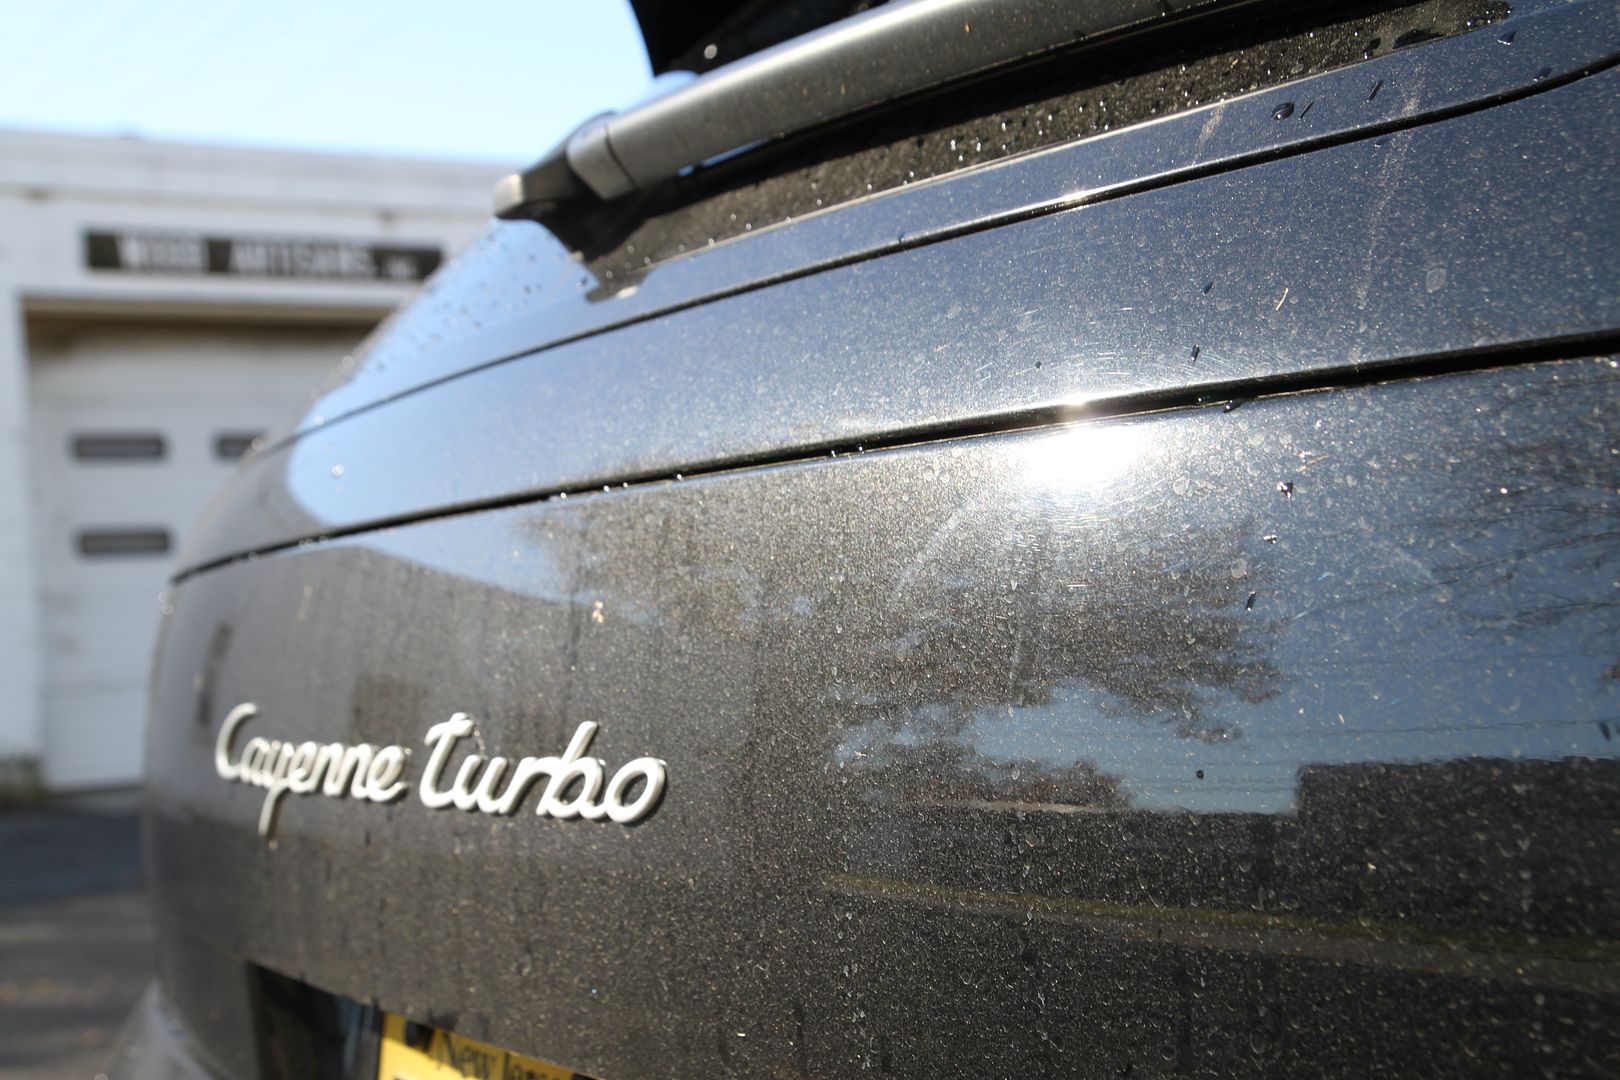
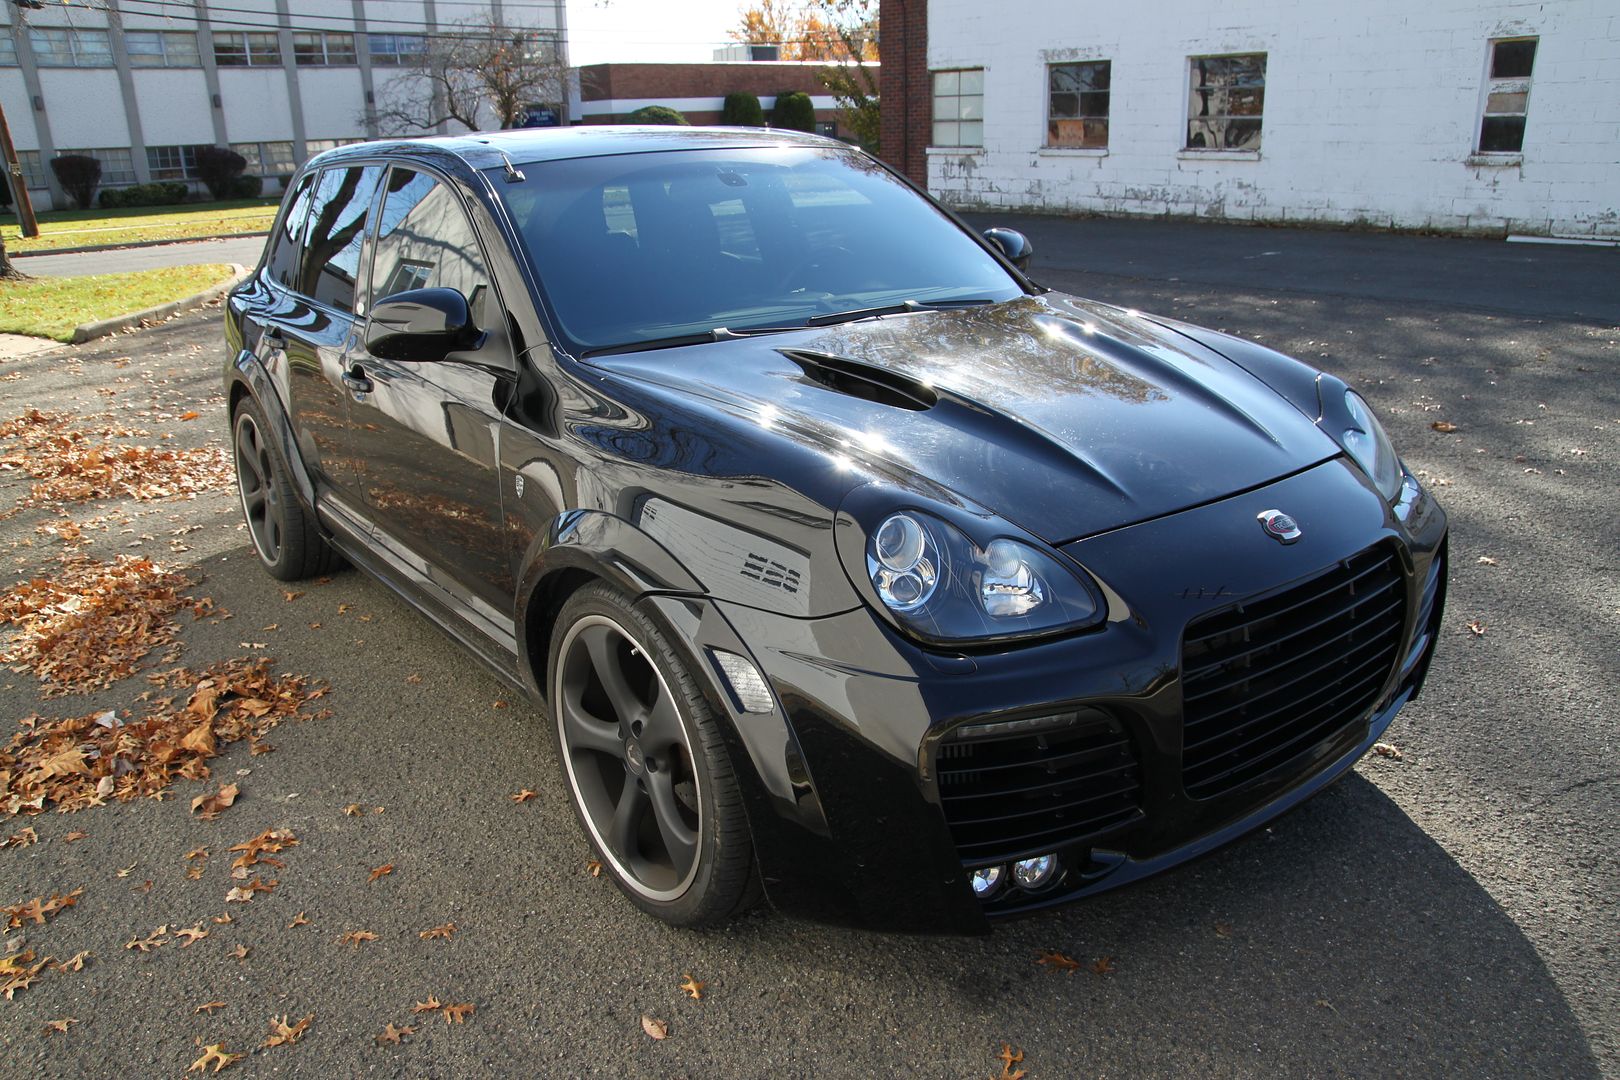
This is truly a rare breed. We put 20 hours into this one. Just about everything was done to this one, full interior, engine detail, full exterior paint correction.
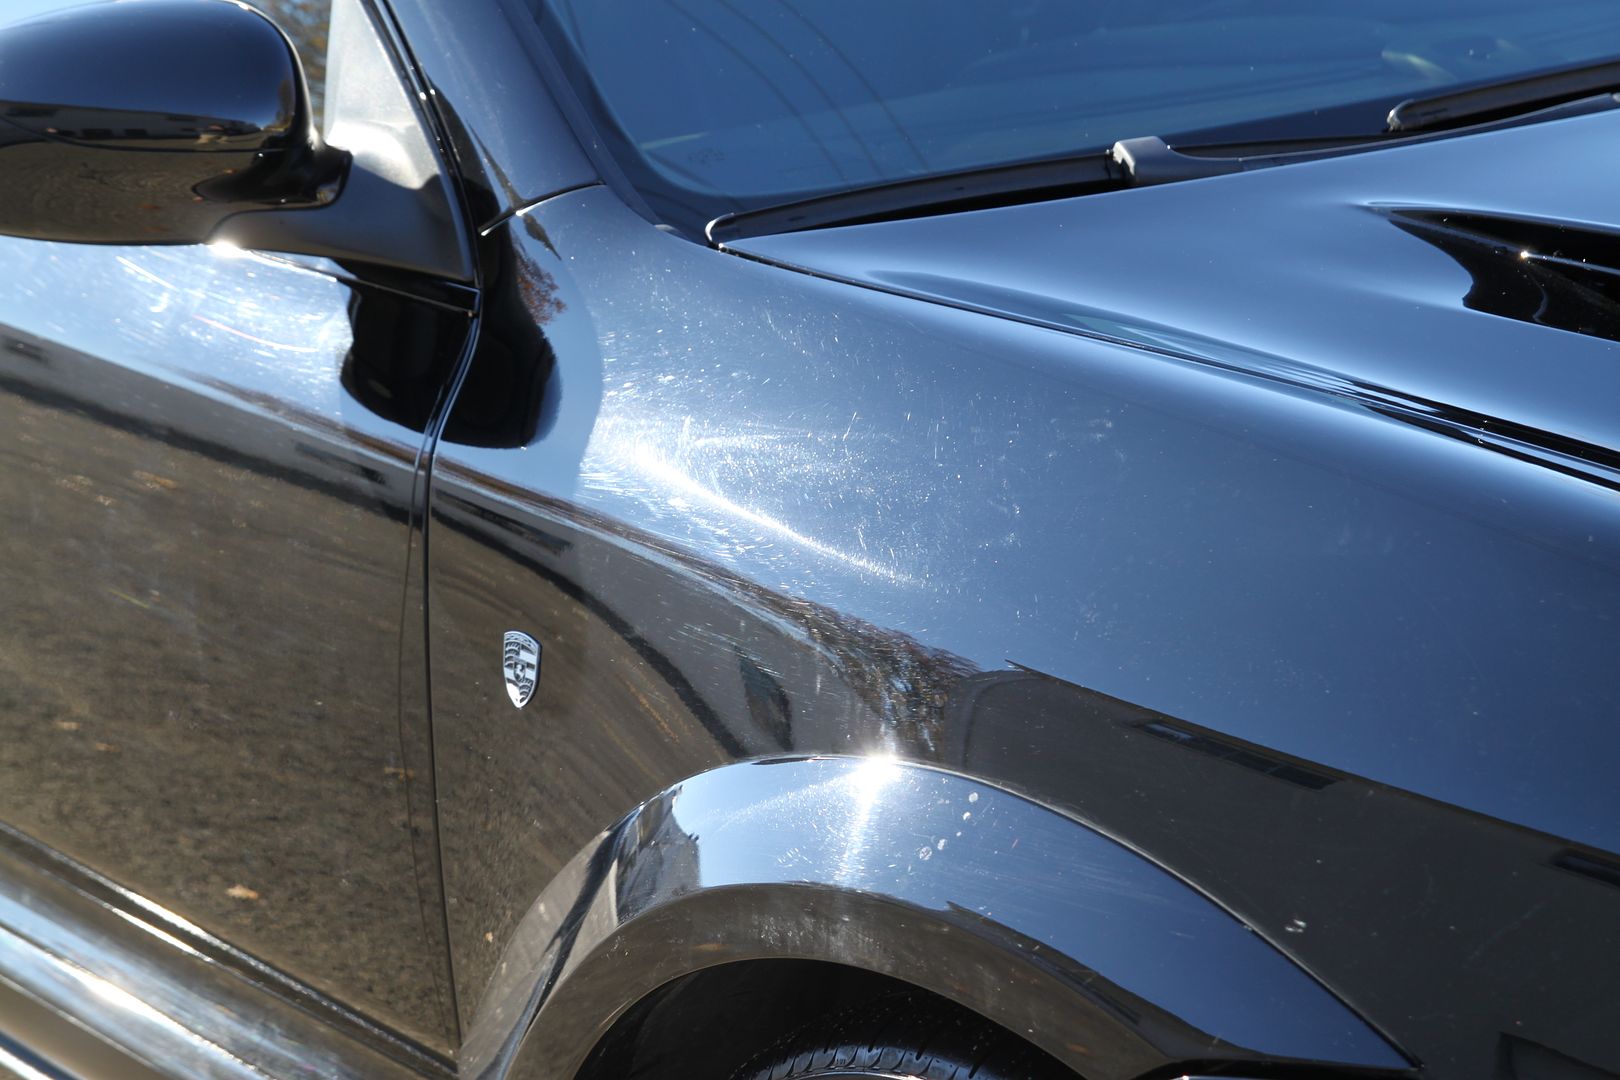
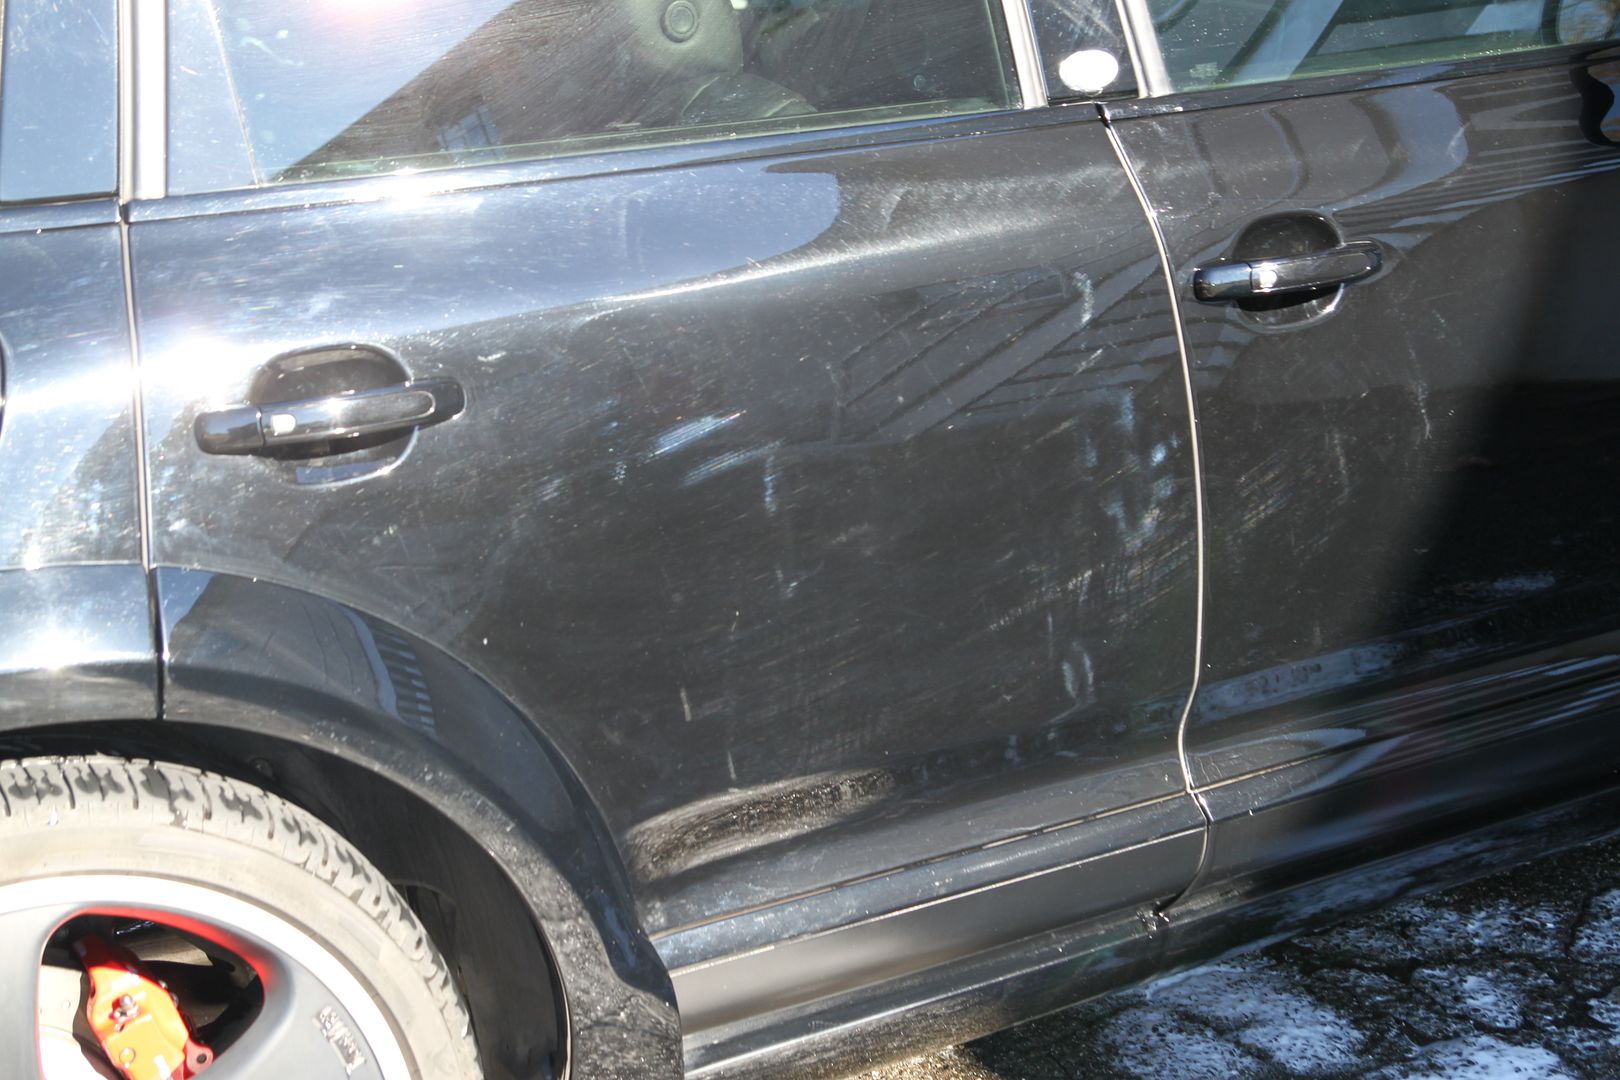
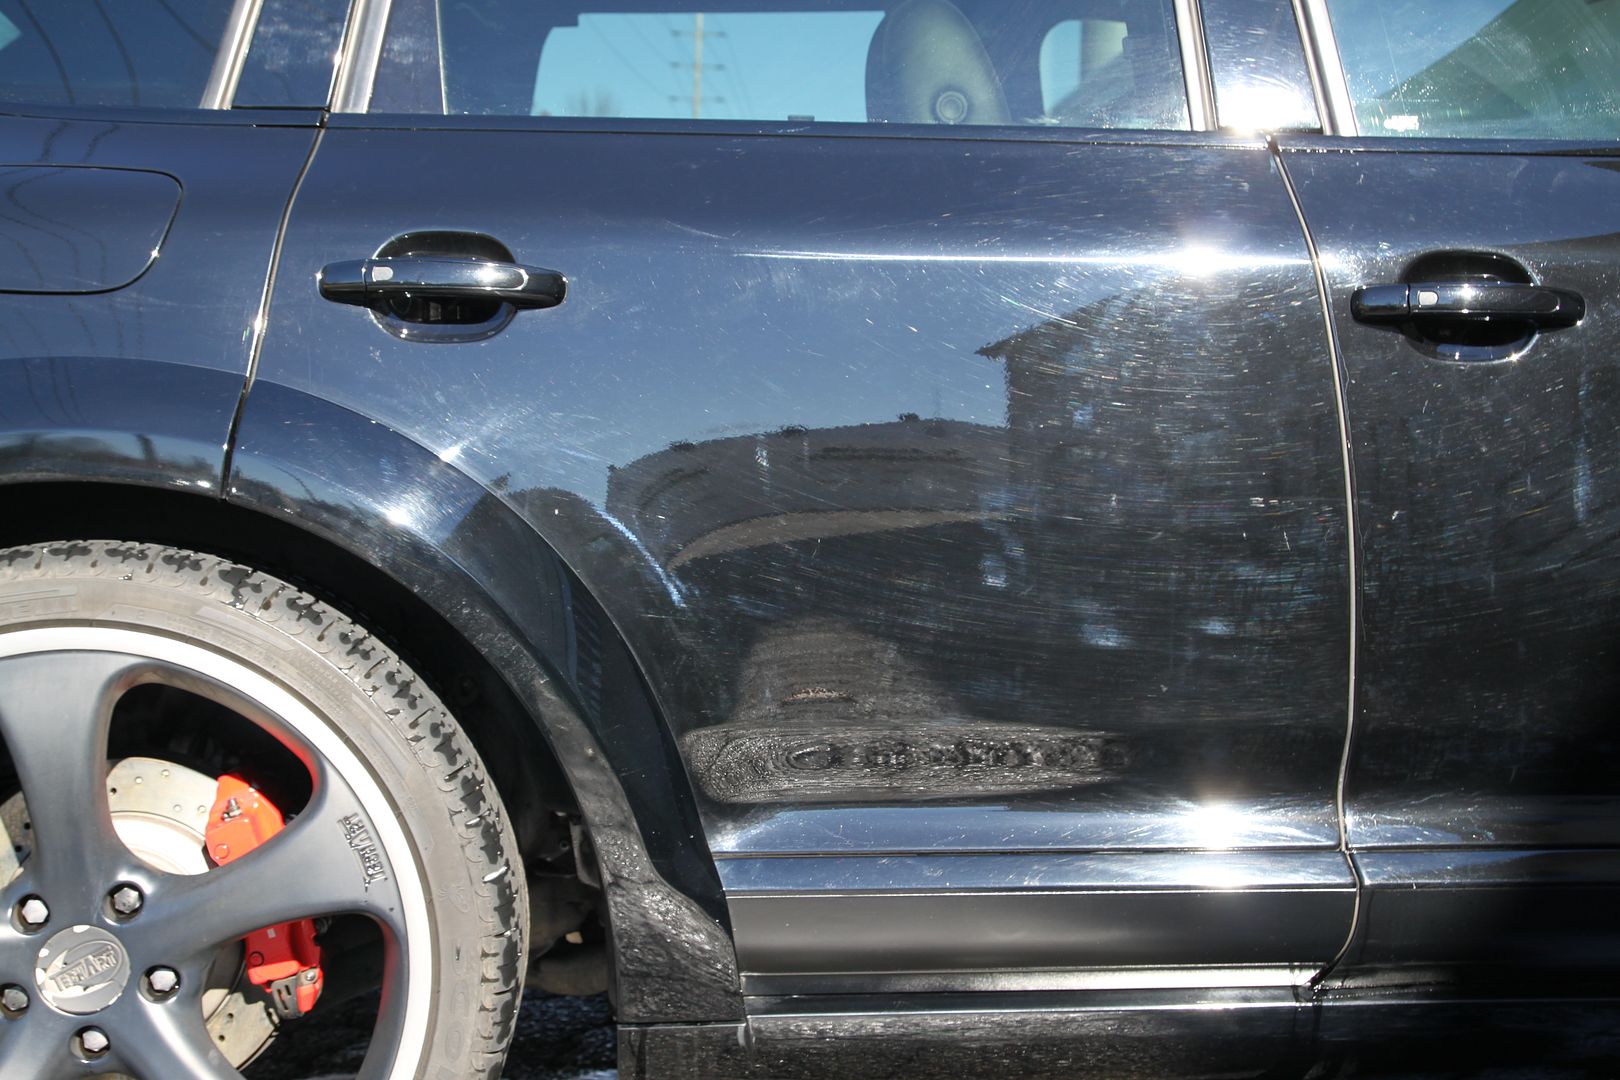
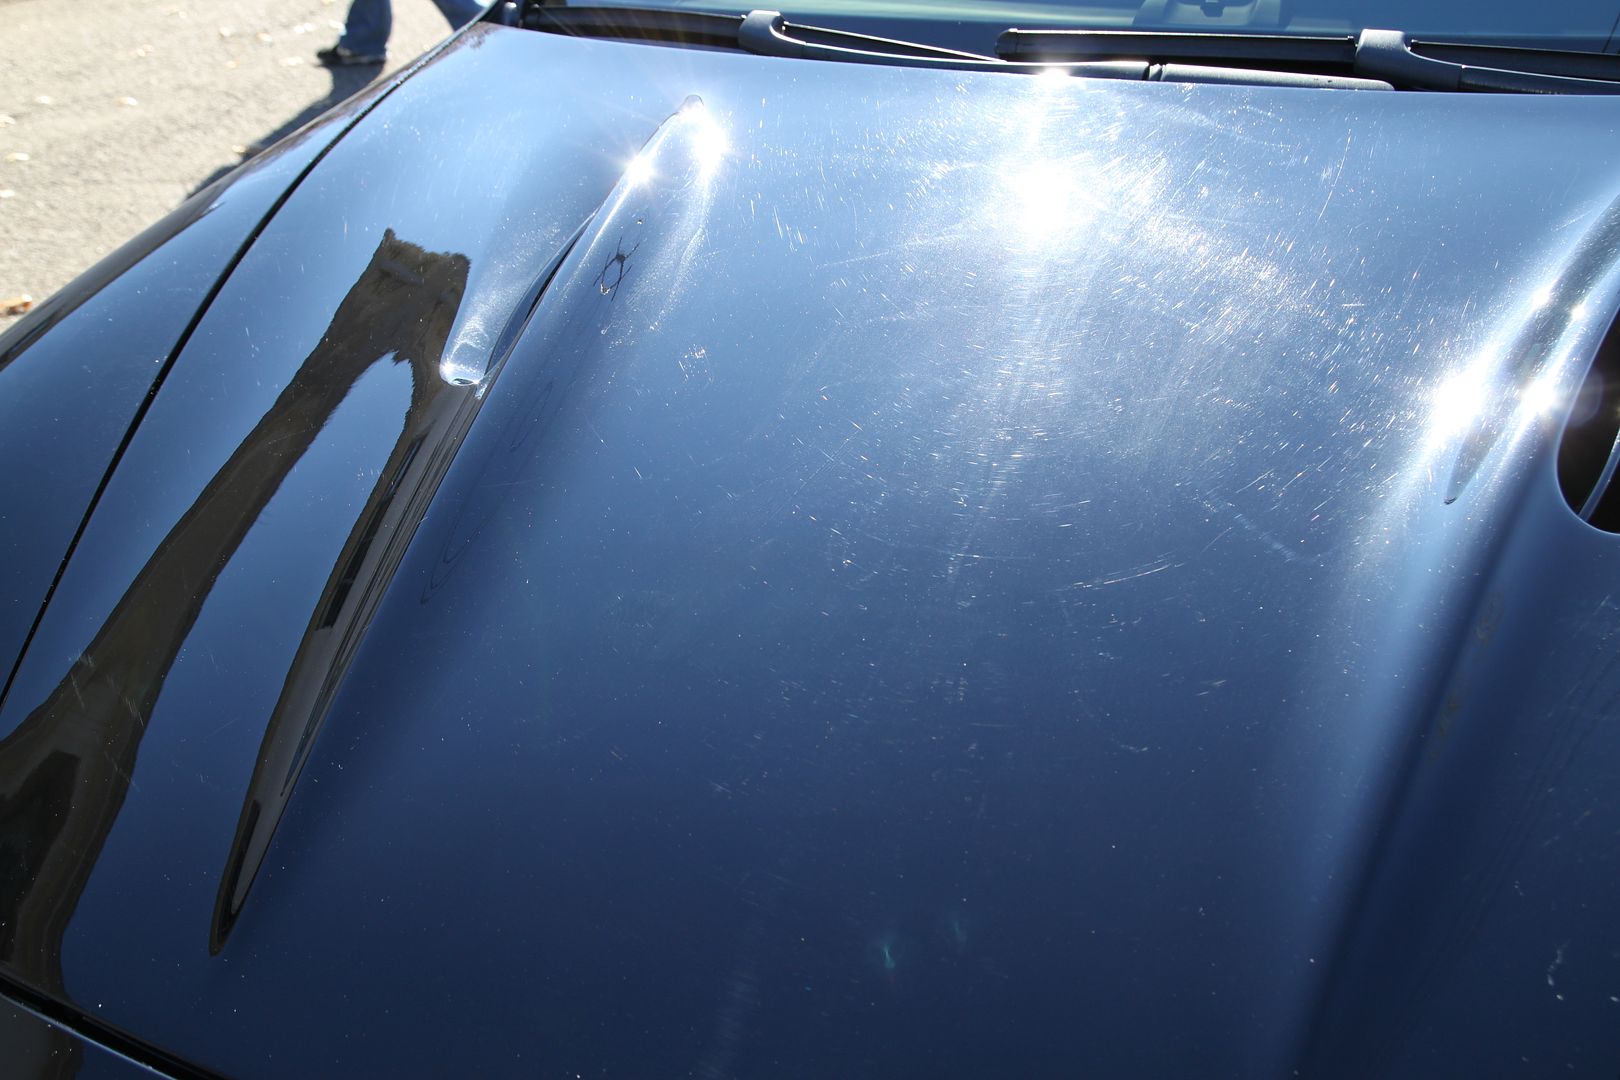
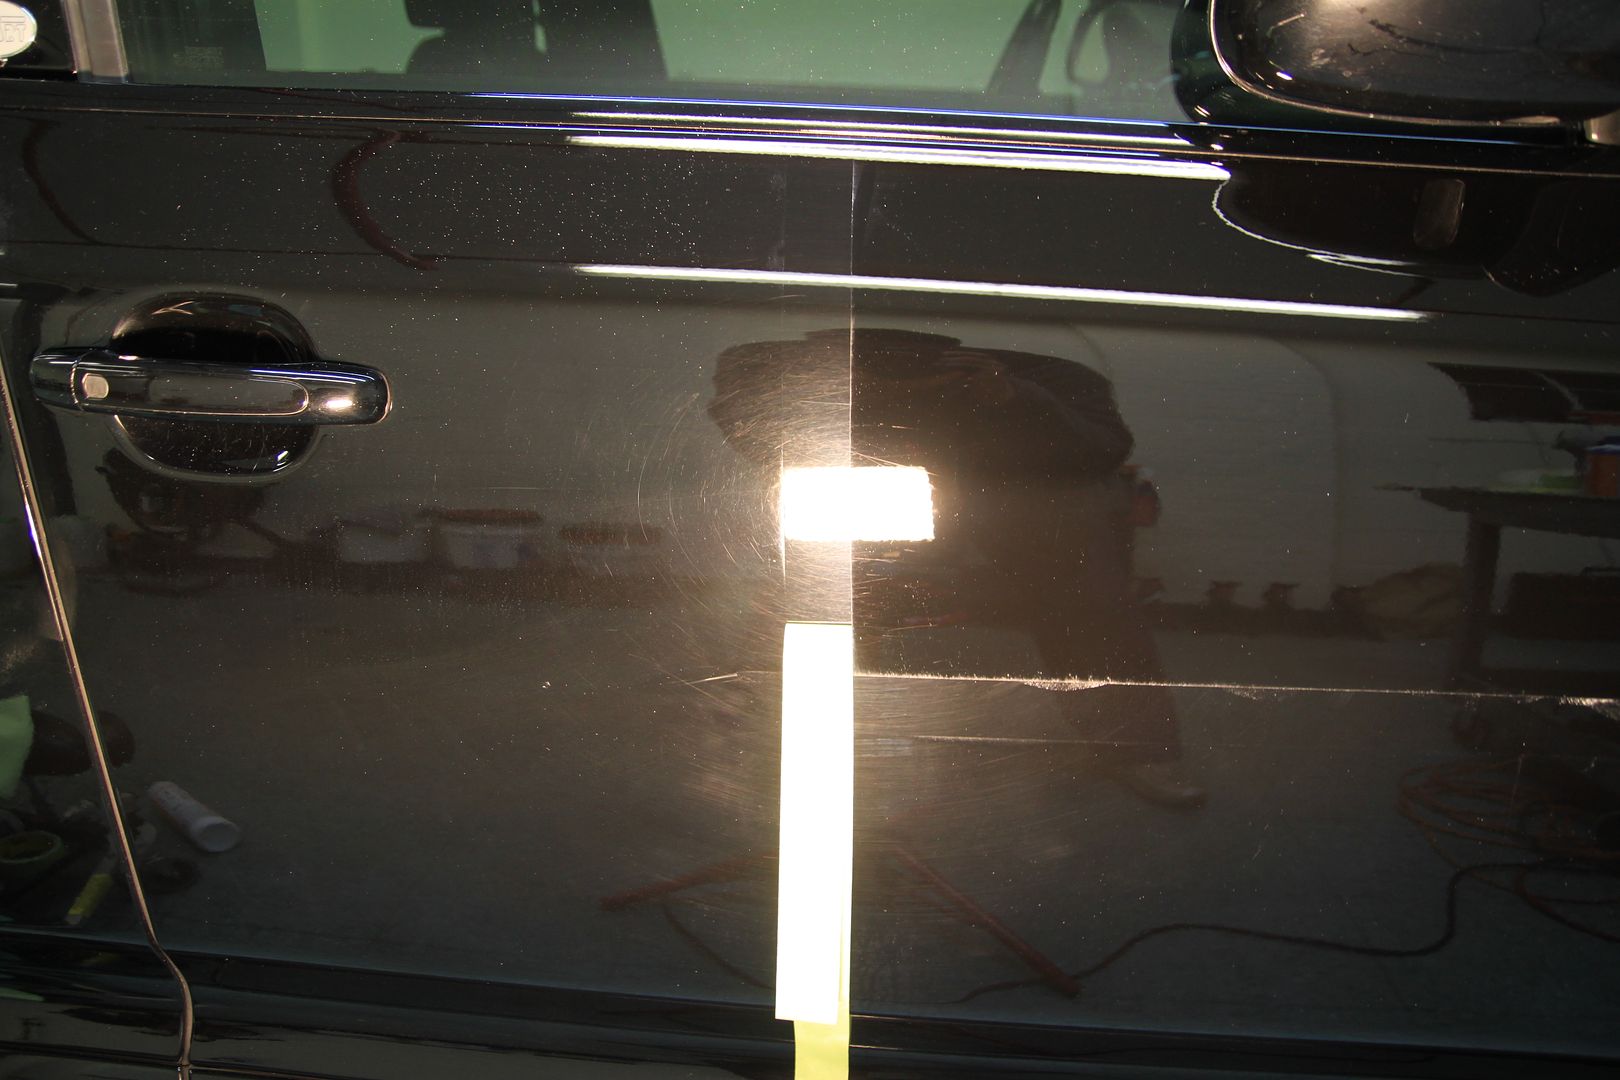
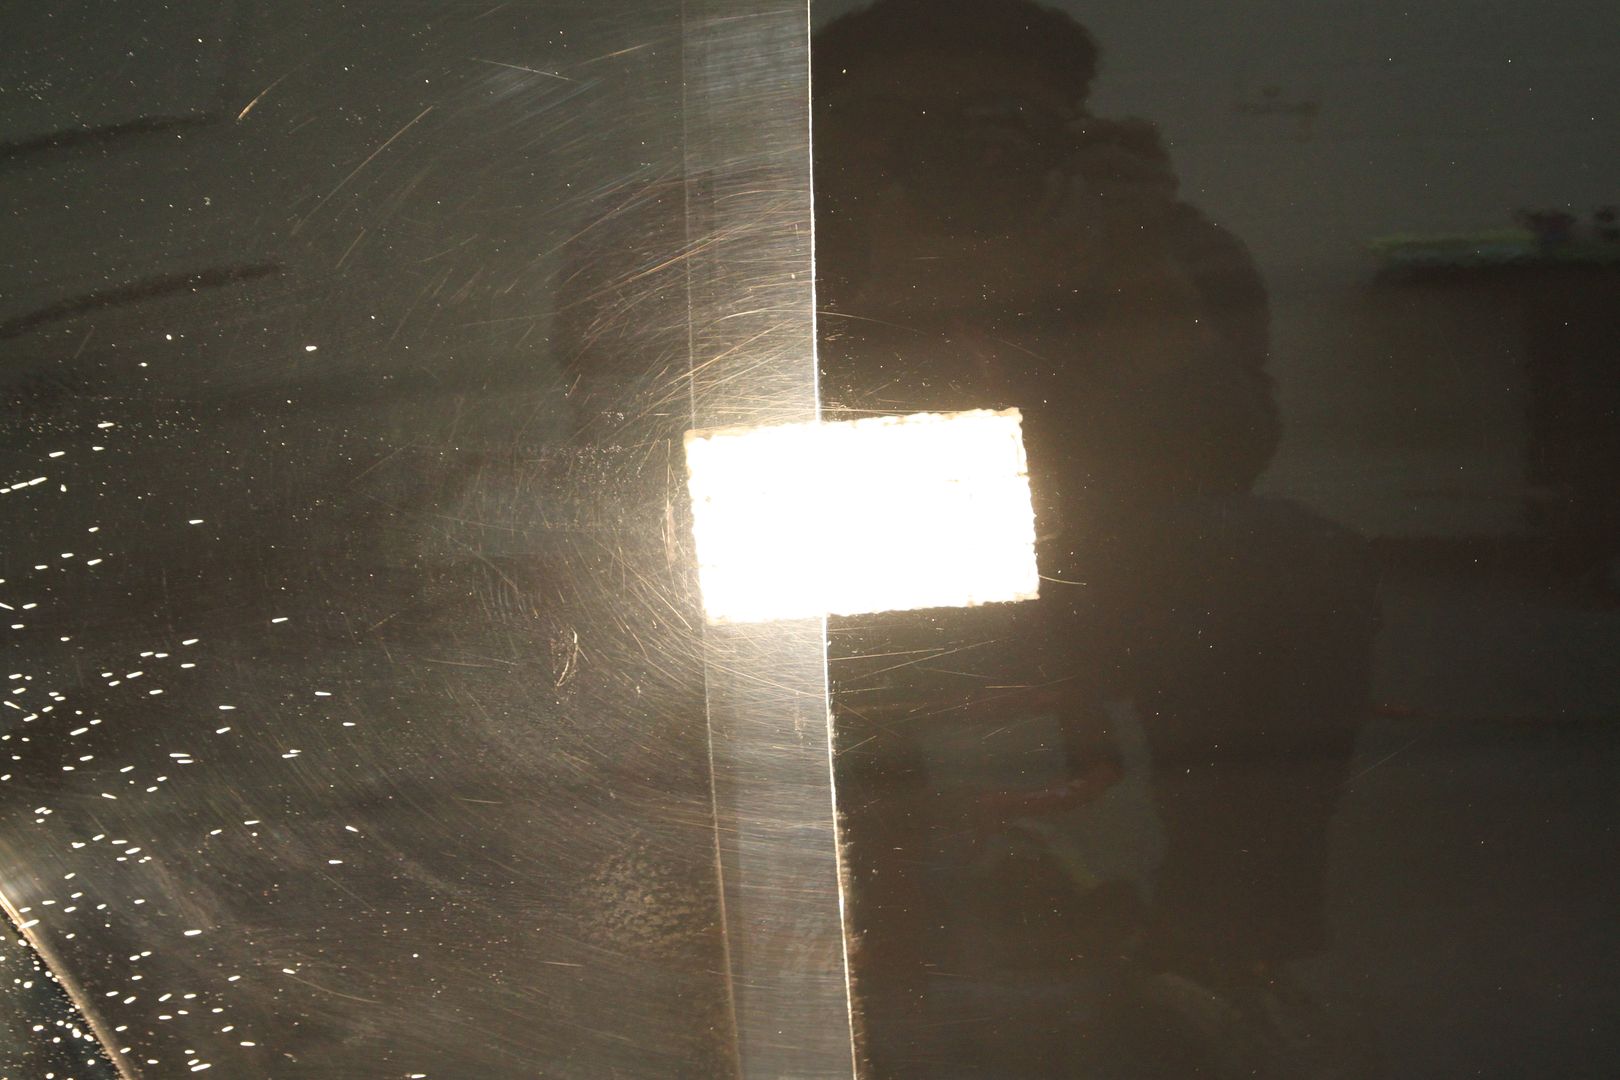
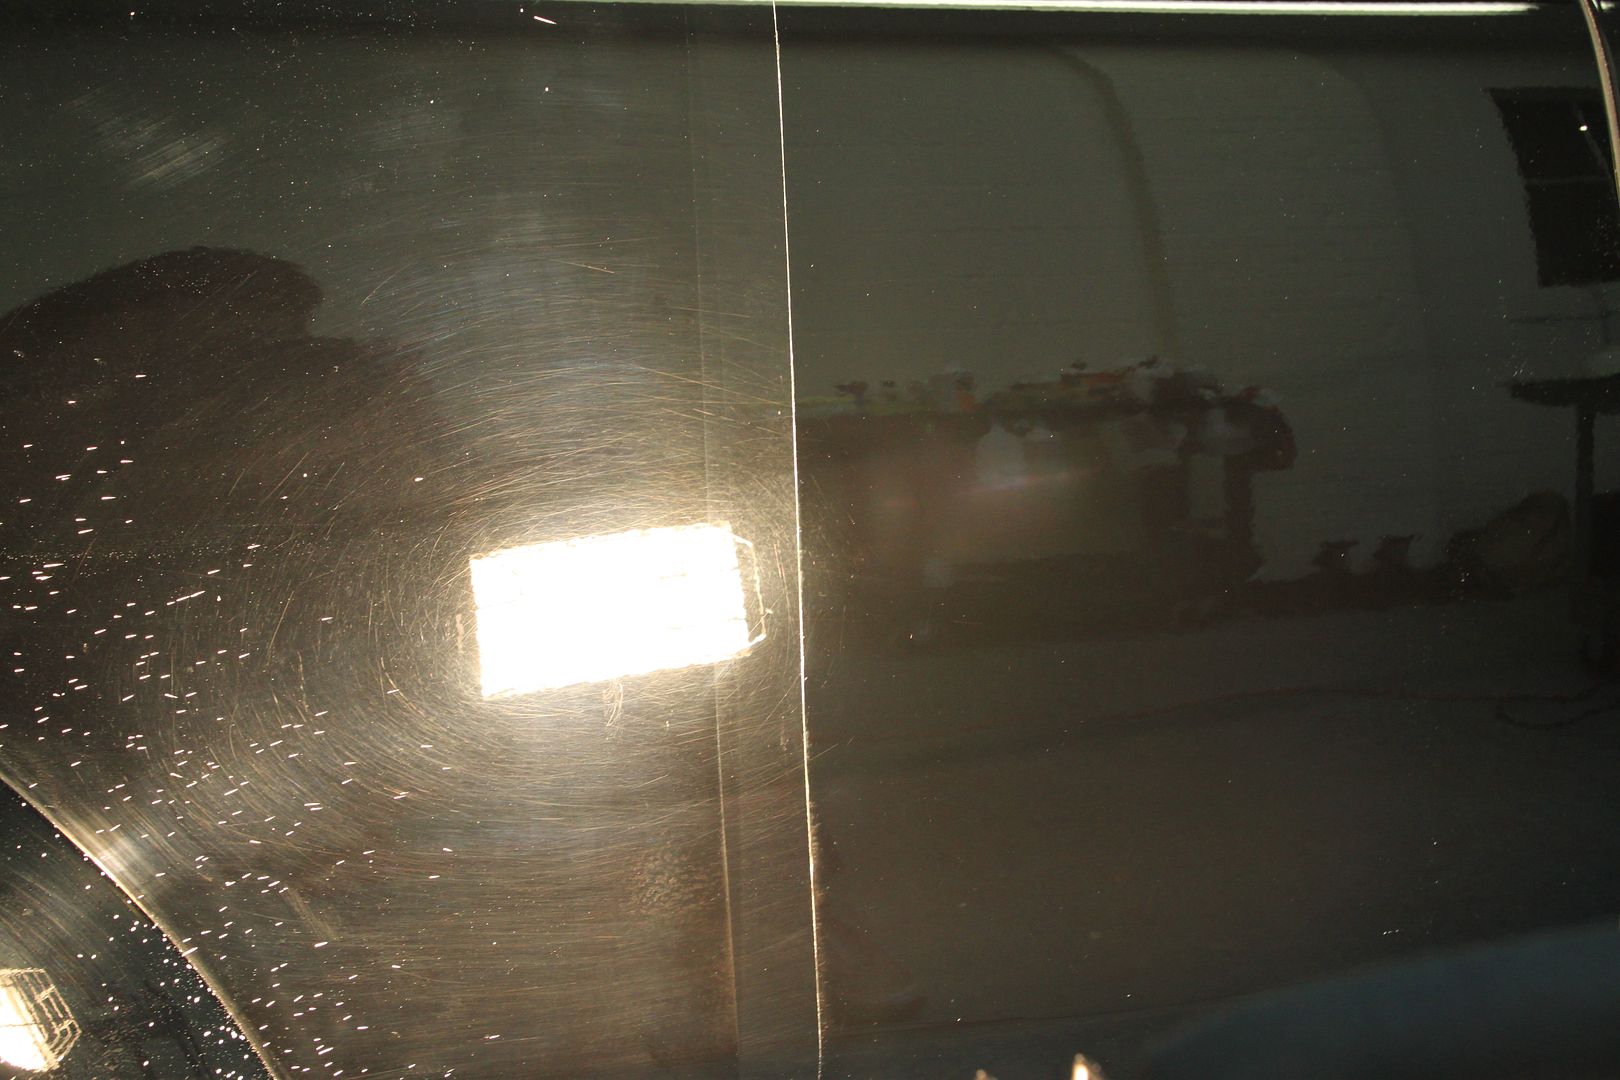
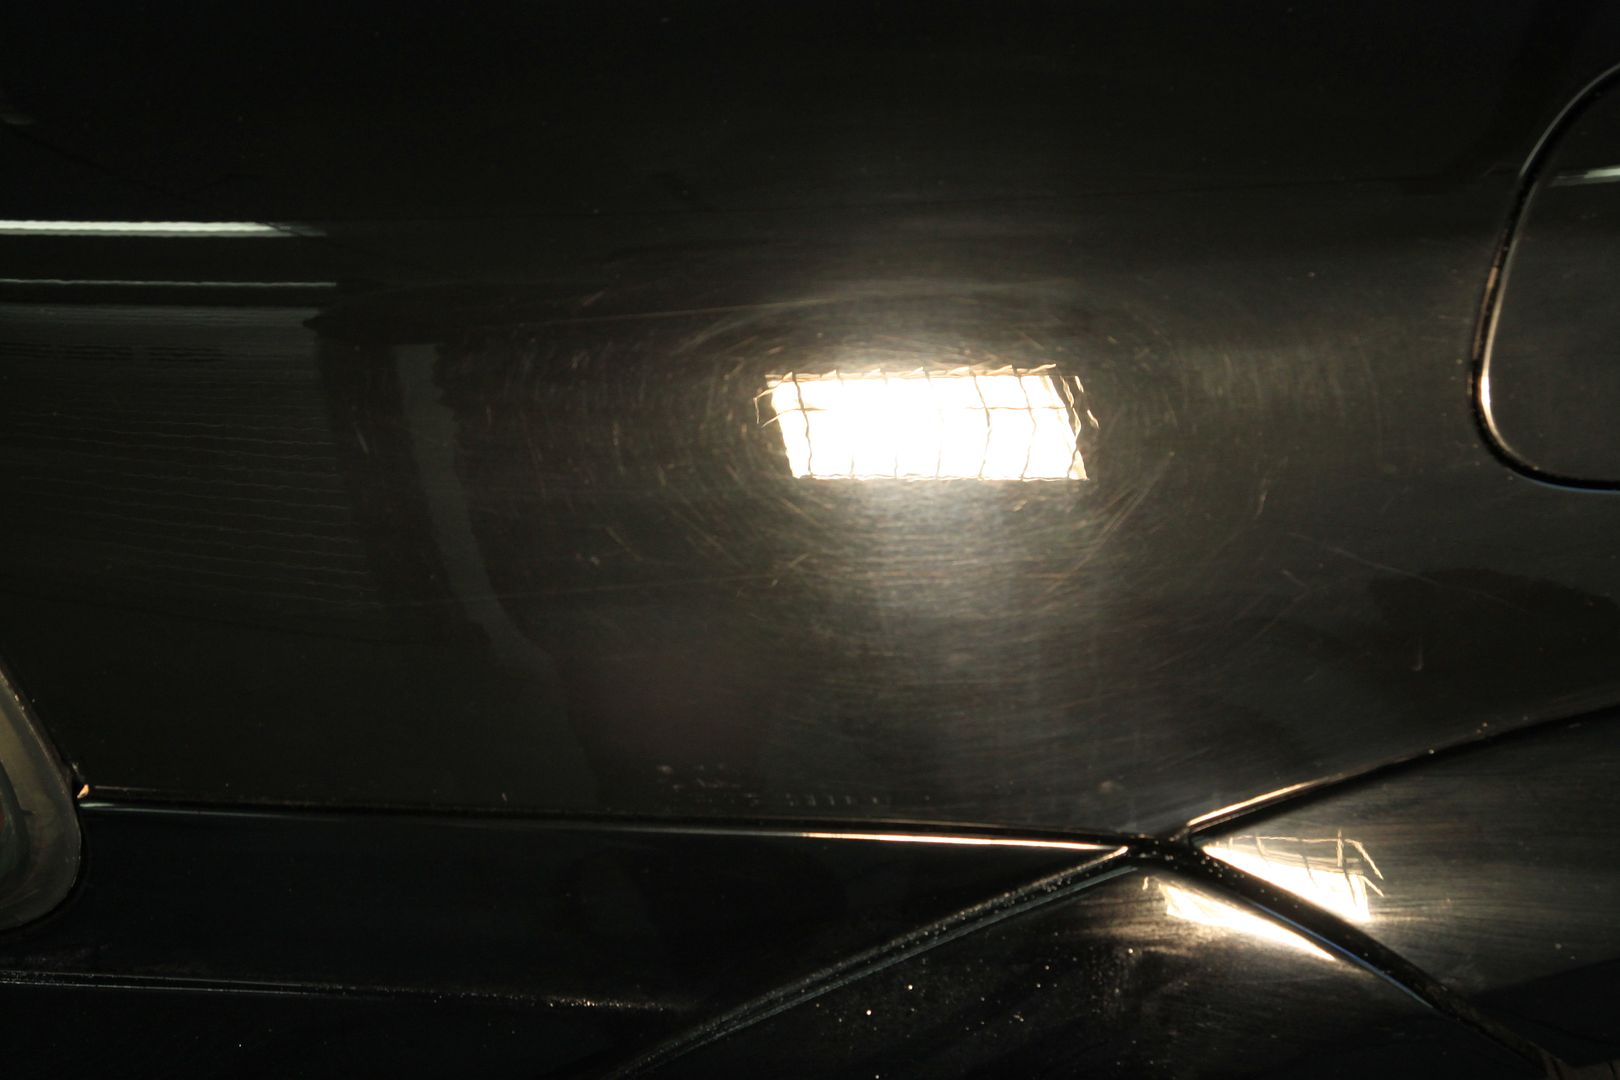
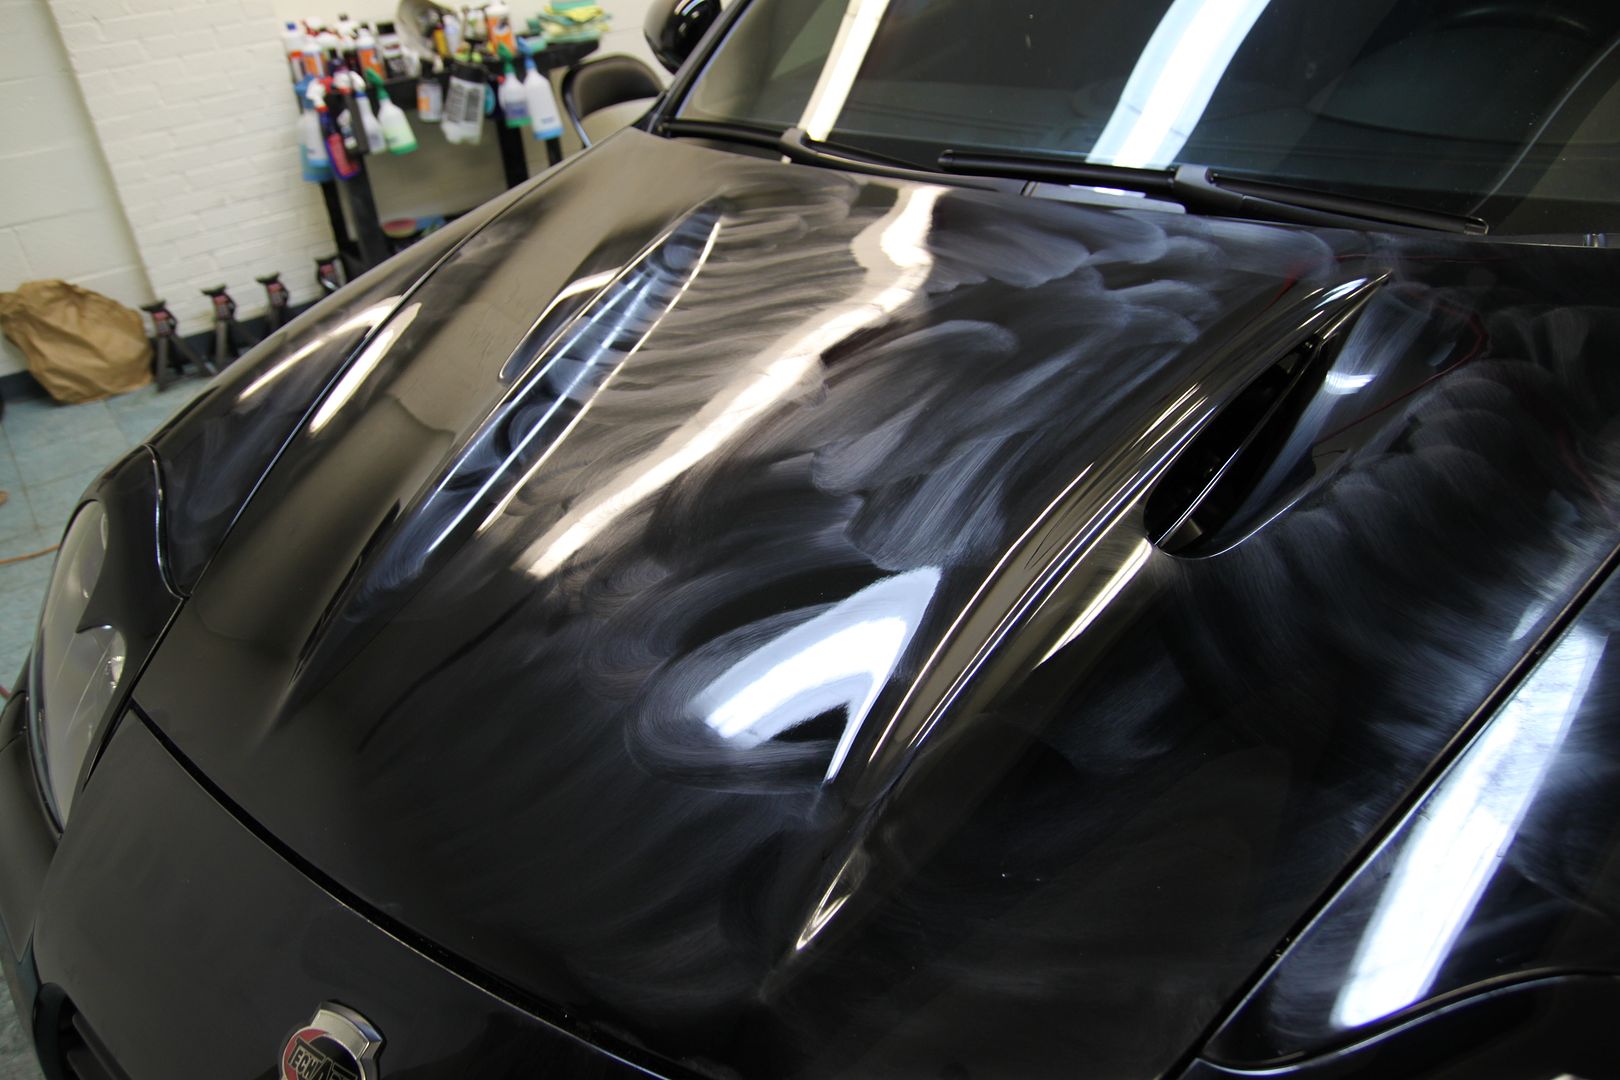
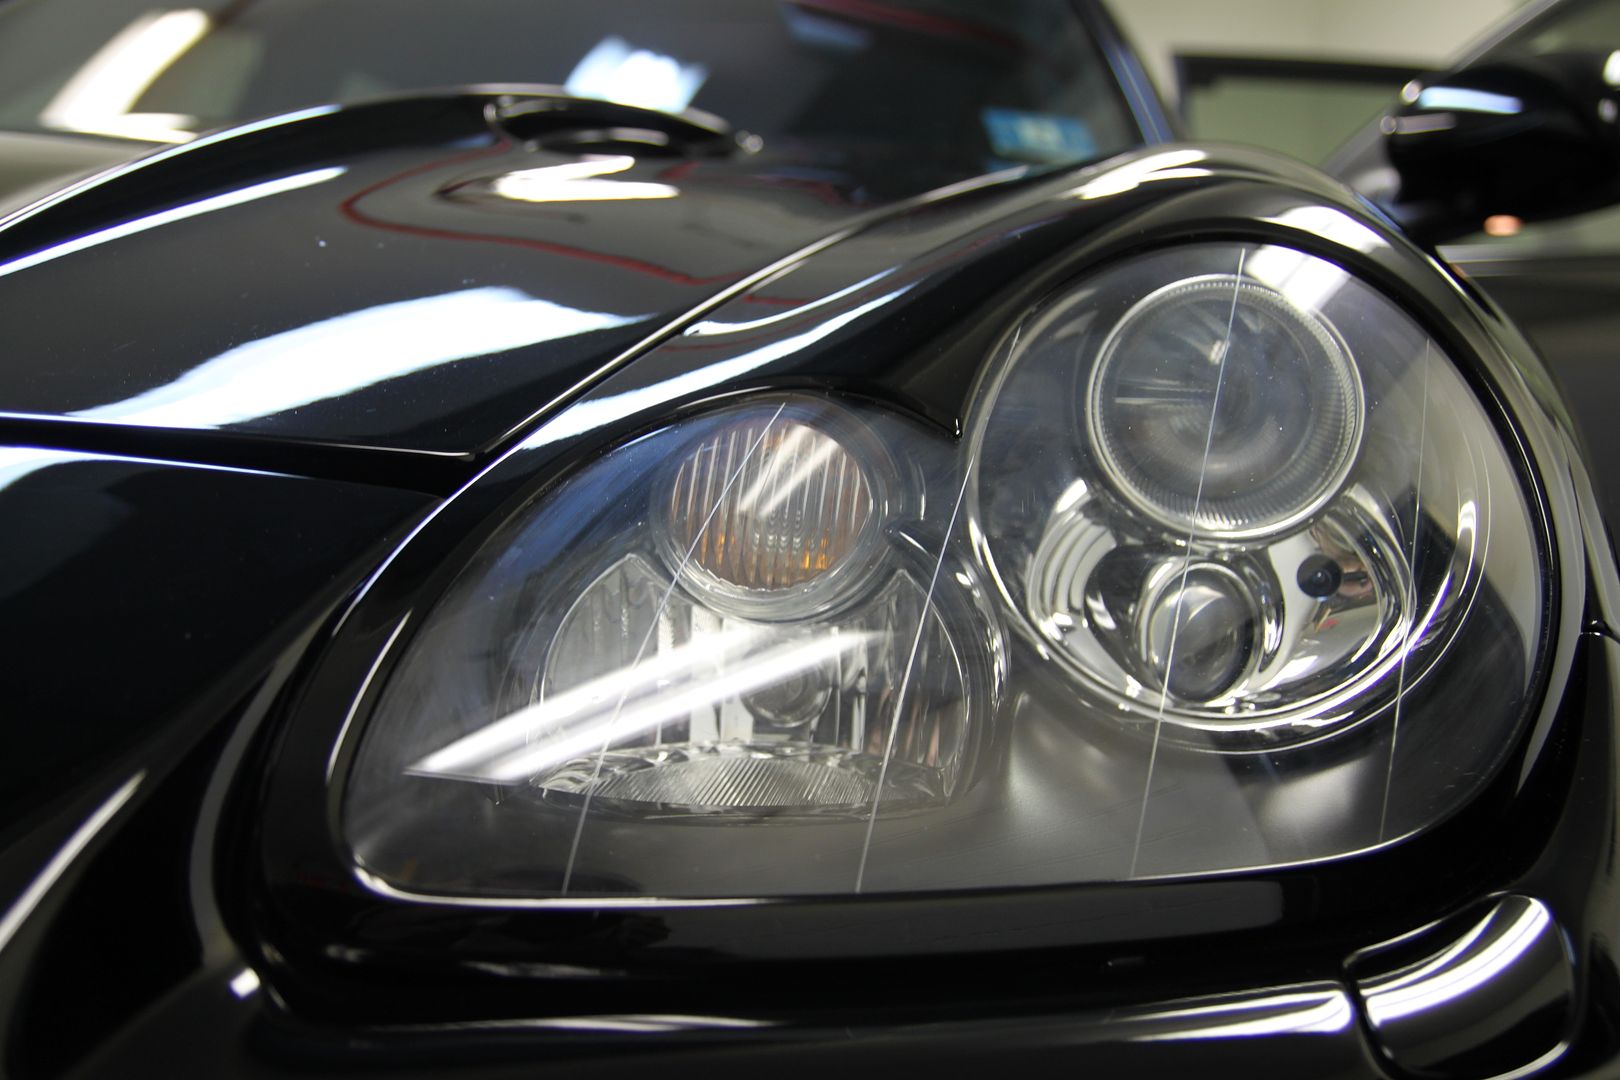
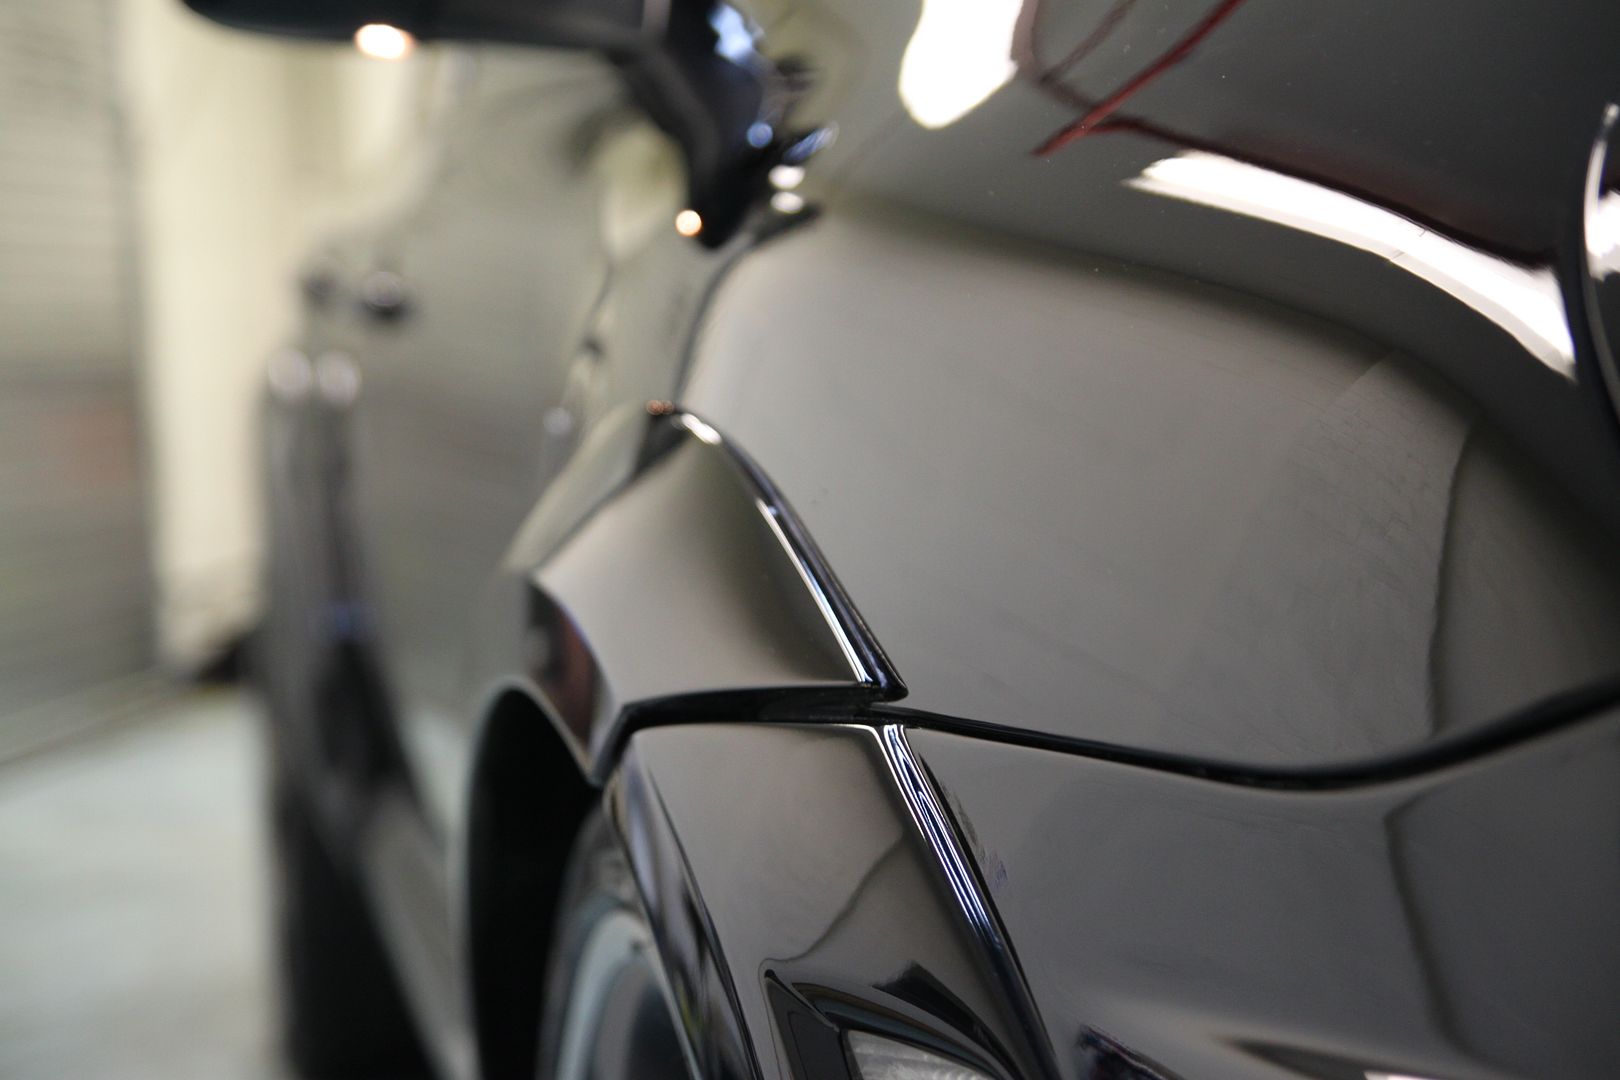
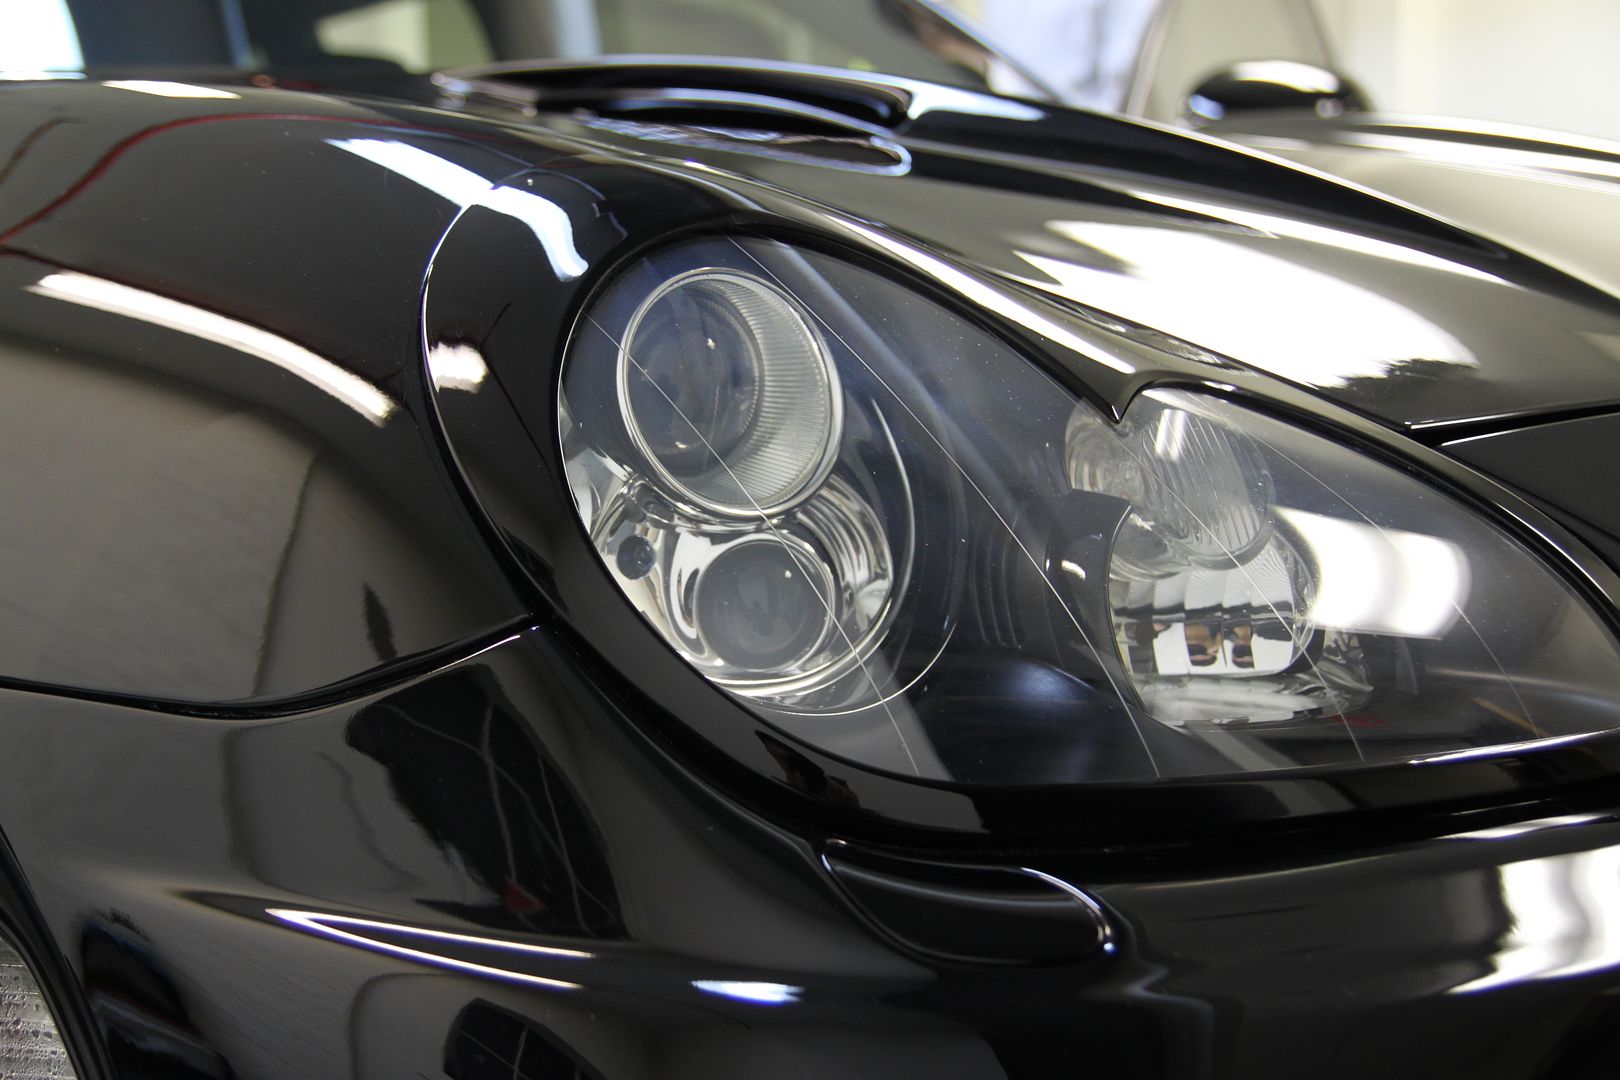
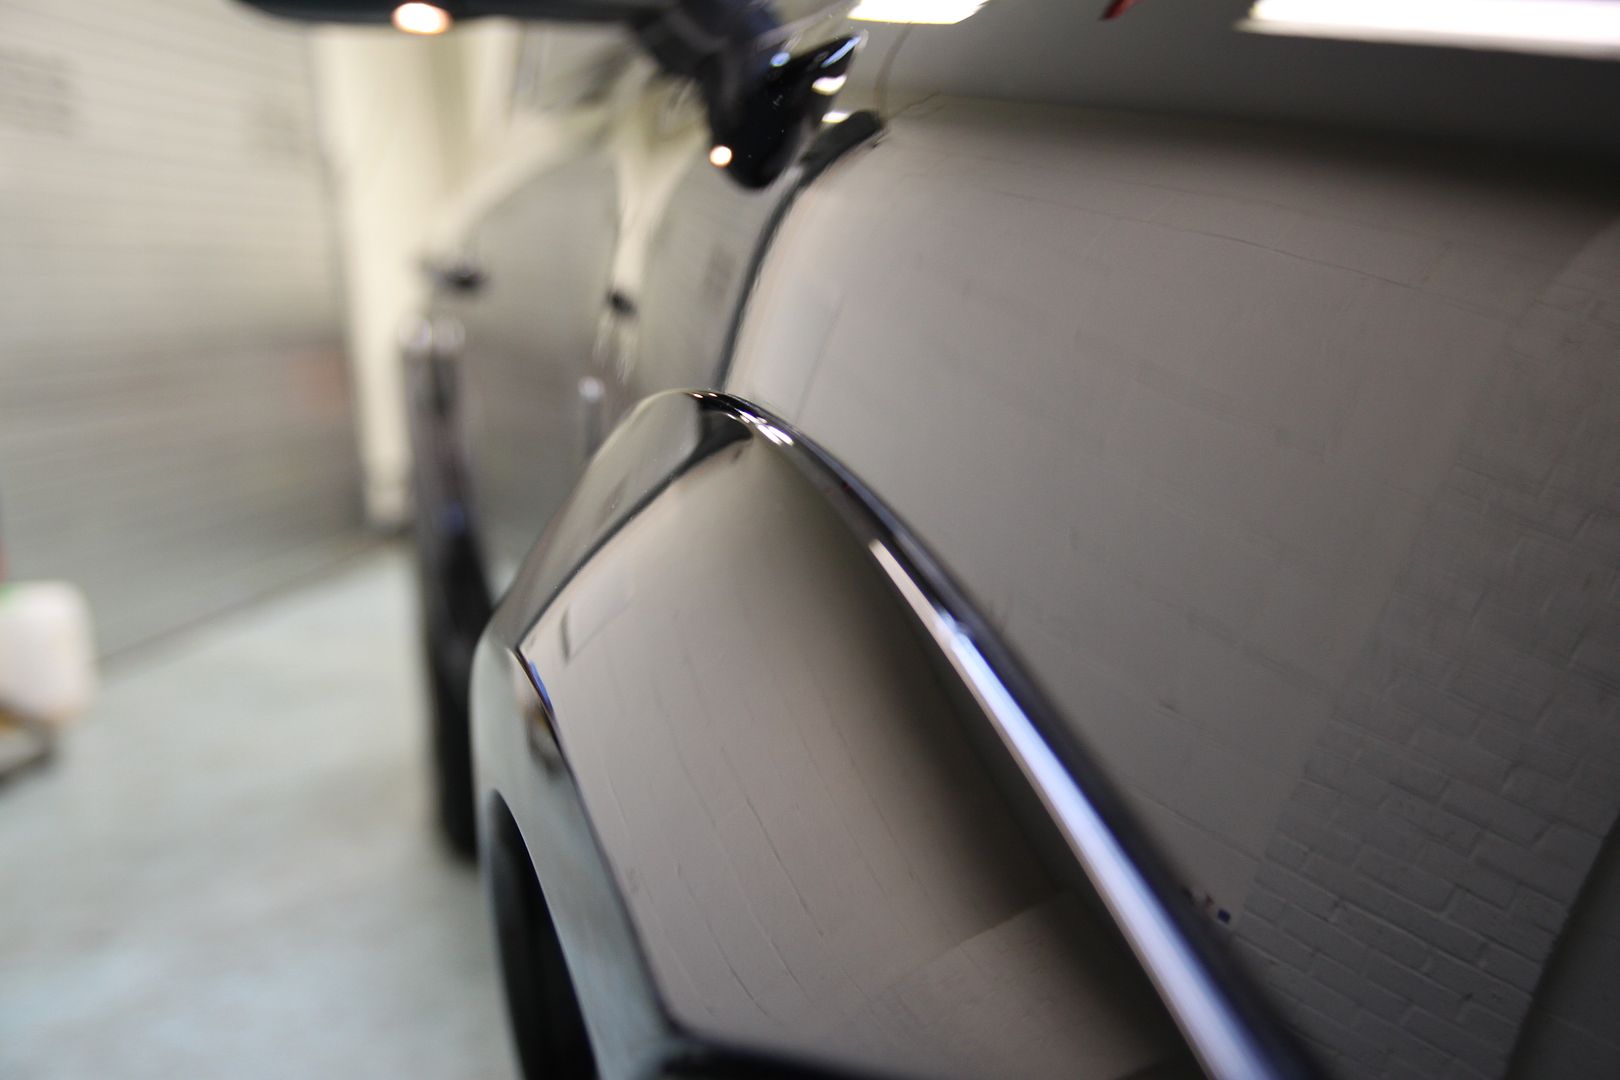
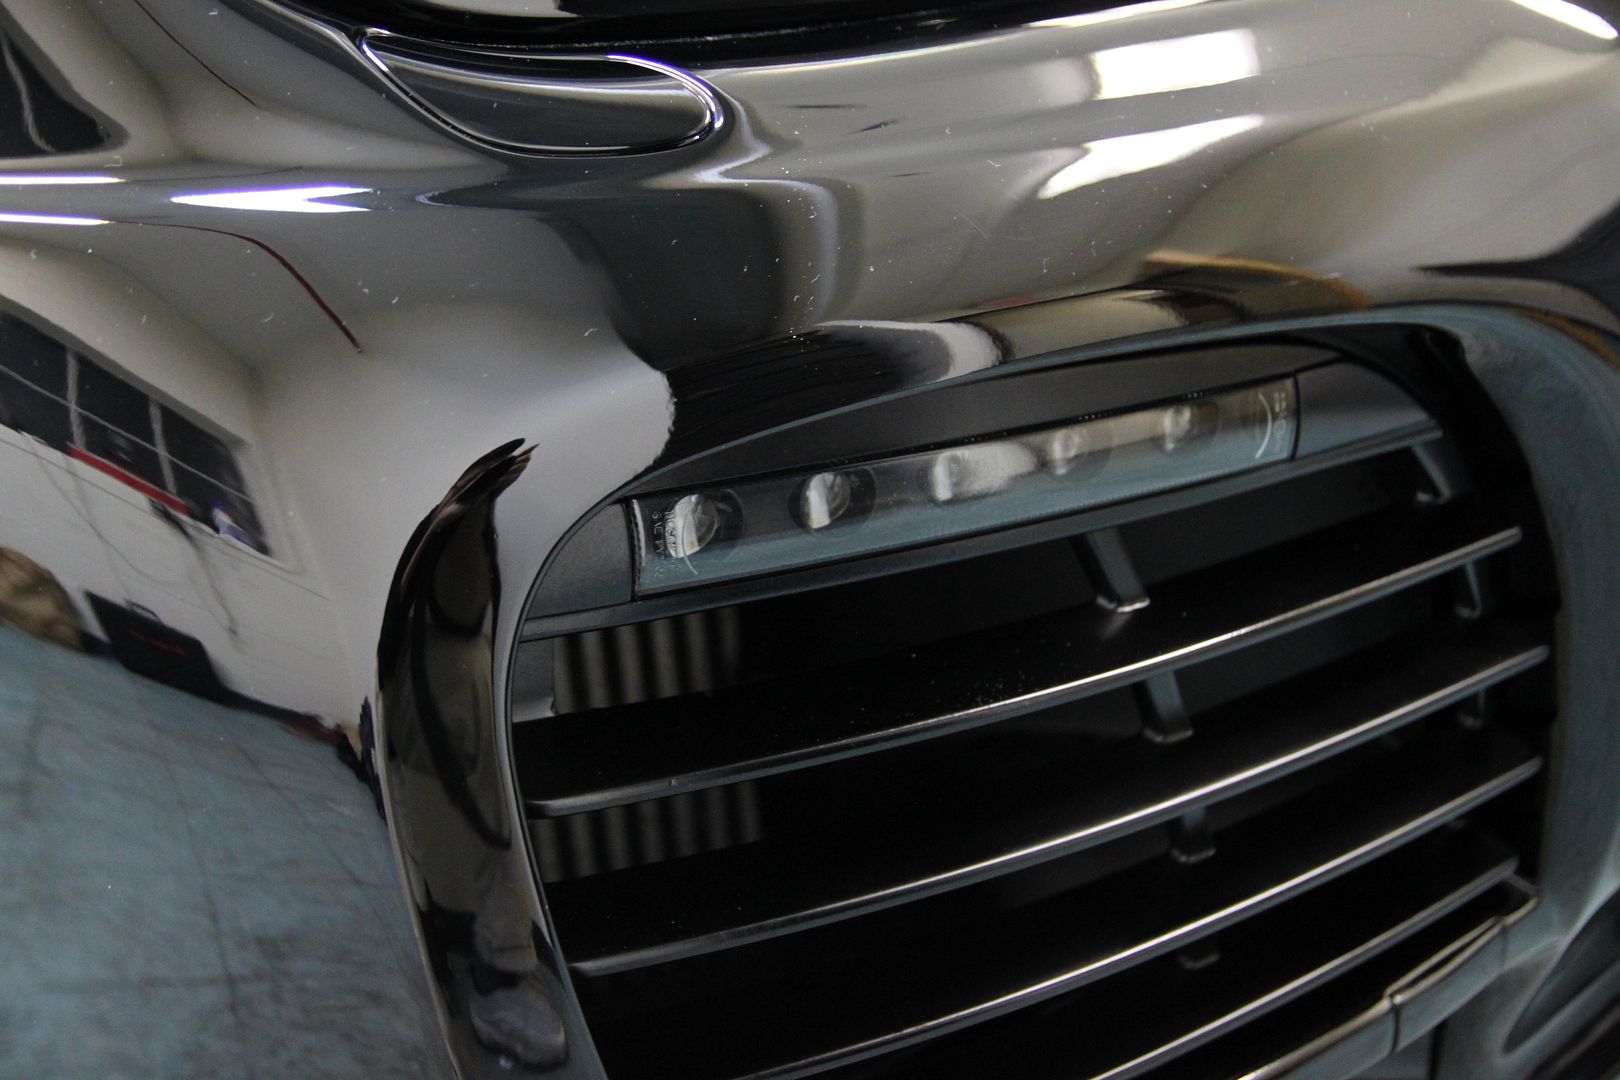
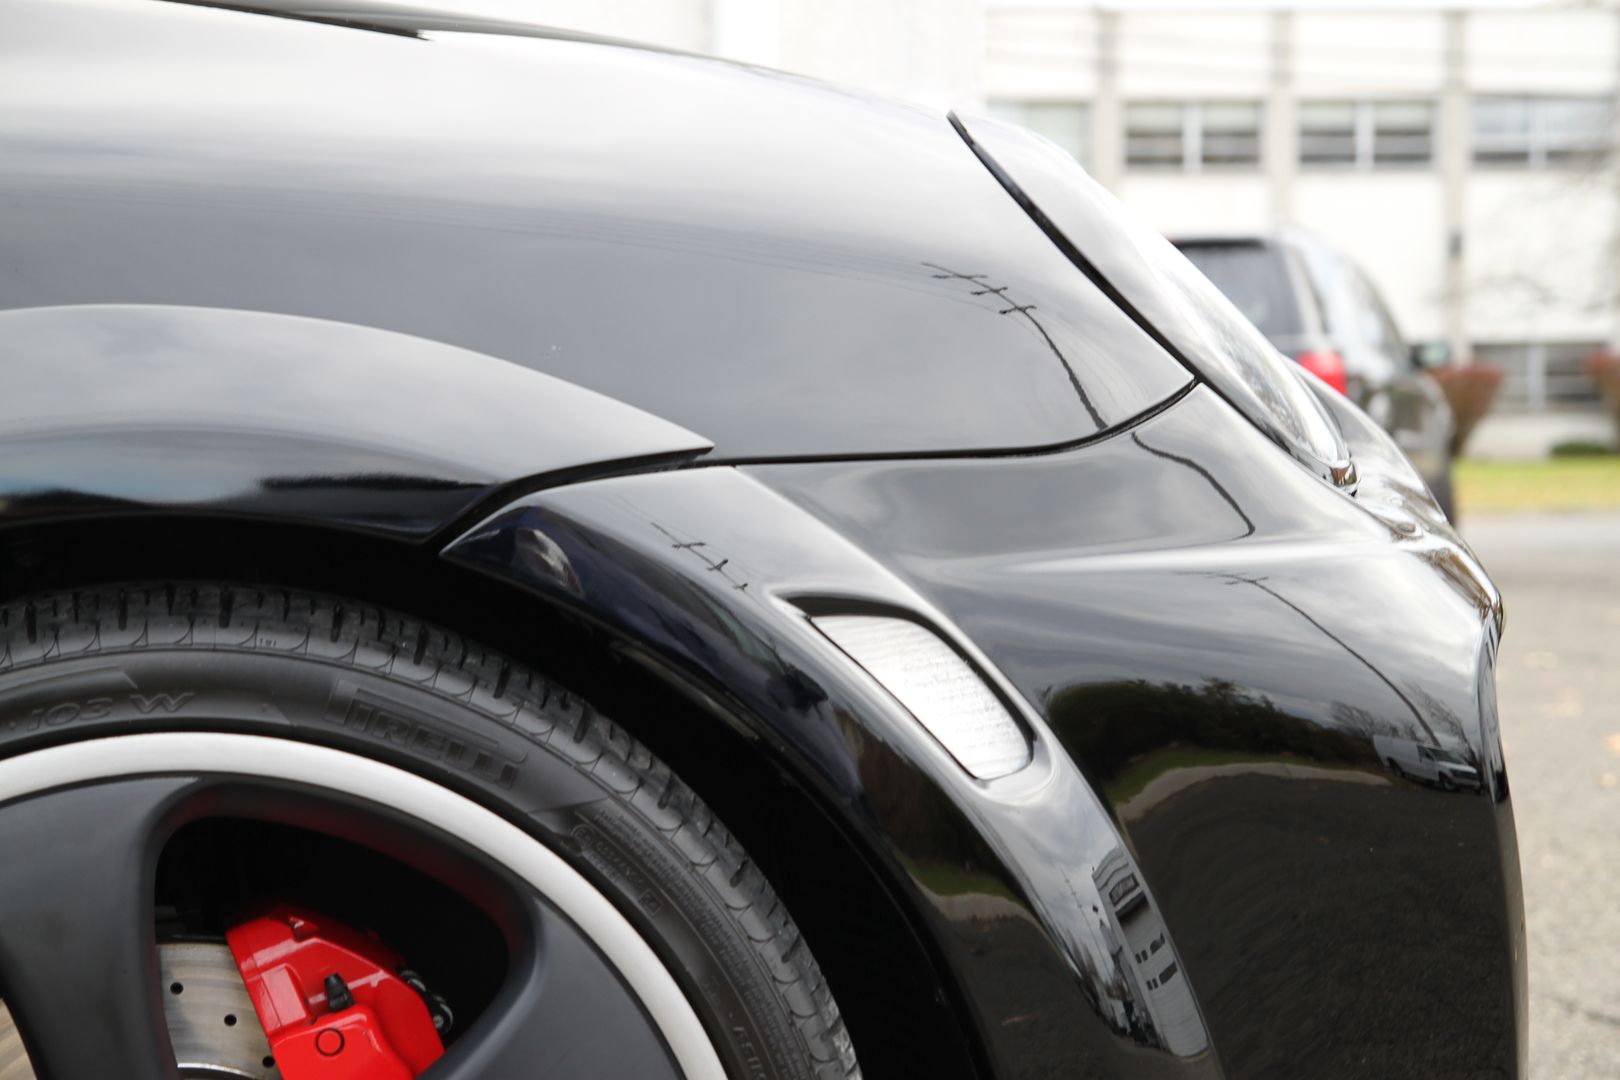
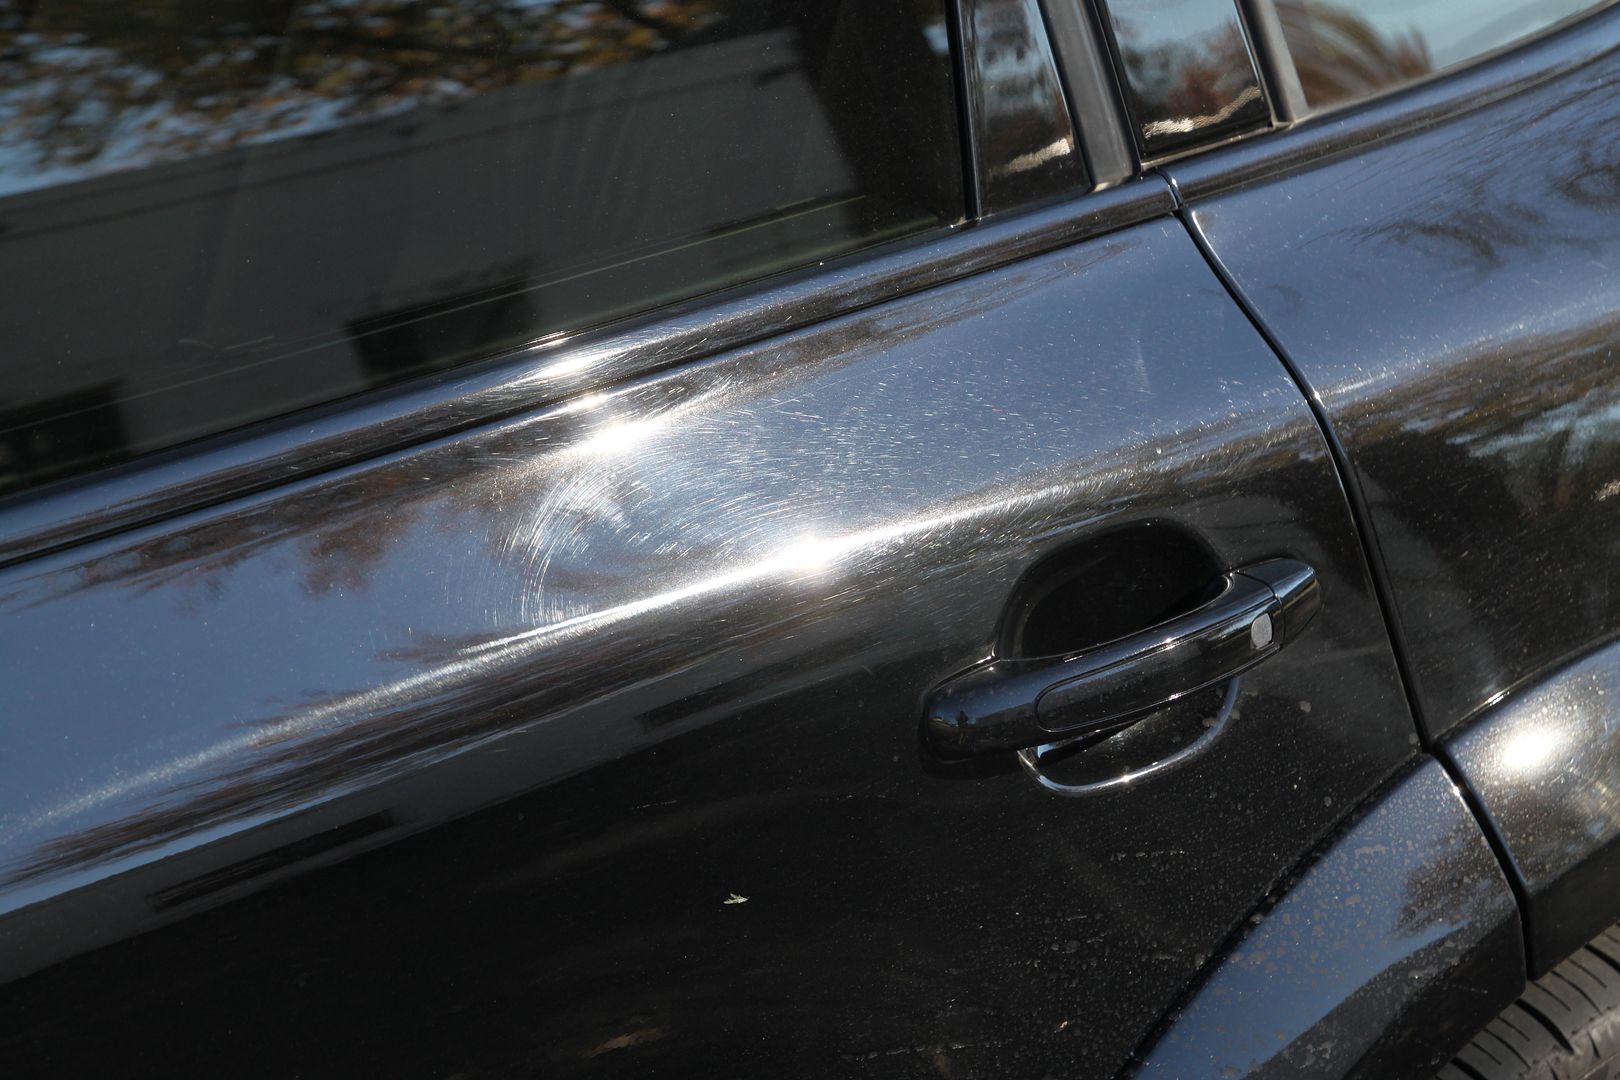
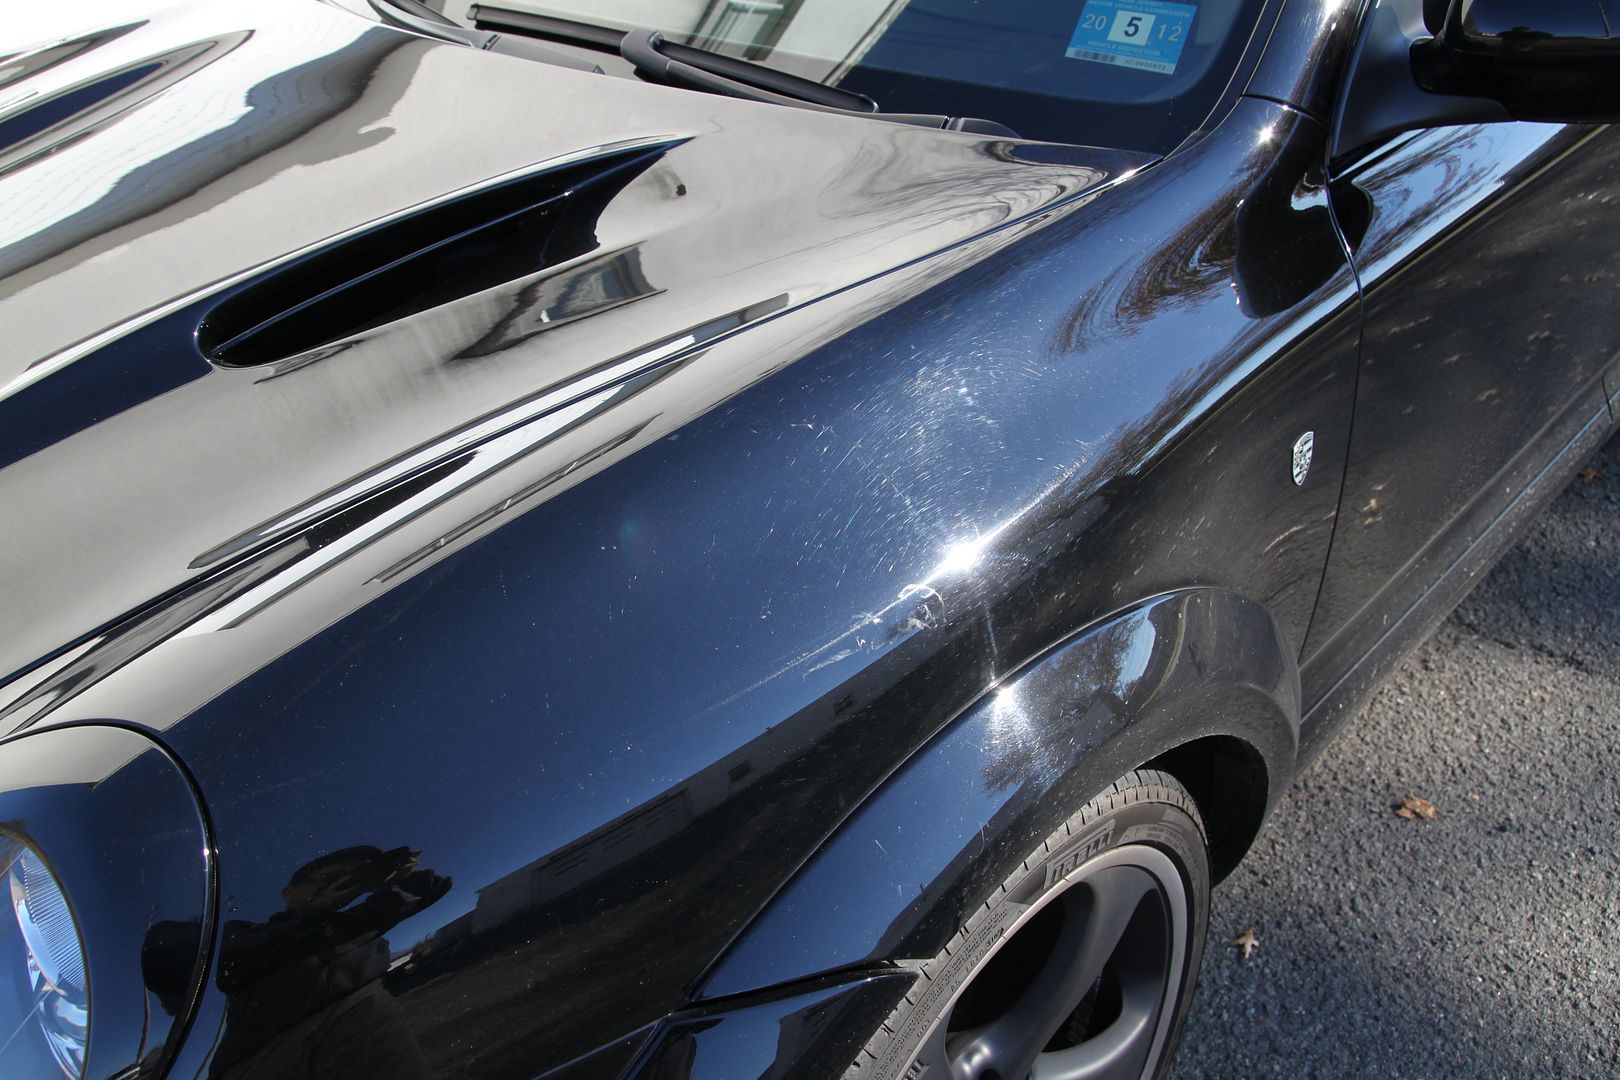
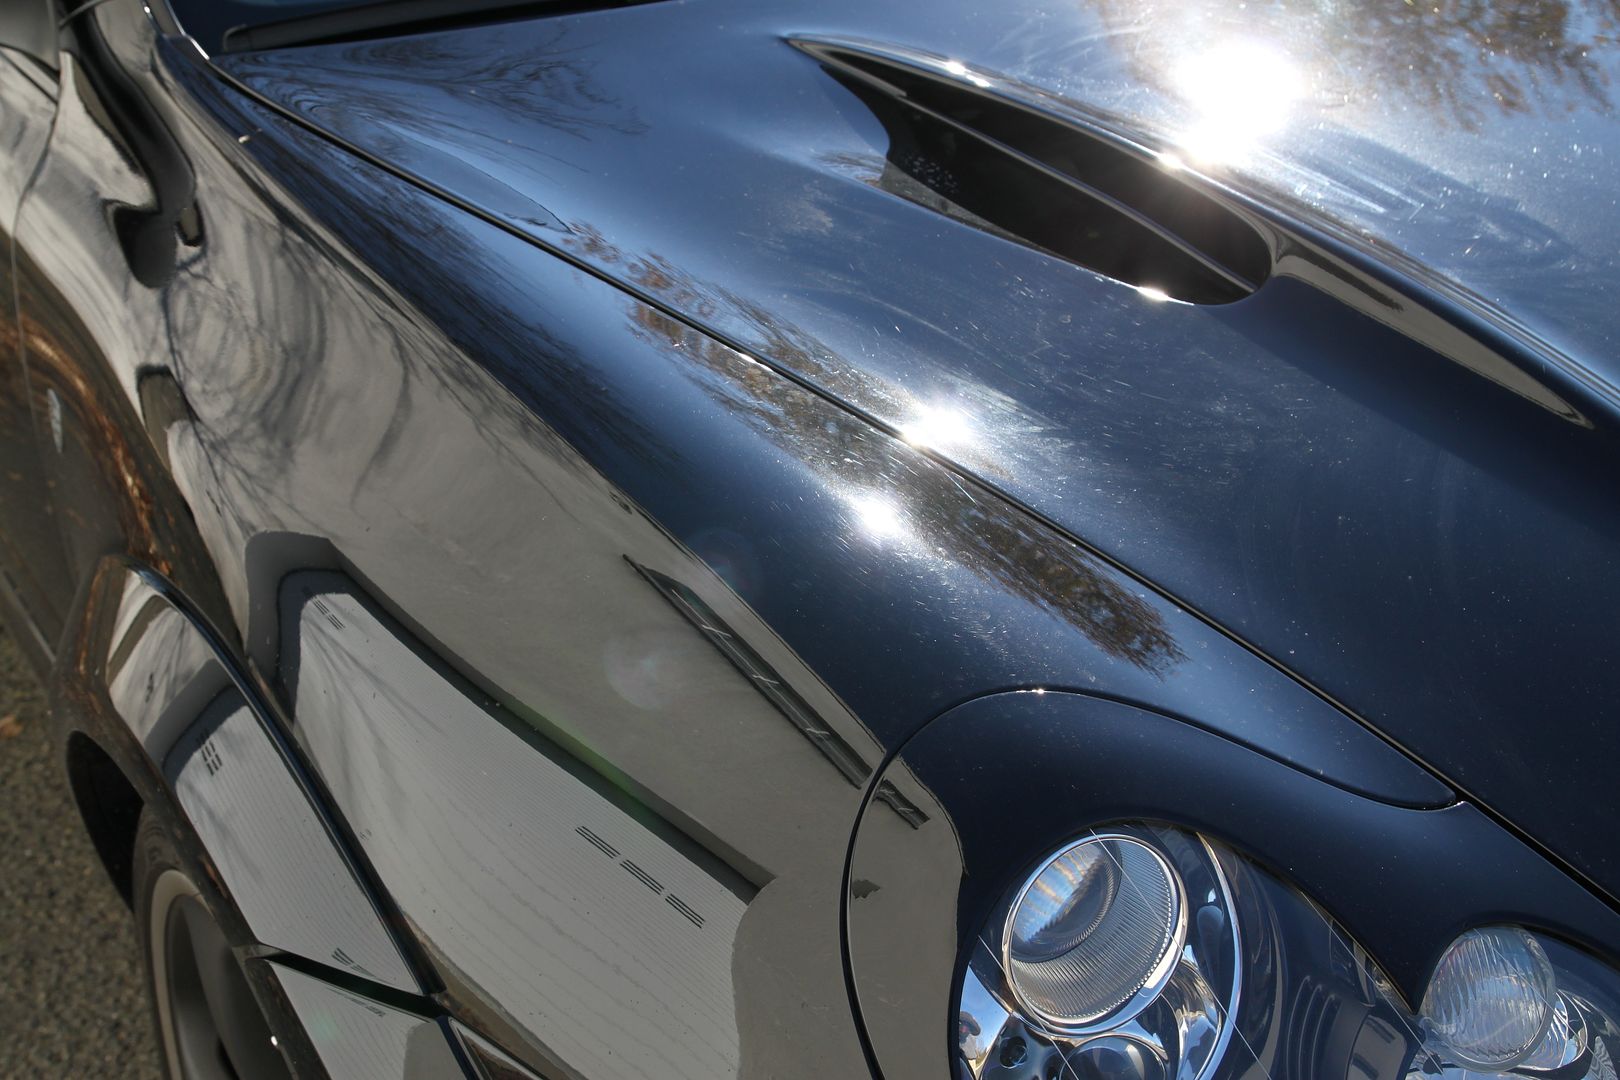
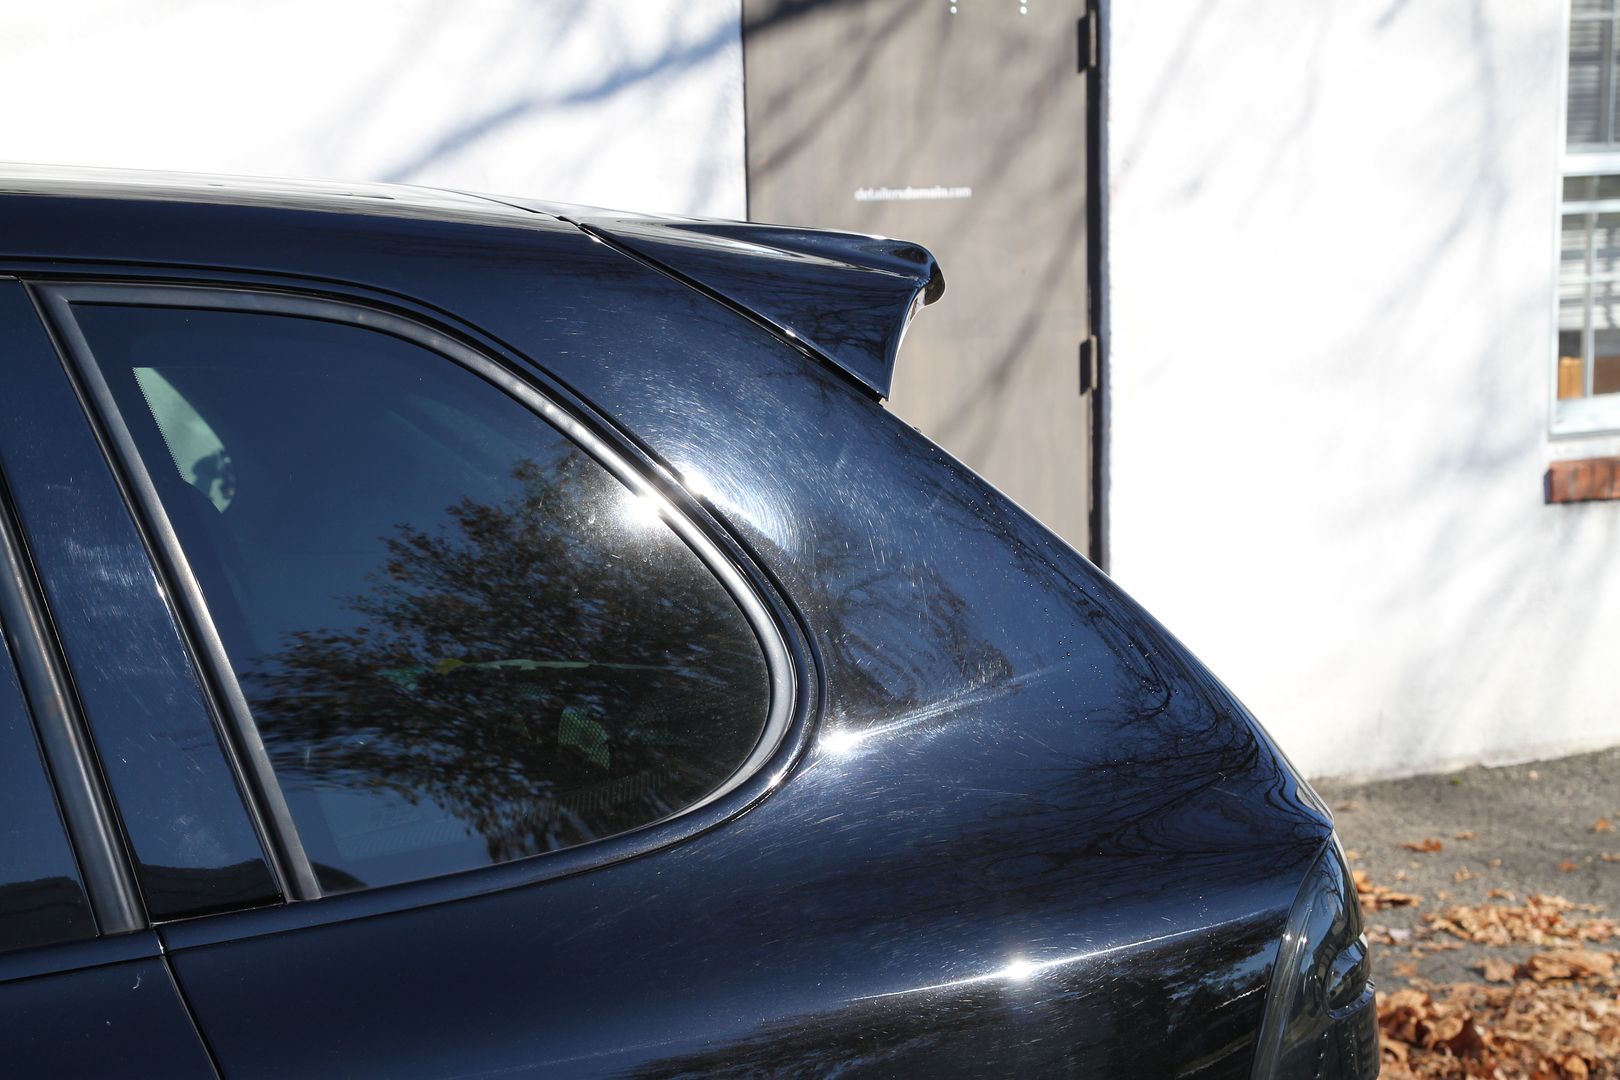
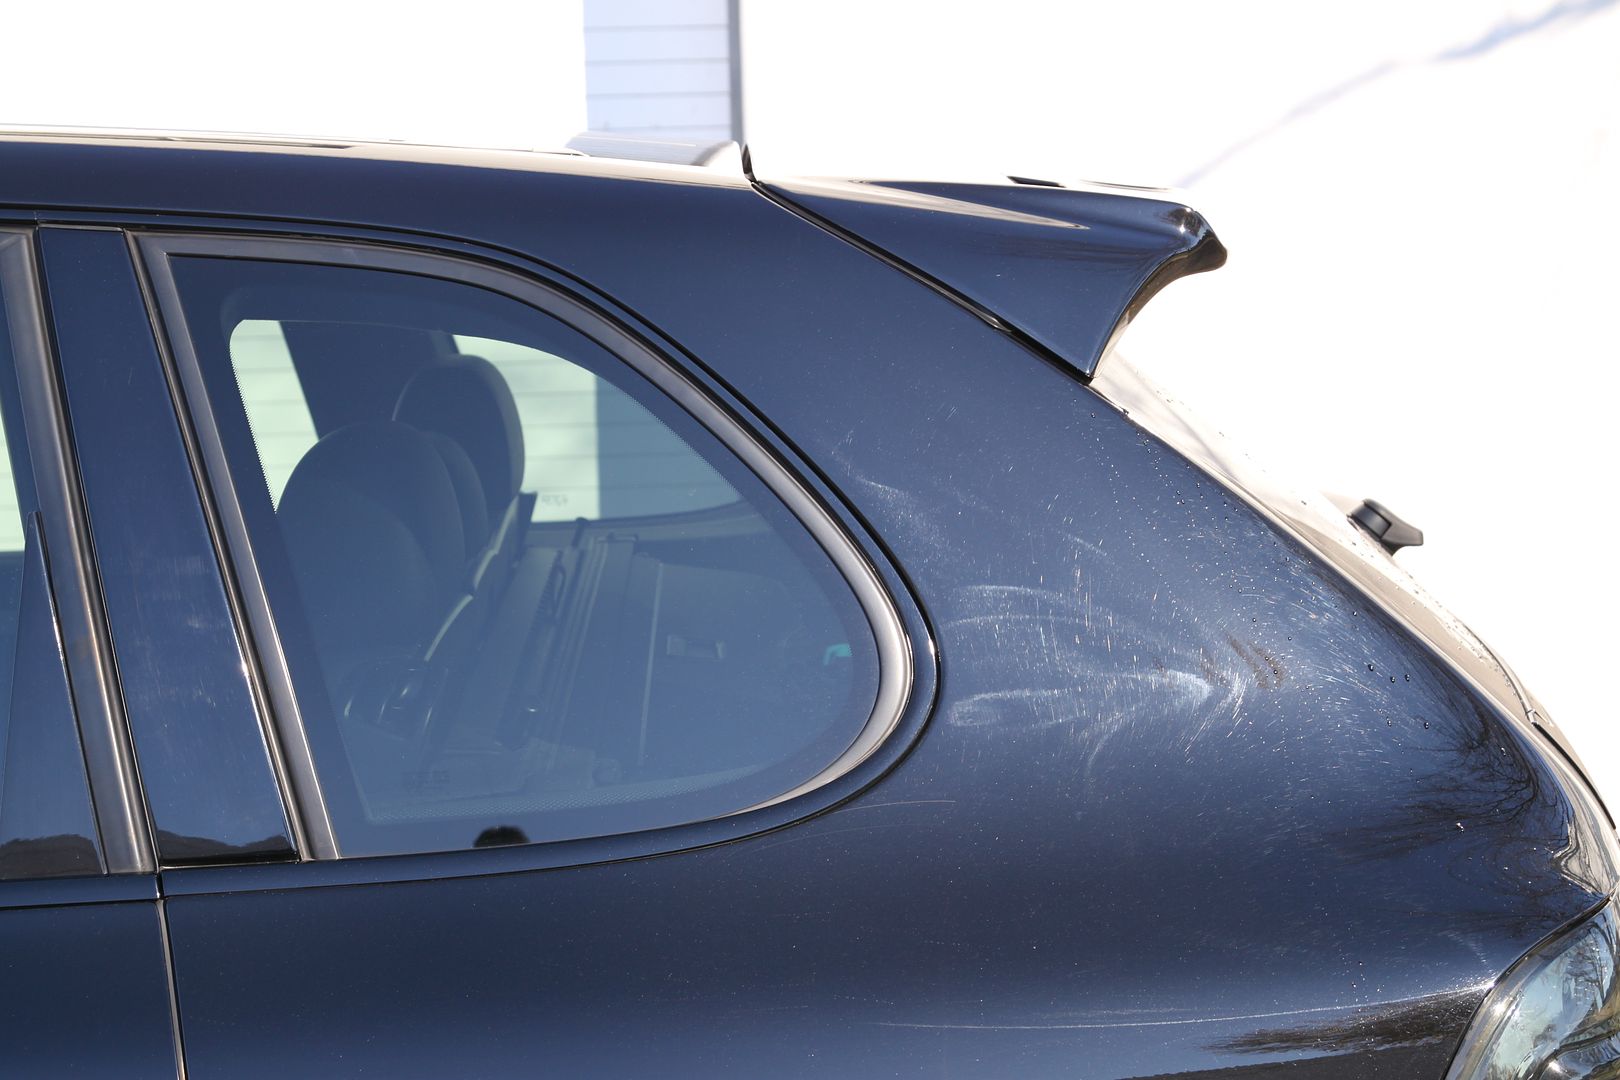
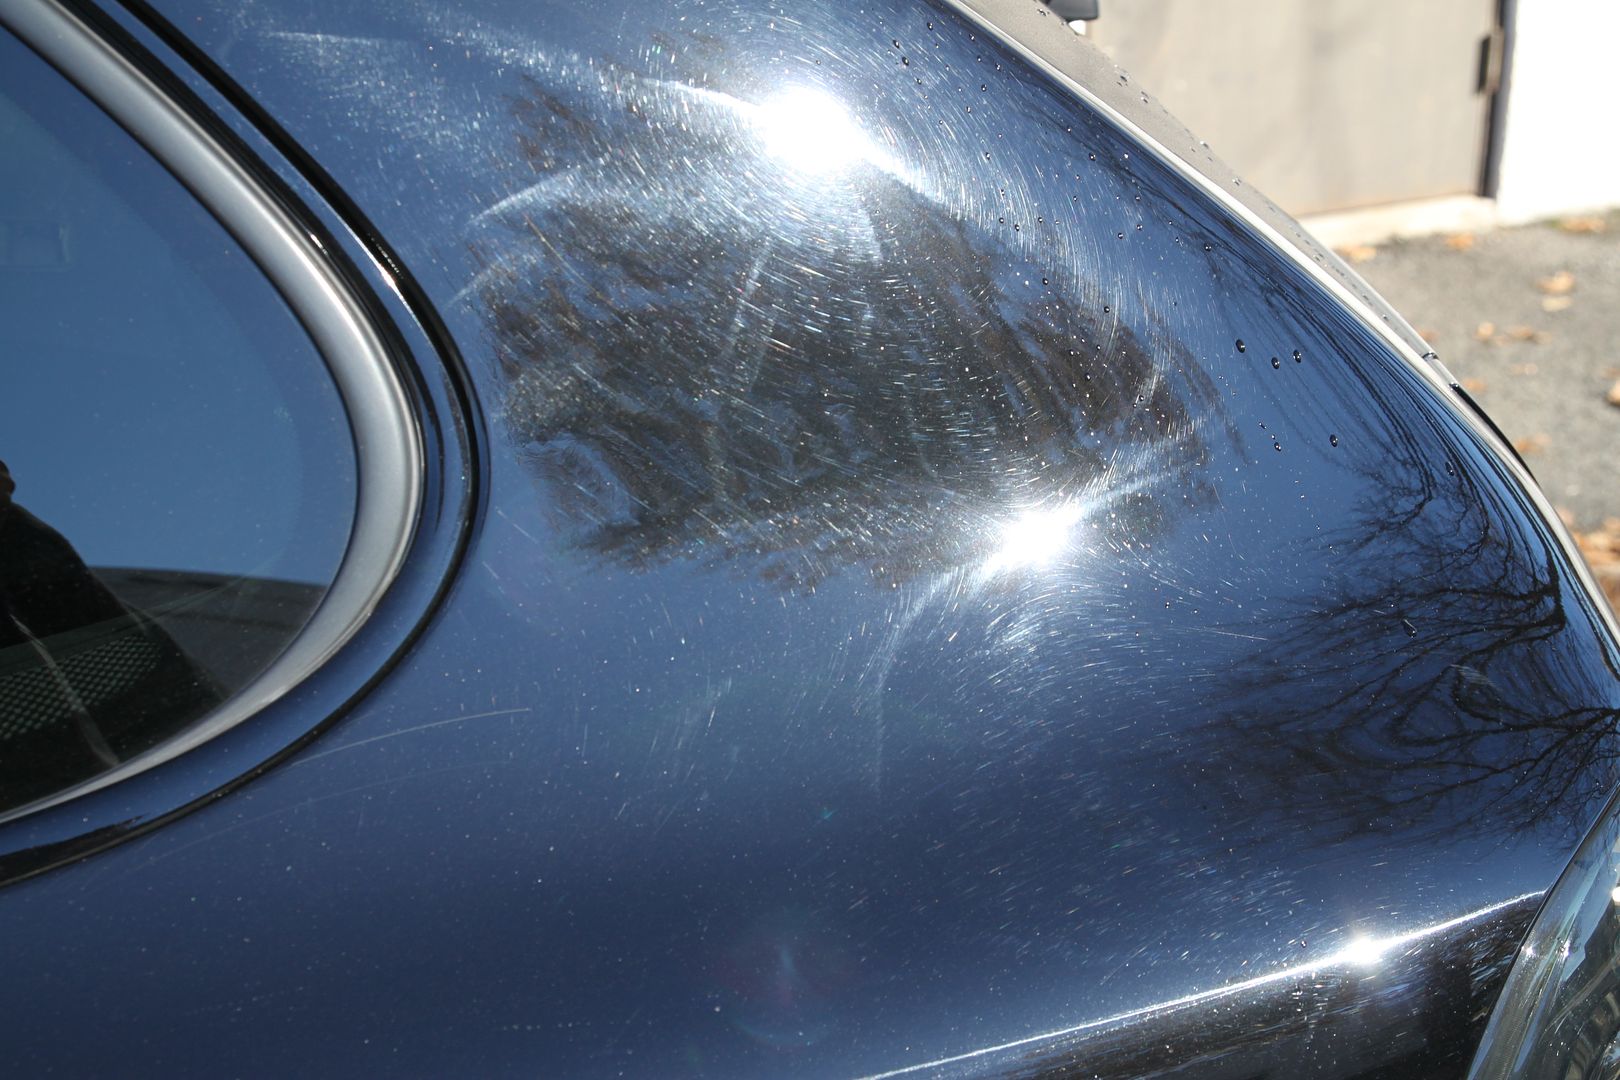
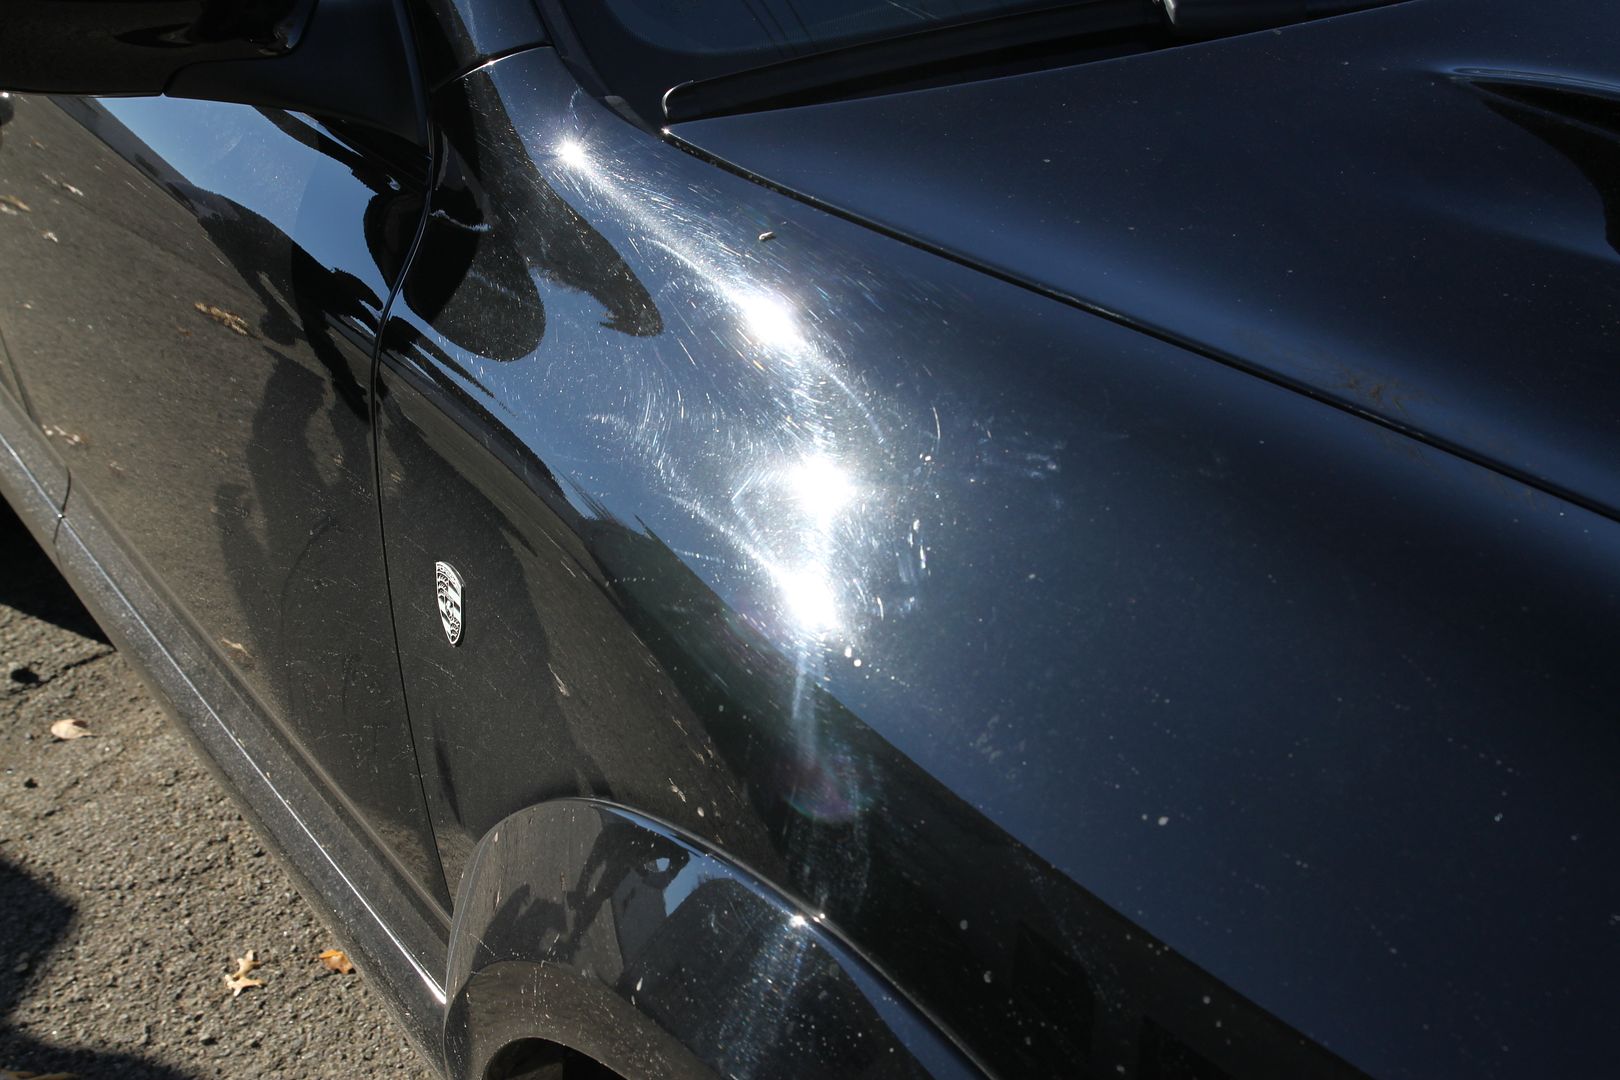
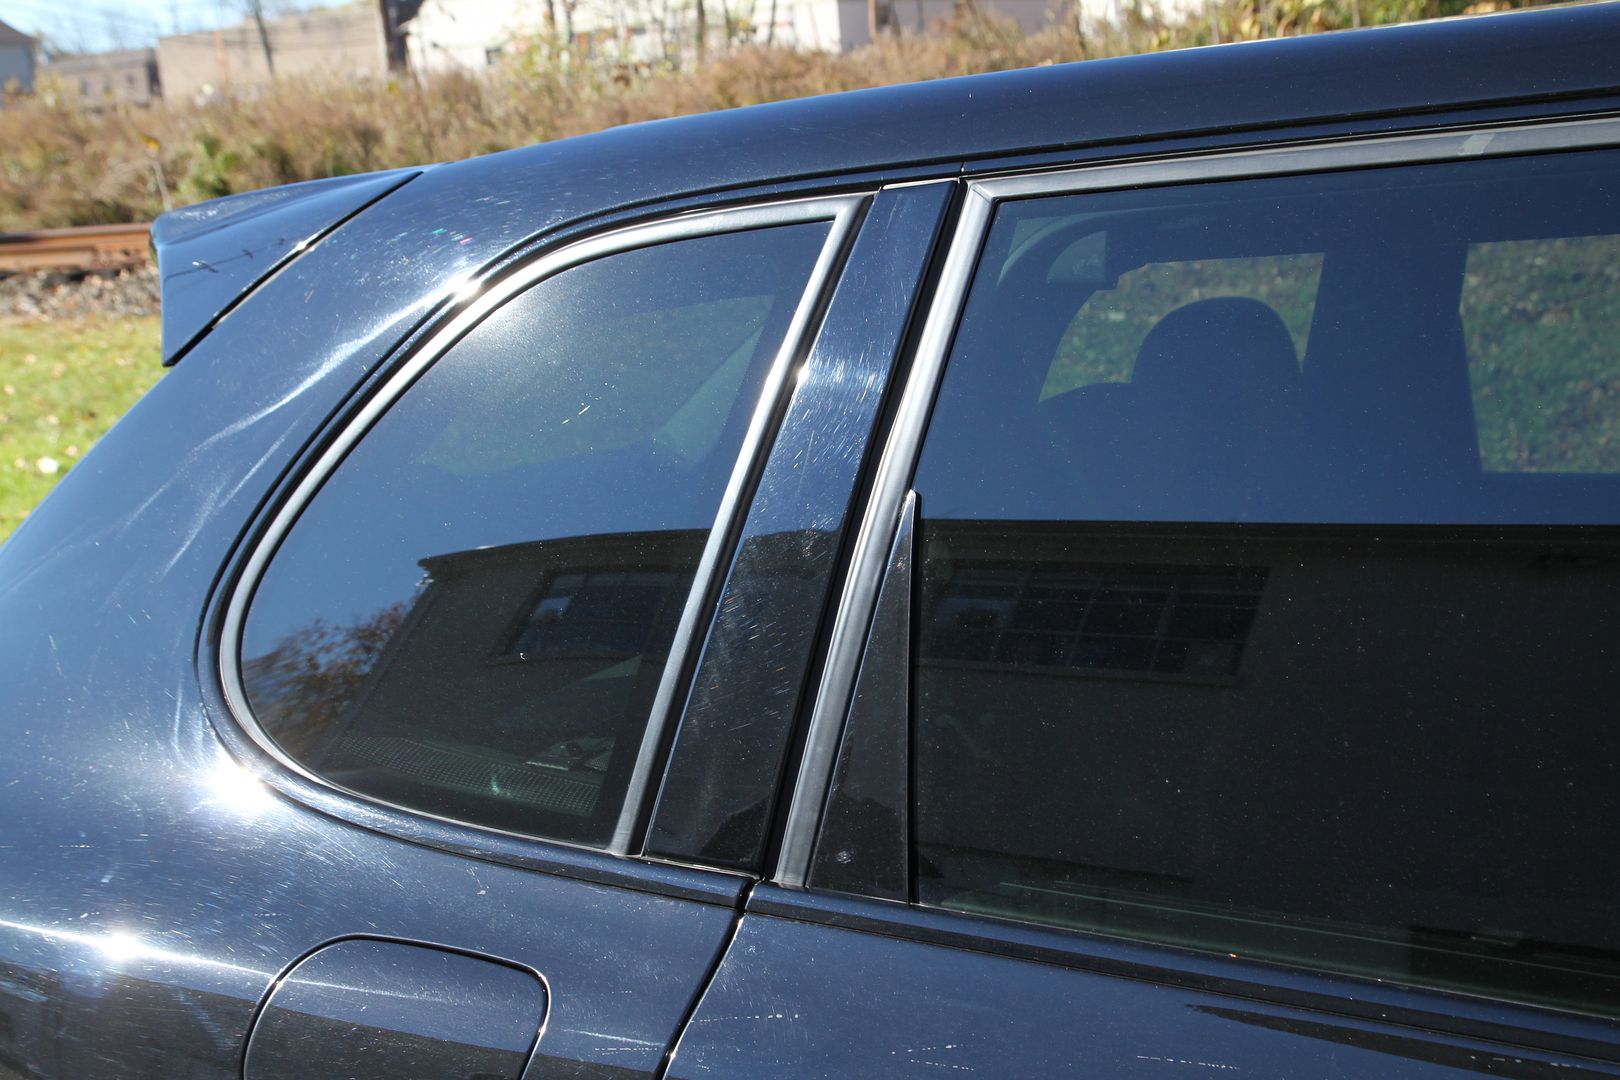
Heavy swirls, scratches, holograms galore. I believe the customer was pretty happy with the grin on his face.
What was done -
Exterior
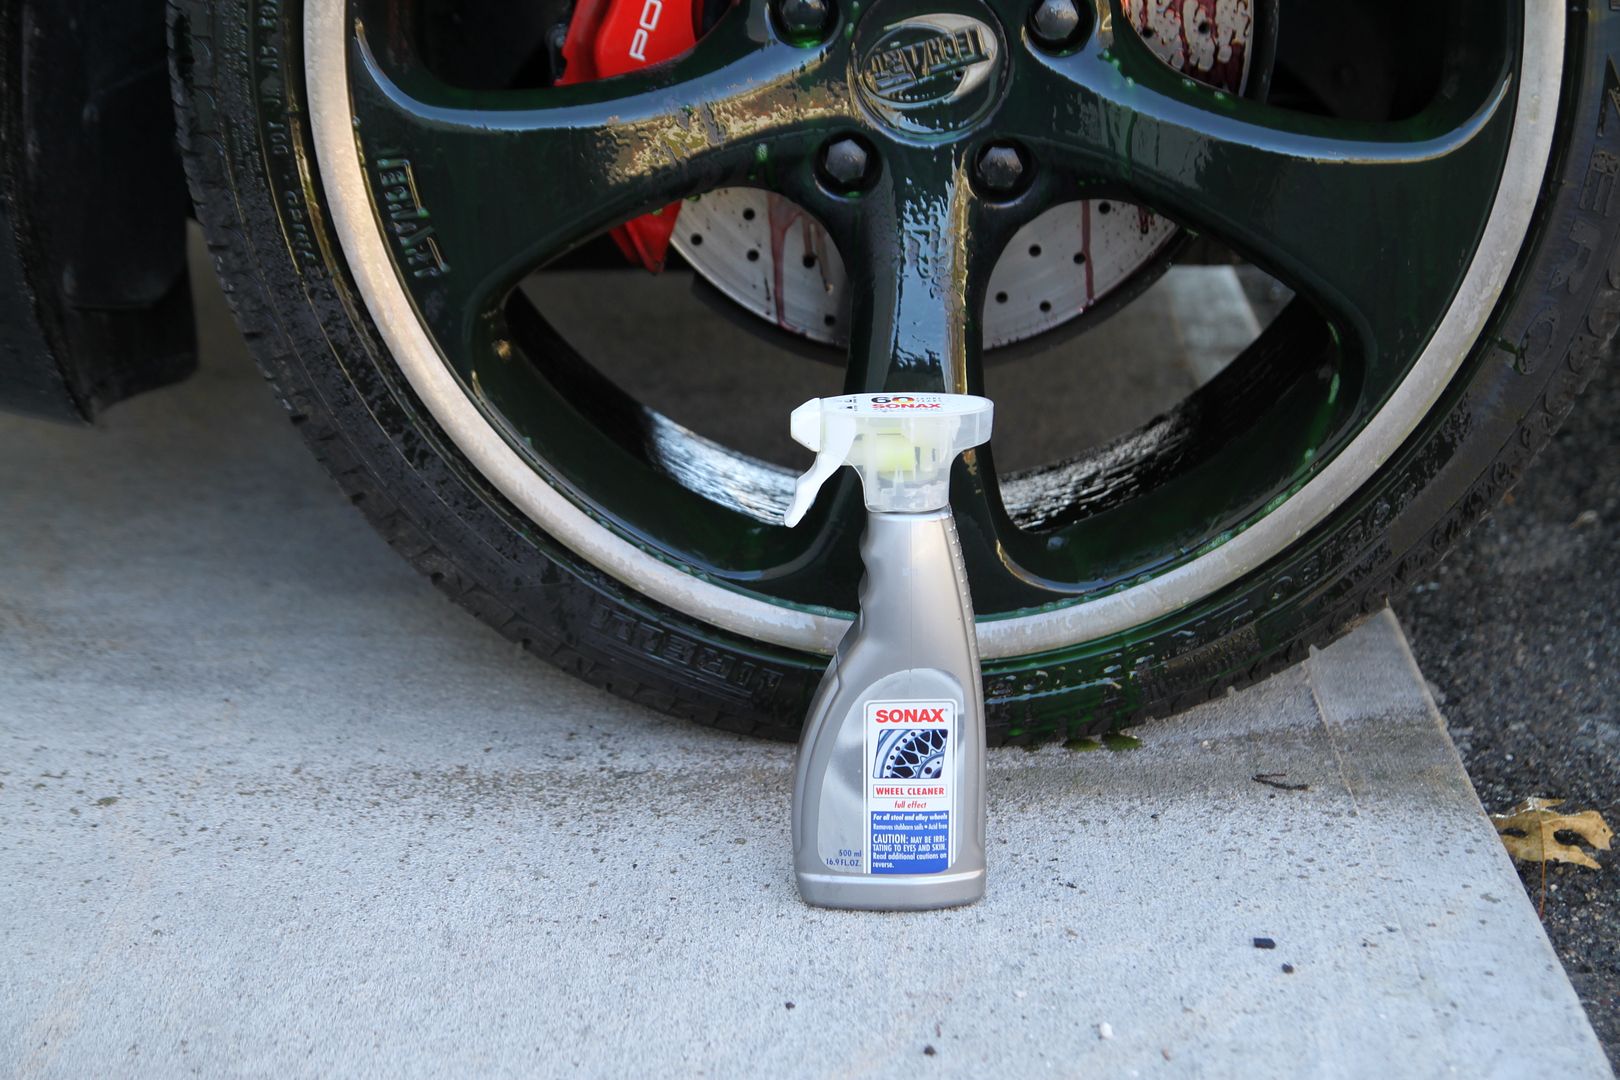
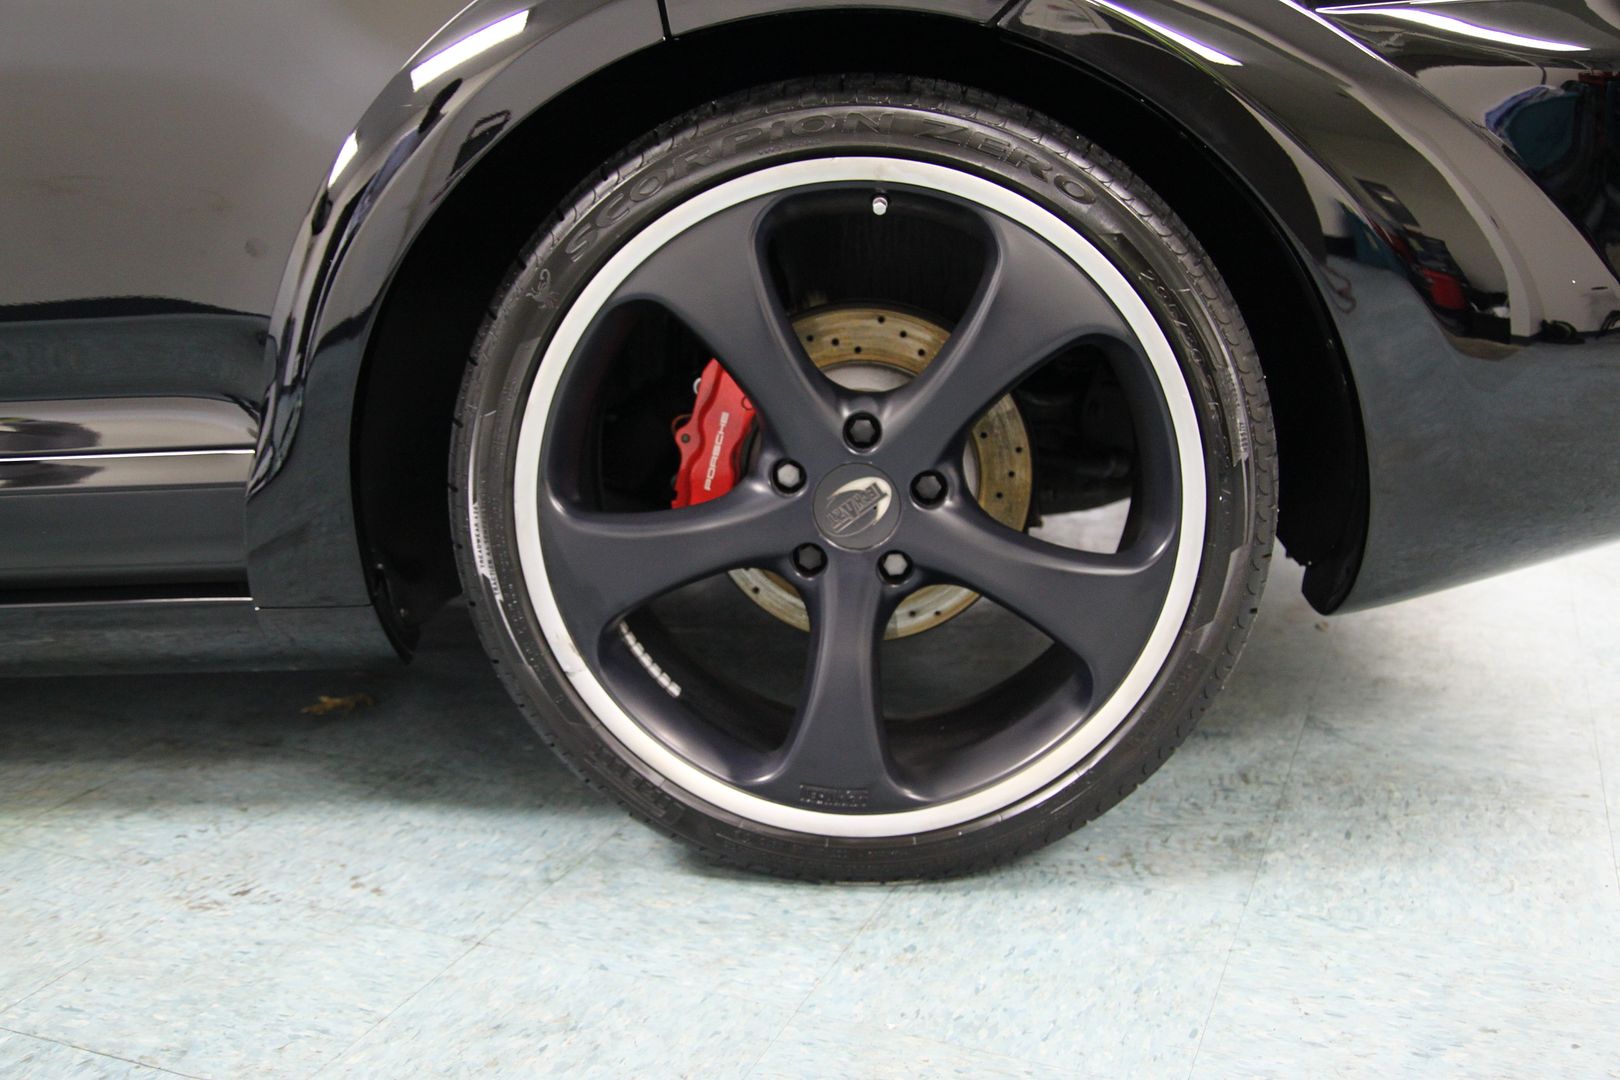
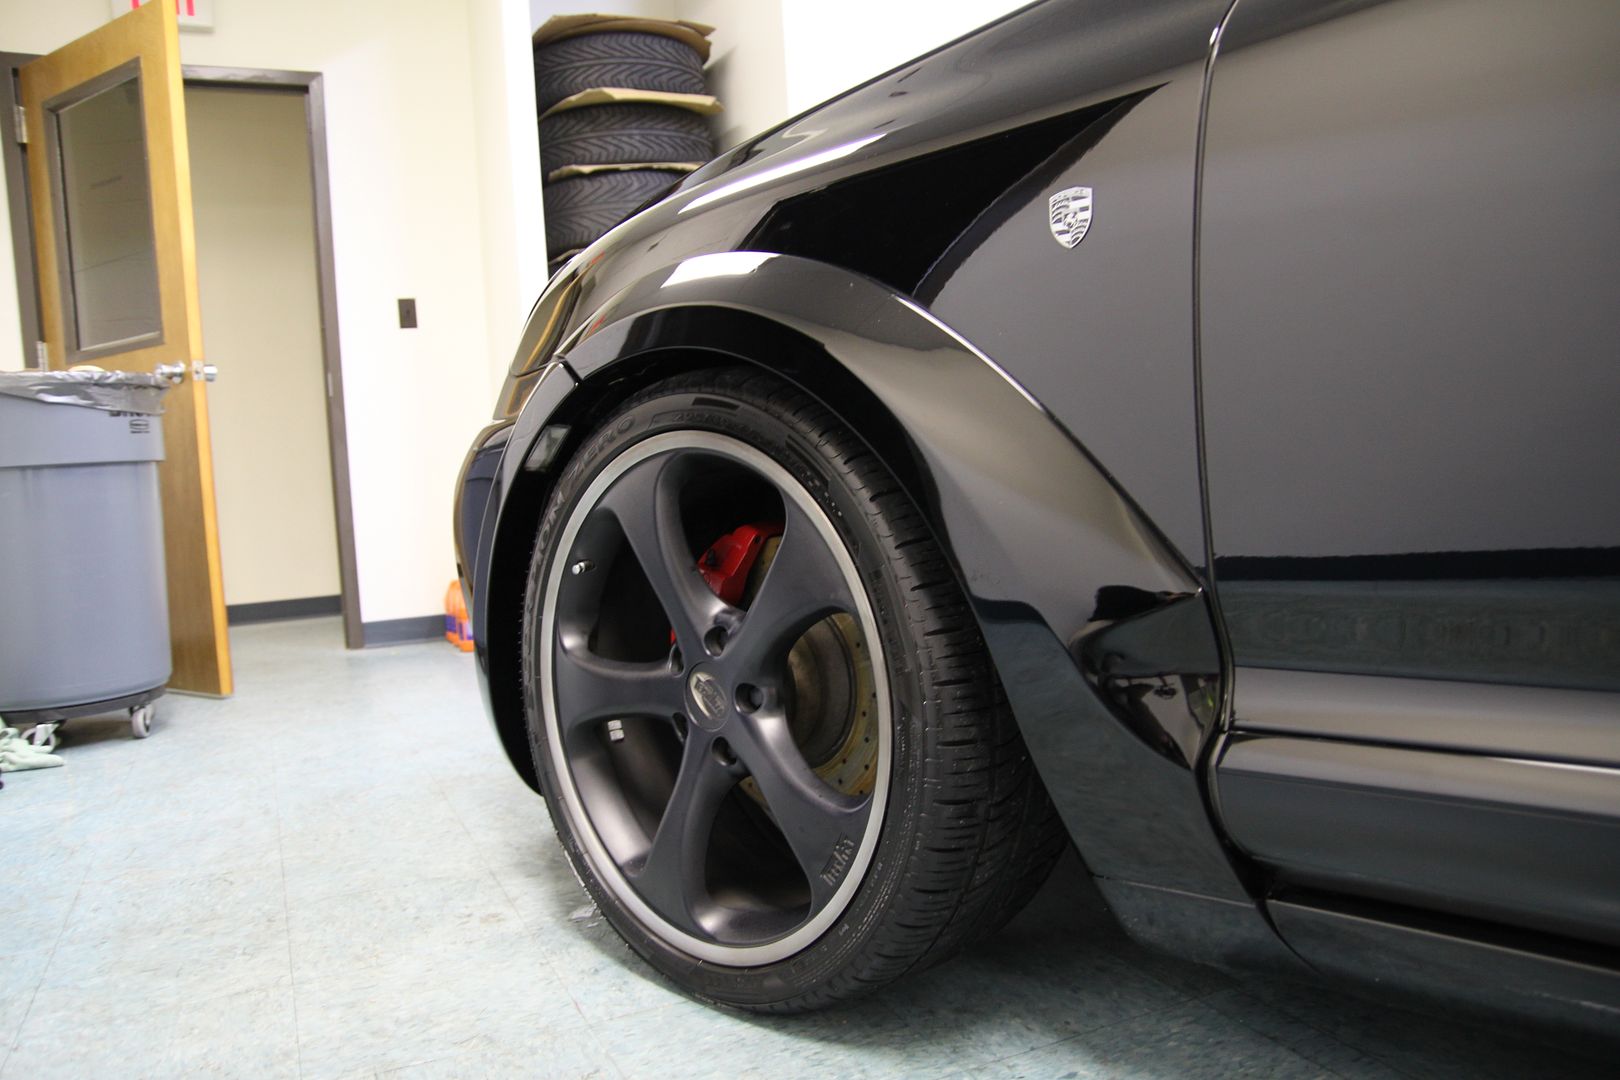
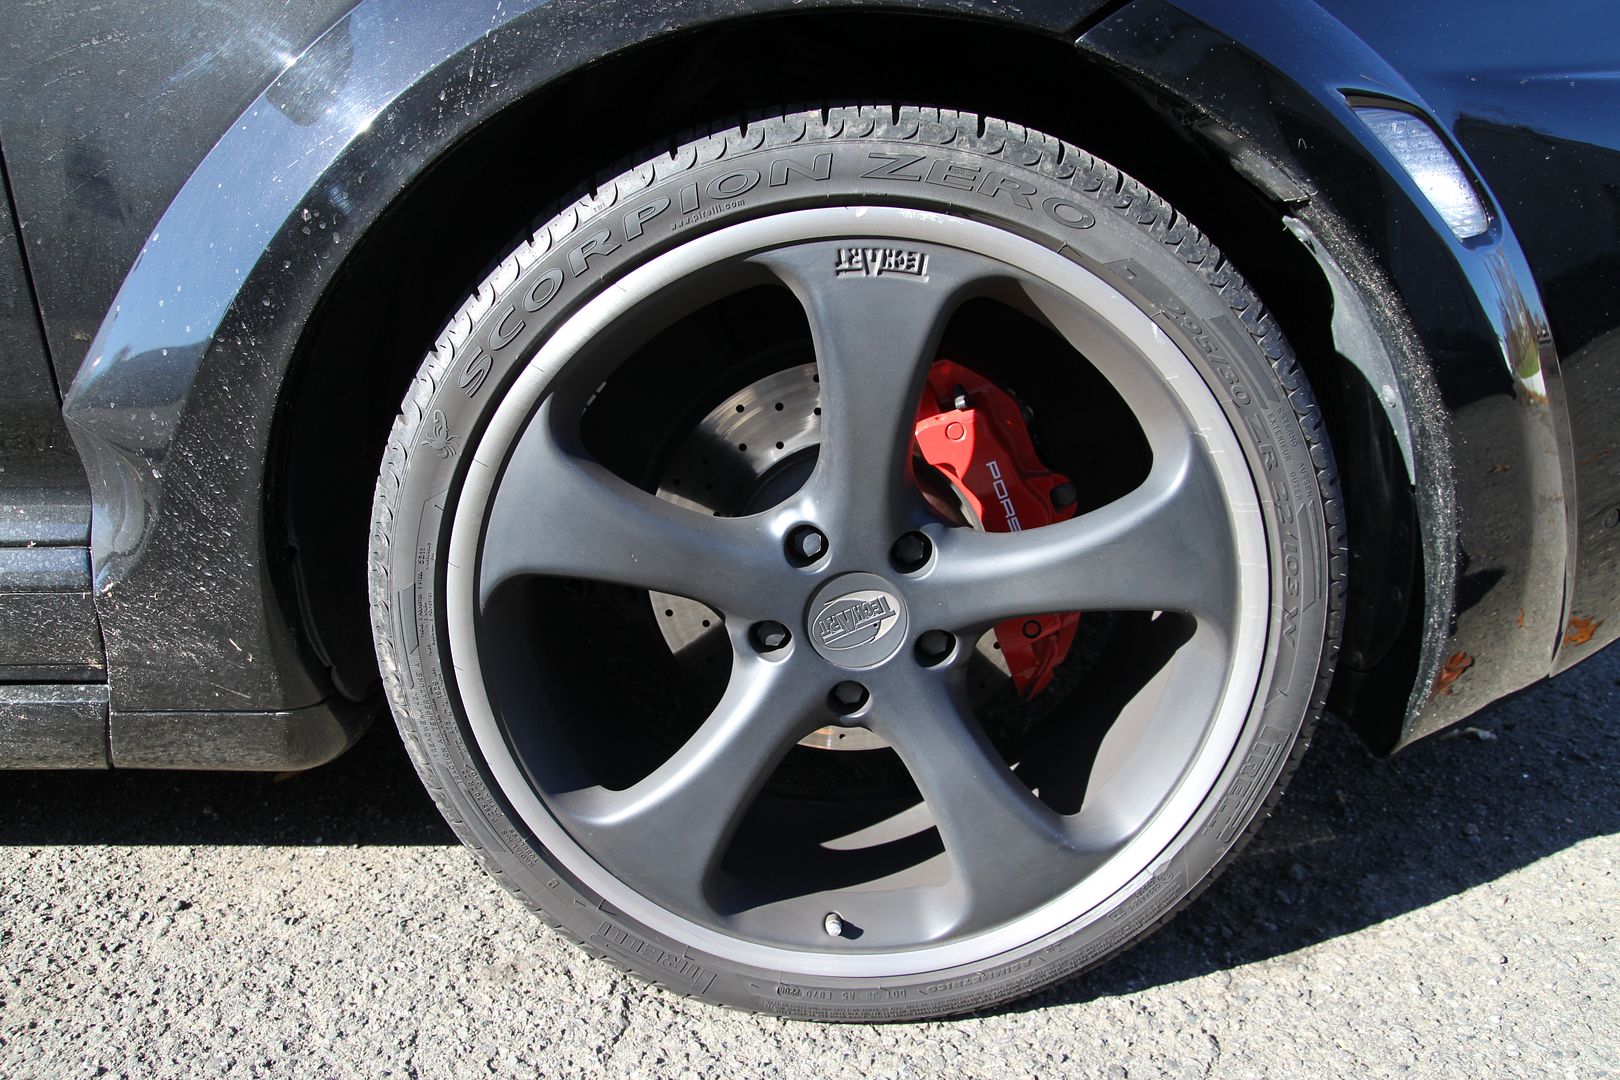
- Wheels were prepped with Sonax Wheel Cleaner and cleaned up with various brushes
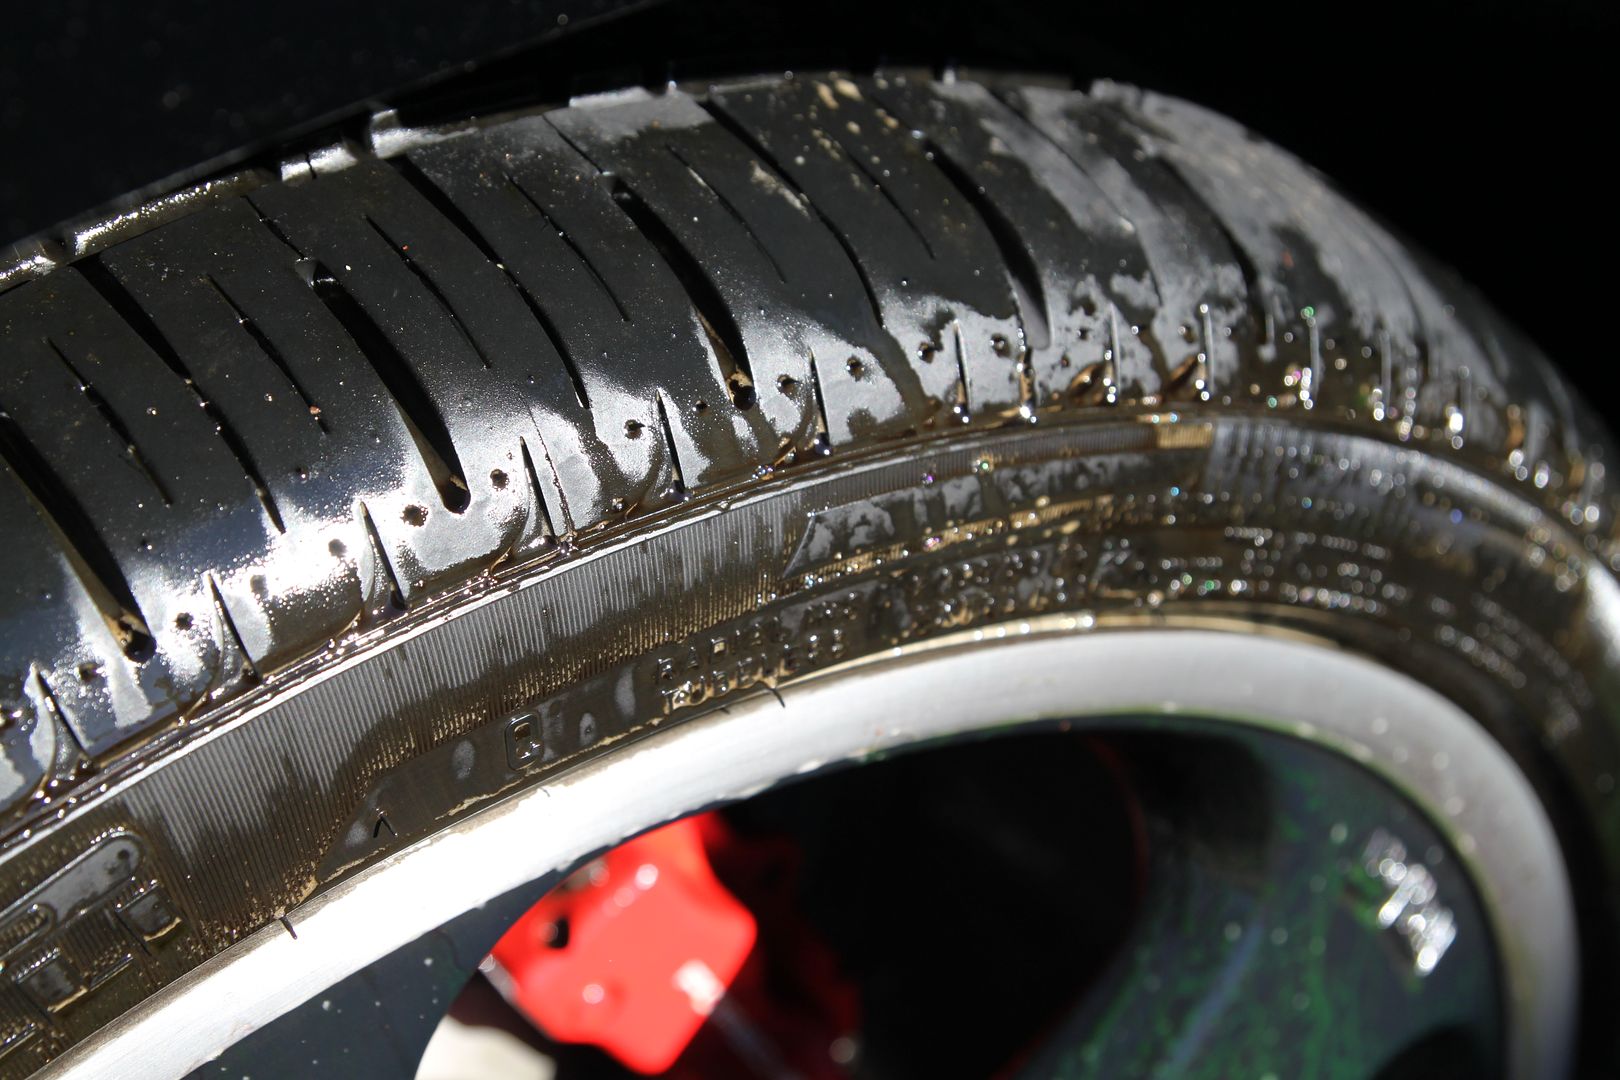
- Tires were spritzed down with Adam's All Purpose Cleaner and washed down
- Wheel wells were cleaned up
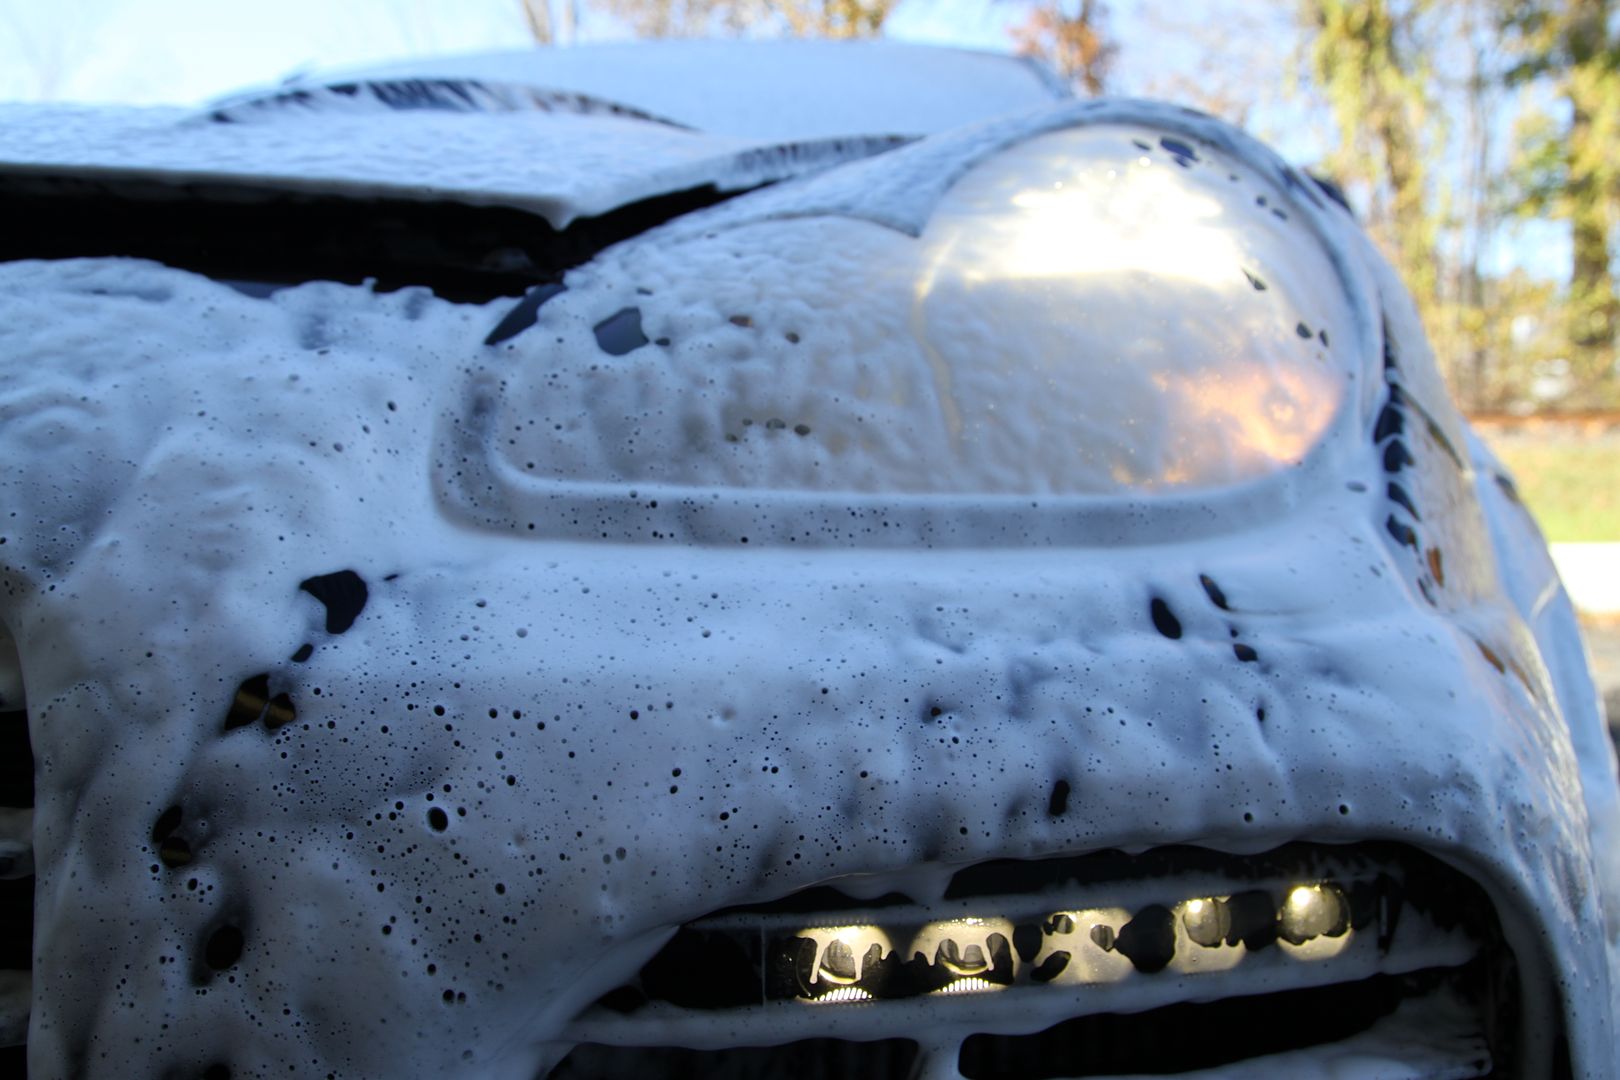
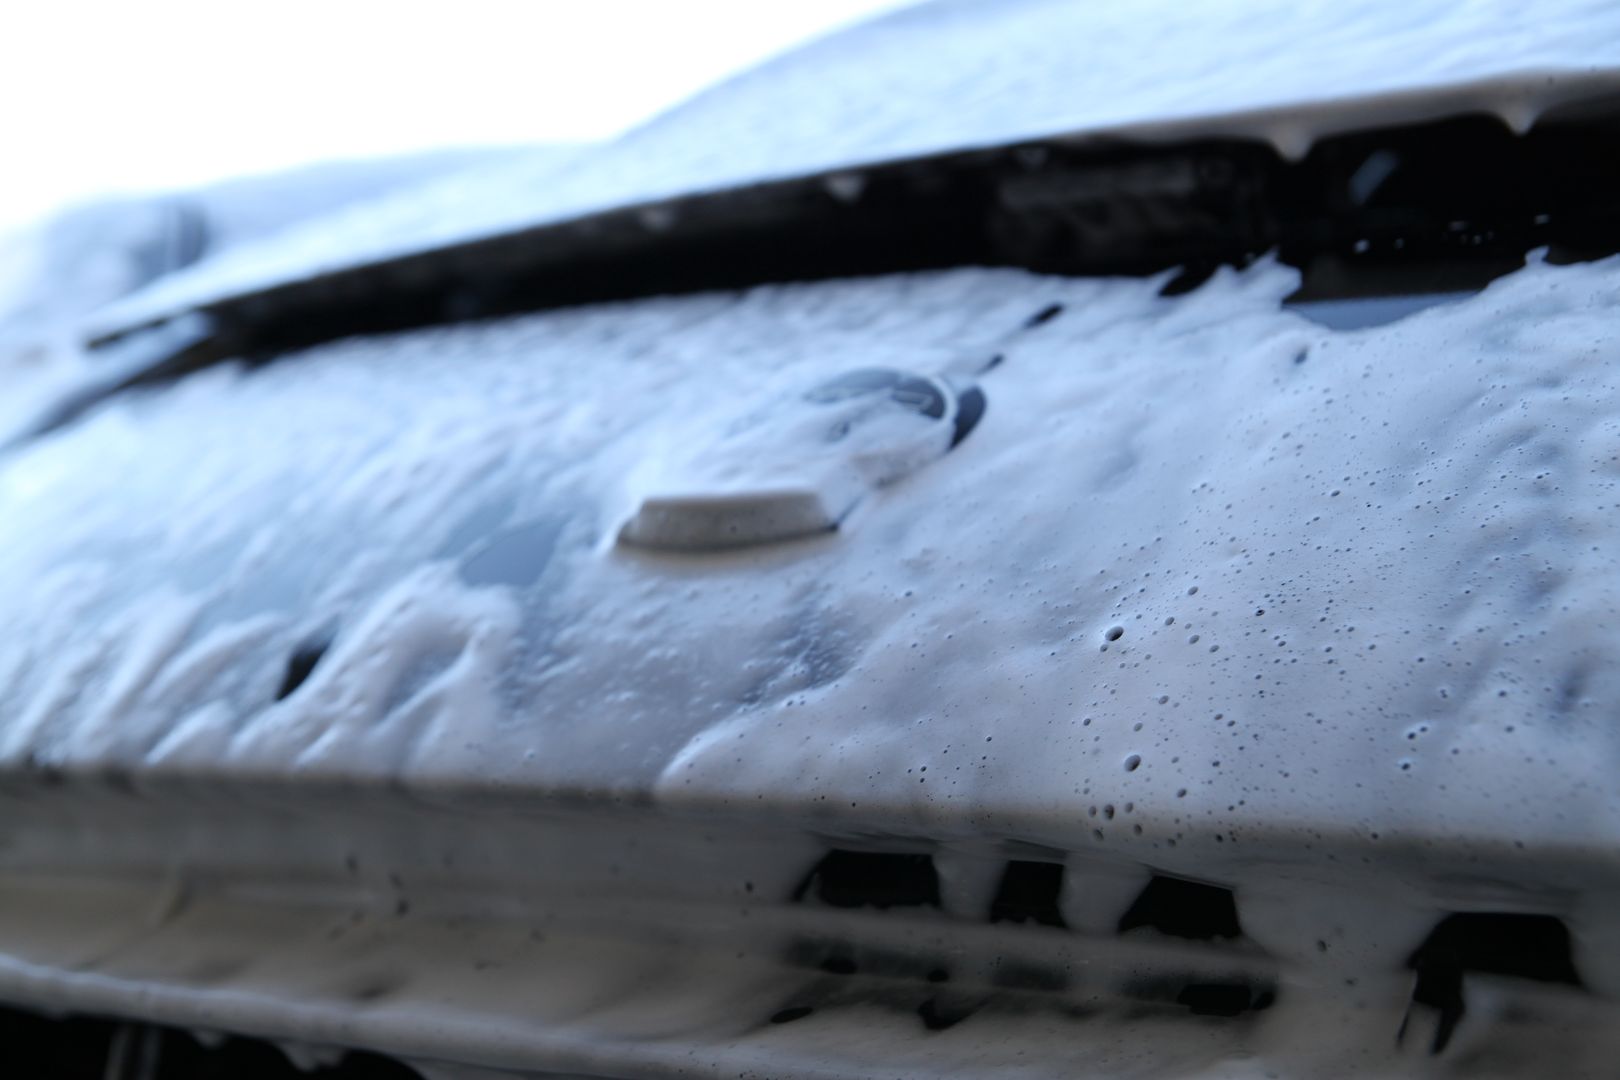
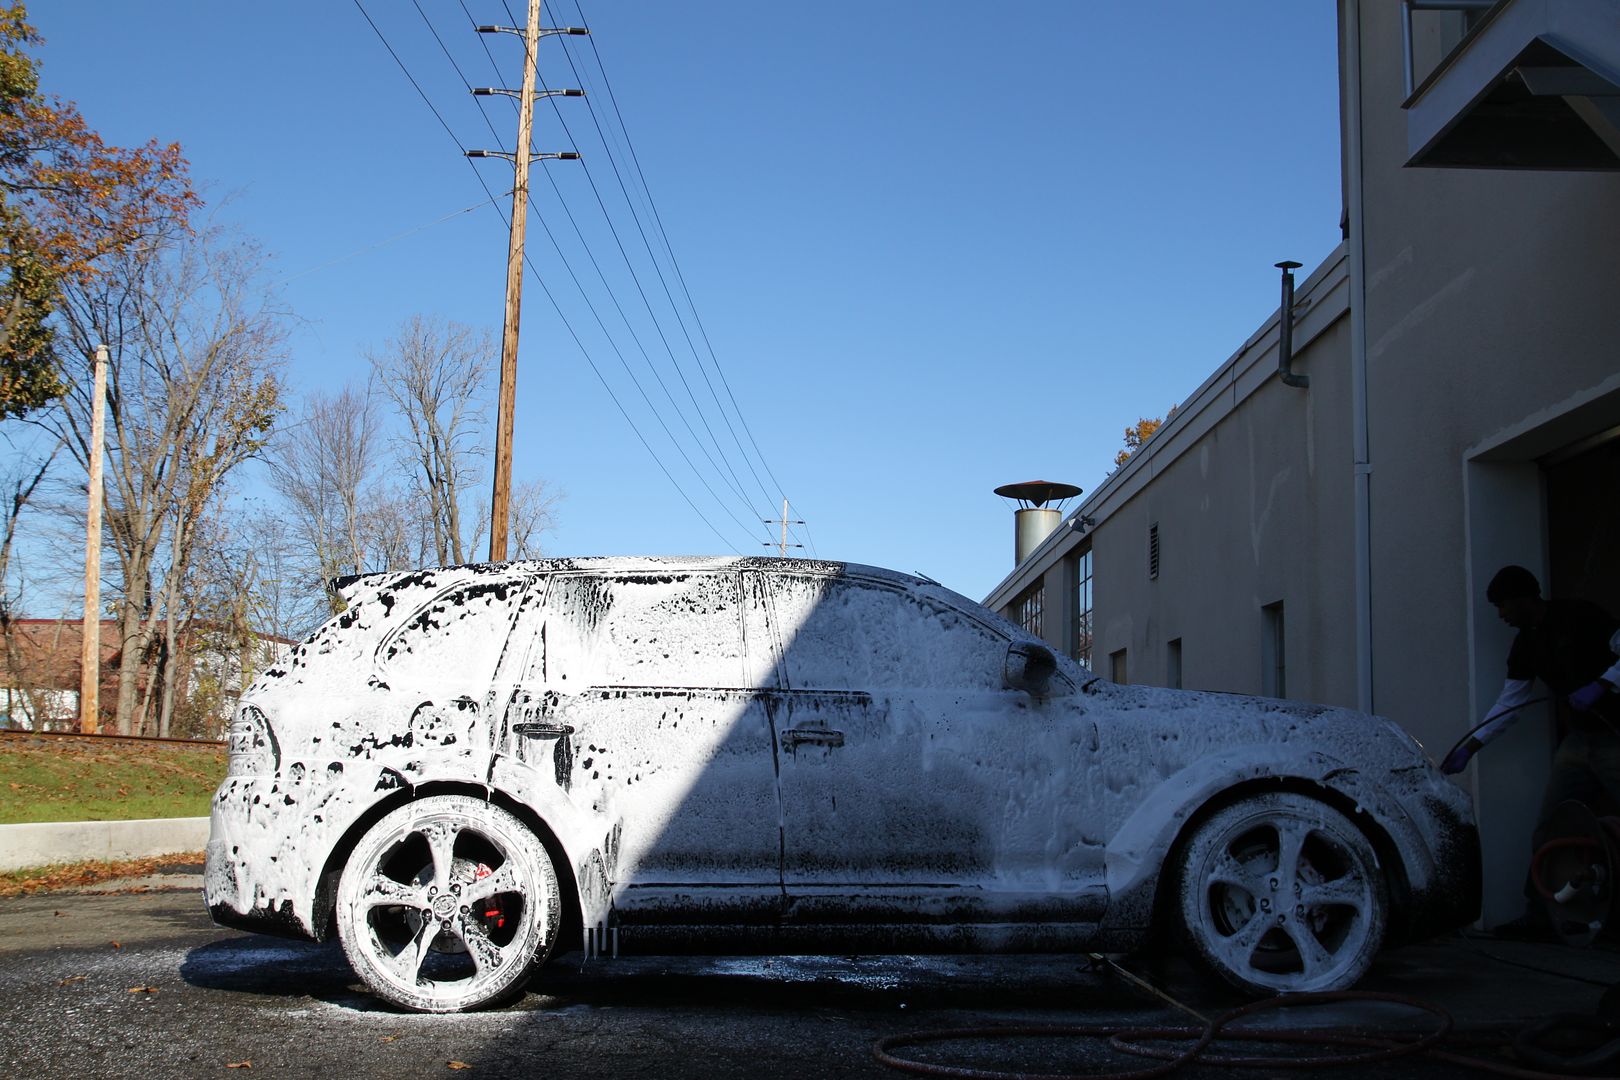
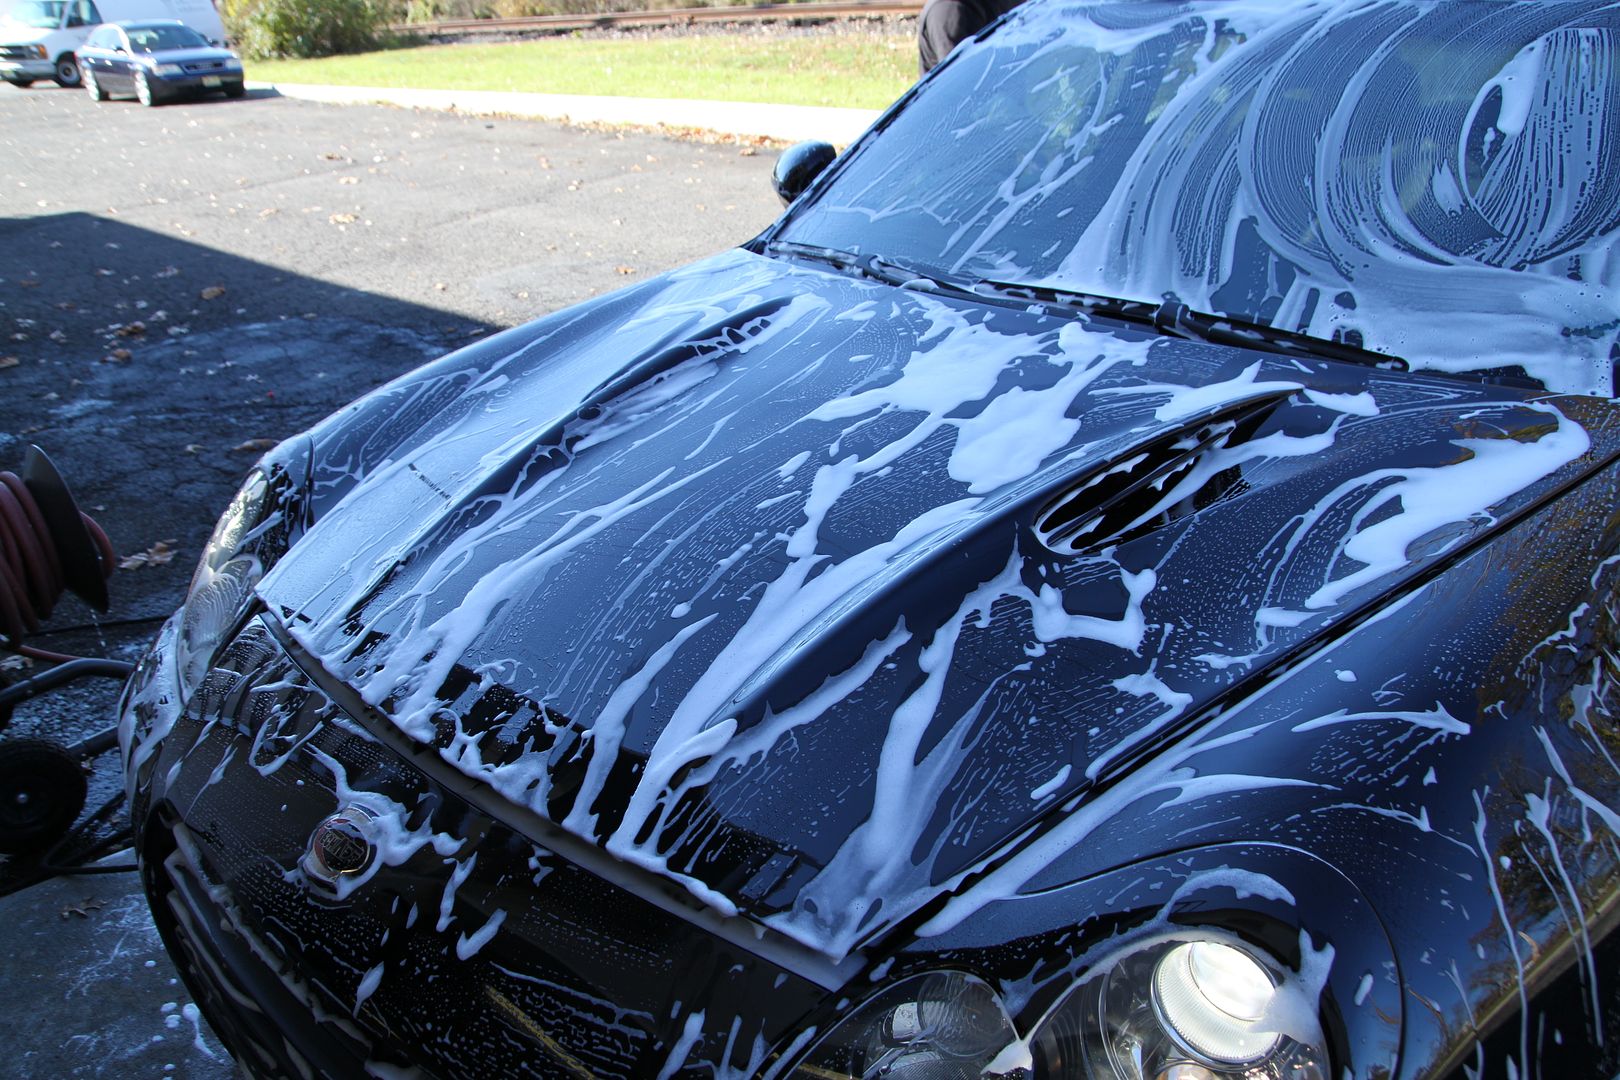
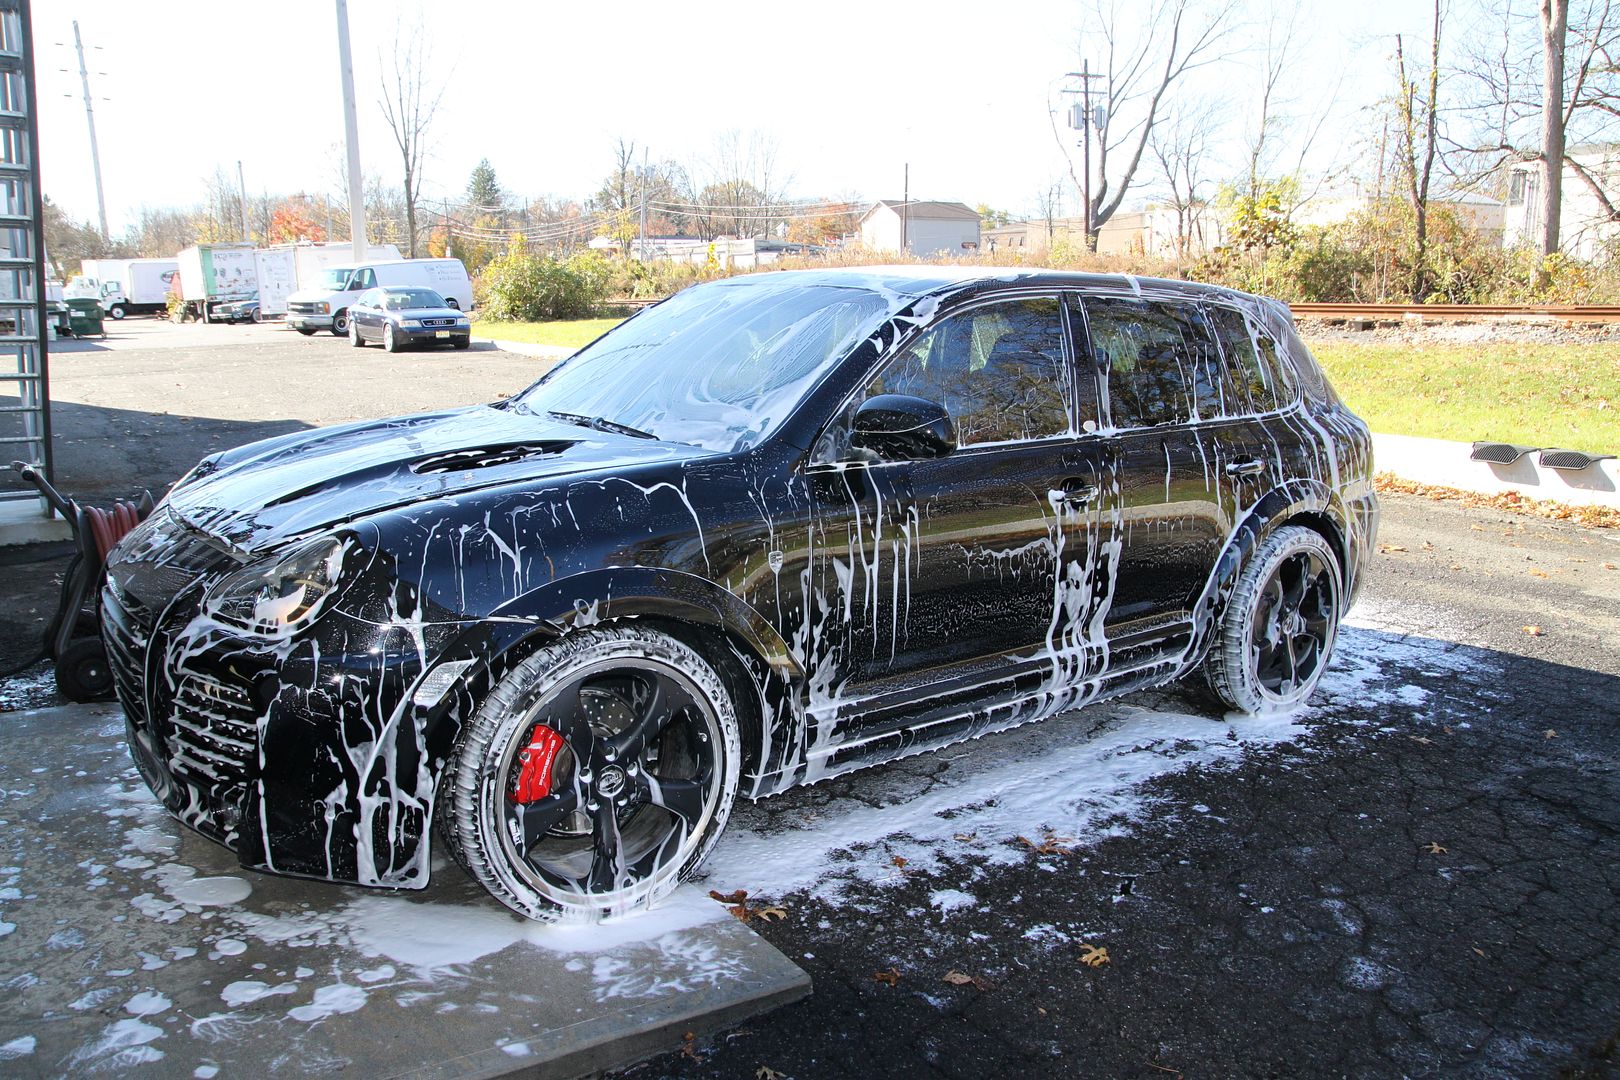
- Wash down and rinsed
- Door jambs were cleaned up
- Clayed
- Dried
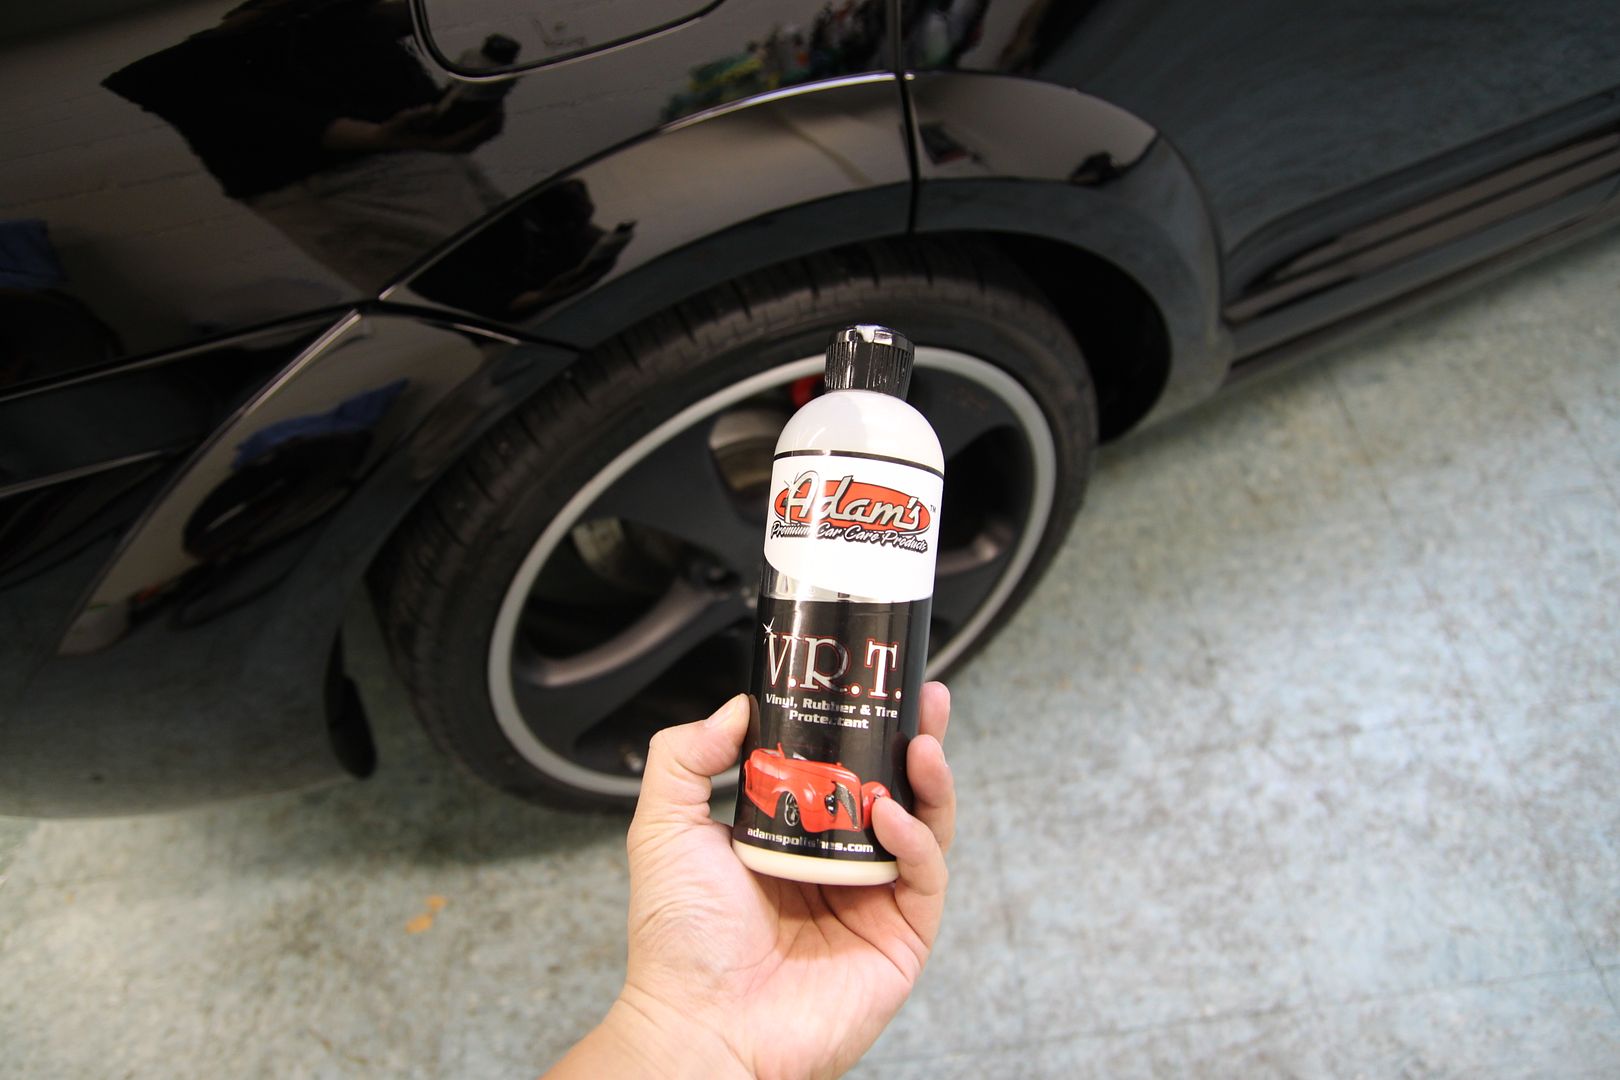
- Tires dressed
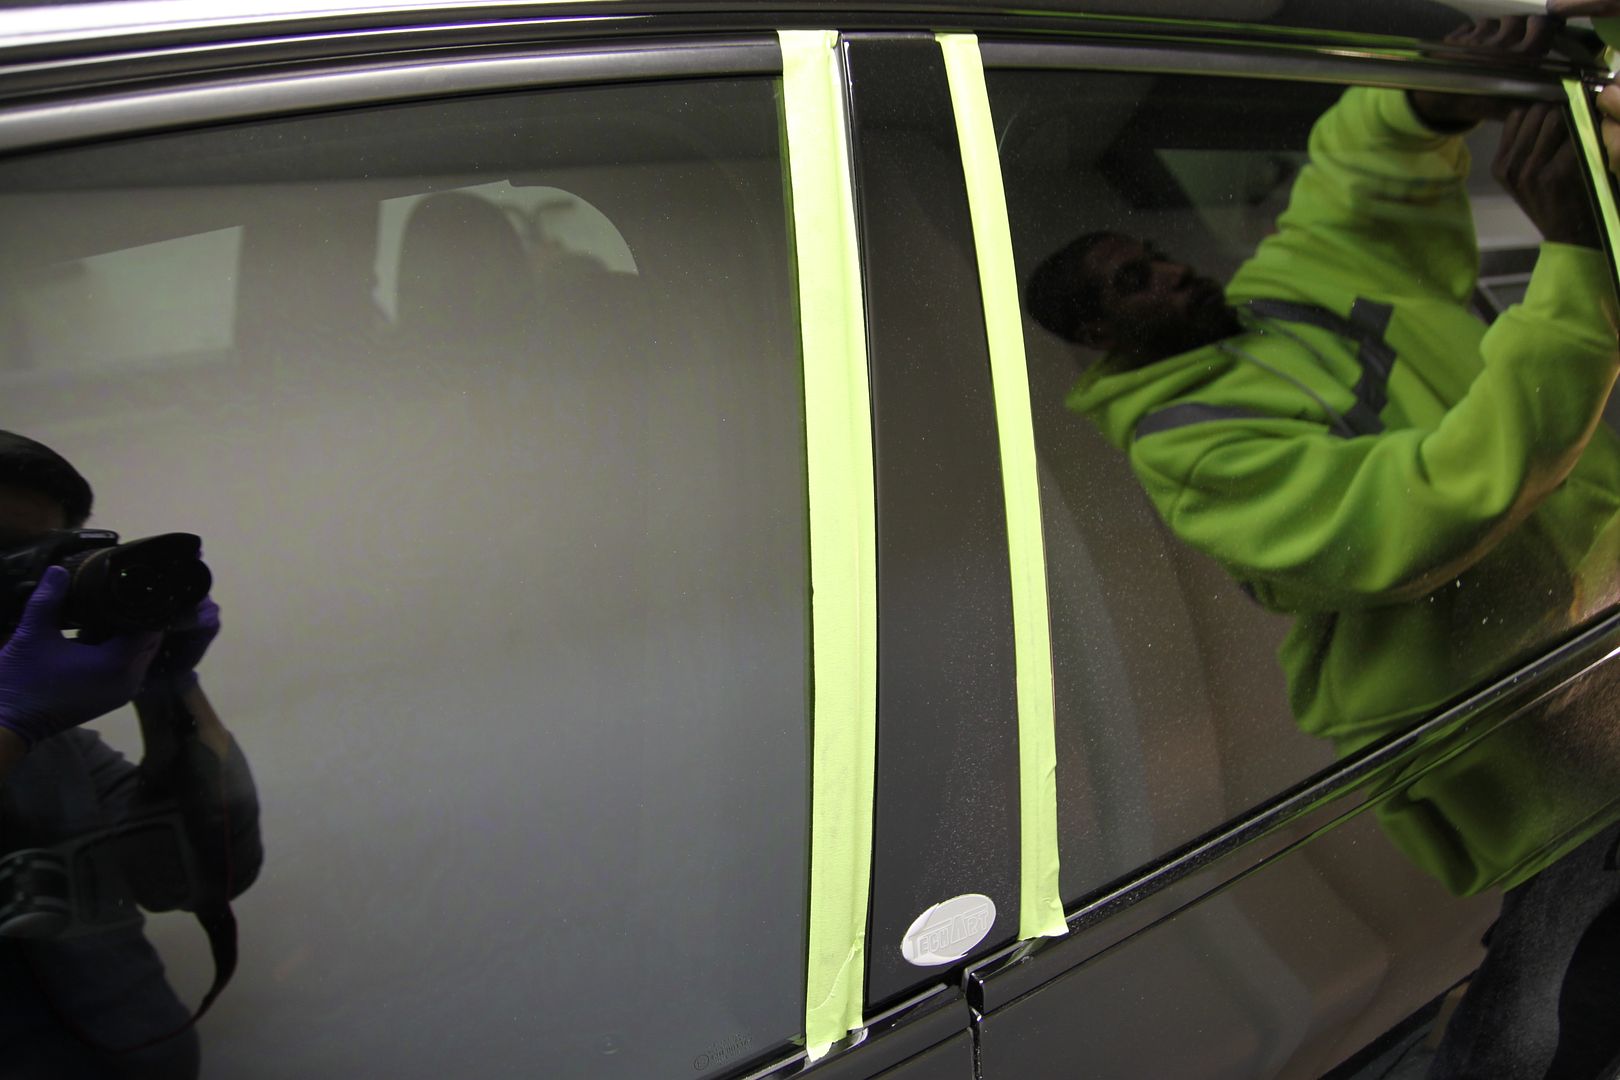
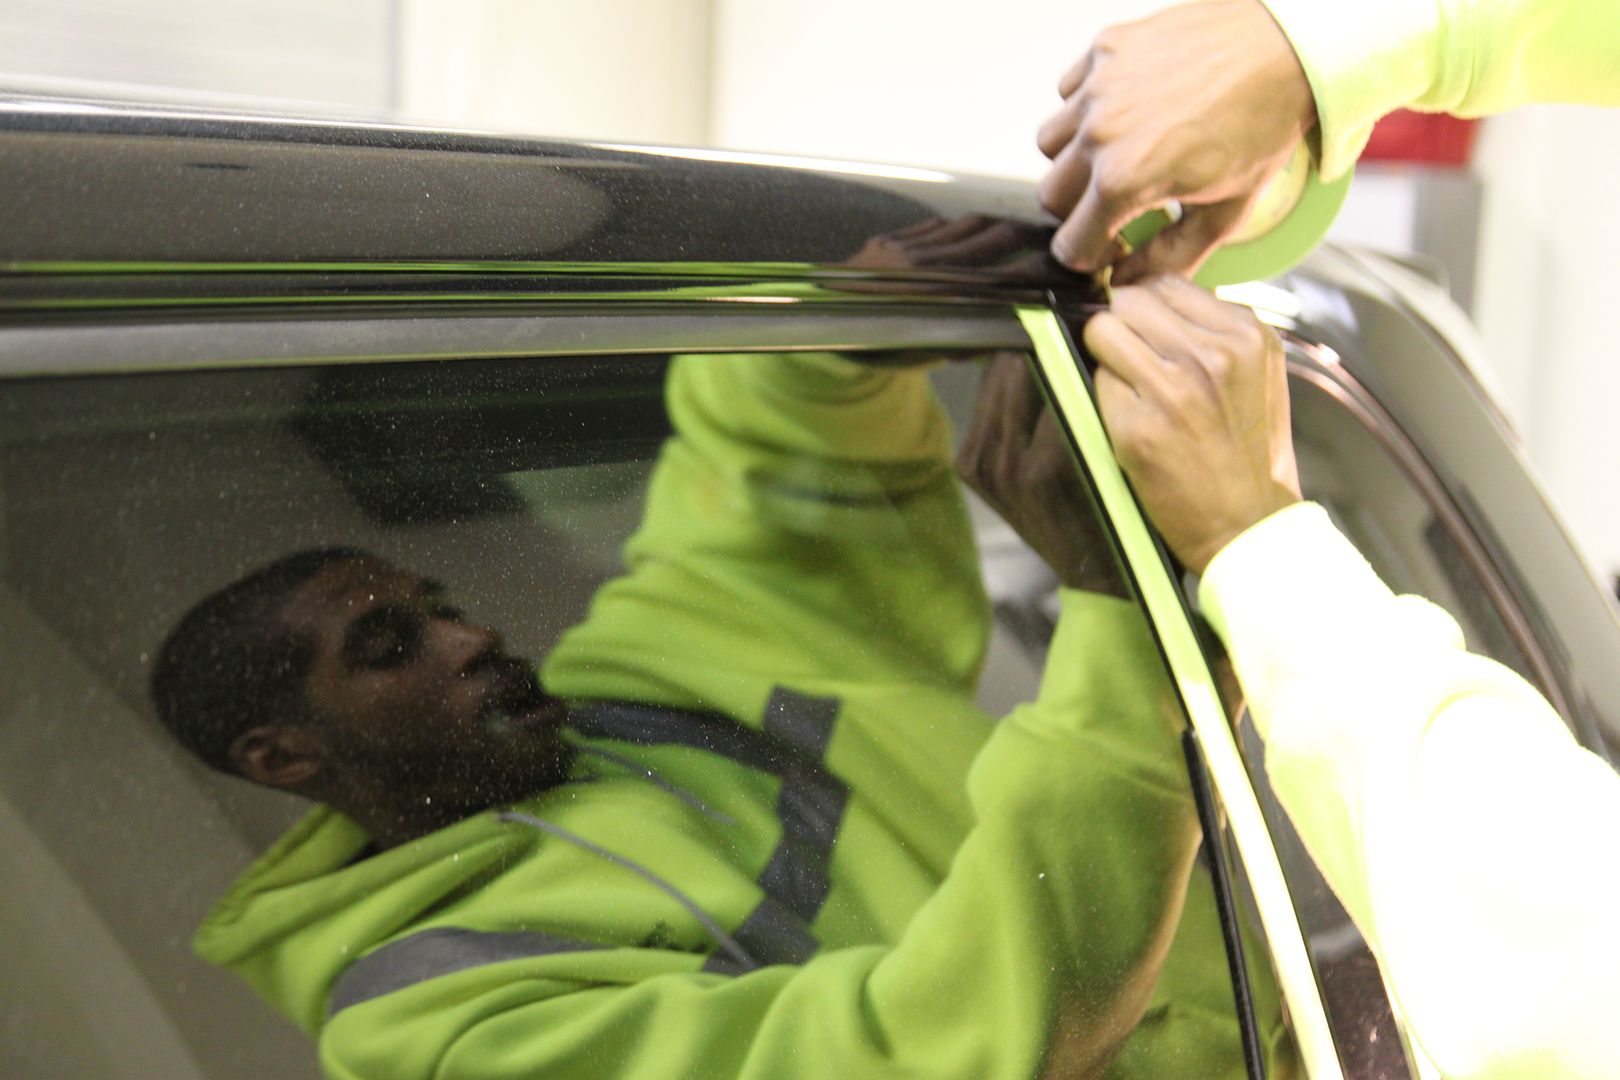
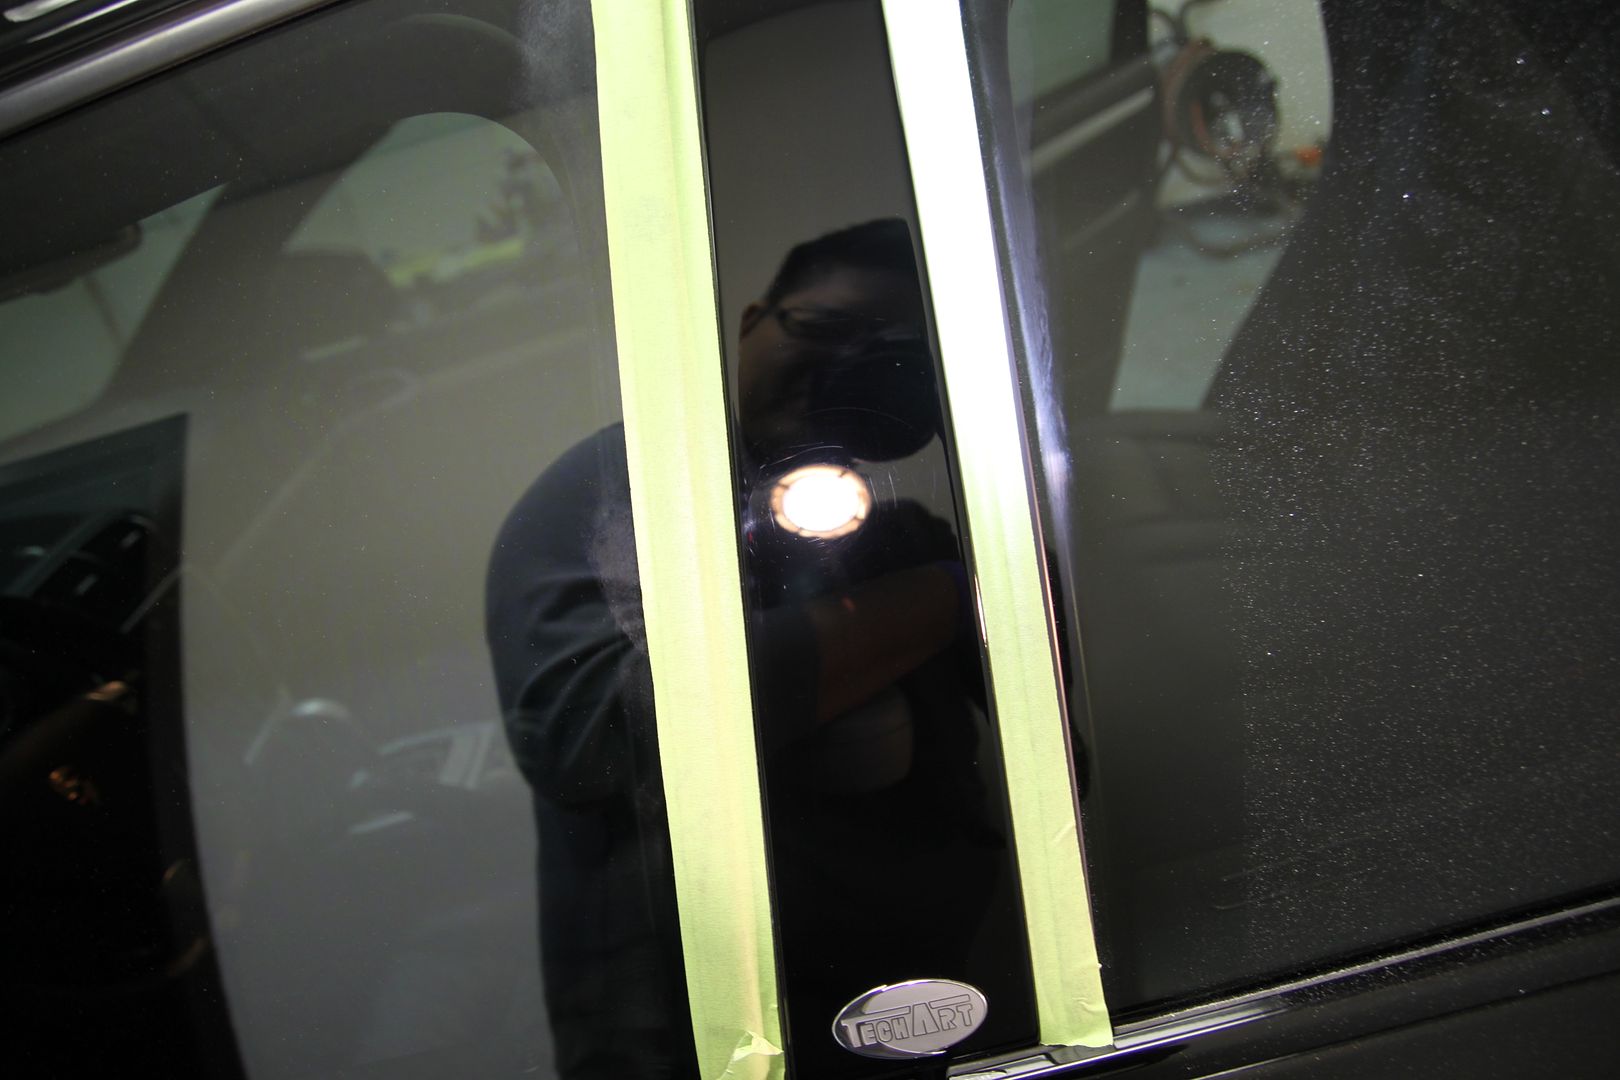
- Masking
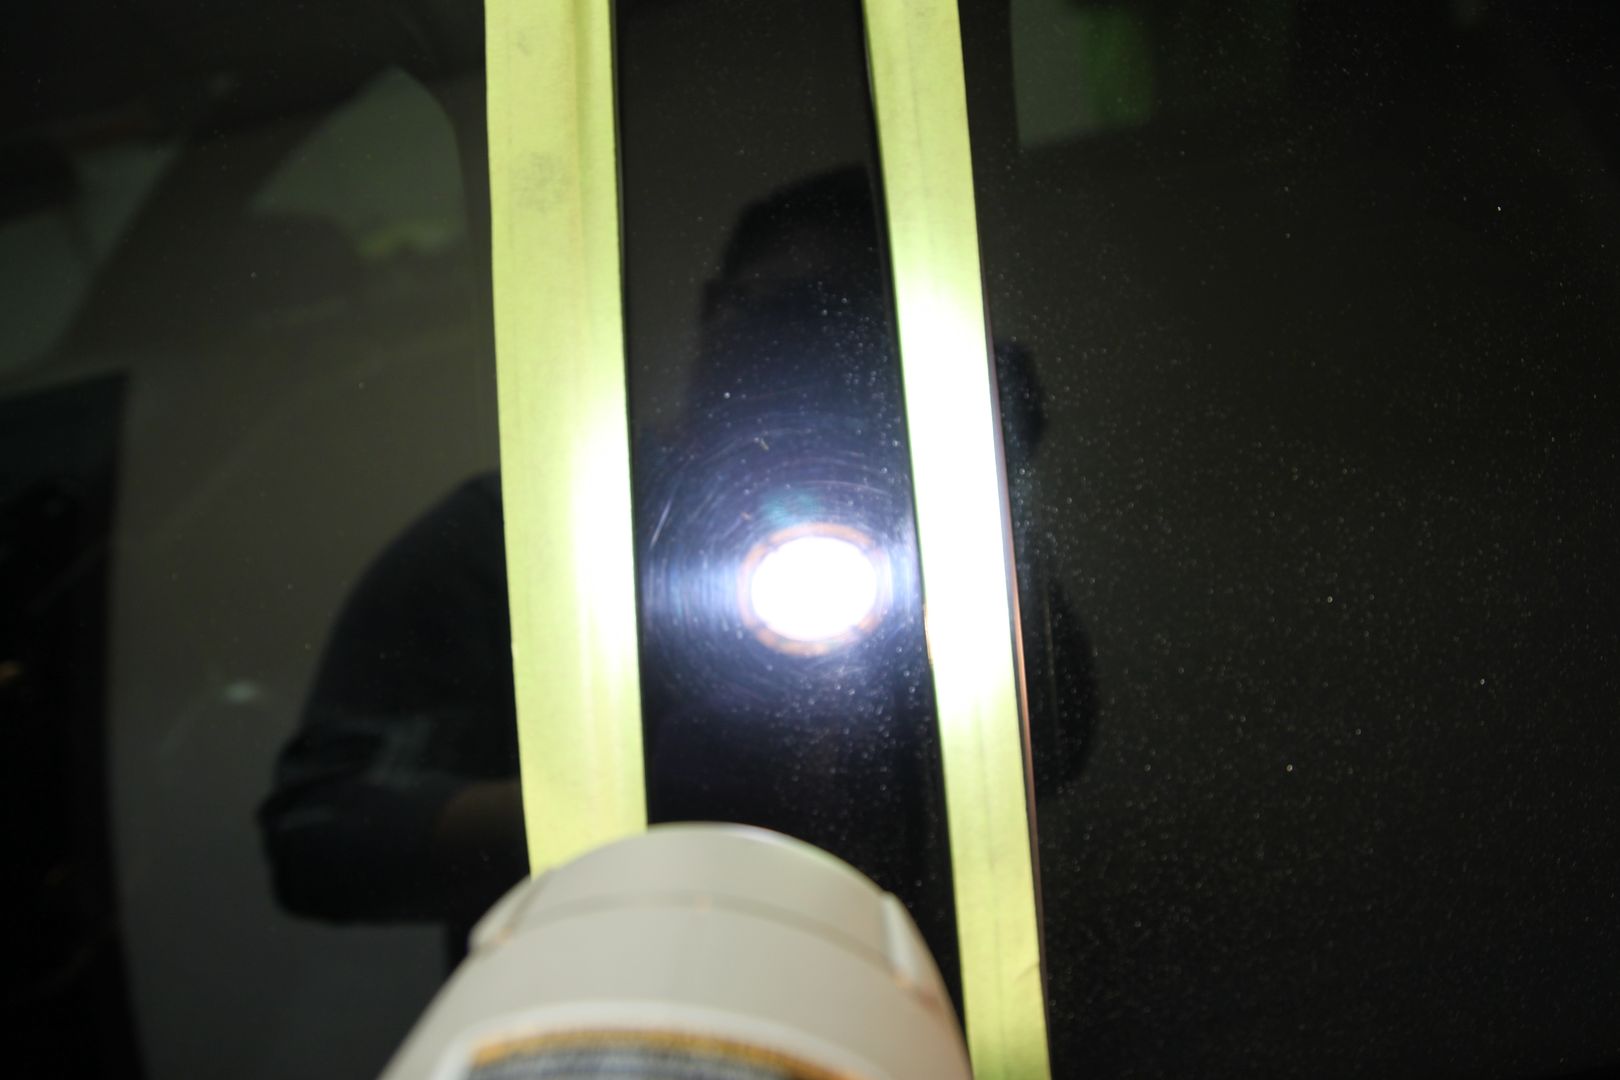
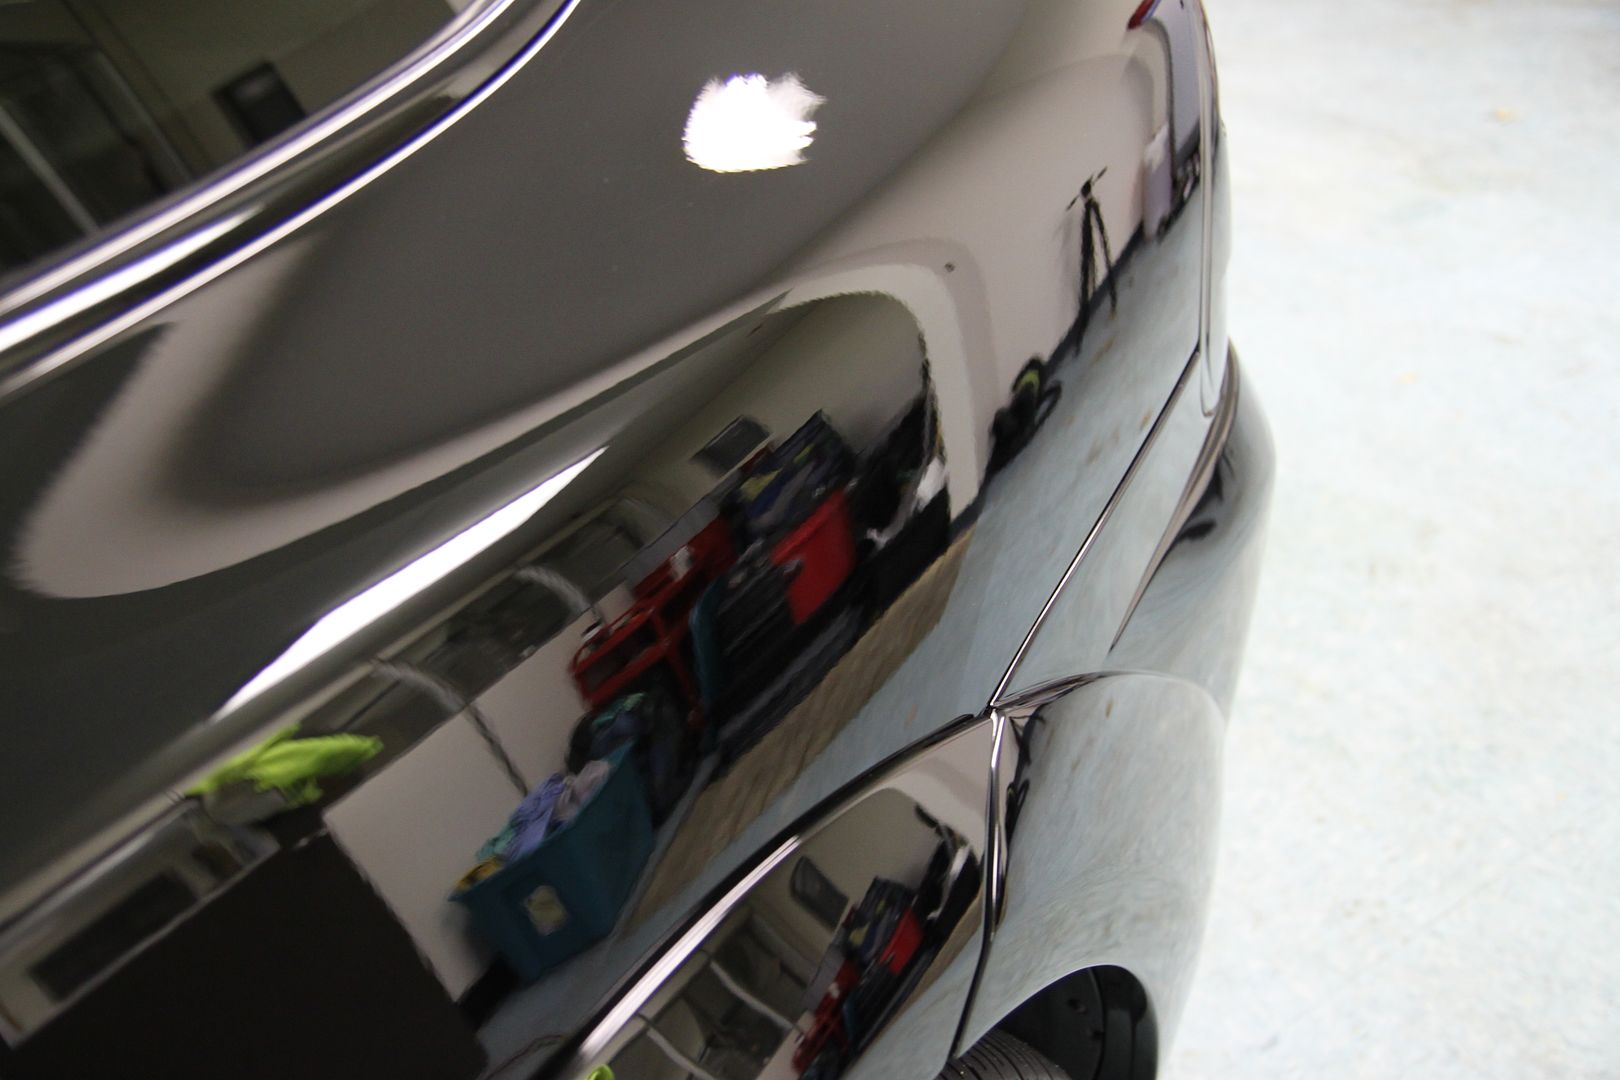
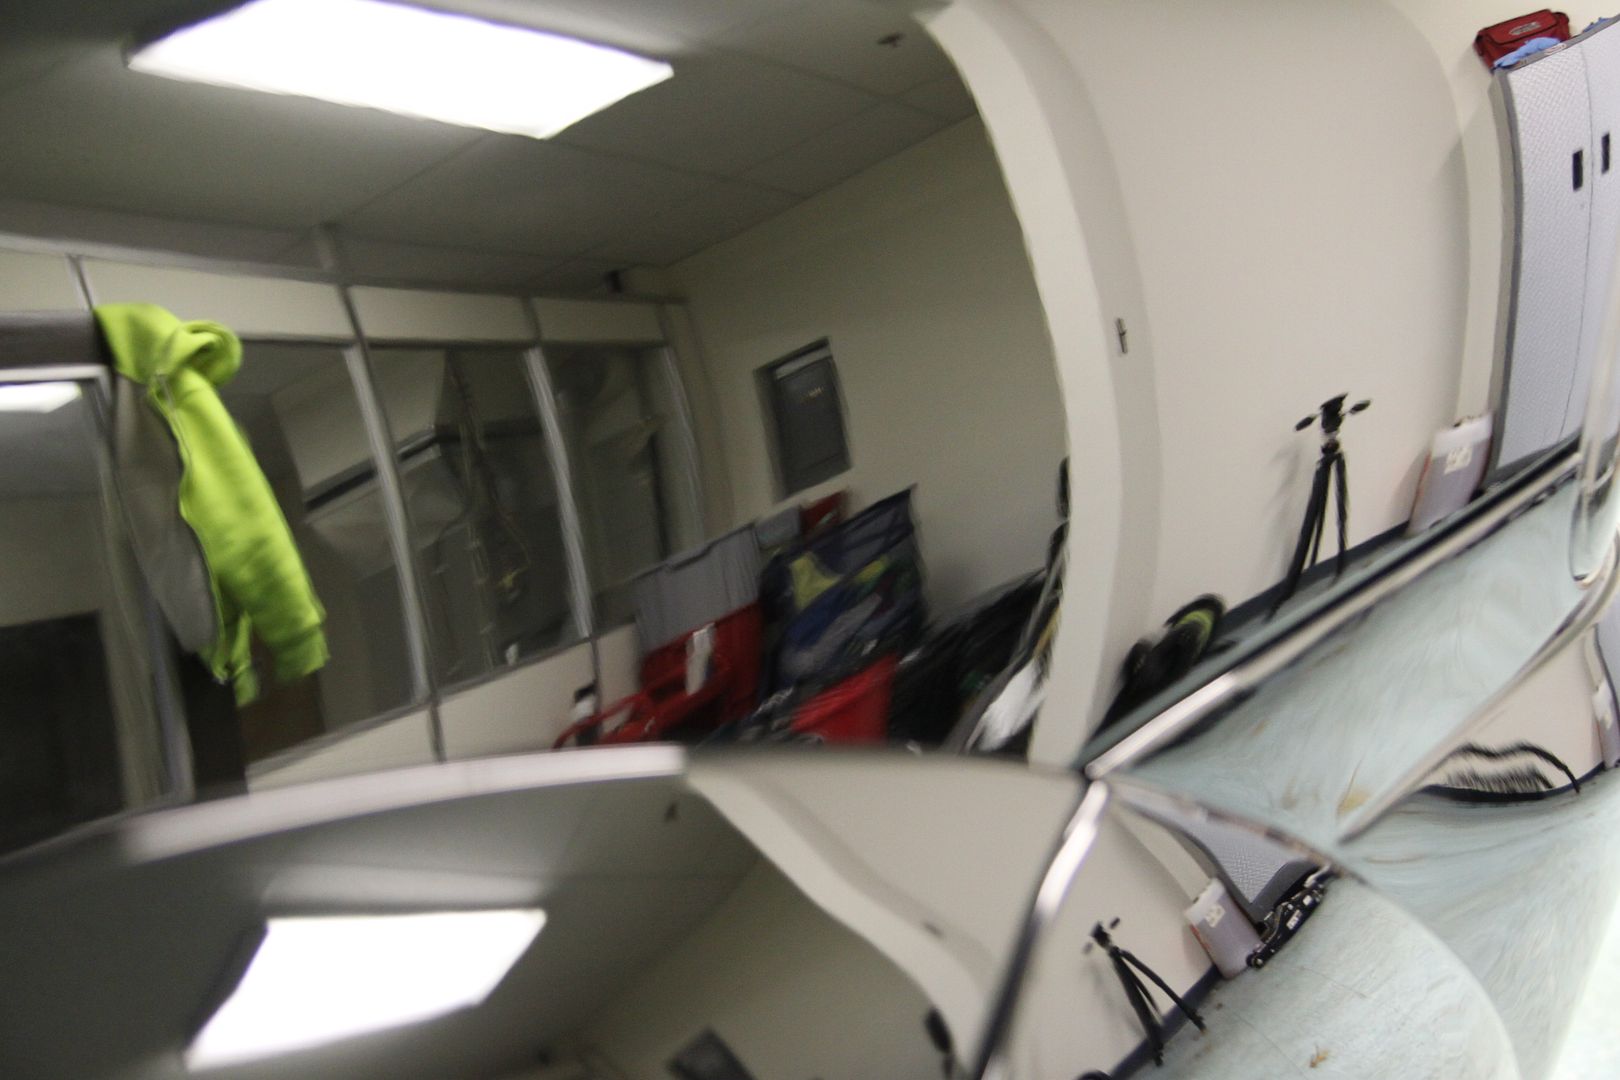
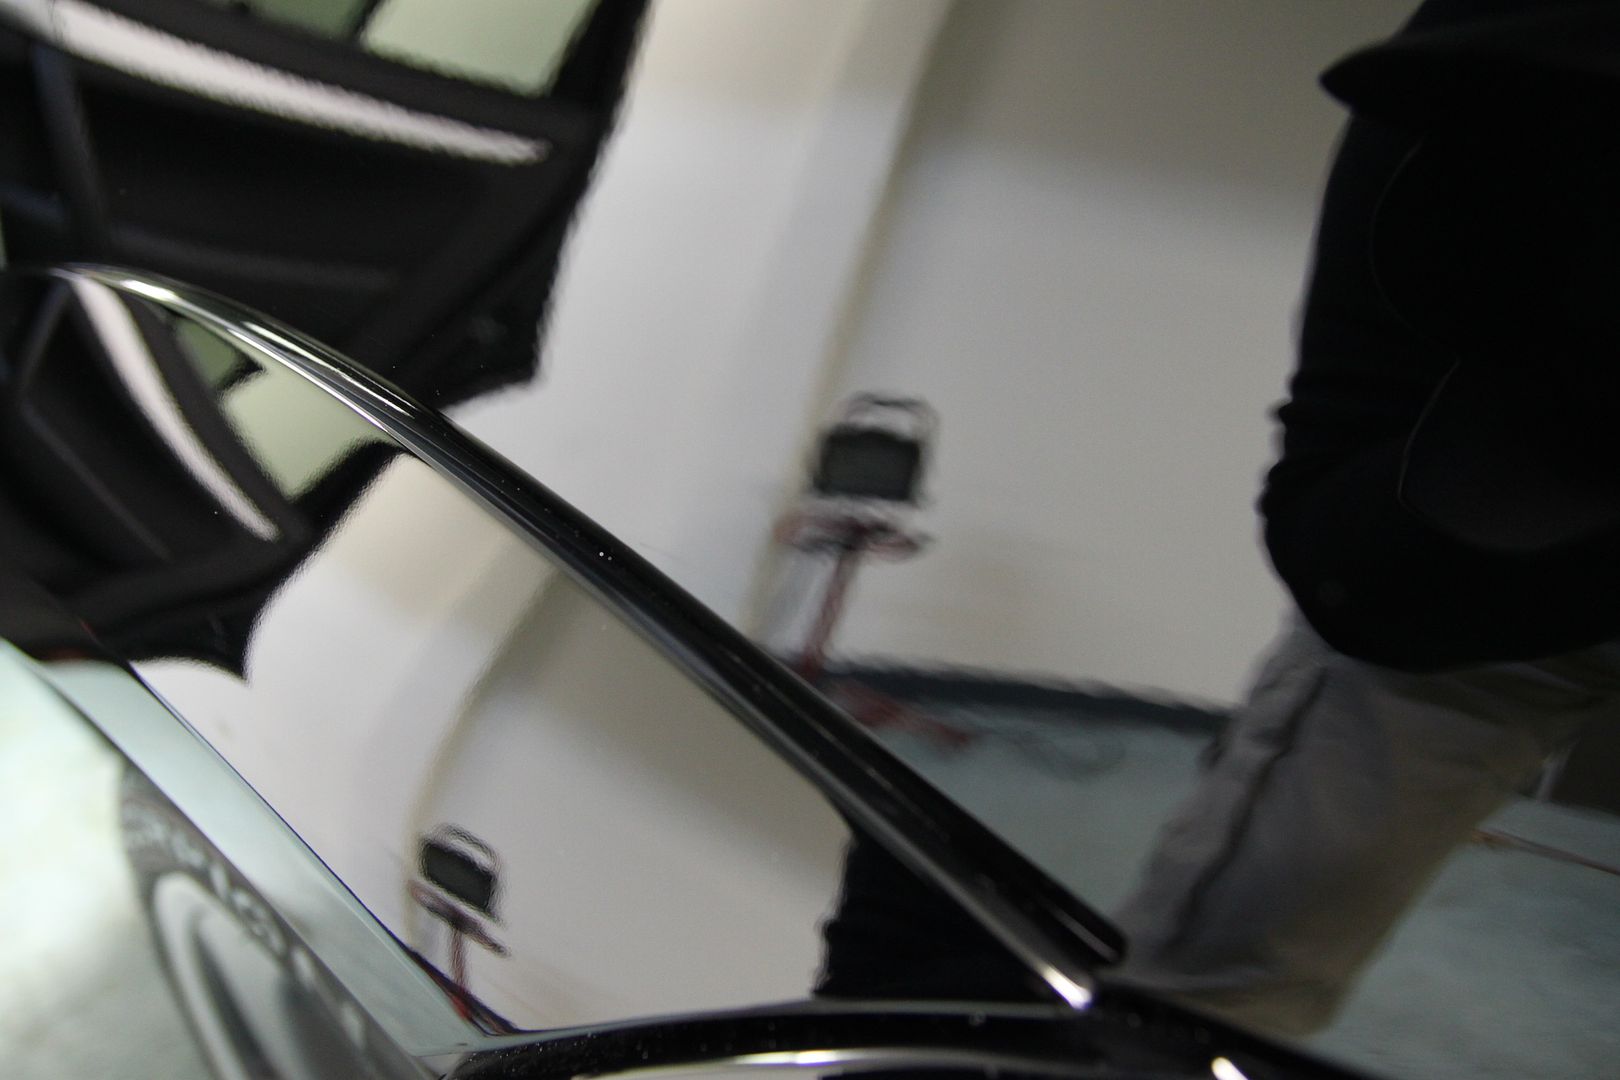
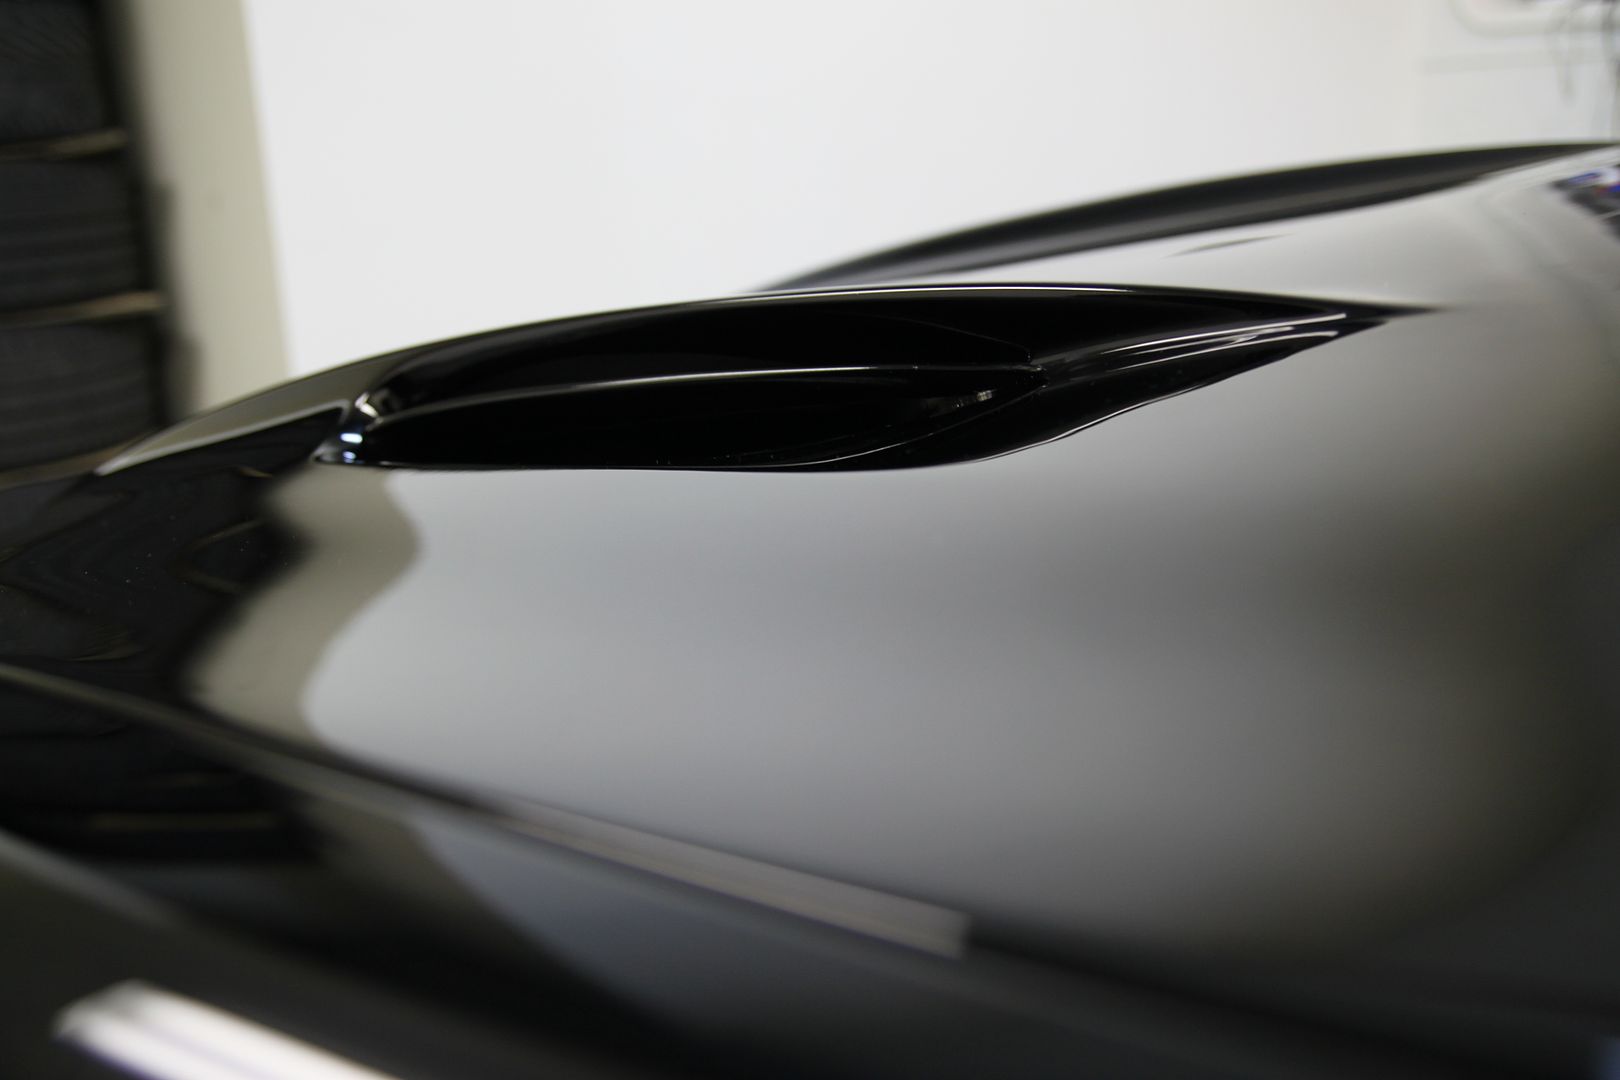
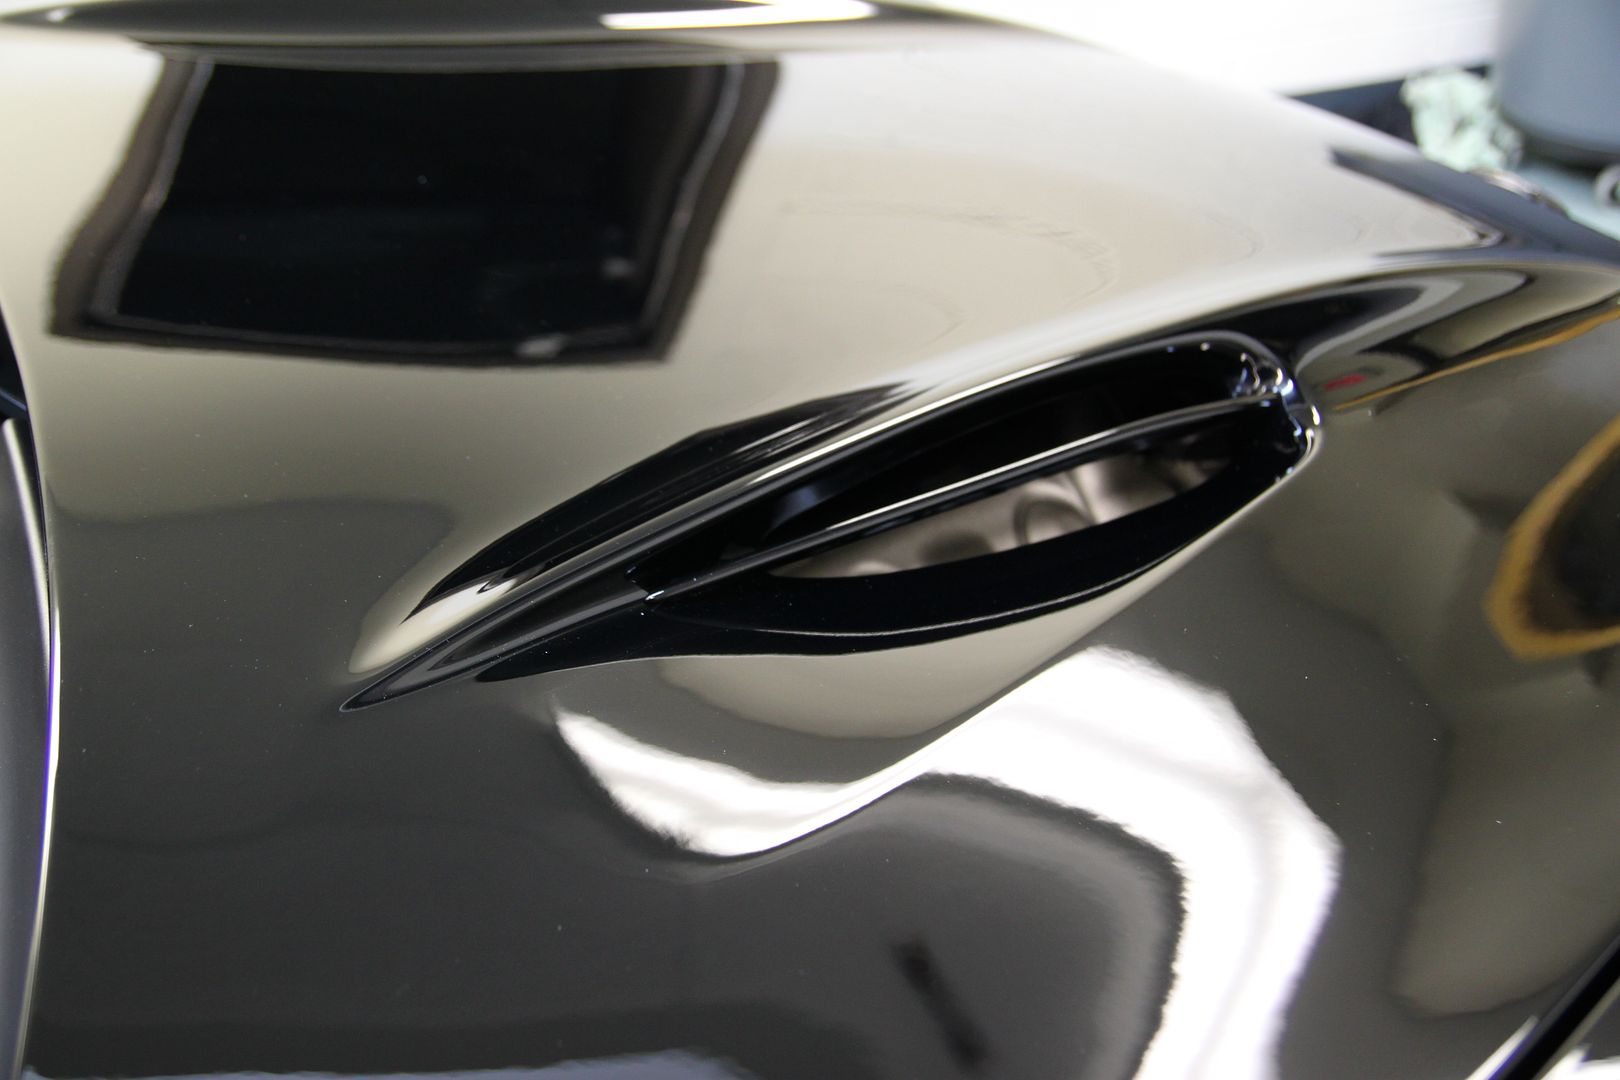
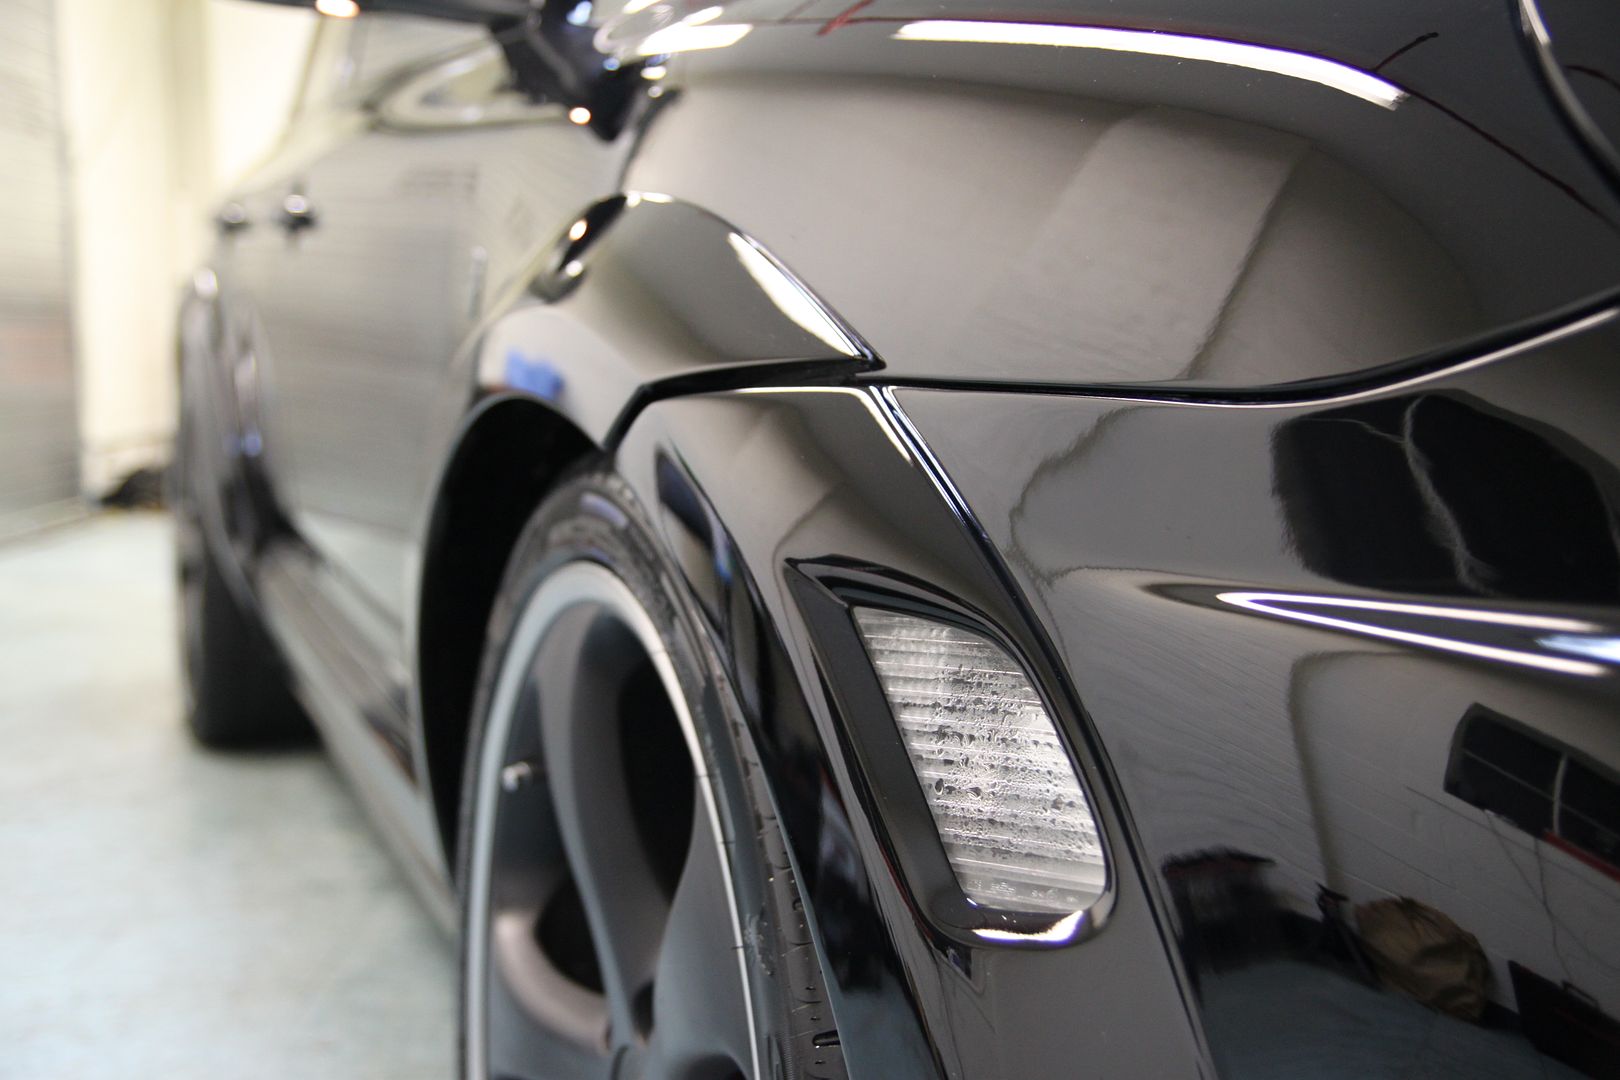
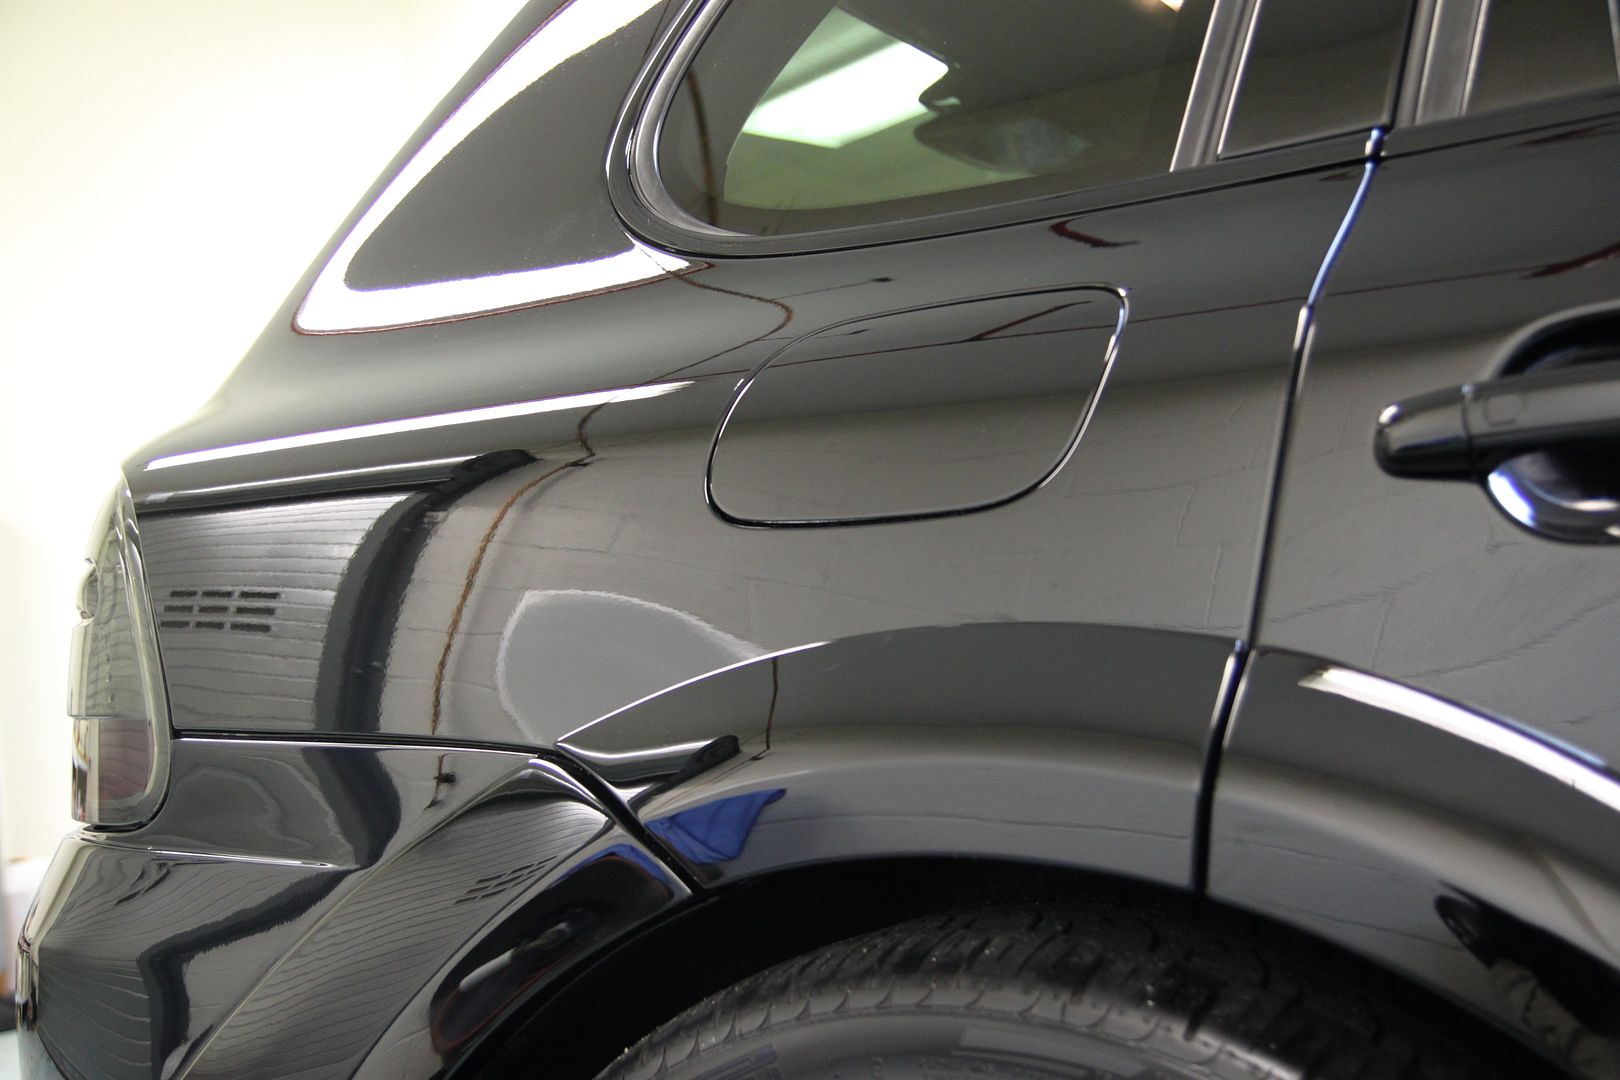
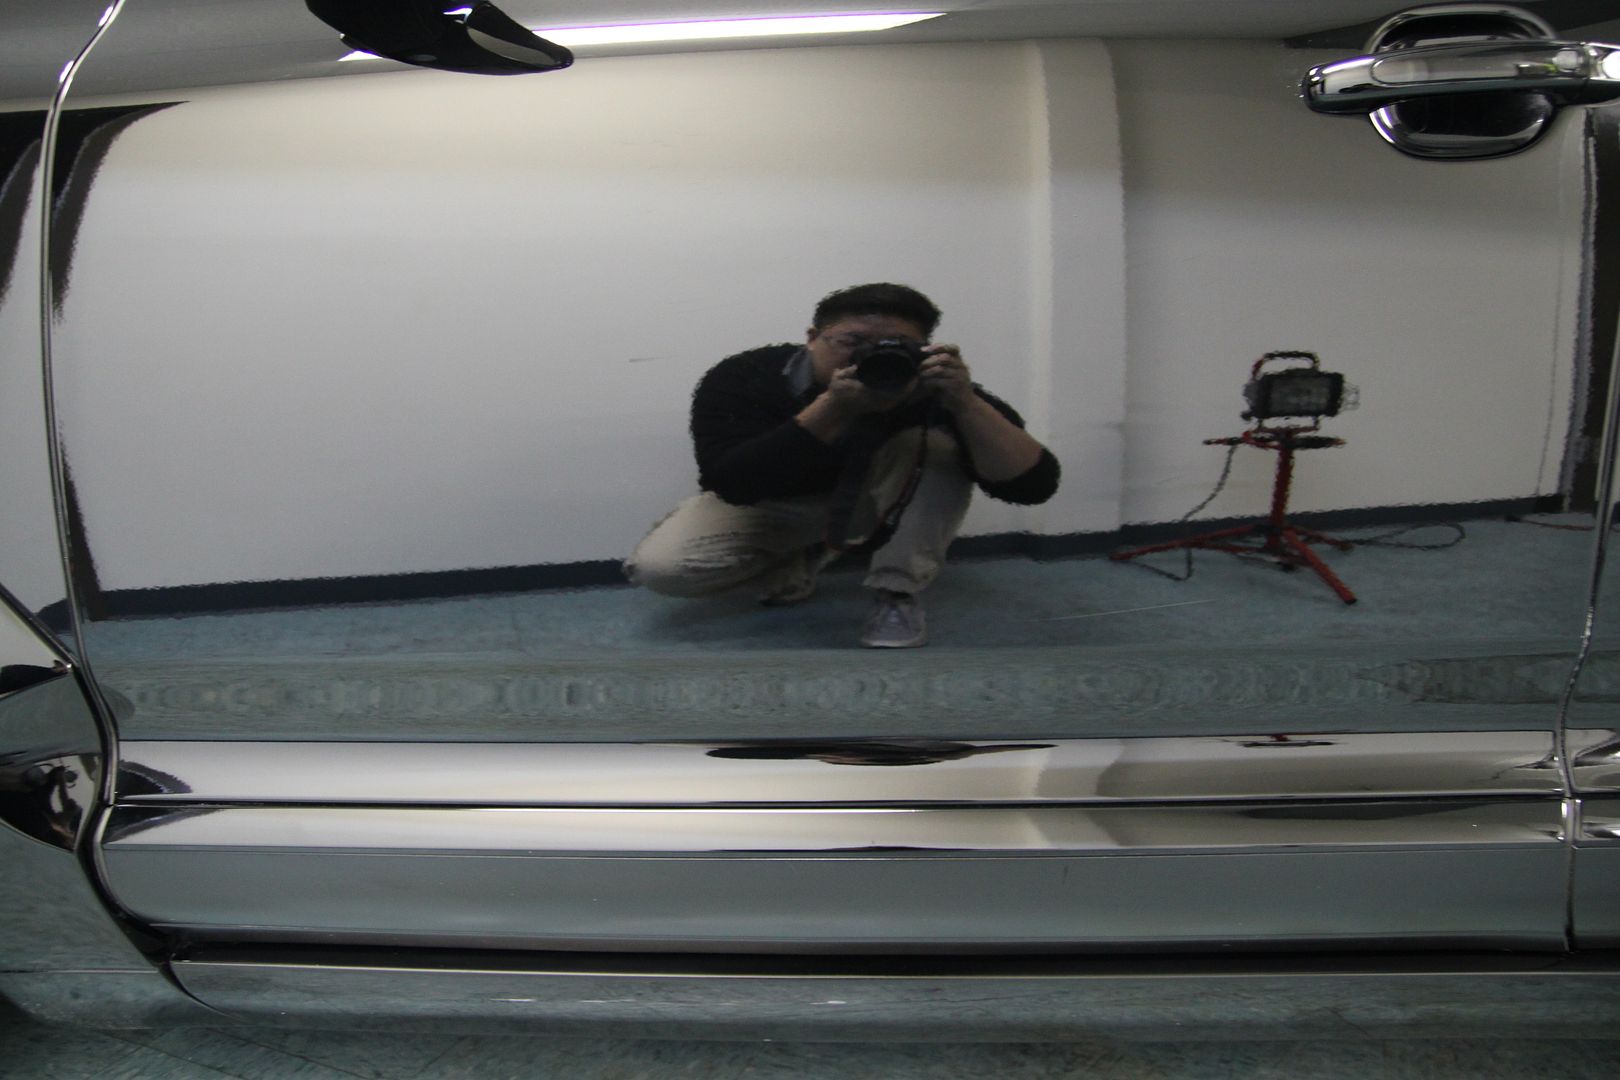
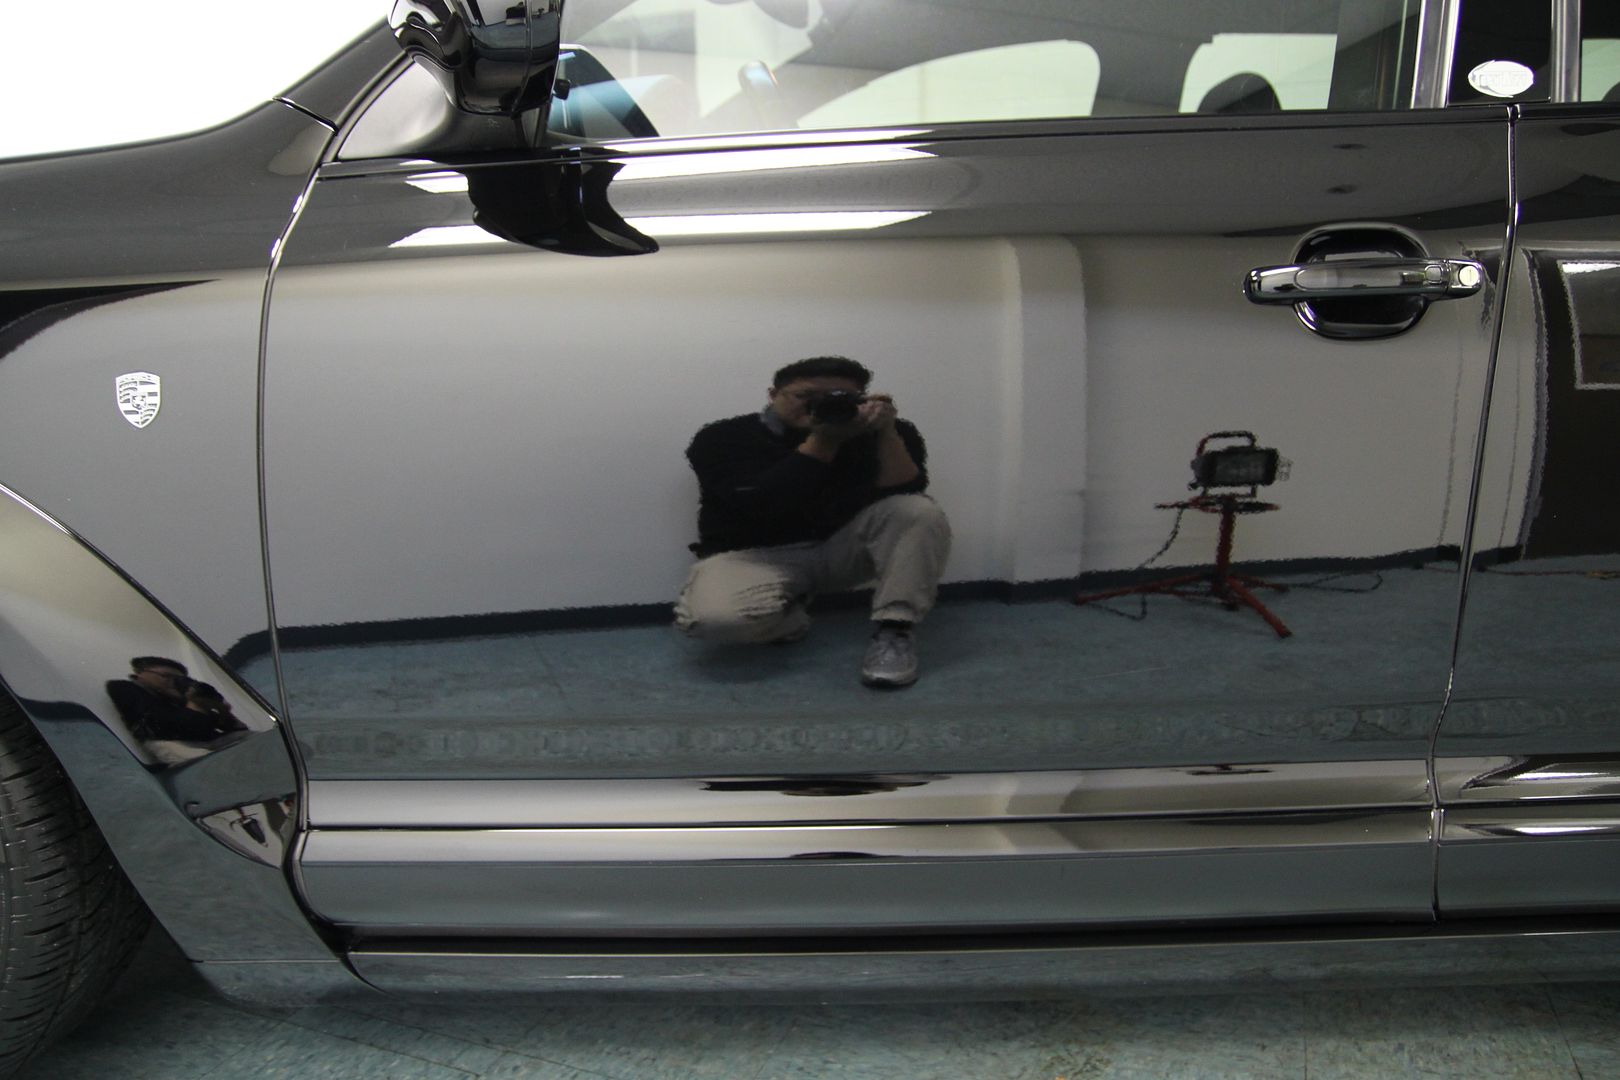
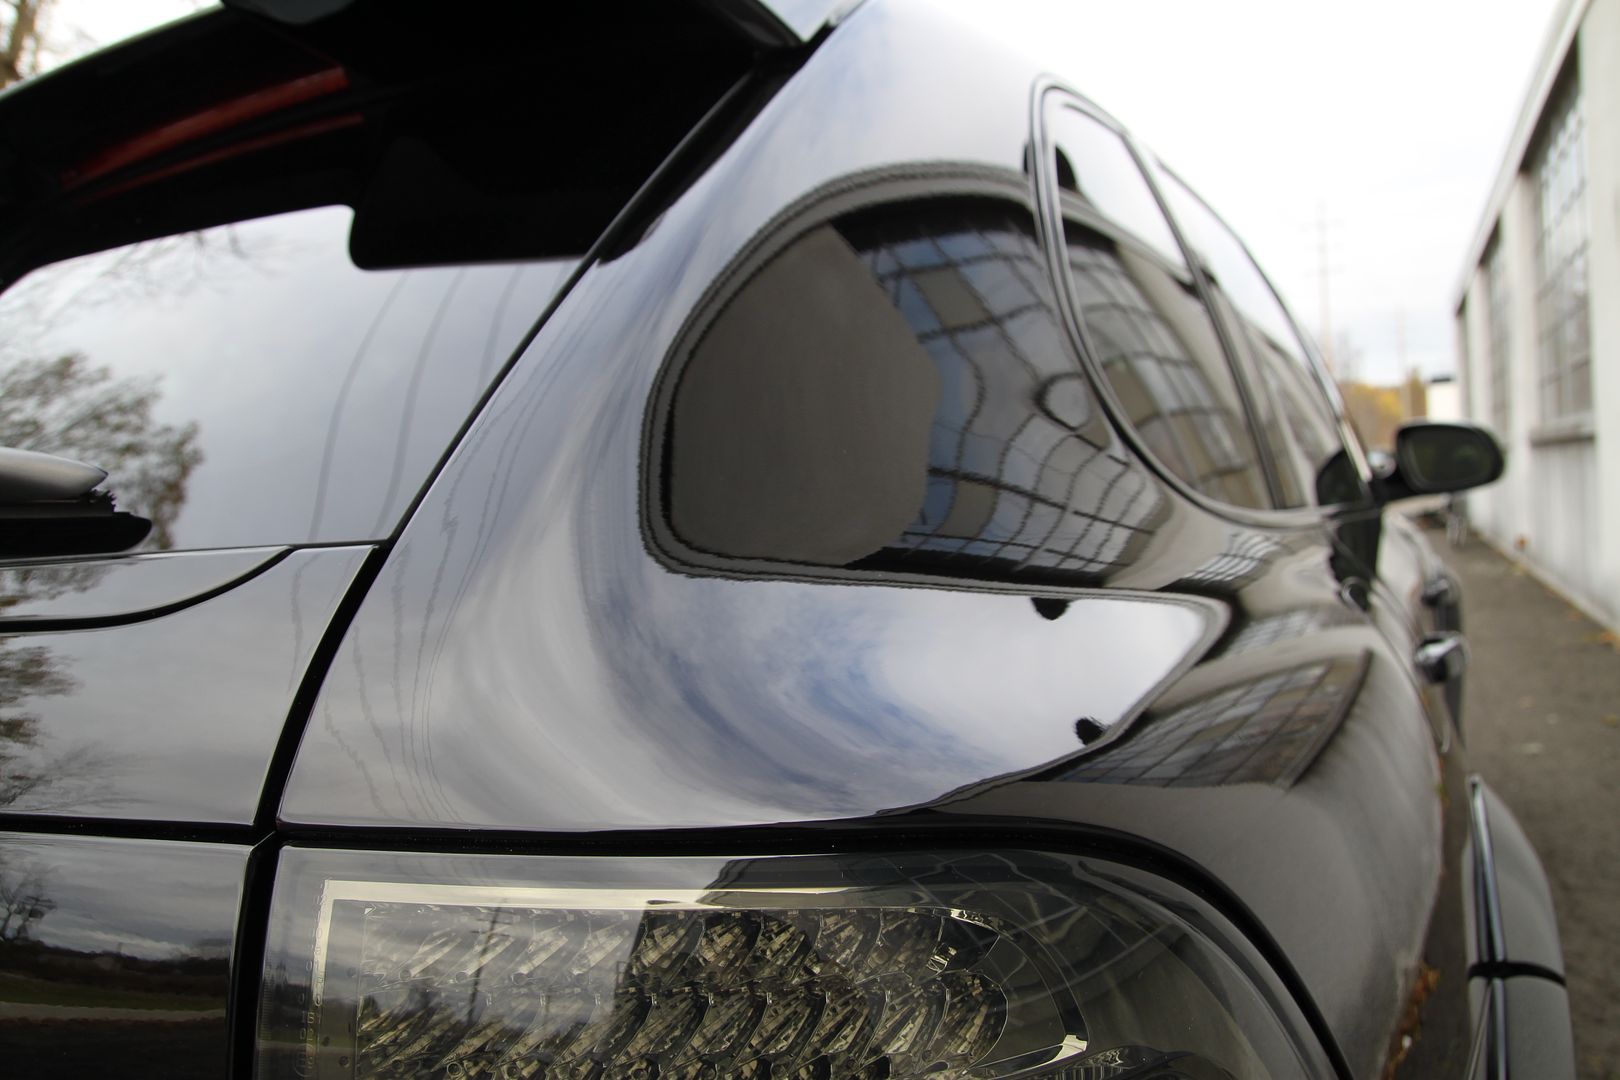
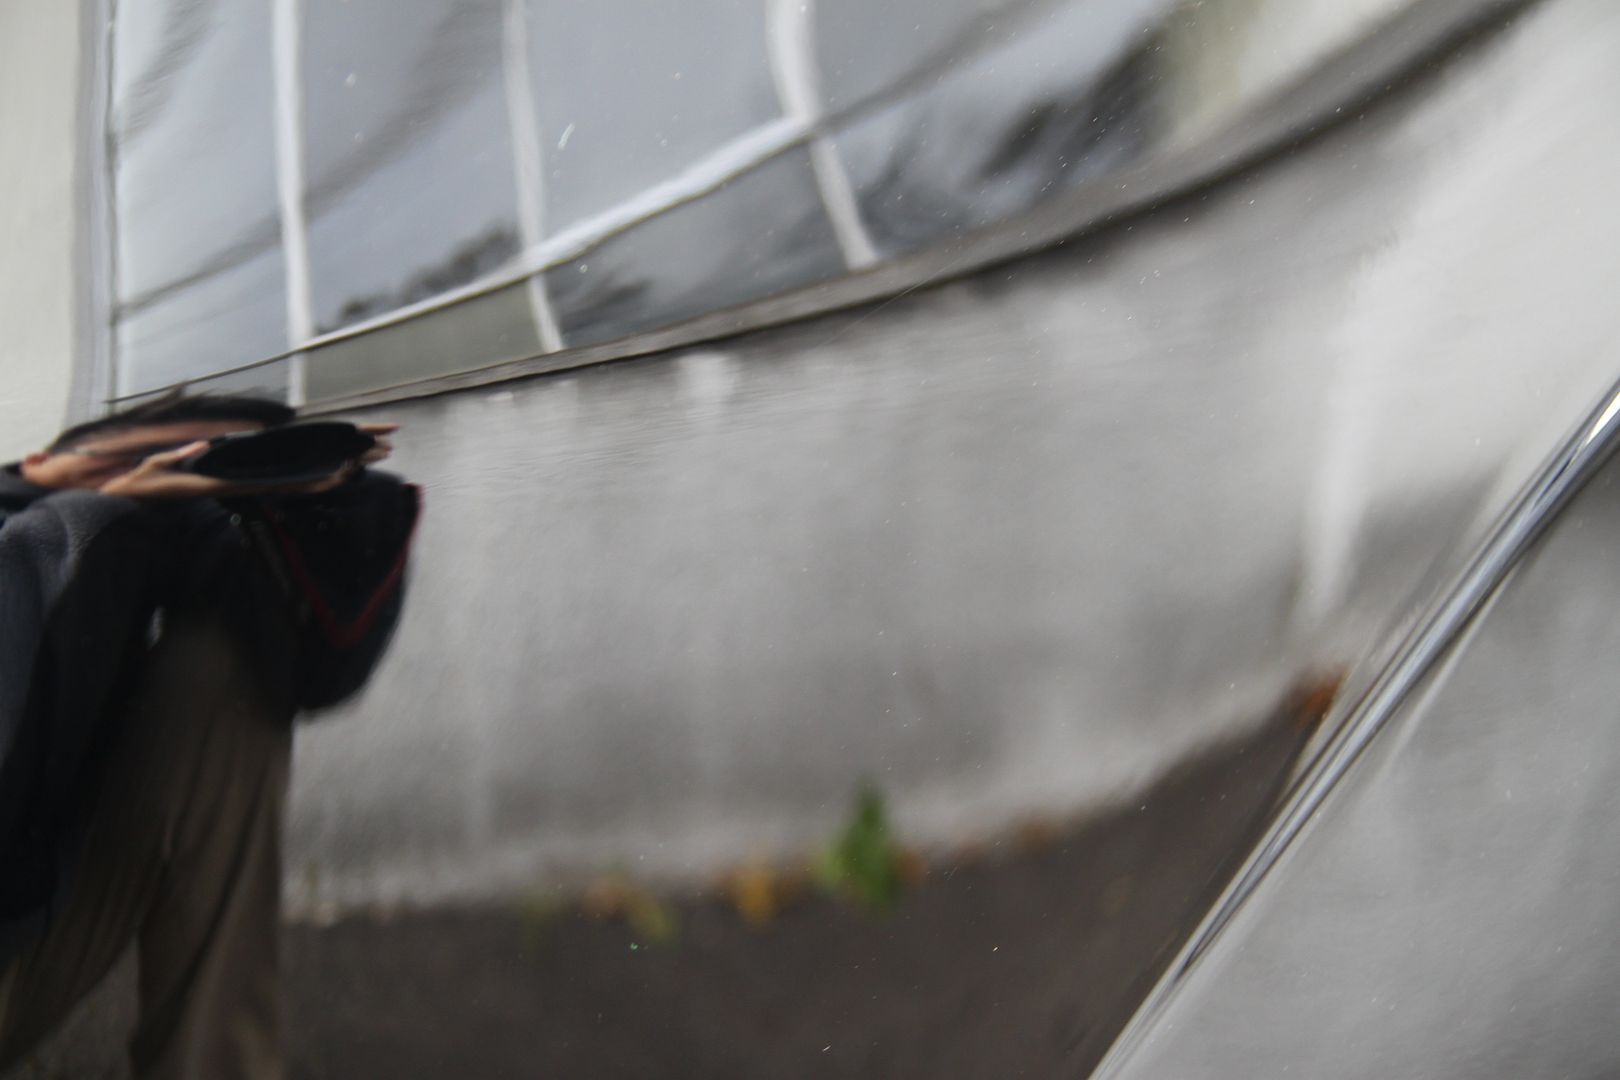
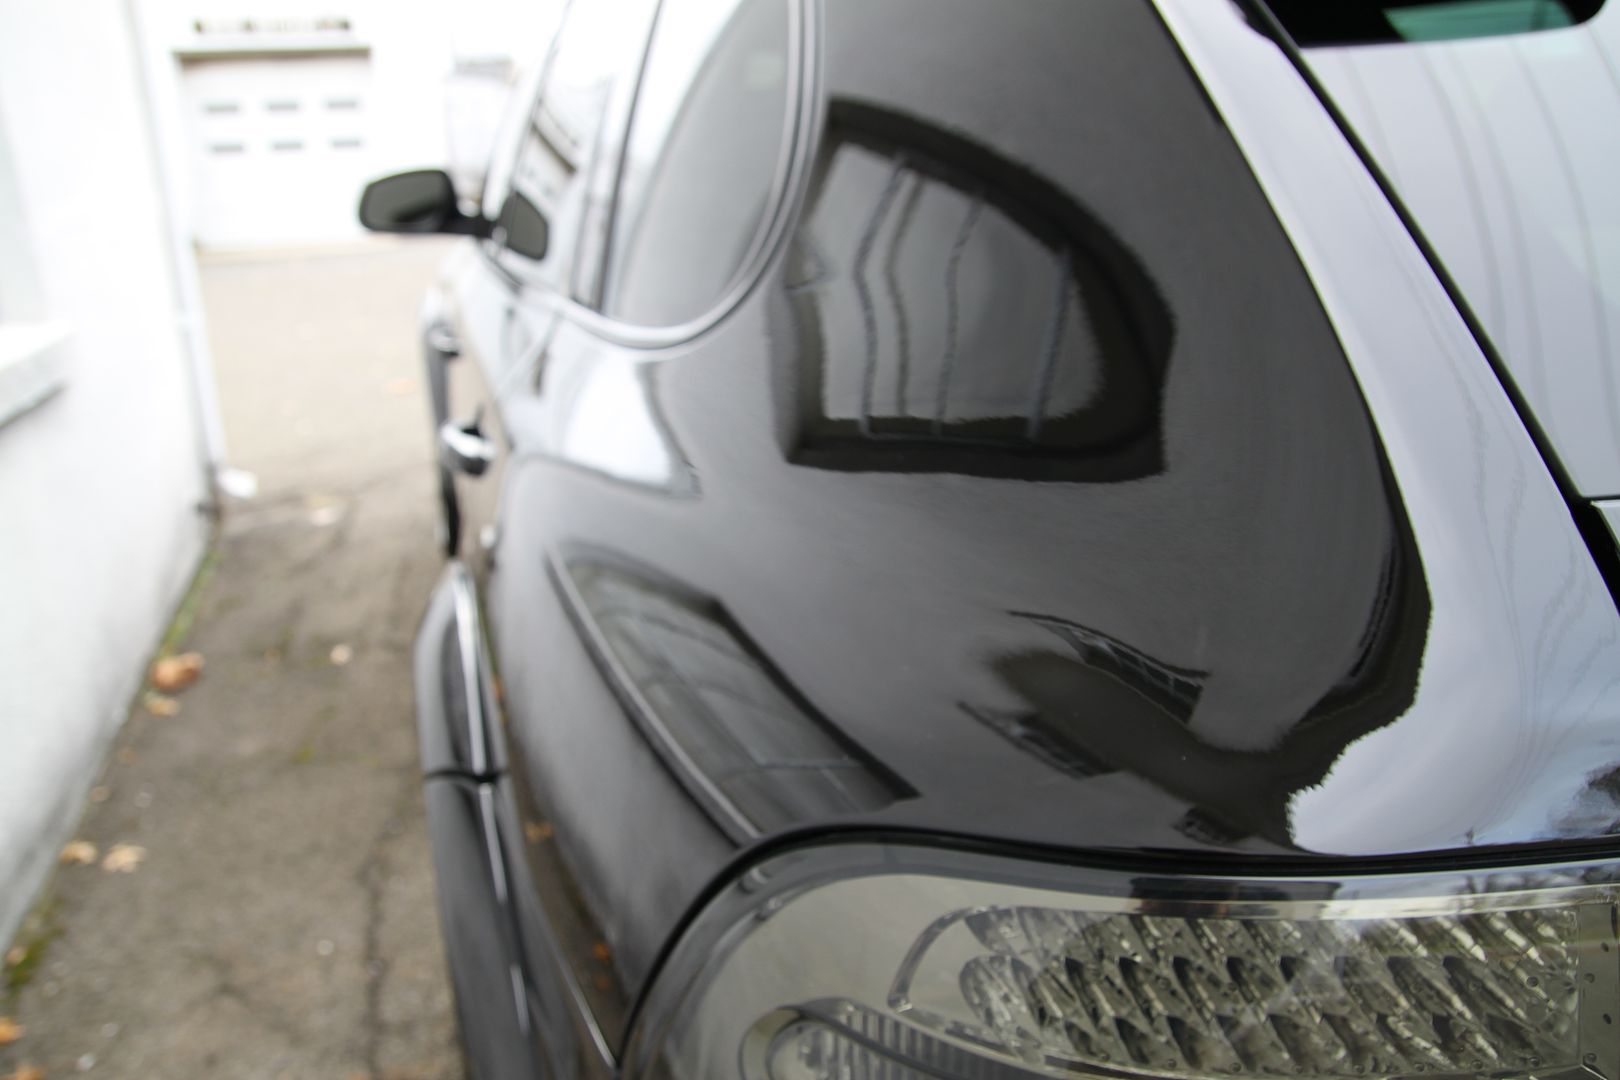
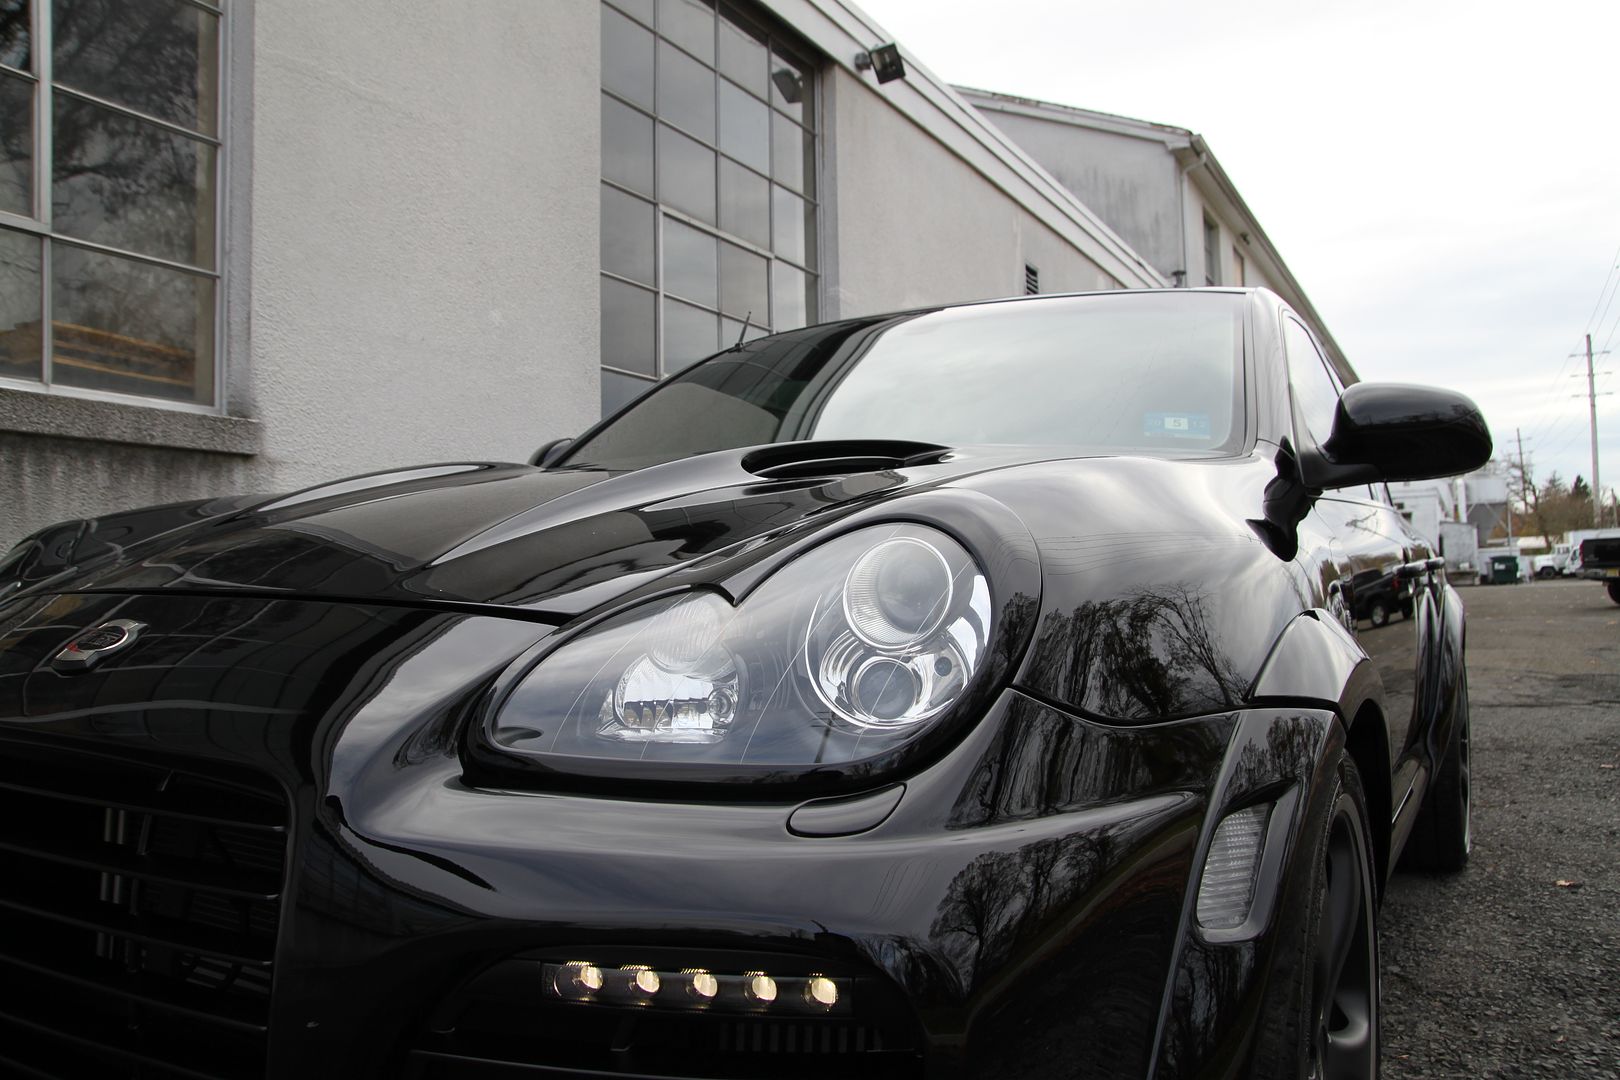
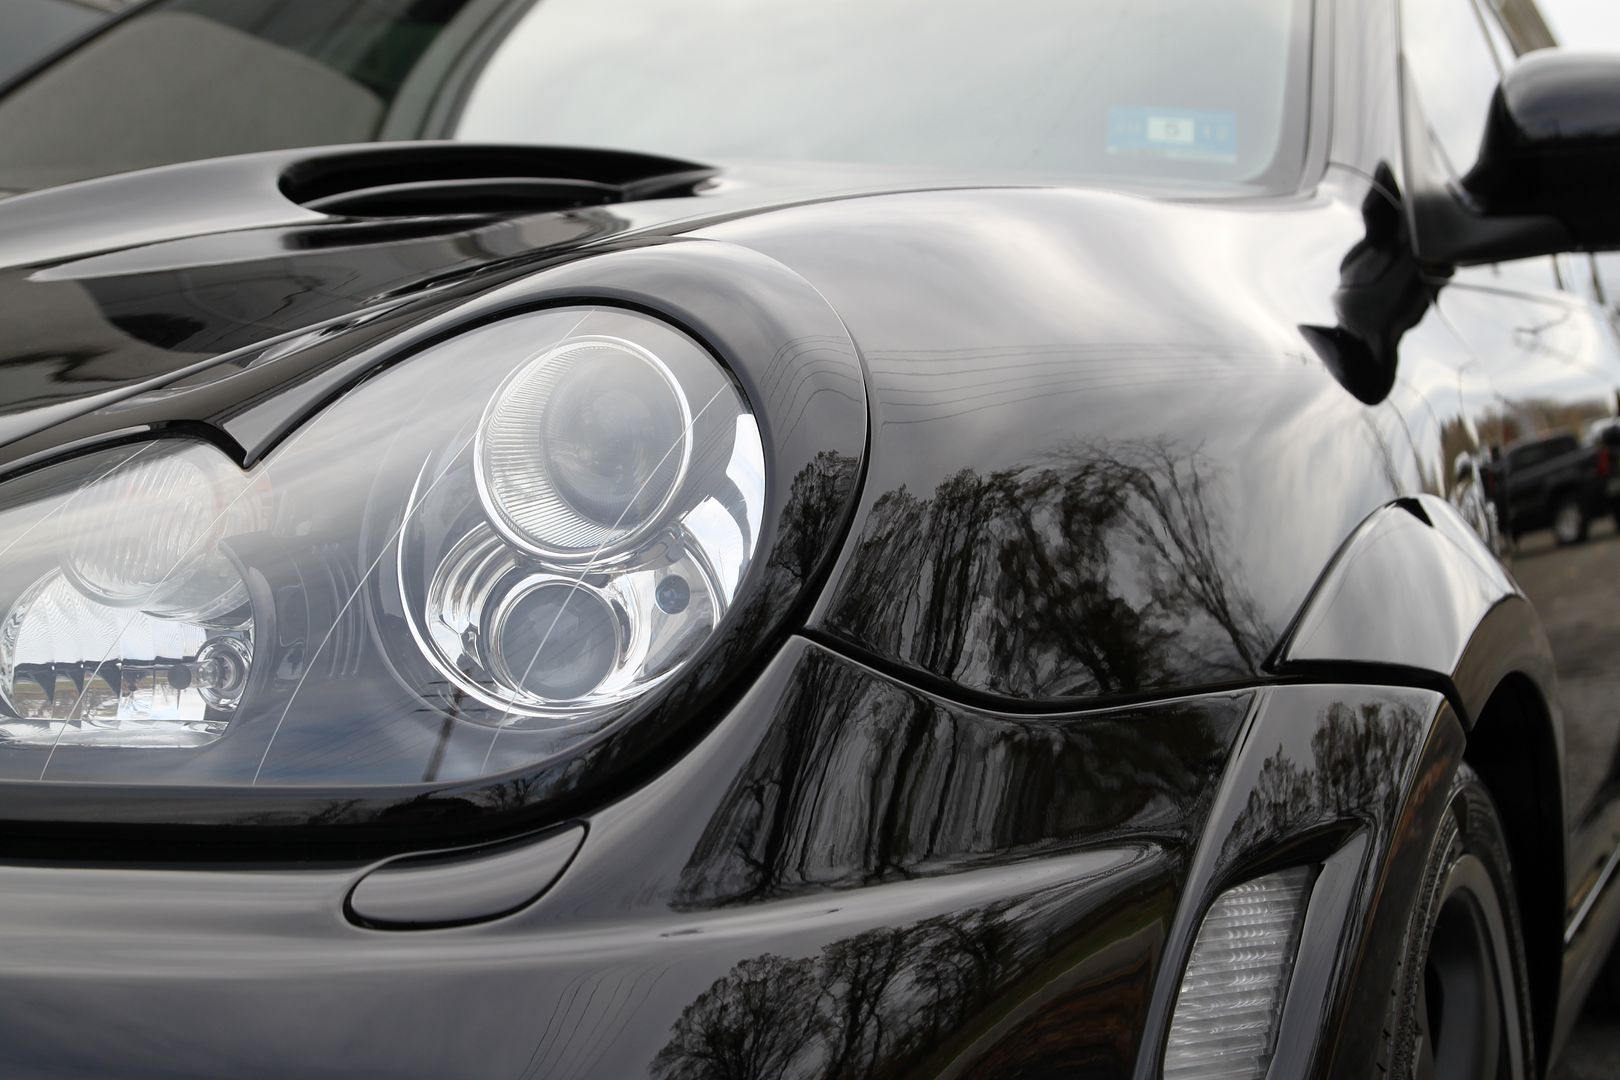
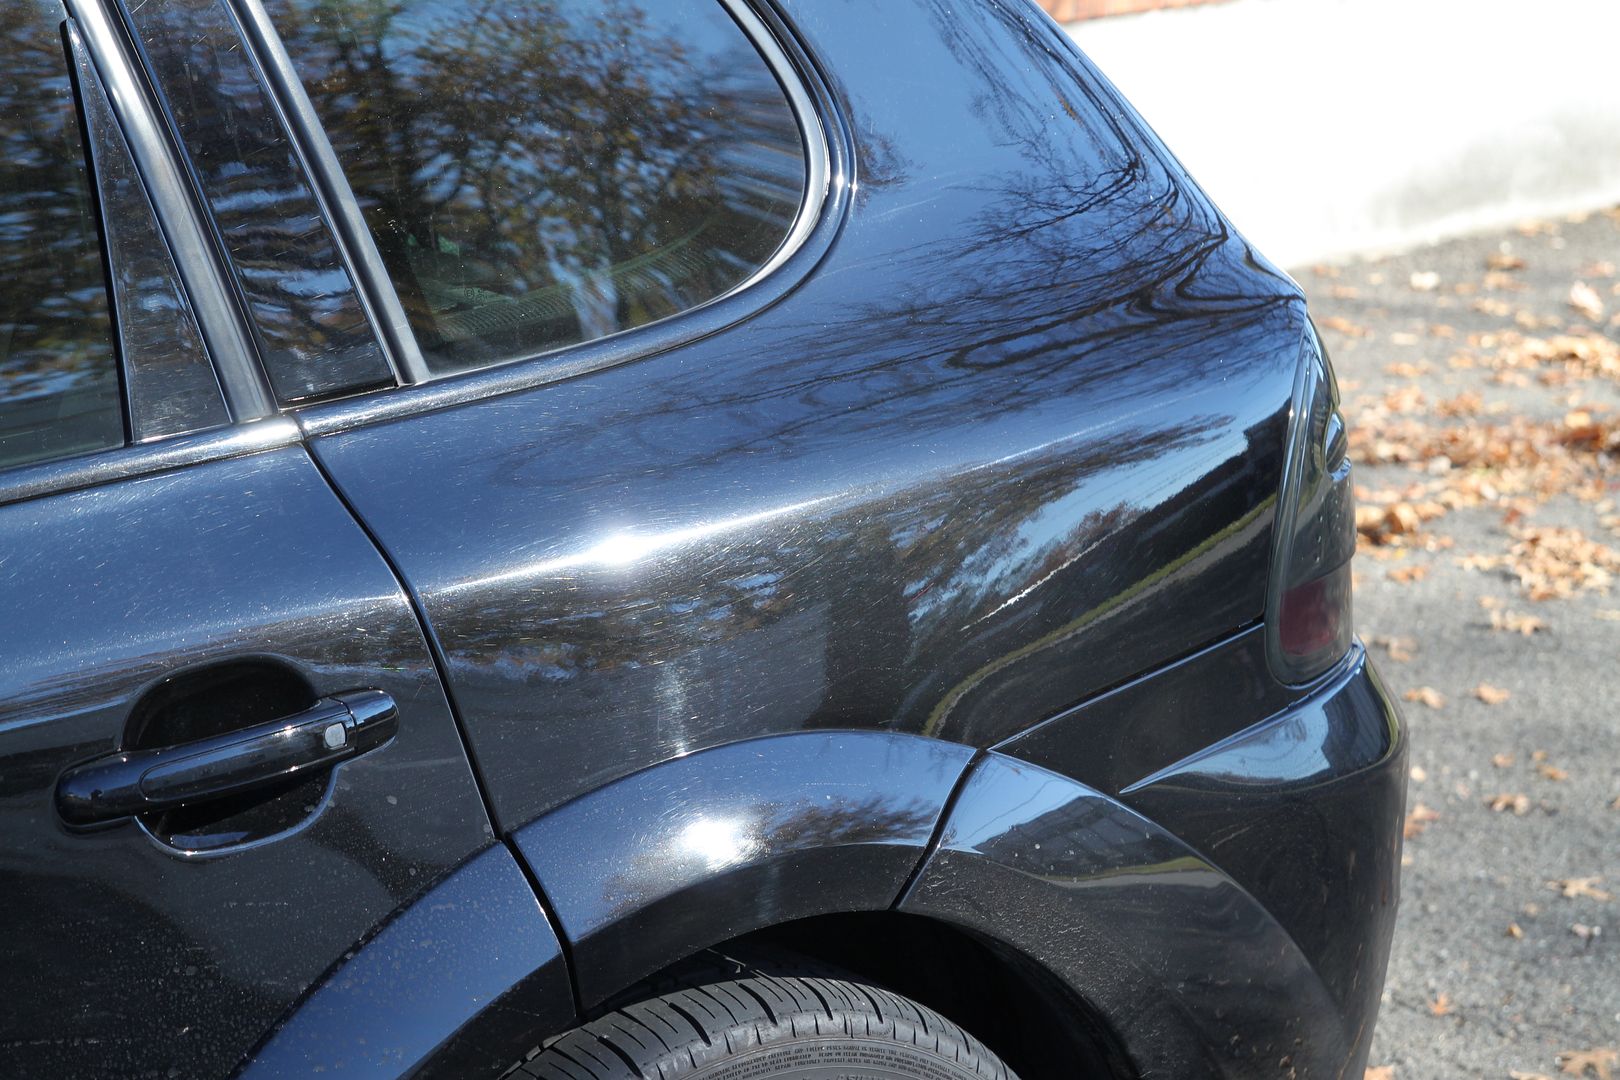
- 3 Step Paint correction (Meg's M105, Something being tested ; ) )
- Inspection with Fenix, 3m Sun Gun, Infratech, and natural sunlight
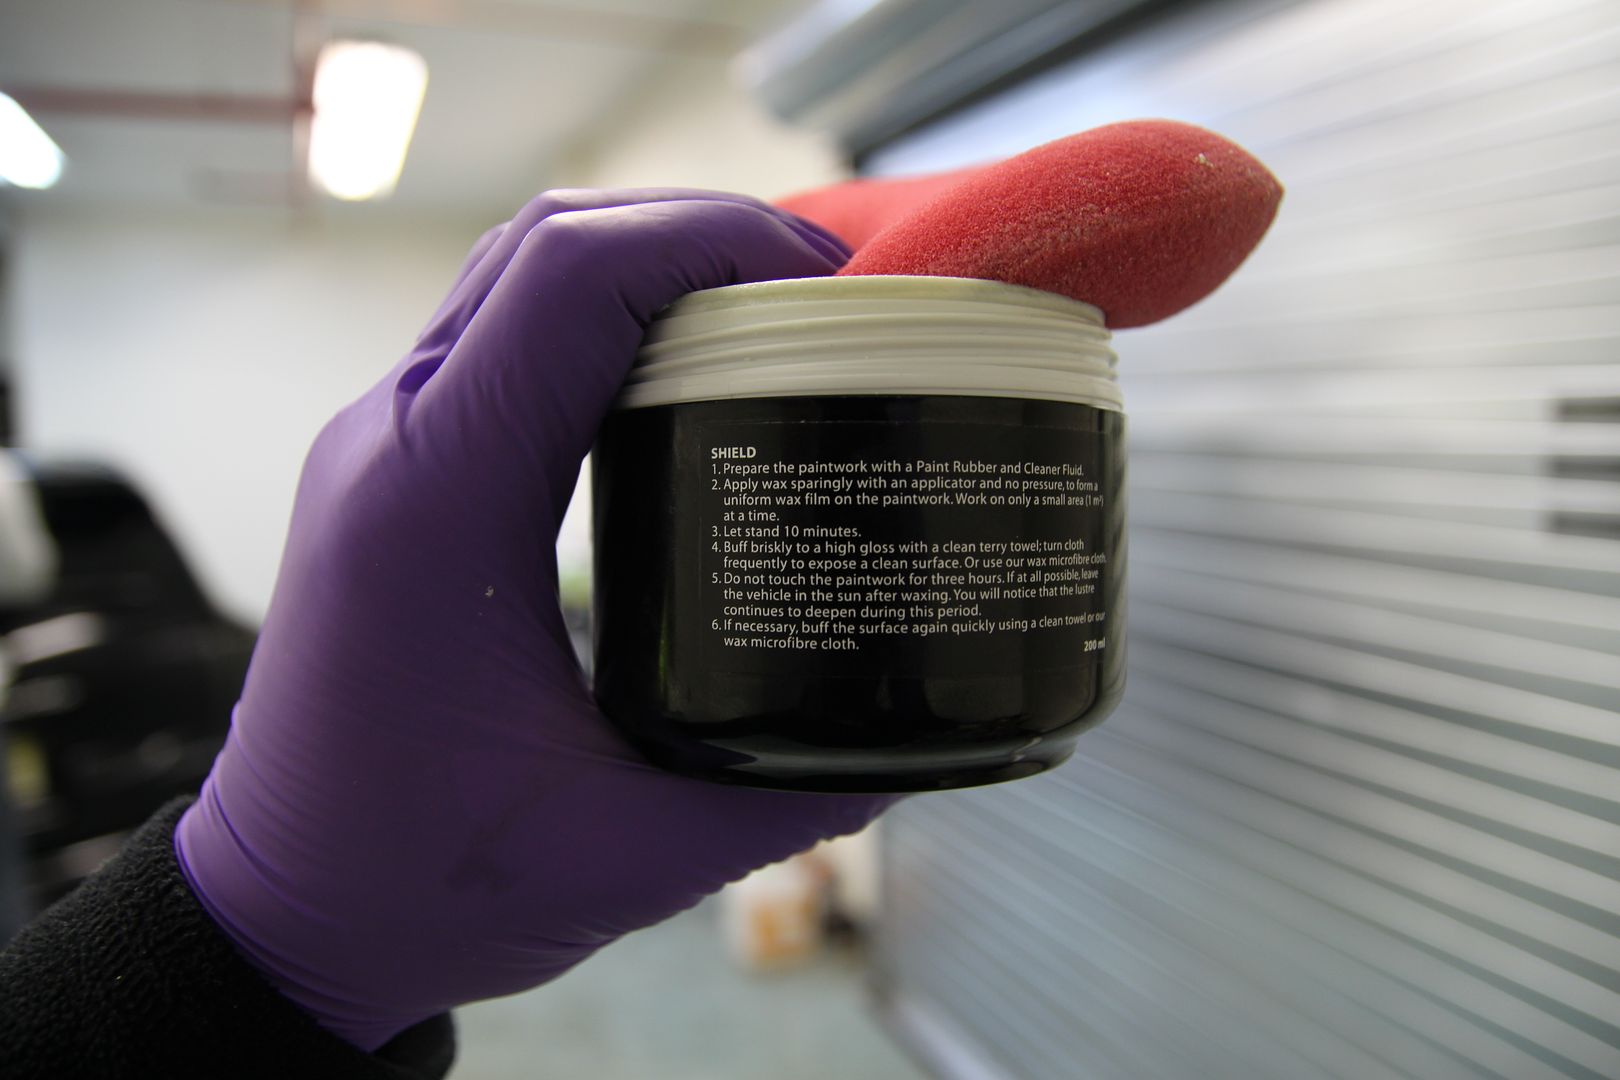
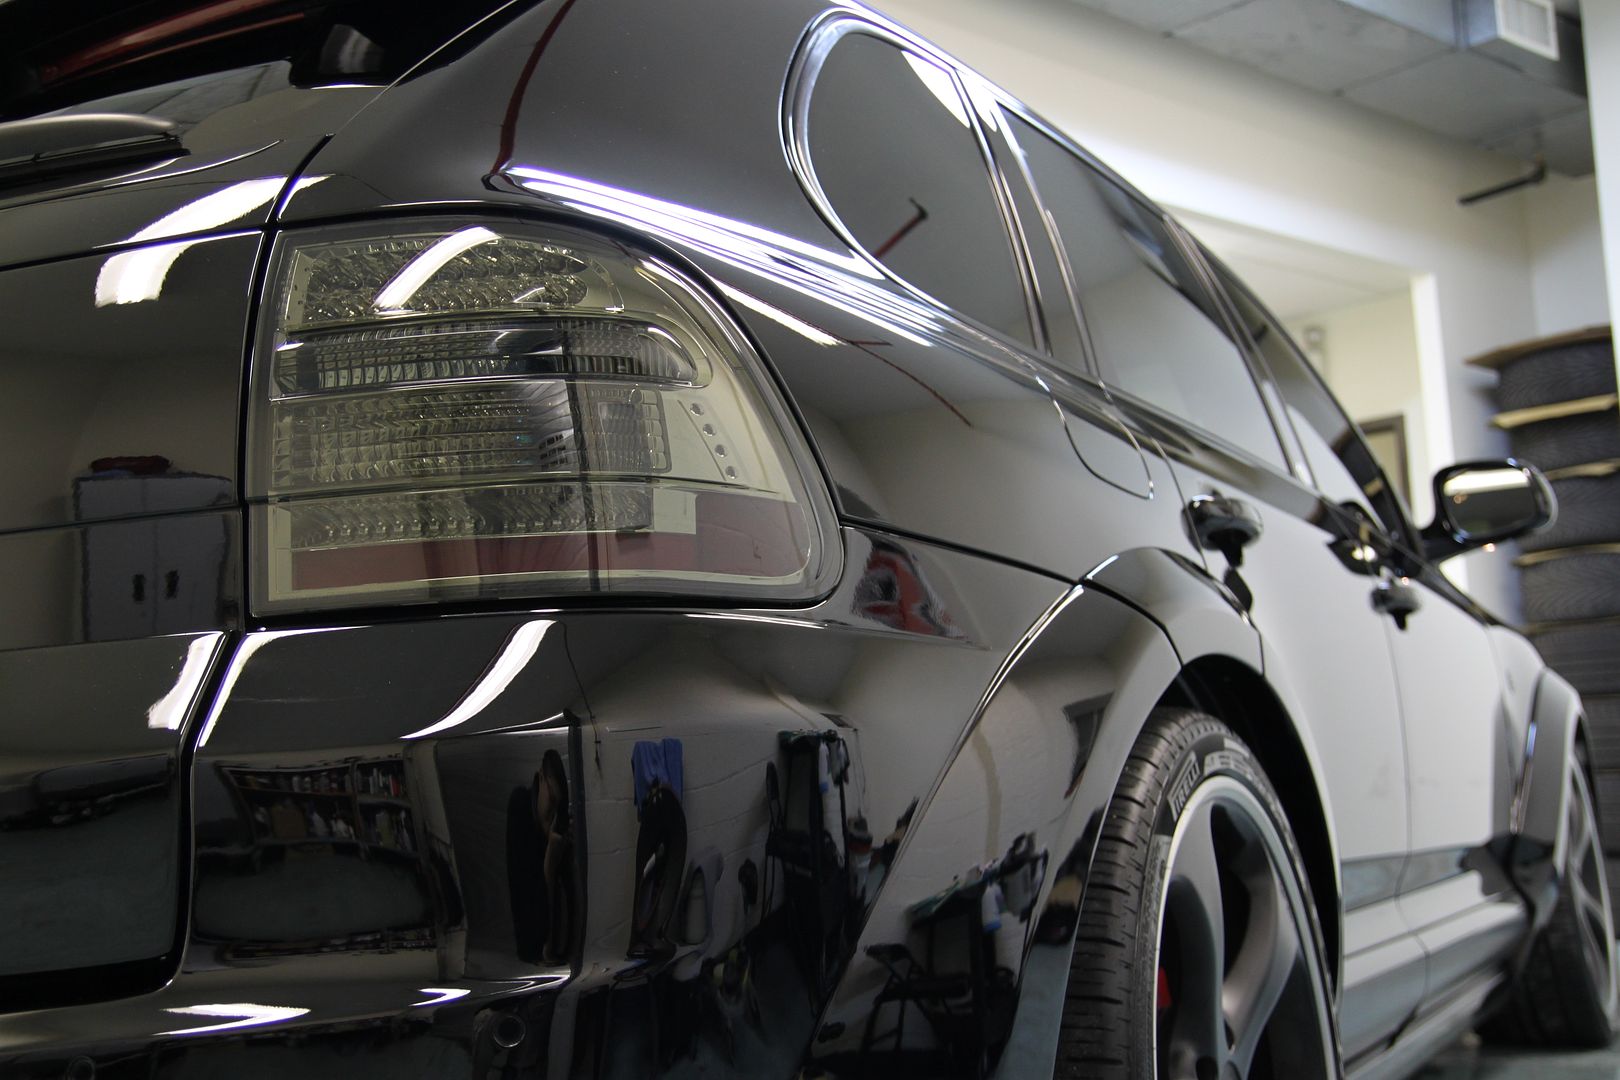
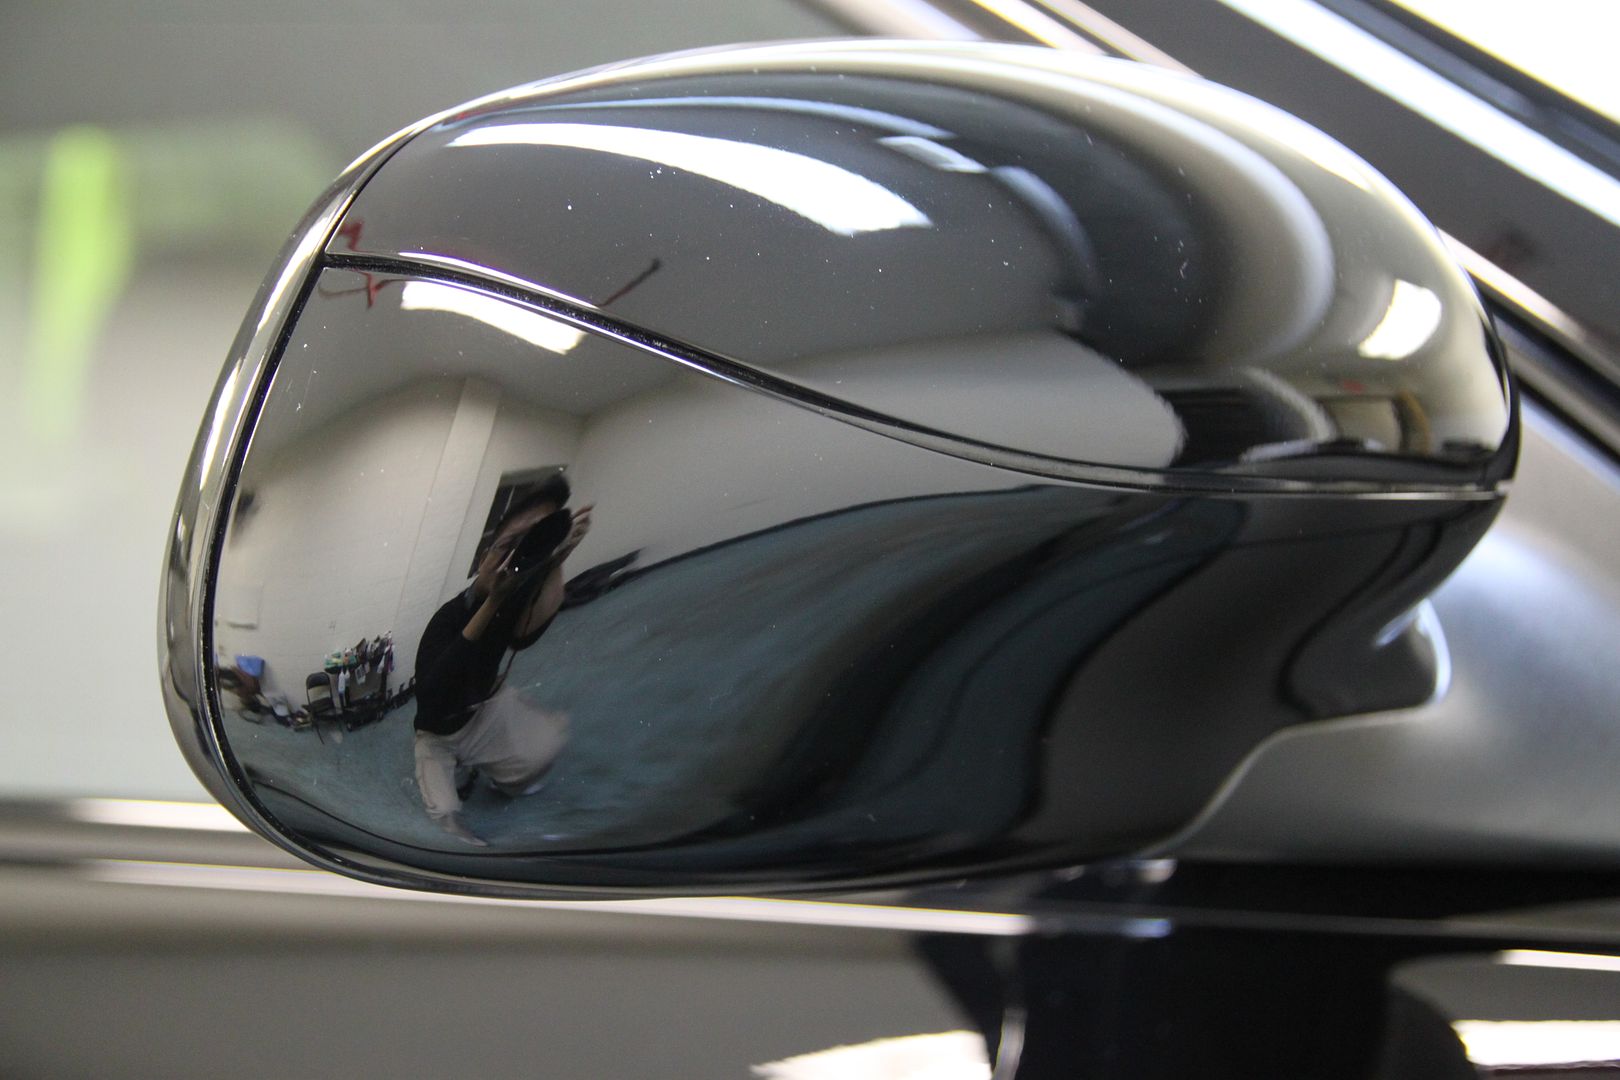
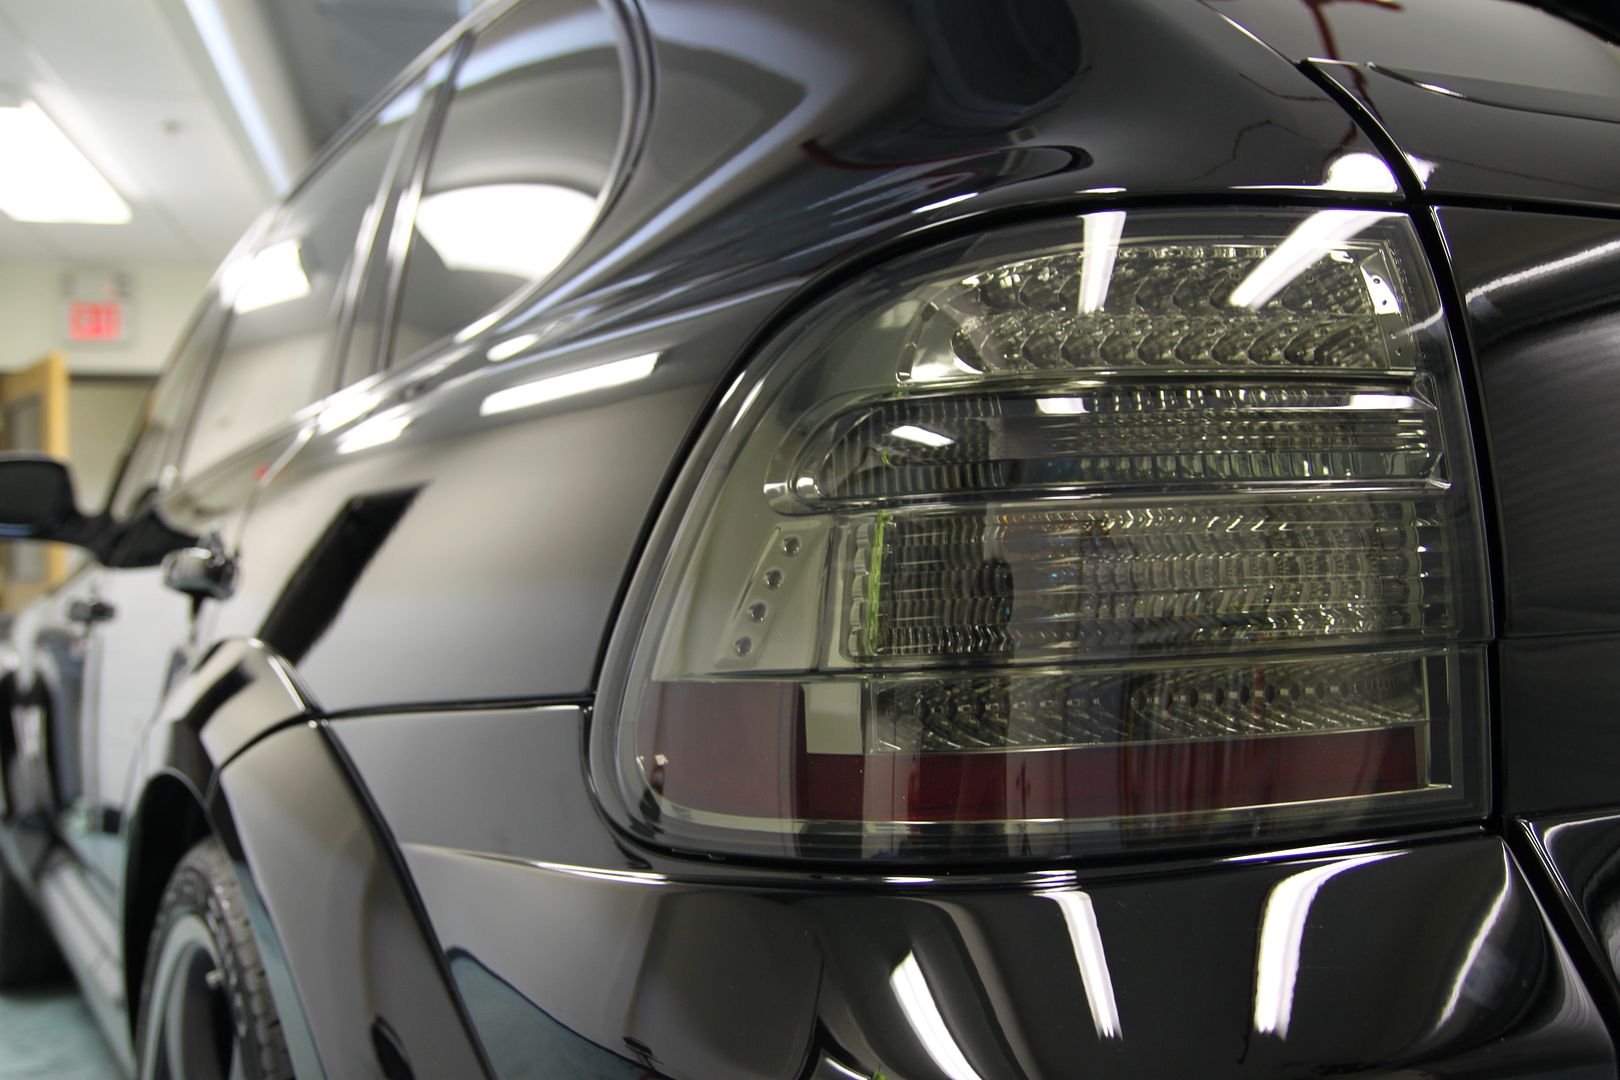
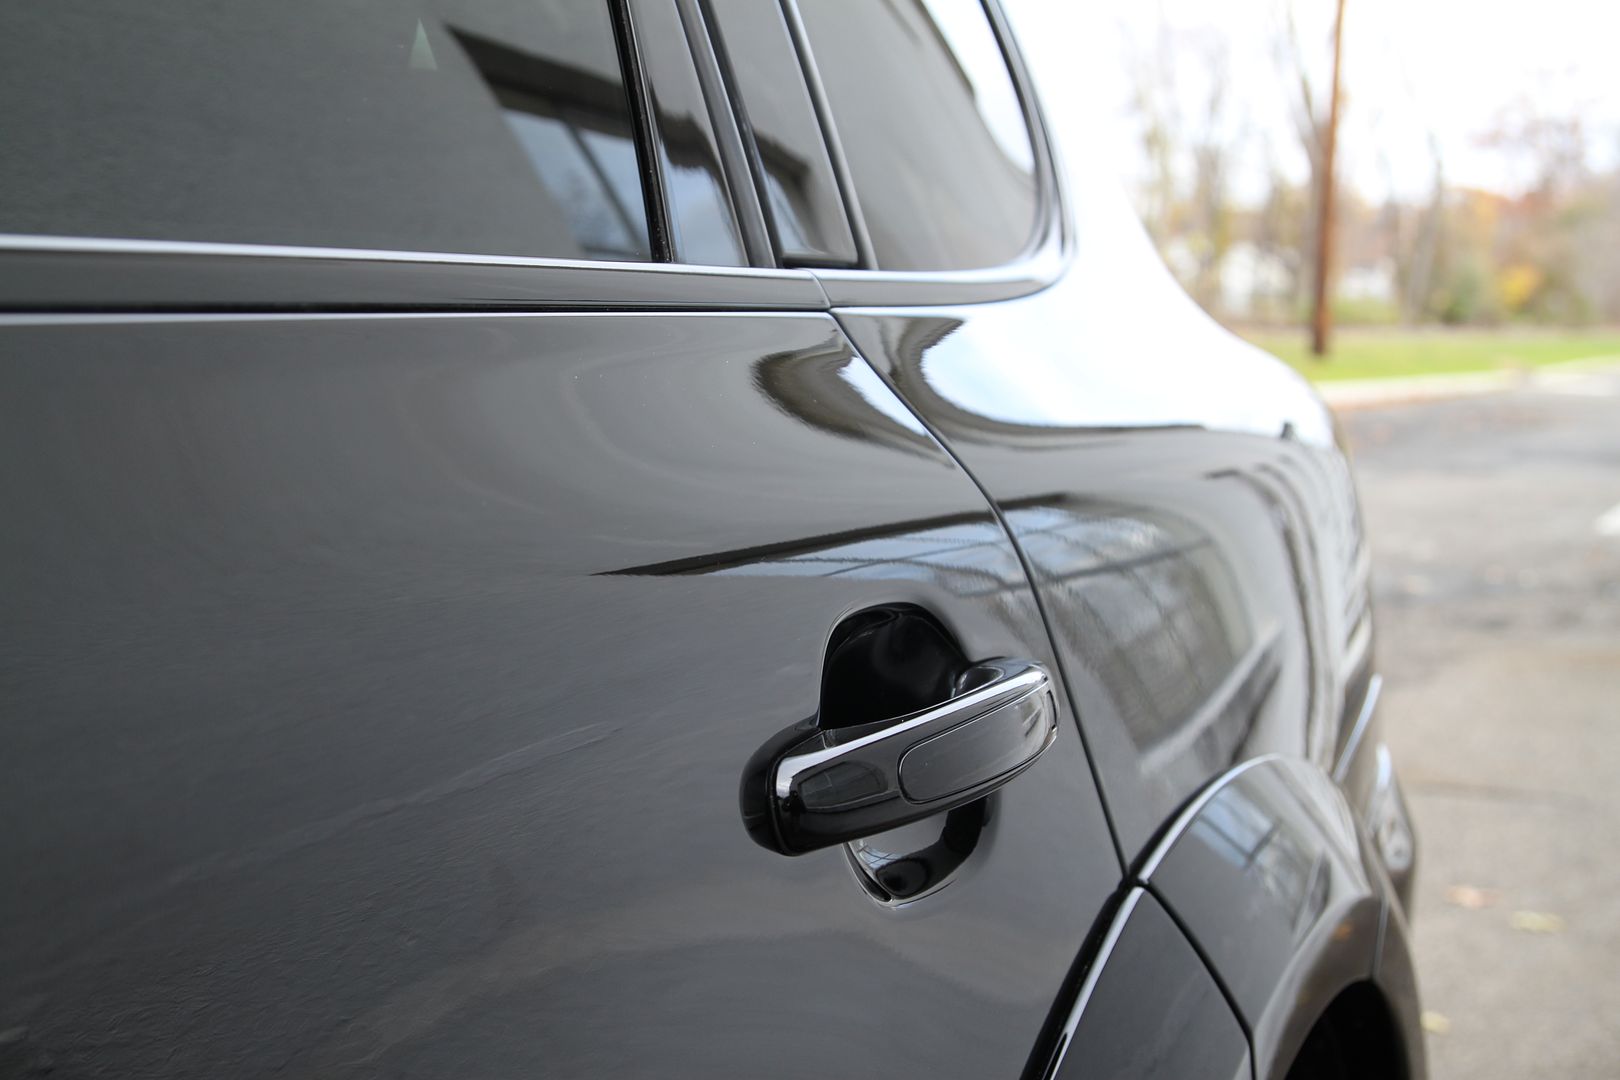
- Last Step - Swissvax Shield
- Rubber and Plastics Treated
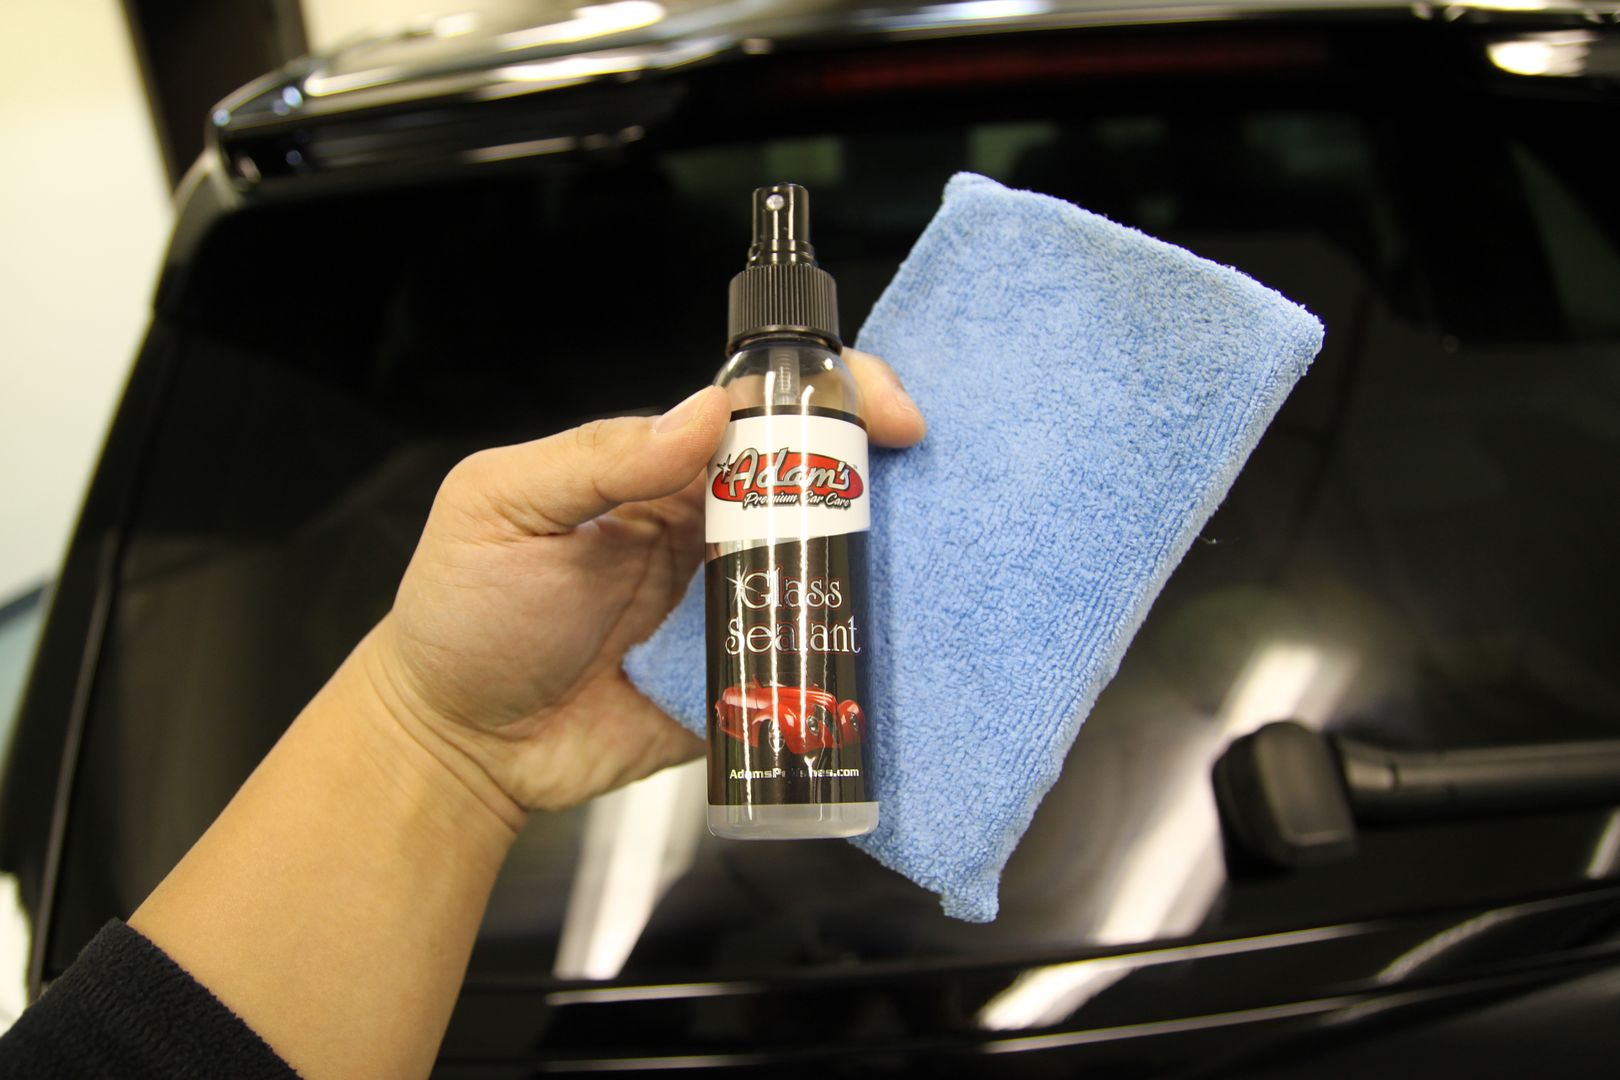
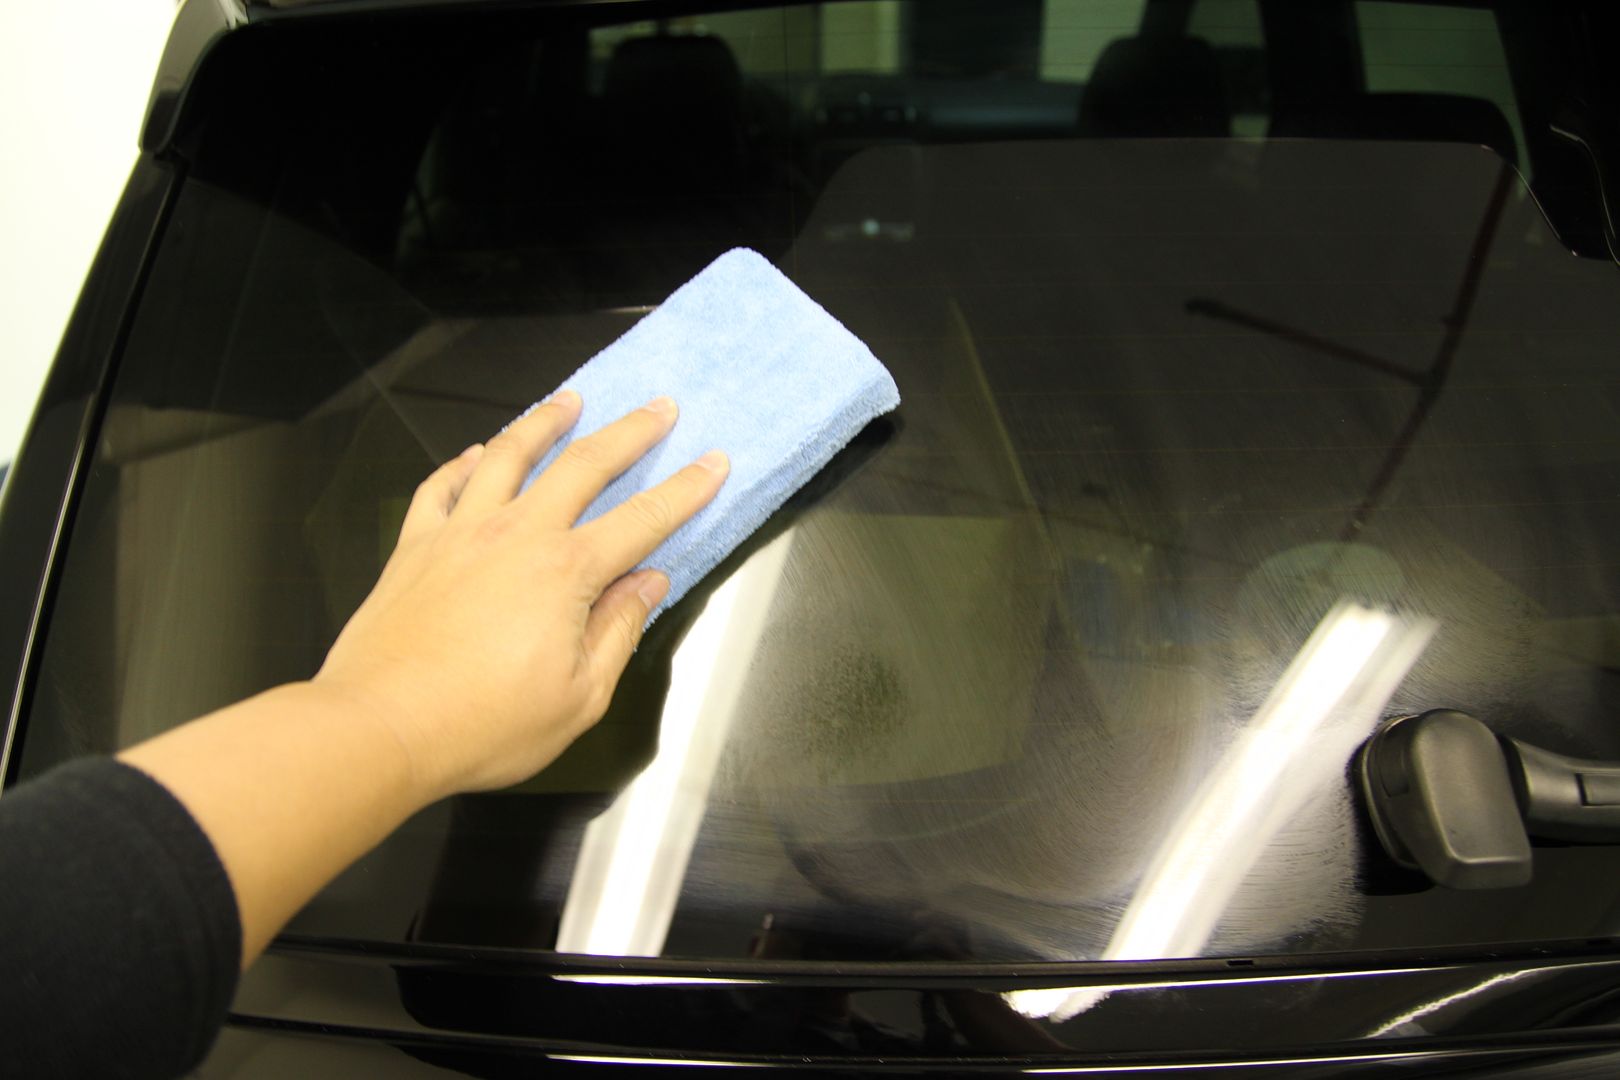
- Exterior windows and mirrors cleaned and sealed
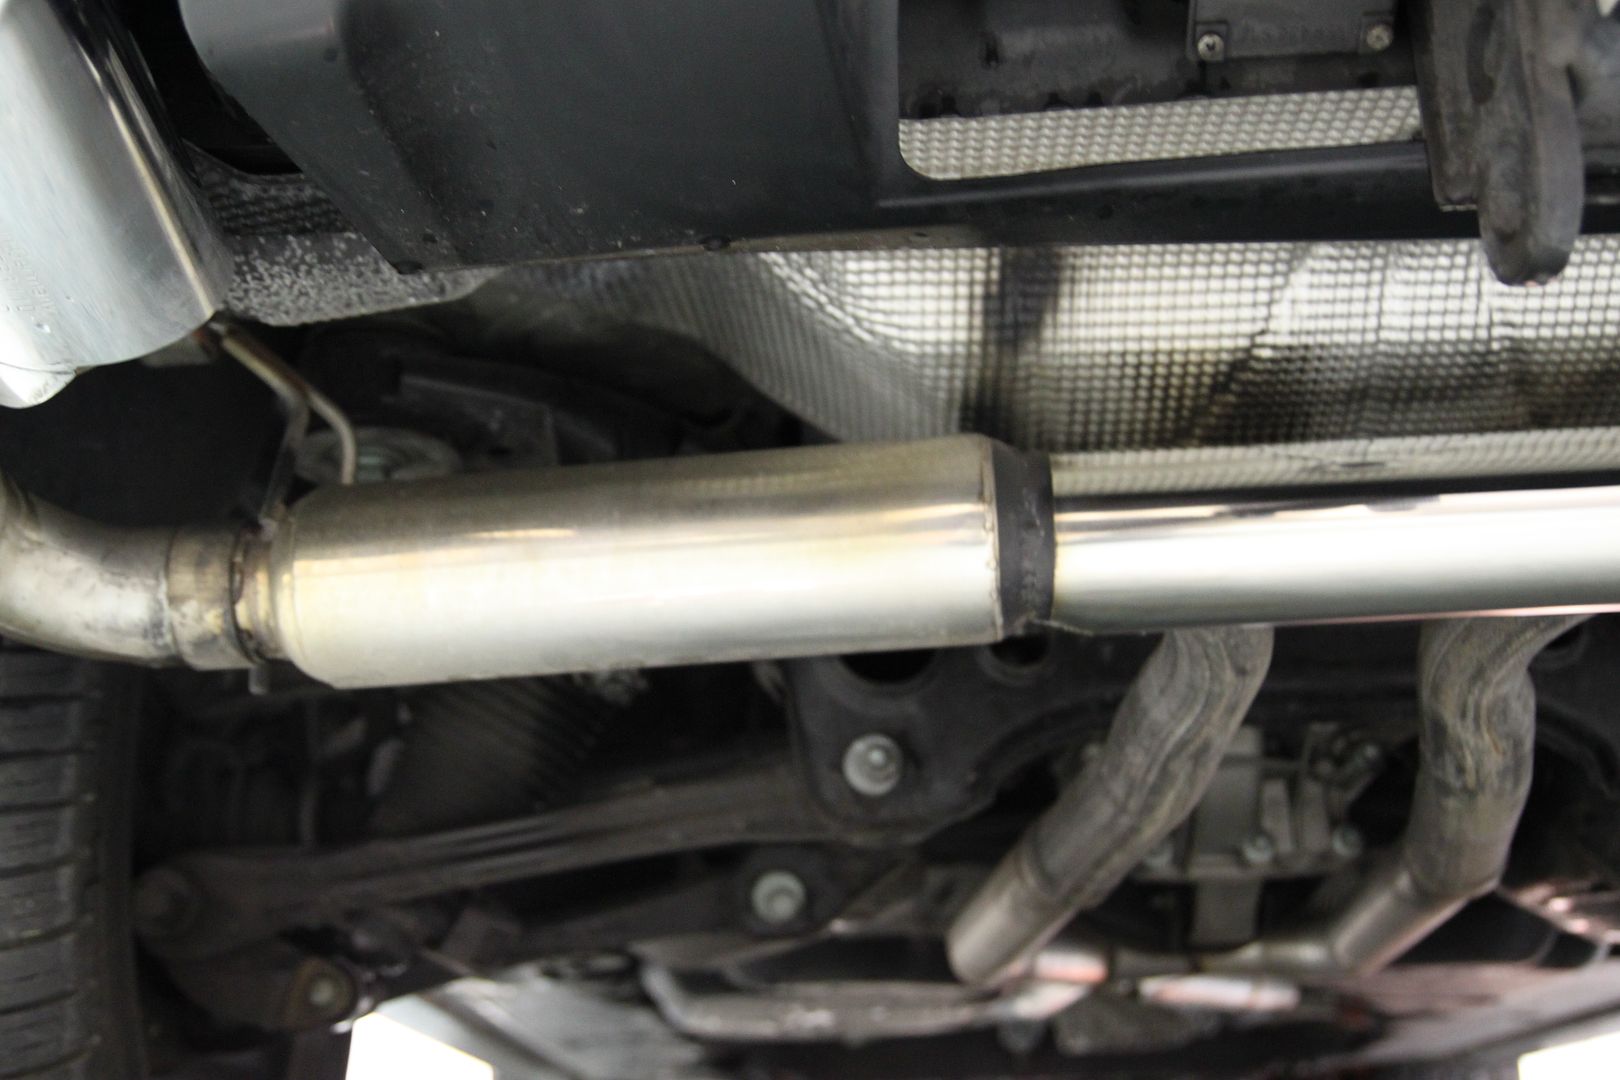
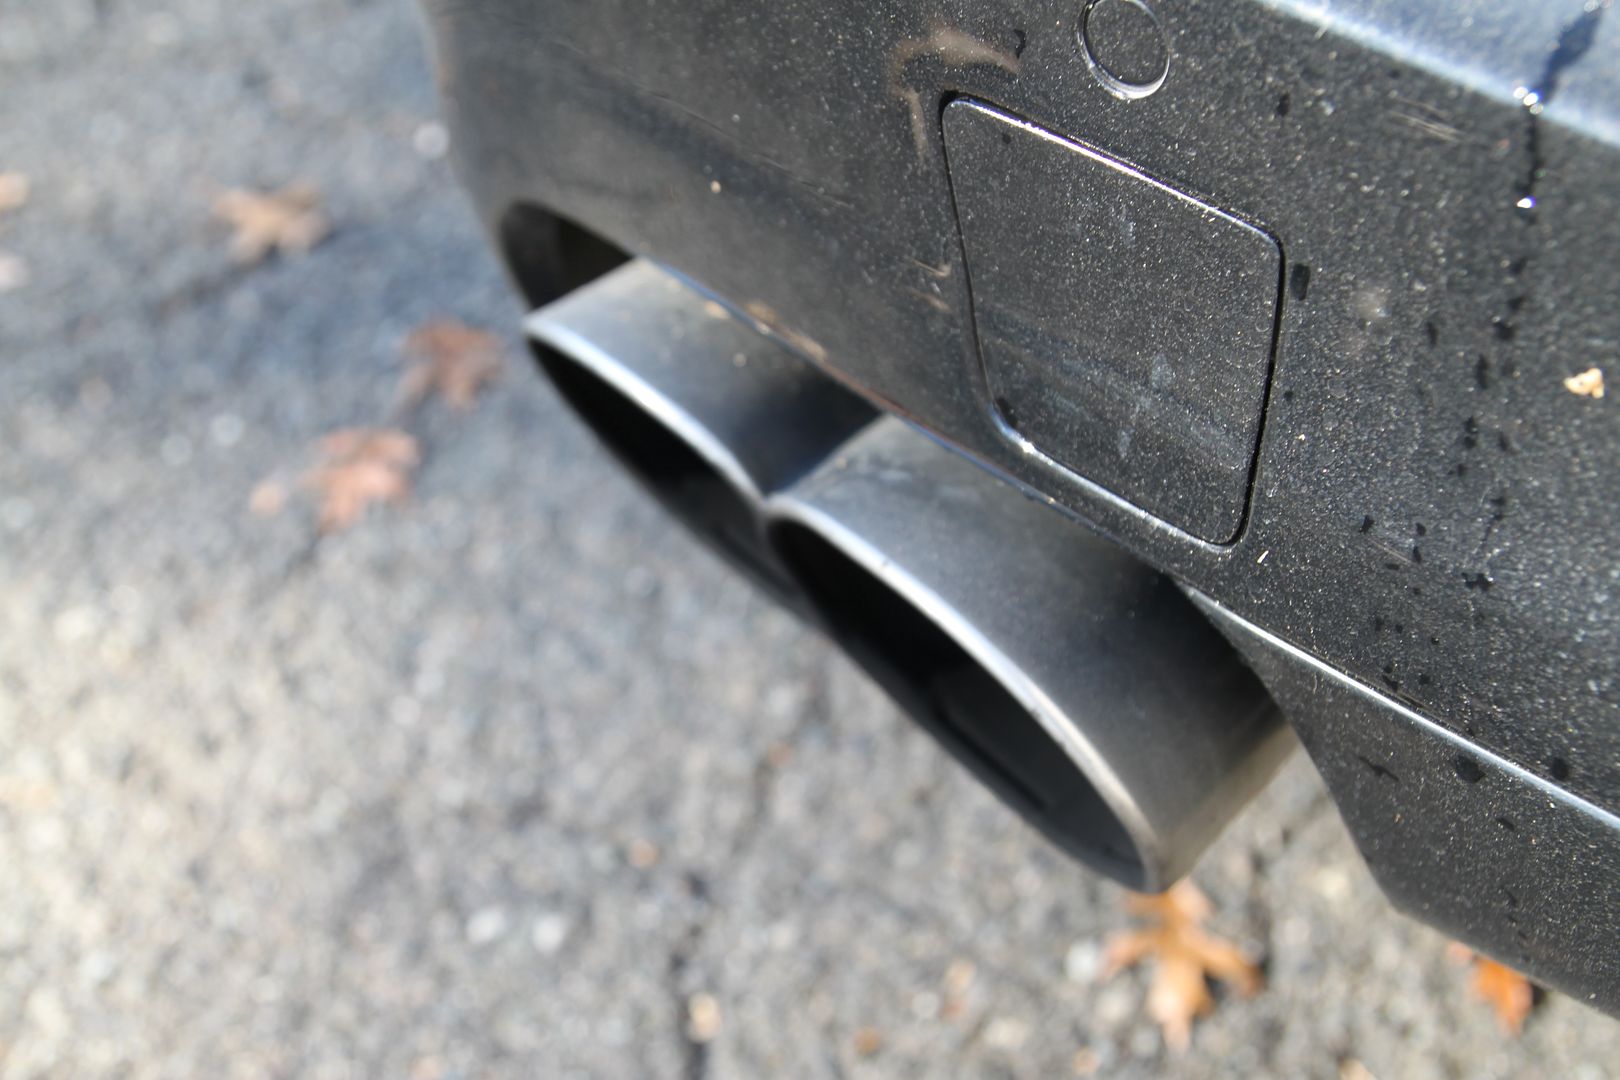
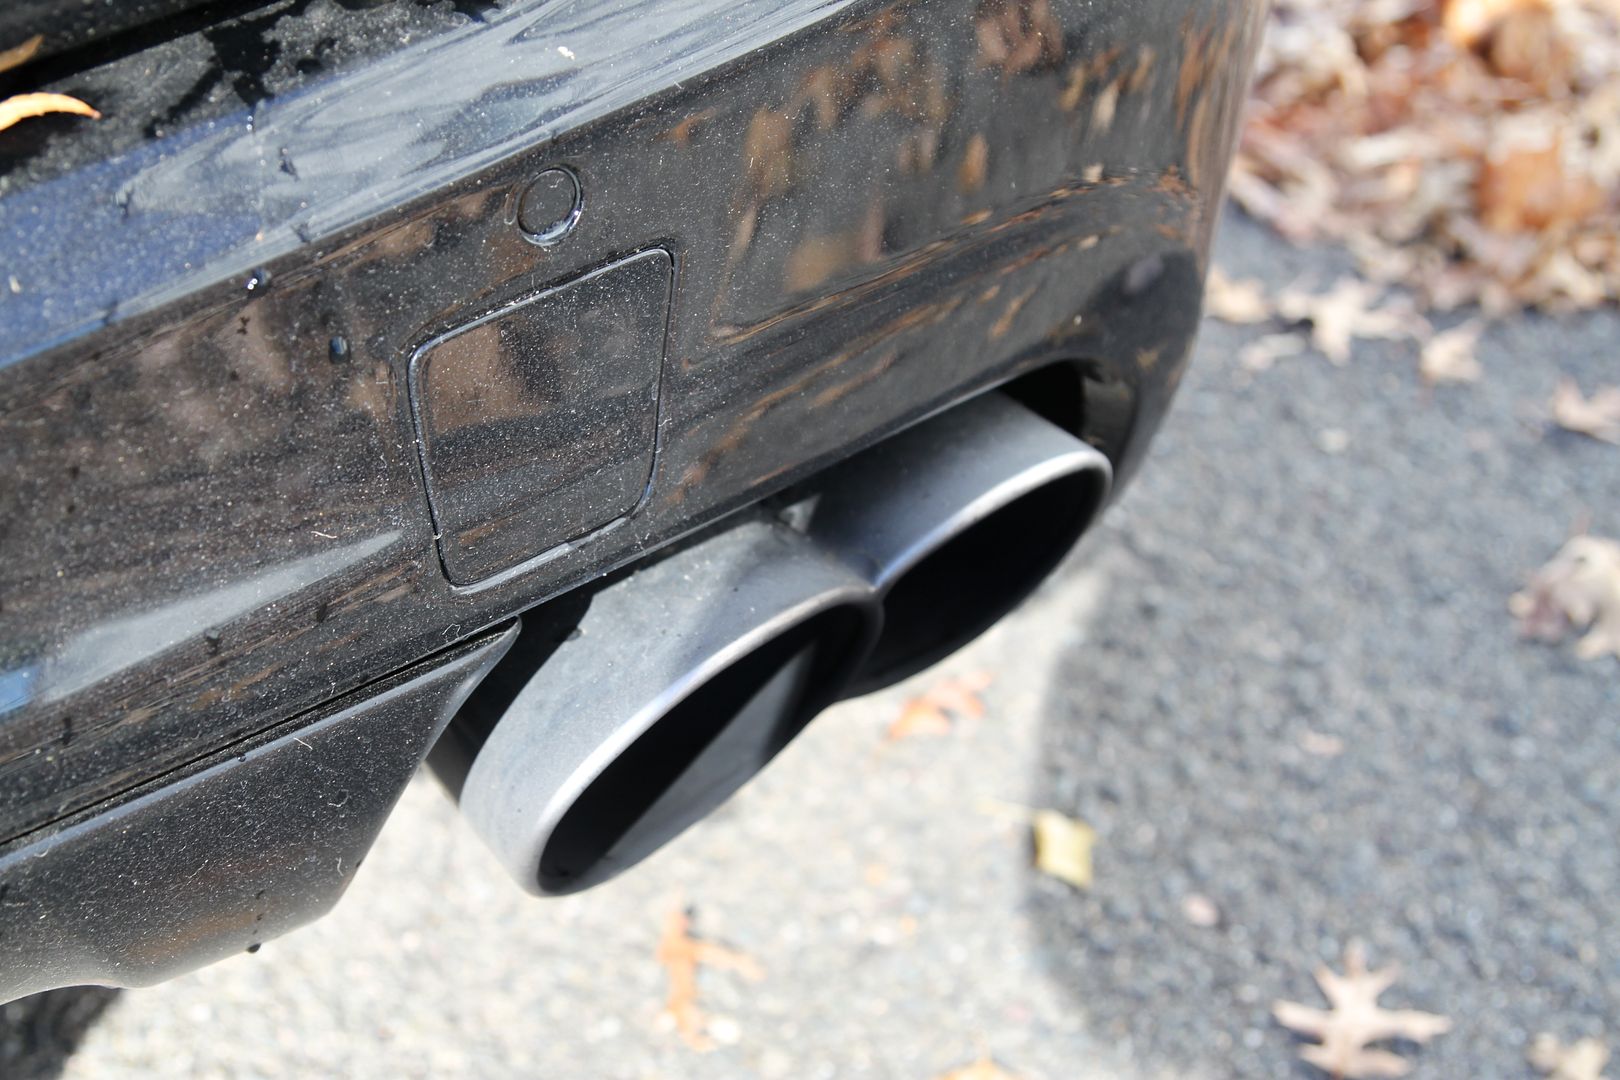
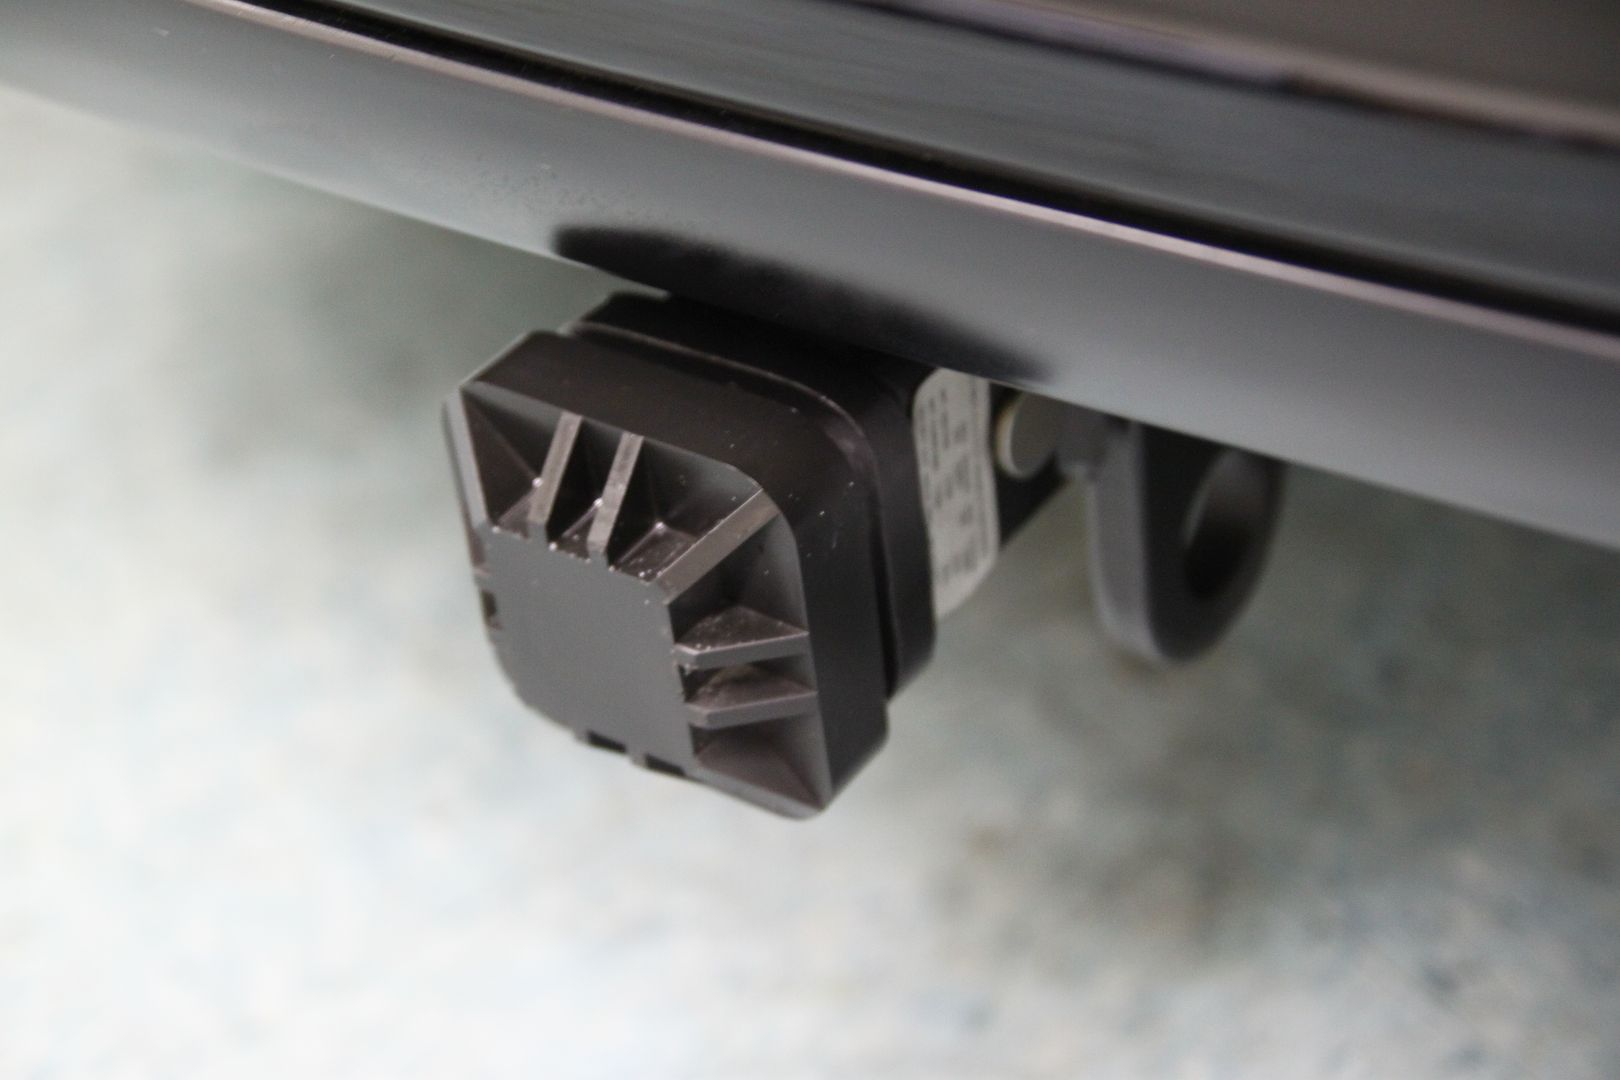
- Exhaust tips cleaned
- Windows were clayed and sealed
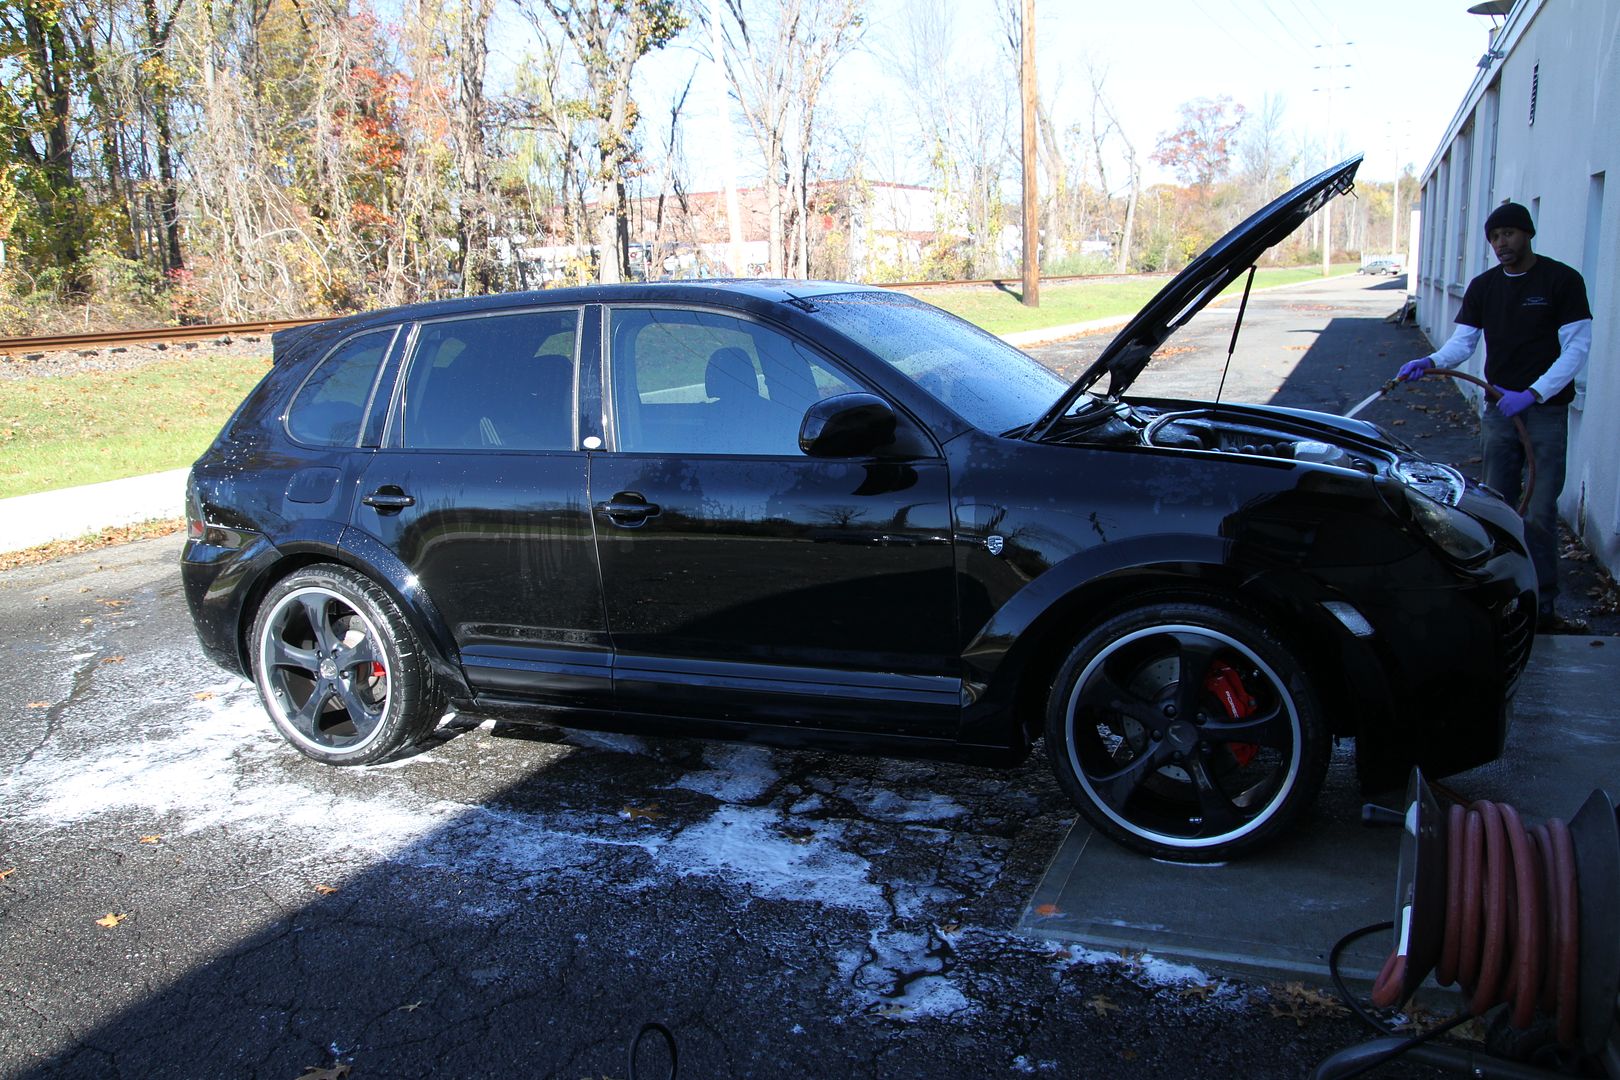
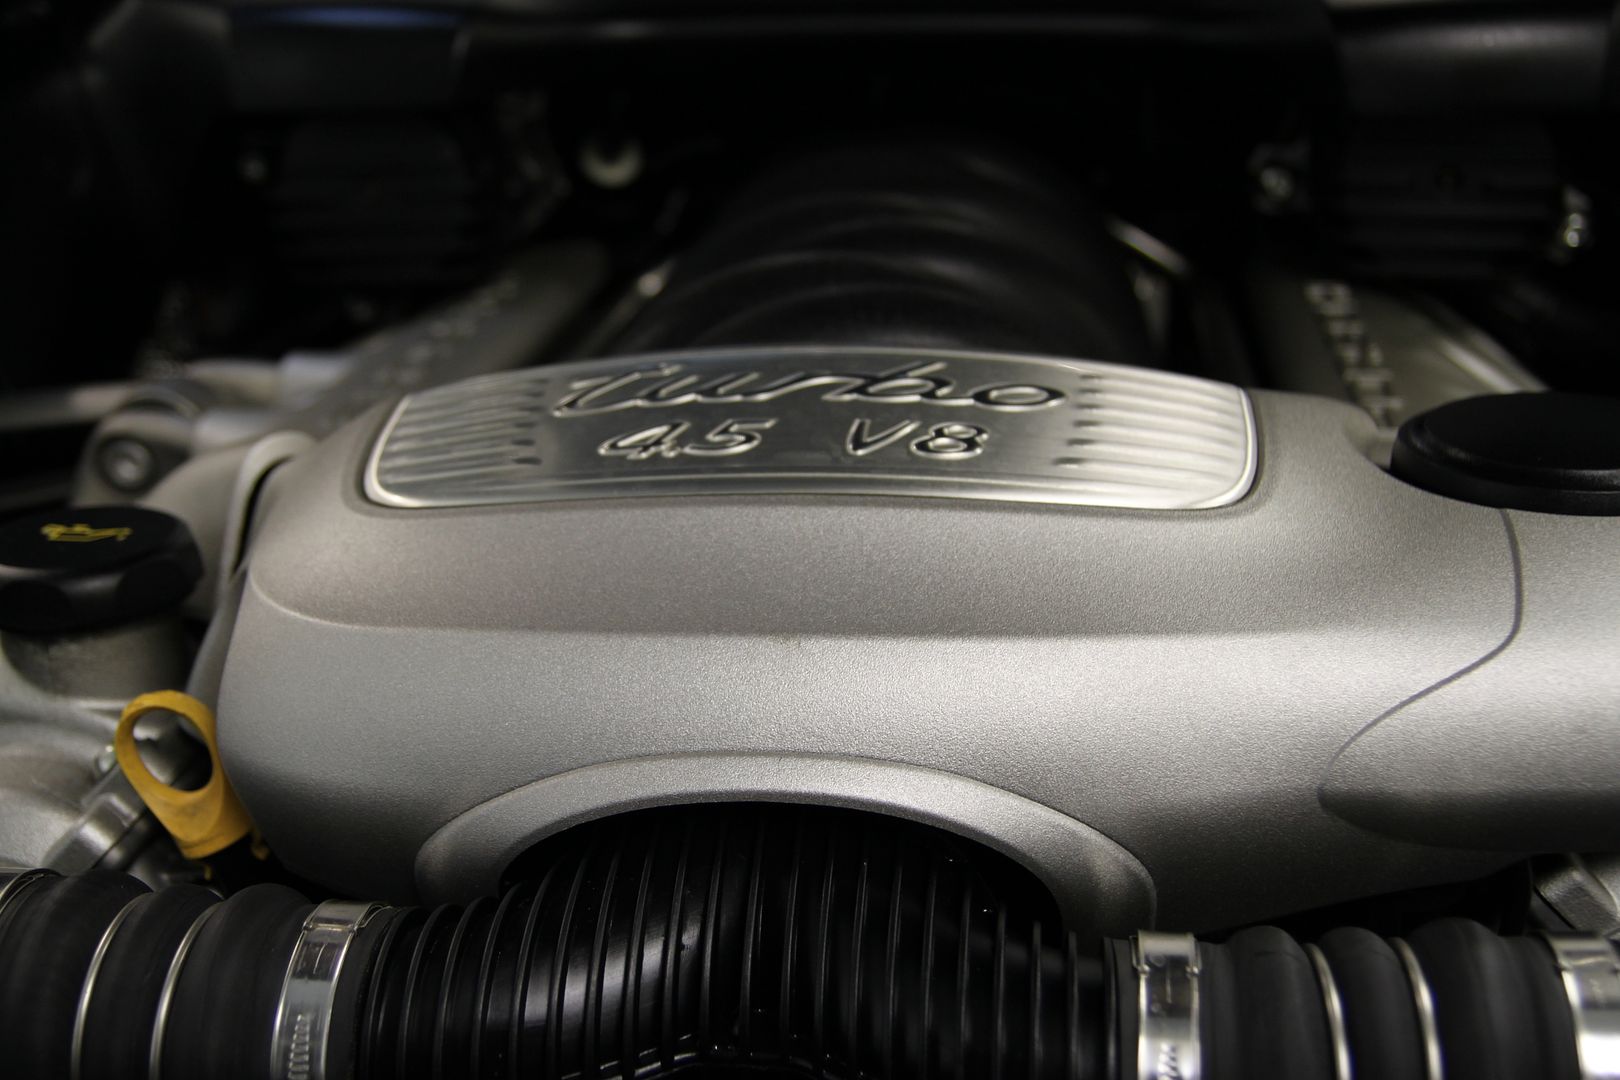
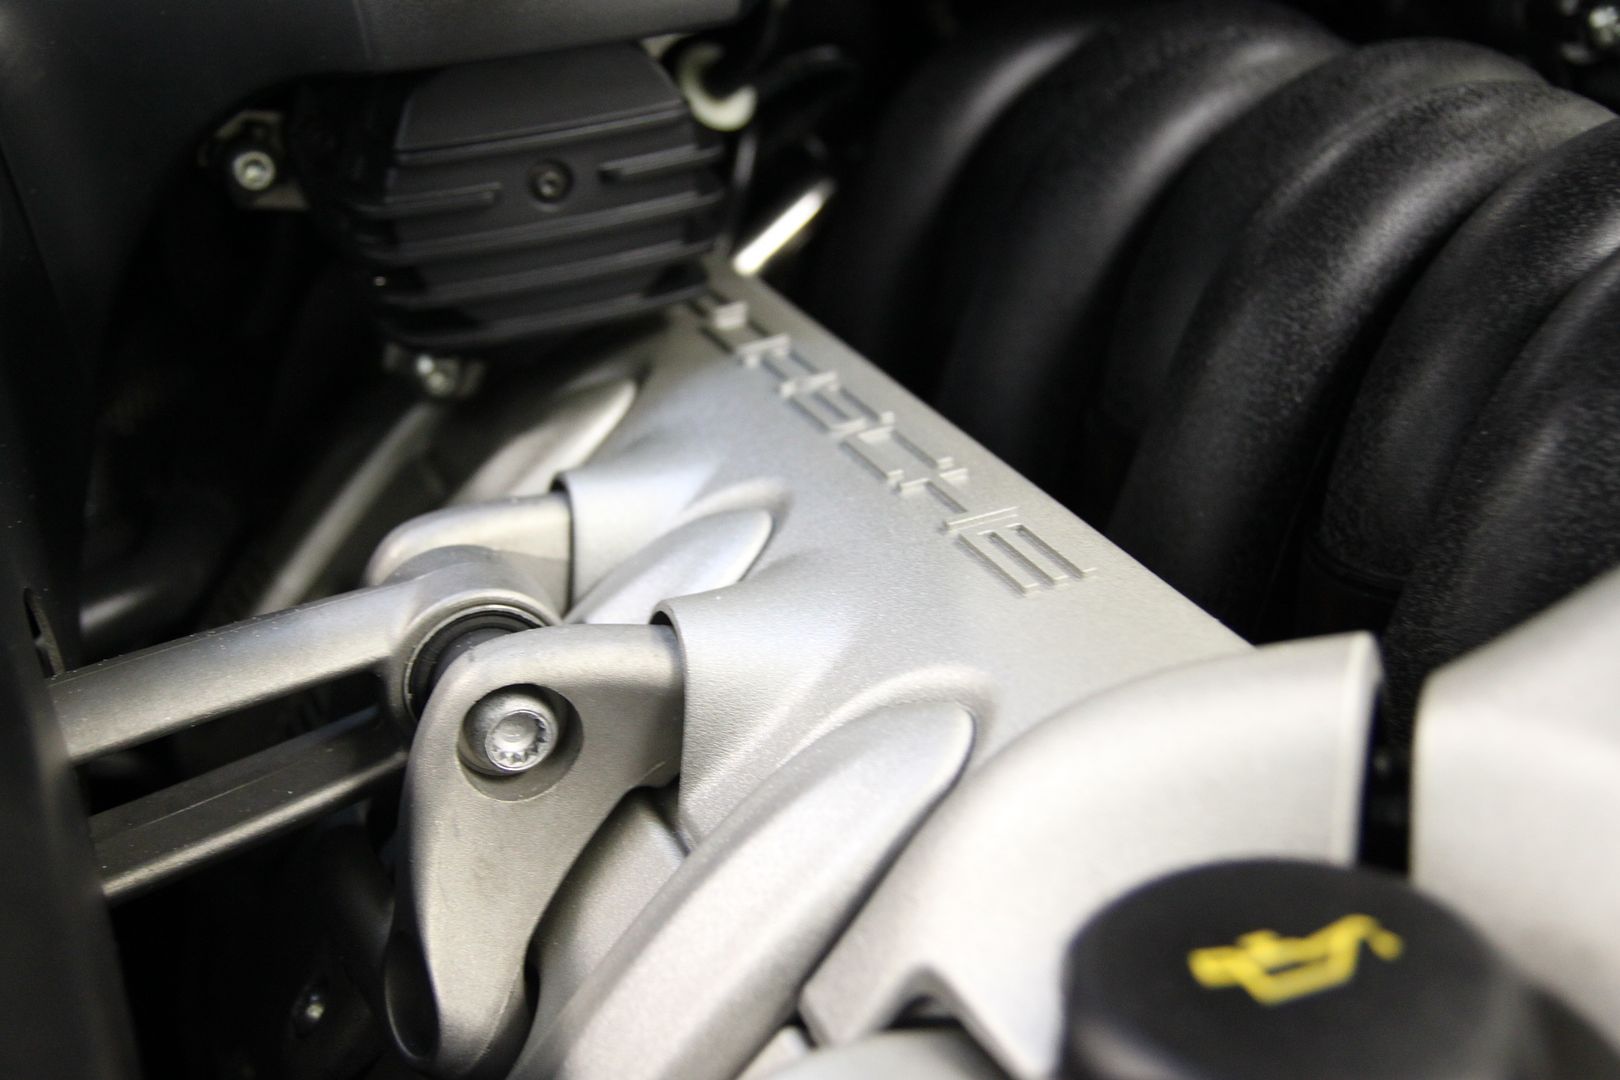
Engine
-Cleaned
- Dressed
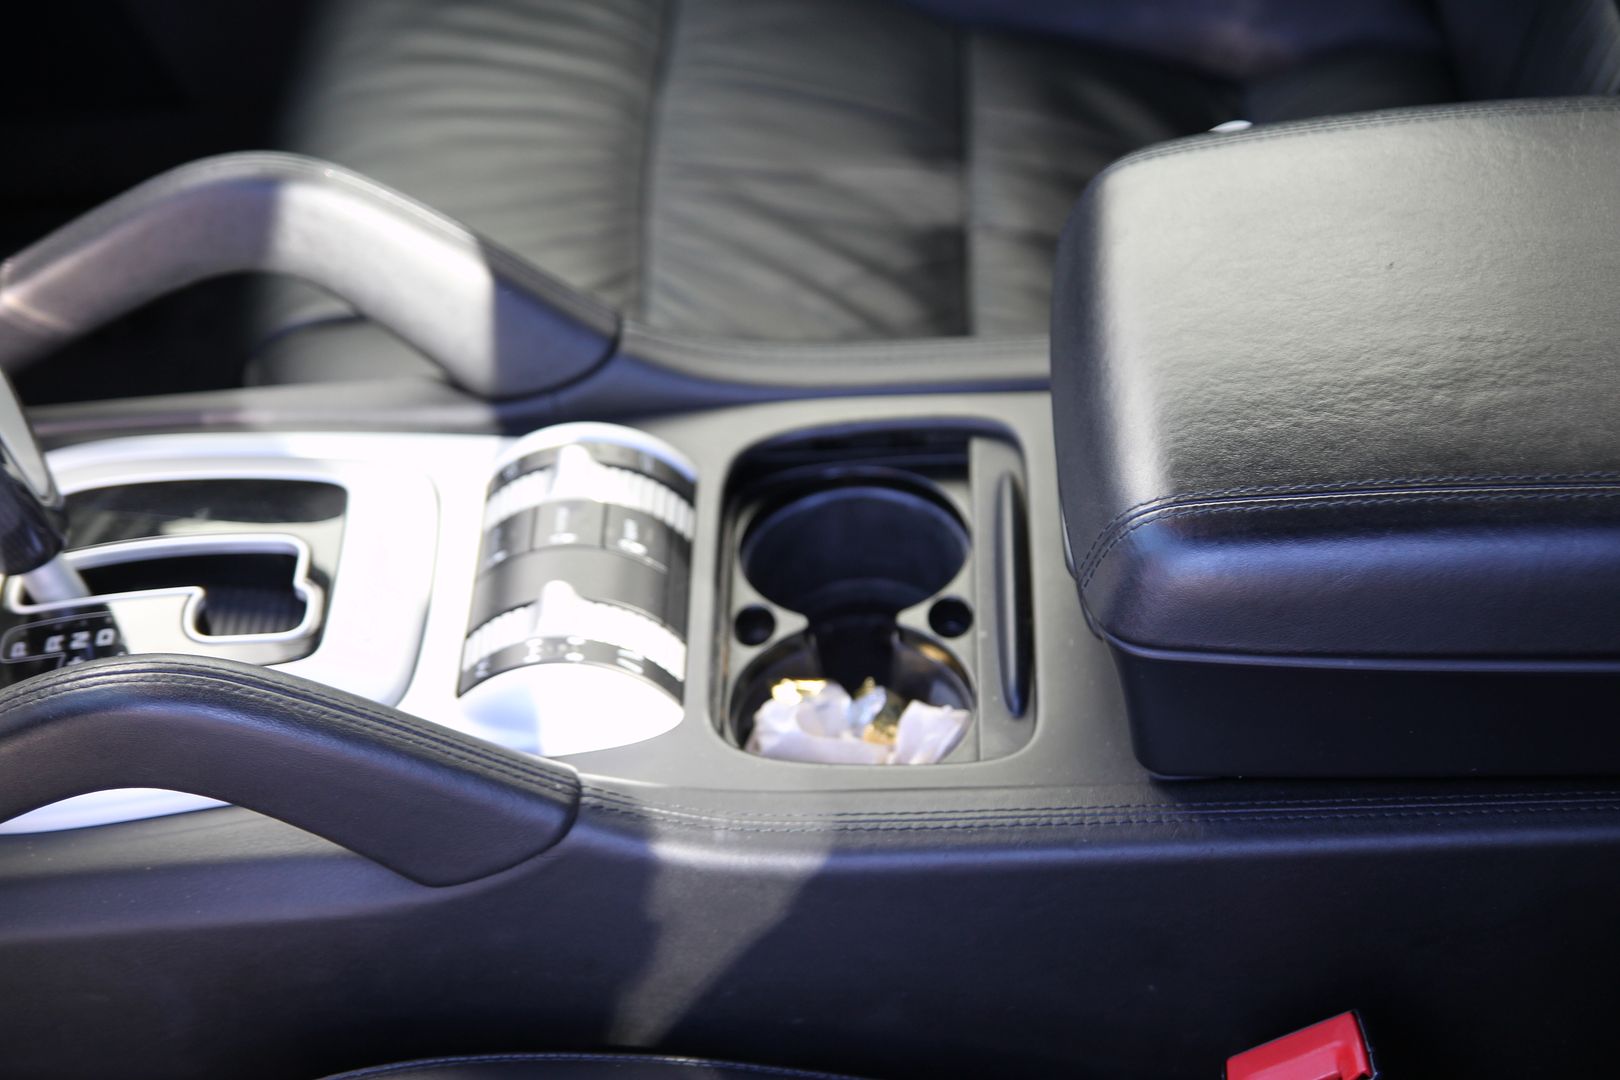
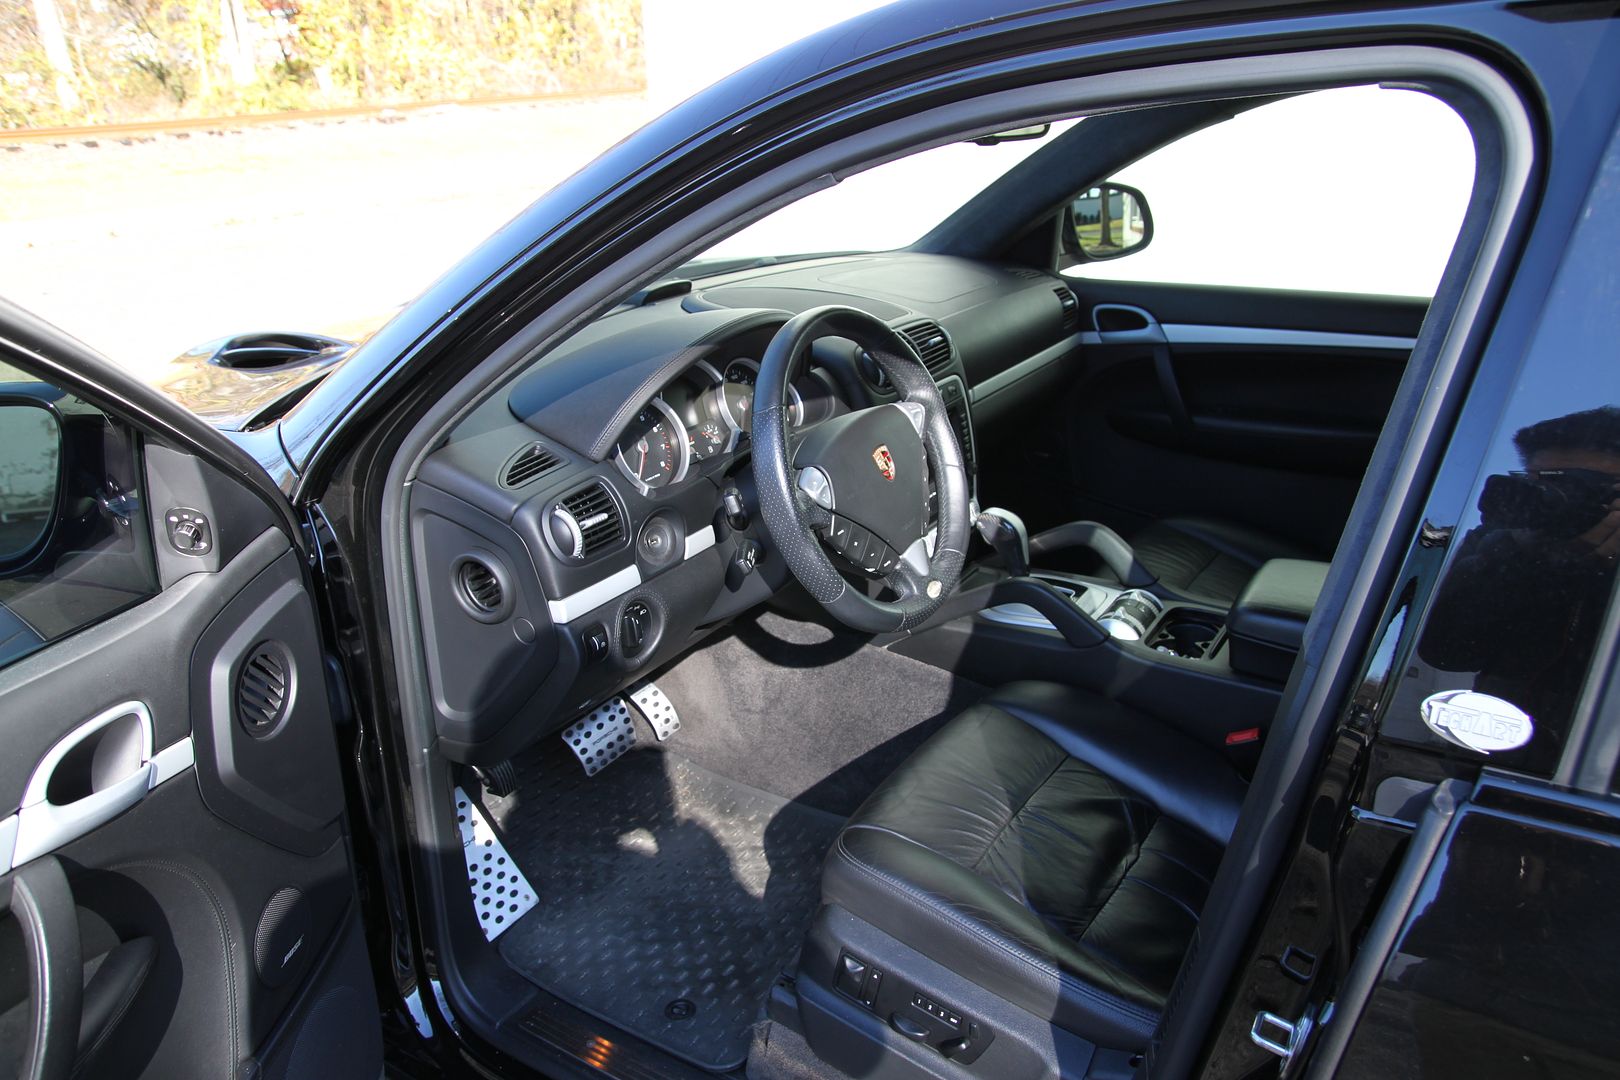
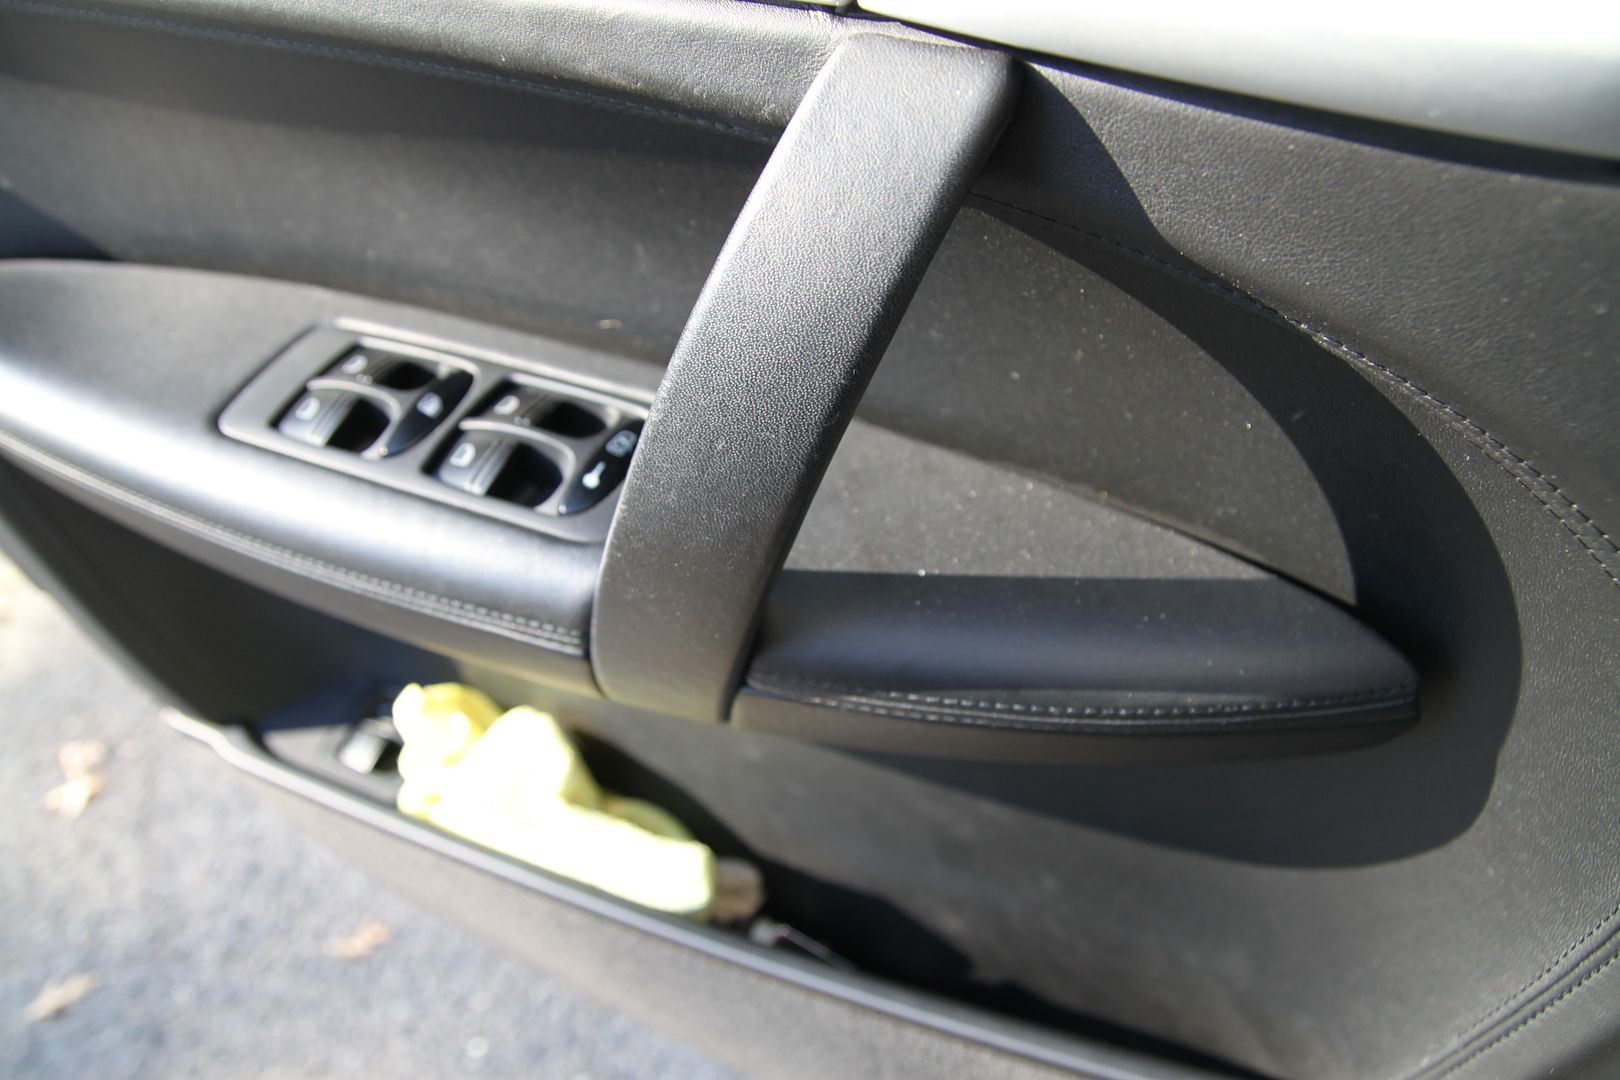
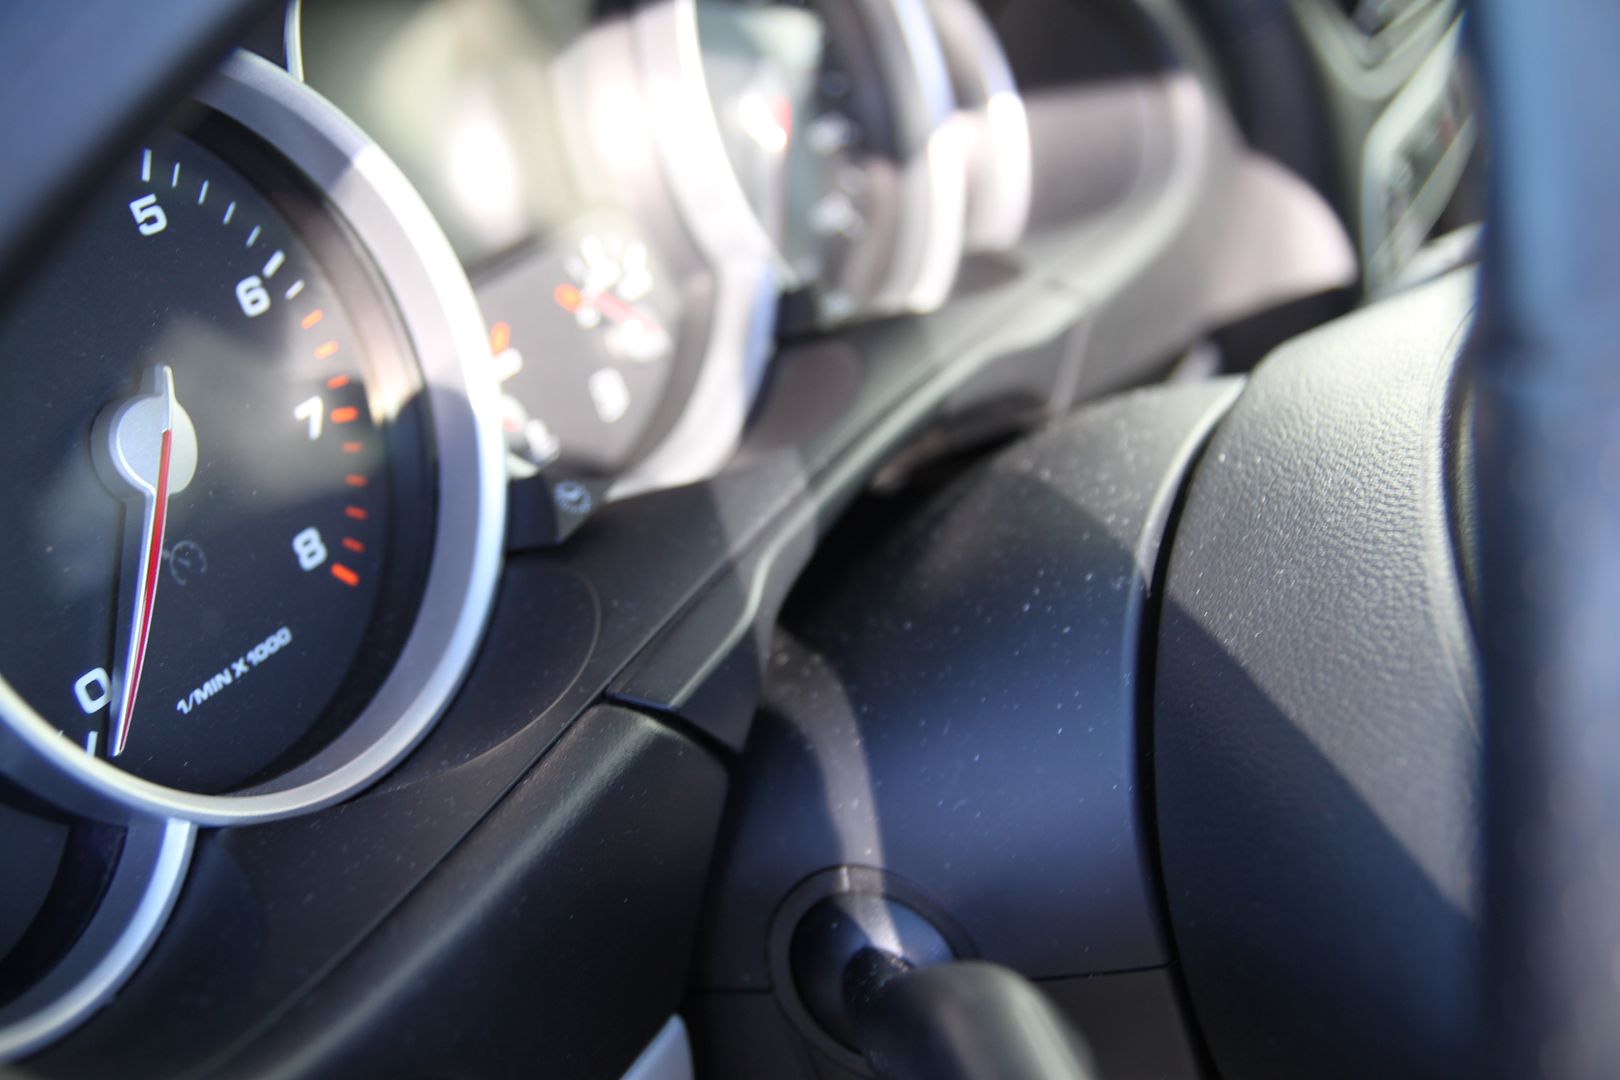
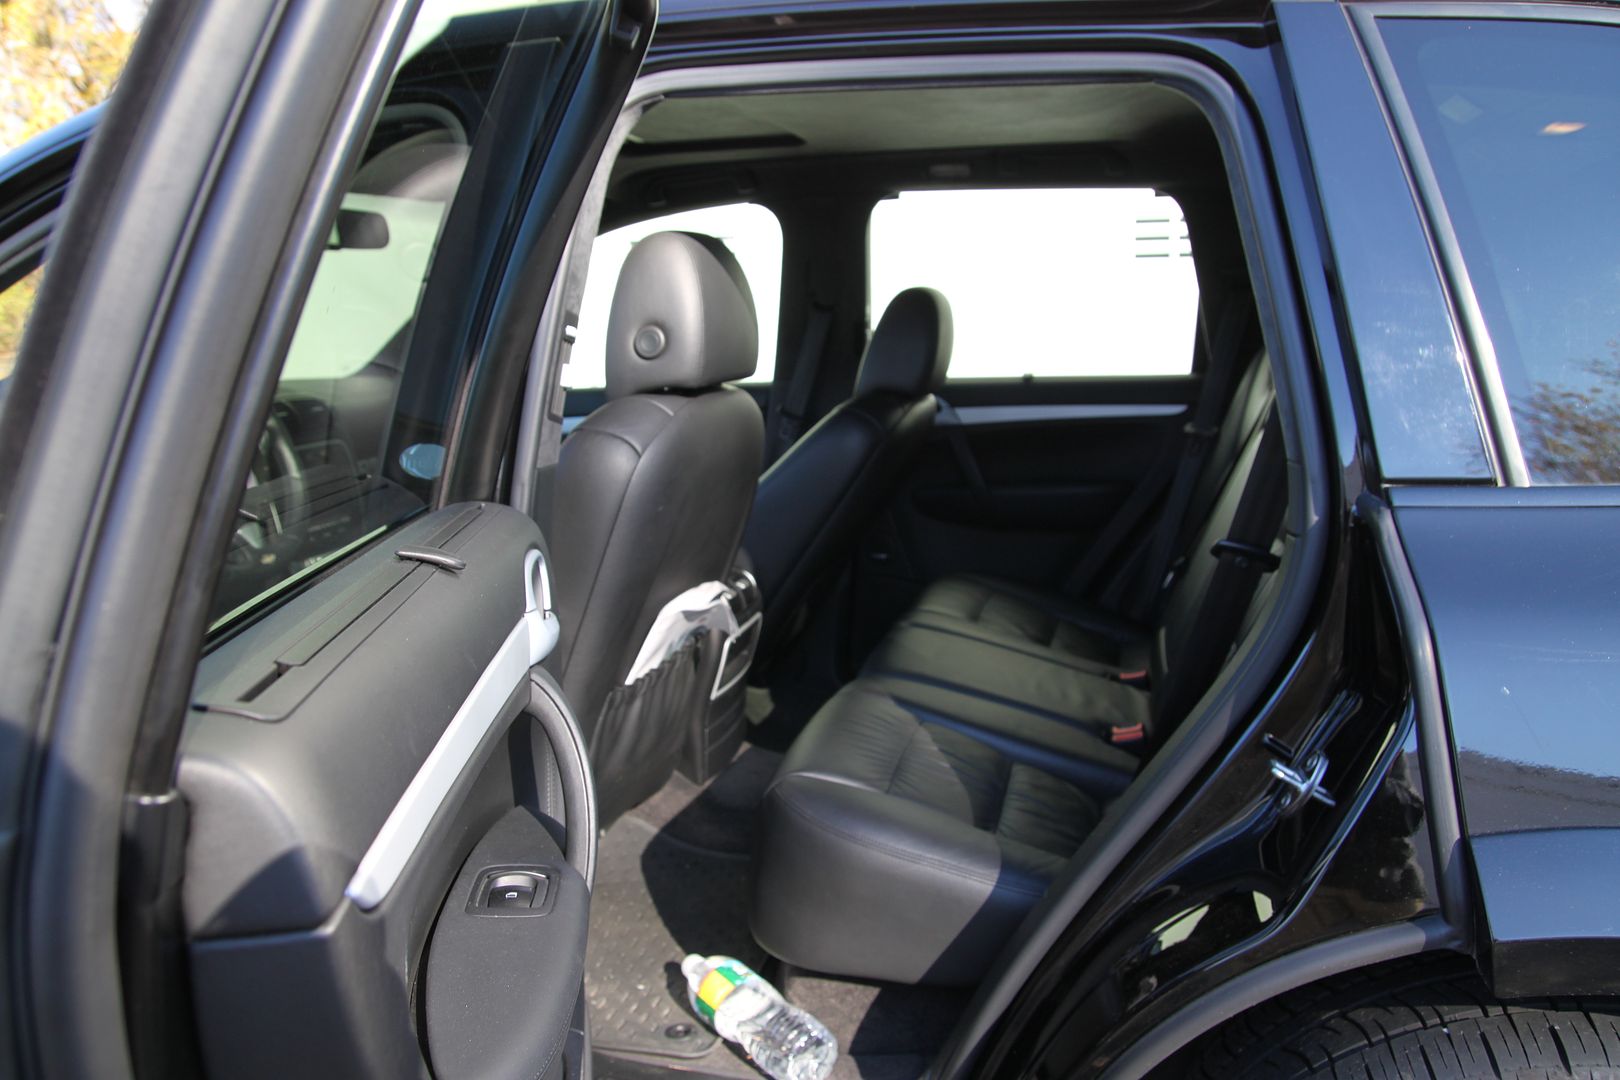
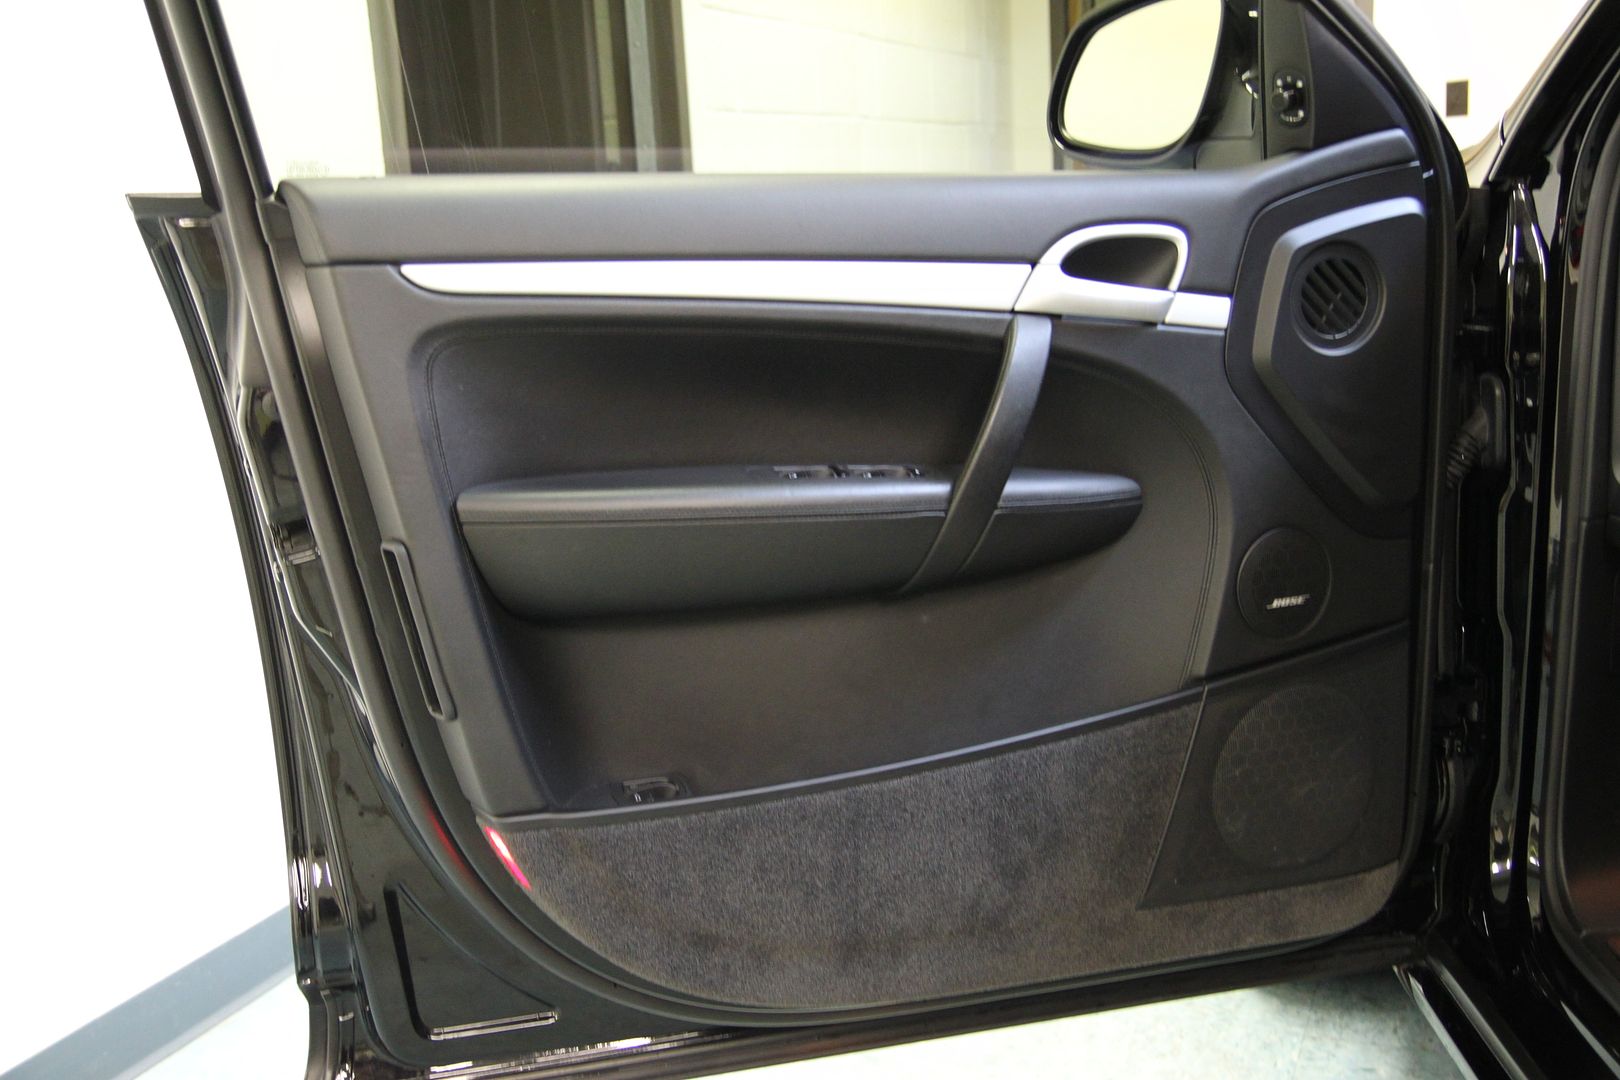
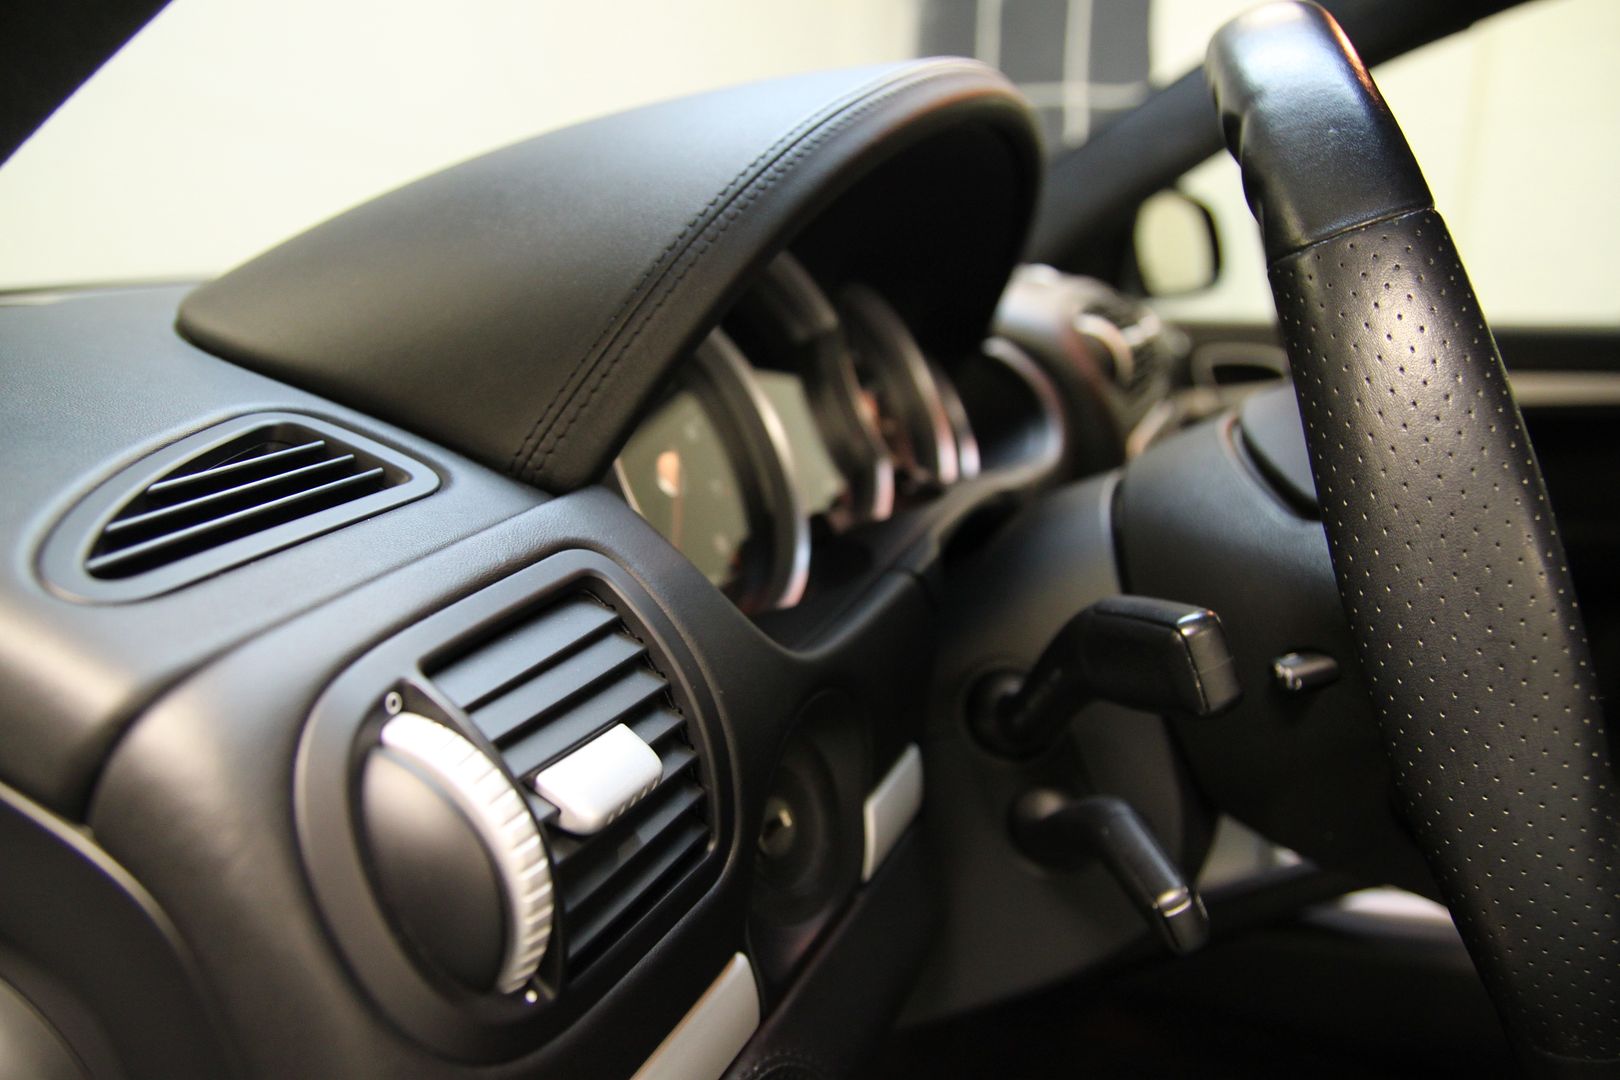
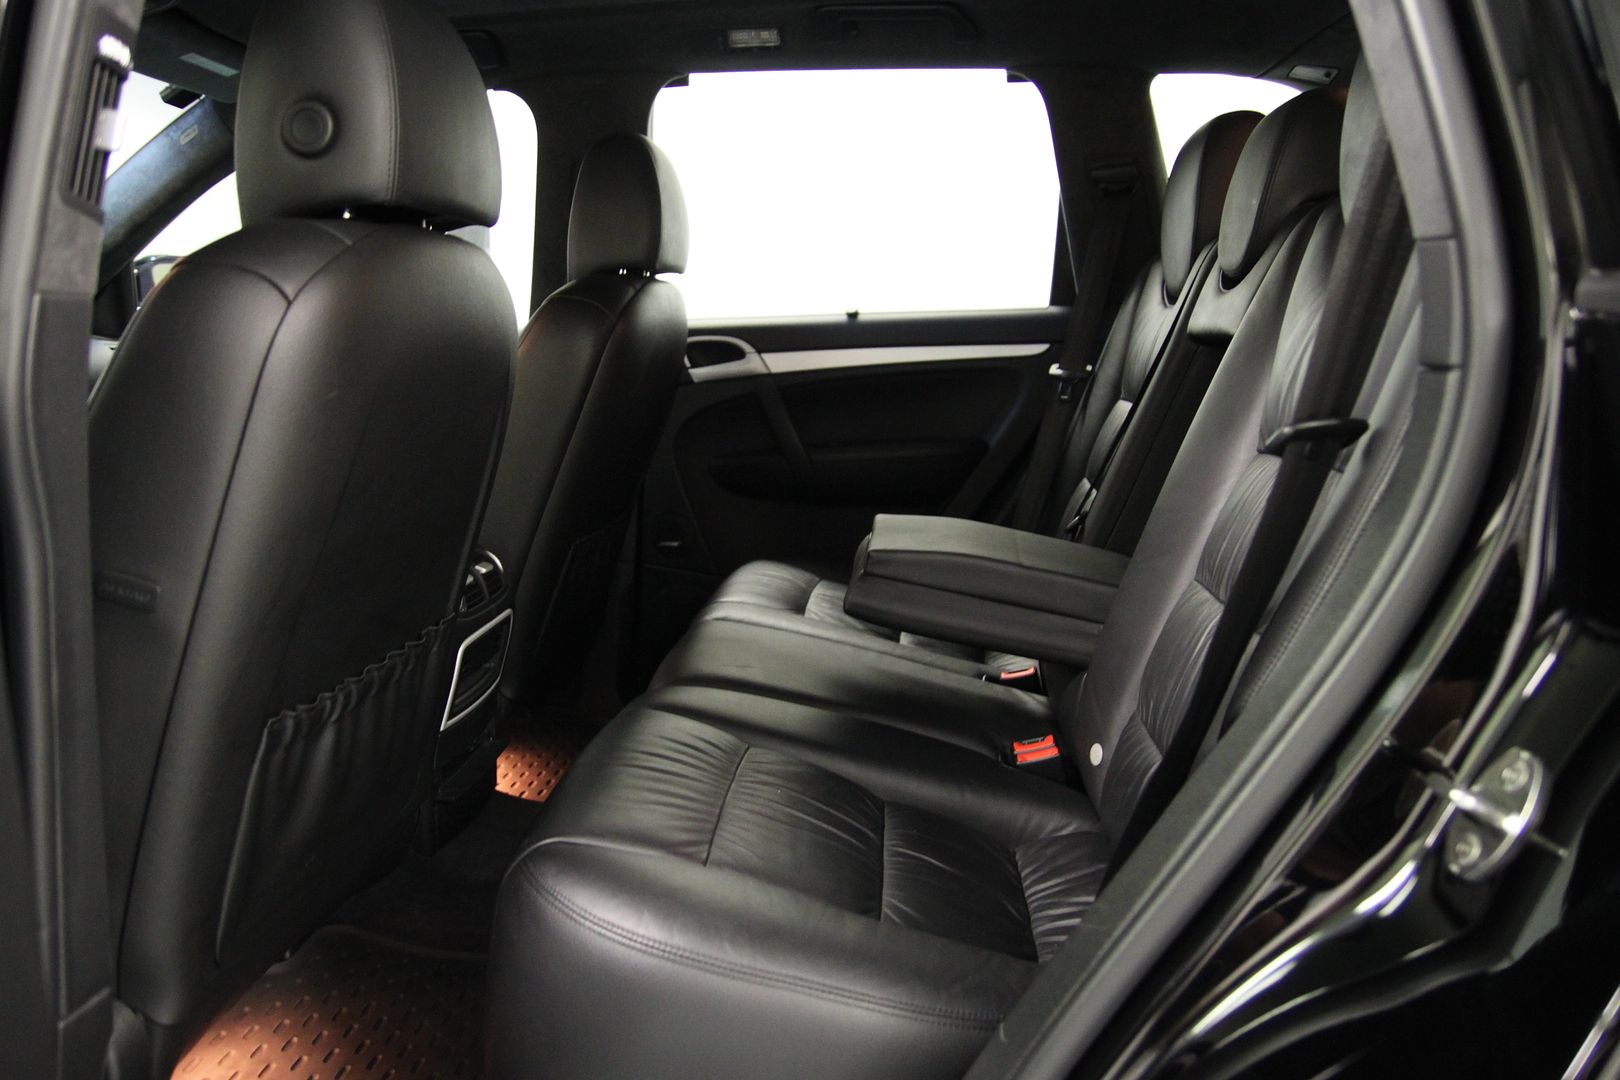
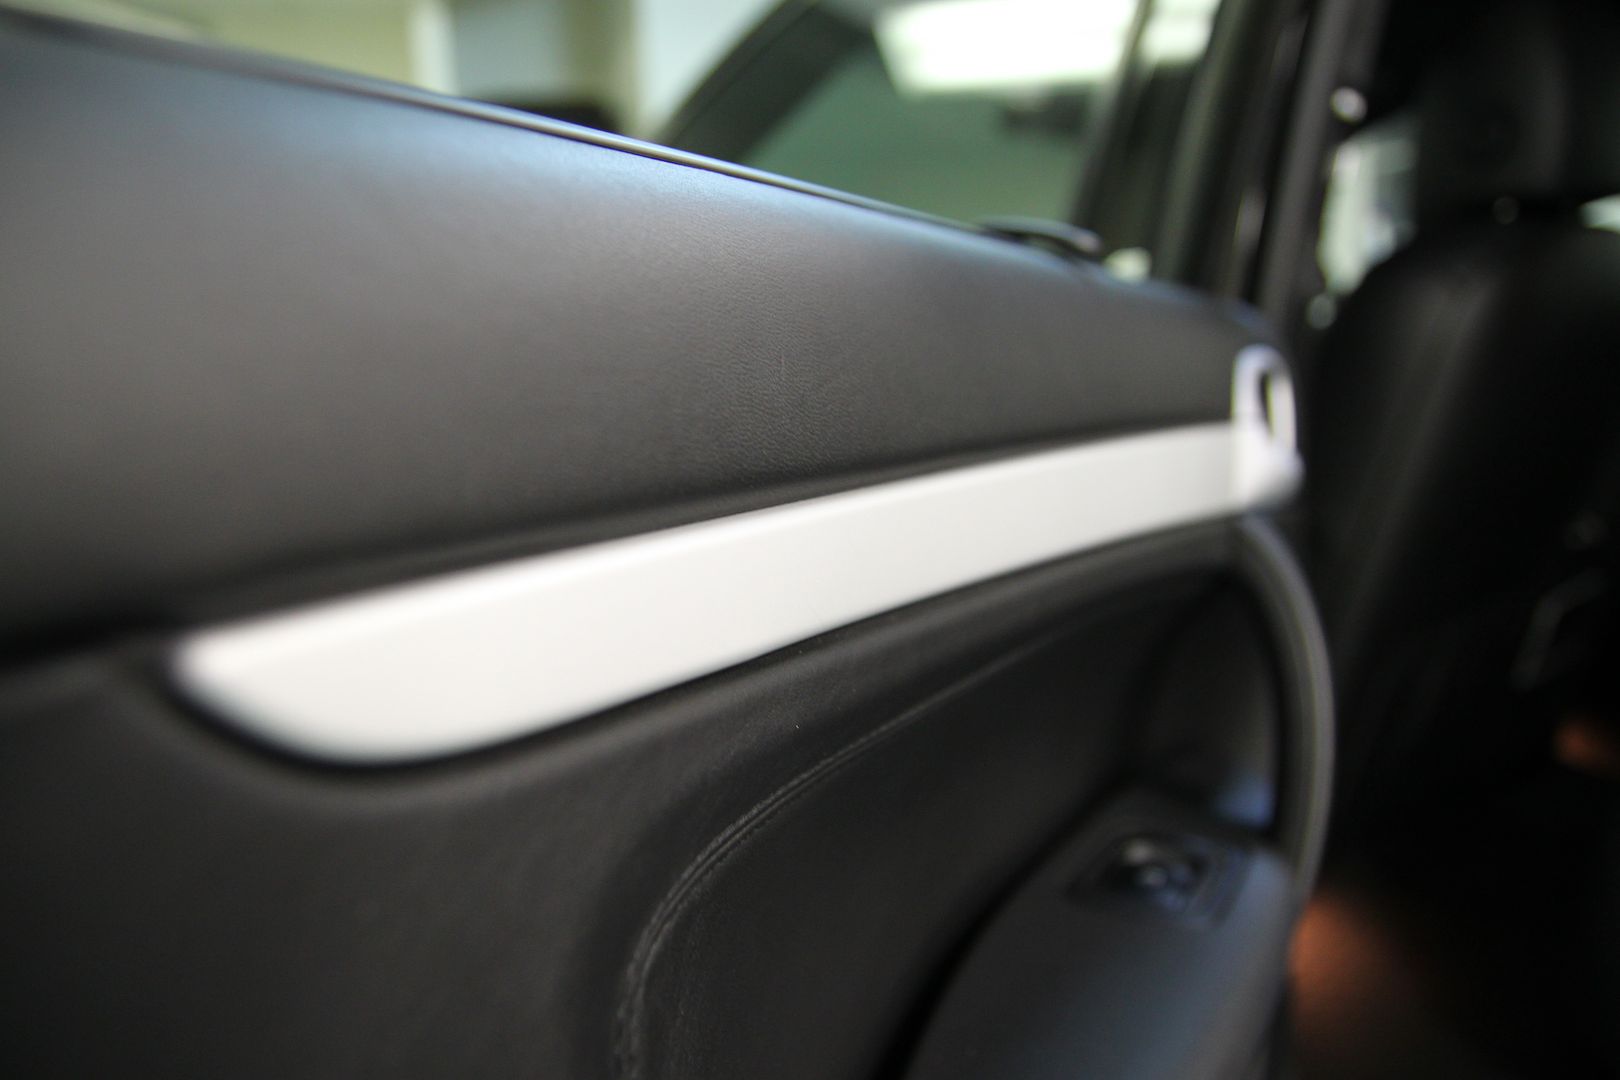
Interior
-Leather Cleaned and conditioned
-Dash and plastics cleaned
-Vacuumed
-Mats cleaned
Interior - not much here but a nice vac, leather cleaning and conditioning
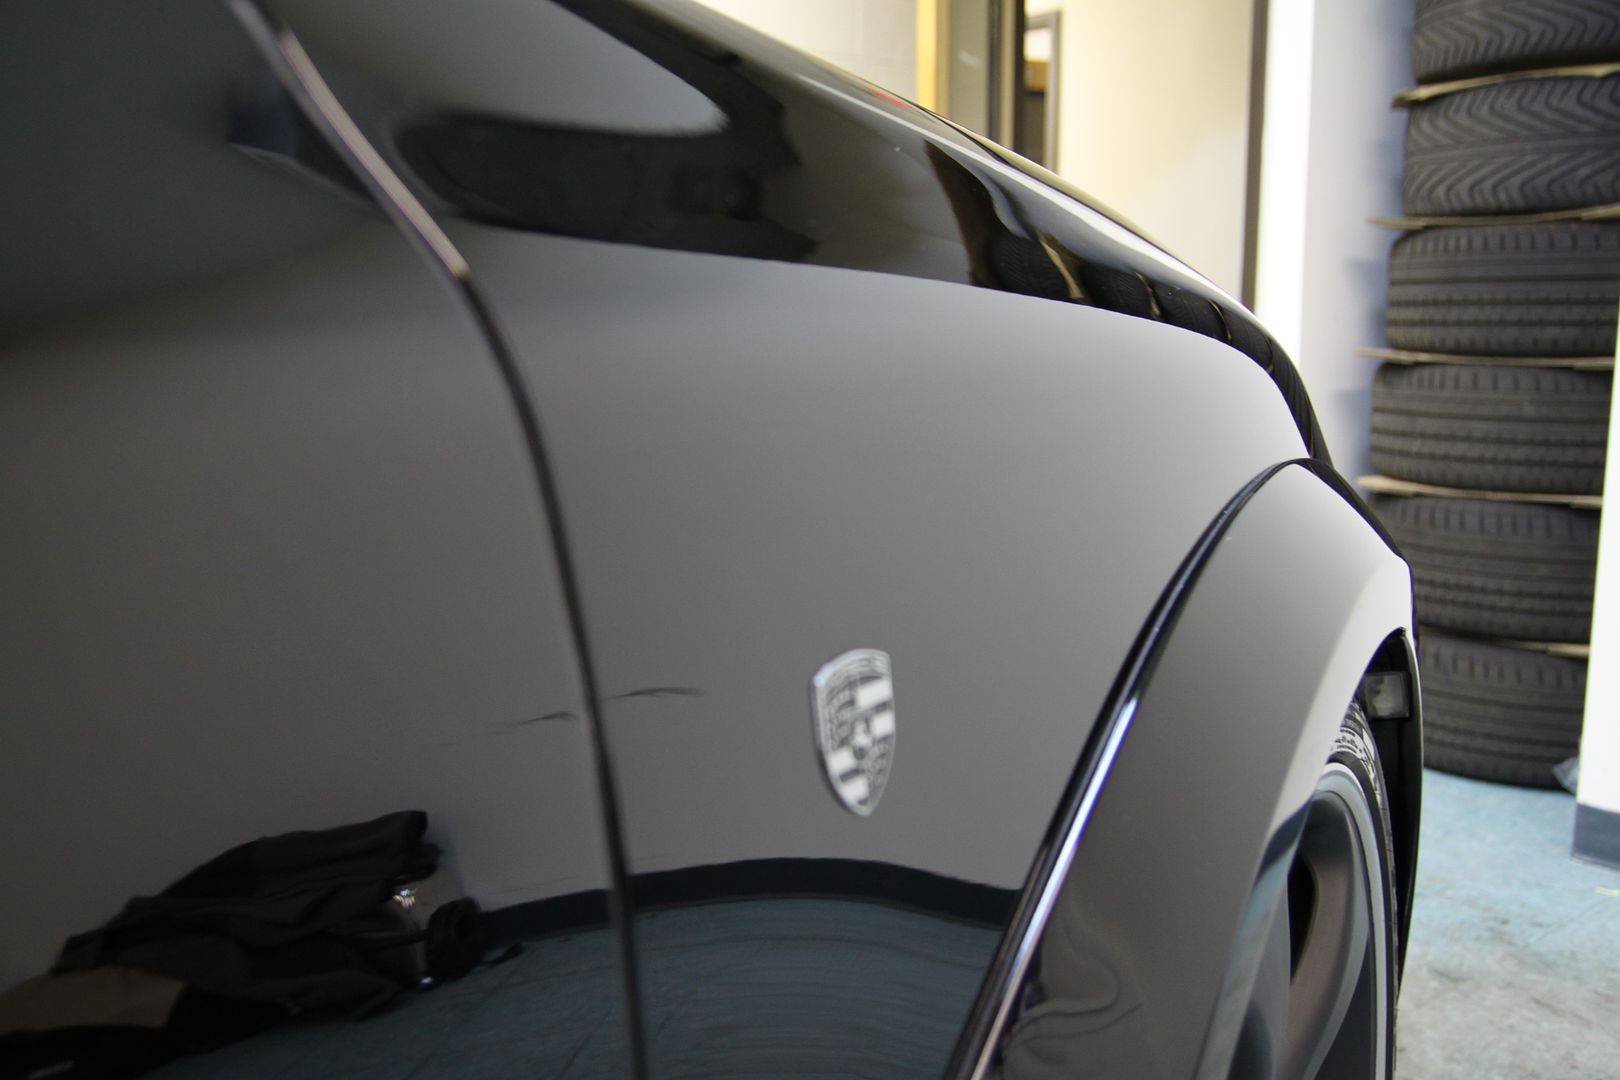
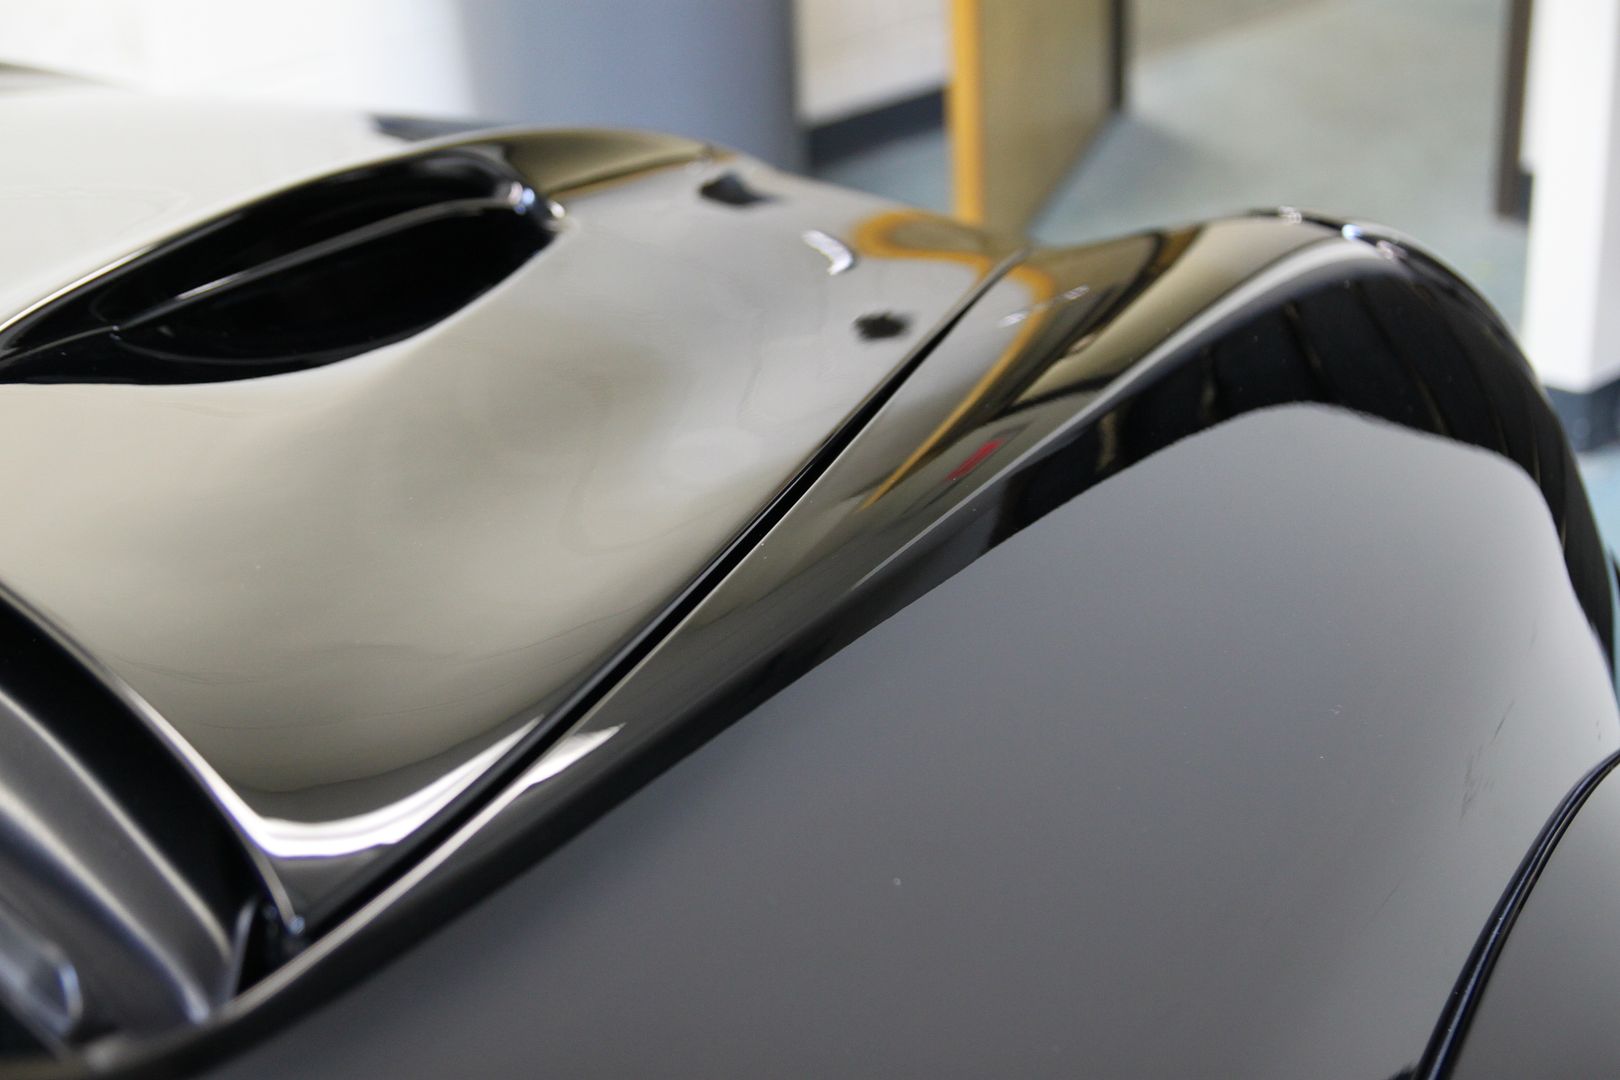
Before
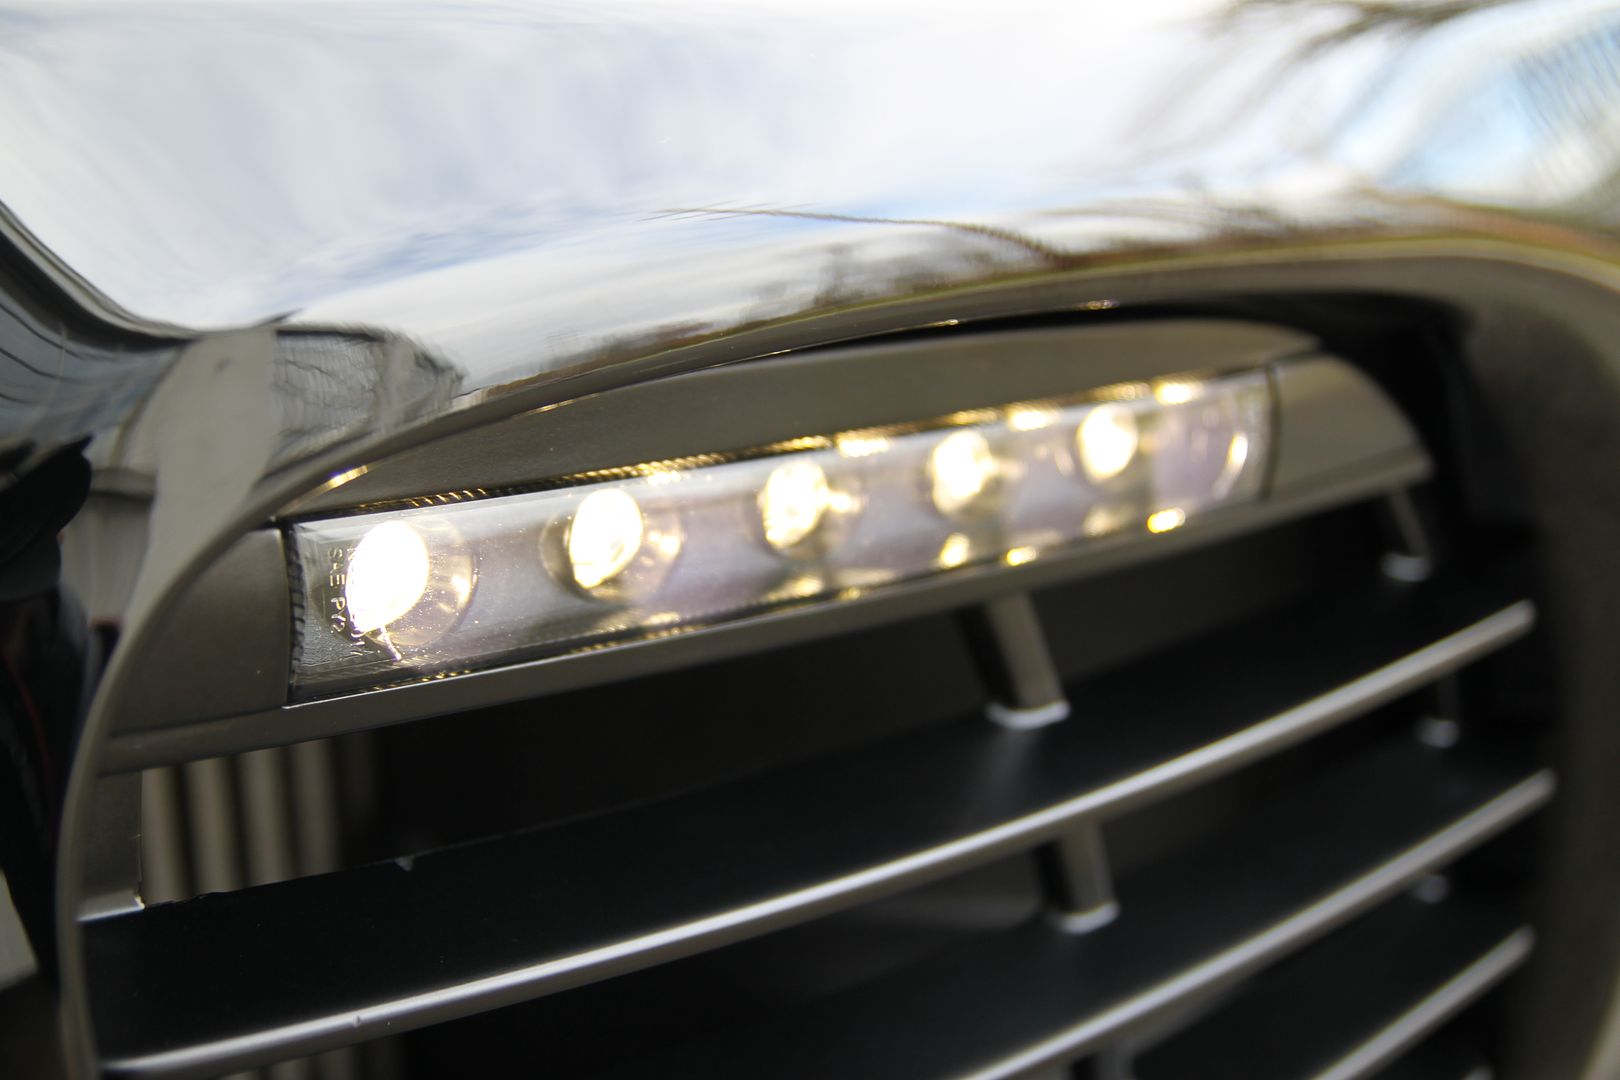
After

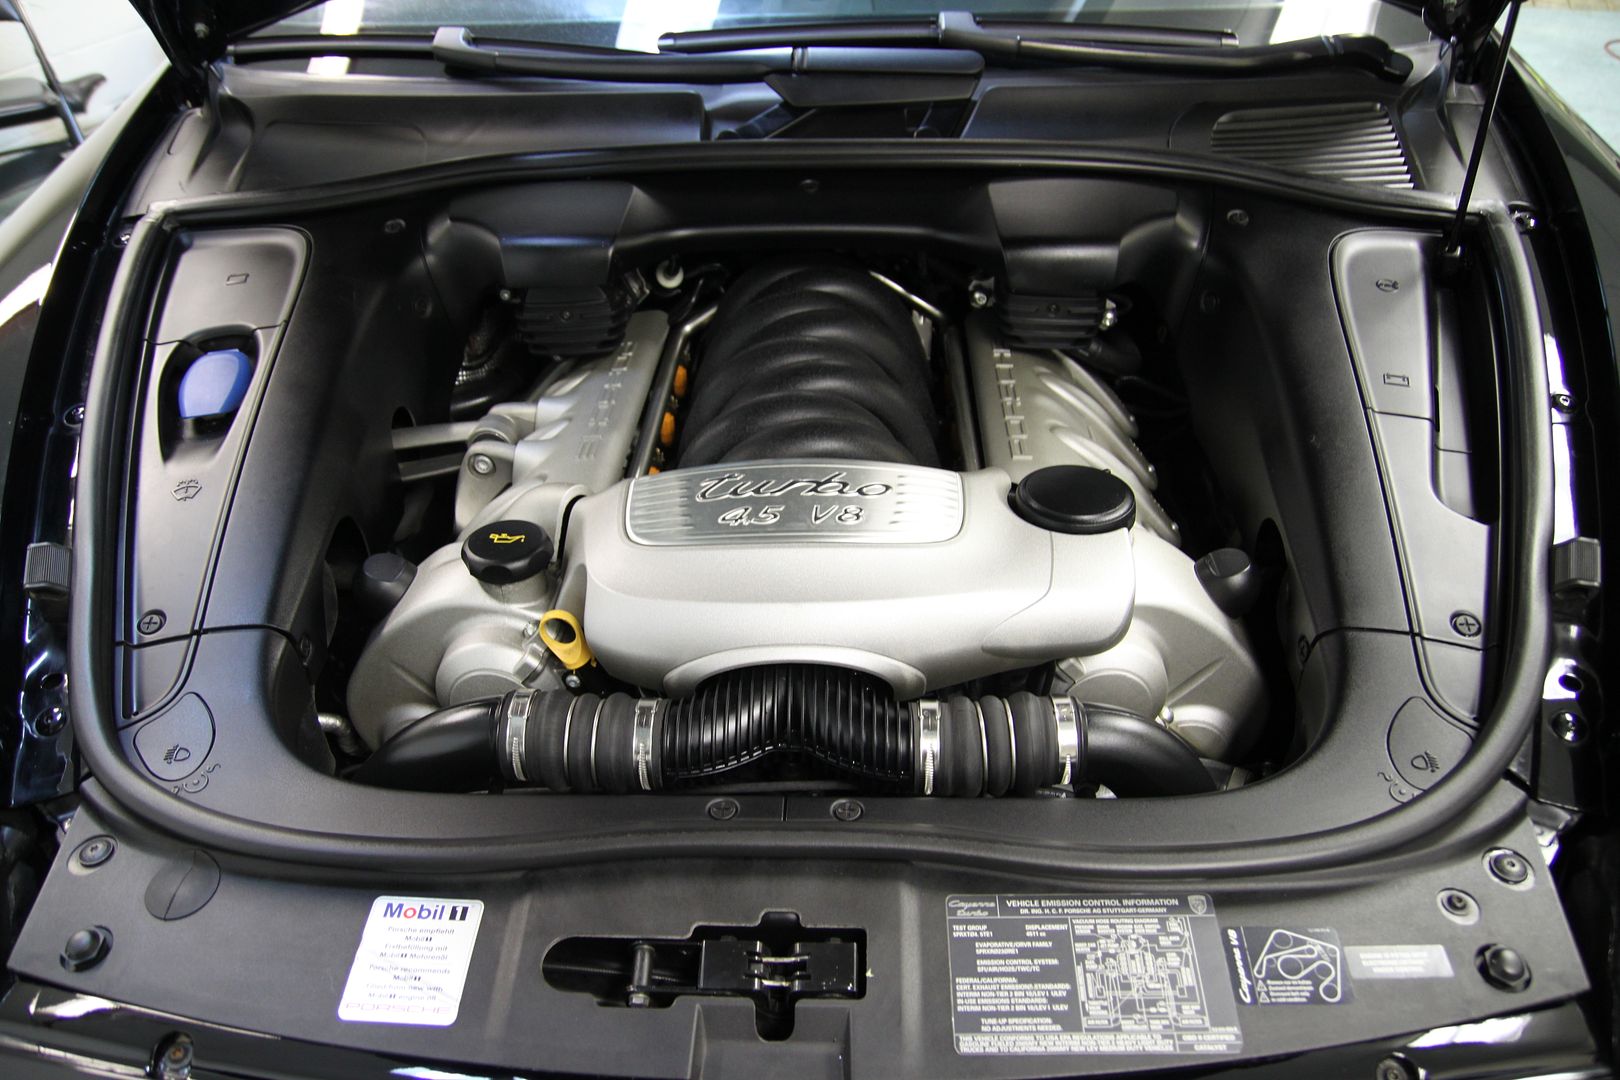
Engine before
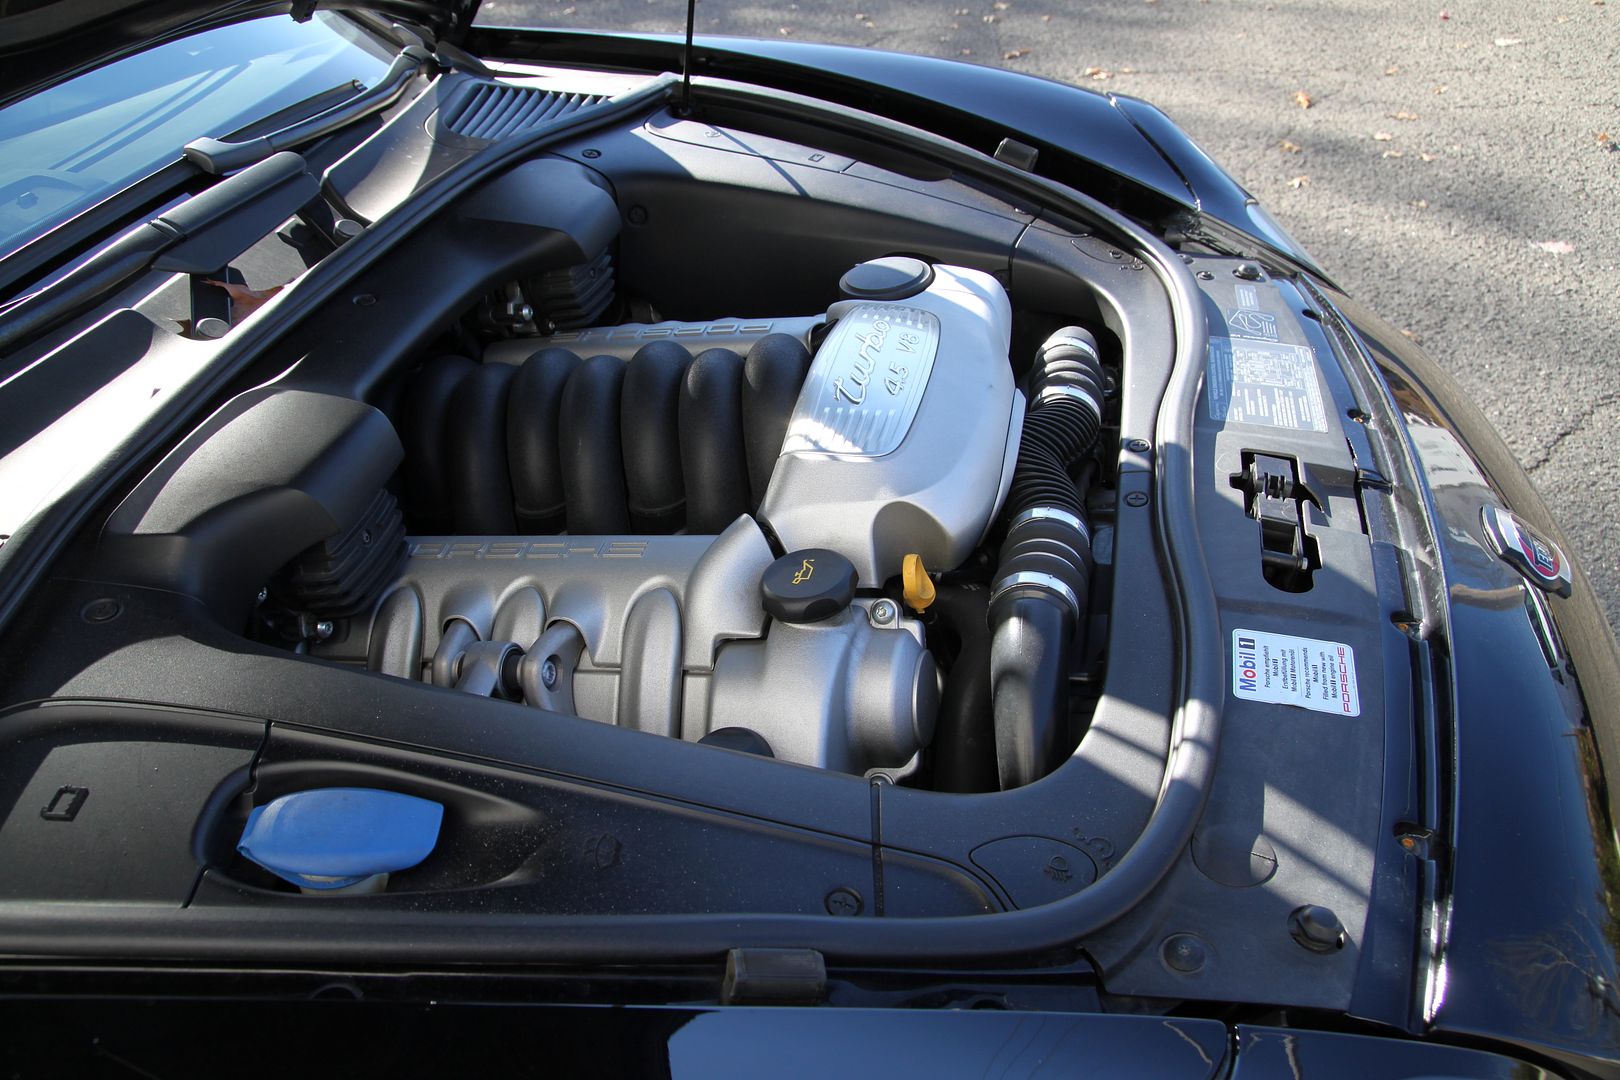
Adam's APC and some brushing
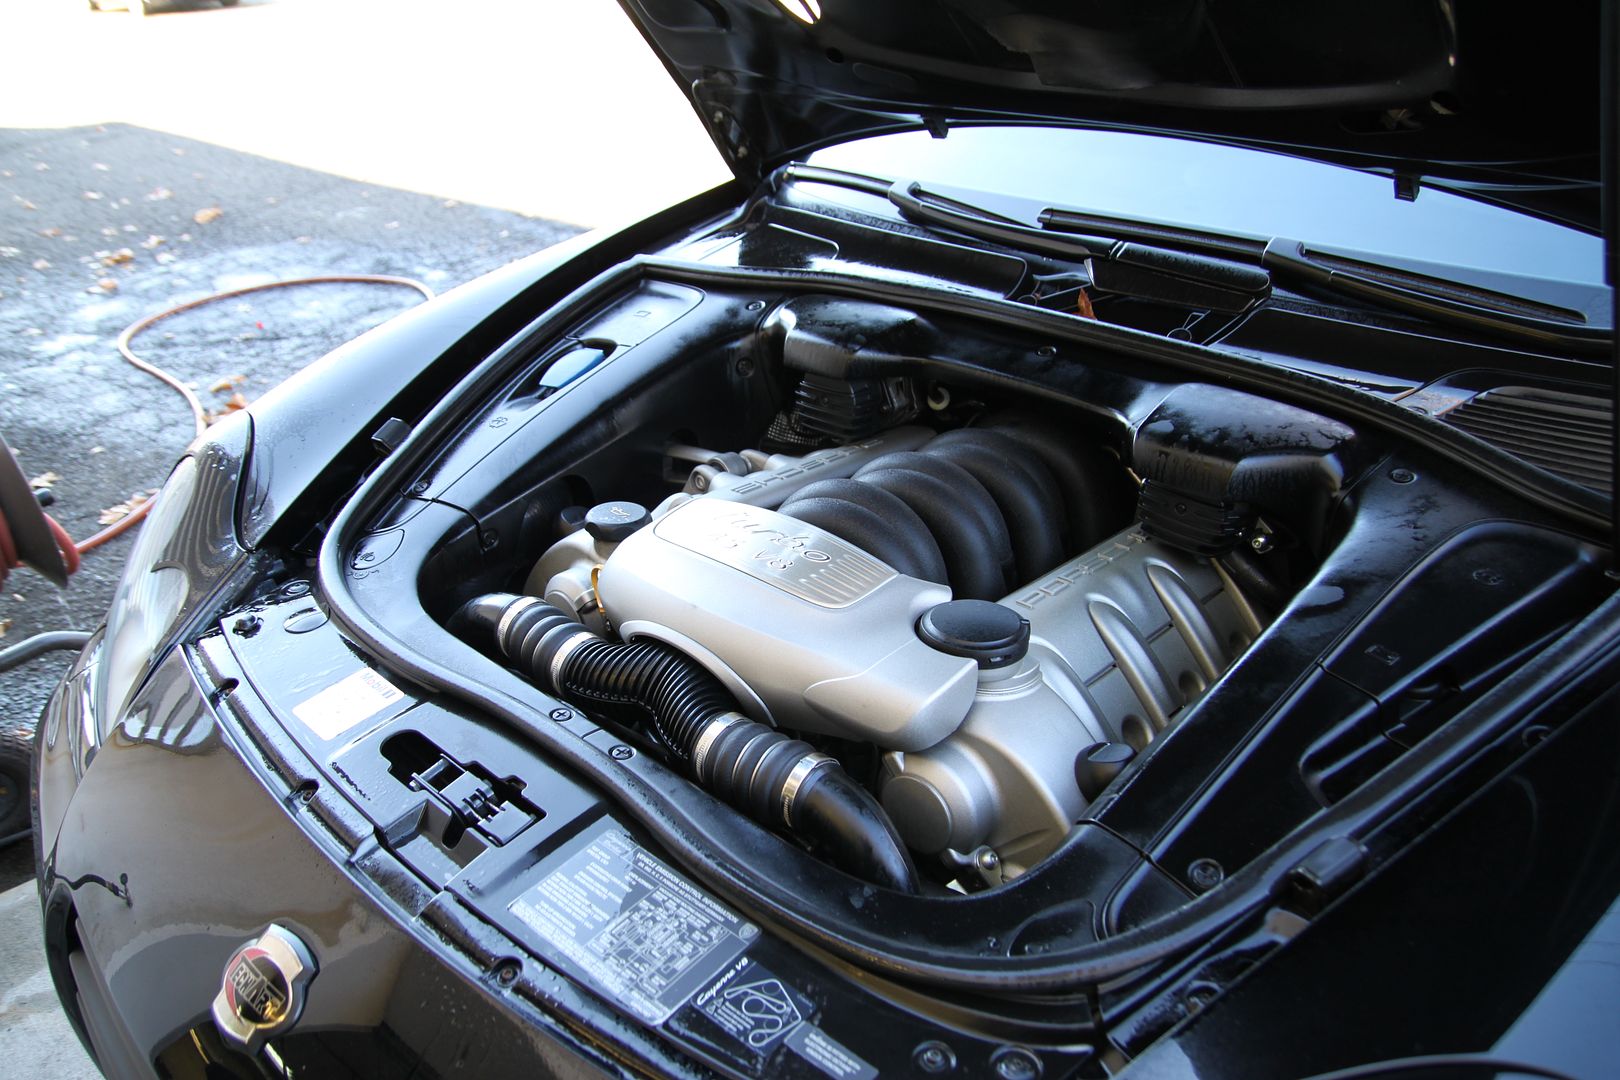
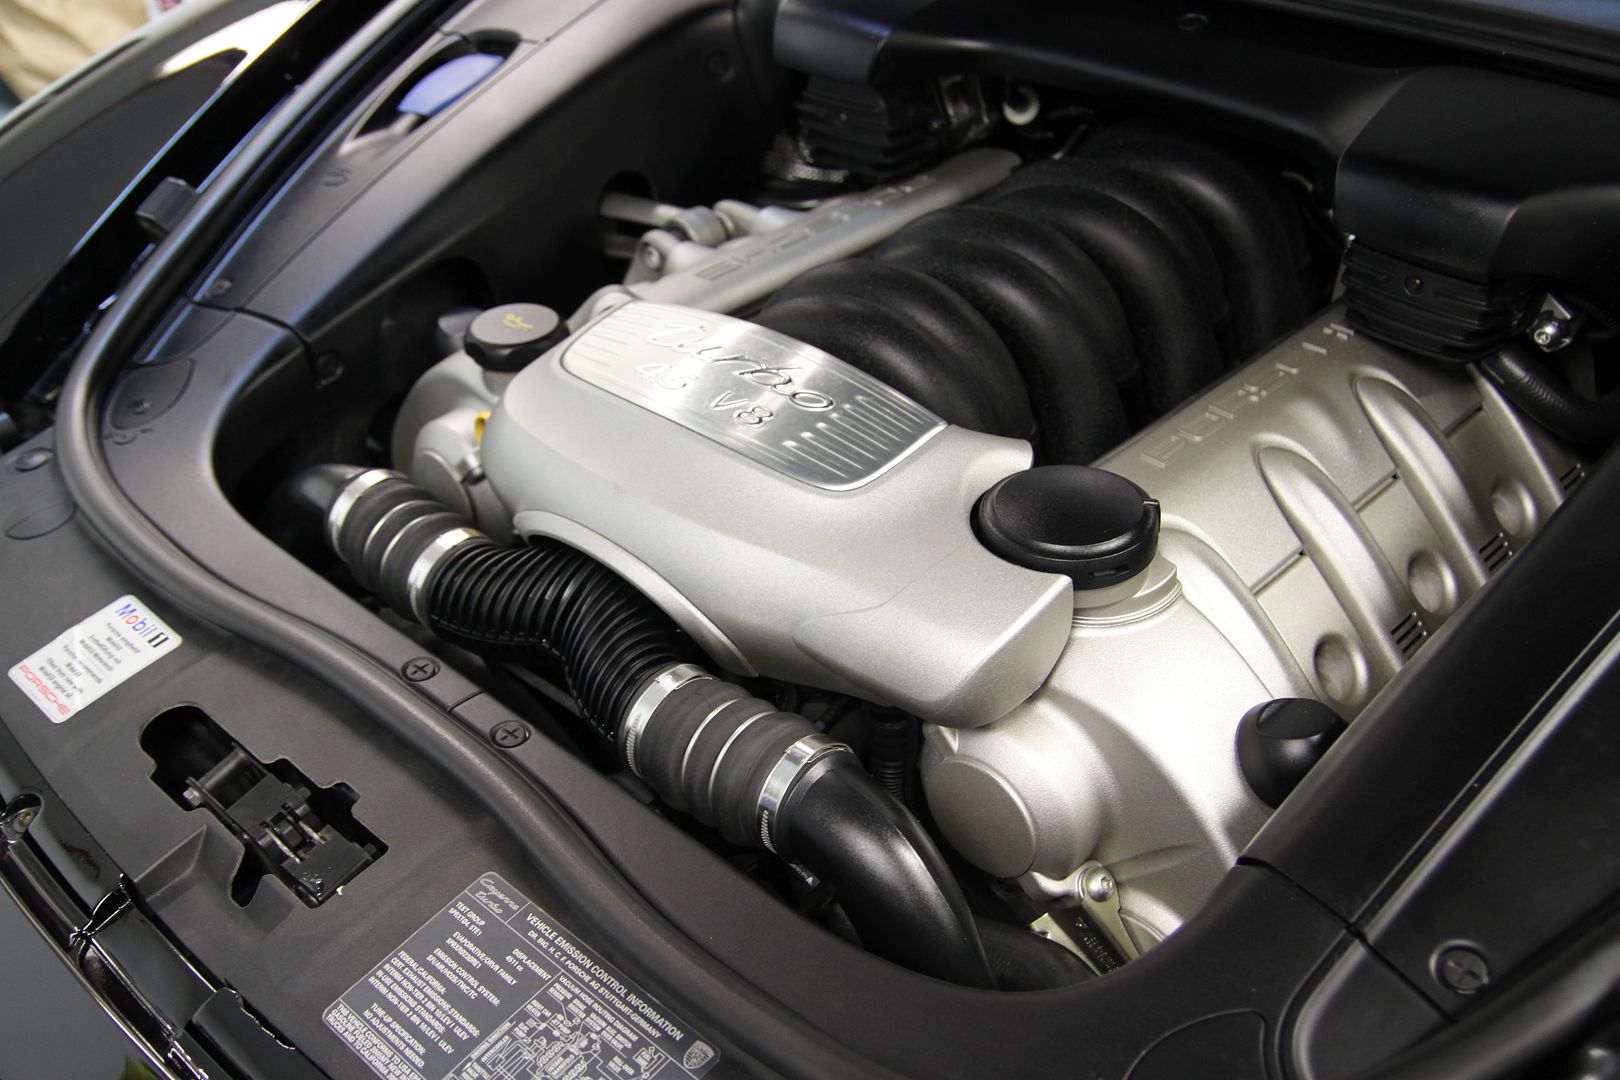
Engine after (Adam's In and Out Spray was used to dress it up)
Before shots


Wheel Before
Heavy swirls, scratches, holograms galore. I believe the customer was pretty happy with the grin on his face.
What was done -
Exterior
- Wheels were prepped with Sonax Wheel Cleaner and cleaned up with various brushes
- Tires were spritzed down with Adam's All Purpose Cleaner and washed down
- Wheel wells were cleaned up
- Wash down and rinsed
- Door jambs were cleaned up
- Clayed
- Dried
- Tires dressed
- Masking
- 3 Step Paint correction (Meg's M105, Something being tested ; ) )
- Inspection with Fenix, 3m Sun Gun, Infratech, and natural sunlight
- Last Step - Swissvax Shield
- Rubber and Plastics Treated
- Exterior windows and mirrors cleaned and sealed
- Exhaust tips cleaned
- Windows were clayed and sealed
Engine
-Cleaned
- Dressed
Interior
-Leather Cleaned and conditioned
-Dash and plastics cleaned
-Vacuumed
-Mats cleaned
Interior - not much here but a nice vac, leather cleaning and conditioning
Before
After
Engine before
Adam's APC and some brushing
Engine after (Adam's In and Out Spray was used to dress it up)
Before shots
Wheel Before