imported_DJ Mayo
New member
Did this detail a few months back but figured I would take some time and upload the pictures and share with you. I have plenty of write-ups I can share but I want to start with some that no one has seen yet.
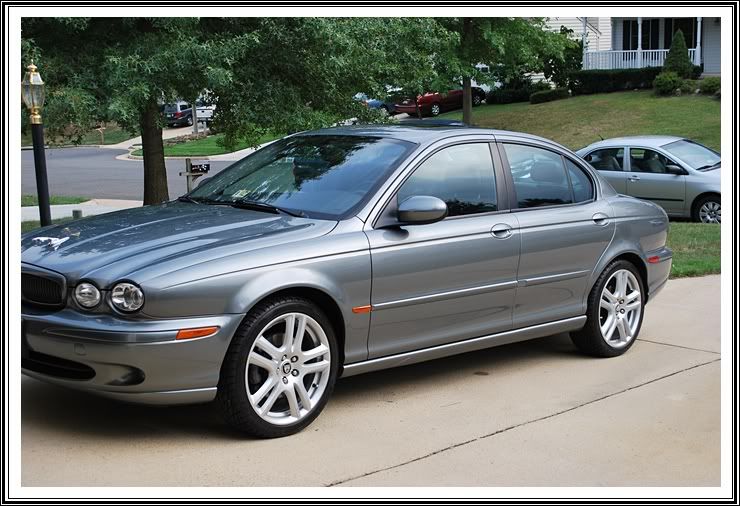
This customer contacted me and told me he was purchasing this car and knew that the first thing to get done was to properly level the clear coat so it would be easier for him to maintain in between polishing jobs. I was able to do a few hours here and a few hours there as the owner dropped the car off at the house for 2 weeks while he was away on vacation. This worked out well as I had 4-5 other paint corrections to complete during this cars stay. The owner purchased the car from Carmax and told them to not do anything to the car but of course they did. I'm not sure if they used a machine on the car or if it was during the previous owners time when all these defects were put into the clear. Either way, someone who had no idea what they were doing got a hold of it and did a great job making it look horrible. Typically lighter colored cars are better at hiding defects but this one was not. You could spot the holograms and buffer trails from literally 100ft away.
The first thing you want to do prior to any correction job is to prep the surface. Most of the time just a wash and clay isn't enough especially if a high volume shop or dealer has had their hands on the car. They use very oily products that are cheap and can make polishing difficult at times.
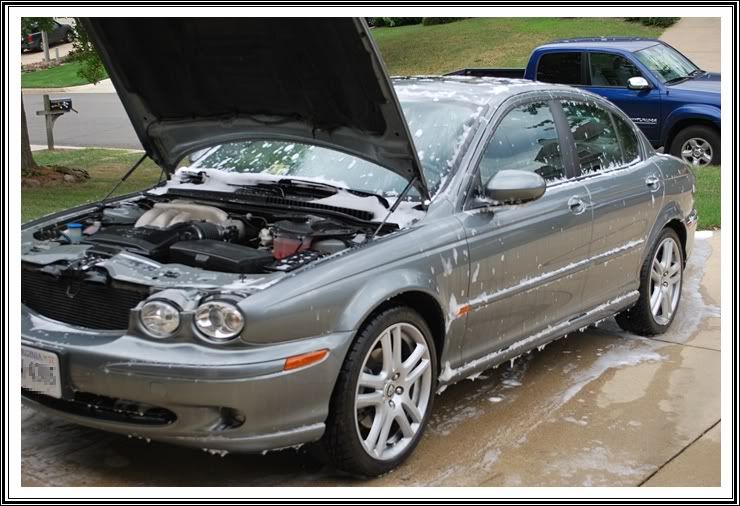
So as normal, the first thing I did was Degrease the paint. For this step I used P21s Total Auto Wash mixed with Chemical Guy's Citrus Wash N Gloss mixed to paint prep ratio (2oz of product per gallon of water).
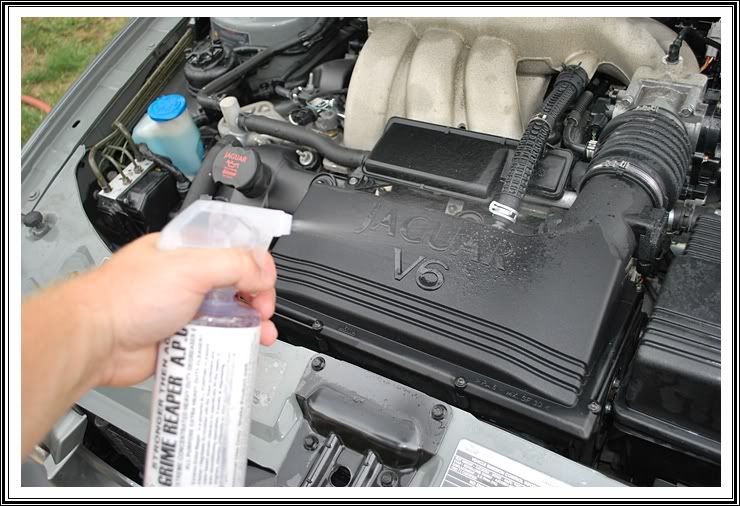
I also gave the engine a little detailing although it was not in bad shape compared to the rest of the car. For this I used Chemical Guy's Grime Reaper and various brushes and towels to ensure a clean surface before applying a water based dressing for durability.
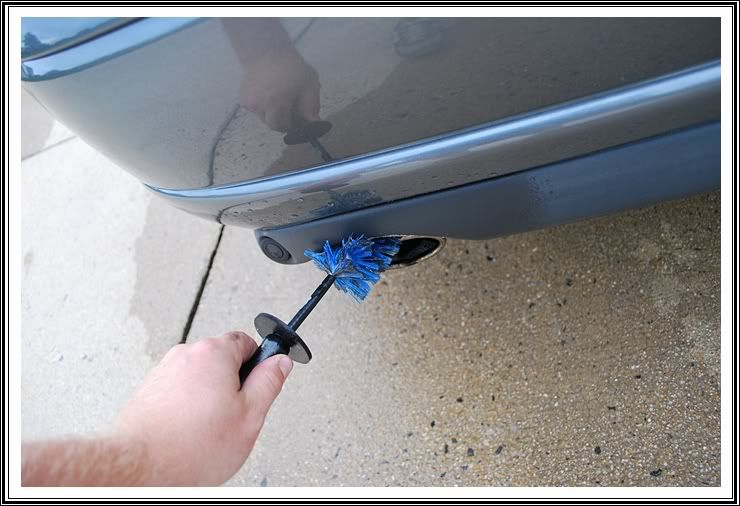
For the rubber trim around the car I used Meguiars APC+ and agitated with the Mini-EZ Detail Brush. I also did this for the exhaust tips to prep them for steel wool and metal polishing later on.

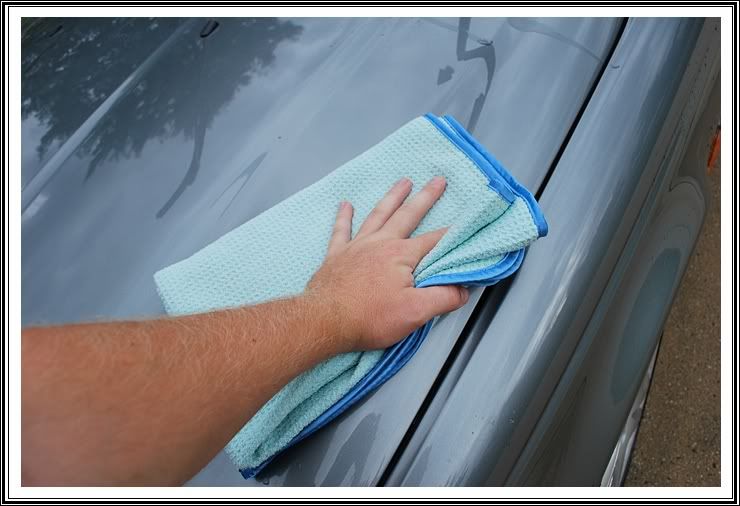
Next I clayed the car using Optimum Instant Detailer mixed 10:1 with water. After drying the car with a Waffle Weave Drying Towel, I pulled the car in to give it two 91% IPA wipes. Even though majority of the paint was prepped, I wanted to make sure the truest surface was revealed to assure the customer had the best correction possible.
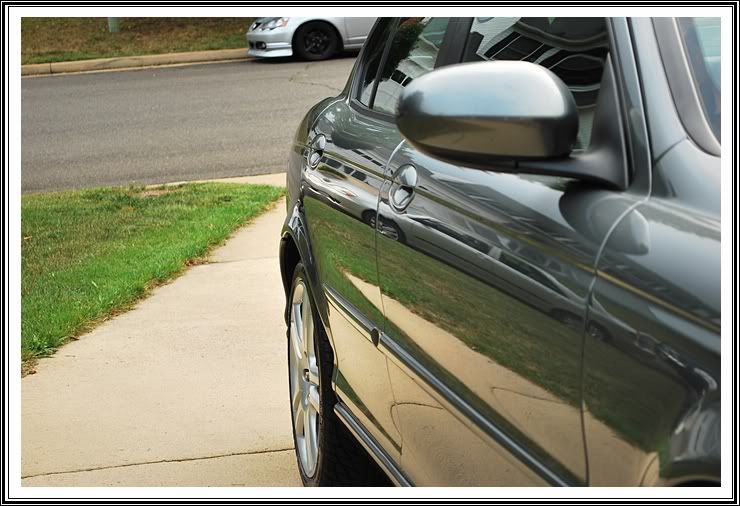
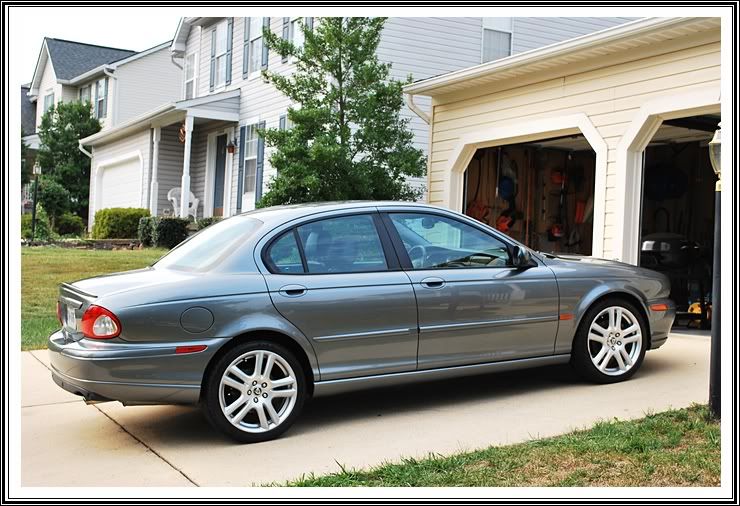
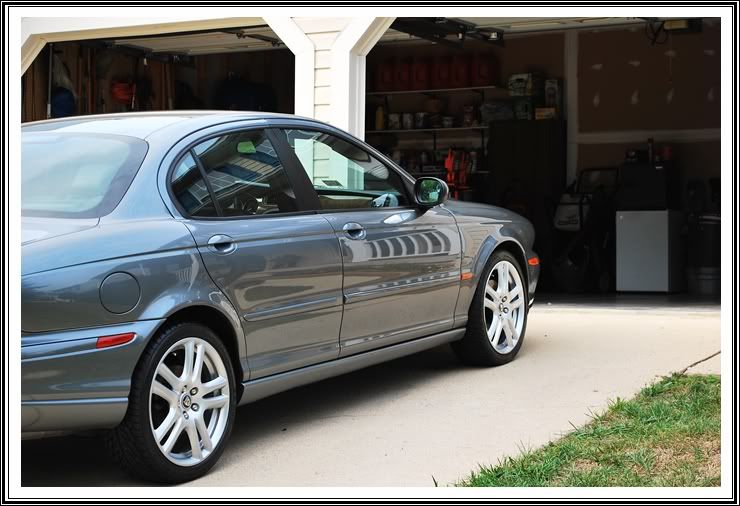
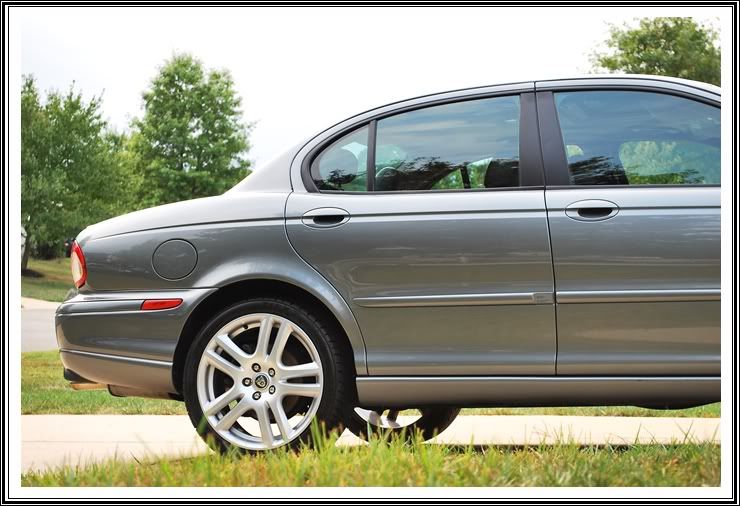
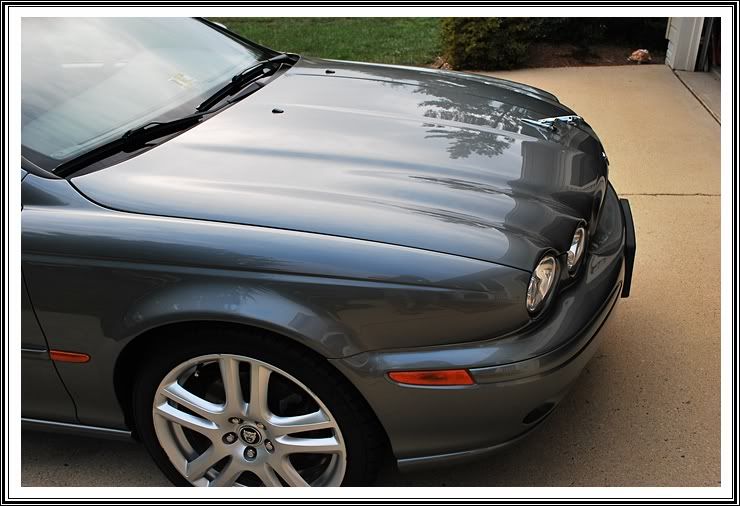
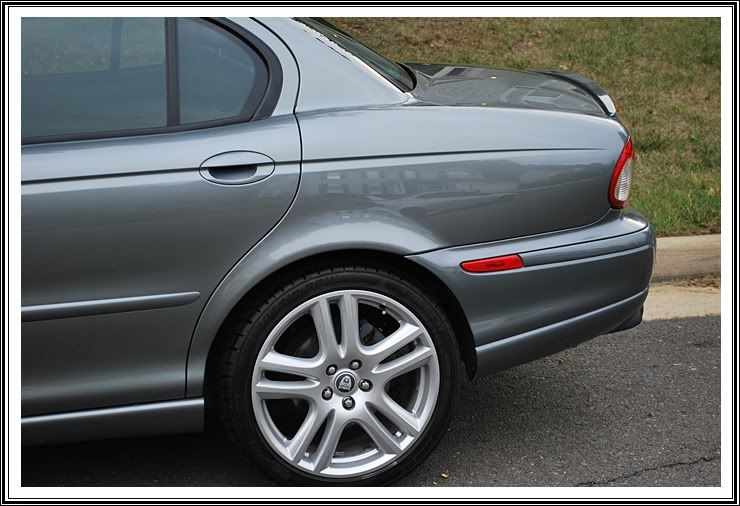
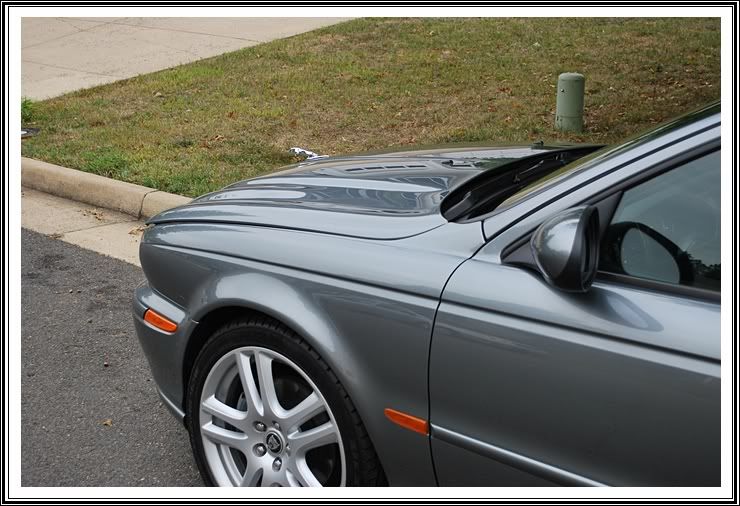
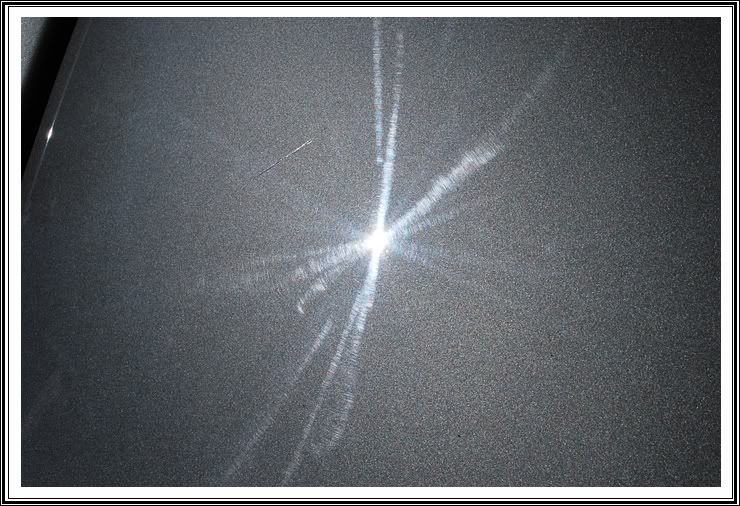
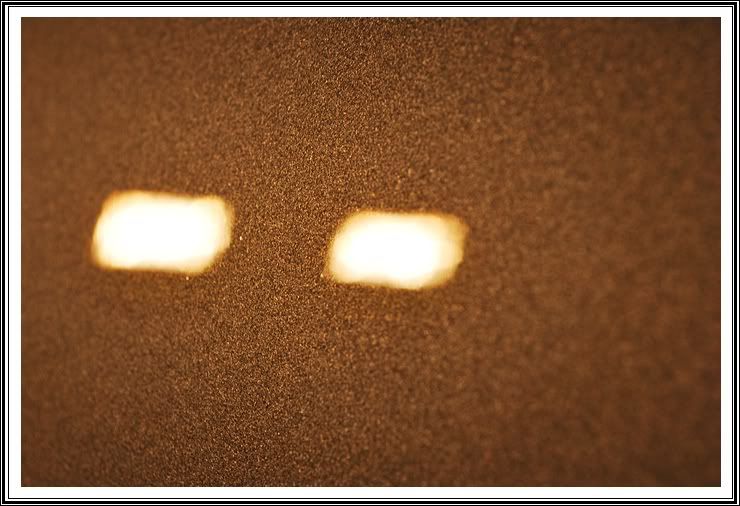
After the two 91% IPA wipes, this is what I was working with.
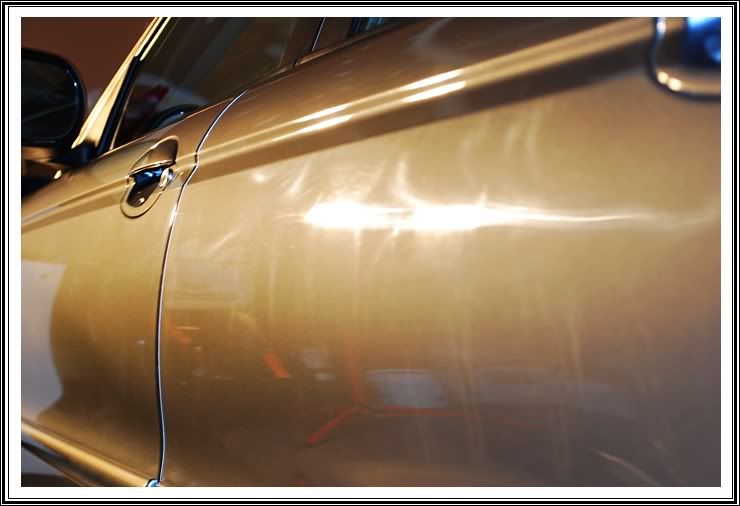
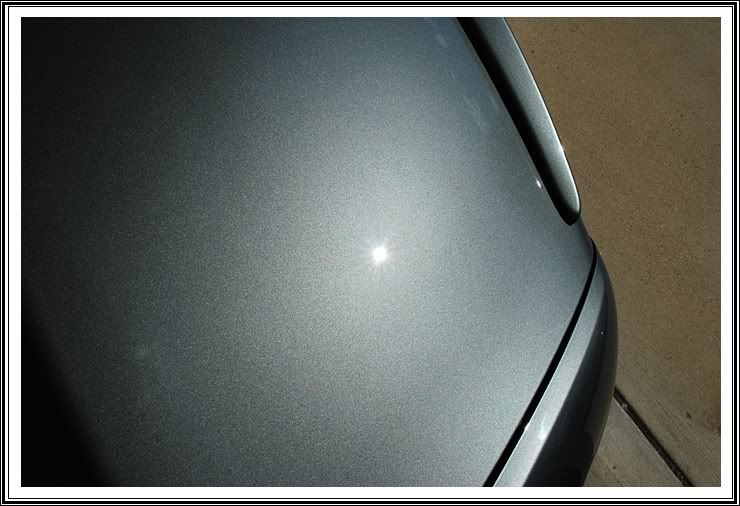
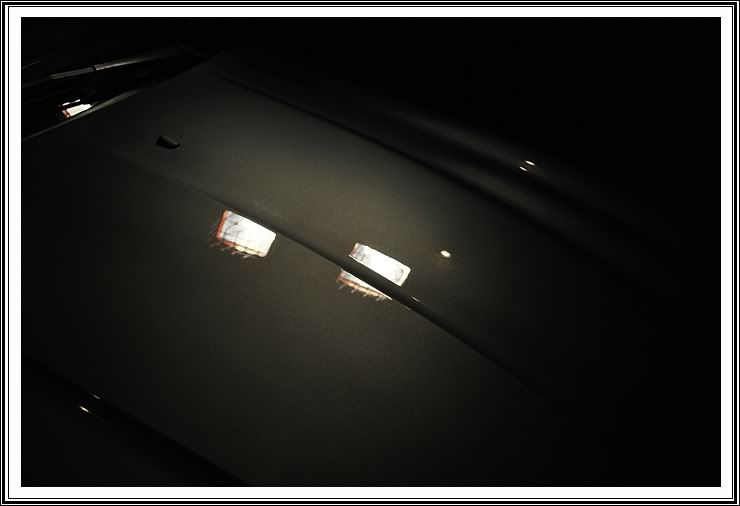
Another view as it was a little tricky capturing the defects on camera.
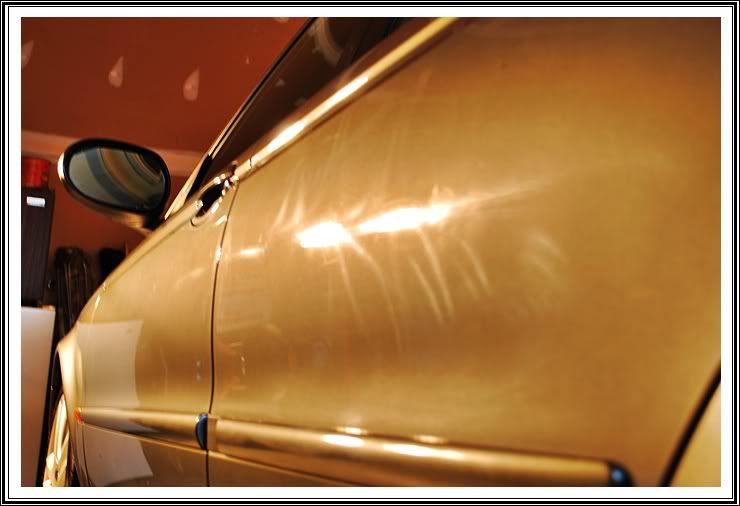
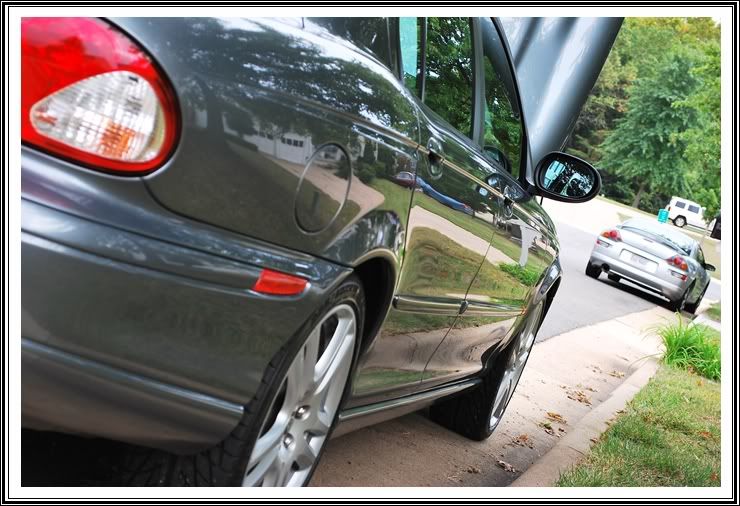
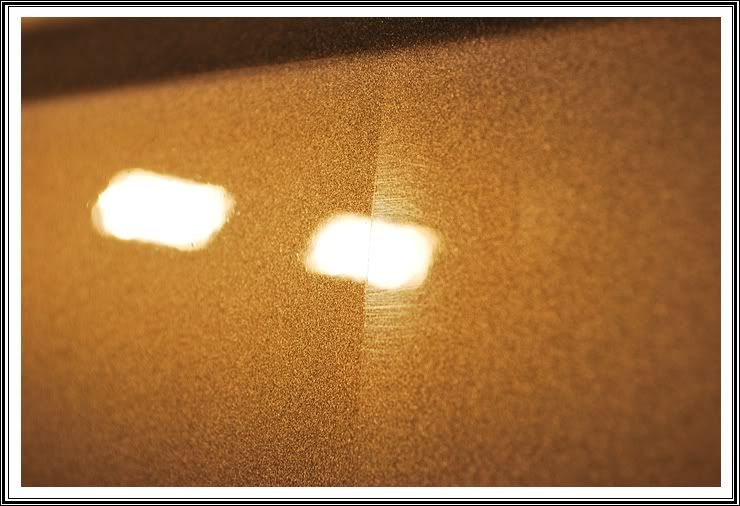
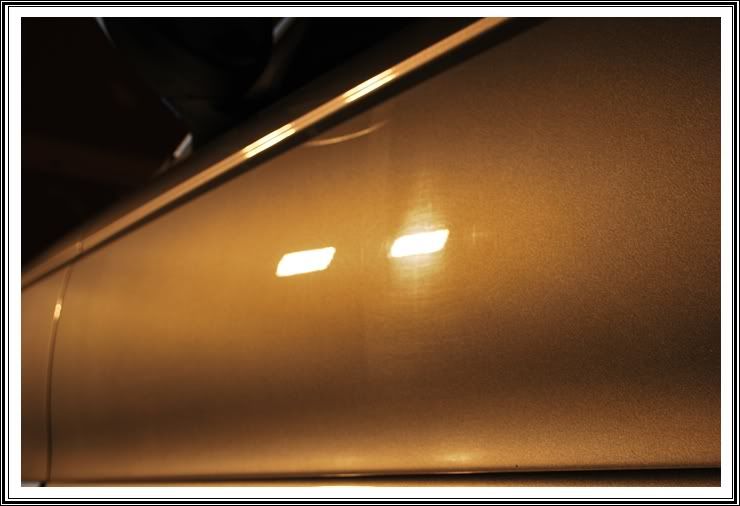
The car was covered in several types of defects.


I then taped the car up and did a test section to end the day.
This customer contacted me and told me he was purchasing this car and knew that the first thing to get done was to properly level the clear coat so it would be easier for him to maintain in between polishing jobs. I was able to do a few hours here and a few hours there as the owner dropped the car off at the house for 2 weeks while he was away on vacation. This worked out well as I had 4-5 other paint corrections to complete during this cars stay. The owner purchased the car from Carmax and told them to not do anything to the car but of course they did. I'm not sure if they used a machine on the car or if it was during the previous owners time when all these defects were put into the clear. Either way, someone who had no idea what they were doing got a hold of it and did a great job making it look horrible. Typically lighter colored cars are better at hiding defects but this one was not. You could spot the holograms and buffer trails from literally 100ft away.
The first thing you want to do prior to any correction job is to prep the surface. Most of the time just a wash and clay isn't enough especially if a high volume shop or dealer has had their hands on the car. They use very oily products that are cheap and can make polishing difficult at times.
So as normal, the first thing I did was Degrease the paint. For this step I used P21s Total Auto Wash mixed with Chemical Guy's Citrus Wash N Gloss mixed to paint prep ratio (2oz of product per gallon of water).
I also gave the engine a little detailing although it was not in bad shape compared to the rest of the car. For this I used Chemical Guy's Grime Reaper and various brushes and towels to ensure a clean surface before applying a water based dressing for durability.
For the rubber trim around the car I used Meguiars APC+ and agitated with the Mini-EZ Detail Brush. I also did this for the exhaust tips to prep them for steel wool and metal polishing later on.
Next I clayed the car using Optimum Instant Detailer mixed 10:1 with water. After drying the car with a Waffle Weave Drying Towel, I pulled the car in to give it two 91% IPA wipes. Even though majority of the paint was prepped, I wanted to make sure the truest surface was revealed to assure the customer had the best correction possible.
After the two 91% IPA wipes, this is what I was working with.
Another view as it was a little tricky capturing the defects on camera.
The car was covered in several types of defects.
I then taped the car up and did a test section to end the day.
") Don't you like Barry???
Don't you like Barry???