Nick MasonPDG
New member
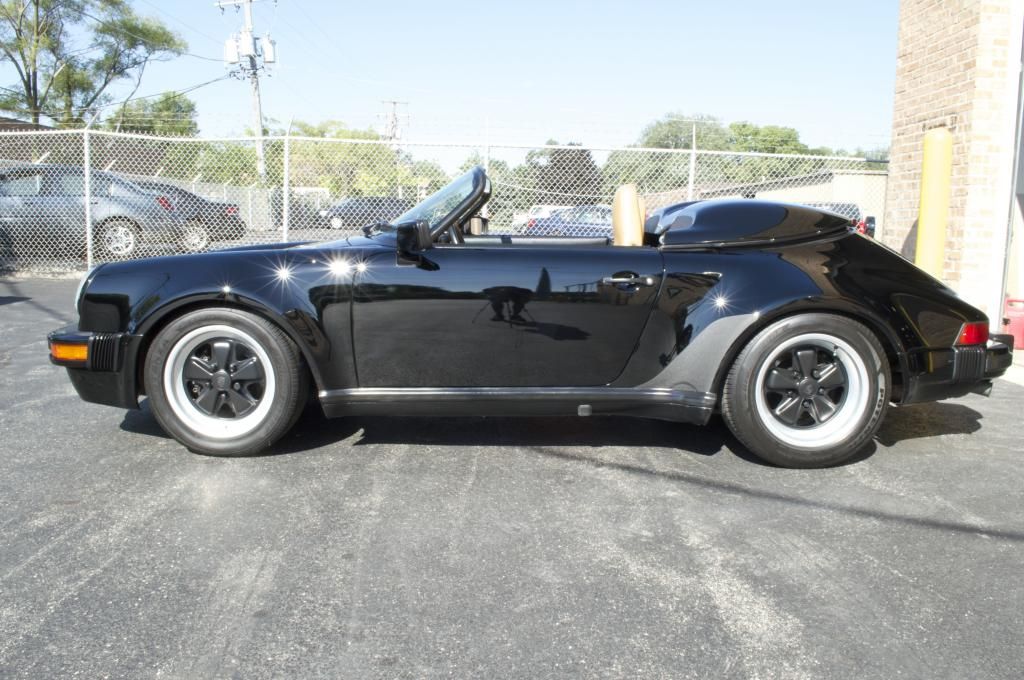
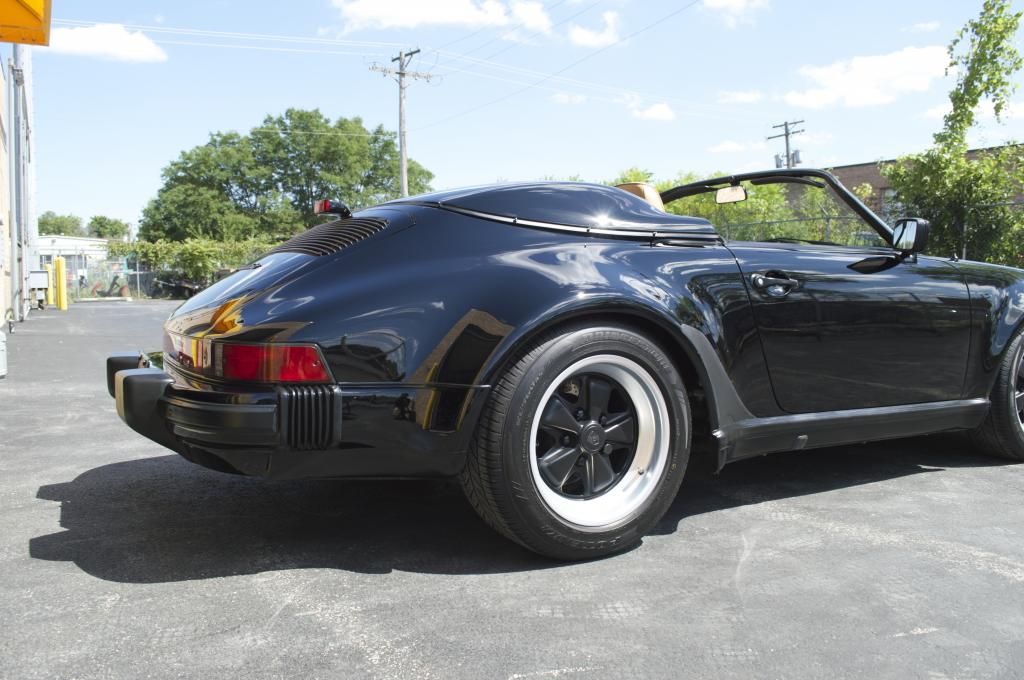
"See what we can do with this one" as my client pointed at a black 1989 Porsche 911 Speedster. From a far it looked to be in great condition (don't they all), but under the correct lighting and sunlight the defects came alive! My client was looking to have the vehicle brought back to life, so that it could be stored and possibly sold down the road. After assessing the vehicle, we decided to go with a semi-restorative detail. Because the vehicle was going to be stored and also didn't seem to have any evidence of being driven (California car with 24k miles) we agreed that I would mainly focus on the paint, leather, dark areas in the beige carpet and all the nooks and crannies I could get to.
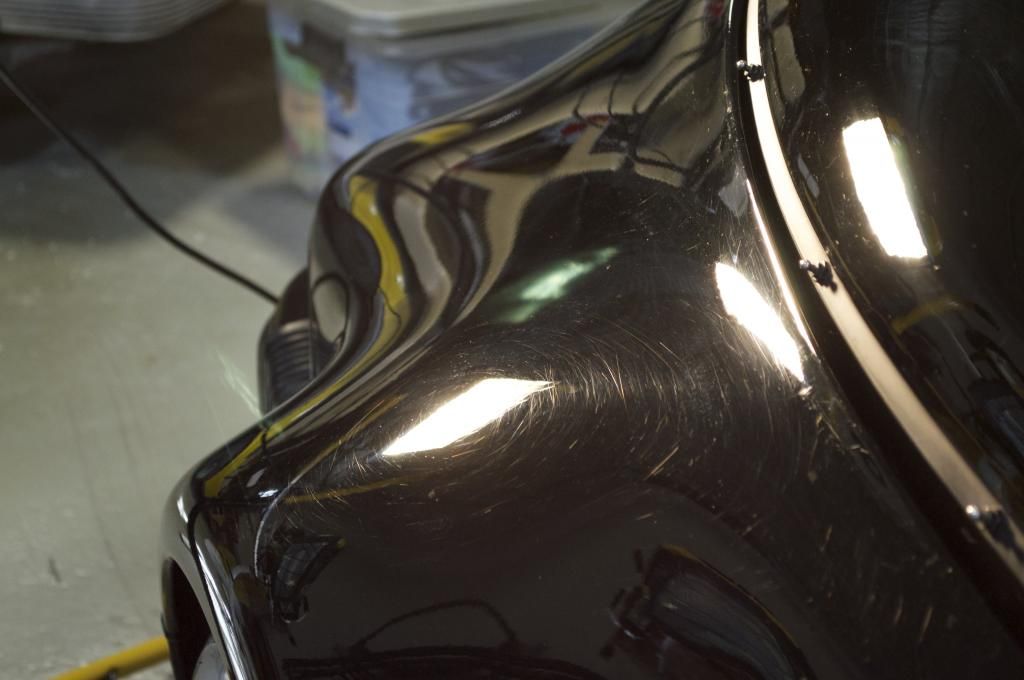
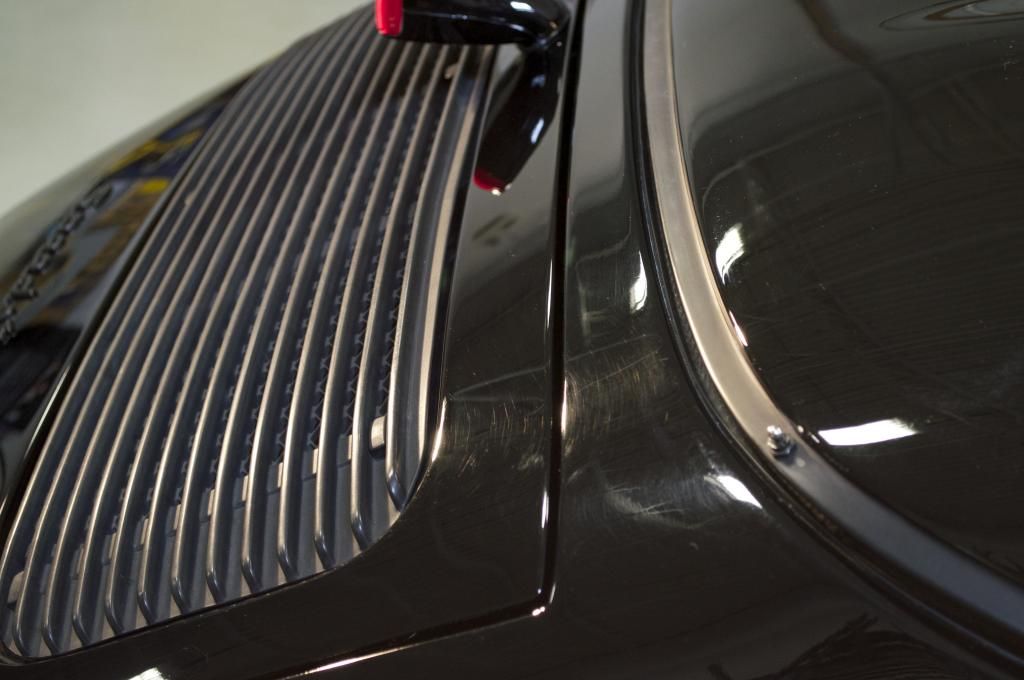
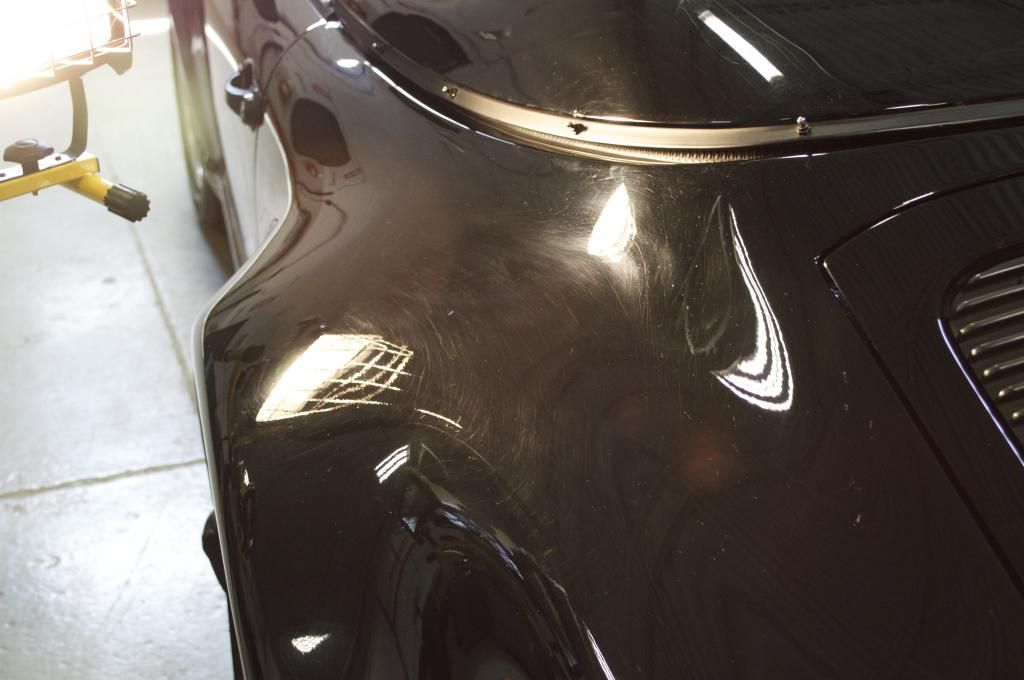
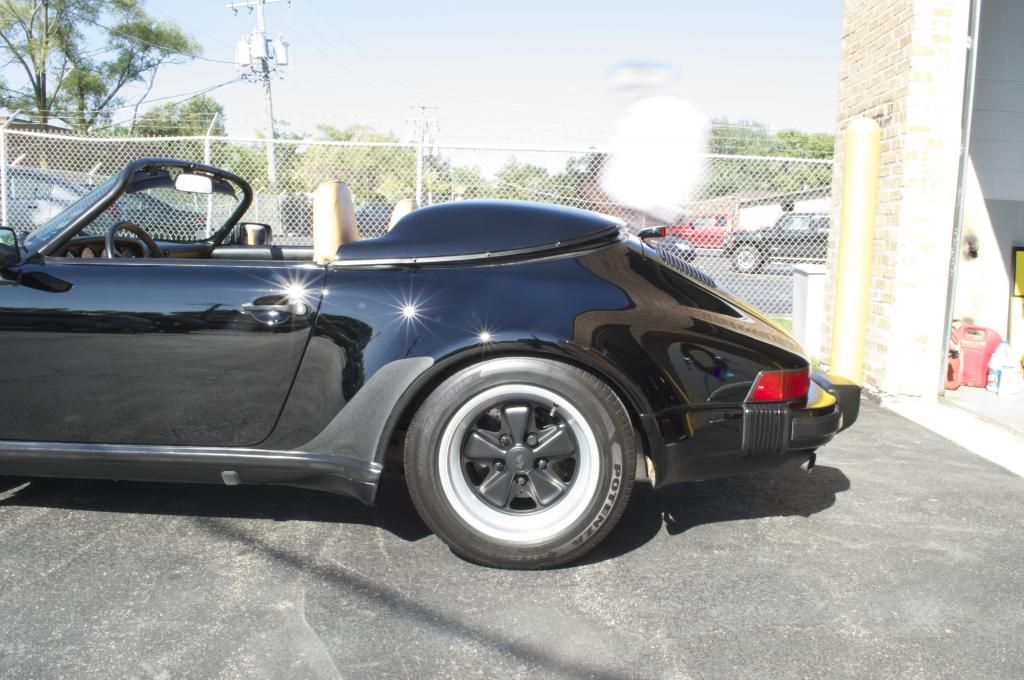
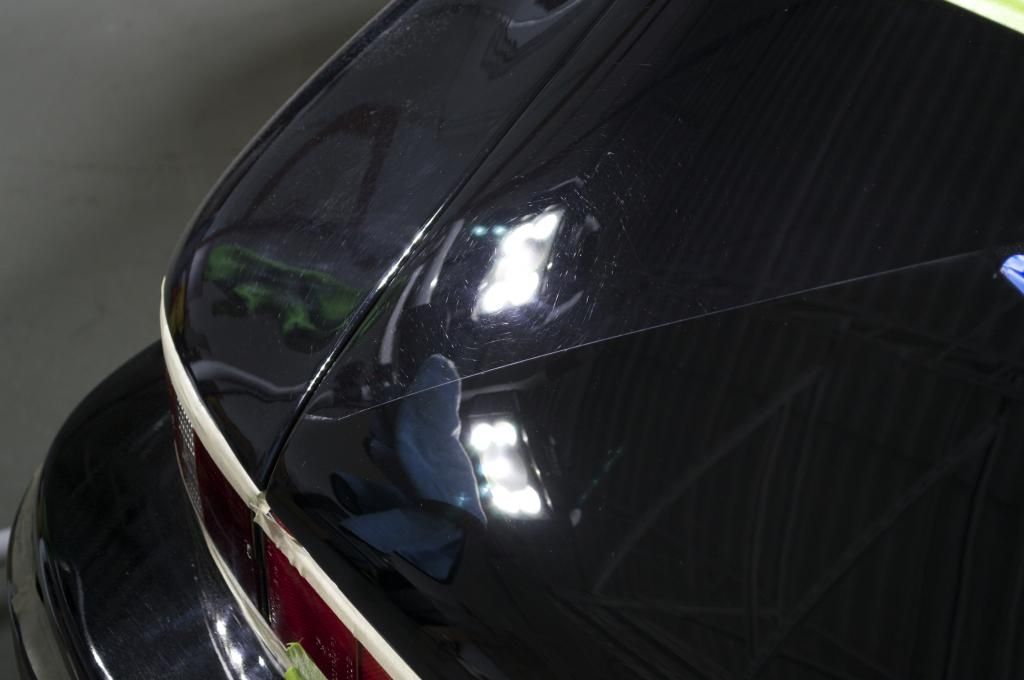
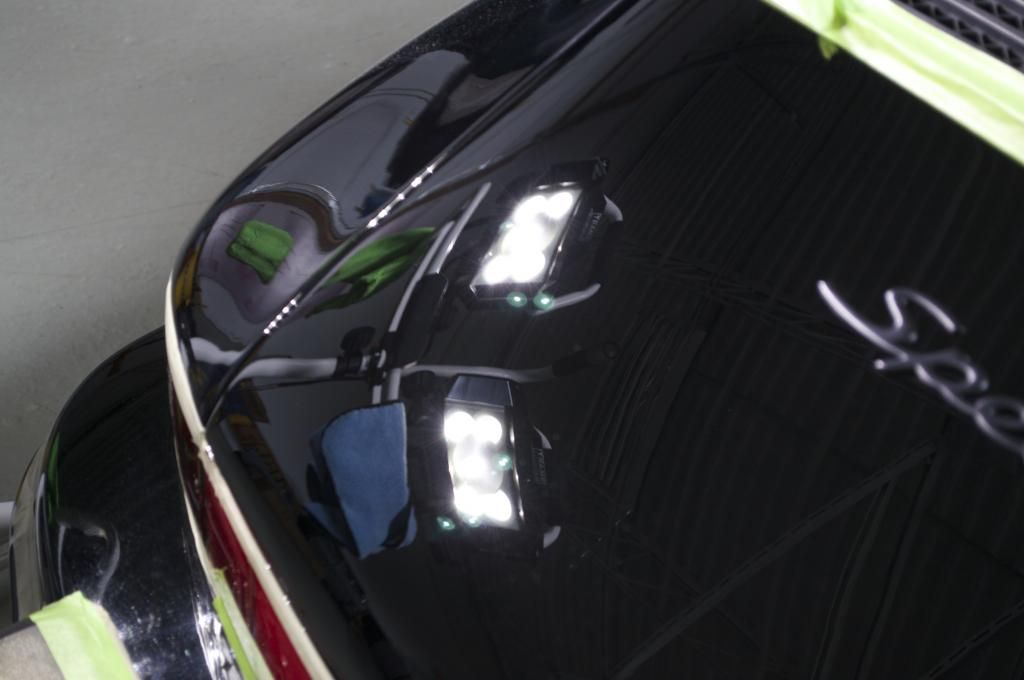
The paint looked as if it had been through automatic car washes, improper hand washes, inexperienced detailer (burned through paint in a couple areas) and maybe a homeless man that dried the car with newspapers at a stoplight. All jokes aside, take a look at some of the pics of the progression. The entire process took about 42.5 hours with majority (about 28 hours) of the time being paint correction. About 98% or the defects were removed. The only ones that remained were rock chips, deep scratches, and several nicks in the fiberglass convertible top cover that were due to the convertible top dragging/hitting the paint while the top was being put up and down.
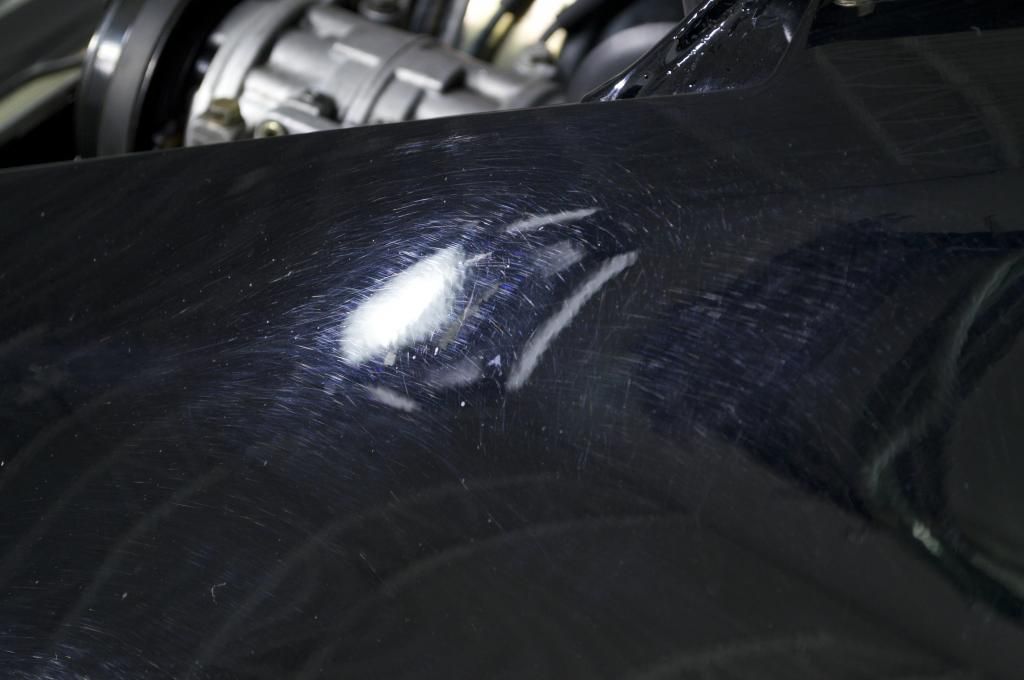
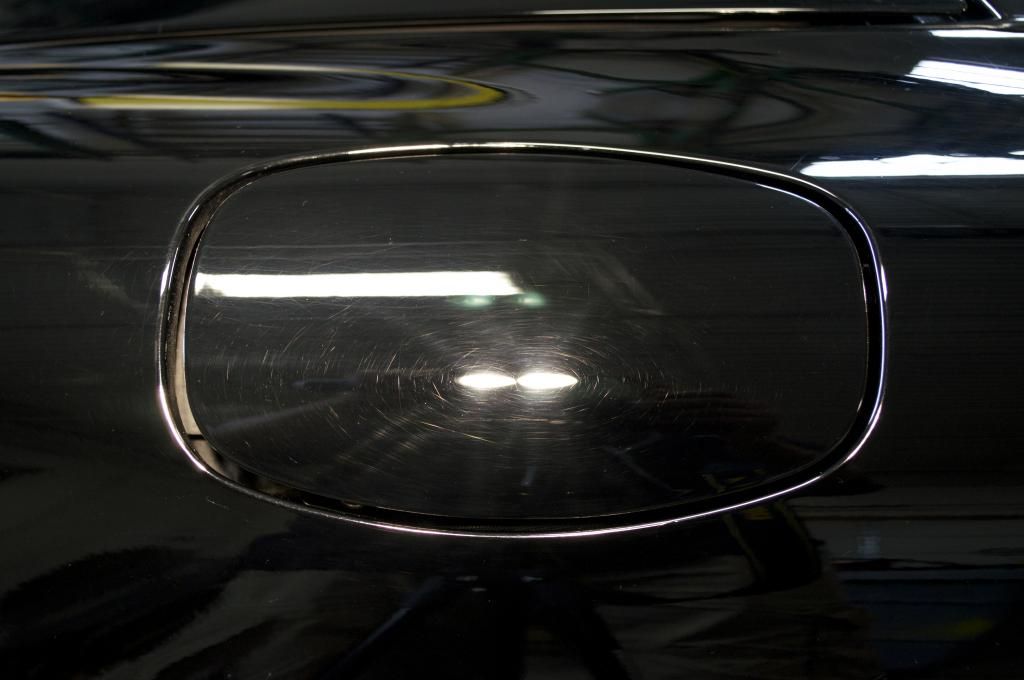
You can see near the edges of the fuel door where the paint was burned through
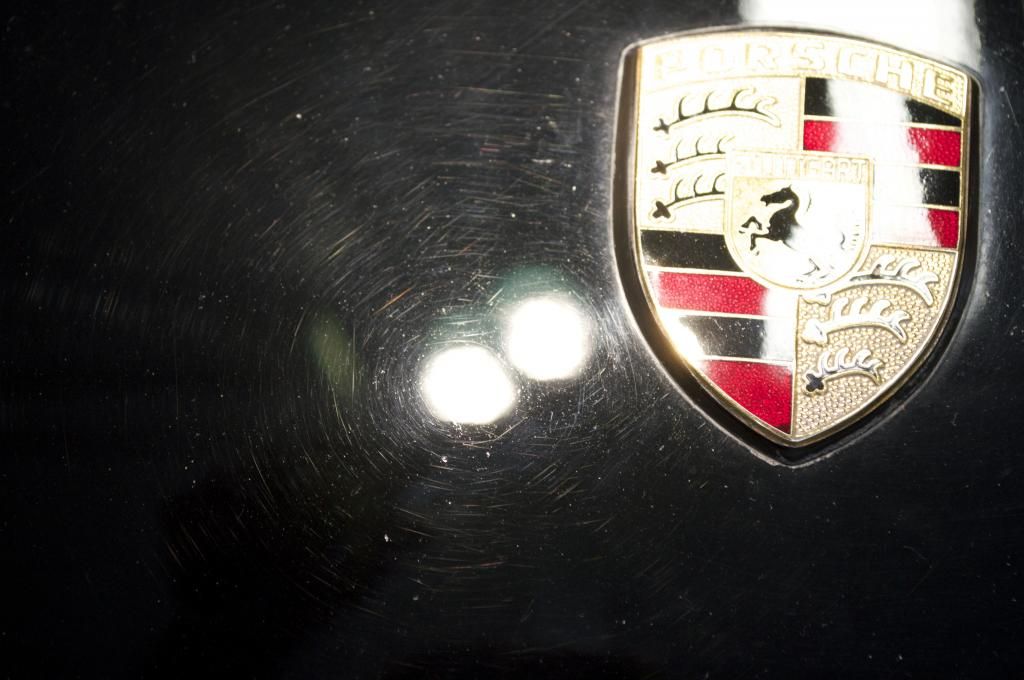
The Porsche emblem was removed so that I could get a cleaner finish
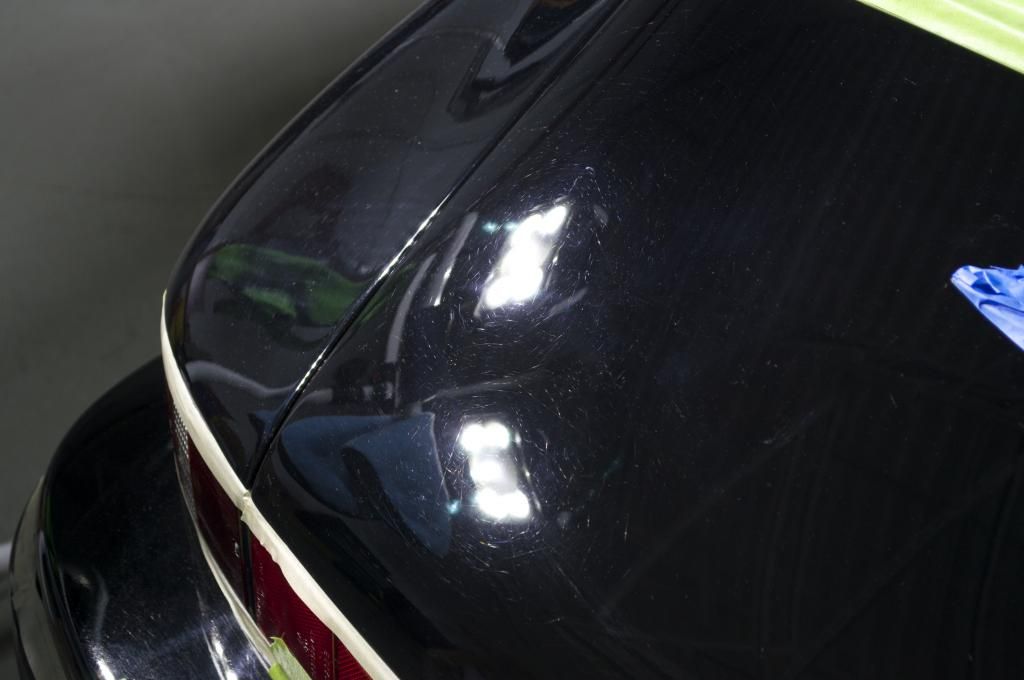
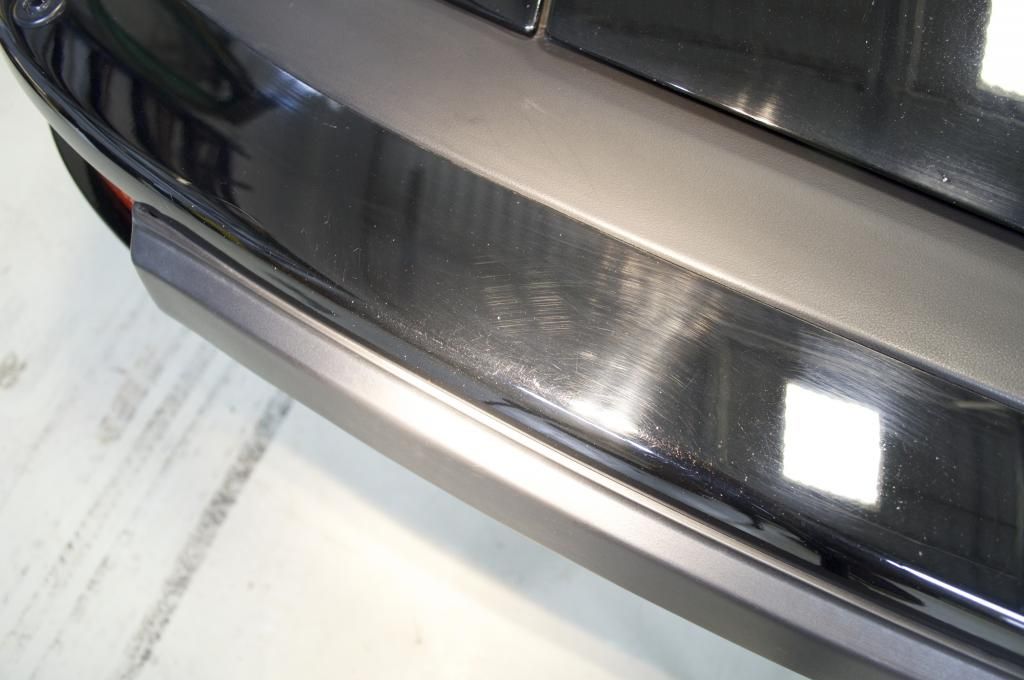
Again here you can see toward the left side of the picture (front right of the bumper) another area of paint that was sacrificed.
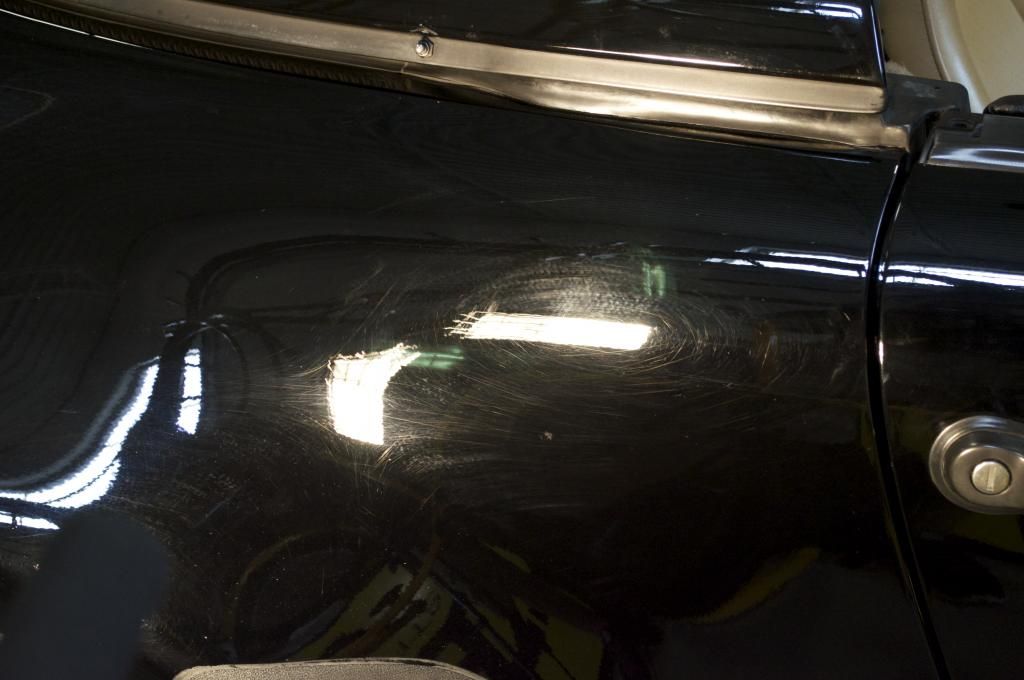
Keyhole before...

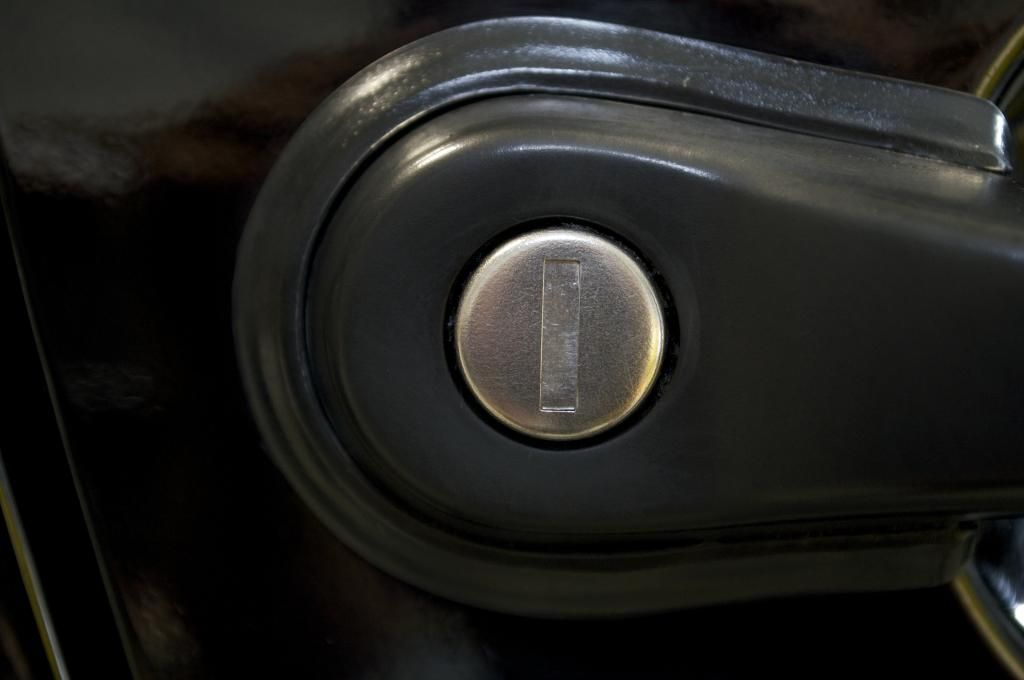
Keyhole after...
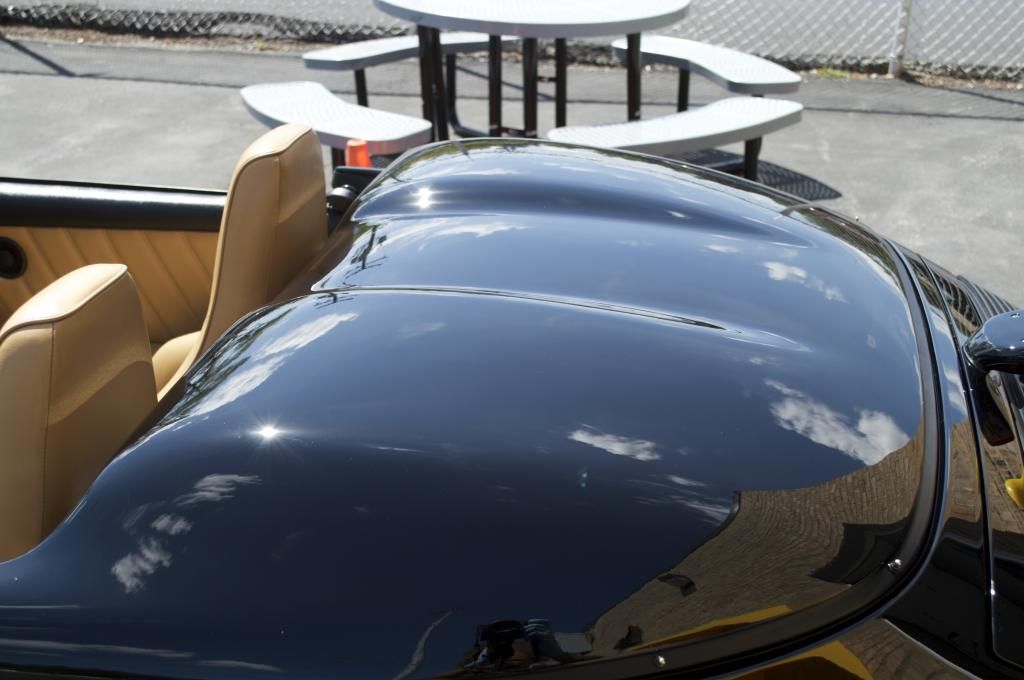
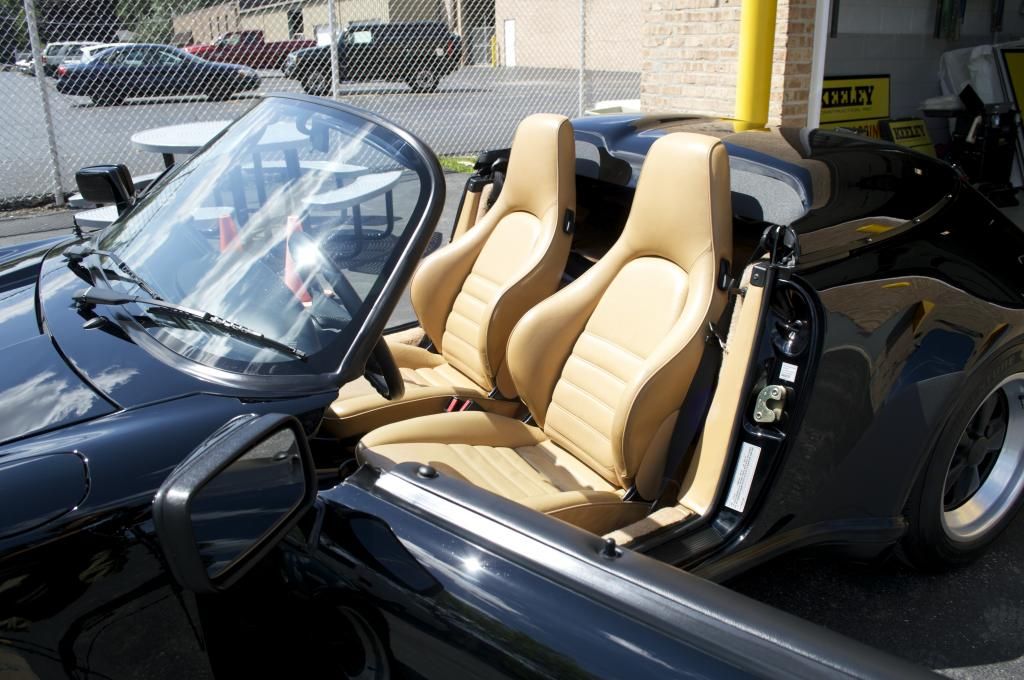
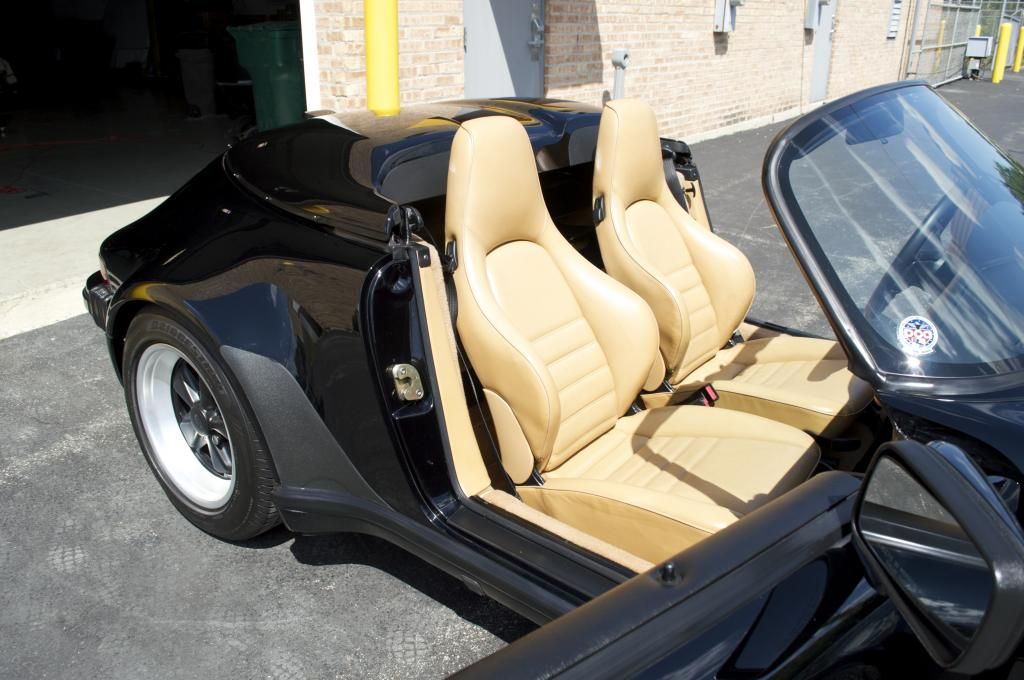
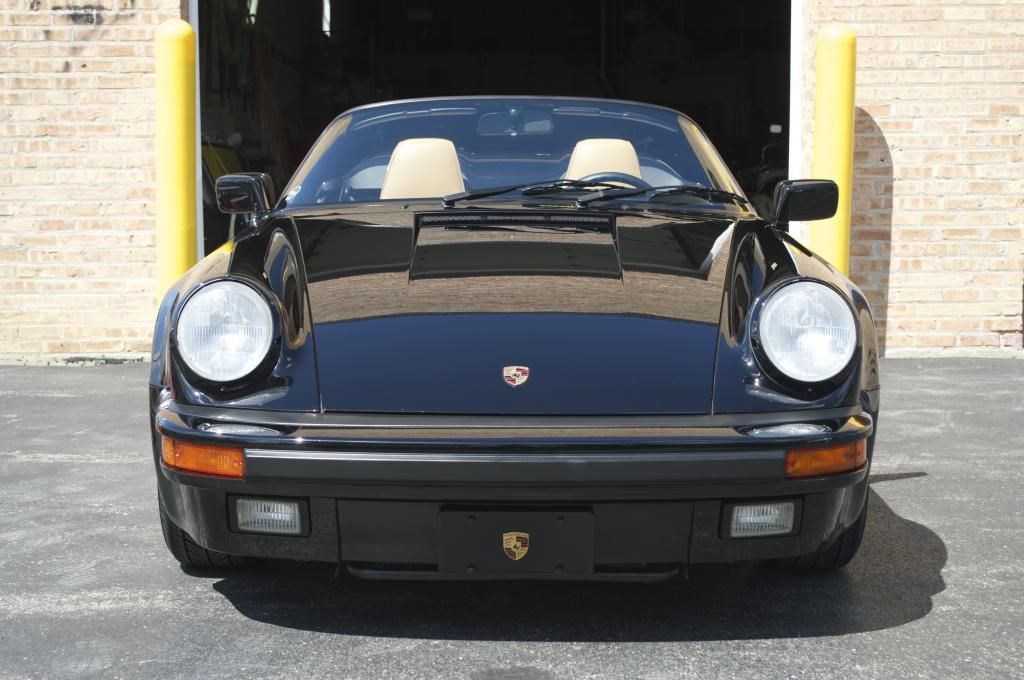
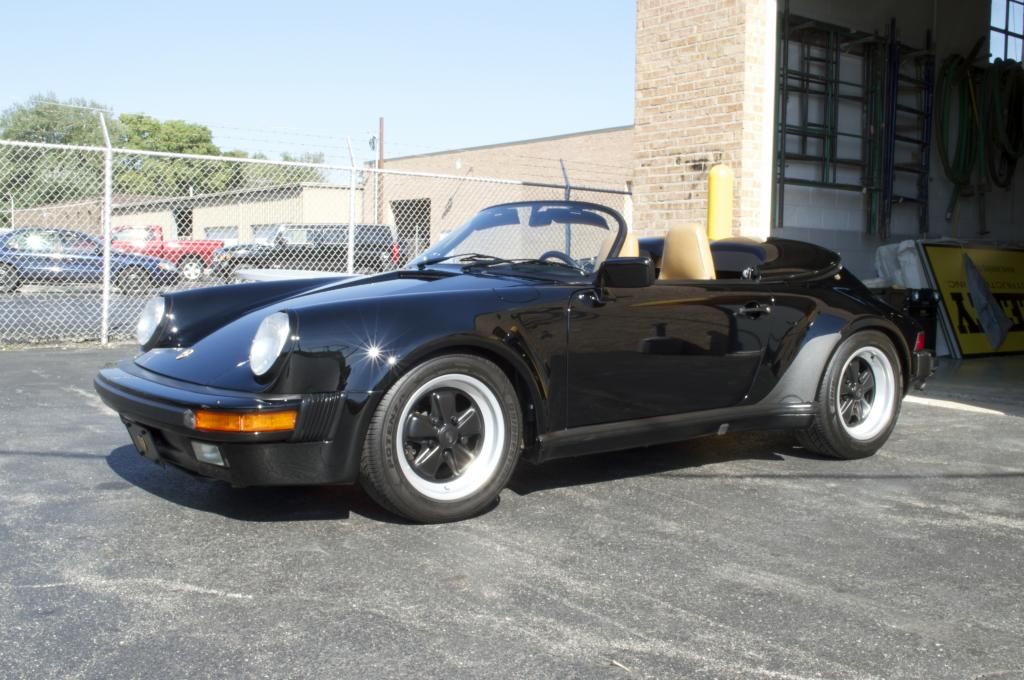
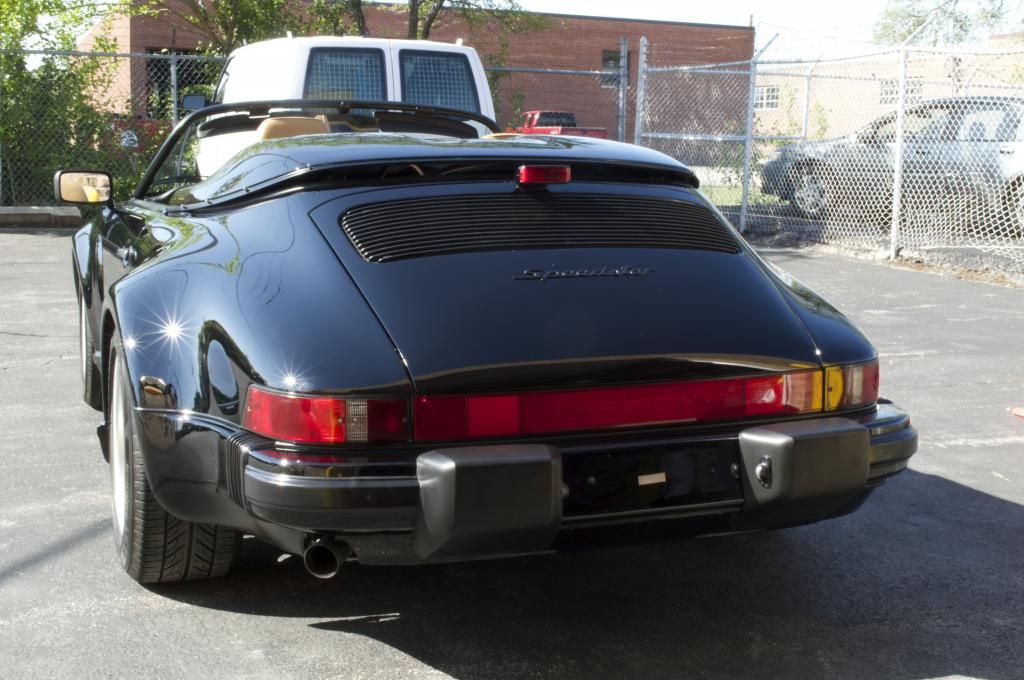
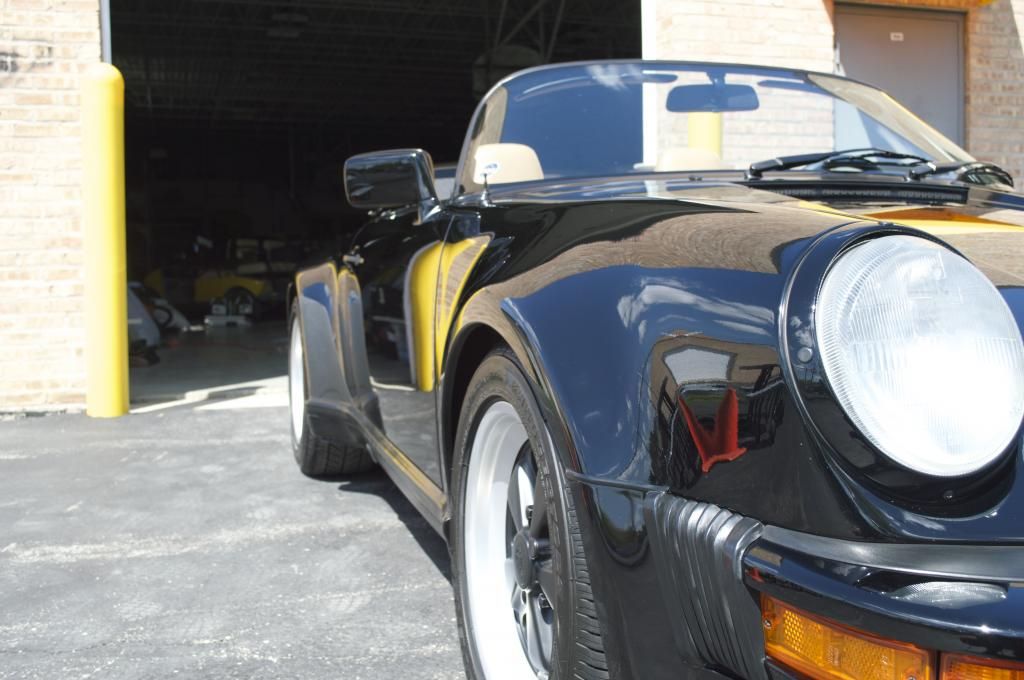
And now the after shots!!
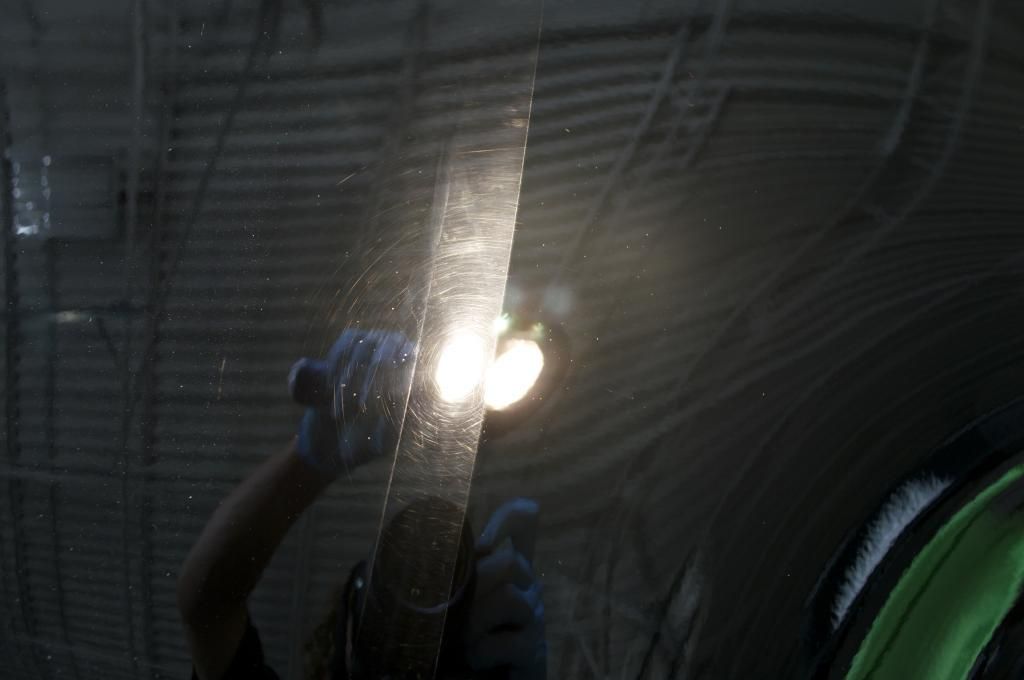
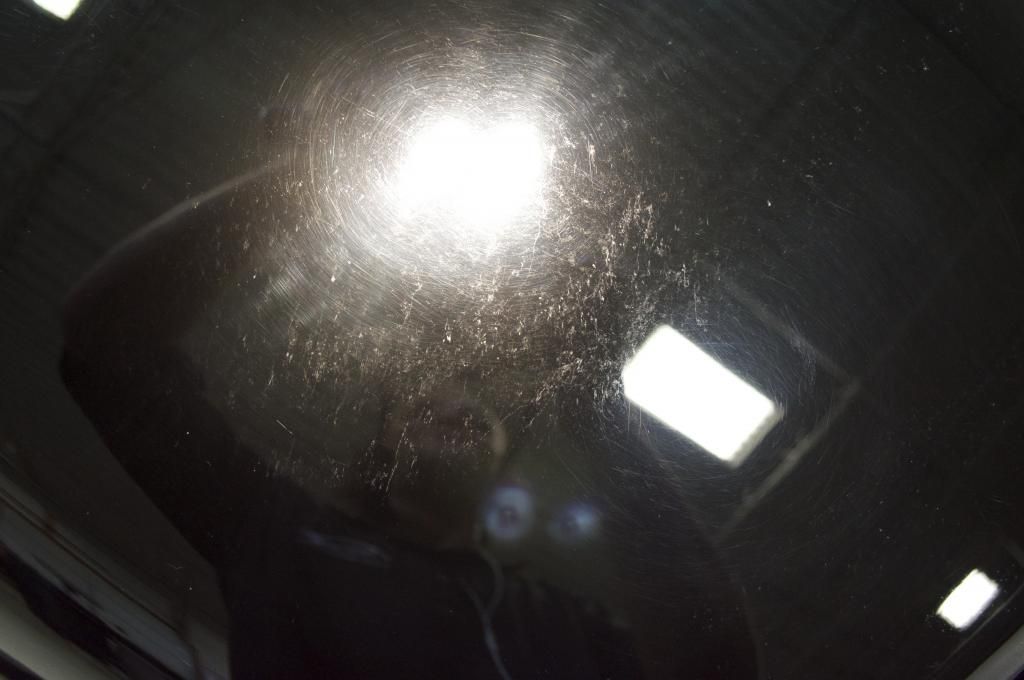
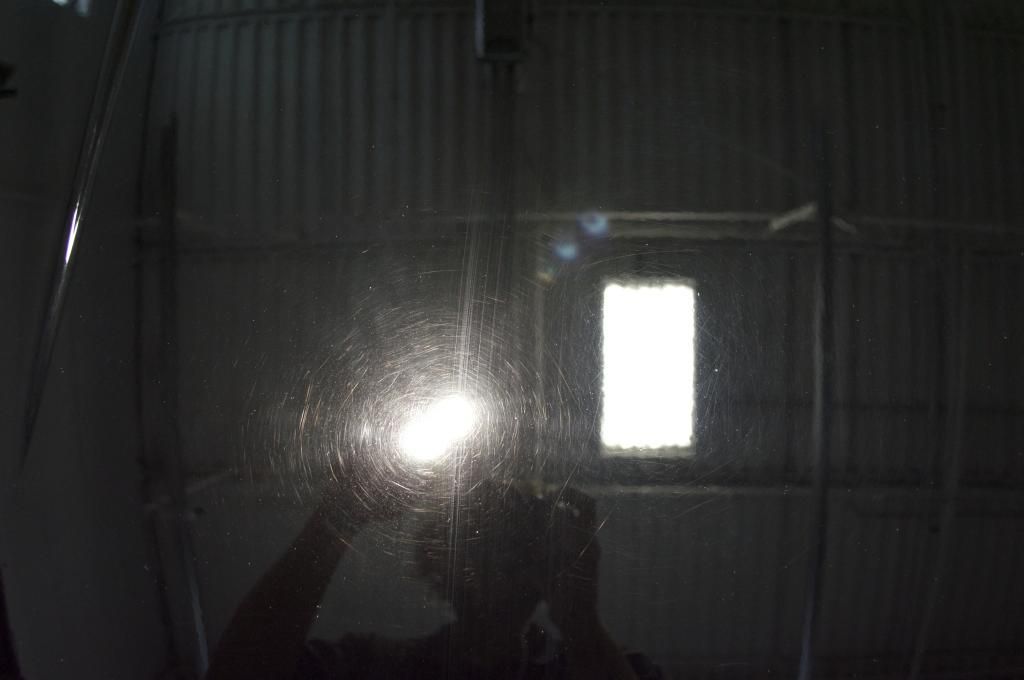
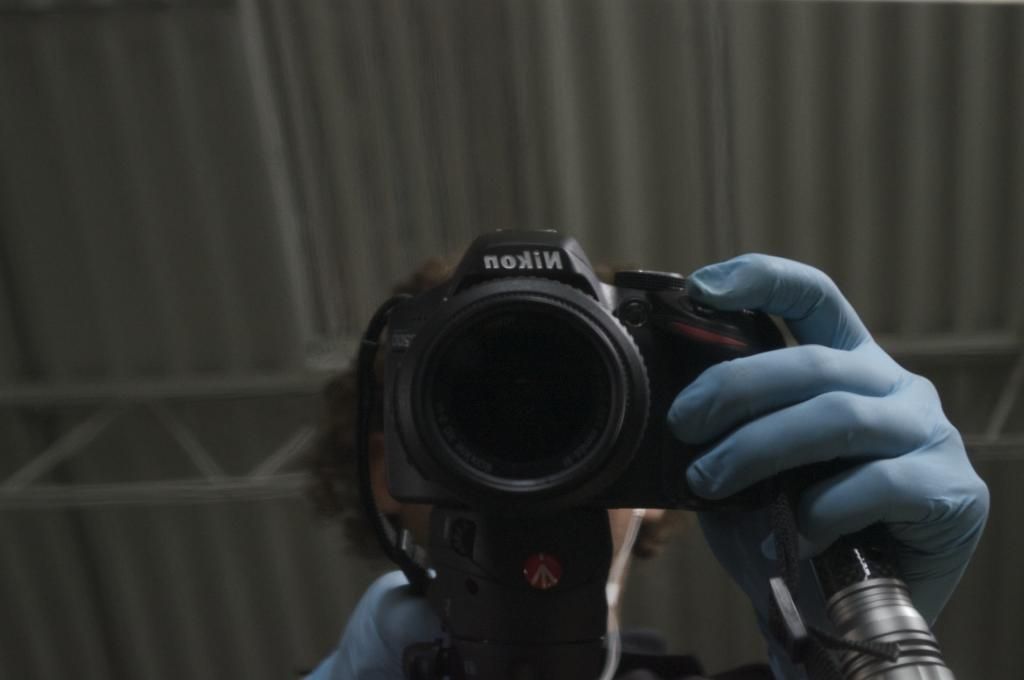
Test spot selfie
Thanks for viewing!!!
The paint looked as if it had been through automatic car washes, improper hand washes, inexperienced detailer (burned through paint in a couple areas) and maybe a homeless man that dried the car with newspapers at a stoplight. All jokes aside, take a look at some of the pics of the progression. The entire process took about 42.5 hours with majority (about 28 hours) of the time being paint correction. About 98% or the defects were removed. The only ones that remained were rock chips, deep scratches, and several nicks in the fiberglass convertible top cover that were due to the convertible top dragging/hitting the paint while the top was being put up and down.
You can see near the edges of the fuel door where the paint was burned through
The Porsche emblem was removed so that I could get a cleaner finish
Again here you can see toward the left side of the picture (front right of the bumper) another area of paint that was sacrificed.
Keyhole before...
Keyhole after...
And now the after shots!!
Test spot selfie
Thanks for viewing!!!