1985 Porsche 911 Carrera Gets restored by Tru Shine Detailing of Knoxville TN

Tru_Shine

New member


Hey Everyone,


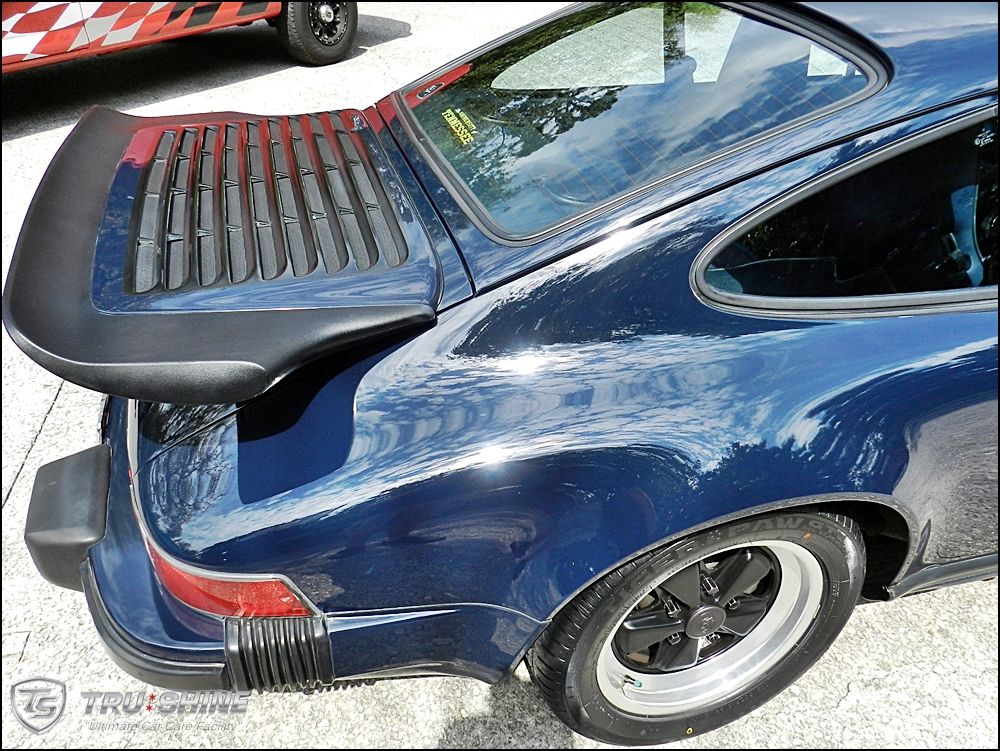
This was a restoration type detail that I was excited to get my hands on. I am such a big fan of these old school Porsche's and when this owner called me to come out and look at it, I was right on it. Once I inspected the car I knew right away the potential that it had. We scheduled the car and two weeks later I arrived.


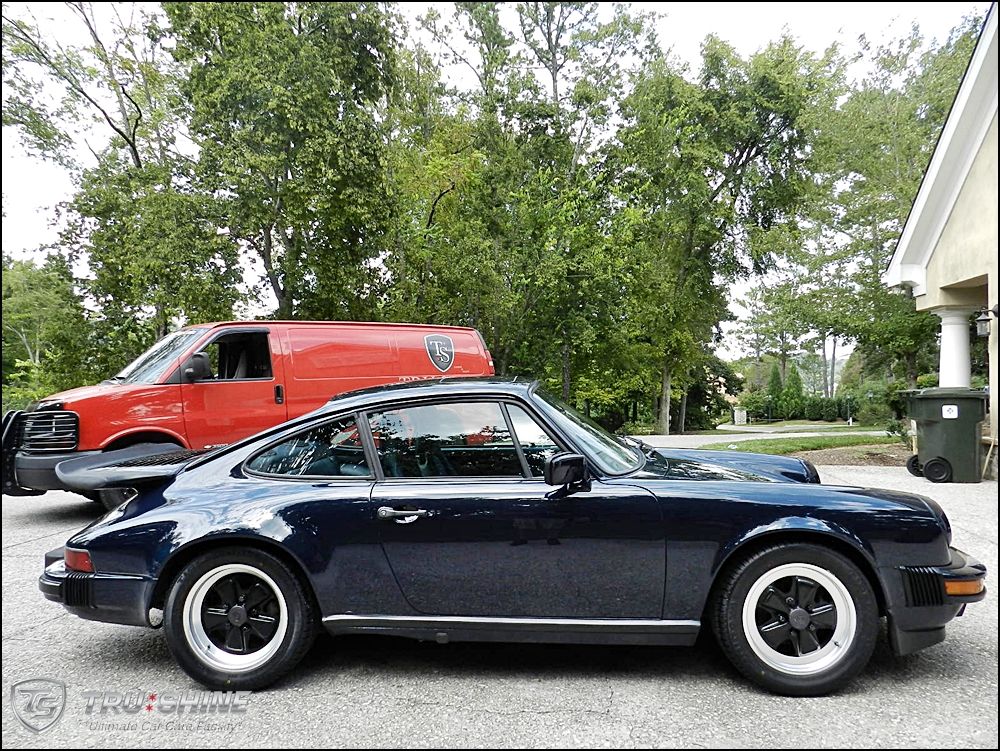
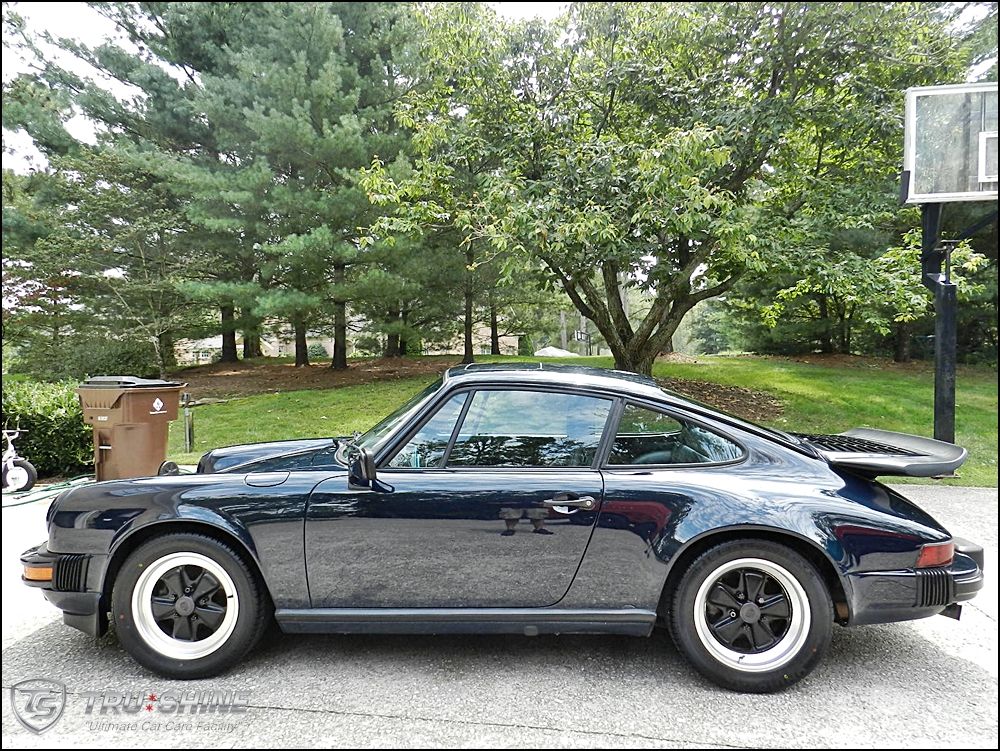
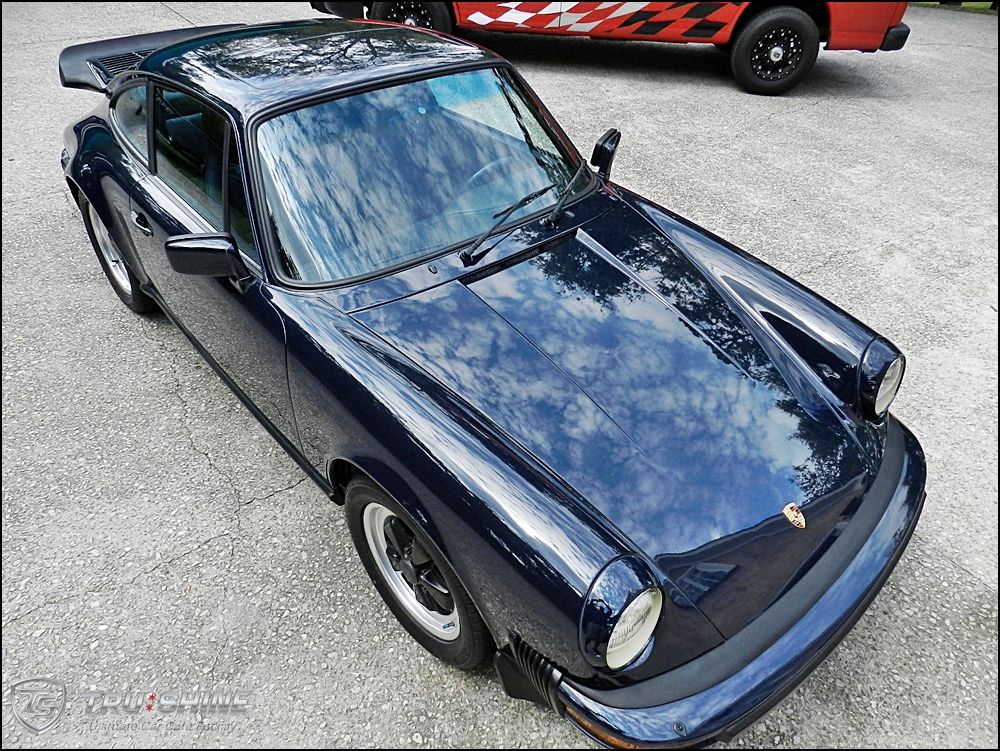
This write up documents the process and products used to revive this 1985 911 Carrera. Lets get this going.


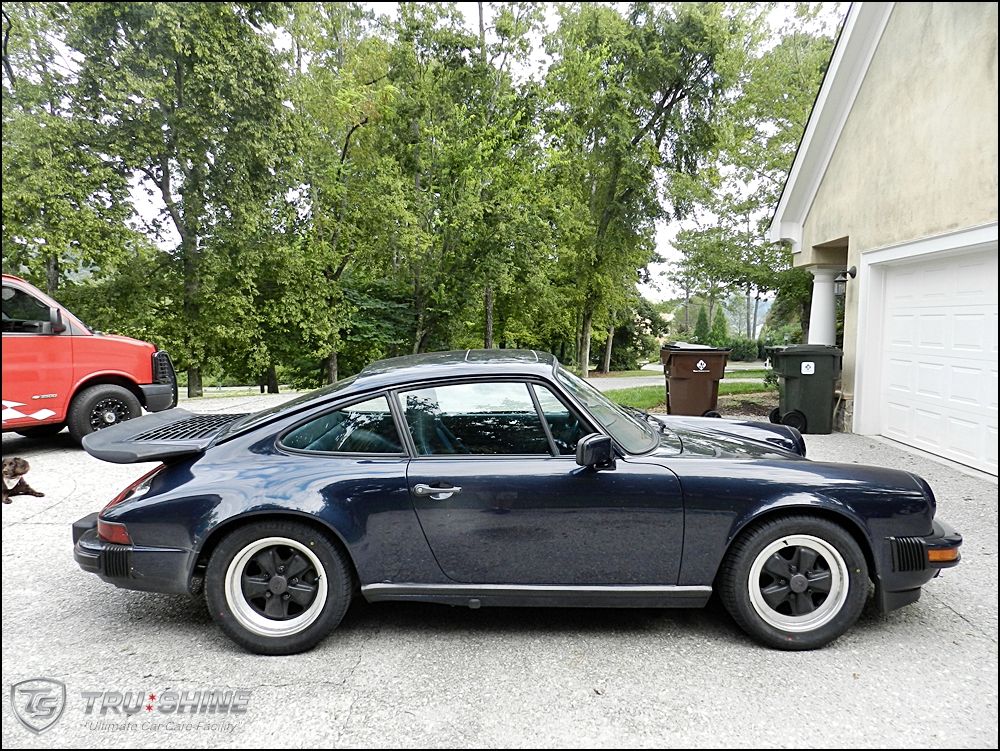
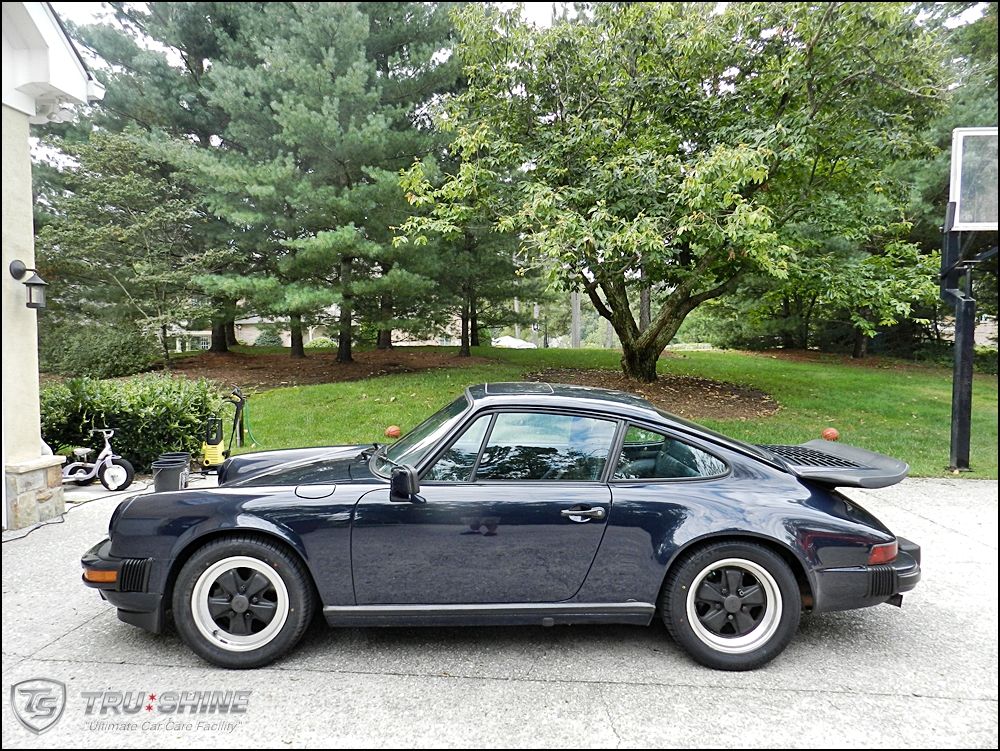
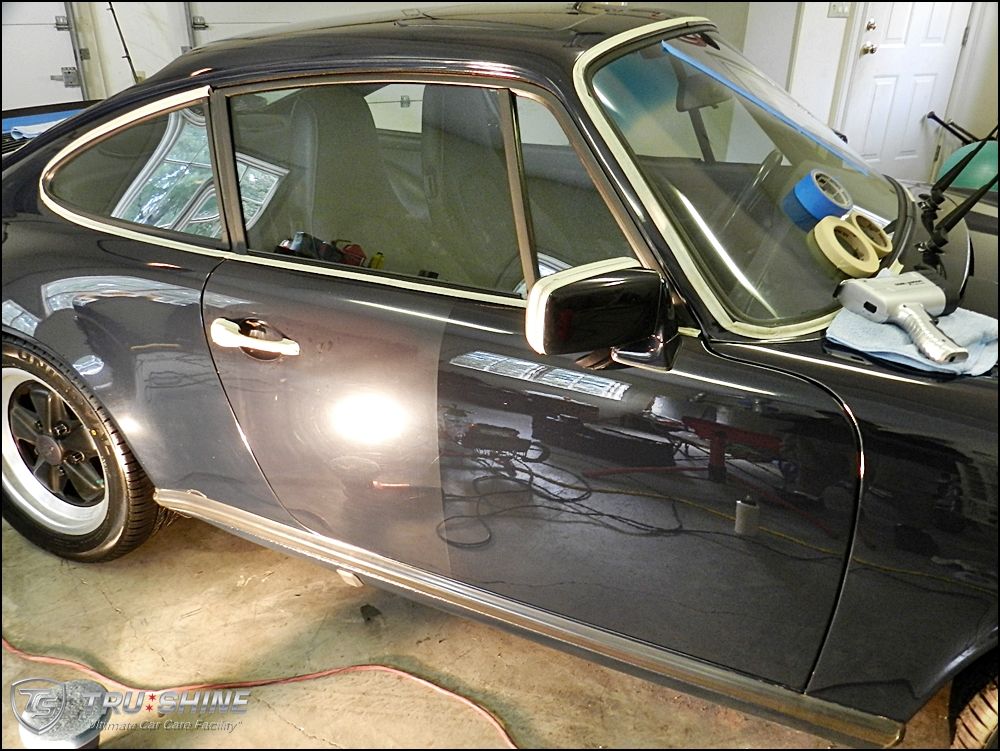
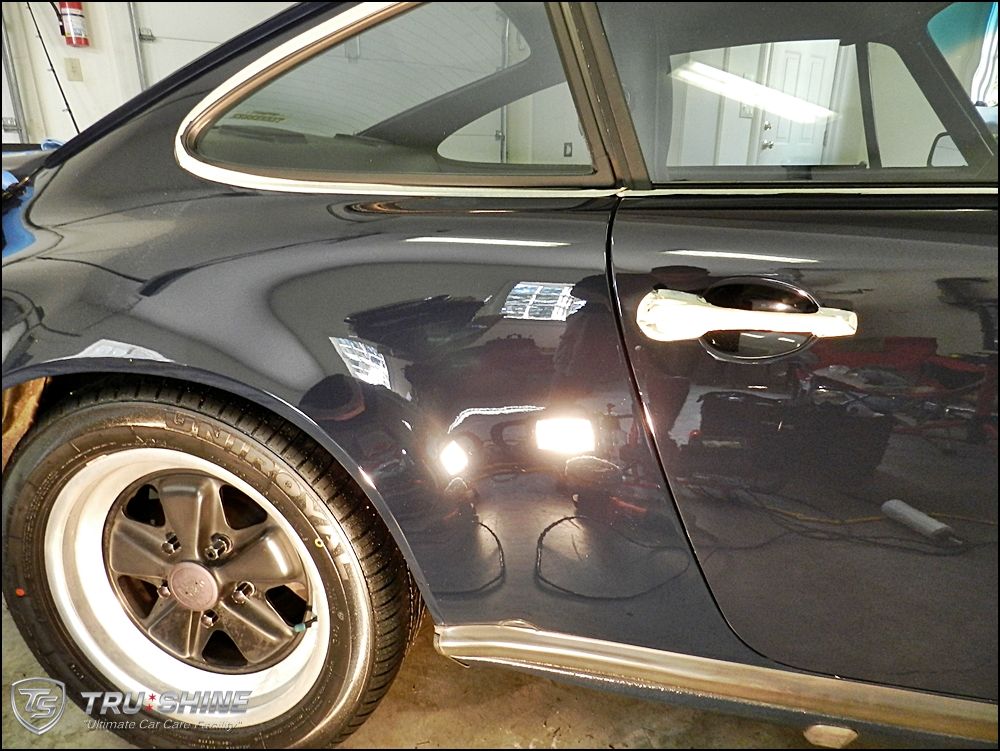
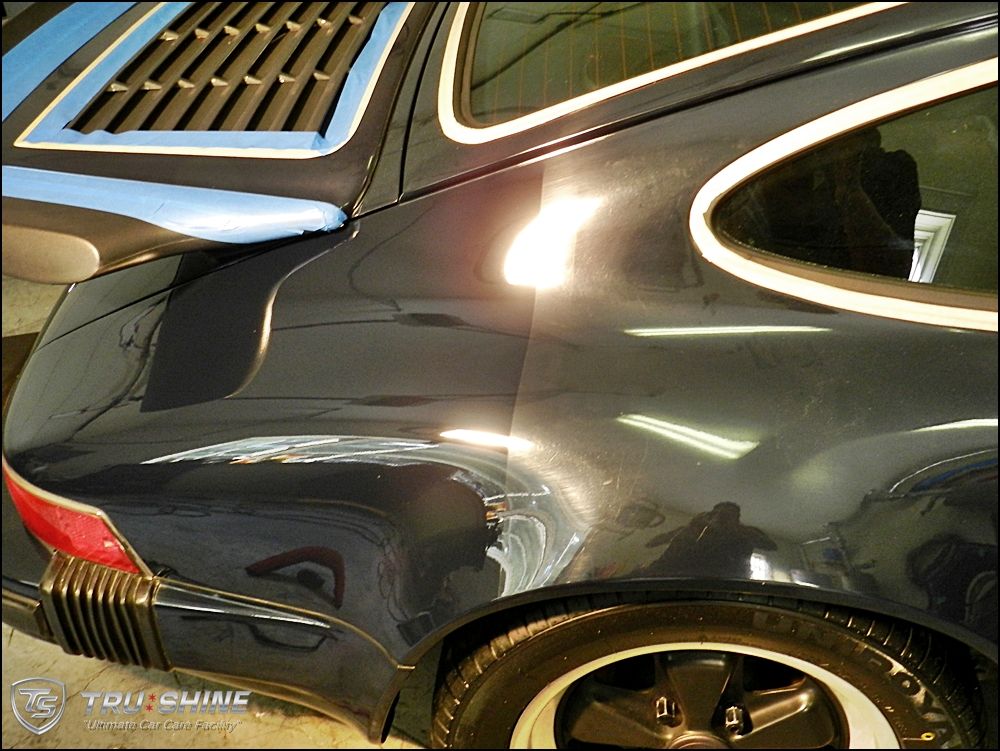
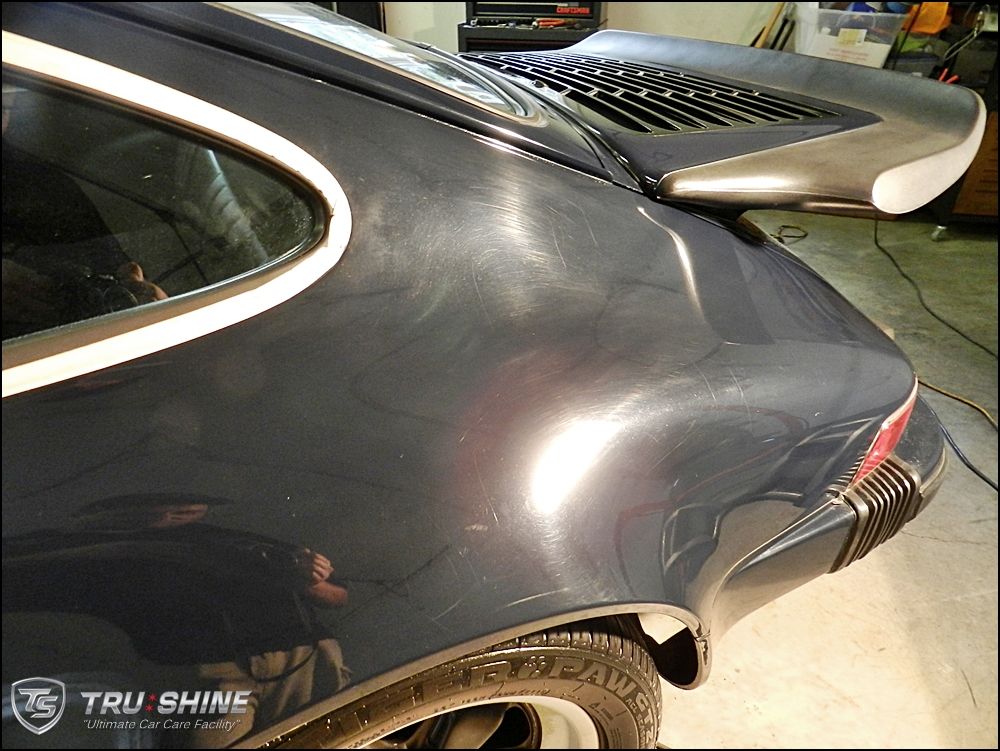
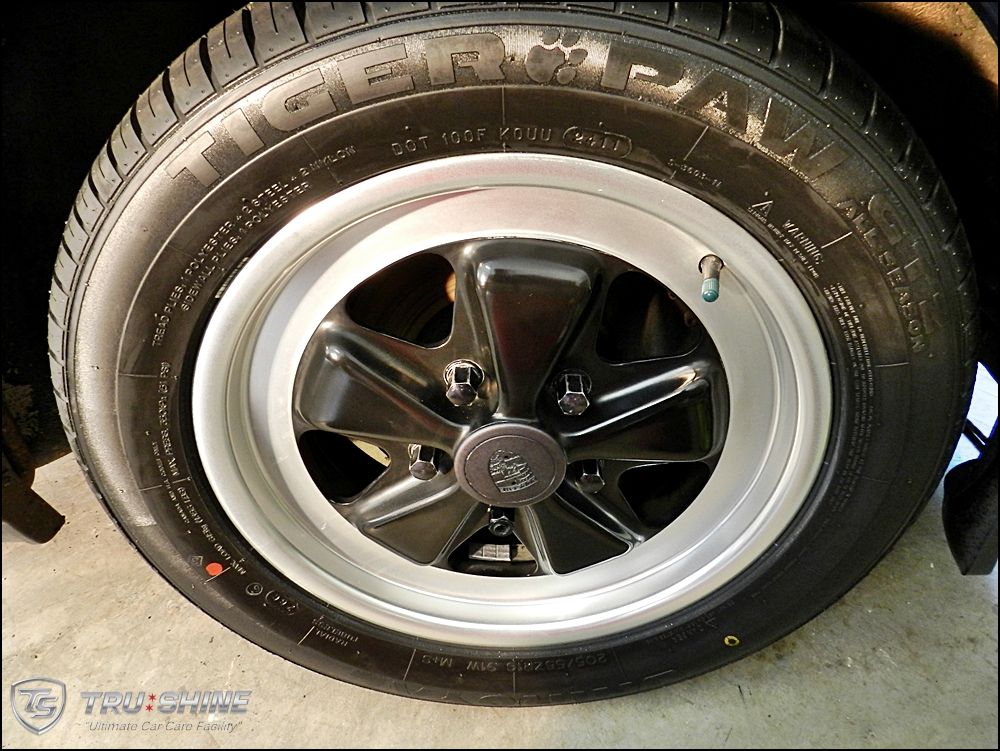
Here is the car when I arrived


DSCN5752_zpsdb0ffd94.jpg


DSCN5754_zps8ca1f55c.jpg


DSCN5755_zps34b0bcfe.jpg


DSCN5753_zps262a2b01.jpg


DSCN5758_zps365ab017.jpg


DSCN5760_zpse1d3a01f.jpg


DSCN5762_zps8f6c257f.jpg


DSCN5765_zpsfb59d720.jpg


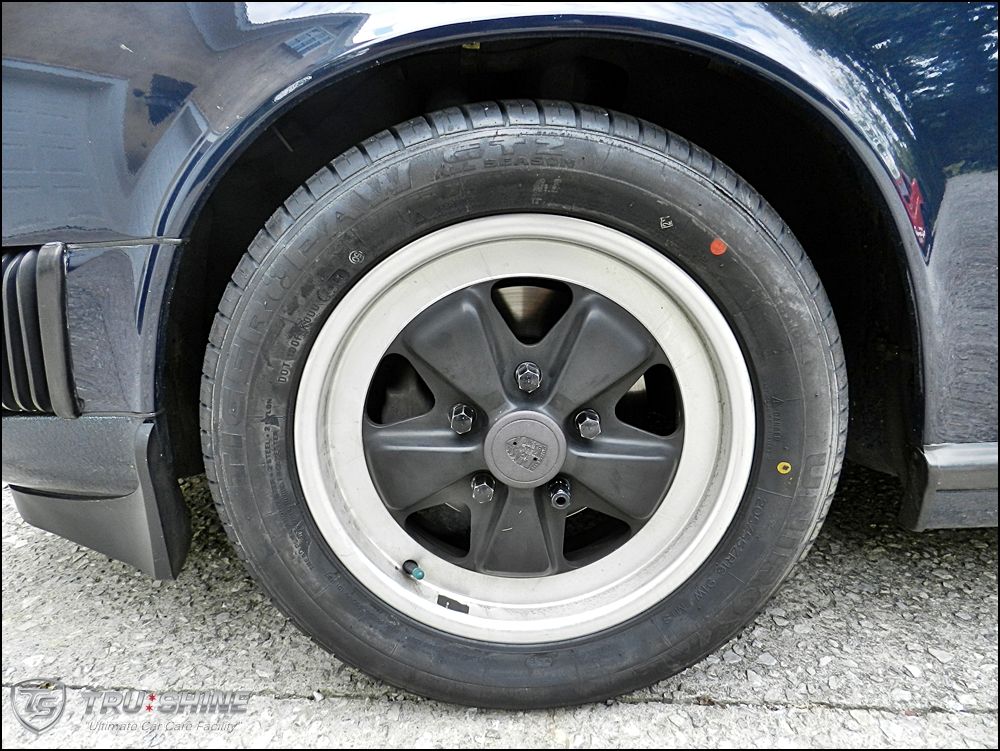
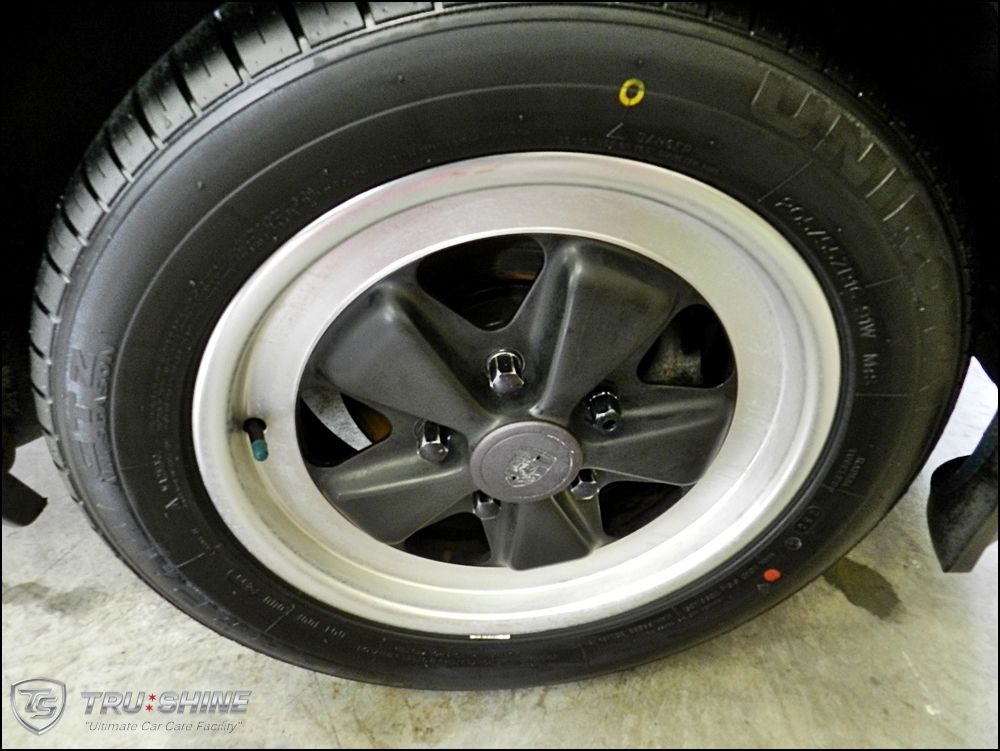
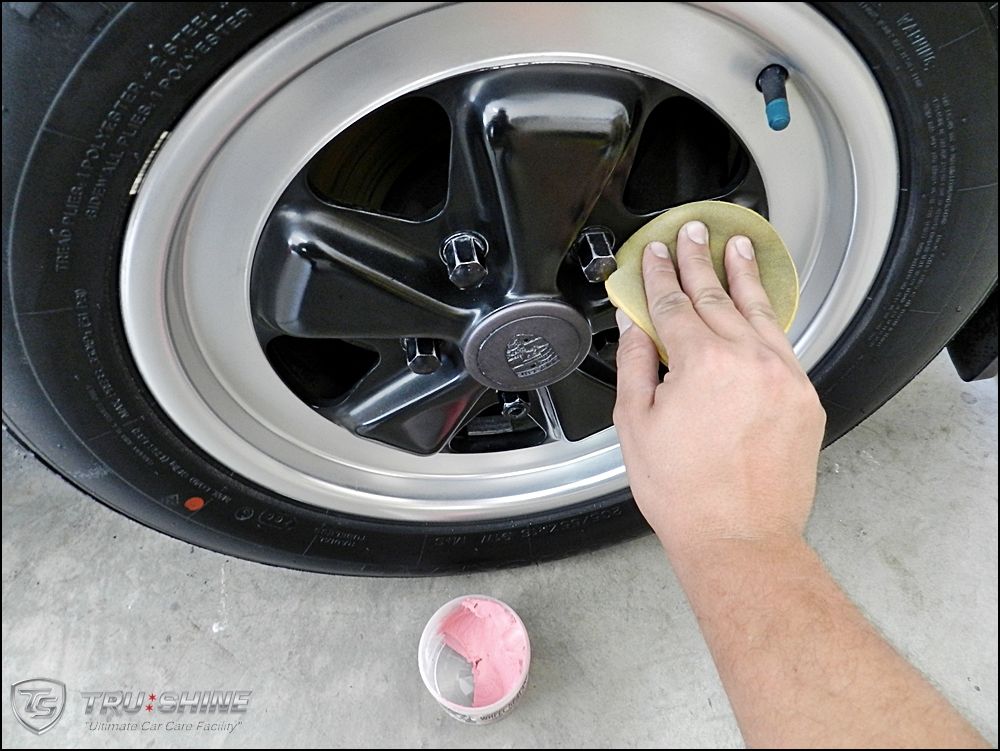
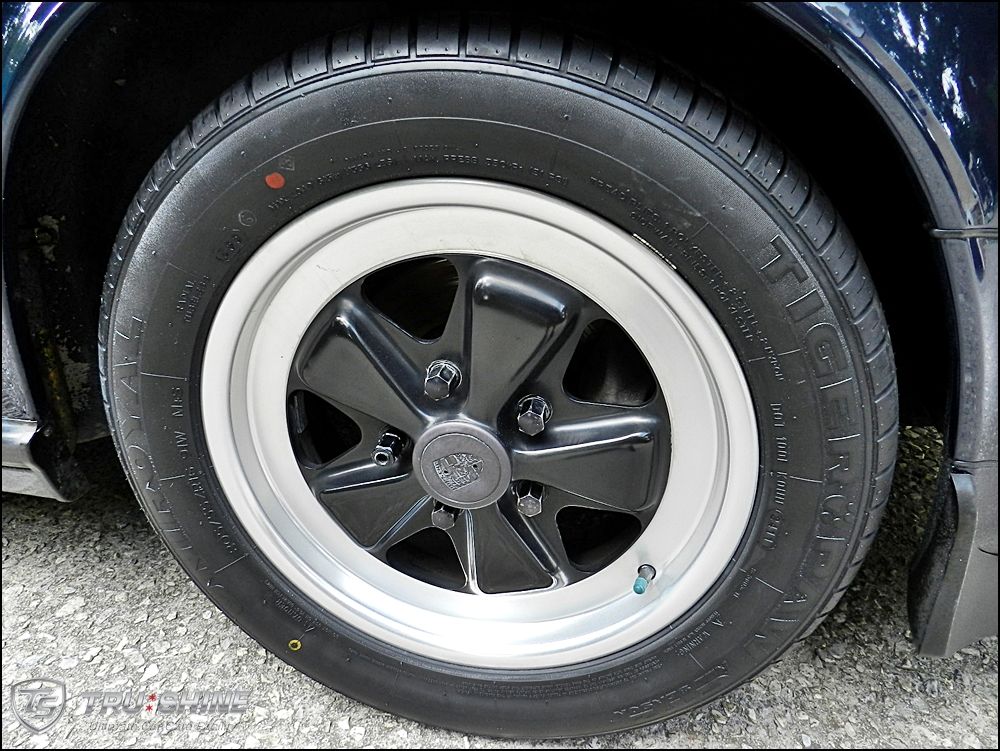
Lets start with the wheels. One of my favorite wheel cleaners is P21s wheel gel. It is a pH balanced wheel cleaner safe and any wheels, painted,polished,clear coated... any wheel.


DSCN5768_zpsaf729d8b.jpg


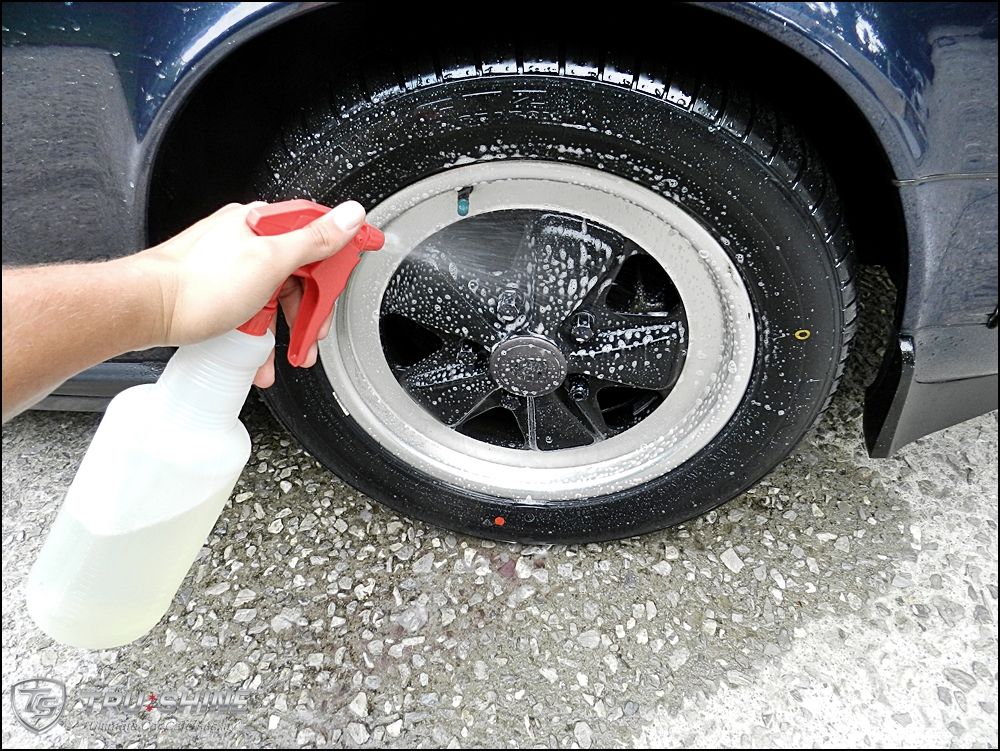
And another Favorite for cleaning the wheels is the EZ Detail Brush and Wheel woolies.


DSCN5769_zps0b74581a.jpg


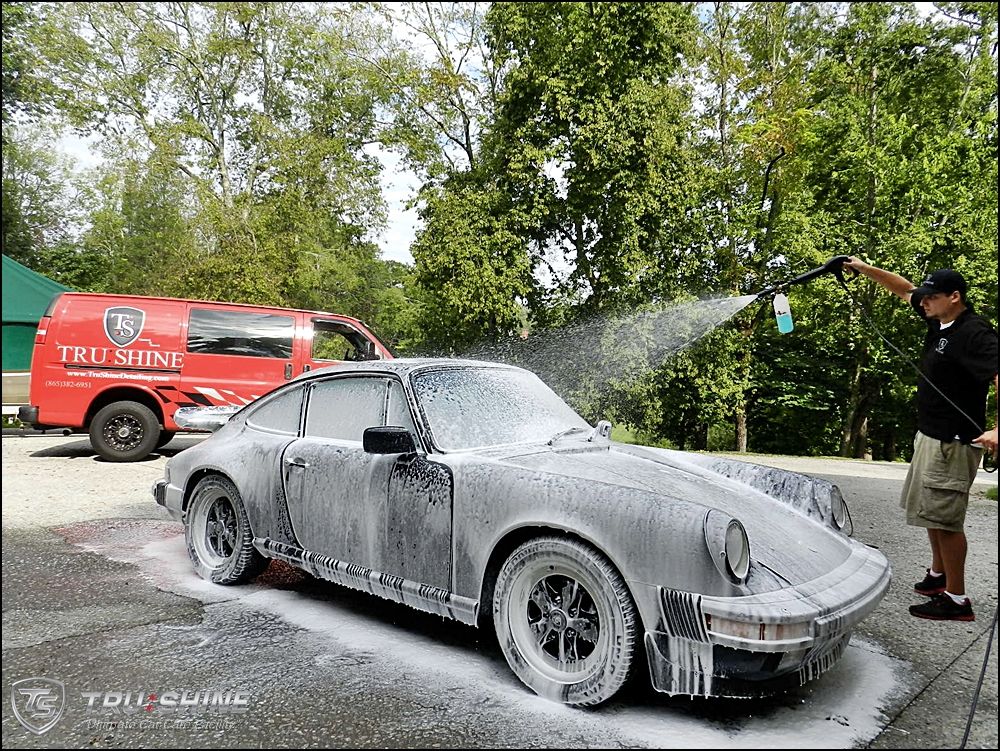
After the wheels I pre-rinse the paint to knock off any heavy and loose debris


DSCN5771_zps2472327b.jpg


After the pre-rinse, I then give the car a foam bath. The foam bath is very functional, and not just for show. When the foam is applied to the surface it acts as a suspension for the dirt and also gives the surface lubricity. all of this helps keep your car swirl free.


DSCN5777_zps0e665d86.jpg


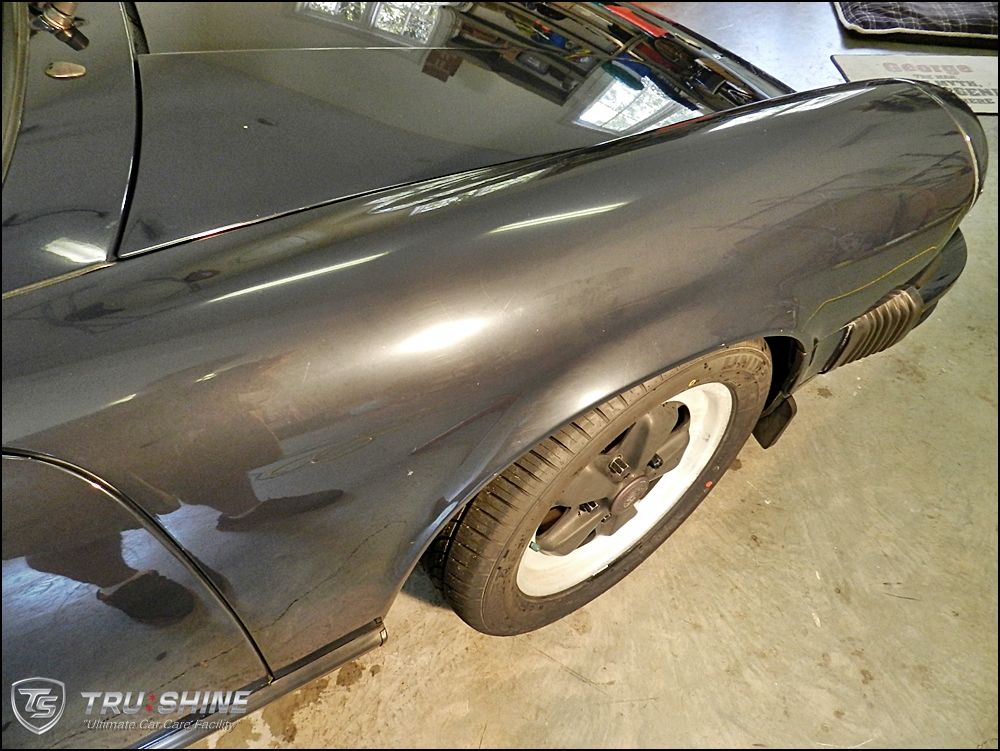
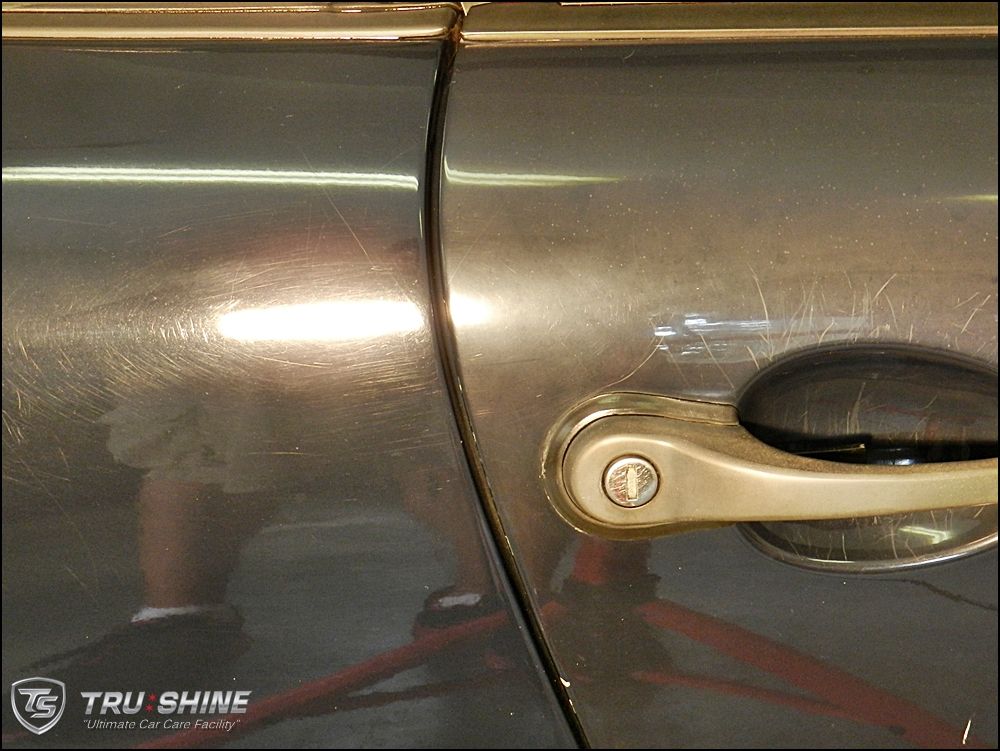
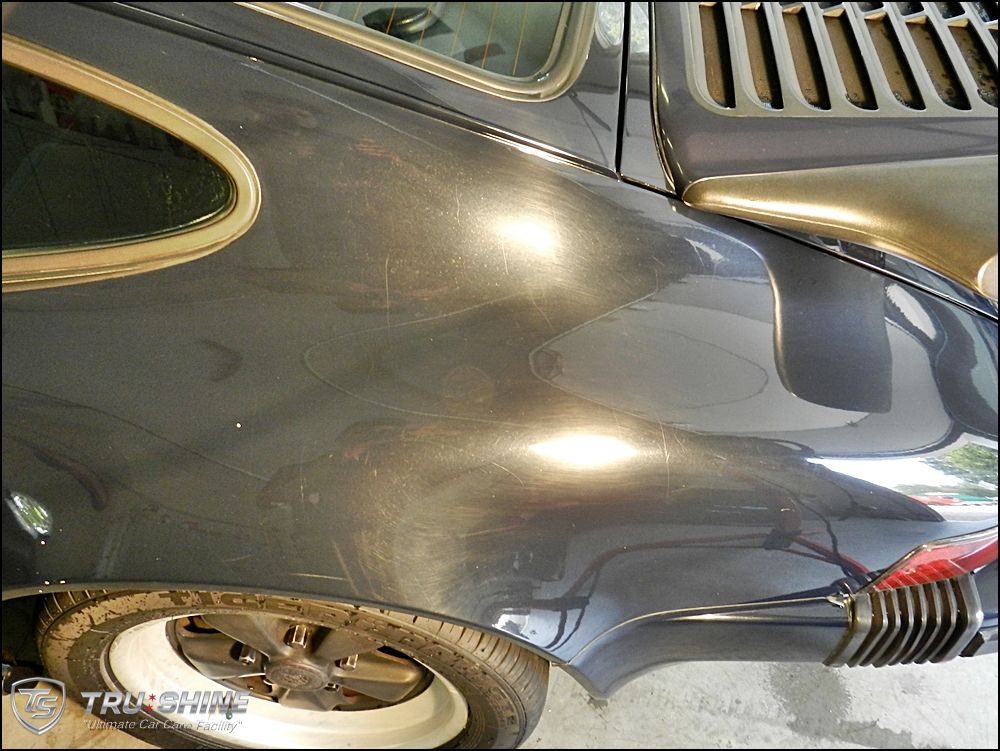
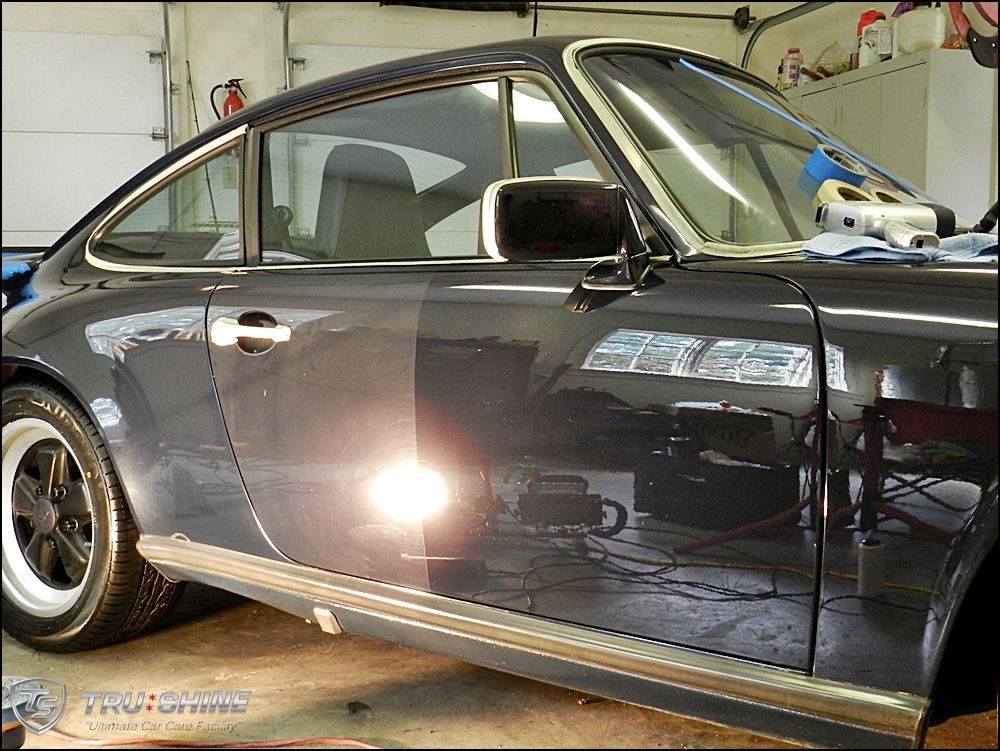
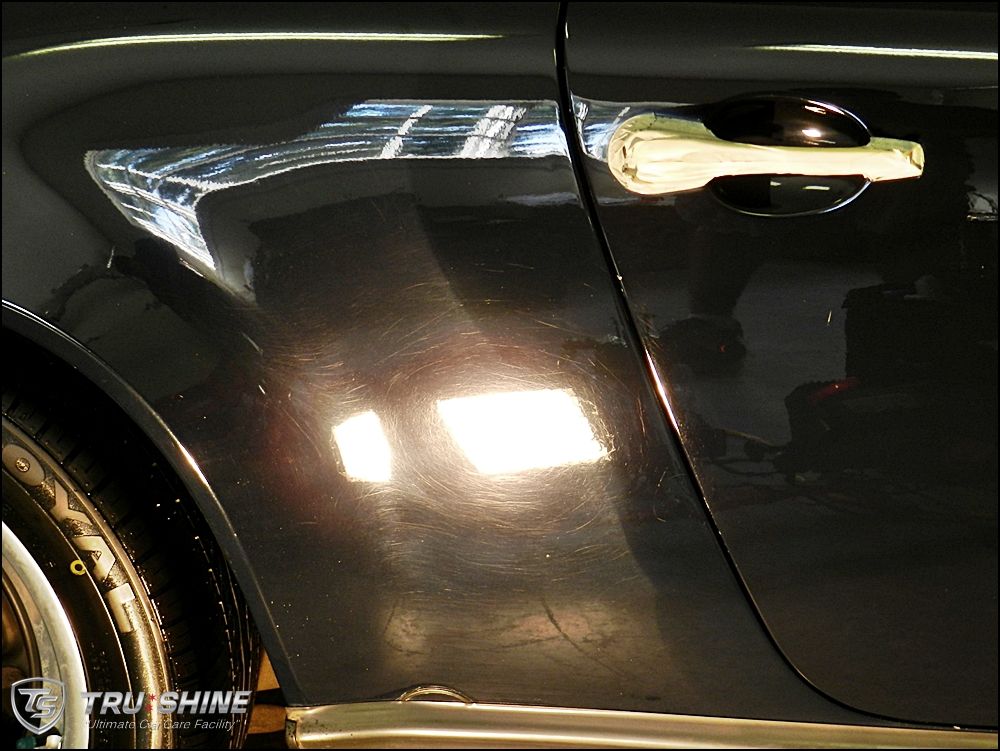
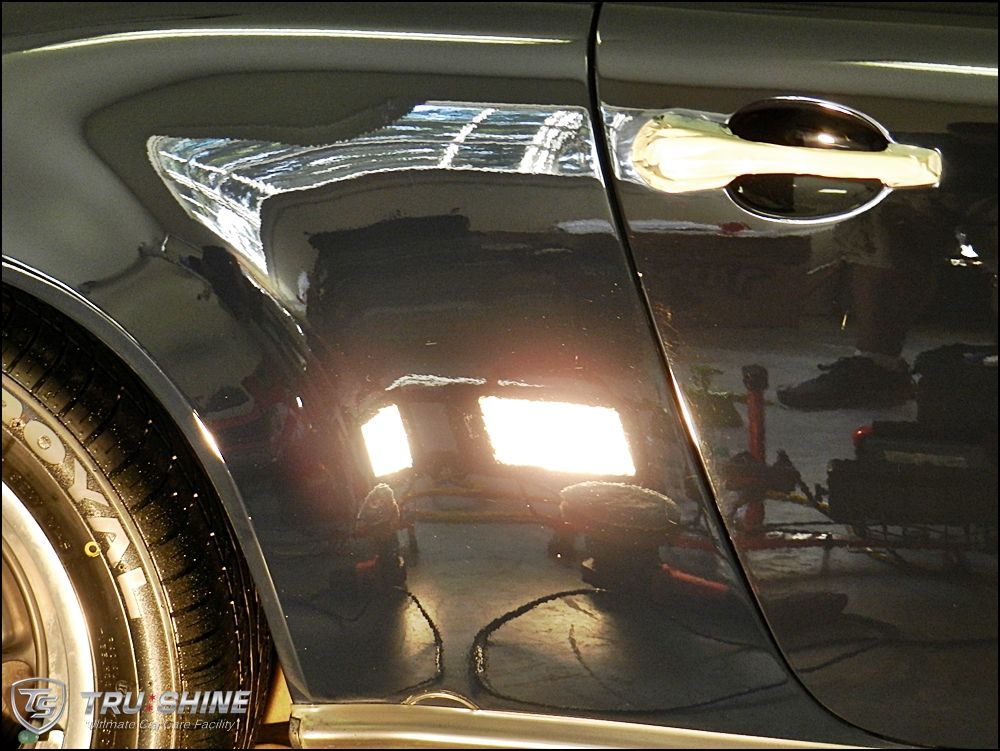
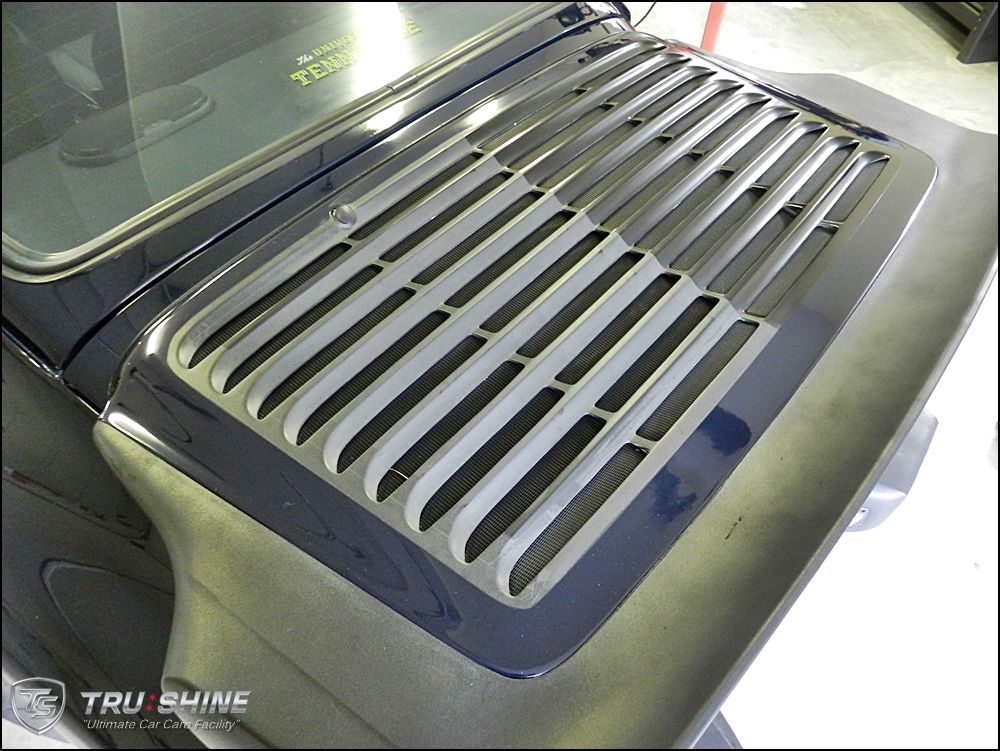
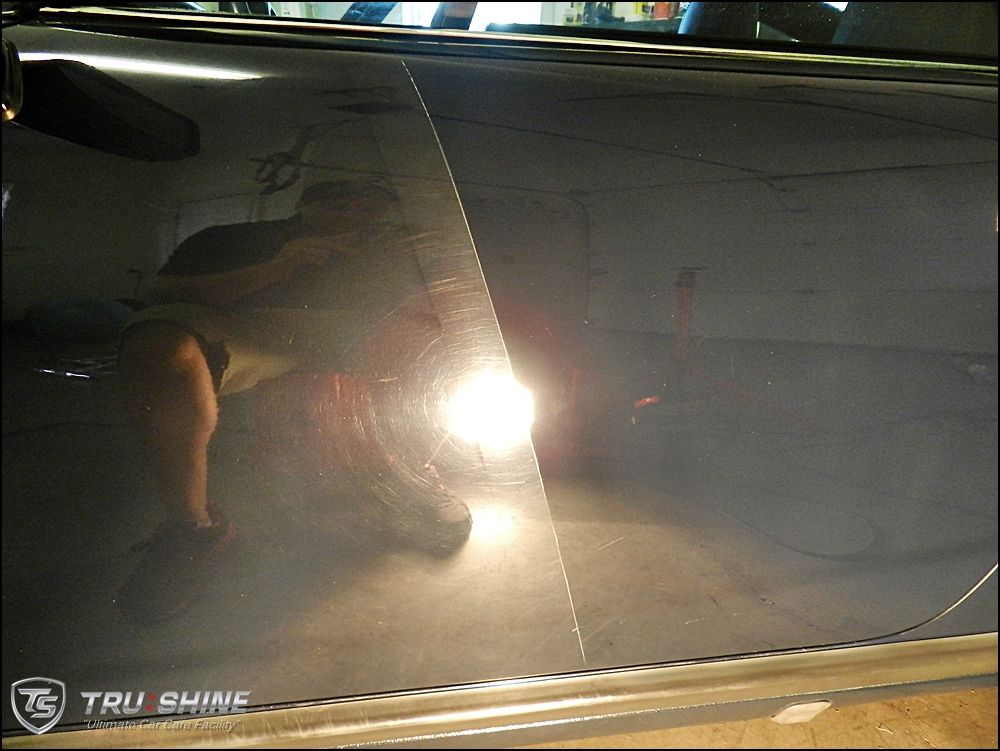
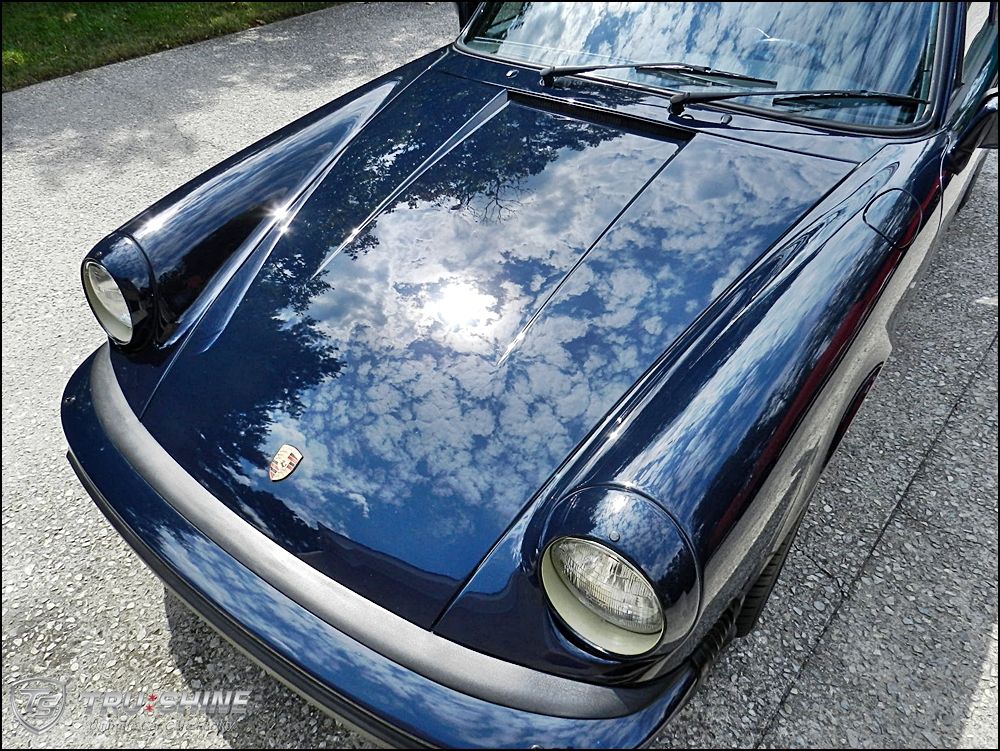
After washing the car, I brought it inside to inspect the paint under good lighting. this shows the tru surface and lets me know what I'm dealing with.


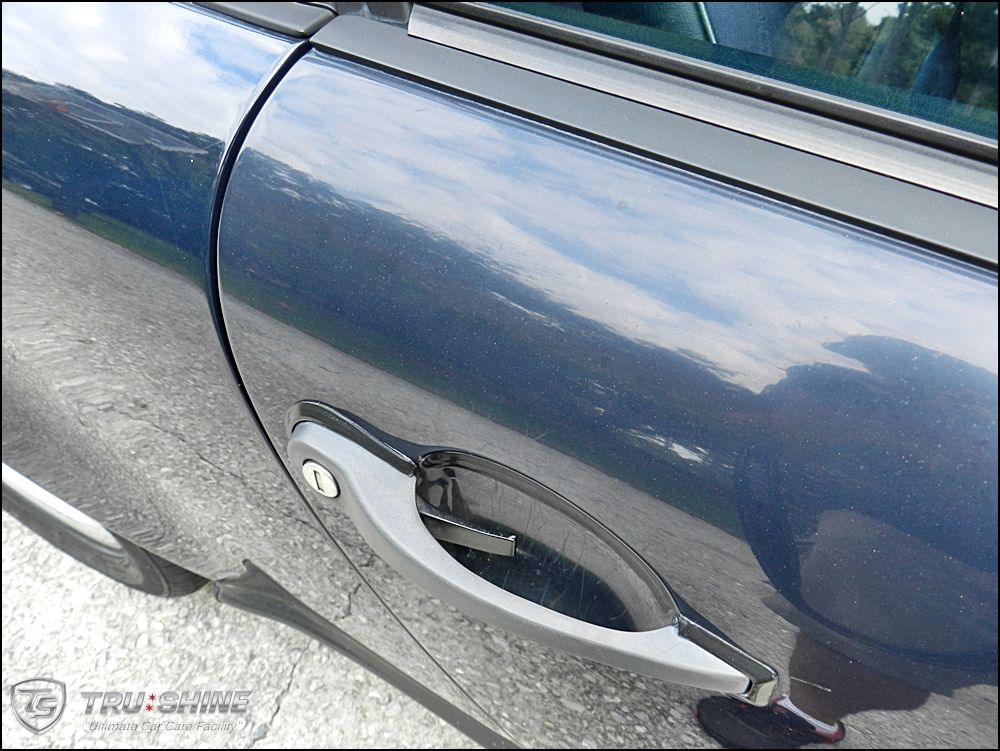
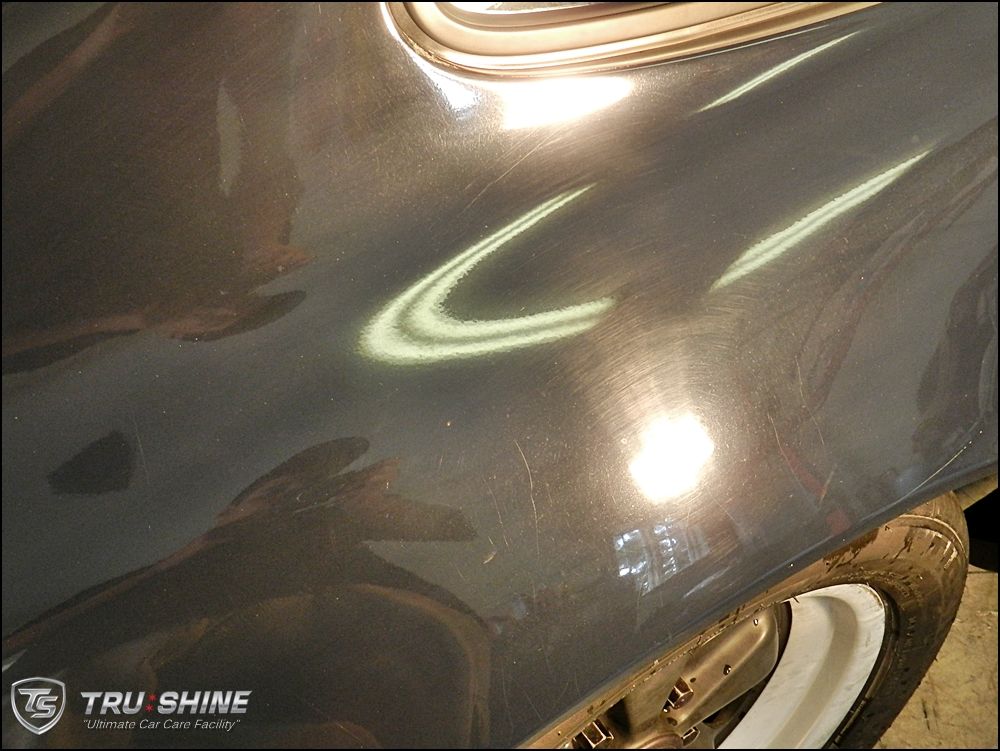
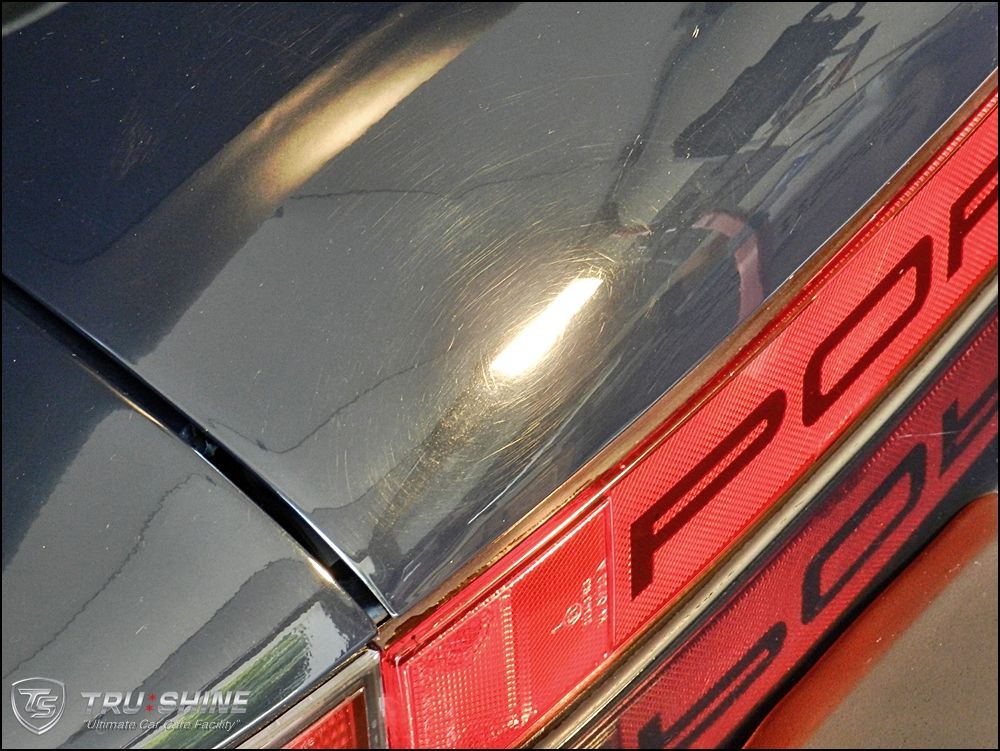
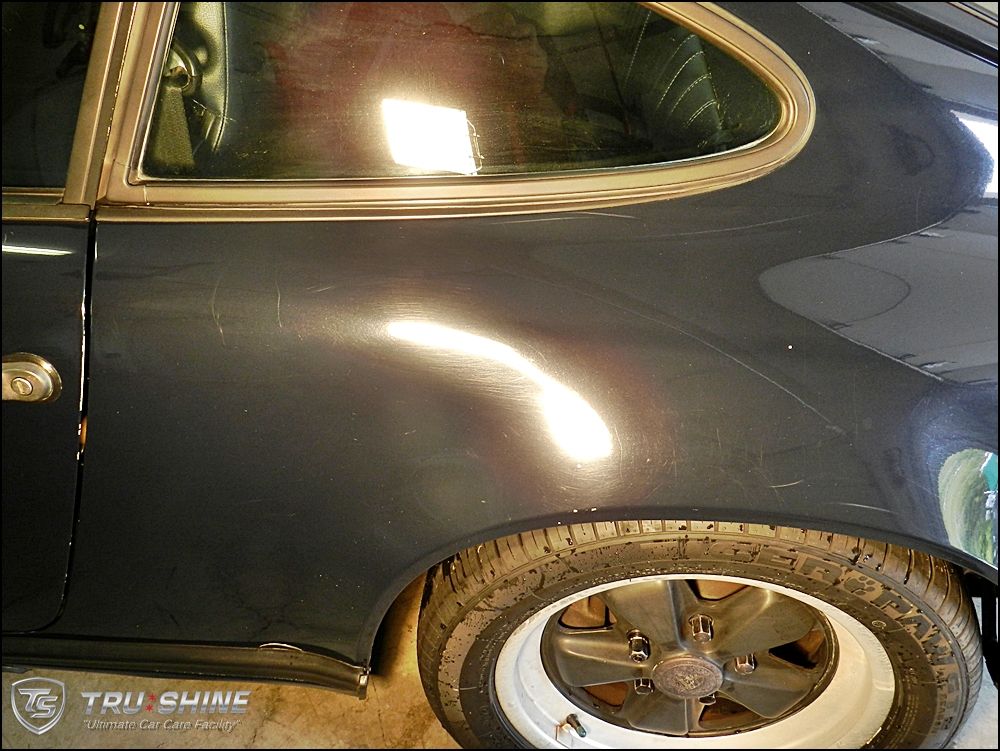
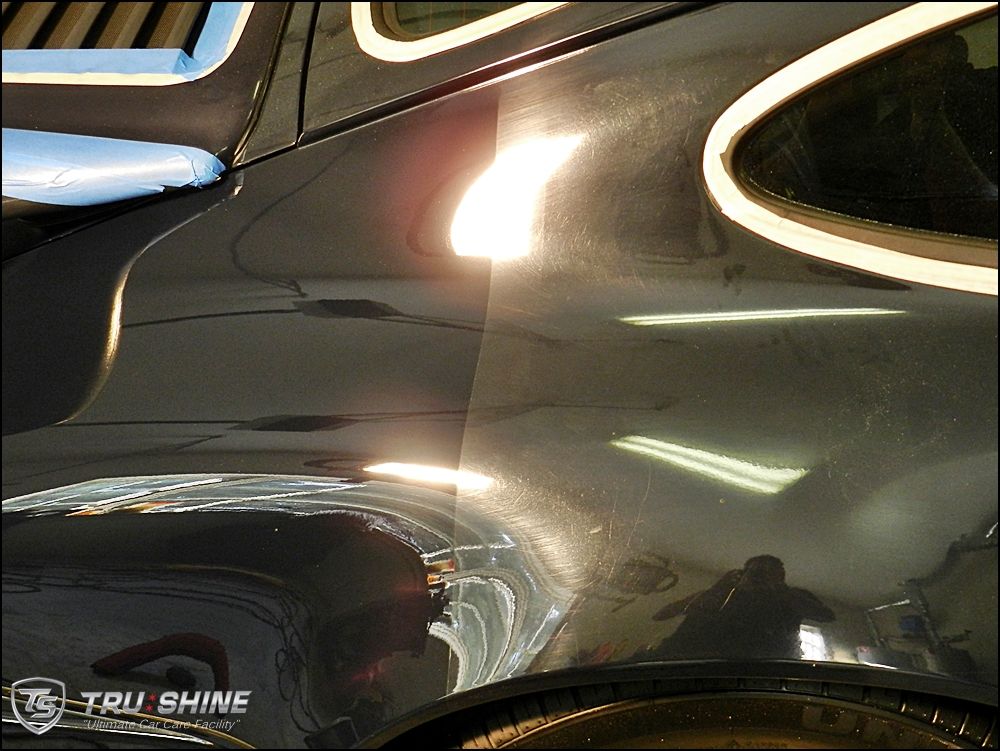
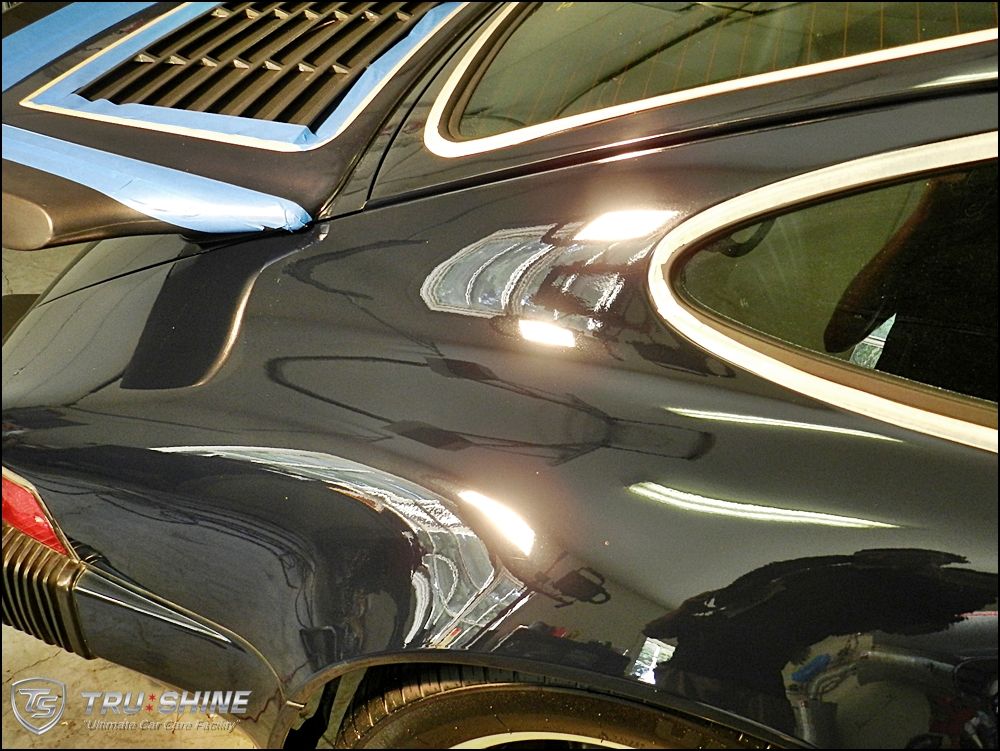
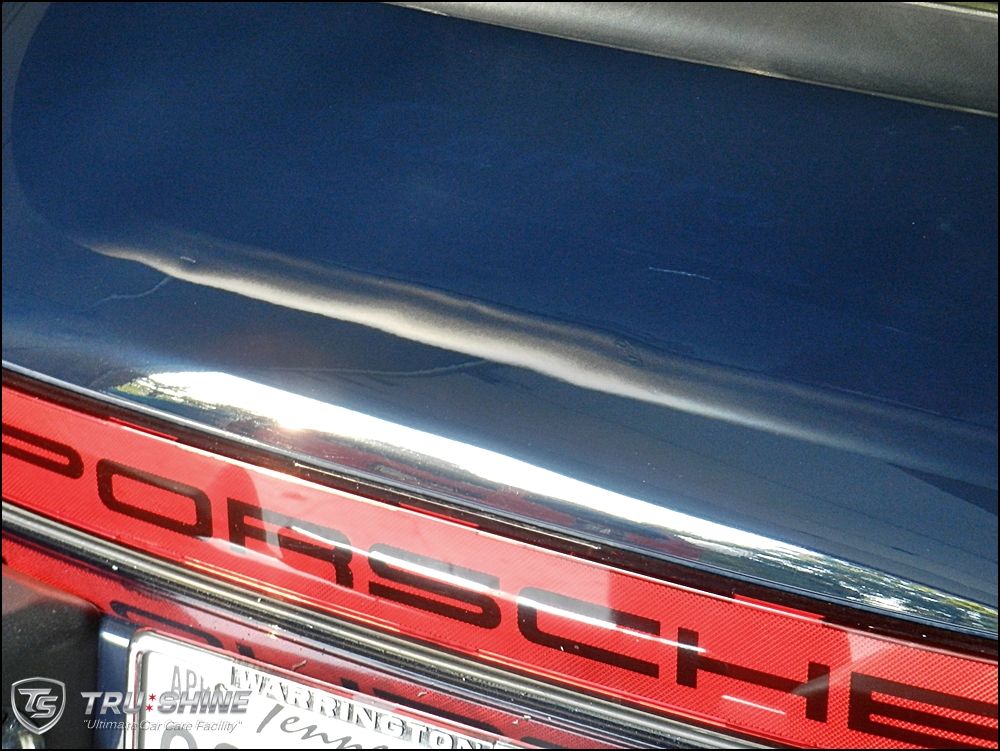
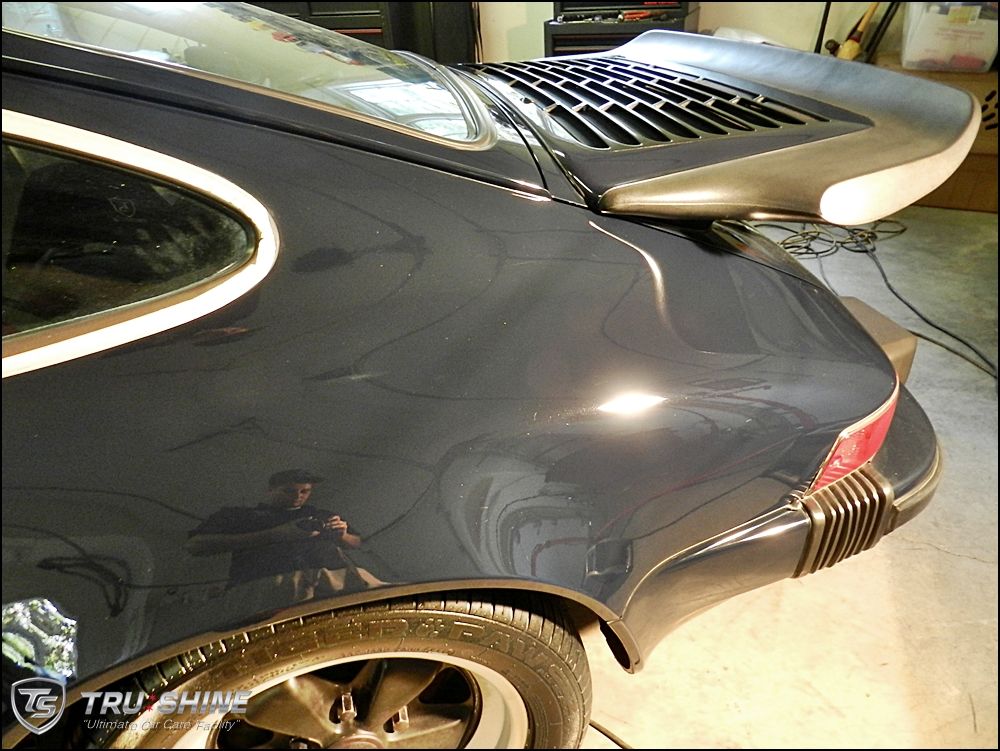
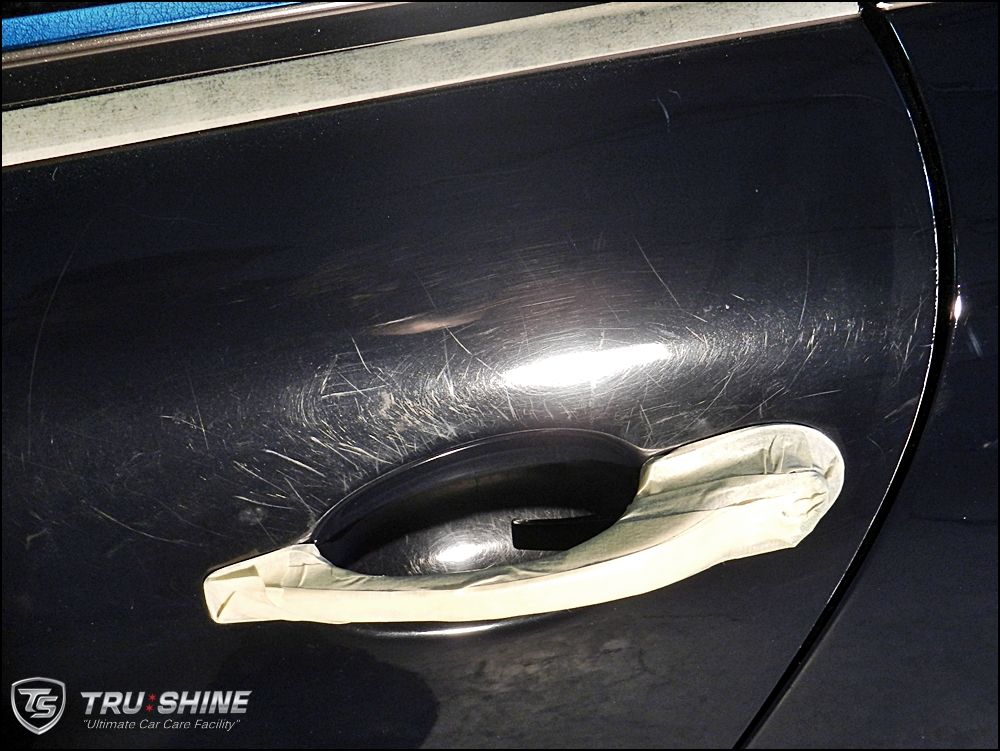
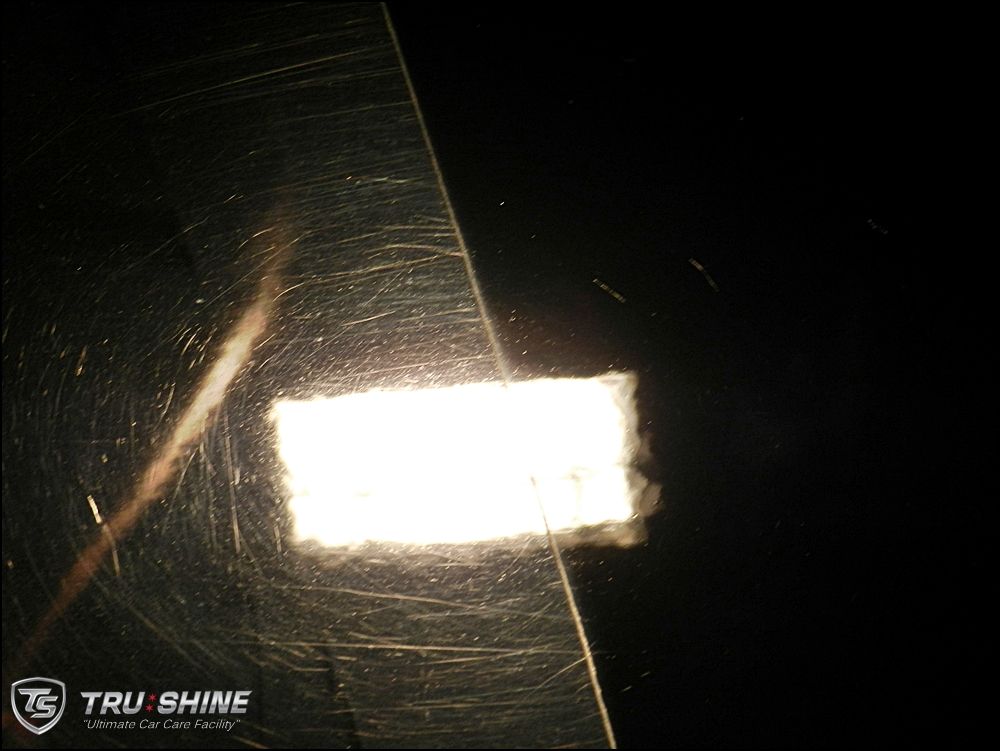
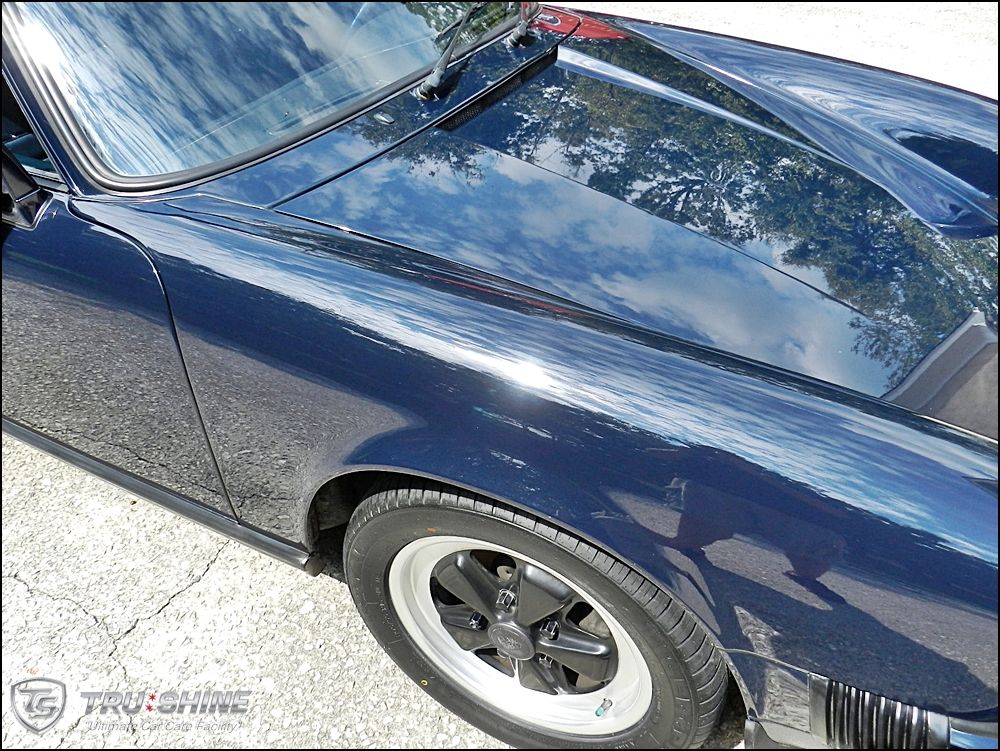
here are some pics under halogen lights which imitates what you would see under direct sunlight. the paint was very swirled and oxidized.


DSCN5779_zpscf8ce4e8.jpg


DSCN5780_zps79bb2b7f.jpg


DSCN5784_zps35cf94e1.jpg


DSCN5786_zps348194f2.jpg


DSCN5788_zpsbe655128.jpg


DSCN5790_zpsc1d018a8.jpg


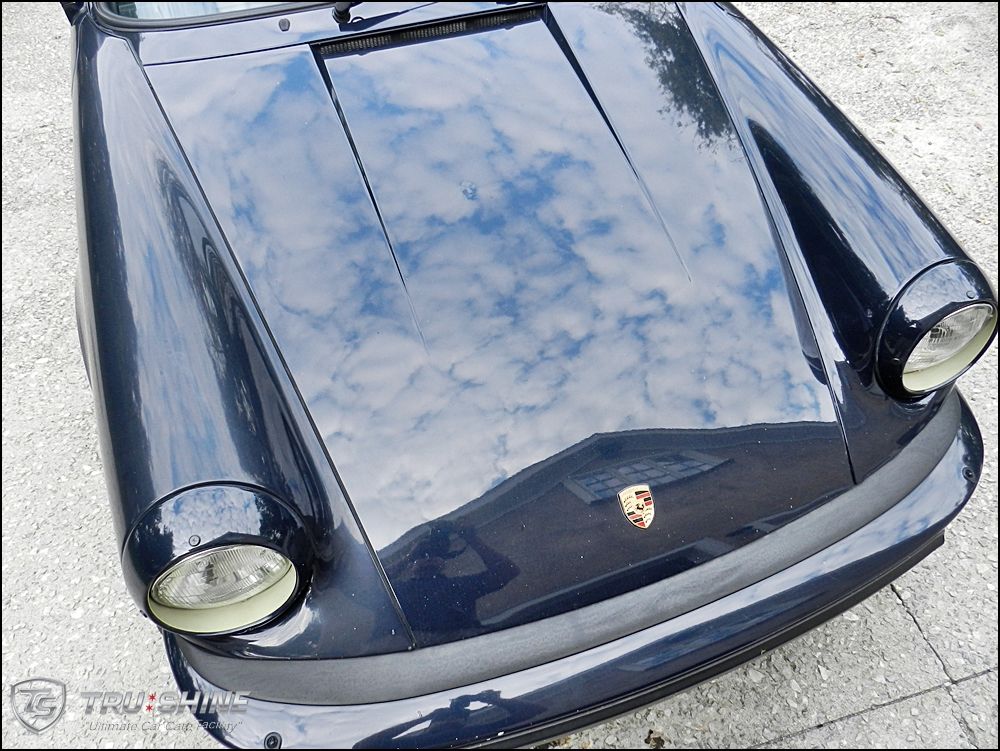
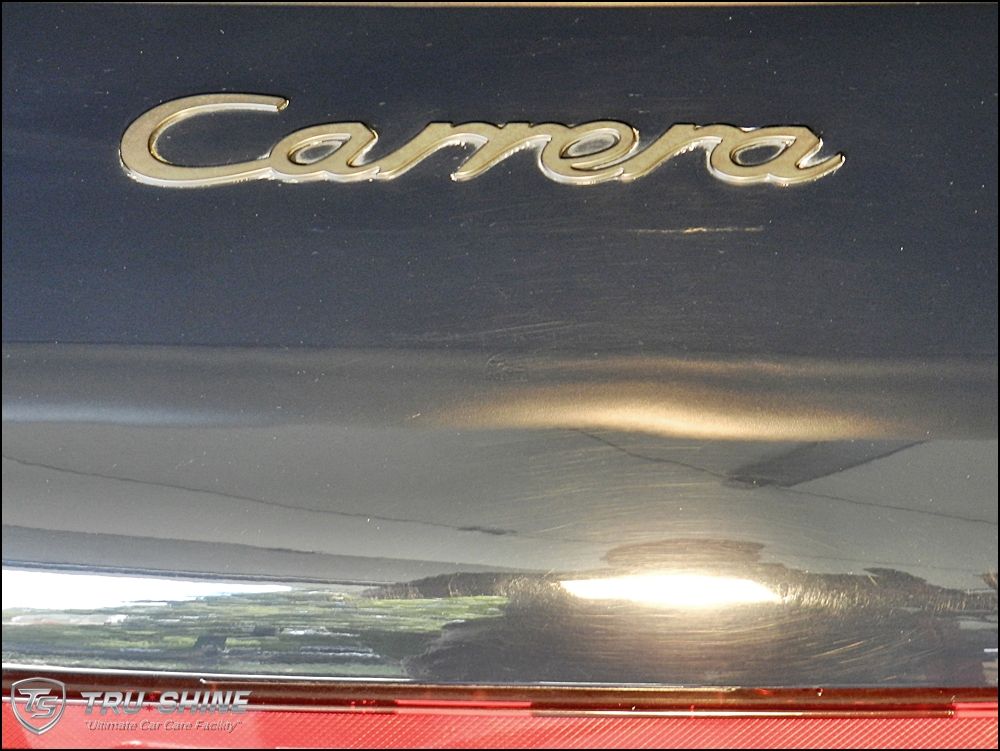
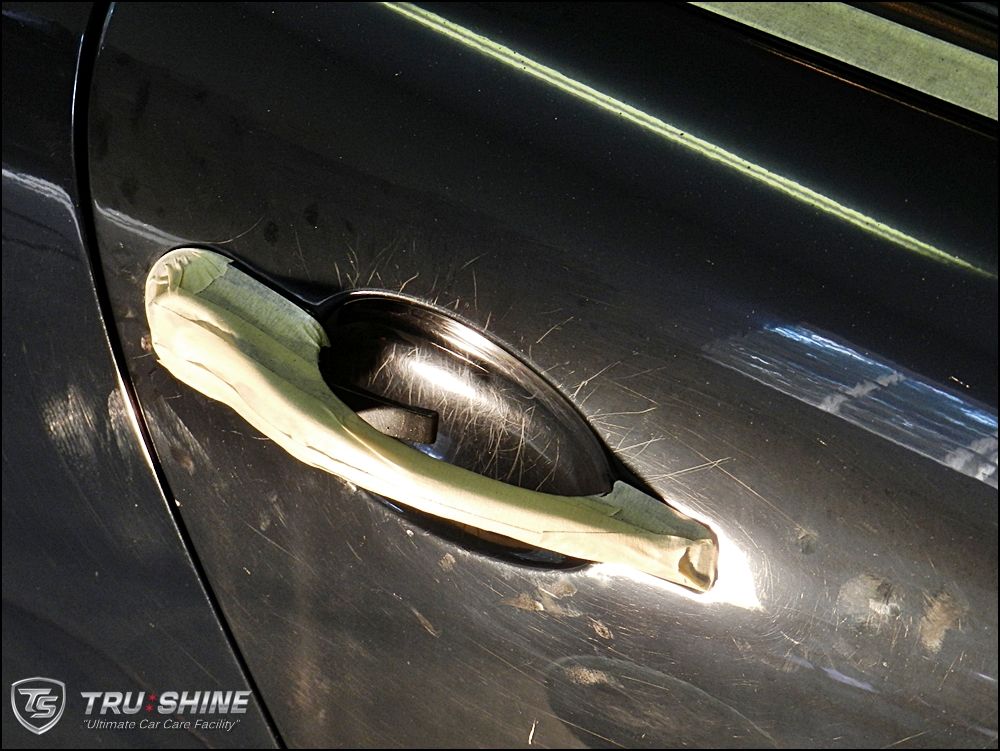
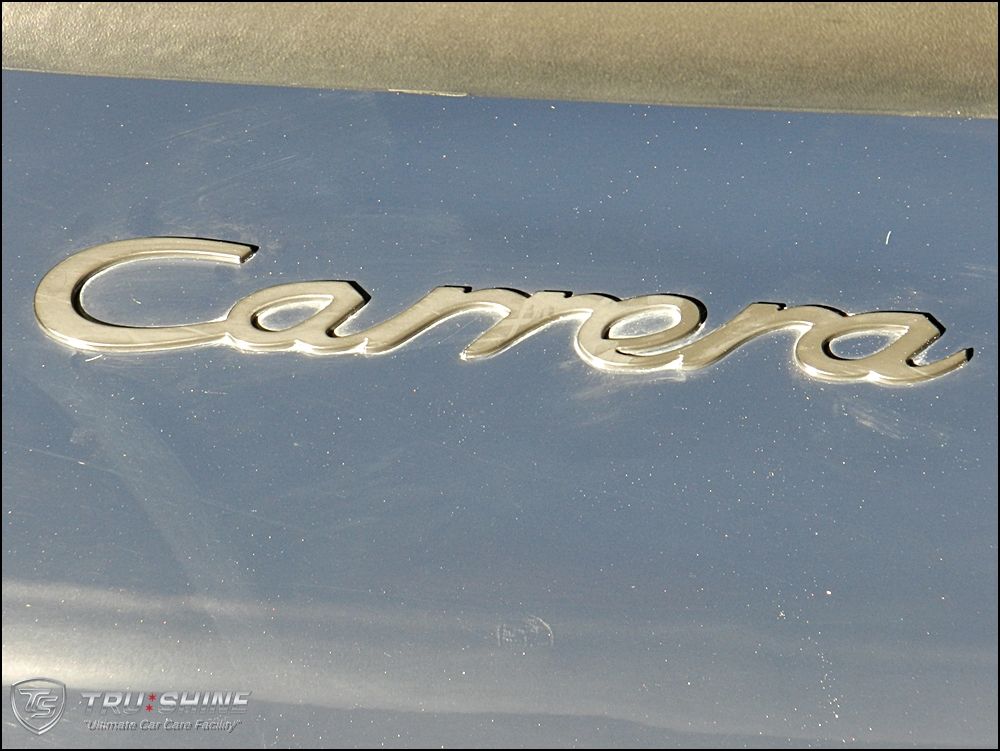
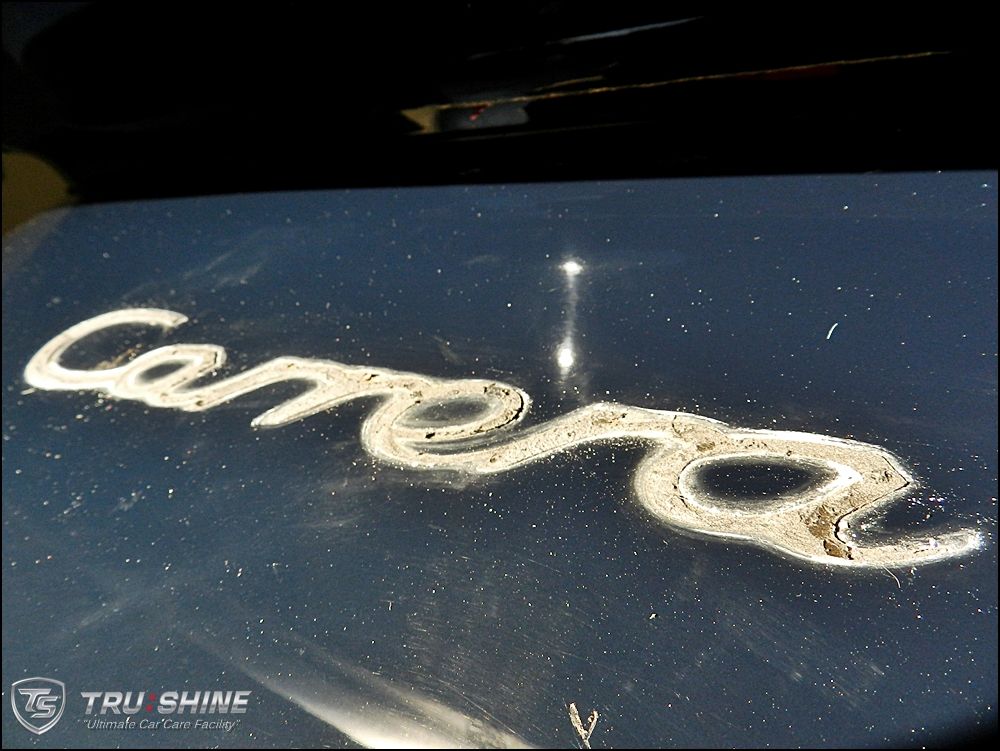
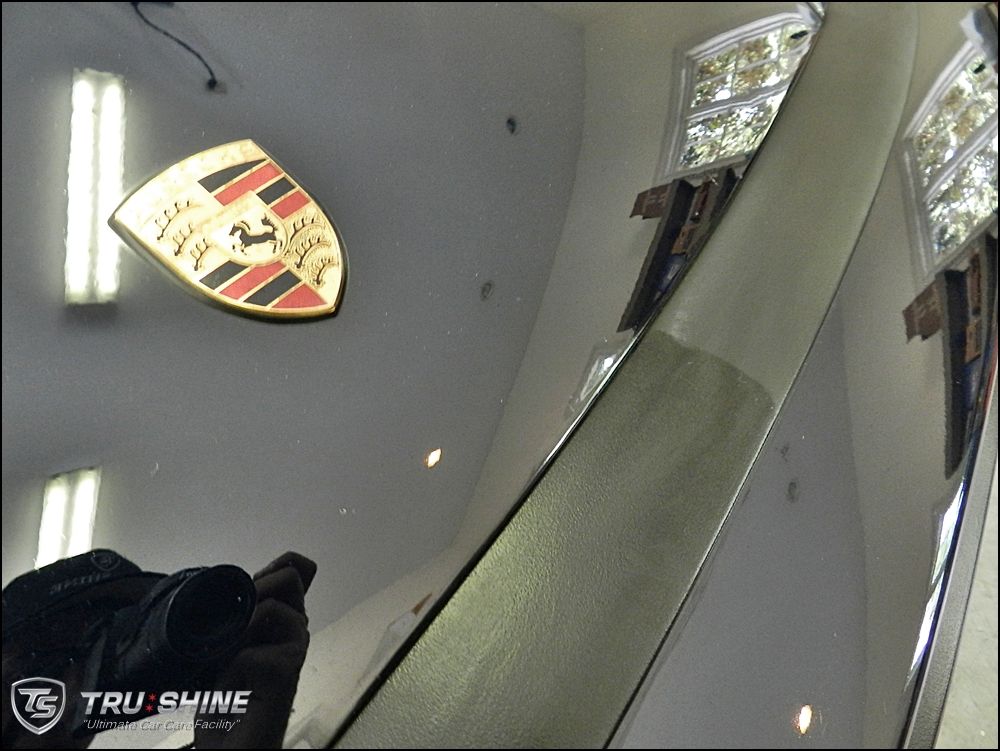
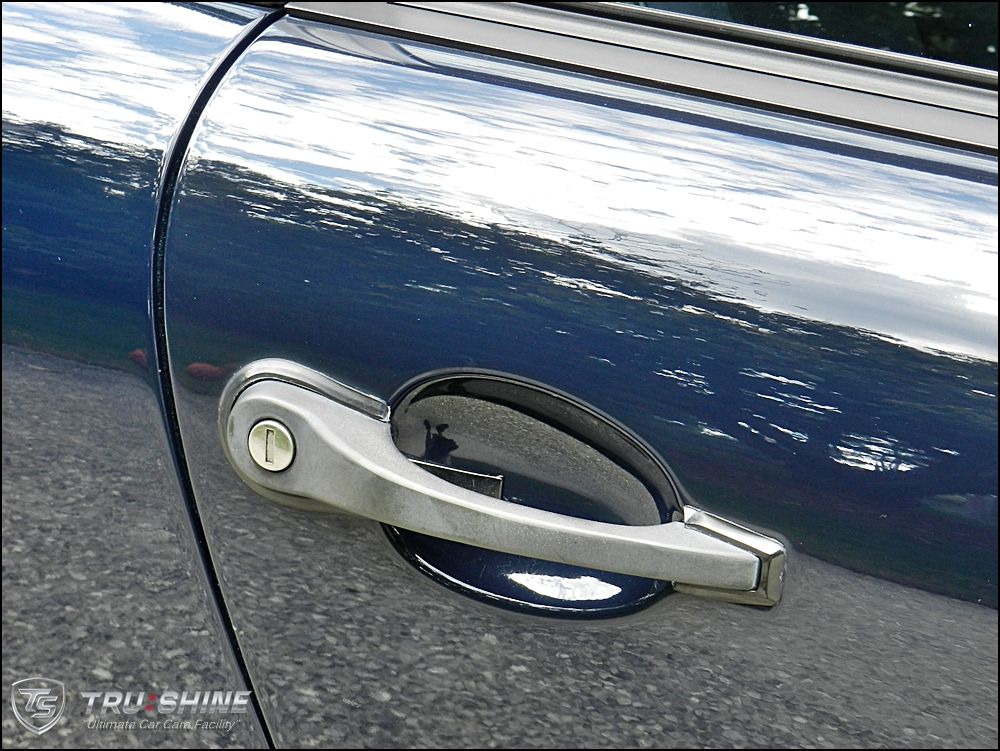
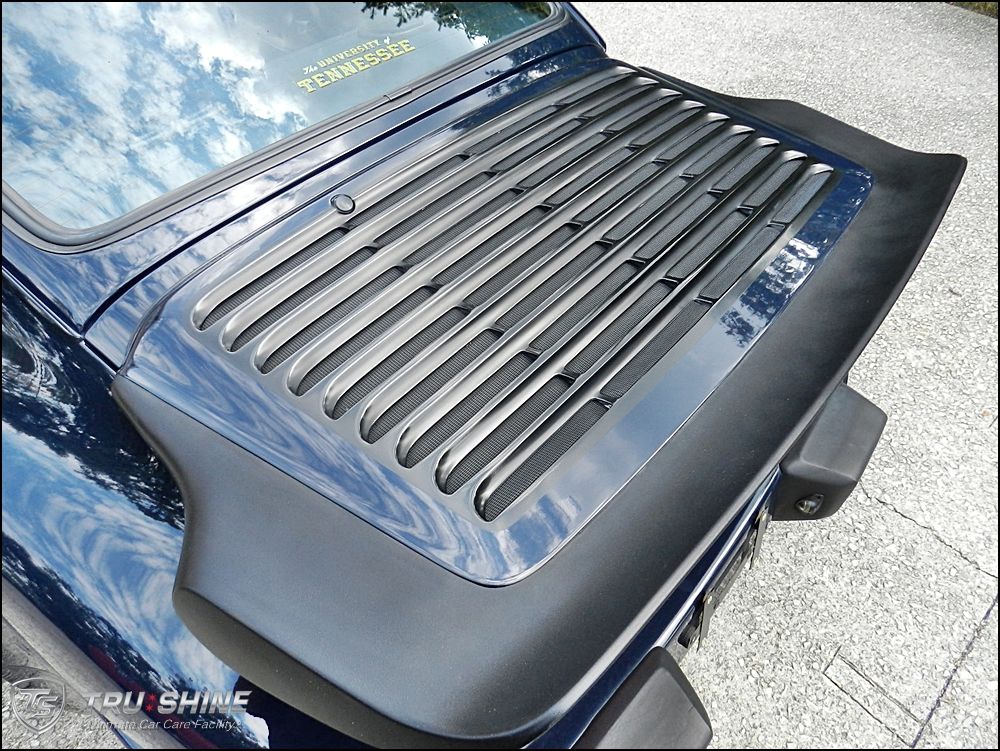
21 years of crust and residue build up around the emblems


DSCN5792_zps4577fefb.jpg


DSCN5793_zps47cfd850.jpg


DSCN5795_zps1c70f8bc.jpg


DSCN5797_zps947768dd.jpg


DSCN5799_zps56ed79bd.jpg


DSCN5801_zpsd1f587c0.jpg


DSCN5804_zps5f9bacfd.jpg


DSCN5805_zps5dd8606e.jpg


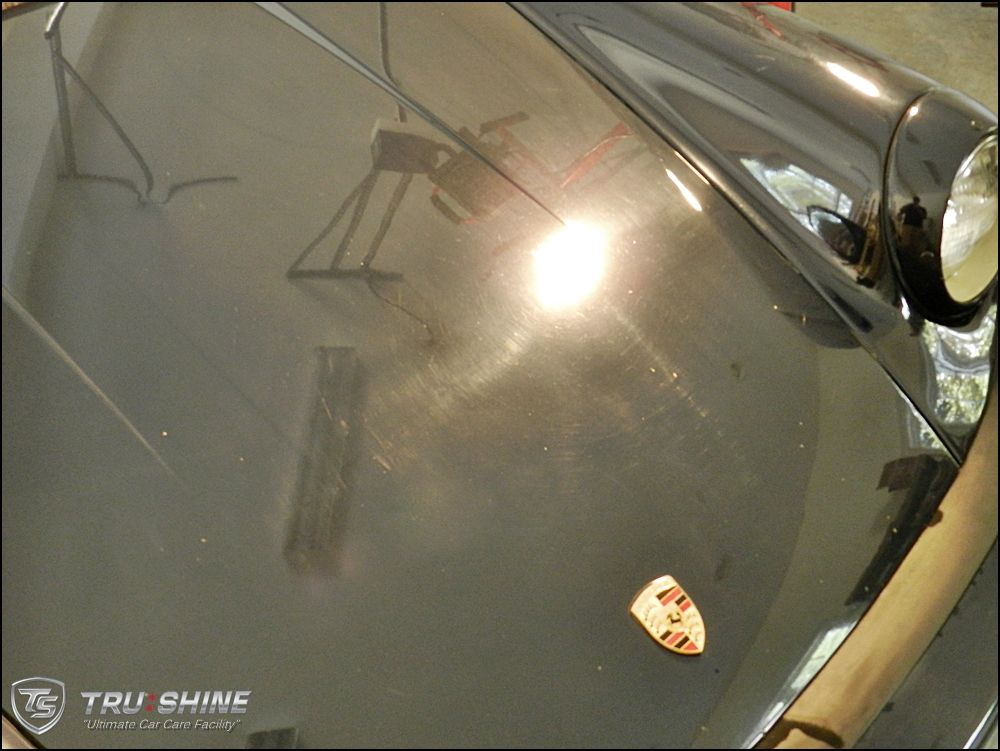
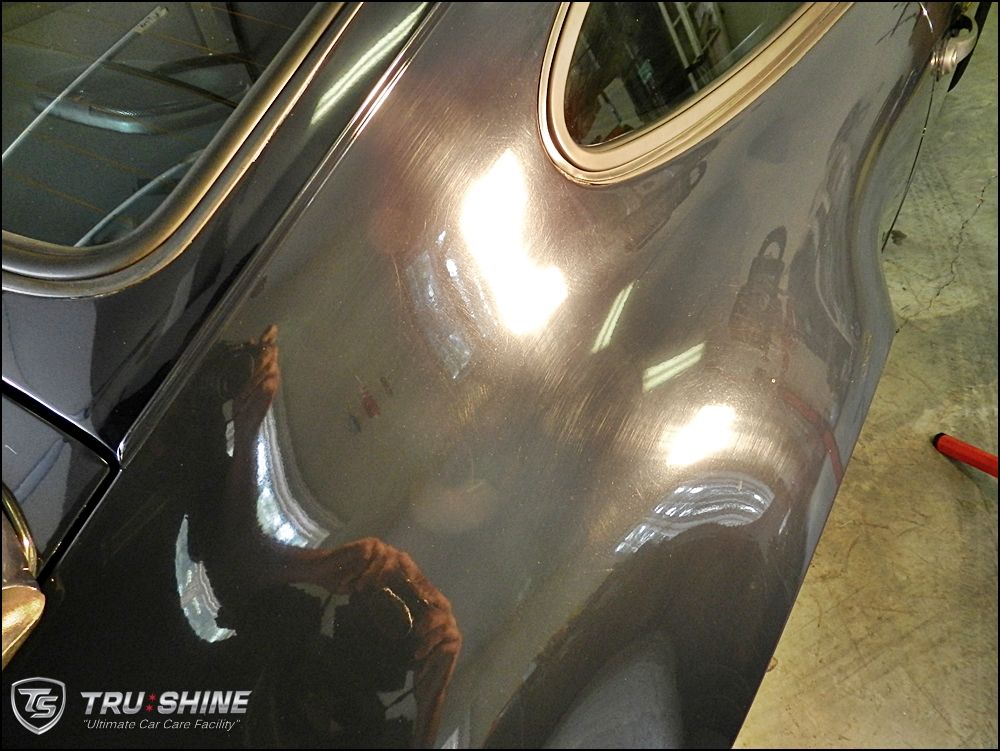
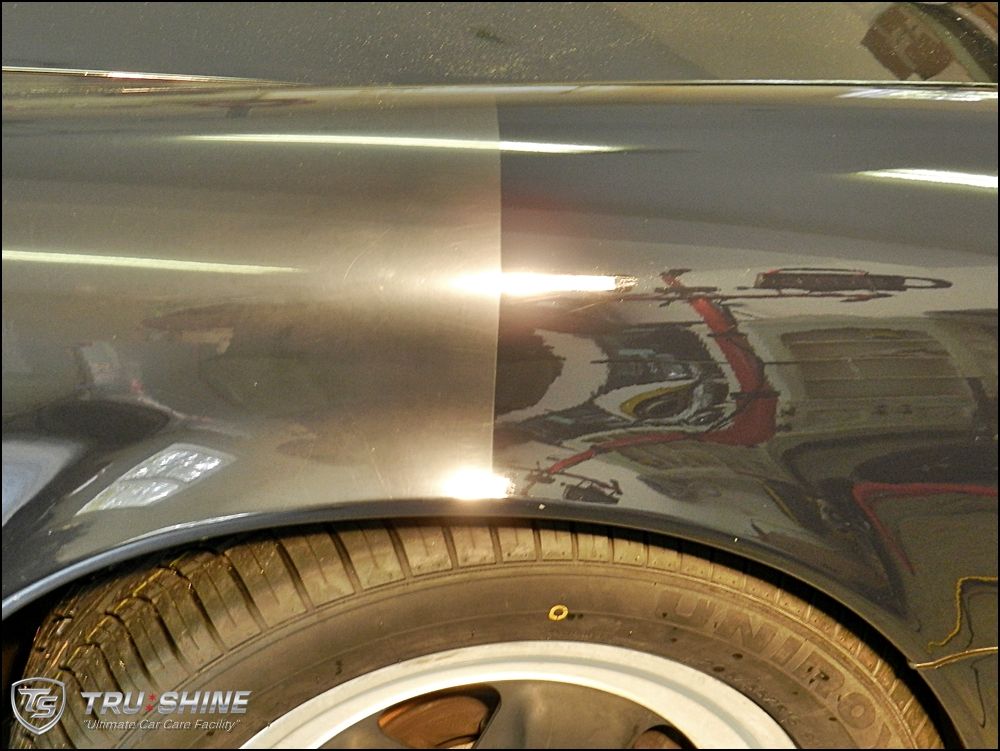
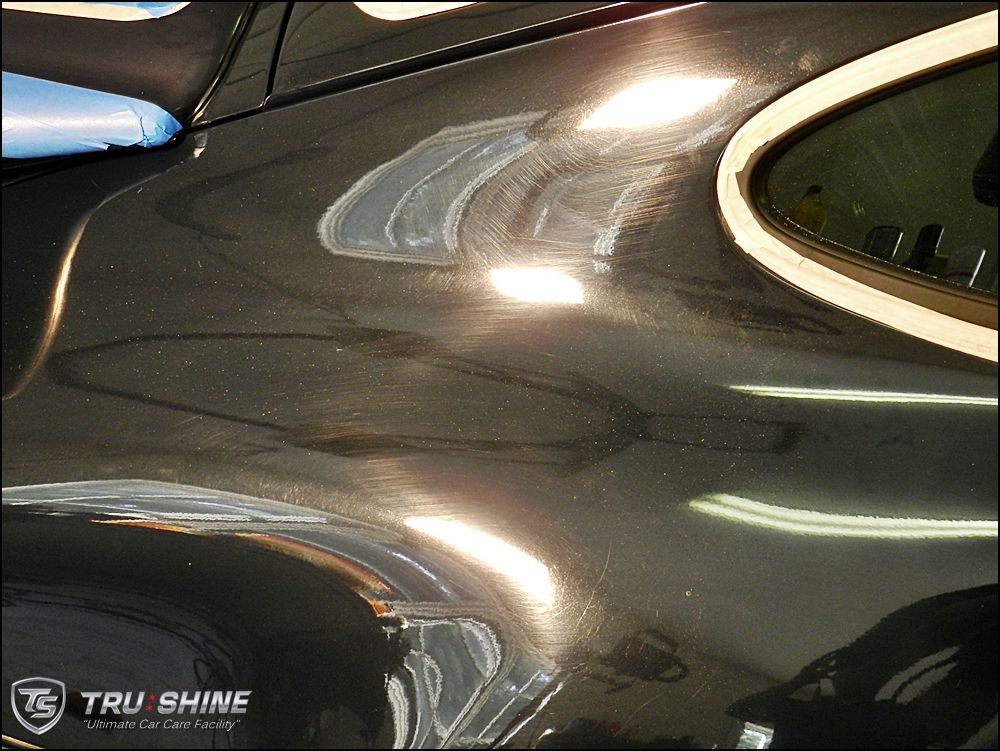
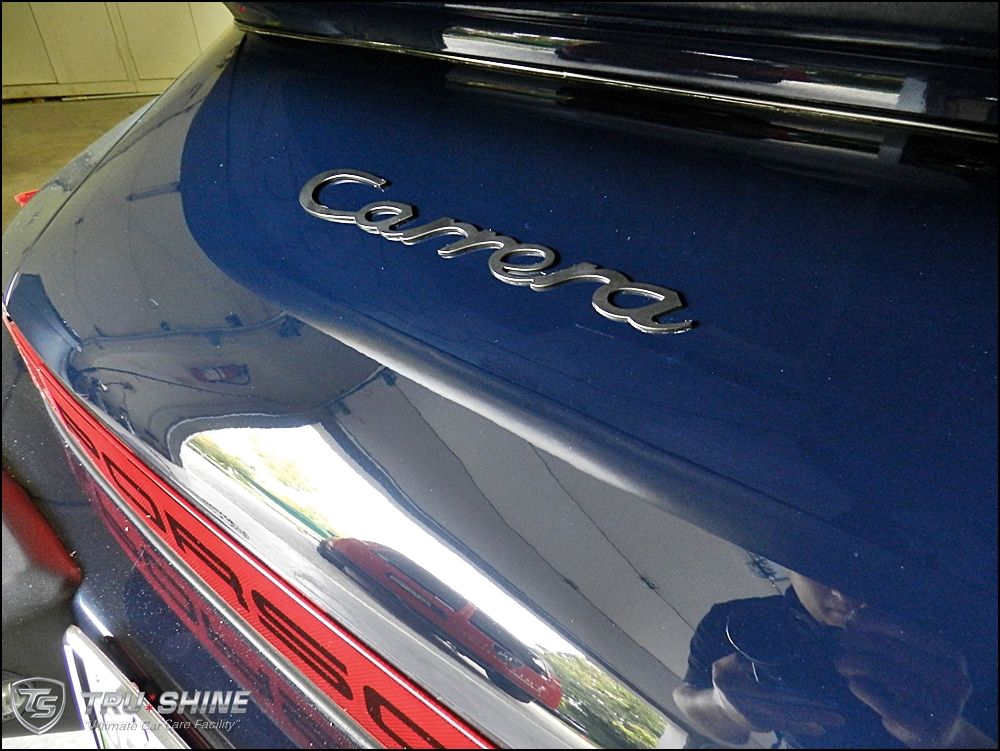
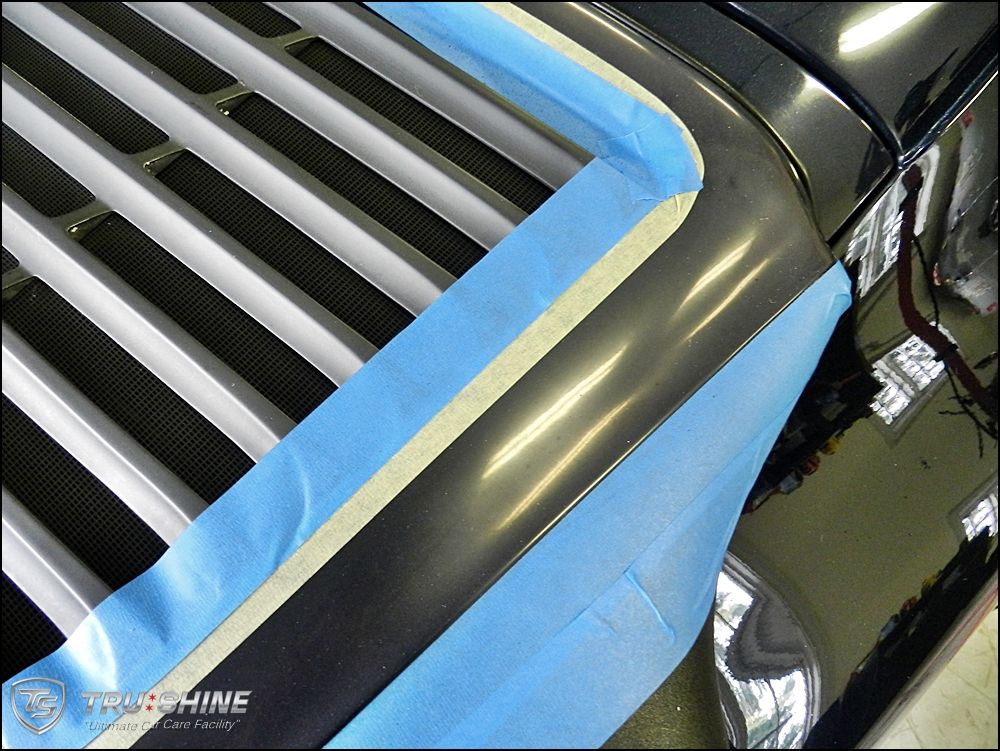
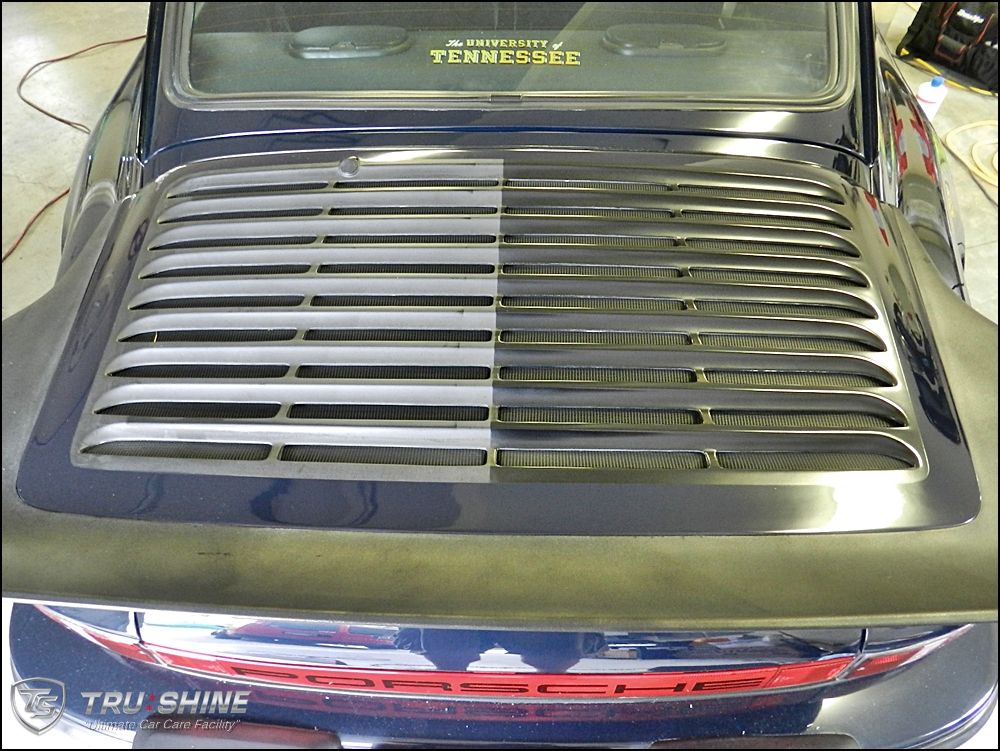
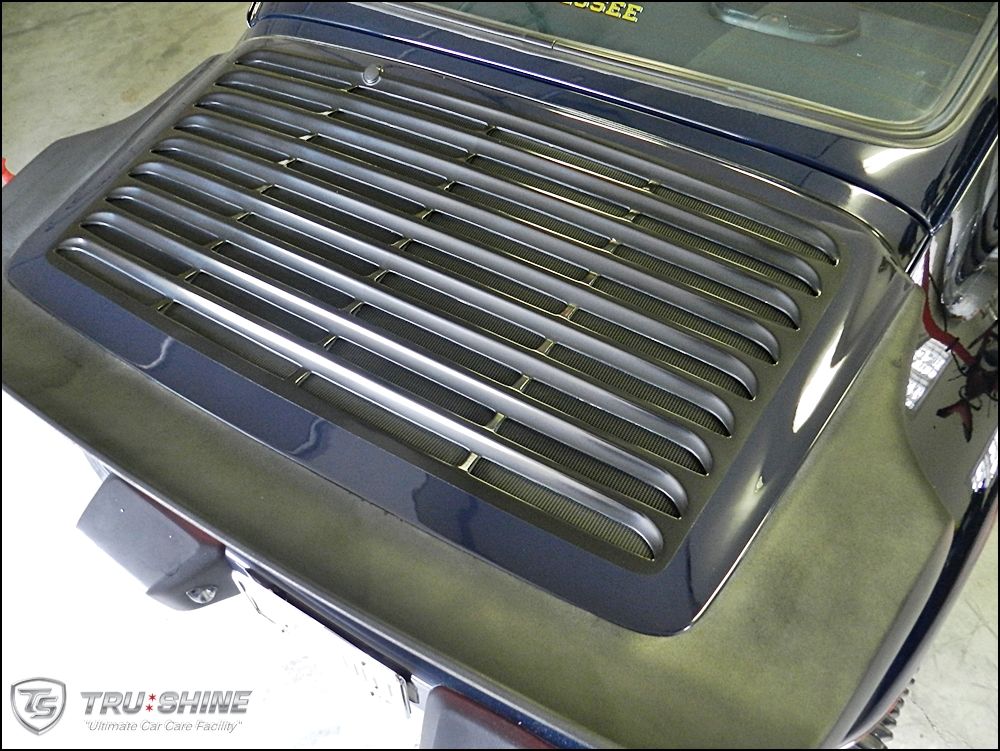
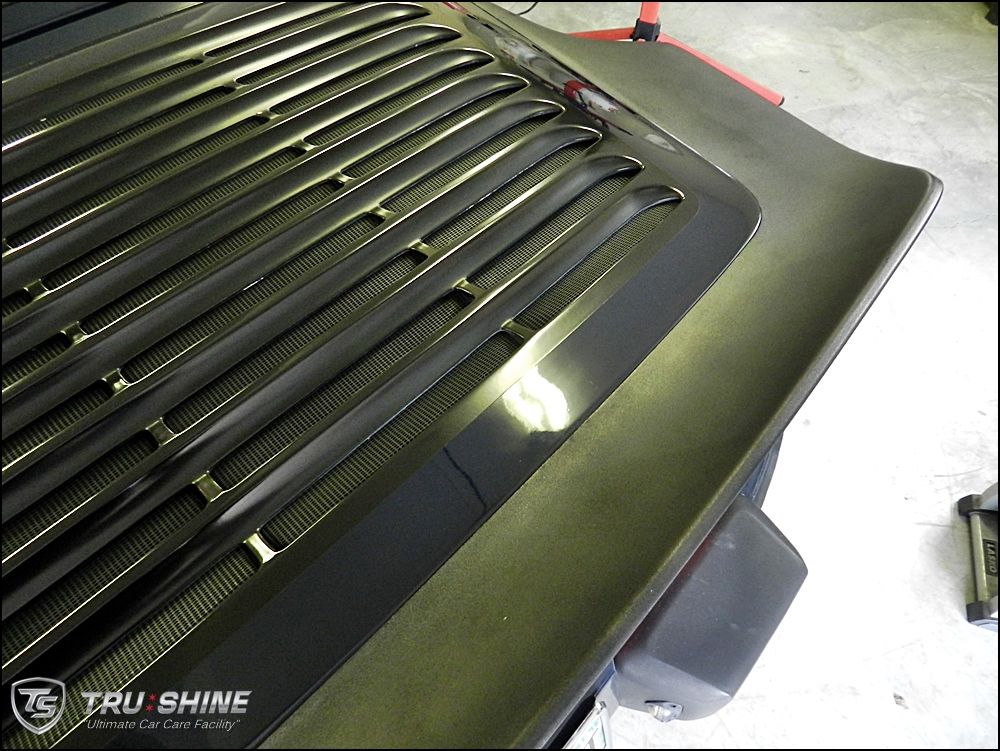
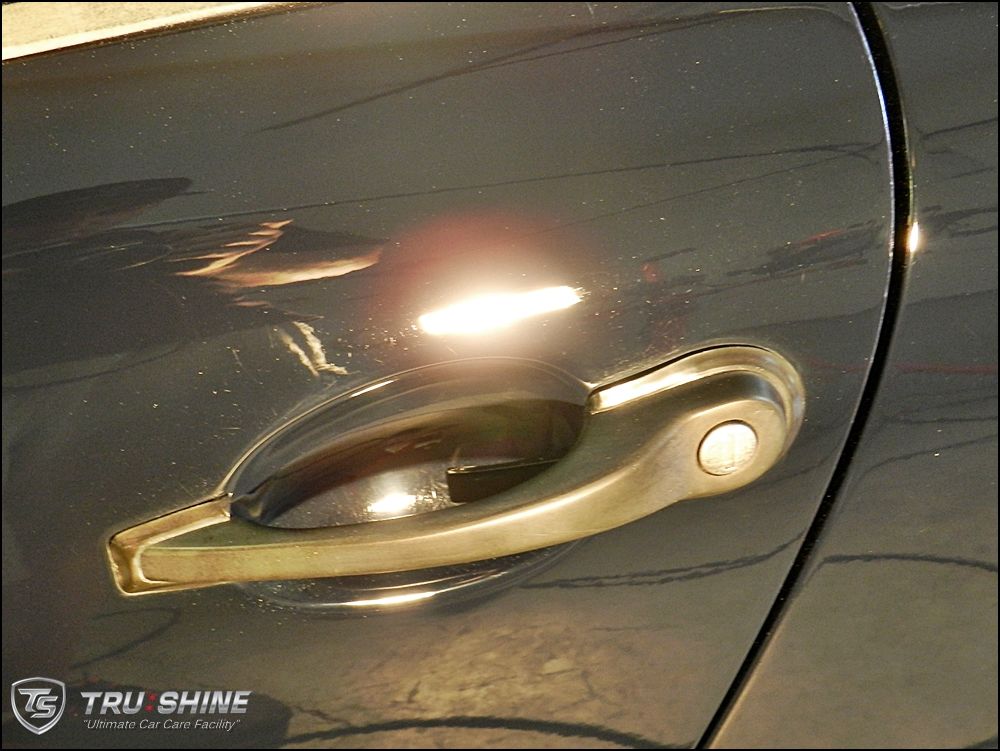
So I finally got to work on the paint and begin the revival.


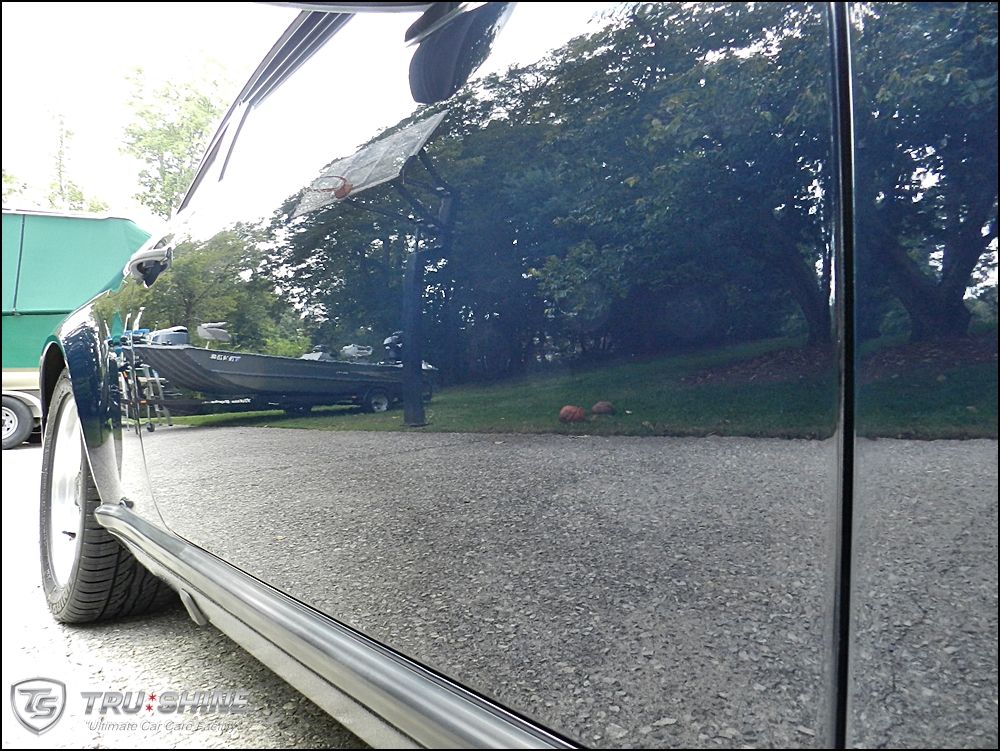
here is a picture of how much oxidation was removed.


DSCN5807_zps161264ed.jpg


DSCN5810_zps75897bc5.jpg


DSCN5822_zps33a7479a.jpg


DSCN5825_zpsc362fcb5.jpg


Here is a before of the passenger door handle.


DSCN5828_zpsf05a574f.jpg


And here is the after


DSCN5835_zps7d20a6ec.jpg


DSCN5837_zpsc0f1fc0e.jpg


Rear Quarter Panel Before


DSCN5839_zpsd1bd4a42.jpg


Rear Quarter Panel After


DSCN5845_zpse795de4f.jpg


DSCN5846_zps4957aa05.jpg


DSCN5849_zps2b880115.jpg


DSCN5850_zpsd0e24694.jpg


DSCN5851_zpse0c65967.jpg


DSCN5862_zpsabad2036.jpg


For this next part, I noticed the emblem had 20+ years of crud built up around it, so I decided to remove the emblem to clean it underneath.


DSCN5864_zpscee1e0a1.jpg


DSCN5865_zpsb3fd11df.jpg


DSCN5868_zpsfb19900a.jpg


DSCN5871_zps47b9e71e.jpg


While making my way around the car, I found myself at this faded whale tail wing in the back. I knew that I could bring it back, so I taped off the surrounding areas and began to revive the paint


DSCN5875_zpsa06dd539.jpg


DSCN5880_zpse4c69f7f.jpg


I also decided to paint the faded back air vents


here is a 50/50


DSCN5888_zps8b7d3ec9.jpg


DSCN5889_zps3da3083b.jpg


and here was the final outcome


DSCN5907_zps6a813908.jpg


DSCN5908_zps086a70ea.jpg


DSCN5909_zps0e83a8b5.jpg


Here is another before and after of the Driver Quarter


DSCN5913_zpse872ada5.jpg


DSCN5920_zpsea08ea29.jpg


On this door, not only did I polish out the scratches, I touched up the chips on the edge too.


DSCN5926_zps7759fb86.jpg


DSCN5928_zpsbf43d0ea.jpg


DSCN5935_zps3295d044.jpg


DSCN5938_zpsd465c208.jpg


These pictures are up close of what actually happens in Tru paint correction. The clear coat is leveled out removing the defects and not hiding them with glazes and waxes


DSCN5942_zps645ec5e5.jpg


DSCN5945_zps4aeeab6d.jpg


Now for all the faded trim and plastics, I used a product that is a nano crystalized coating that has 1-2 years of protection for the rubber,plastic trim pieces, Gtechniques C4.


DSCN5948_zpsa7b3b7d7.jpg


DSCN5949_zps72552ebb.jpg


After all of that was done, I decided to revive the wheels by polishing them out and coating them with Poorboys wheel sealant.


DSCN5811_zps6751989a.jpg


DSCN5813_zpsdddea4cd.jpg


DSCN5816_zps596db58f.jpg


DSCN5818_zps75782d30.jpg


DSCN5821_zpsfb0e9d72.jpg


Now that the car was finished, lets see what it looks like outside and in the sun.


DSCN5987_zpsa6b24f60.jpg


DSCN5988_zps8422ff2d.jpg


DSCN5989_zps2462bf8f.jpg


DSCN5991_zps70d3a7b6.jpg


DSCN5993_zps31089b03.jpg


DSCN5994_zpsc7a11acd.jpg


DSCN5984_zps1574abdc.jpg


DSCN5972_zpsf57e63a4.jpg


DSCN5971_zpsa3362f9d.jpg


DSCN5965_zps1d795780.jpg


DSCN5961_zps229500e4.jpg


DSCN5985_zps17d823a6.jpg


DSCN5980_zps3211824c.jpg


DSCN5977_zpse75b364d.jpg


Thanks for looking, For more write ups and articles, follow me on Facebook,Twitter, and Youtube.


you always go above and beyond, excellent job! looks like you waste no time and have two GG6's ready to rock ;) i was wondering where you've been as i haven't seen much of your write-ups lately. hope all is well, keep up the good work... :up
 
Back
Top