dmw2692004
New member
Its good to finally have enough time to post up some of the cool details that I had almost a year ago now!
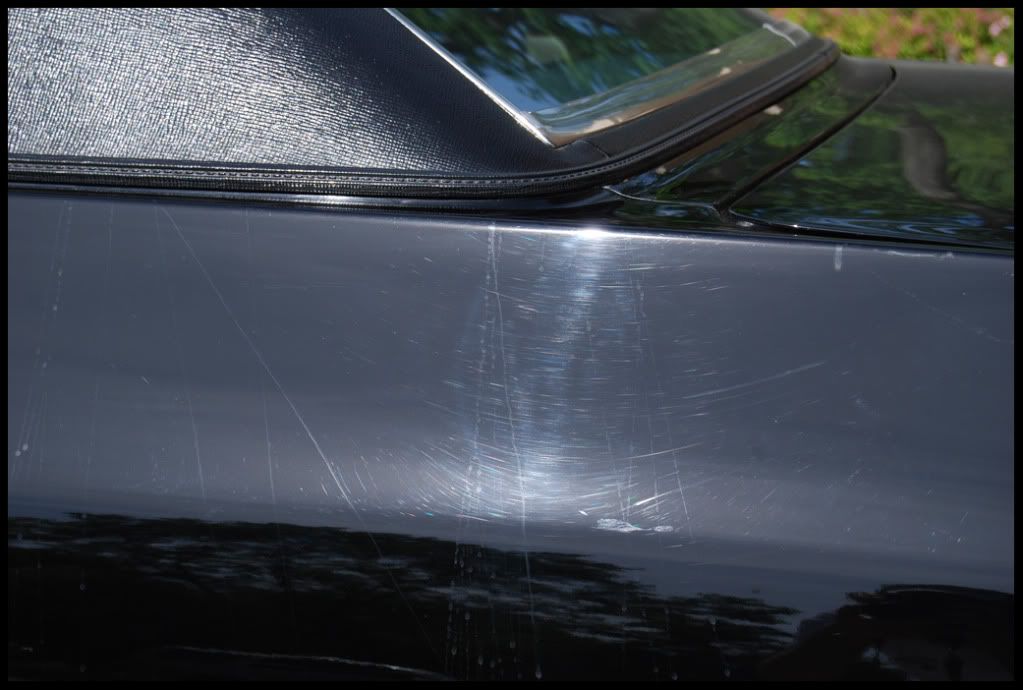
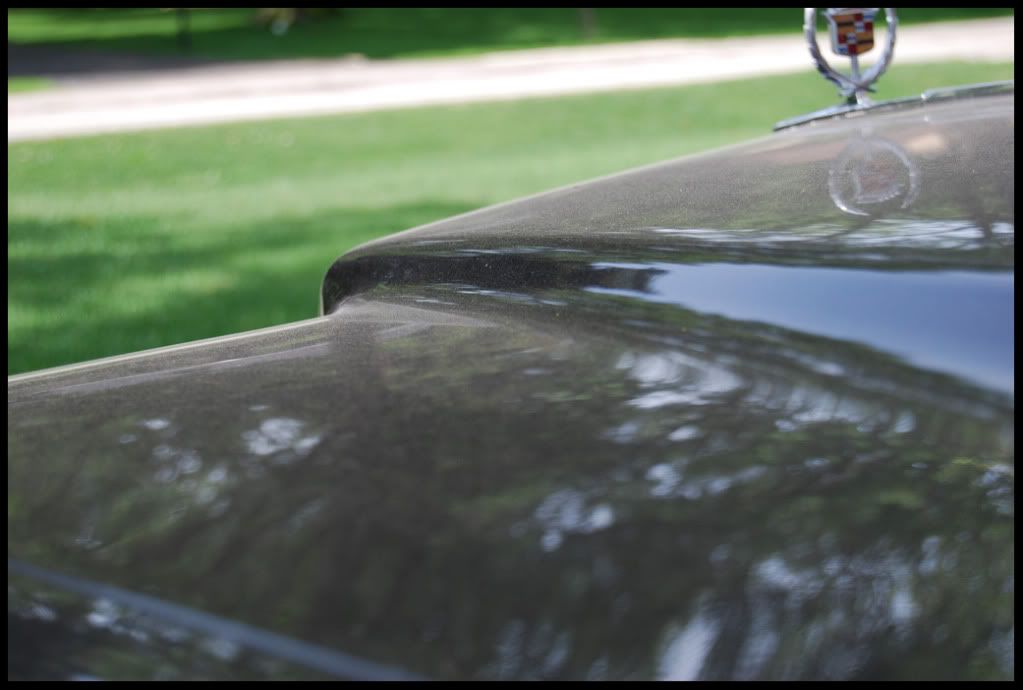
The owner of this Cadillac came to me extremely concerned about the well-being of his precious "mod-mobile." We spoke over the phone a few times and finally agreed to give a detail a shot. Specifically, we scheduled a 2 step correction with the idea of preserving the finish as much as possible. I was also instructed not to touch the interior at all costs. I was afraid of the condition of the paint, seeing as this beast had 50K original miles and 1 owner. Turns out, the condition was a but worse than I expected. General clear-coat failure was present along almost all the edges, as well as parts of the hood, and trunk. The vertical panels were in decent shape, but still heavily marred and scratched from improper care.
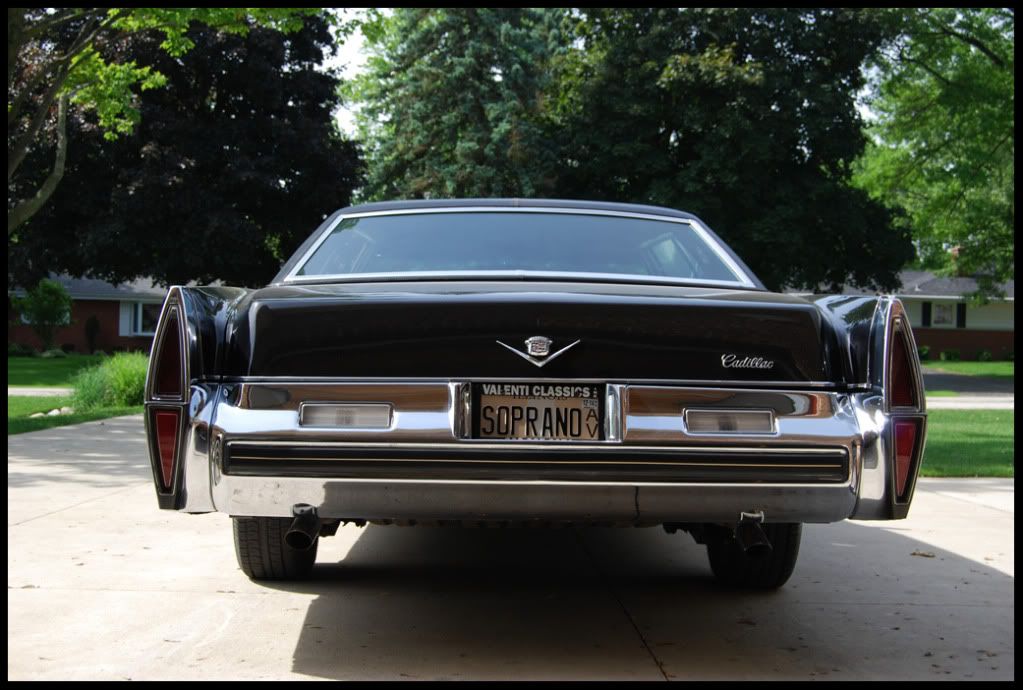
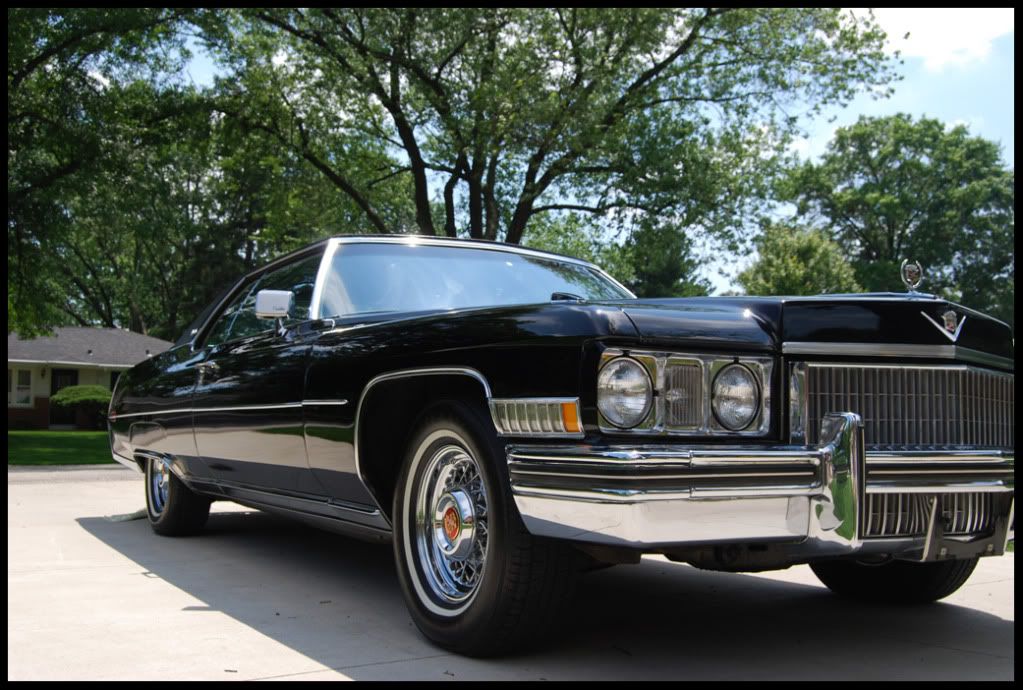
When this monster arrived at my house the first thing I notested was the liscense plate.. "SOPRANO" ray:If I didn't impress the owner.. I was afraid of what would happen to me.. my family.. my house..just kidding. The second ting I noticed was the sheer size of this monster! I had to move all the supplies out of my garage just to back it in so the garage door didn't close on it. What started as a a 2-day detail turned into a 1 week extravaganza, as the owner was leaving for vacation and I was not stuck with a coupe longer than most of the trucks I have ever had the chance to detail.
Overall, the caddy was CLEAN. There was a lot of dust, but no really grime or tar which was awesome. The condition of the paint on the other hand.. lots of marring, RIDs, clear failure.. but no rust.
And so the detailing began..
My process was as follows:
-ONR Wash
-Clay with Sonus Green Clay
-Wheels got hit wish some ONR and *light* APC
-M105 on a Megs Solo Wool Pad in some areas
-M105 on an Yellow Megs Pad in some areas
-M205 on a Burgundy/Dark Red Megs Pad to finish
-Topped with Opt-Seal and two coats of P21s Nuba Wax
-Chrome polished with M105/M205 by hand
-Chrome topped with Opti-Seal
-Exhaust tips polished with steel wool and Optimum Metal/Chrome Polish
-Exhaust tips topped with Opti-seal
-Tire rubber dressed with Megs Tire Gel
And now.. onto the pics! Unfortunately I was working on vette's for Bloominton Gold at the same time, so I had to kind of hurry through any pictures that I was taking.


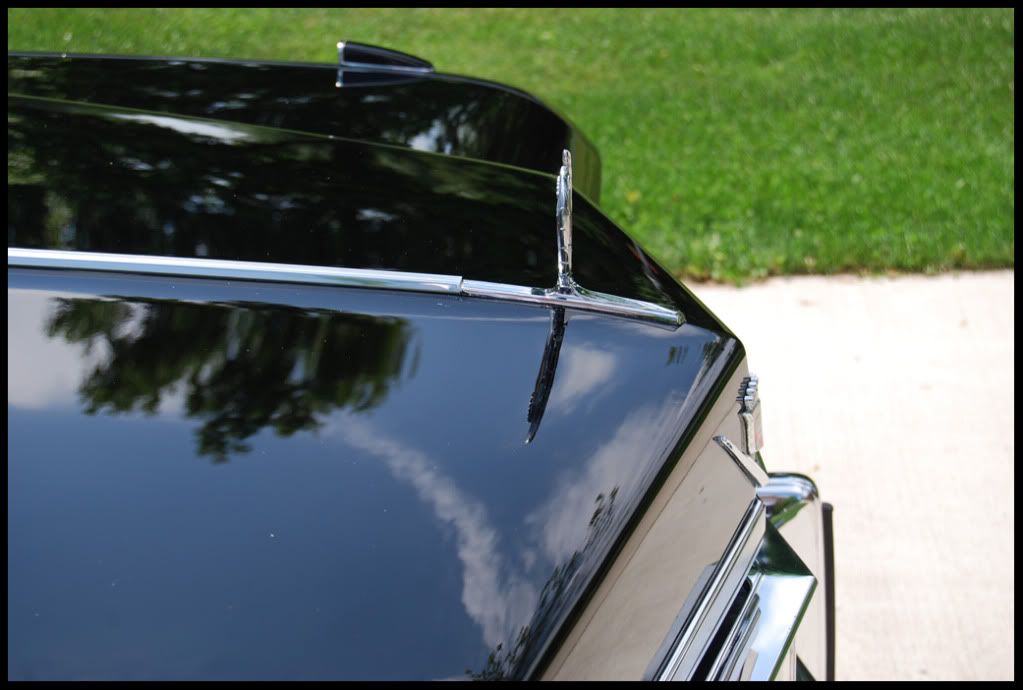
Evidence of a dealer touching it.. Note the buffer trails
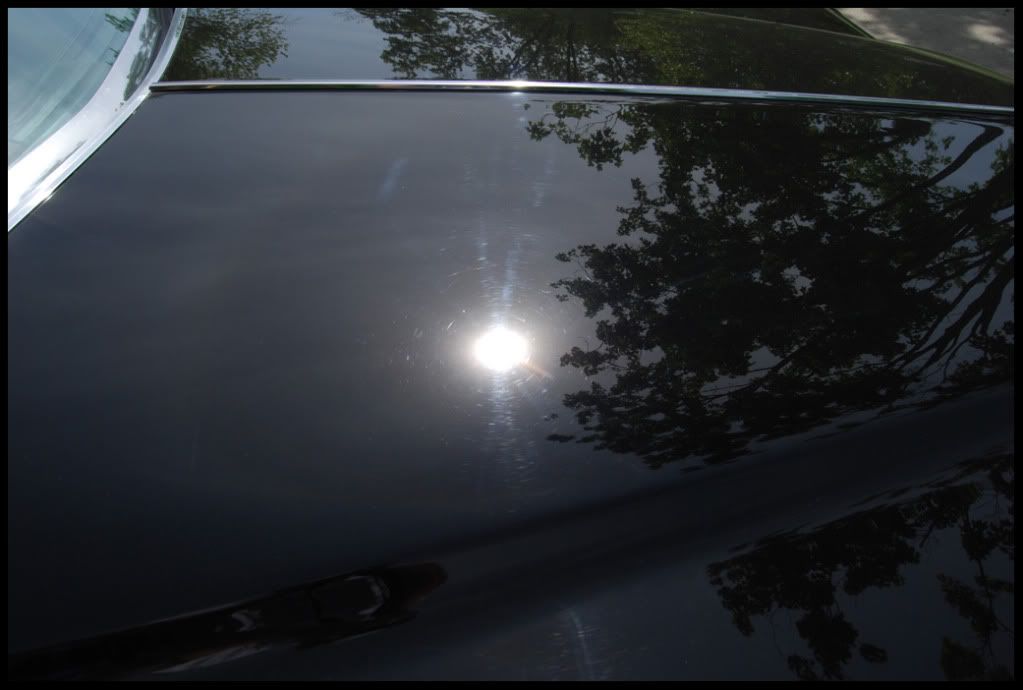
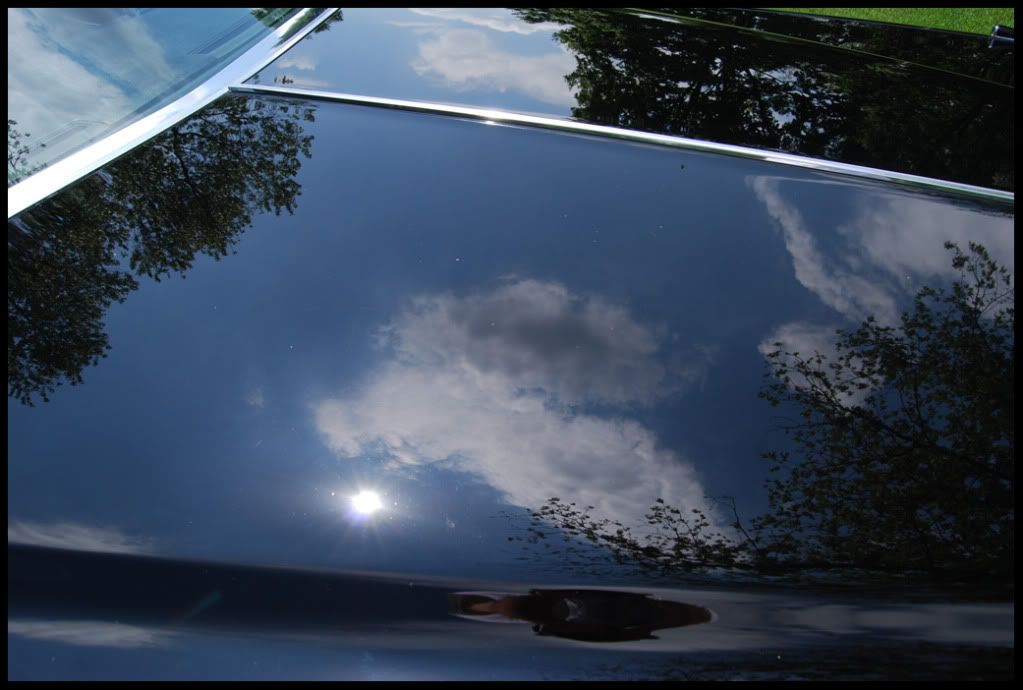
You get a general idea of the CC failure here. It was hard to capture without messing around with macros(didn't have time)

The one decent shot I got of the paint under the Brinkman!

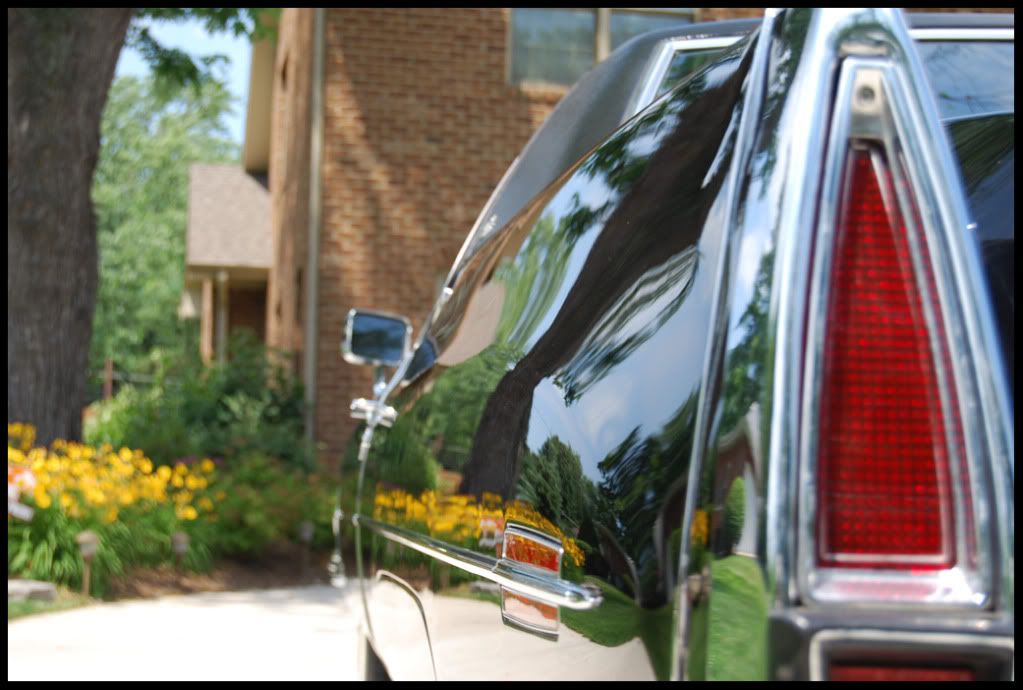
After two steps..
Getting a good polishing combo on this paint was difficult. It marred easily, but was HARD as can be. Also, I wanted to preserve was much clear as I could! I think I tried out about 4-5 difference combos before I finally came up with the one that I used.

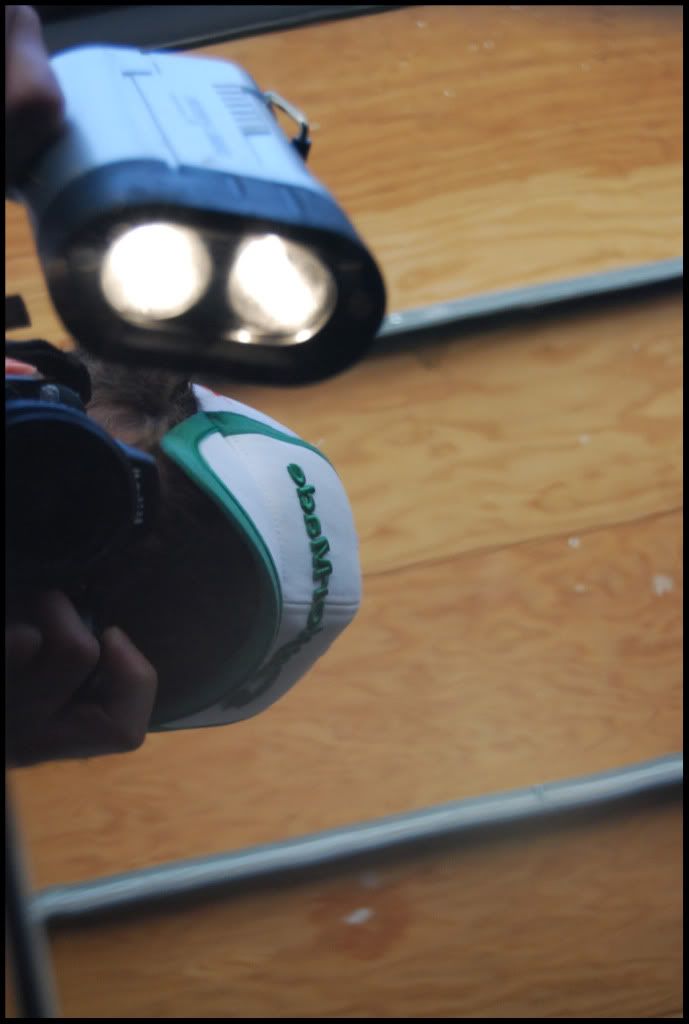
Just a neat picture that I took of me at work at like 2AM

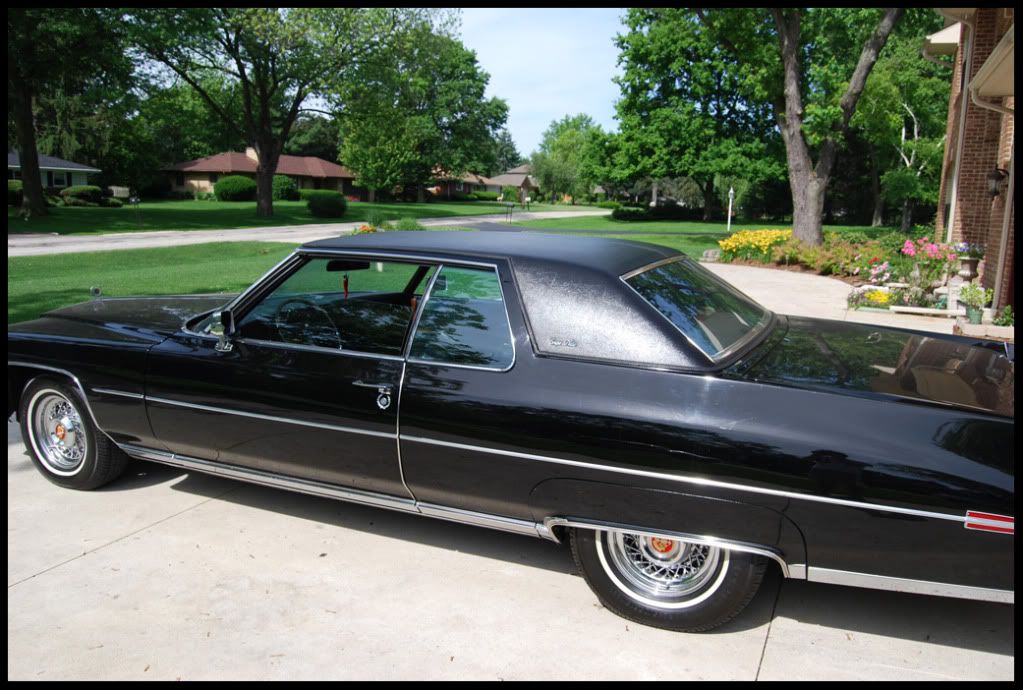
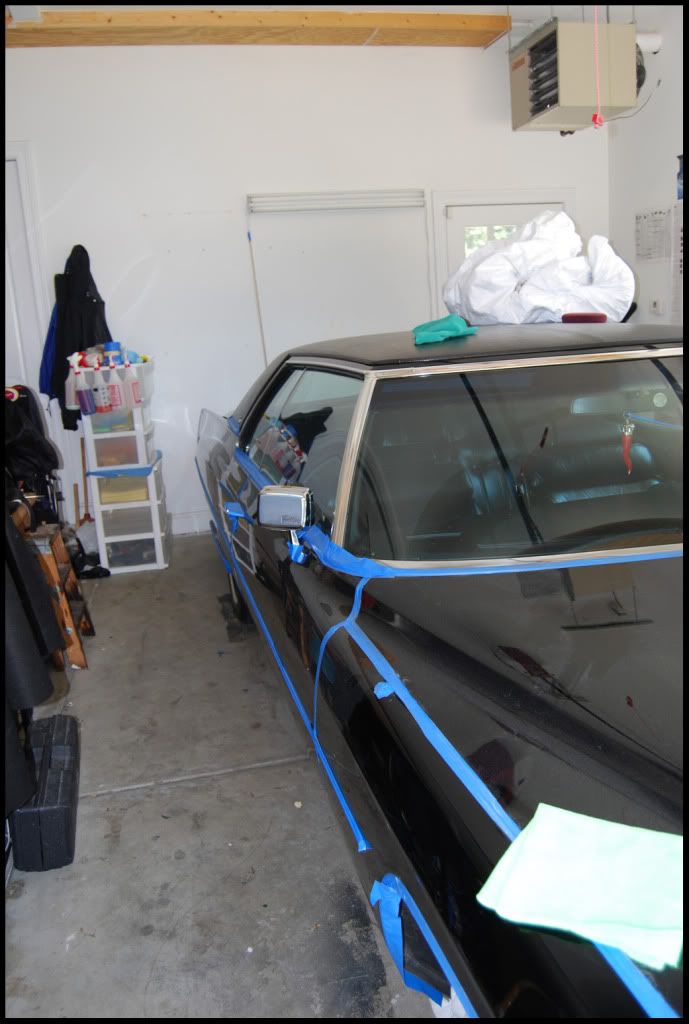
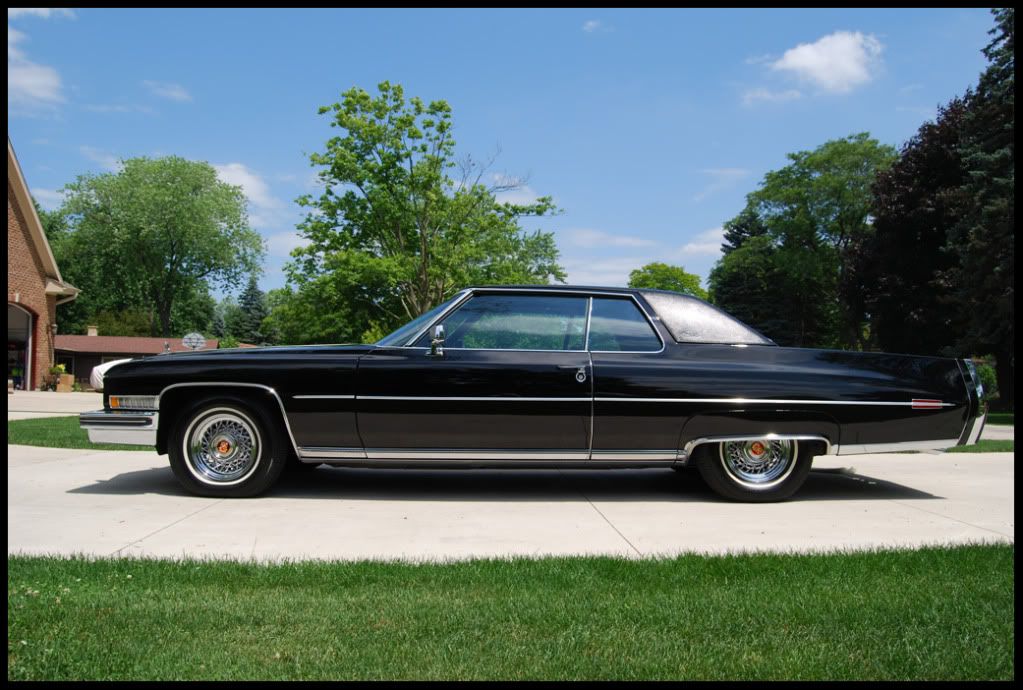
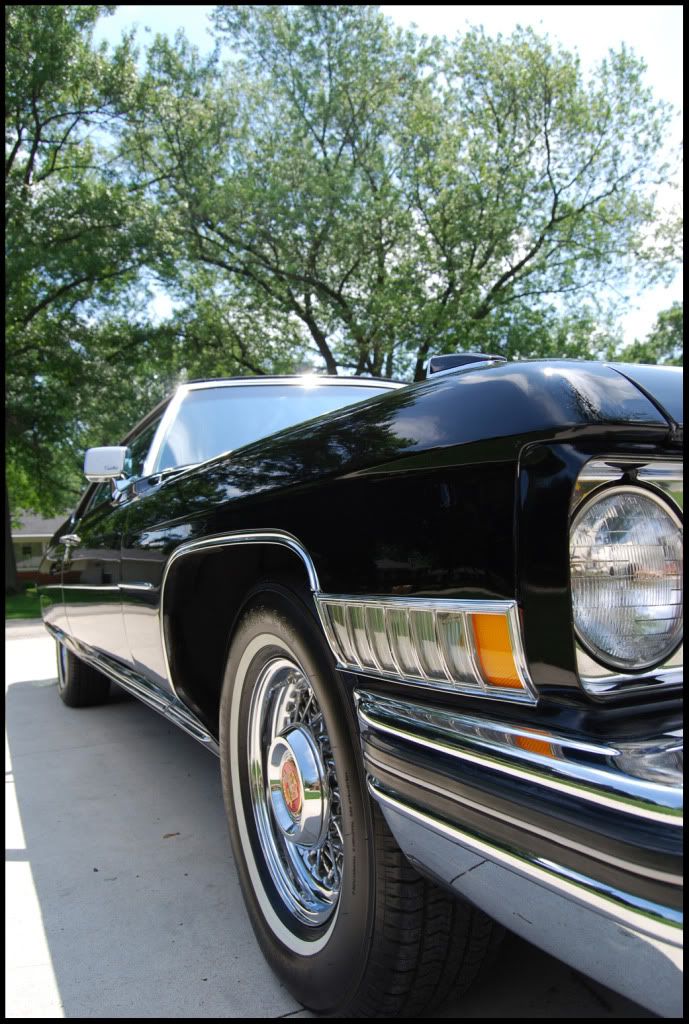
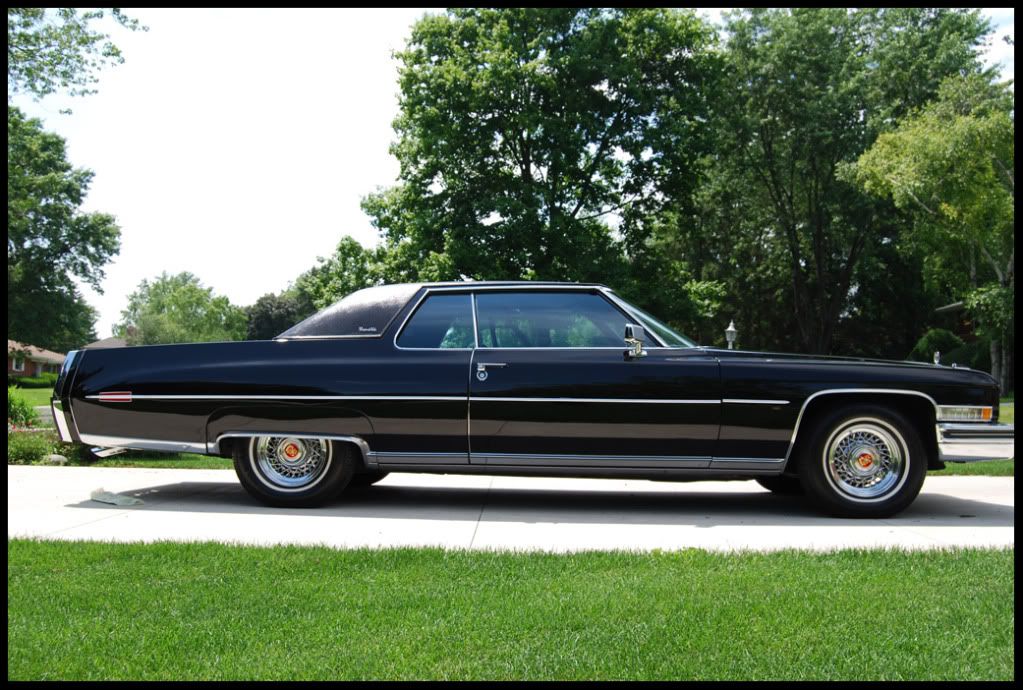
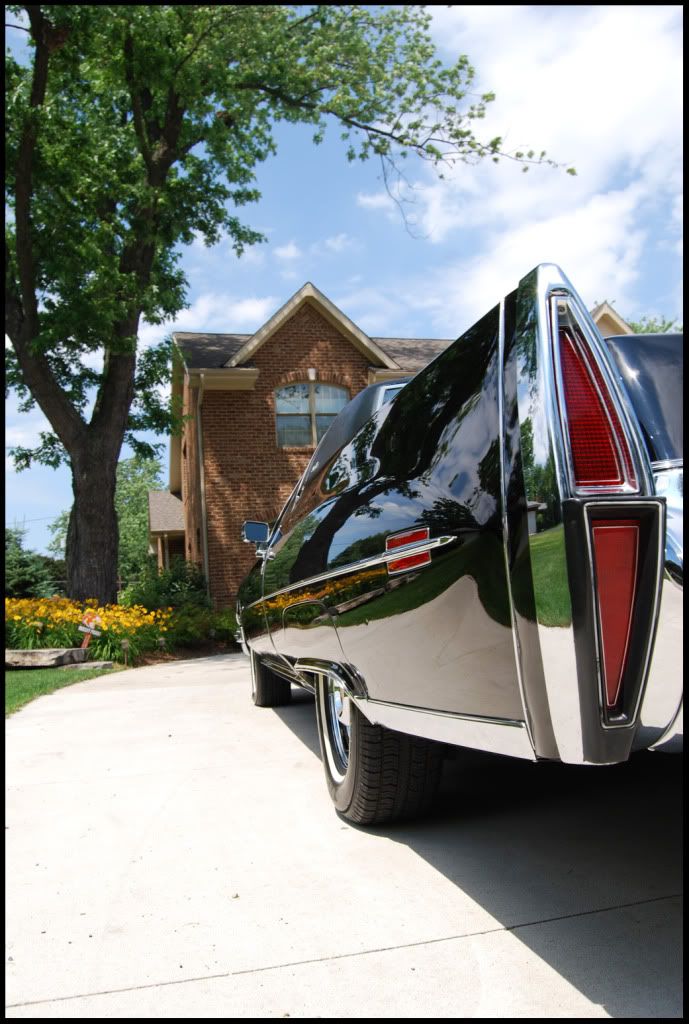
Just to give you some idea of how LONG this caddy was..

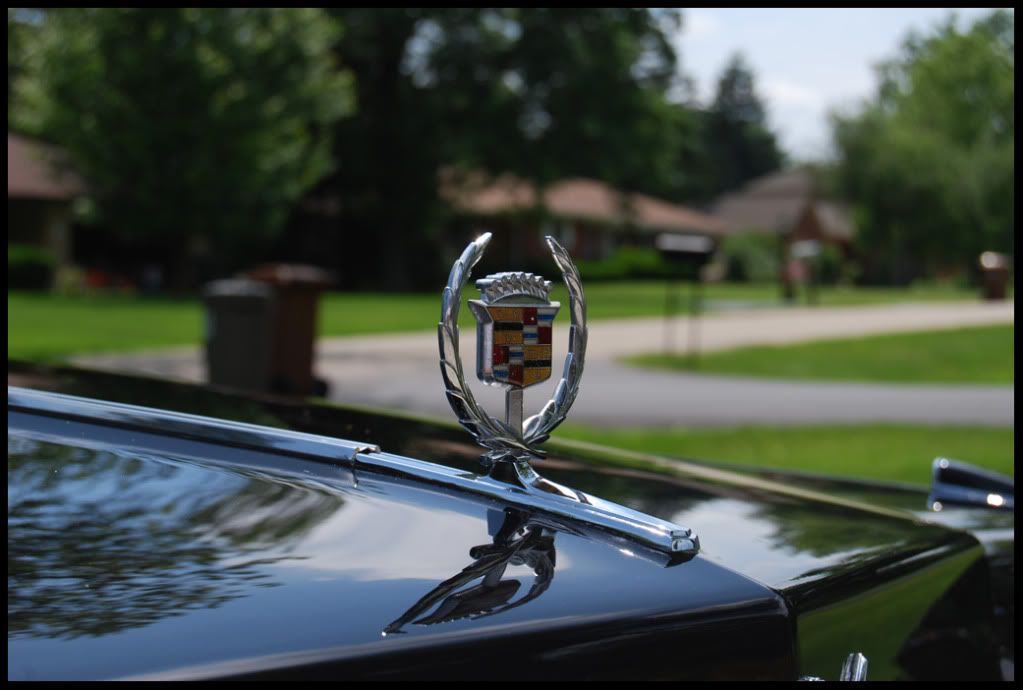
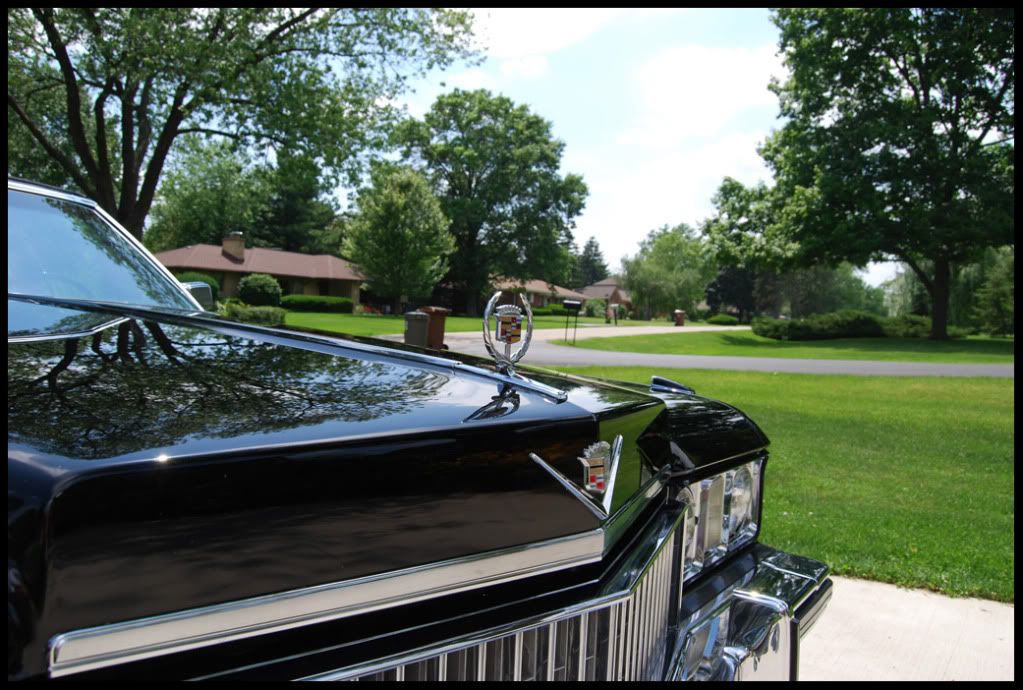
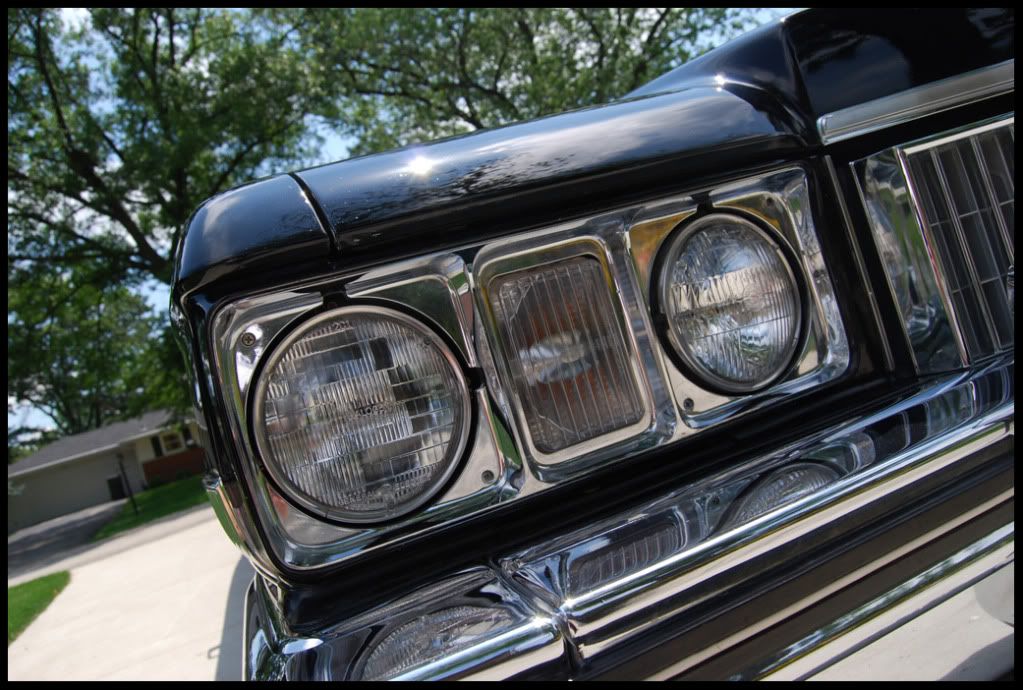
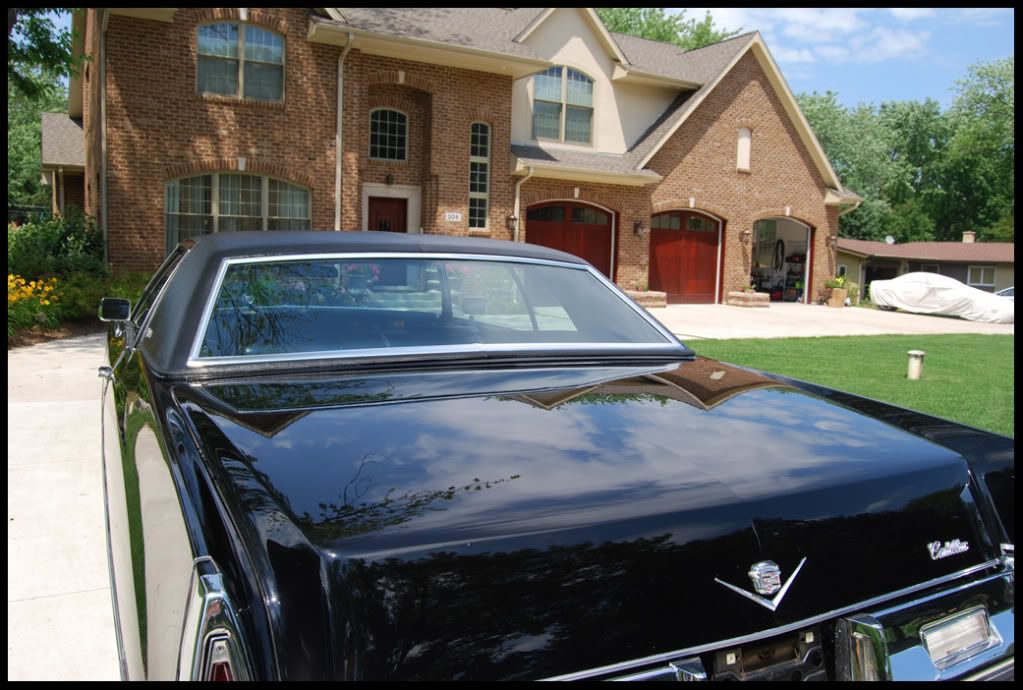
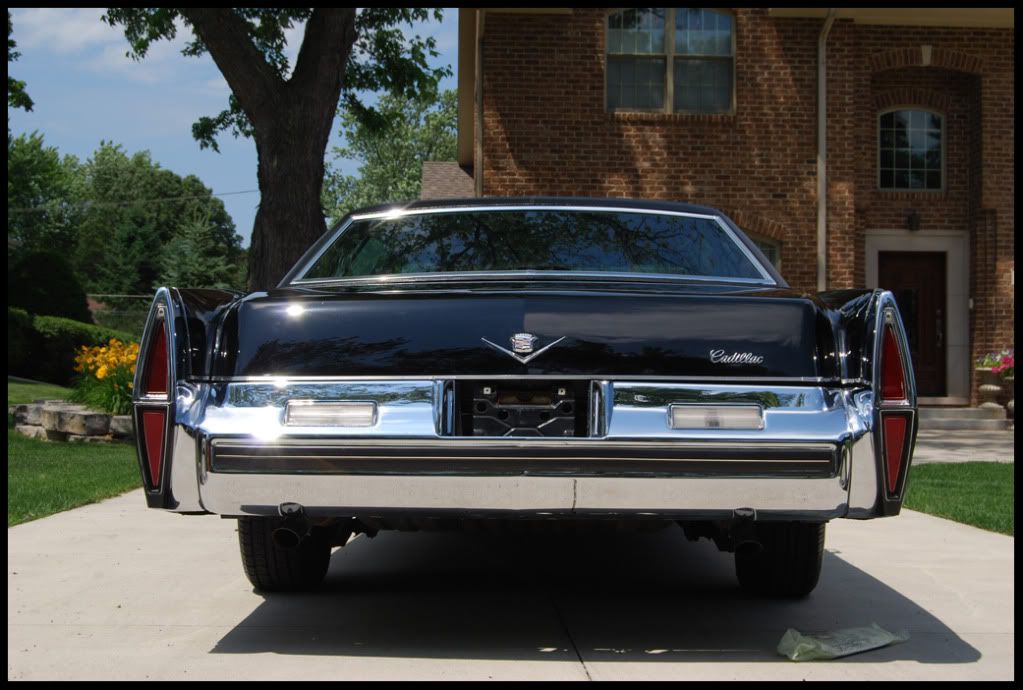
And now on to the afters..


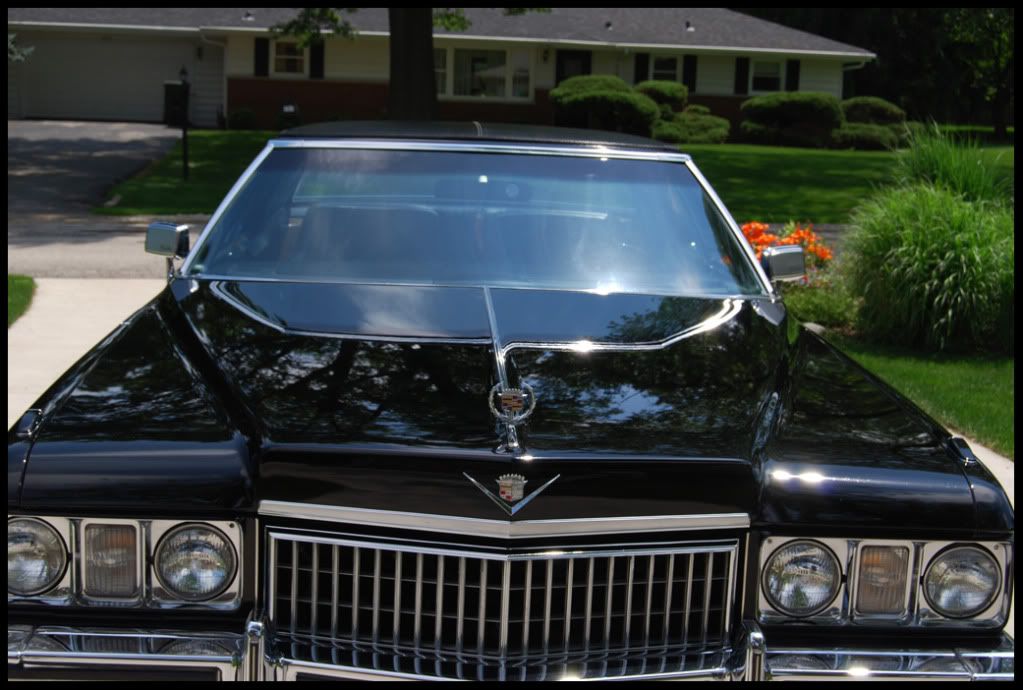

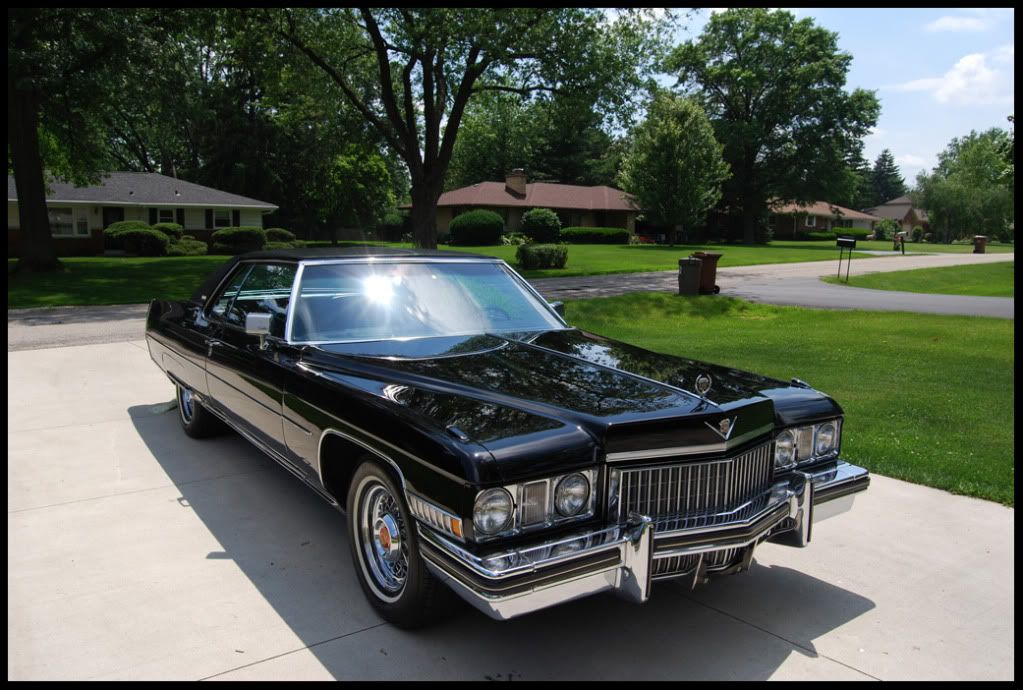

The owner of this Cadillac came to me extremely concerned about the well-being of his precious "mod-mobile." We spoke over the phone a few times and finally agreed to give a detail a shot. Specifically, we scheduled a 2 step correction with the idea of preserving the finish as much as possible. I was also instructed not to touch the interior at all costs. I was afraid of the condition of the paint, seeing as this beast had 50K original miles and 1 owner. Turns out, the condition was a but worse than I expected. General clear-coat failure was present along almost all the edges, as well as parts of the hood, and trunk. The vertical panels were in decent shape, but still heavily marred and scratched from improper care.
When this monster arrived at my house the first thing I notested was the liscense plate.. "SOPRANO"
ray:If I didn't impress the owner.. I was afraid of what would happen to me.. my family.. my house..just kidding. The second ting I noticed was the sheer size of this monster! I had to move all the supplies out of my garage just to back it in so the garage door didn't close on it. What started as a a 2-day detail turned into a 1 week extravaganza, as the owner was leaving for vacation and I was not stuck with a coupe longer than most of the trucks I have ever had the chance to detail. Overall, the caddy was CLEAN. There was a lot of dust, but no really grime or tar which was awesome. The condition of the paint on the other hand.. lots of marring, RIDs, clear failure.. but no rust.
And so the detailing began..
My process was as follows:
-ONR Wash
-Clay with Sonus Green Clay
-Wheels got hit wish some ONR and *light* APC
-M105 on a Megs Solo Wool Pad in some areas
-M105 on an Yellow Megs Pad in some areas
-M205 on a Burgundy/Dark Red Megs Pad to finish
-Topped with Opt-Seal and two coats of P21s Nuba Wax
-Chrome polished with M105/M205 by hand
-Chrome topped with Opti-Seal
-Exhaust tips polished with steel wool and Optimum Metal/Chrome Polish
-Exhaust tips topped with Opti-seal
-Tire rubber dressed with Megs Tire Gel
And now.. onto the pics! Unfortunately I was working on vette's for Bloominton Gold at the same time, so I had to kind of hurry through any pictures that I was taking.
Evidence of a dealer touching it.. Note the buffer trails
You get a general idea of the CC failure here. It was hard to capture without messing around with macros(didn't have time)
The one decent shot I got of the paint under the Brinkman!
After two steps..
Getting a good polishing combo on this paint was difficult. It marred easily, but was HARD as can be. Also, I wanted to preserve was much clear as I could! I think I tried out about 4-5 difference combos before I finally came up with the one that I used.
Just a neat picture that I took of me at work at like 2AM
Just to give you some idea of how LONG this caddy was..
And now on to the afters..

")
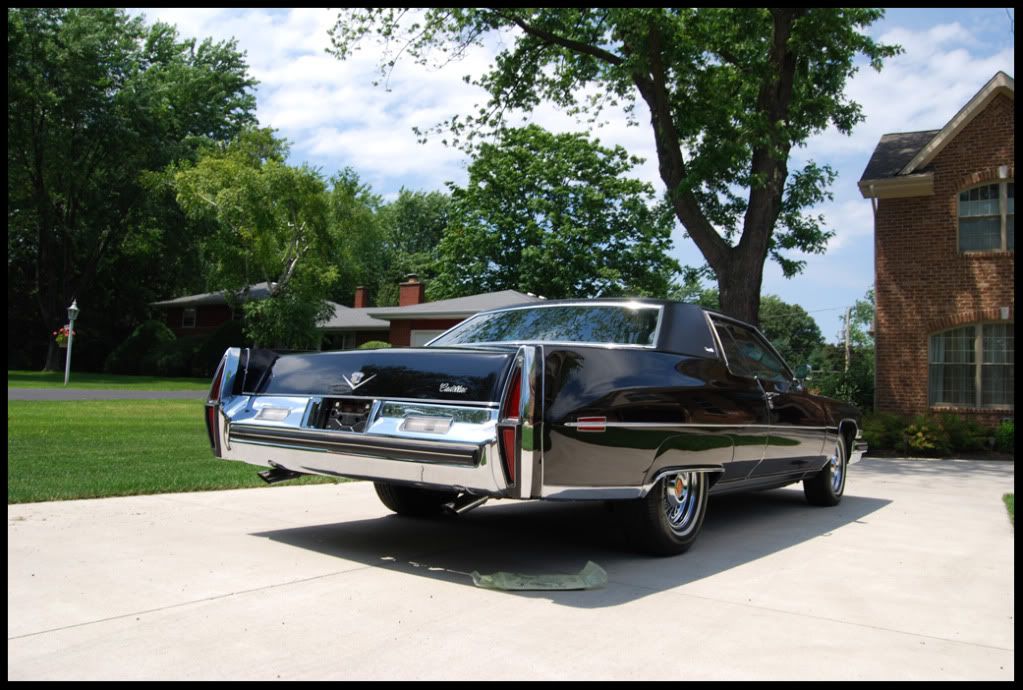
") Don't touch the interior huh -- bends nose to side - especially the trunk!
Don't touch the interior huh -- bends nose to side - especially the trunk! All I know is that he runs a restaurant and he told me I get free food whenever I want.