Leadfootluke
New member
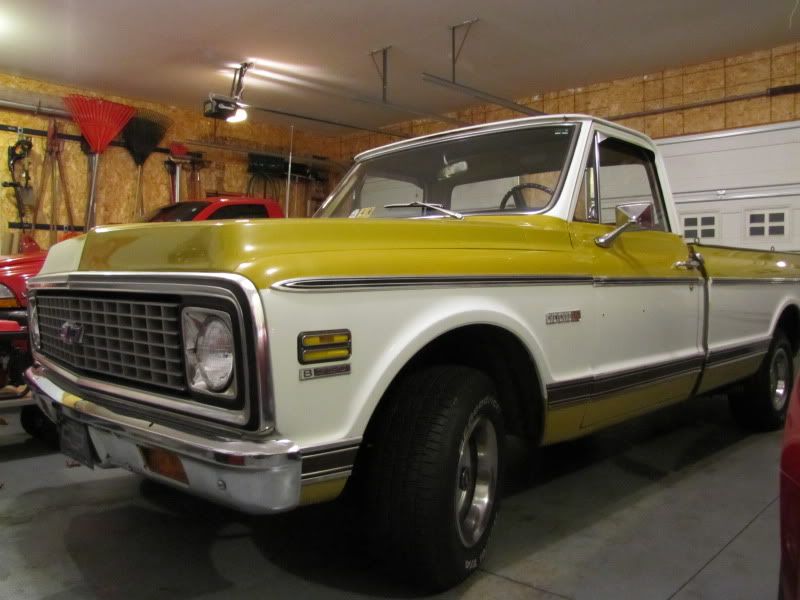
I had the opportunity to work on a friend’s 1971 Chevy Cheyenne over the course of the last few weeks. The owner understood I had school and exams to worry about, so he dropped it off a few weeks ago and said call me when you can get to it. Although I had picked at it on and off, I was finally able to polish and wax the truck in the last few days.
This truck is driven frequently in the summer month and has had its share of wear-and-tear. Although the paint is far from perfect, the metal is incredibly solid. He wanted the paint cleaned up and protected. After trying a few things, it was clear that a 1 step polish could make the paint look a million times better and do more than just clean up the look of the paint.
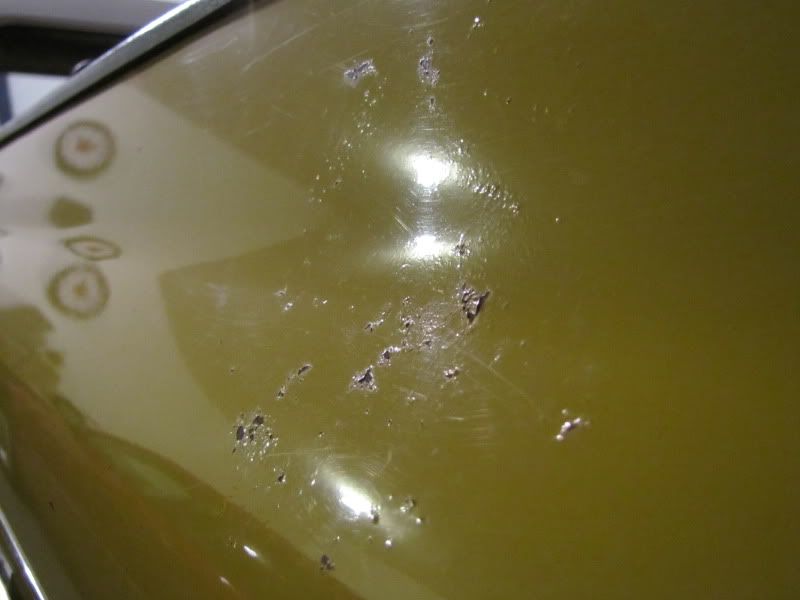
I began with a wash and proceeded to check the condition of the paint. Although there was rust coming through, the panels were solid and it was left alone this time.

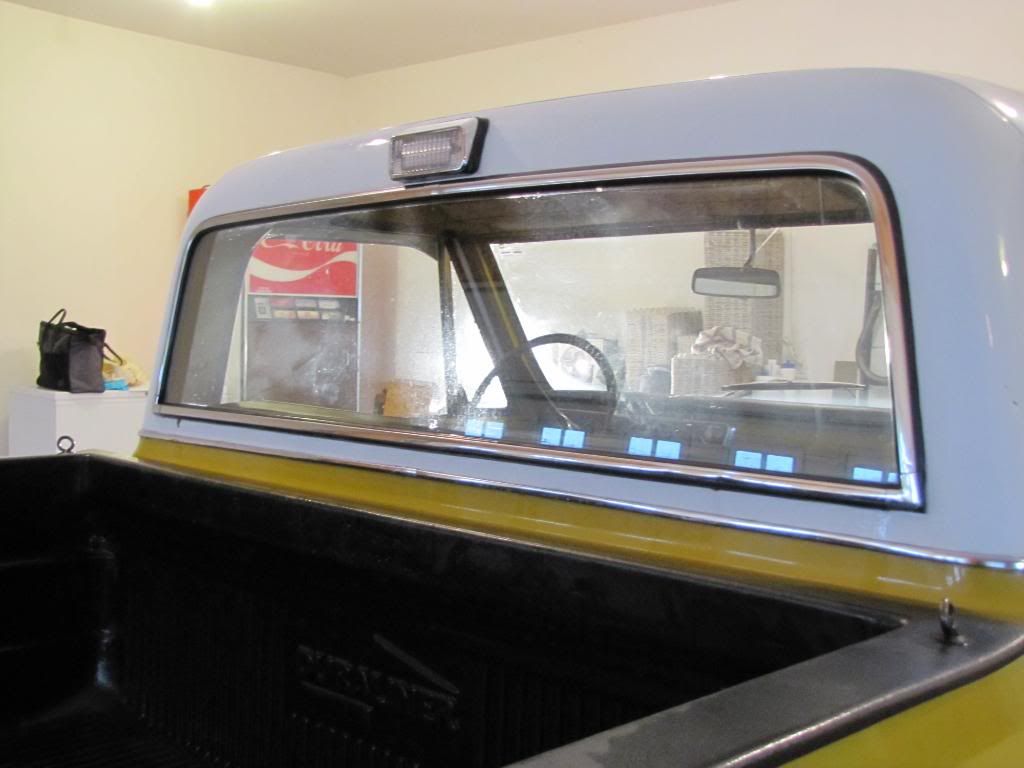
The glass was in need of a cleaning as well. I used Sprayway glass cleaner on the glass, and finished with SIG w/repellant on the outside [after images at the end].
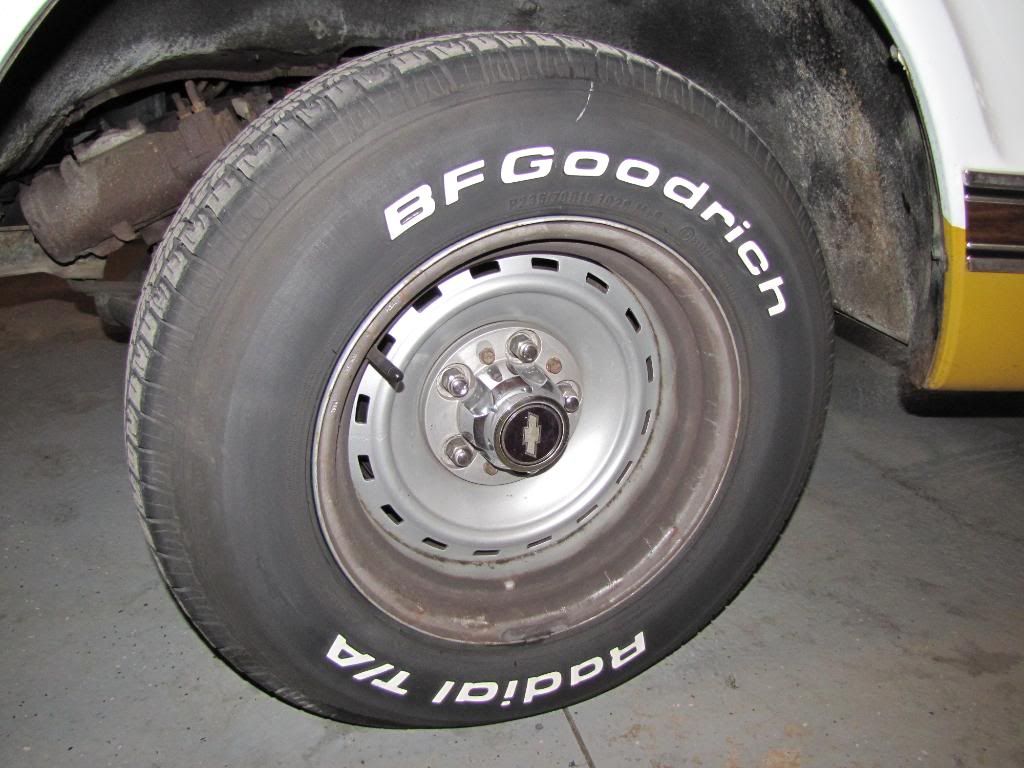
I turned my attention to the wheels. I do not have individual after pictures of the wheels, but I used a slidelock brush and a toothbrush with Megs APC, which quickly melted the dust off. I lightly polished the caps and sealed everything before reassembling.
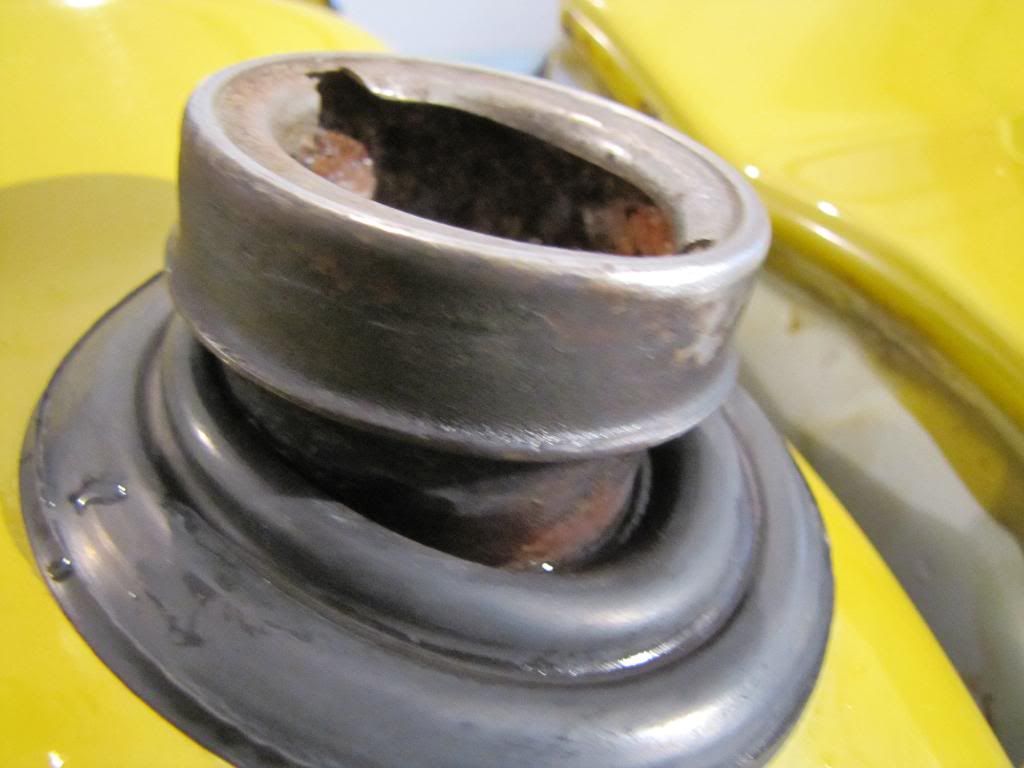
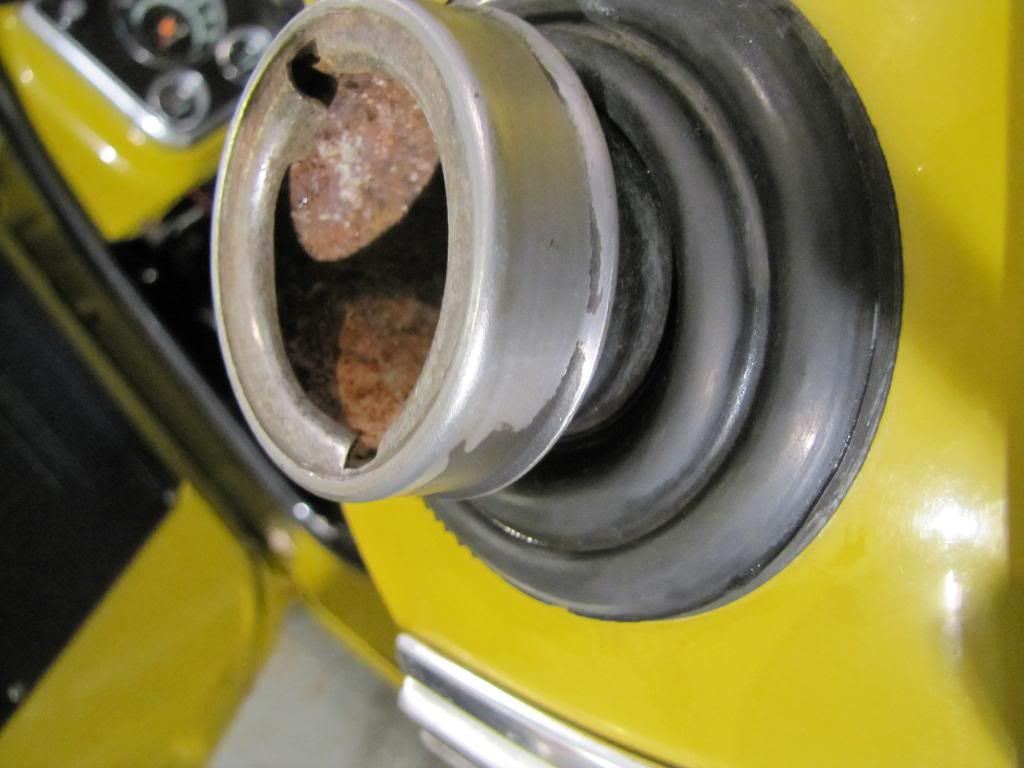
I spent a good amount of time on the little things. The gas cap was removed and with 0000 steel wool and a metal polish years of buildup was removed.
Before
In progress
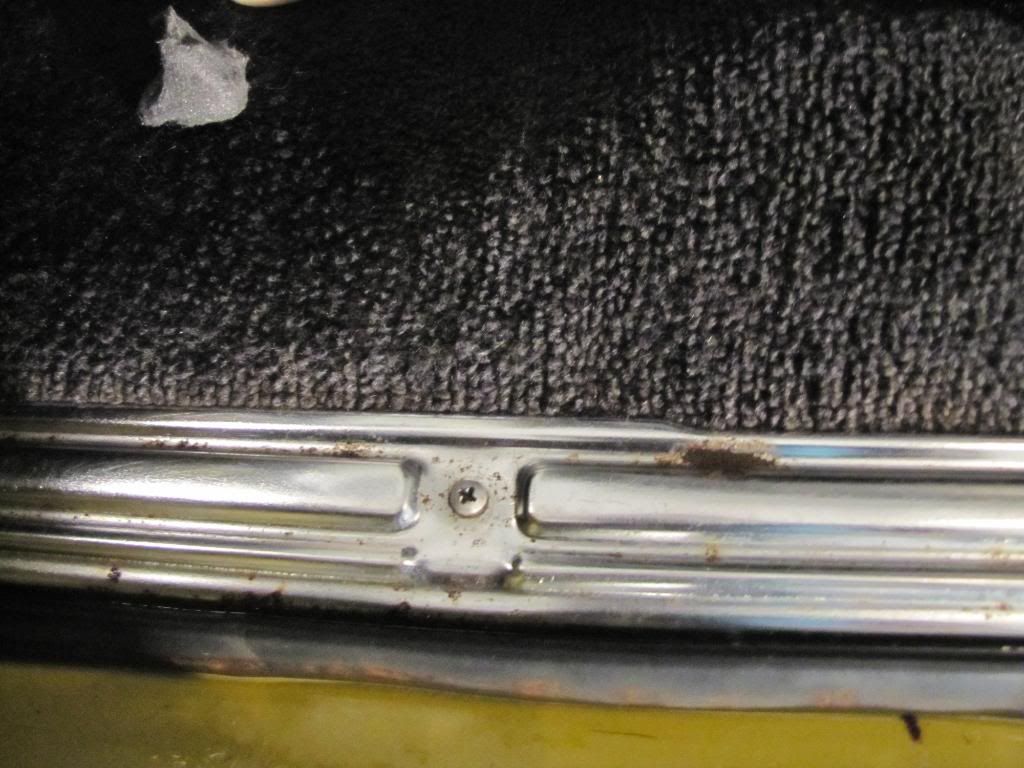
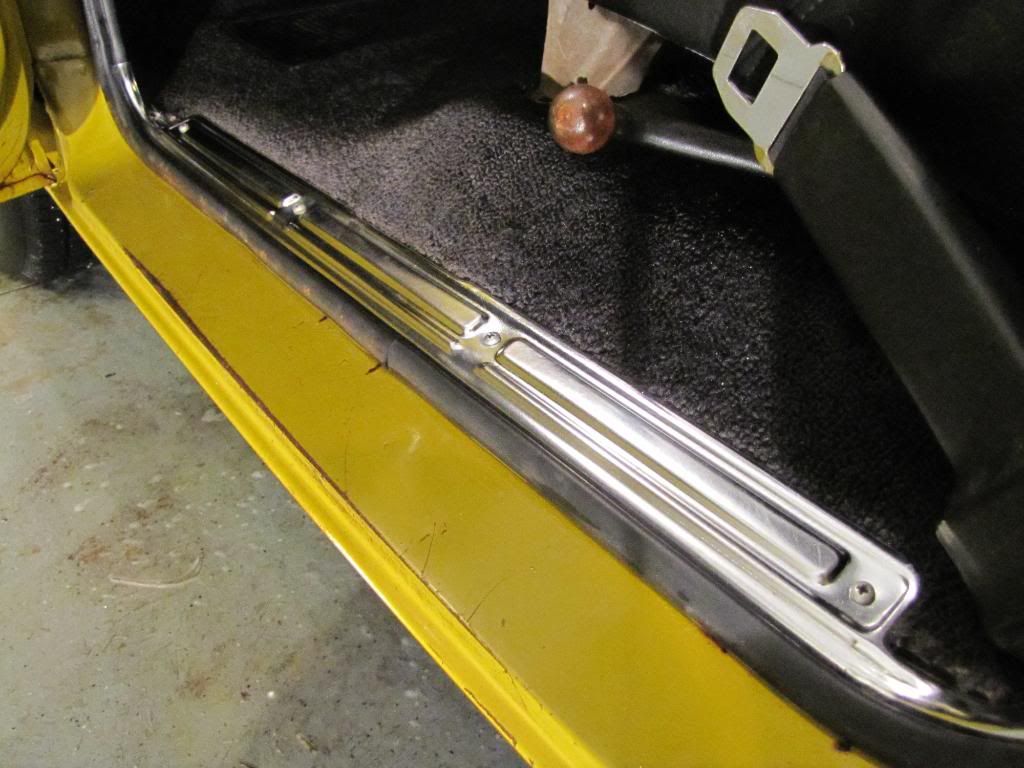
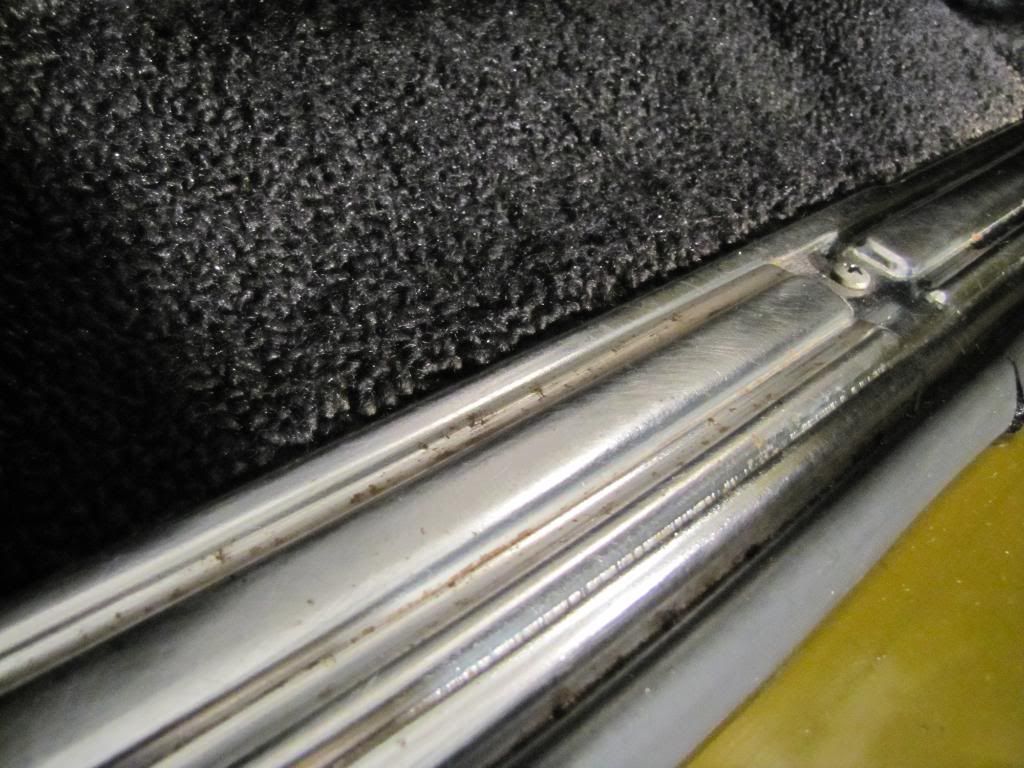
The sill plates were rusted and covered in contamination. After cleaning them, I used Collinite Metal wax to polish them. It has a high cut for being a metal wax.

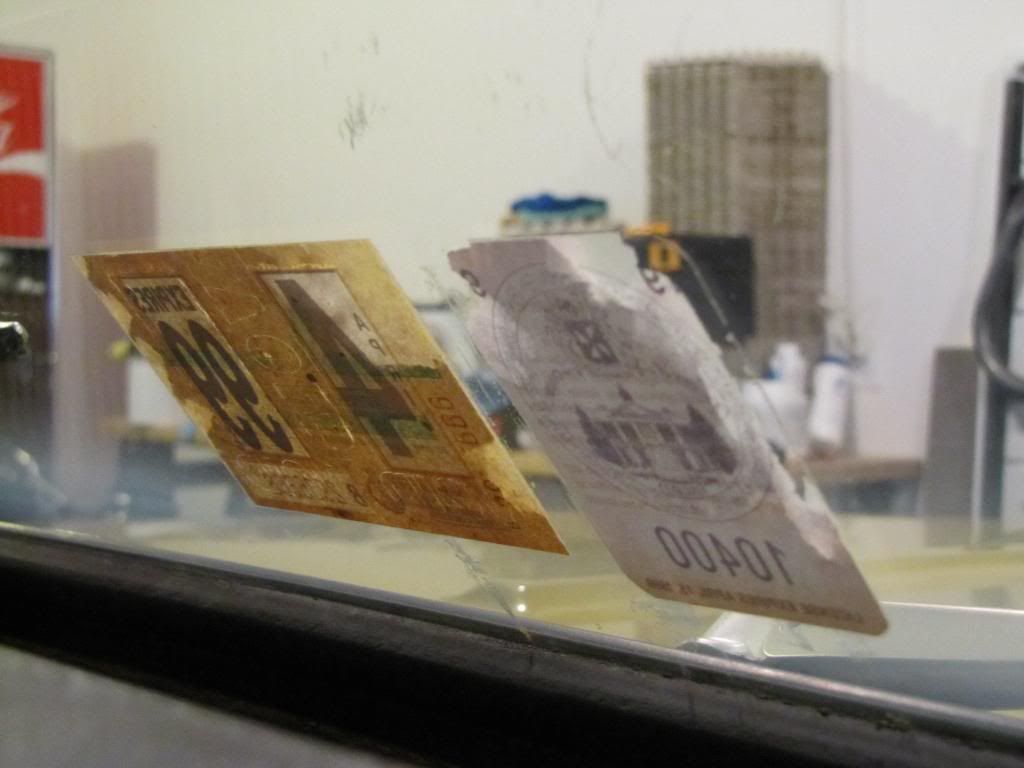
These window stickers were also baked onto the inside of the glass. With the help of glass cleaner, terminator, and plastic/metal blades, it was completely removed [After pictures in the final shots].
Before polishing there was one more area to be addressed.
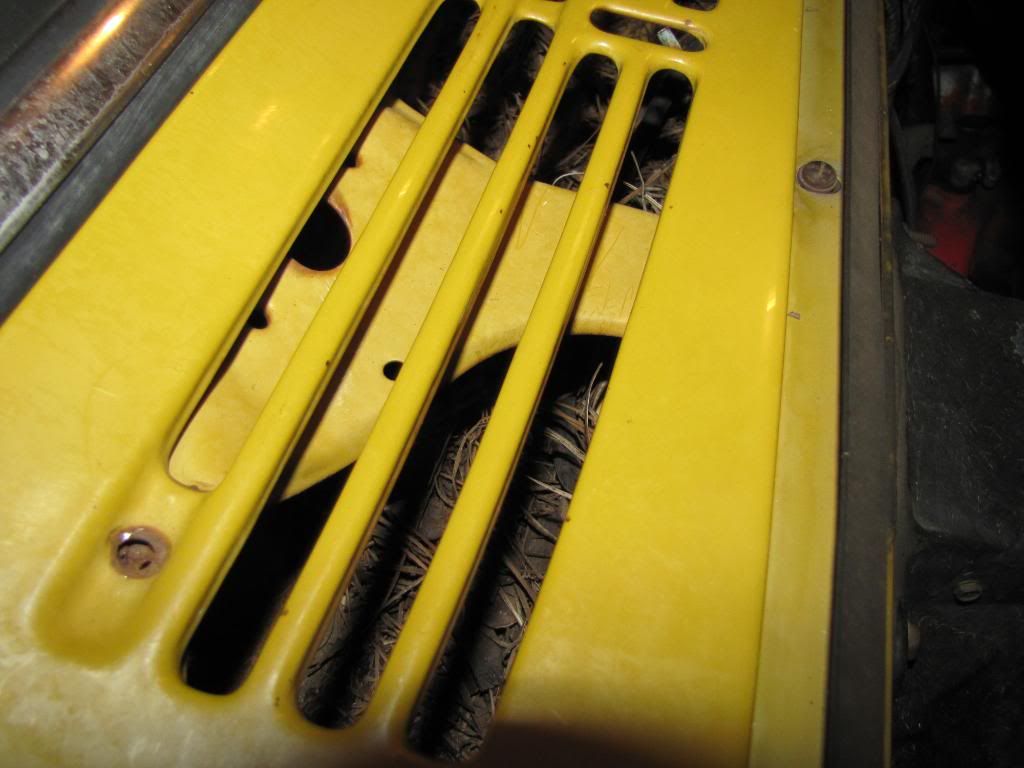

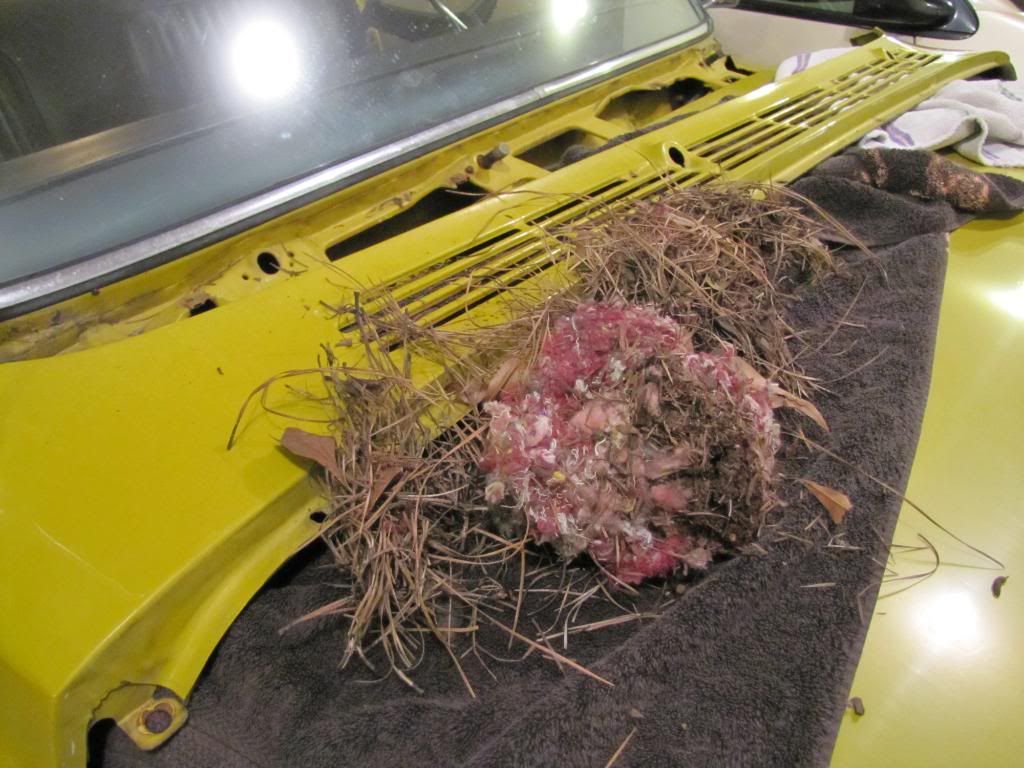
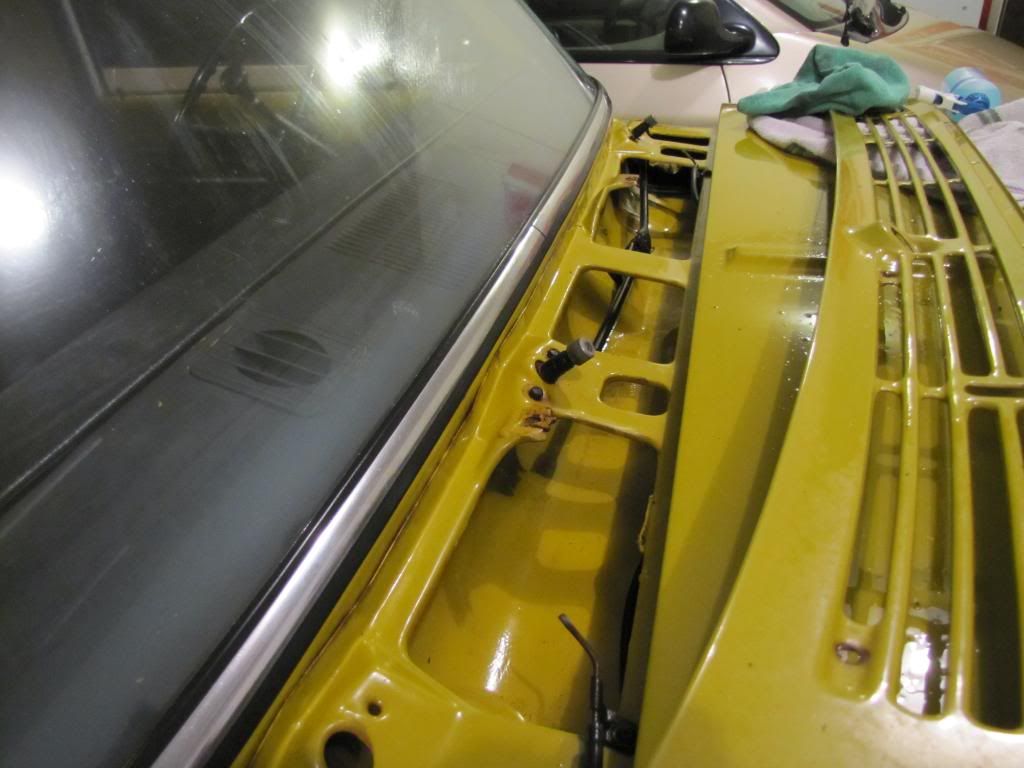
We had to remove the cowling piece to access the debris. I had started by vacuuming out the debris, but it was never ending, and after determining there was something large in there, we decided to remove the cowling.

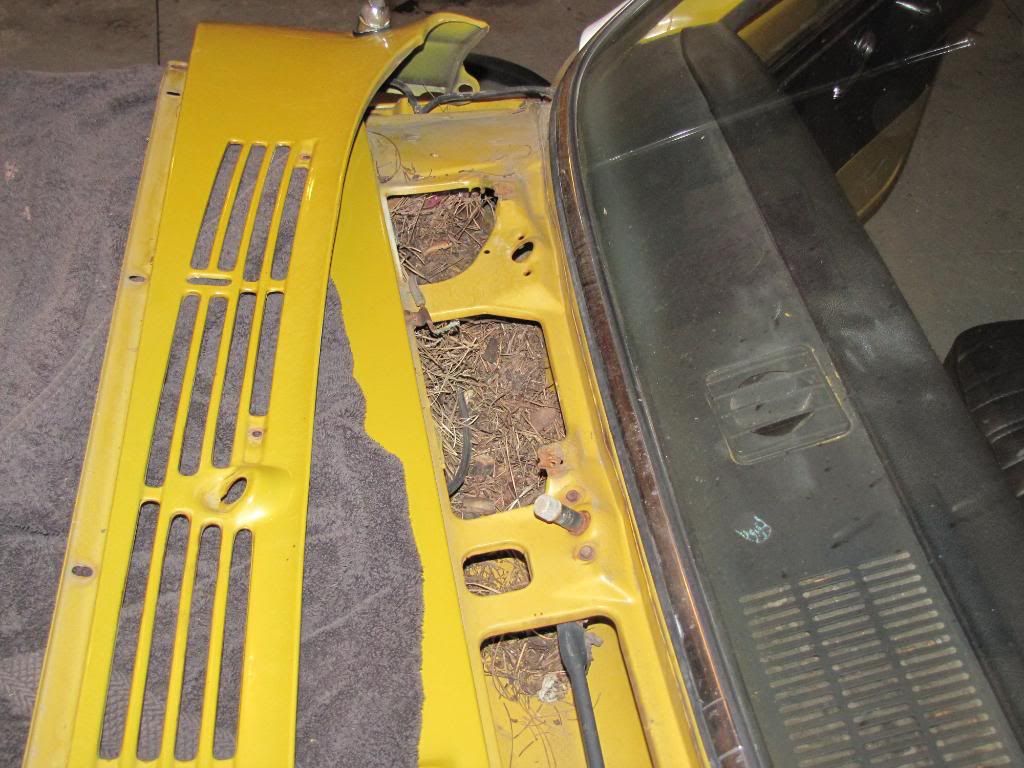
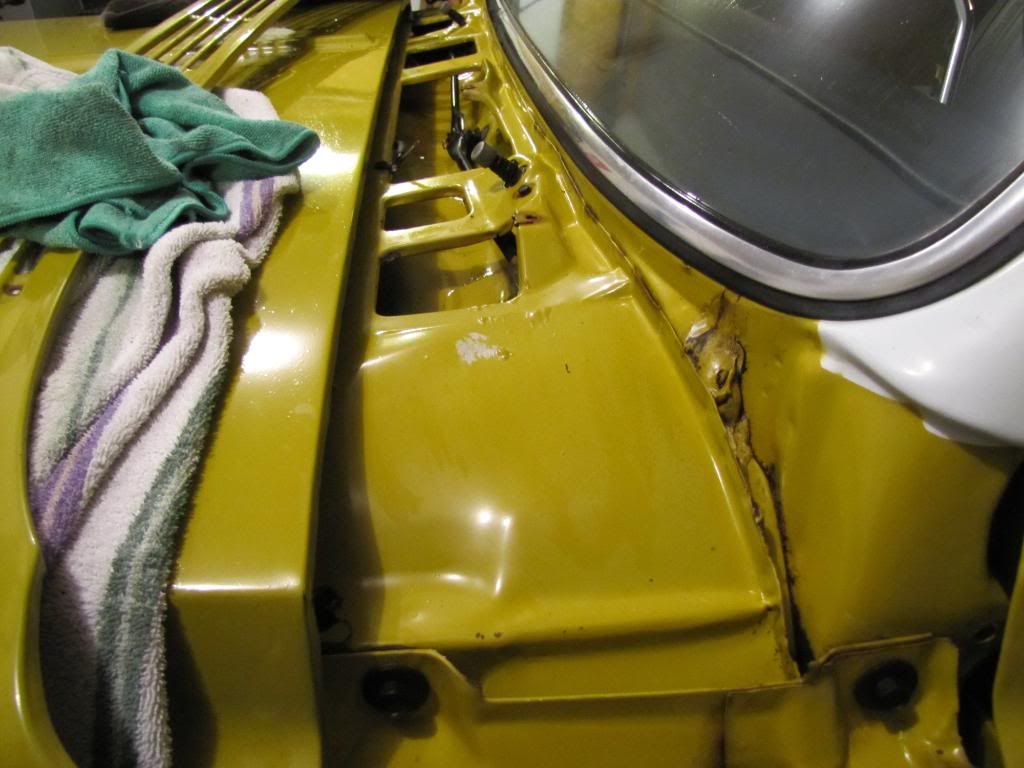
It was completely cleaned out before being reassembled.
The engine bay, although I have no pictures, was completely cleaned and dressed where necessary
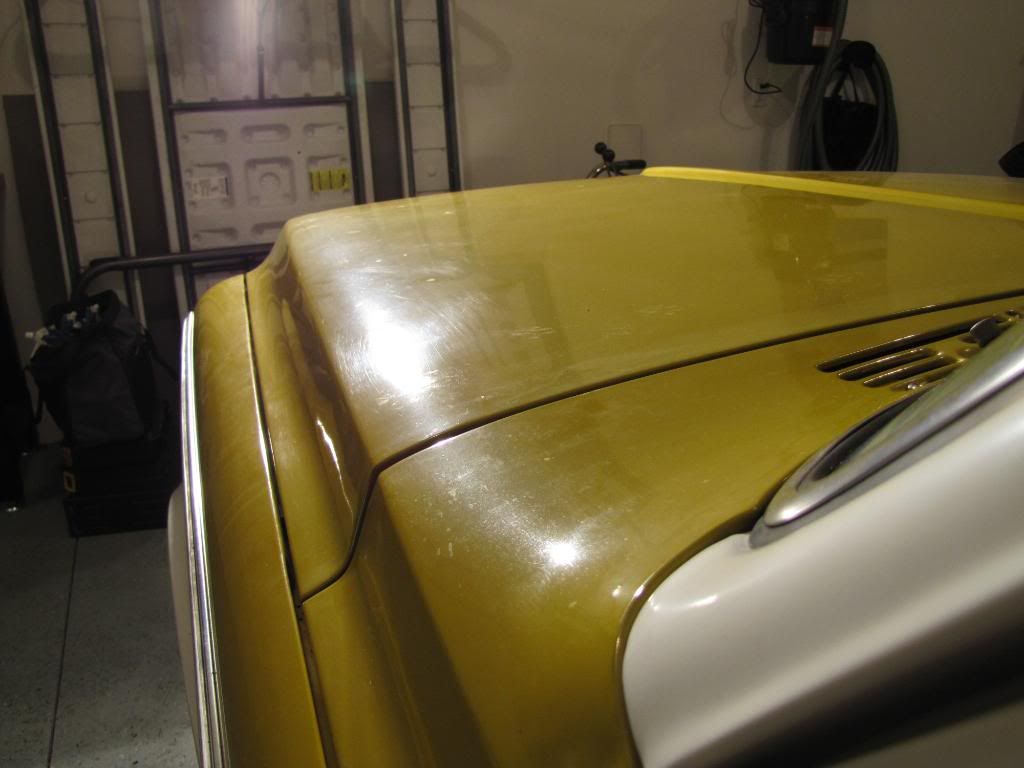
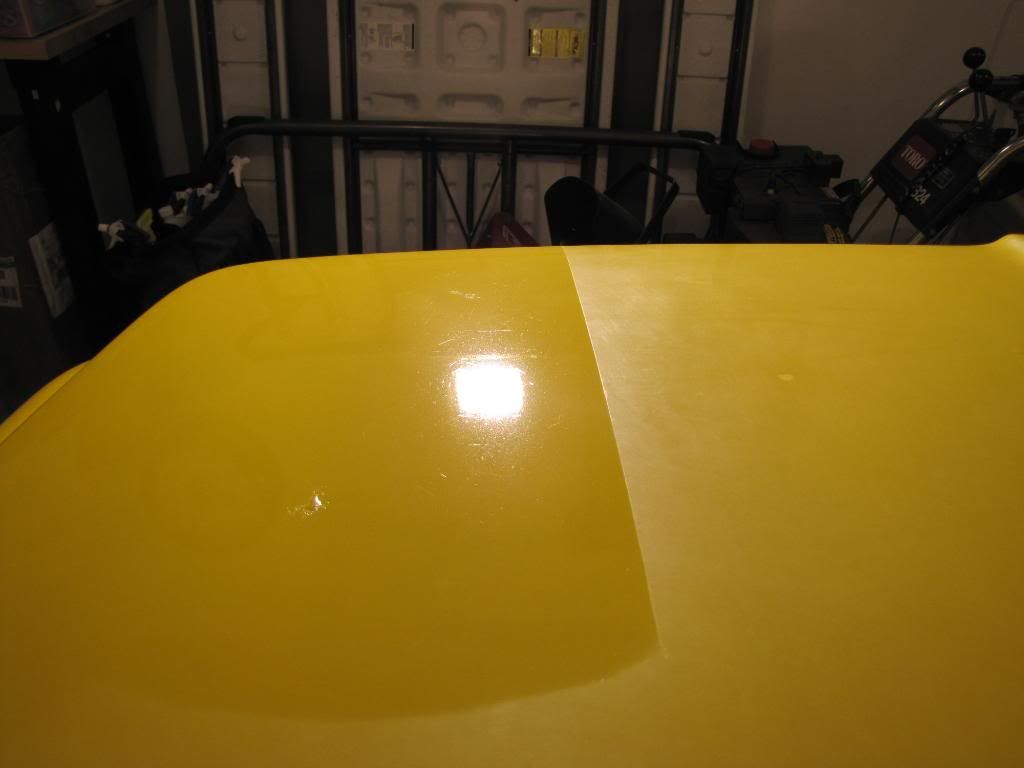
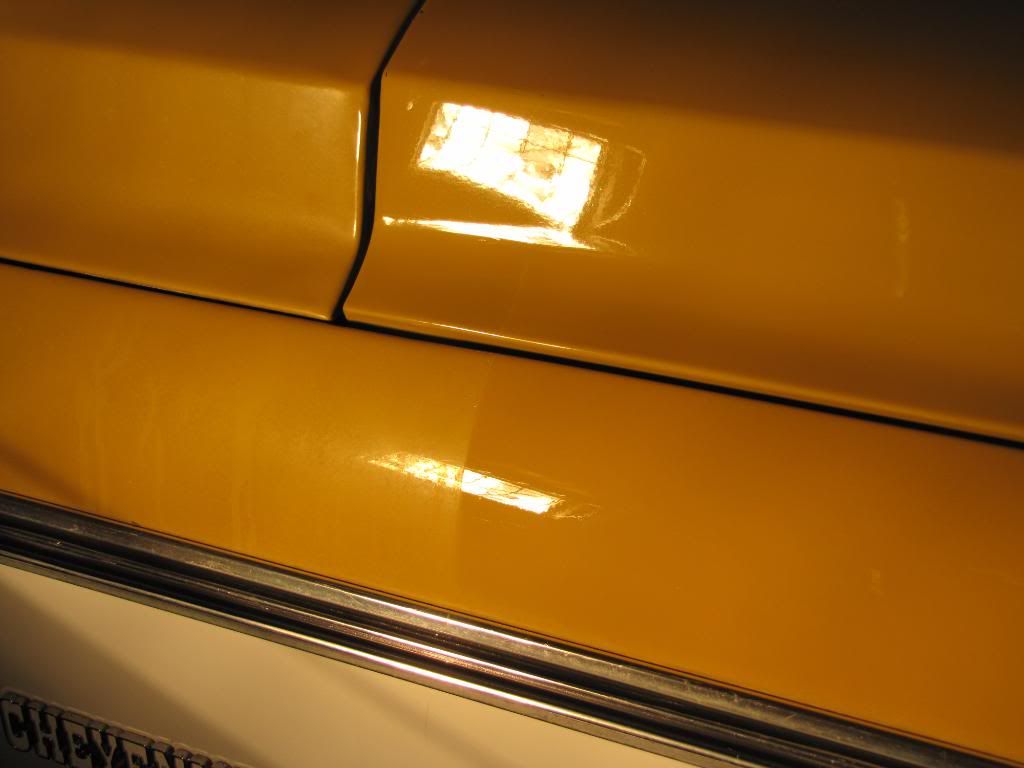
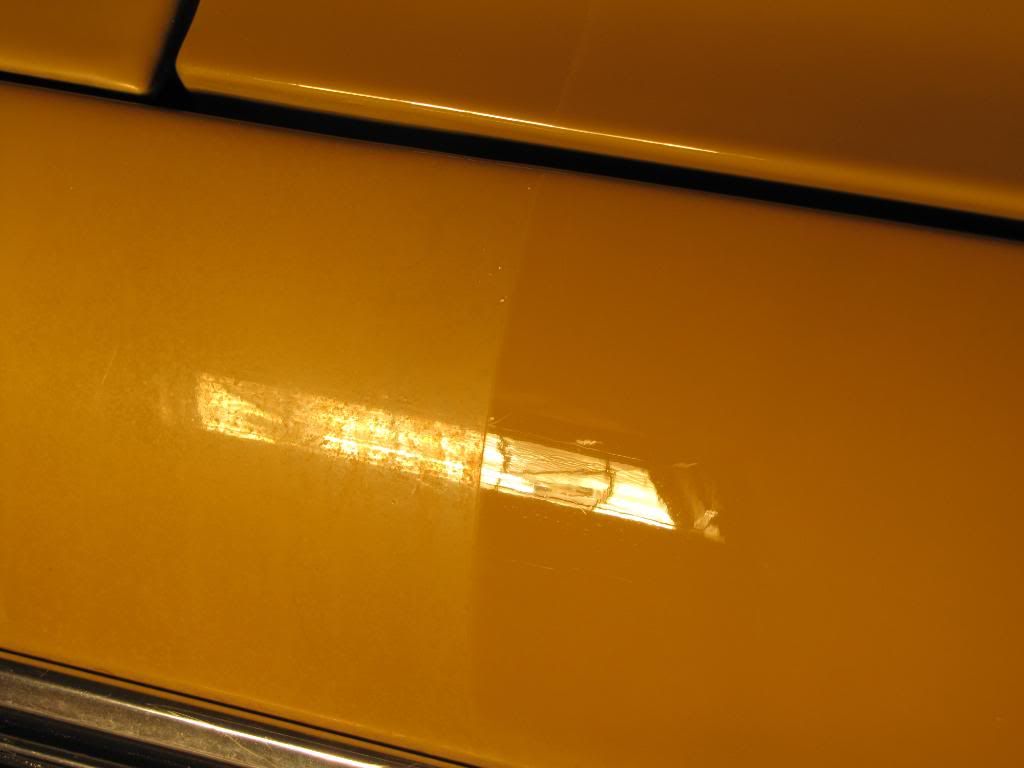
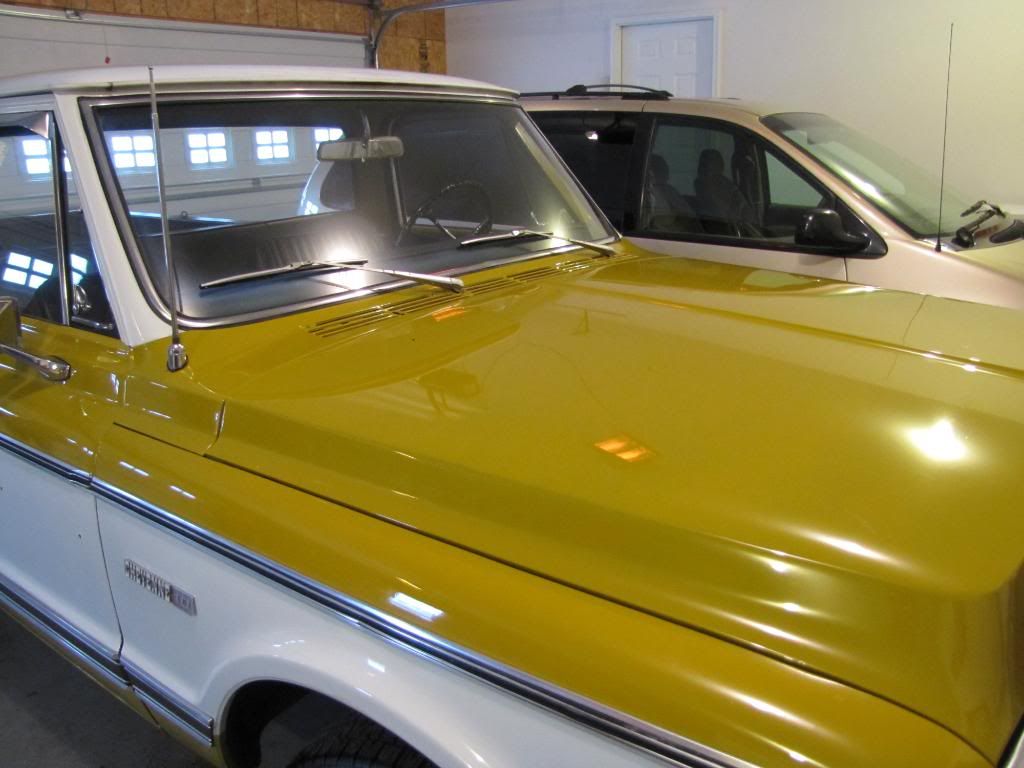
Finally, it was time to polish. The paint was definitely oxidized and swirled up badly.
I used M205 on a tangerine polishing pad on speed 5 with my PCXP.
A few 50/50 shots


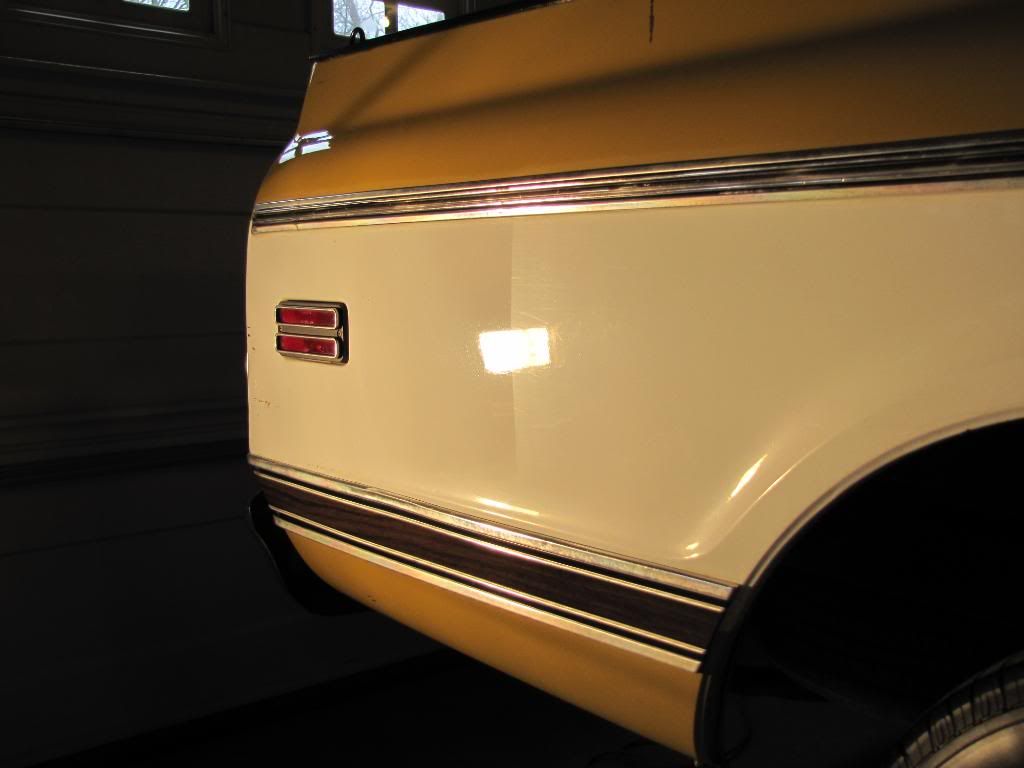
The white also greatly benefited from the polish.


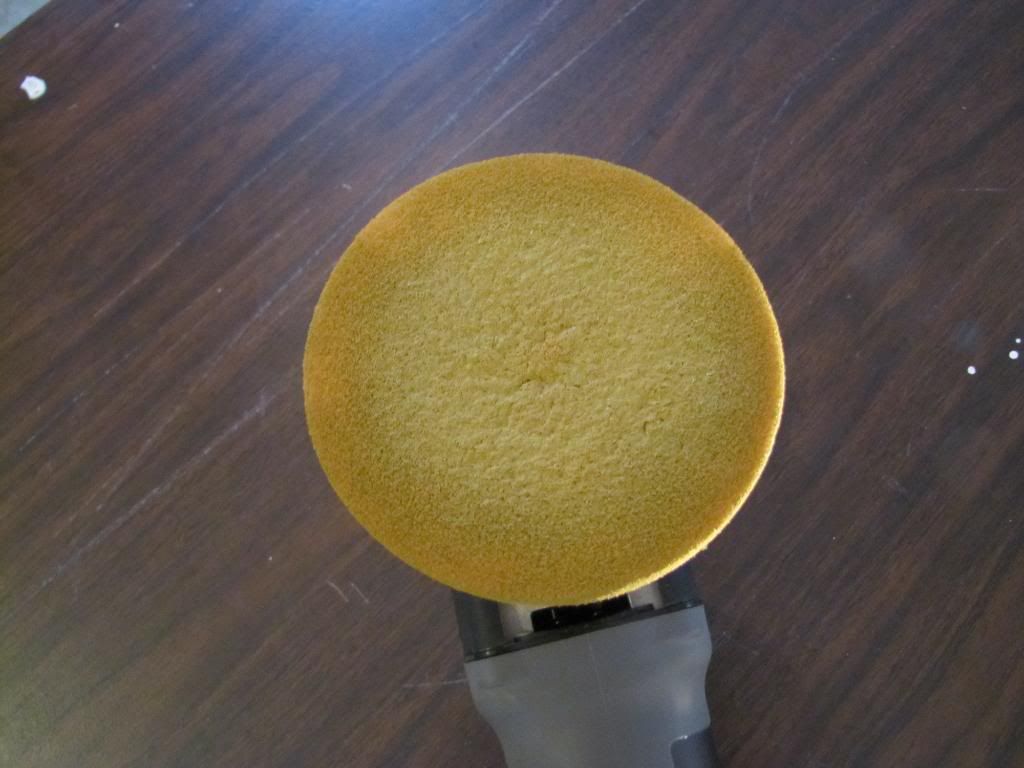
Single Stage paint clogged up the pads exceptionally quick. After each panel, or sooner, the pads were cleaned with a MF and with compressed air.
When I finished polishing by machine, and hand polishing the numerous areas that were difficult to reach with machine, I applied a coat of Collinite 915.
I was finishing up the morning the owner came, so I did not take many pictures, but the tires were redressed, the wheels were wiped down with a OID, the paint was wiped down as well, and the trim/seals were dressed with hyperdressing or 303. The interior was cleaned [a week earlier], with Folex on the carpets and everything else cleaned with an APC, wiped clean, and OCW was used on the interior painted metal.
Glass cleaned, paint protected
Tires dressed, wheels clean

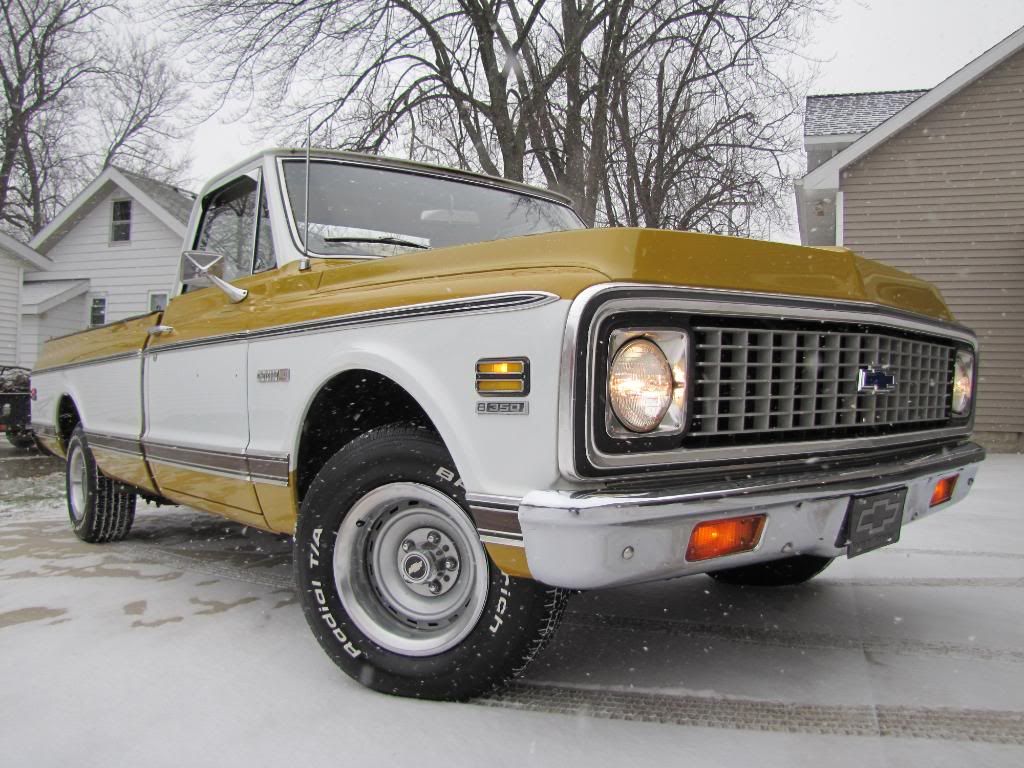
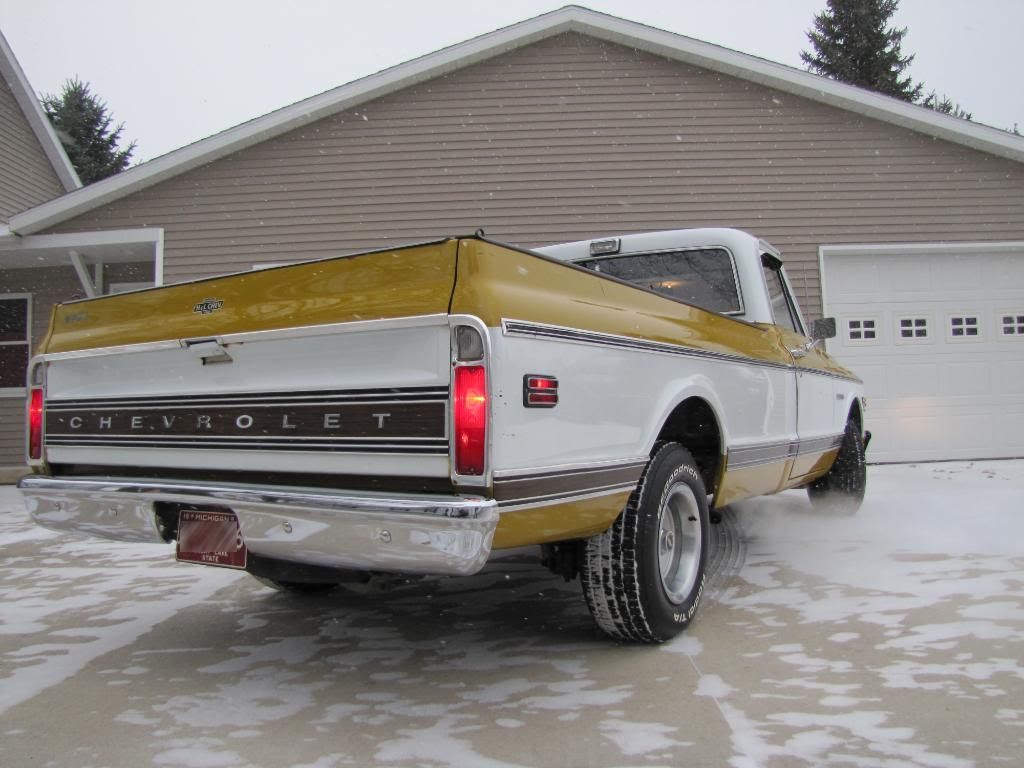
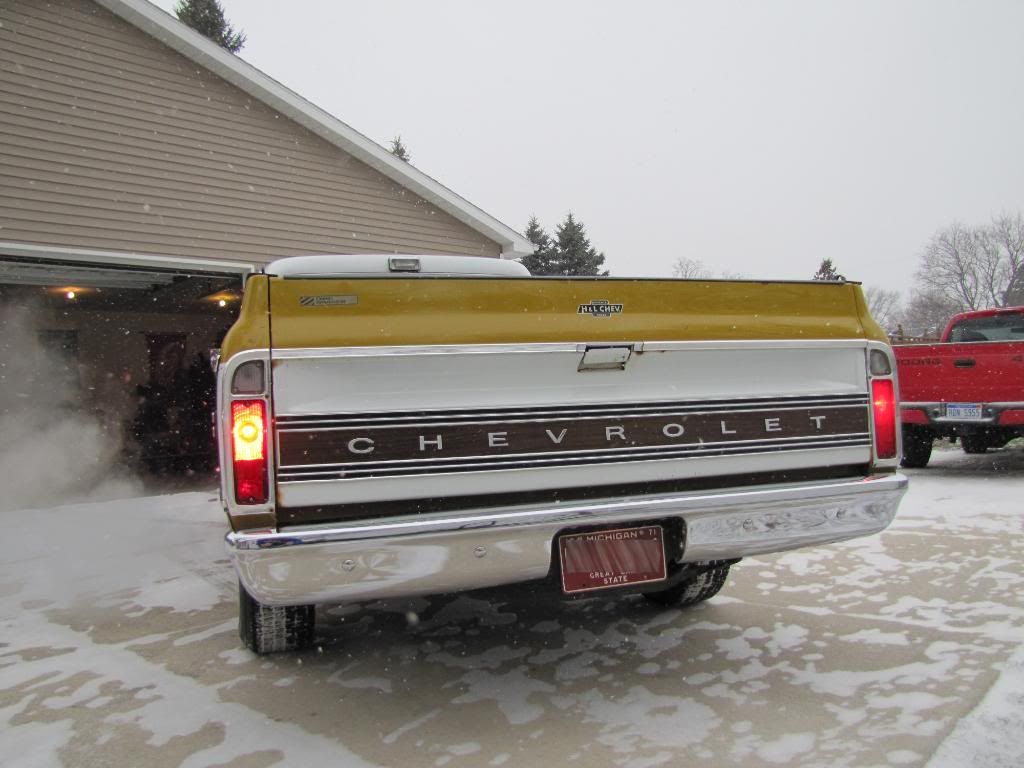
Here are the only other full shots of the finished product. The bumpers were polished by machine with M205 as well, and sealed with OS.
Sorry for the million pictures, but it was a great deal of fun working on all of the small details of this truck and turning around the look of the paint. Thanks for looking!
This truck is driven frequently in the summer month and has had its share of wear-and-tear. Although the paint is far from perfect, the metal is incredibly solid. He wanted the paint cleaned up and protected. After trying a few things, it was clear that a 1 step polish could make the paint look a million times better and do more than just clean up the look of the paint.
I began with a wash and proceeded to check the condition of the paint. Although there was rust coming through, the panels were solid and it was left alone this time.
The glass was in need of a cleaning as well. I used Sprayway glass cleaner on the glass, and finished with SIG w/repellant on the outside [after images at the end].
I turned my attention to the wheels. I do not have individual after pictures of the wheels, but I used a slidelock brush and a toothbrush with Megs APC, which quickly melted the dust off. I lightly polished the caps and sealed everything before reassembling.
I spent a good amount of time on the little things. The gas cap was removed and with 0000 steel wool and a metal polish years of buildup was removed.
Before
In progress
The sill plates were rusted and covered in contamination. After cleaning them, I used Collinite Metal wax to polish them. It has a high cut for being a metal wax.
These window stickers were also baked onto the inside of the glass. With the help of glass cleaner, terminator, and plastic/metal blades, it was completely removed [After pictures in the final shots].
Before polishing there was one more area to be addressed.
We had to remove the cowling piece to access the debris. I had started by vacuuming out the debris, but it was never ending, and after determining there was something large in there, we decided to remove the cowling.
It was completely cleaned out before being reassembled.
The engine bay, although I have no pictures, was completely cleaned and dressed where necessary
Finally, it was time to polish. The paint was definitely oxidized and swirled up badly.
I used M205 on a tangerine polishing pad on speed 5 with my PCXP.
A few 50/50 shots
The white also greatly benefited from the polish.
Single Stage paint clogged up the pads exceptionally quick. After each panel, or sooner, the pads were cleaned with a MF and with compressed air.
When I finished polishing by machine, and hand polishing the numerous areas that were difficult to reach with machine, I applied a coat of Collinite 915.
I was finishing up the morning the owner came, so I did not take many pictures, but the tires were redressed, the wheels were wiped down with a OID, the paint was wiped down as well, and the trim/seals were dressed with hyperdressing or 303. The interior was cleaned [a week earlier], with Folex on the carpets and everything else cleaned with an APC, wiped clean, and OCW was used on the interior painted metal.
Glass cleaned, paint protected
Tires dressed, wheels clean
Here are the only other full shots of the finished product. The bumpers were polished by machine with M205 as well, and sealed with OS.
Sorry for the million pictures, but it was a great deal of fun working on all of the small details of this truck and turning around the look of the paint. Thanks for looking!